Plant Not Growing? Light, Roots, Soil, and Season Explained
Plant not growing? Learn how to diagnose the real cause — light levels, root-bound pots, compacted soil, or seasonal dormancy — and fix each one with practical steps.
When a Plant Stops Growing, Start With These Four Factors
A plant not growing is frustrating in a way that brown leaves and pests are not. Those problems announce themselves. Stalled growth is quiet. The plant looks fine — it just sits there, week after week, doing nothing while you wonder what you did wrong.
The answer usually falls into one of four categories: light, roots, soil, or season. Most of the time, the plant is not sick. It is just constrained by one of these factors, and once you identify which one, the fix is often straightforward. Water and pests get most of the attention in houseplant advice, but when a plant is otherwise healthy and simply not pushing new leaves, those are rarely the culprit. This guide gives you a diagnostic framework for the four factors that actually control growth rate, in the order you should check them.
Before You Diagnose: Know What Normal Growth Looks Like
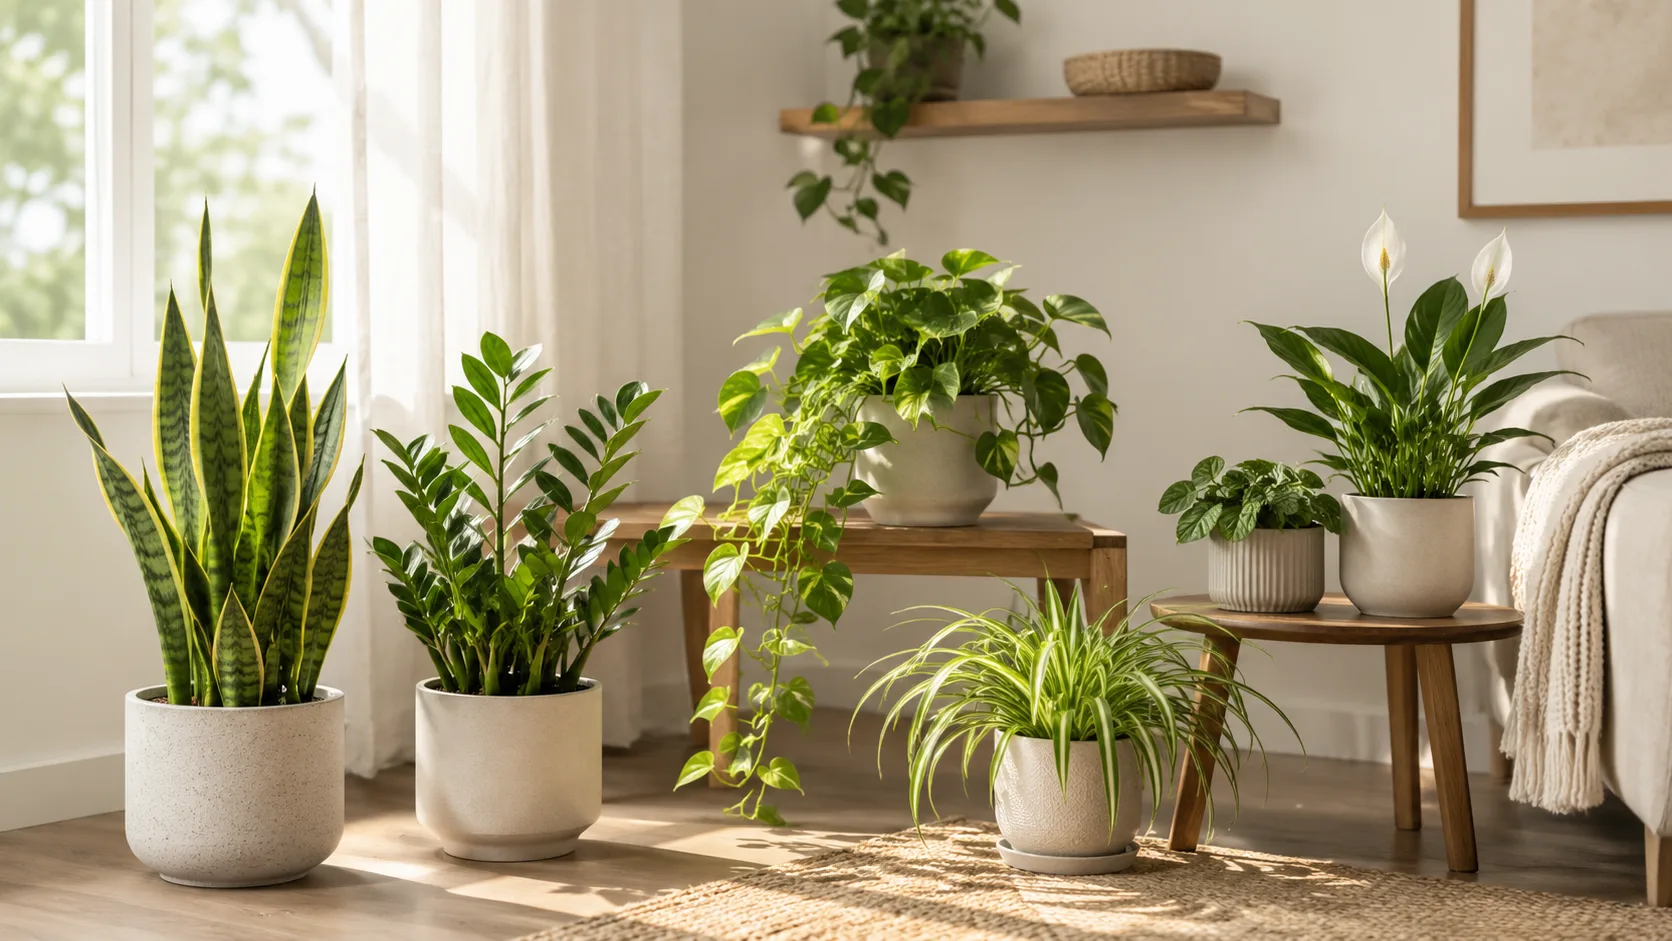
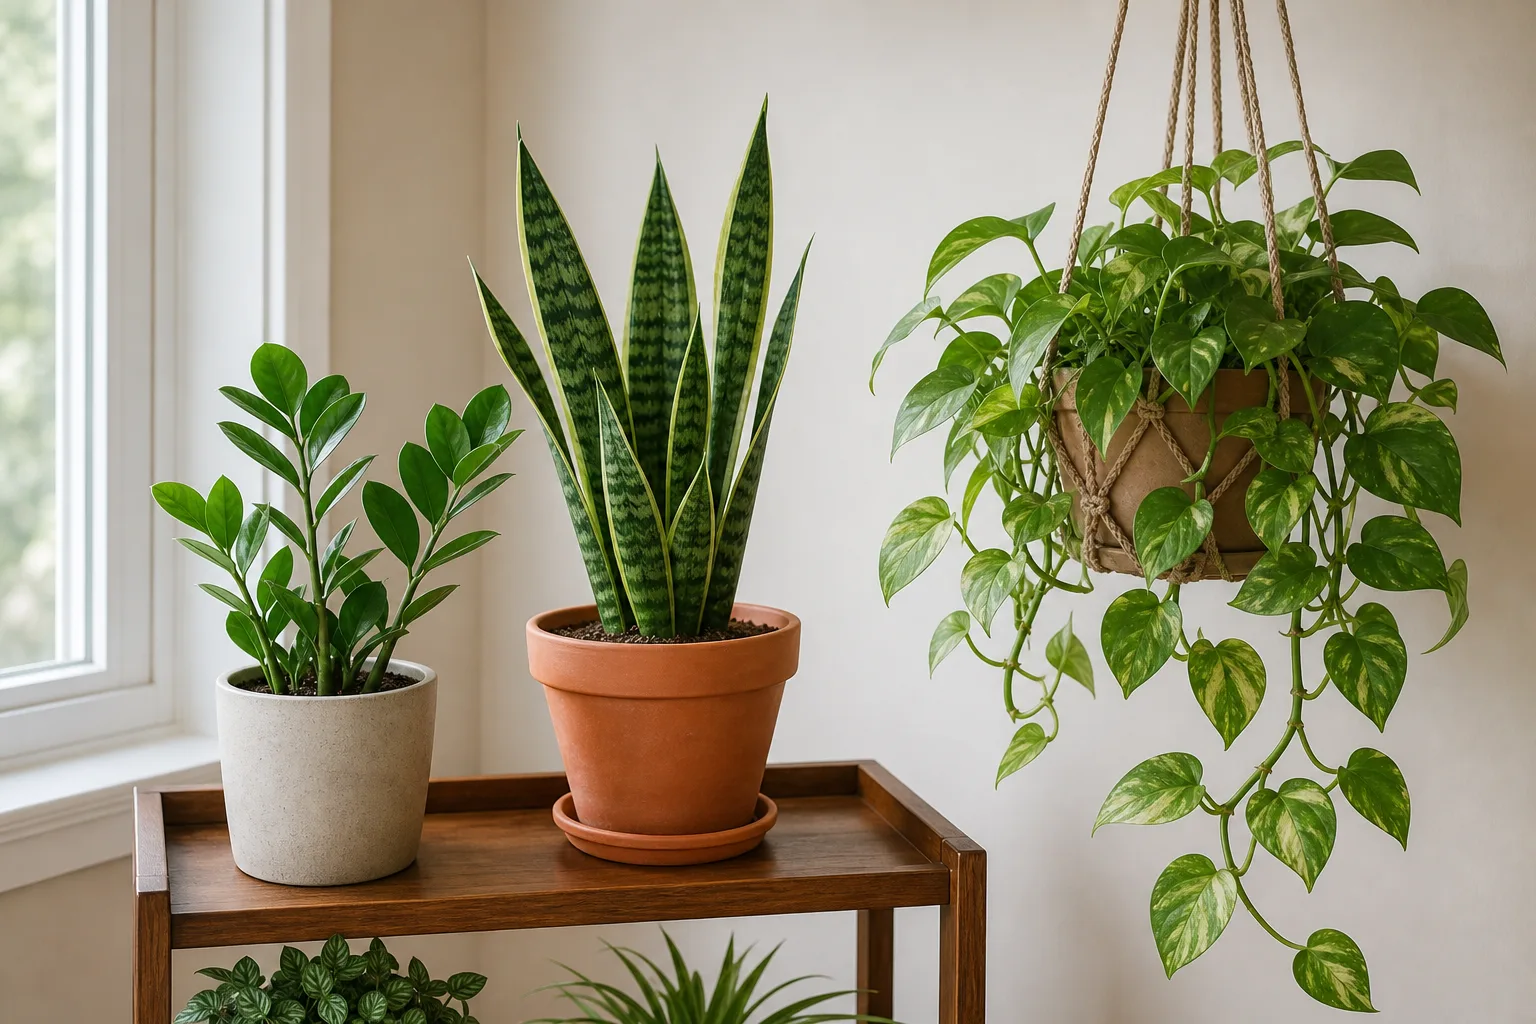
Not every plant that seems stalled actually has a problem. Some houseplants are genuinely slow growers, and a plant that has never been fast is not necessarily stuck. ZZ plants (Zamioculcas zamiifolia), snake plants (Sansevieria), cast iron plants (Aspidistra), jade plants (Crassula ovata), and most cacti put out new growth slowly even in ideal conditions. If you own one of these and it looks healthy but puts out only a few leaves per year, you have not made an error — the plant is doing what its biology dictates.
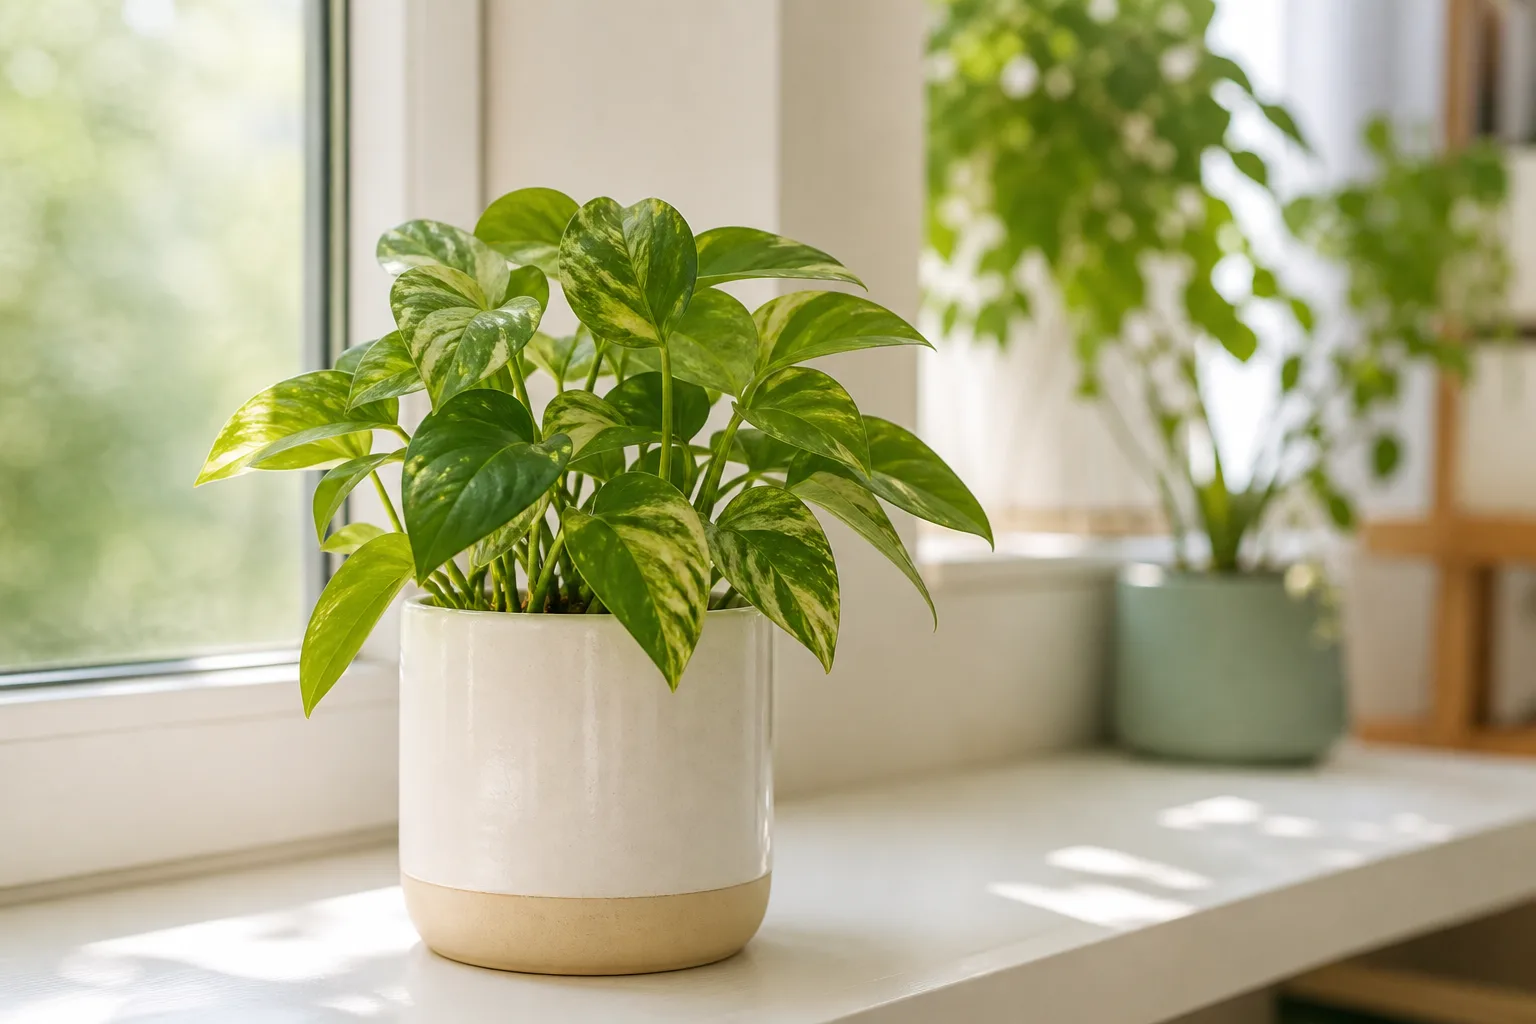
The plants worth worrying about are the ones that used to grow and stopped. A pothos that threw out a new leaf every week in summer and then went silent for two months, a monstera that unfurled leaves regularly and then paused, a philodendron that stalled after a year of steady growth — those are the cases where something changed. The question is what.
If your plant is on the slow-grower list, skip to the season section to understand its natural rhythm. If your plant is a known moderate or fast grower that has plateaued, start with the light diagnosis below. For plant-specific growth expectations, LeafyPixels care pages include growth-rate notes on individual plant profiles; check your plant’s page at /plants/{slug}/ for a baseline.
Factor 1: Light — The Most Common Reason a Plant Stops Growing
Light is not just one factor among many. It is the energy source that makes every other input matter. A plant in low light cannot use the water you give it efficiently, cannot metabolize fertilizer properly, and cannot build new tissue at a normal rate. Photosynthesis slows, and with it, everything else. When a plant that was growing steadily stops, and you have not changed your watering routine or repotted recently, light is where the diagnosis should begin.
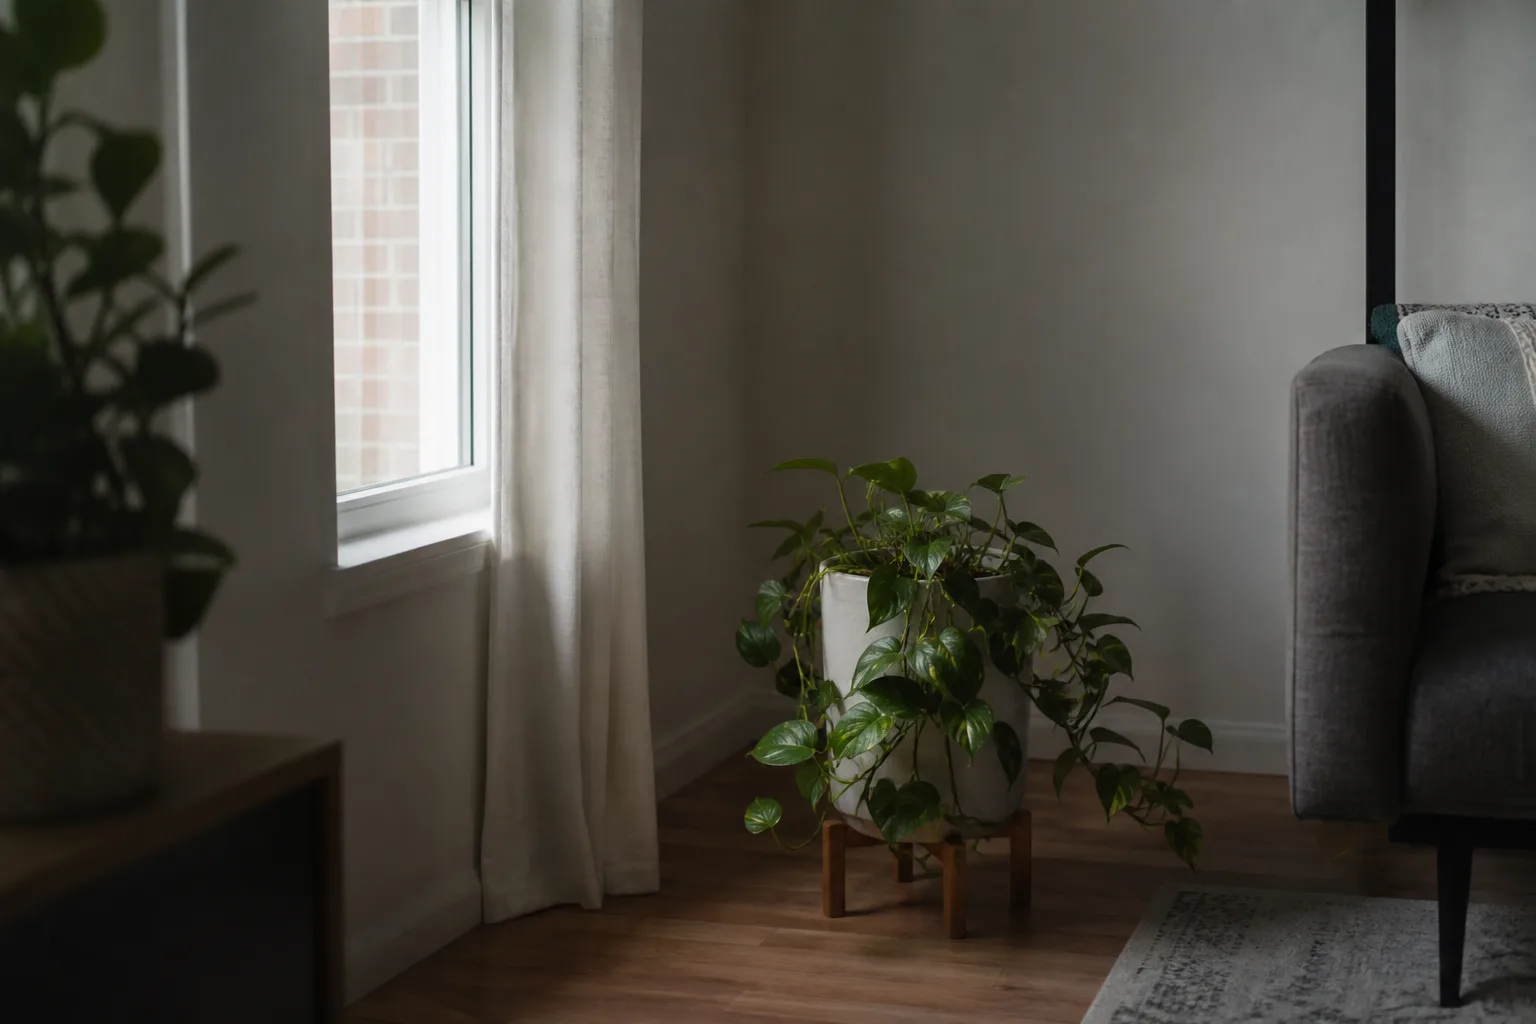
How to Tell If Light Is the Problem
Plants do not hide light deficiency well once you know what to look for. The signs stack up over weeks rather than days, which is why growers often miss the pattern. Leggy growth — long, thin stems with unusually large gaps between leaves — is the clearest signal. The plant is stretching toward whatever light it can find, sacrificing leaf density for reach. Small new leaves are another tell. If the newest leaf on your monstera is half the size of the one before it, and the one before that was smaller than the one before that, the plant is gradually rationing its energy budget downward. Variegation loss — where previously patterned leaves come in solid green — is the plant’s way of maximizing chlorophyll production to extract more energy from less light. And the most obvious sign: no new growth at all during spring and summer, when the plant should be in its active growing season.
None of these signs alone is definitive, but two or three together make a strong case for insufficient light. The challenge is that human eyes are terrible light meters. A room that feels bright to you can be dim to a plant. Windows filter more light than people realize, and light intensity drops off sharply with distance from the glass — a plant six feet from a south-facing window may receive a fraction of the light that hits the sill. (UF/IFAS Gardening Solutions)
How Much Light Houseplants Actually Need
Measured light, rather than perceived brightness, is what matters. Light intensity for plants is commonly expressed in foot-candles (fc) or lux, and the categories are more specific than the “low light / bright indirect” labels on plant tags suggest.
| Light Level | Foot-Candles | Lux | Where You Find It Indoors |
|---|---|---|---|
| Low | 50–250 | 540–2,690 | Several feet from a north window; interior rooms with some daylight |
| Medium | 250–1,000 | 2,690–10,760 | Near an east or west window; a few feet from a south window |
| High (bright indirect) | 1,000–2,500 | 10,760–26,900 | Directly in a south or west window with sheer curtain; close to unobstructed east window |
| Direct sun | 2,500+ | 26,900+ | Unobstructed south or west windowsill; outdoor shade can exceed this |
Most common houseplants need at least medium light (250–1,000 fc) during the growing season to produce steady new growth. “Low light tolerant” means the plant will survive at 50 fc, not that it will grow. A peace lily that sits in a dim corner for a year without putting out a single new leaf is not defective — it is running on empty. UF/IFAS notes that a bright sunny day outdoors can reach 10,000 foot-candles, while a typical indoor spot several feet from a window may only provide 10–100 foot-candles, which explains why growth stalls in what feels like a well-lit room. (UF/IFAS Gardening Solutions)
Fixing a Light Problem Without Guessing
The most useful tool for a grower troubleshooting stalled growth is not a moisture meter — it is a light meter. Digital handheld units that read in foot-candles or lux cost as little as a new plant and remove the guesswork. Walk around your space at different times of day and take readings at plant height. A reading of 80 fc at noon in a supposedly bright room tells you something that your eyes cannot.
If the numbers confirm low light, move the plant closer to the window in increments. A sudden jump from a dark corner to full sun will scorch leaves that have adjusted to low light over months. Move the plant to a spot with roughly twice the current foot-candle reading, leave it for a week, then move it again if needed. The goal is to get into the plant’s growth range, not to find the brightest possible spot.
When moving the plant is not an option — a north-facing apartment, a room with one small window, or a winter that cuts daylight to single-digit hours — a grow light becomes the practical fix. Full-spectrum LED panels or bulbs positioned 6–12 inches above the foliage and run for 10–14 hours per day can deliver 500–1,500 fc at the leaf surface, enough to bring a stalled plant back into its growing range. A timer keeps the photoperiod consistent, which matters because plants respond to day length, not just intensity.
Factor 2: Roots — When the Container Is the Constraint
Roots are invisible, so root problems are invisible until they produce above-ground symptoms. When a plant’s roots run out of room, the plant does not stop trying to grow — it shifts resources away from leaves and toward root exploration. The result is a plant that looks healthy above the soil line but has not put out new foliage in months. Below the surface, the root ball has become a dense mat that can no longer access enough water, oxygen, or nutrients to support new top growth.
Signs Your Plant Is Root-Bound
A root-bound plant sends several signals that are easy to check without pulling it out of the pot. Roots growing out of the drainage holes are the most visible sign — if you see them, the roots have been searching for an exit for a while. Roots visible at the soil surface, circling the rim of the pot, mean the plant has filled every available inch and is now pushing upward. Water that runs straight through the pot without soaking in suggests the root mass has displaced so much soil that there is nothing left to hold moisture. And if the plant dries out noticeably faster than it used to — needing water every two days when it used to go five — the ratio of roots to soil has shifted far enough to change the pot’s water dynamics.
Penn State Extension recommends sliding the plant out of its pot to check the root ball directly: if roots are circling densely around the outside and you can barely see potting mix in the bottom third of the root ball, it is time to repot. (Penn State Extension) Brooklyn Botanic Garden notes that auxin, a plant growth hormone concentrated in root tips, drives the balance between root and shoot growth — when roots run out of space, auxin distribution changes, and above-ground growth slows in response. (Brooklyn Botanic Garden)
How to Repot Without Setting the Plant Back
Repotting is the fix for a root-bound plant, but doing it wrong creates a new set of problems. The goal is to give the roots room without shocking the plant into a recovery stall that looks exactly like the growth pause you were trying to solve.
Choose a pot that is one to two inches wider in diameter than the current container — roughly one size up. Jumping from a 6-inch pot to a 12-inch pot creates a large volume of soil that stays wet too long because the roots cannot reach it, which invites root rot. A modest increase gives roots room to expand without drowning them in unused medium.
Before placing the plant in the new pot, loosen the root ball. If roots are circling tightly, gently tease them outward with your fingers. For severely matted roots, you may need to make a few shallow vertical cuts through the outer root layer with a clean knife — this severs the circling pattern and encourages new roots to grow outward into fresh soil rather than continuing to spiral. Fill around the root ball with fresh potting mix, firm it lightly, and water thoroughly. Expect a brief adjustment period — a week or two of minimal visible activity is normal as roots establish in the new medium, and this is not the same as the long-term stall you were fixing.
When Roots Are the Problem But Not Because of Pot Size
Not every root problem is a space problem. Root rot from chronic overwatering produces a different set of symptoms: the plant may not grow, but it also looks unwell — yellowing leaves, mushy stems, a sour smell from the soil. The roots themselves will be brown, soft, and slimy rather than firm and white. If you slide the plant out and find rotting roots, the fix is not repotting into a larger container. Trim away the rotted sections with sterilized scissors, repot into fresh dry mix in the same or a slightly smaller pot, and adjust your watering pattern. A plant recovering from root rot will not put out new growth until it rebuilds a functional root system, which can take weeks to months depending on the extent of the damage.
Factor 3: Soil — The Medium That Fades Over Time
Potting mix is not permanent. Over months and years inside a container, organic components like peat moss and coco coir break down. The mix compacts, losing the air spaces that roots need for respiration and the drainage channels that prevent waterlogging. At the same time, whatever nutrients were in the mix — either from the original formulation or from fertilizer you have added — get used up, leach out with watering, or become chemically unavailable. A plant in degraded soil is not necessarily dying, but it has no runway for new growth.
Compacted Soil and Why Watering Alone Cannot Fix It
Compacted soil is easy to mistake for underwatering because the symptoms overlap: the plant looks dull, growth is absent, and water seems to disappear without helping. The difference is what happens when you water. In compacted soil, water pools on the surface, runs down the inside edge of the pot without penetrating the root zone, or channels through cracks while leaving the rest of the mix dry. The soil surface may develop a hard crust that resists a finger poke.
University of Minnesota Extension explains that soil compaction reduces pore space — the voids between soil particles that hold air and water — which restricts root growth and the plant’s ability to take up nutrients. Roots in compacted soil are shallow, malformed, and less able to exploit the medium for what they need. (UMN Extension) In a container, the problem is accelerated because the confined volume means roots cannot grow around compacted zones the way they could in open ground.
The fix is not more water or more fertilizer — both of which make the problem worse by further degrading the soil structure. The fix is replacing the mix. Slide the plant out, shake off as much of the old compacted soil from the roots as you can without damaging them, and repot into fresh mix. Look for a mix that includes perlite, pumice, or bark — these components create the air pockets that roots need and resist compaction better than straight peat moss.
Nutrient Depletion and the Fertilizer Trap
A plant in depleted soil often presents as pale and stalled — older leaves yellow gradually, new leaves come in smaller than expected, and the overall growth rate drops. These are classic signs of nutrient deficiency, most commonly nitrogen, which plants need in the largest quantity for leaf and stem growth. Phosphorus deficiency shows as purpling leaf margins and stunted growth, while potassium deficiency produces brown scorched edges on older leaves. University of Connecticut Extension notes that nitrogen deficiency causes a general yellowing that starts with the older, inner leaves and moves outward toward younger growth. (UConn Home & Garden)
The trap is reaching for fertilizer as a first response without checking whether the plant can actually use it. Fertilizer does not fix compacted soil, does not fix root-bound roots, and does not override a light deficit. Adding fertilizer to a plant that is stalled because of some other factor can make things worse — the plant cannot metabolize the nutrients, so salts accumulate in the soil, potentially burning root tips and adding chemical stress on top of whatever stopped the growth in the first place. Fertilizer is the right answer only when you have ruled out light, roots, season, and soil structure — and the remaining explanation is simple nutrient exhaustion.
When to Refresh Soil vs. When to Fertilize
The general guideline is to refresh or replace potting soil every 12 to 18 months for most houseplants. Potting mix components — especially peat moss — break down over that timeframe, losing both aeration and water-holding capacity. If the soil has been in the pot for more than a year and the plant has stalled, a soil refresh is the more complete fix than adding fertilizer to degraded medium.
If the soil is still in good structural condition — it drains well, does not crust over, and has been in the pot for less than a year — a balanced liquid fertilizer at half the recommended strength, applied every two to four weeks during the active growing season, is the right intervention. A balanced NPK ratio such as 6-4-5 or 10-10-10 works for most foliage houseplants. Stop fertilizing entirely during the winter dormancy period unless the plant is under grow lights and actively pushing new growth. The plant cannot use what you give it when it is not metabolically active, and the unused nutrients sit in the soil as salts.
Factor 4: Season — Dormancy, Temperature, and the Indoor Calendar
If you have checked the light, the roots look fine, and the soil is in good condition, the last variable to consider is the calendar. Indoor plants do not experience winter the way outdoor plants do, but they are not immune to seasonal signals either. Shorter days, cooler ambient temperatures, and drier heated air all push houseplants toward a slower metabolic state. A plant that stops growing in November and resumes in March is not broken — it is following a cycle that its biology expects.
Dormancy vs. Stress: How to Tell the Difference
True dormancy and growth slowdown from stress look similar on the surface but mean very different things. The key differentiators are timing and the plant’s overall condition. A plant slowing down in fall or winter, with no other signs of decline — no yellowing leaves, no dropping foliage, no mushy stems — is almost certainly responding to seasonal cues rather than suffering from a problem. The shorter photoperiod and cooler root zone are signaling the plant to conserve resources. This is normal, expected, and not something to fix.
A plant that stops growing in spring or summer, or one that stops growing and simultaneously shows leaf drop, discoloration, or wilting, is stressed rather than dormant. The Almanac explains that longer nights and colder temperatures trigger a slowdown in photosynthesis and respiration, signaling that it is time to rest — this is a programmed response, not a malfunction. (The Old Farmer’s Almanac) Lincoln County UGA Extension notes that cold temperatures stop water from circulating through the plant, preventing the movement of nutrients and energy. (Lincoln County UGA Extension)
The practical rule: if it is fall or winter, your plant has stopped growing, and it otherwise looks healthy, assume dormancy and wait until spring. If you want to override dormancy and keep growth going through winter, you need to address both light and temperature — a grow light set to 12–14 hours per day combined with stable room temperatures above 65°F (18°C).
Temperature Thresholds That Stop Growth
Most common tropical houseplants have a functional minimum temperature below which growth effectively stops, even if the plant does not show visible damage. The general threshold is around 55–60°F (13–15°C) for many species. Below 50°F (10°C) , cold damage becomes likely for most tropicals, and growth cessation is guaranteed. UConn Extension notes that even when the thermostat reads warm enough, cold drafts from windows, poorly insulated walls, or air conditioning vents can create microclimates around individual plants that are 5–10°F colder than the room average. (UConn Home & Garden)
The practical fix for temperature-related growth stalls is plant placement. Move plants away from drafty windows in winter, off cold floors (a riser or plant stand adds enough separation to make a difference), and out of the direct path of air conditioning vents in summer. A plant near a window that drops below 55°F at night will not grow during the day even if daytime temperatures recover — the cold period interrupts the metabolic cycle enough to suppress growth for the full 24-hour period.
Working With the Season Instead of Fighting It
The most productive approach to seasonal slowdown is to adjust care to match the plant’s reduced metabolism. Water less frequently — soil dries more slowly in winter, and a plant that is not actively growing uses a fraction of the water it consumes during the growing season. Stop fertilizing entirely from roughly October through February unless the plant is under grow lights and actively pushing growth. Reduce expectations. A plant that does nothing for three months and then pushes three new leaves in April is not broken and does not need to be fixed. Master Gardeners of Northern Virginia recommends adjusting watering to match the slower winter metabolism and not forcing growth when the plant has entered its rest phase. (Master Gardeners of Northern Virginia)
If you keep your home warm and bright year-round, your plants may not experience a meaningful dormancy at all — and that is fine too. The point is to understand what your specific indoor environment is doing across the calendar, not to impose a seasonal schedule the plant is not actually feeling.
Putting It Together: The Four-Factor Diagnostic Sequence
The four factors are not equally likely, and checking them in the wrong order wastes time and can make problems worse. Here is the diagnostic sequence that catches the most common cause first and avoids cascading fixes that create new issues.
Step 1: Check the calendar. If it is fall or winter and the plant looks otherwise healthy, seasonal slowdown is the most likely explanation and patience is the correct response. If the plant also looks unwell — yellowing, dropping leaves, wilting — proceed to the next steps regardless of season.
Step 2: Measure the light. Use a light meter or a phone app at plant height at midday. If the reading is below the plant’s growth range (below 250 fc for most common houseplants), light is the constraint. Move the plant closer to the window or add a grow light. Do not fertilize or repot until light is adequate — the plant cannot use additional resources without the energy to metabolize them.
Step 3: Inspect the roots. Slide the plant out of the pot and check the root ball. If roots are circling densely and soil is displaced, repot one size up into fresh mix. If roots are brown and mushy, trim the rot and repot into dry mix. If roots look healthy and the pot is proportionate to the plant’s size, roots are not the issue.
Step 4: Assess the soil. If the soil has been in the pot for more than 12–18 months, is crusted on the surface, or channels water without absorbing it, replace the mix. If the soil is structurally sound but the plant shows nutrient deficiency symptoms (pale older leaves, purpling margins, brown leaf edges), apply a half-strength balanced fertilizer during the growing season.
By the time you have worked through these four checks, you will have found the cause in the vast majority of cases. If none of the four factors explains the stall, consider less common causes: pest pressure (specifically root mealybugs, which are invisible above the soil), disease, or chemical sensitivity to tap water quality.
Common Mistakes That Keep a Stalled Plant Stuck
Several well-intentioned responses to stalled growth actually make the problem worse. Knowing what not to do is as useful as knowing the diagnostic sequence.
Fertilizing a plant in low light. The plant cannot photosynthesize enough to use the nutrients, so salts accumulate in the soil and can burn roots. Fix light first, then fertilize if needed.
Repotting during winter dormancy. Disturbing roots when the plant is metabolically slow extends the recovery period. Repot in spring or early summer when the plant has the energy to re-establish quickly.
Overwatering a stalled plant. The instinct is to do something, and watering feels like doing something. A plant that is not growing uses less water, and keeping the soil constantly wet in response to stalled growth is a direct path to root rot.
Moving a plant from deep shade to full sun in one step. Leaves adapted to low light have thinner cuticles and fewer protective pigments. A sudden jump in light intensity causes sunburn — bleached, papery patches that do not recover. Acclimate gradually over one to two weeks.
Assuming all stalled growth is a problem. A plant that pauses in winter, a plant recovering from repotting, and a plant that is naturally slow are not broken. The goal is to distinguish between normal pauses and constraint-driven stalls, not to force continuous growth year-round.
Conclusion
A plant not growing is almost always a light problem, a root problem, a soil problem, or a seasonal pause. The diagnostic sequence matters: check the season first because it costs nothing and rules out a normal cycle, then measure the light because it is the most common constraint and determines whether the plant can use any other fix you apply, then inspect the roots to rule out a physical space limitation, and finally assess the soil for compaction or nutrient exhaustion. Most stalled plants respond to correcting just one of these factors, and the ones that need more than one intervention usually respond once the primary constraint — typically light — is resolved. The plant is not broken. It is waiting for conditions to improve, and now you know which condition to fix first.