7 Ways to Use Less Water in Your Garden This Summer
Use less water in your garden this summer with seven practical fixes: mulch, deeper watering, drip irrigation, smarter plant grouping, soil care, and rain capture.
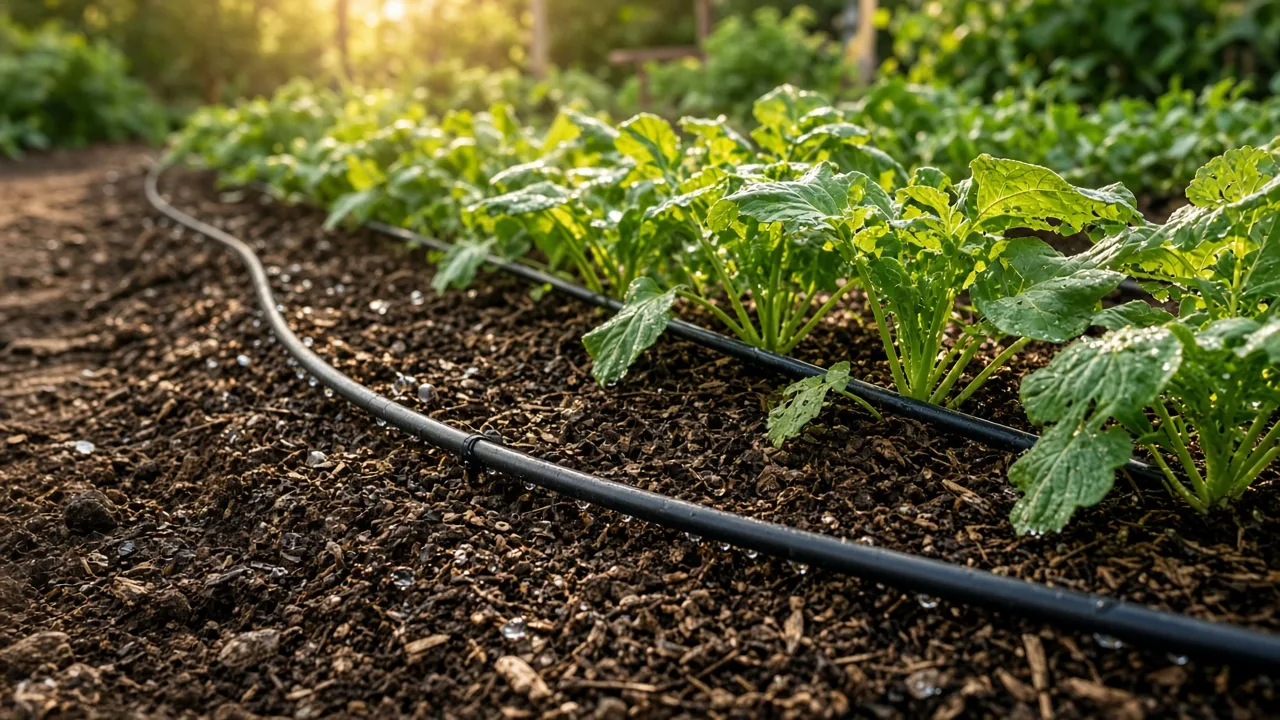
The most reliable way to use less water in your garden is not to let plants become thirsty. It is to keep more of the water you already apply in the root zone, where plants can use it, and stop sending it onto paths, leaves, or bare soil that dries by midday.
Start with the bed that consumes the most water and make one change at a time. Add a moisture-holding surface layer, redirect water to the soil, check how deep it reached, and only then adjust the schedule. That sequence tells you whether the problem is evaporation, poor delivery, thirsty plants, compacted soil, or simply watering by habit.
As a benchmark rather than a promise for every yard, Colorado State University Extension summarizes an estimate that as much as half of residential outdoor water can be wasted through evaporation or runoff from poorly managed irrigation. (Colorado State University Extension) The seven methods below target those losses while protecting plants.
The goal is hydrated roots, not constantly wet soil
Water conservation and plant health are not opposites. A garden can use less water overall when its soil is shaded, its plants are matched to the site, and each application reaches enough of the active root zone to last between waterings.
The important distinction is between water applied and water used. A ten-minute sprinkler session may look efficient on the clock but waste water if wind carries it away or a hard surface sends it into a gutter. A slower application that reaches the root zone may keep plants going for several days with less total water.
Do not turn “deeply and infrequently” into a rigid calendar. Seedlings, new transplants, containers, shallow-rooted greens, and plants in very sandy soil can need more frequent checks. Established shrubs and perennials may tolerate longer intervals, while a newly planted tree can need regular root-zone watering for a year or more even if its mature label says drought tolerant.
1. Mulch the soil so moisture stays where roots can use it
Bare soil is a direct invitation to evaporation, surface crusting, and weed competition. A layer of mulch shades the soil, softens temperature swings, slows the movement of water away from the bed, and suppresses many weeds that would otherwise use the same moisture. Colorado State University Extension lists reduced evaporation, stabilized soil moisture, weed suppression, erosion control, and improved infiltration among the benefits of correctly selected mulch. (Colorado State University Extension)
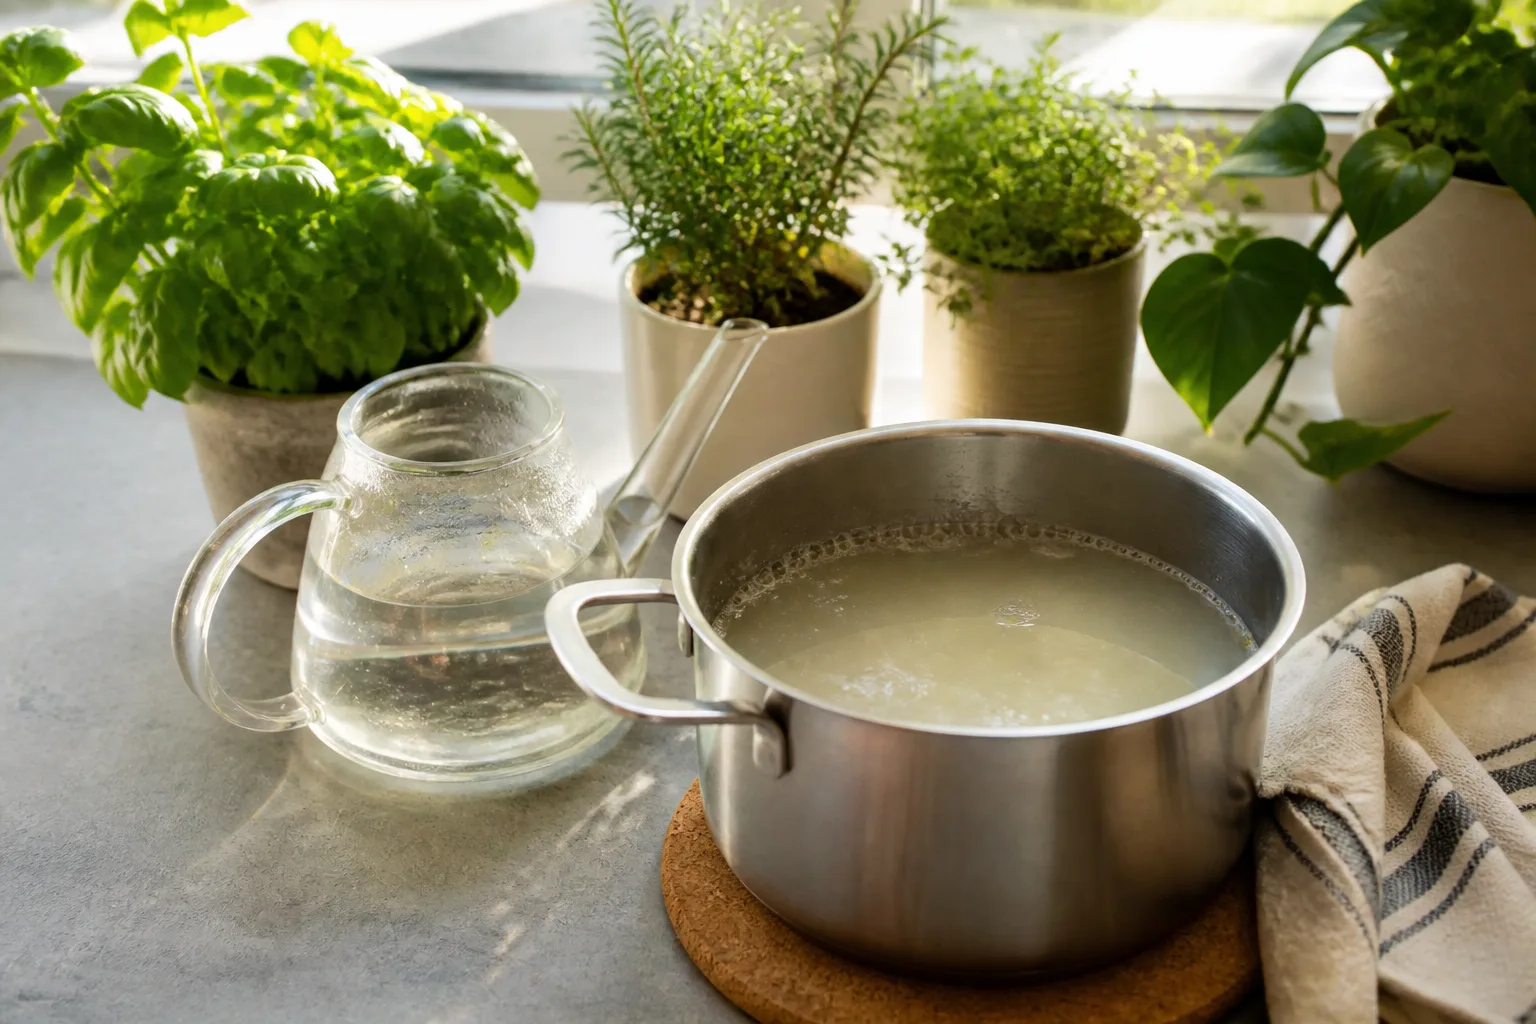
Mulch is most effective as part of a system. Put it over soil that can absorb water, keep the watering line beneath or within the mulch where appropriate, and pull it back to inspect the soil instead of assuming the bed is wet because the surface looks dark. In a vegetable row, mulch can reduce splash and keep the shallow feeder-root zone from cycling between hot and dry; around shrubs, a more durable material can cover a wider area for longer.
Choose mulch for the bed, crop, and climate
For annual vegetables and flower beds, use clean straw, shredded leaves, finished compost, or dry grass clippings applied in thin layers. Grass clippings should not come from a lawn treated with persistent herbicides, and fresh clippings should not be piled thickly while wet; they can mat, smell, shed water, and restrict air exchange. Add a thin layer, let it dry, and build coverage gradually.
Wood chips and bark suit paths, shrubs, trees, and perennial beds because they last longer and contribute organic matter as they break down. In an exposed, arid bed, however, a sun-baked layer can become difficult to wet. Colorado State notes that wood products can turn hydrophobic under intense sun and that dense mulches can also slow rainfall infiltration. If water beads on top, rake the layer lightly, check the soil beneath, and water slowly enough to penetrate rather than increasing the run time blindly.
Gravel can be useful where the design is intentionally dry and the plants prefer sharp drainage, but rock is not a universal replacement for organic mulch. Light-colored stone can reflect heat, larger rock can increase runoff, and gravel will not add organic matter. Match the material to the plants and the local climate, not just to a water-saving label.
Apply a useful layer without creating new problems
A practical starting point is 2 to 3 inches of mulch in most home beds, with enough coverage to shade the soil but not so much that water and air cannot move. Some extension guidance uses about 4 inches when weed suppression is the main goal, while RHS advice gives 2 inches as a minimum in its drought-resistant gardening guidance. (Colorado State University Extension) (Royal Horticultural Society) The right depth depends on the material, the bed, and whether you are growing seedlings or established plants.
Keep mulch a few inches away from plant crowns, stems, and tree trunks. A damp collar around a stem can encourage decay, and a mound against a trunk hides problems instead of conserving water. After the first irrigation, pull the mulch back in two or three places: if the soil below is dry while the surface is wet, the layer is too dense, too dry, or not being irrigated correctly.
2. Water at the right time and check below the surface
Water early in the morning when you can, especially when using a sprinkler or hose that wets foliage. Cooler air and lower wind often give water more time to land and soak in before heat increases evaporation, and leaves have the day to dry. Evening watering can work well when water is delivered directly to the soil, but repeated overhead watering that leaves foliage wet overnight can increase disease pressure in susceptible plants.
Avoid using a fixed number of minutes as your only measure. Runoff, soil texture, slope, shade, wind, plant size, and recent rain can change how much water actually reaches the roots. A schedule is a starting hypothesis; the soil is the test.
Use a root-zone test before changing the schedule
Check moisture two to four inches below the surface in a vegetable bed or around the active roots of an established ornamental. Push a finger or narrow trowel into an open spot, pull back a small section of mulch, or use a simple soil-moisture probe in several locations. The top inch can be dry while the root zone is still moist, especially under mulch; watering just because the surface looks pale can create soggy soil.
Pair the soil check with a delivery check. Put a straight-sided cup or identical cans in different parts of a sprinkler pattern and run the system for a known interval. If the can near the head fills while the one at the edge barely gets wet, the answer is not to run the whole zone longer. Adjust the head, replace a worn nozzle, move the layout, or water that dry area by a better-targeted method.
Look for four signals before you water again:
- Soil: moist at root depth, not muddy and not powder-dry.
- Plant: normal posture and new growth, rather than relying on a single hot-afternoon wilt.
- Surface: no standing water or fast-moving runoff.
- Pattern: similar delivery across the area that is supposed to be watered.
RHS watering guidance summarizes the useful principle as watering less often but more thoroughly, then letting the surface dry before watering again. (Royal Horticultural Society) That does not mean forcing every plant into drought cycles; it means replacing guesswork with a check that reflects the plant, soil, and stage of growth.
3. Put water on the soil, not into the air
Sprinklers are convenient for lawns and broad plantings, but they are a poor default for a small mixed bed. Water thrown high into the air can be lost to wind and evaporation, land on foliage instead of soil, or spread into paths and neighboring beds. The more irregular the planting, the harder it is for one overhead pattern to deliver the right amount everywhere.
Drip lines, emitter tubing, and soaker hoses apply water near the soil surface and are usually easier to aim at rows or individual plants. Epic Gardening’s practical comparison notes that drip and soaker systems can keep open spaces between crop rows drier while delivering water to the planted lines. (Epic Gardening) That can reduce both evaporation and the weed growth caused by watering bare ground.
Choose between drip lines, soaker hoses, and targeted hand watering
Use drip or emitter tubing for organized vegetable rows, containers connected to a supply line, and perennial beds where each plant can have a measured outlet. Leave room to move the line outward as roots grow. Flush the line occasionally and check that the far end is emitting; the first plant receiving water does not prove the last one is.
Use a soaker hose for a relatively continuous bed or row. Lay it on the soil or under a thin mulch layer, keep it reasonably level, and run it slowly enough that water infiltrates instead of pooling at low spots. If only one end is wet, pressure or clogging is the problem, not a need for a longer run.
Use a watering wand or hose with a gentle nozzle for containers, new transplants, isolated shrubs, and areas where a permanent system would be excessive. Direct the stream at the soil around the root ball, not at the leaves. Catch the water from a hose that takes time to run warm or cold and use it where appropriate rather than letting it flow down the drain.
4. Make the irrigation schedule respond to weather and runoff
Automatic timers save water only when they are allowed to respond to conditions. A controller set once in spring can overwater after a rainy week, under-water after a heat wave, or apply the same duration to a shady bed and a hot, windy slope. Colorado State University Extension recommends seasonal adjustment, rain shutoff, and scheduling based on the precipitation rate and needs of each zone. (Colorado State University Extension)
Divide the garden into practical zones: lawn separate from shrubs, vegetables separate from drought-adapted perennials, containers separate from in-ground beds, and shade separate from full sun when the plants and roots justify it. A shade zone can need substantially less water than a sunny one, but shade beneath a large tree is not automatically low demand because the tree roots may be drawing moisture.
Set a rain delay or rain sensor if your system supports it, then verify that the sensor actually pauses the zone. Weather-aware controls are helpful, but they are not a substitute for looking at the soil after unusual wind, heat, or rainfall. Pause irrigation when a storm has soaked the root zone; do not “make up” a full scheduled cycle immediately after rain because a calendar says it is watering day.
Use cycle-and-soak on slopes and compacted soil
If water begins running off before it can enter the soil, shorten each run and add a pause. For example, instead of one long sprinkler cycle, use two or three shorter cycles separated by enough time for the surface to absorb water. This is the cycle-and-soak method, and it is especially useful on slopes, clayey ground, compacted lawns, and beds with a crusted surface.
Watch the lowest edge during the first cycle. If water is already moving toward a drain or path, stop and let it soak; extending the run only increases the loss. Aeration or carefully improving the soil may solve a persistent infiltration problem, but do not aggressively till around established tree roots or bury organic mulch into the bed as a quick fix.
If one area stays dry while the rest is saturated, diagnose before adding minutes. A tilted or clogged sprinkler head, uneven pressure, compacted soil, thatch, root damage, or an obstruction may be responsible. Correcting the delivery problem can save more water than cutting every zone by the same percentage.
5. Group plants by water needs and choose adapted varieties
A mixed bed is often watered to the thirstiest plant. Put moisture-hungry vegetables such as lettuce, celery, or newly planted crops in a zone where they can be checked and watered more often, and keep established herbs, shrubs, and drought-adapted perennials in a separate zone. This arrangement is called hydrozoning: grouping plants with similar water needs so each group receives an appropriate amount.
Choose plants for the actual site, not just a “drought tolerant” tag. Sun, wind, reflected heat from paving, soil texture, winter wetness, and root competition all affect performance. The RHS recommends evaluating shade, soil type, and microclimate before choosing drought-resistant plants, and notes that appropriate plants can thrive with minimal or no additional summer watering once established. (Royal Horticultural Society)
Treat “native” and “drought-tolerant” as site-specific terms
Native plants are valuable for habitat and local adaptation, but native does not mean automatically carefree in every garden. A species from a dry prairie may struggle in irrigated clay, while a plant native to a wet area may still need regular water in a hot, exposed bed. “Drought tolerant” also describes a plant’s established capacity, not a promise that a newly planted root ball can go without water.
Water new trees, shrubs, perennials, and lawns consistently while they establish. Planting in a cooler, naturally moist season can reduce the amount of supplemental water needed during establishment, but it does not remove the need to check the root ball. RHS guidance specifically warns that even plants described as drought tolerant need regular watering in their first year, and large trees can need it longer. (Royal Horticultural Society)
The lowest-water plant is often the one that fits the light, soil, and space without constant rescue. Before buying, ask how large it becomes, whether it tolerates the winter moisture your site receives, and whether it will need frequent summer watering to look good. Replacing a struggling plant is a water-saving decision when the alternative is years of trying to force it into the wrong place.
6. Improve soil so each watering lasts longer
Water conservation begins before the hose turns on. Soil with useful pore space can accept water, hold some of it around roots, and release excess without sealing over. Compacted soil sheds water; very sandy soil may drain beyond shallow roots quickly; heavy clay can hold water but accept it slowly. You cannot change the basic mineral texture overnight, but you can improve structure over time with finished organic matter and by protecting the surface.
Add compost or well-rotted organic matter where it suits the crop and local recommendations, especially when preparing a new bed. Work it into the planting area according to the needs of the soil and plant rather than dumping a thick layer against existing stems. Organic matter can improve infiltration and moisture storage, but more is not automatically better; over-amending a small planting hole can create a different texture from the surrounding soil and encourage roots to stay in that pocket.
Fix runoff before adding more water
Runoff is often a design problem disguised as thirst. On a slope, redirect a downspout into a planted area that can safely accept water, terrace or contour a bed where appropriate, and use small basins around trees and shrubs to slow water without trapping it against a trunk. Keep water away from foundations, paths that become slippery, and places where standing water could damage roots.
For sprinklers, adjust the arc so nozzles do not spray sidewalks, streets, walls, or bare pavement. For beds, use a gentle flow and cycle-and-soak rather than a high-pressure blast that creates a channel.
Do not confuse water retention with poor drainage. Plants still need oxygen around their roots, and a permanently wet bed can cause more damage than a brief dry surface. If water remains pooled long after irrigation, solve the drainage or grading issue and select plants that fit the conditions instead of compensating with an even more complicated schedule.
7. Capture rainwater and reuse household water with care
Rain that falls on a roof can become useful irrigation instead of running quickly into a drain. A covered, screened rain barrel connected to a sound downspout is the simple version; multiple barrels, a larger cistern, or a rain garden can handle more water when space and local rules allow. RHS advice recommends filters for leaves and debris, a firm level stand, and a close-fitting lid to discourage algae and keep unwanted material out. (Royal Horticultural Society)
Roof runoff is not automatically clean. The U.S. Environmental Protection Agency’s rain-barrel guidance warns that roof water can pick up bacteria from birds and animals and chemicals from roof materials, which matters when deciding whether to use it on edible plantings. (U.S. Environmental Protection Agency) Check local guidance, keep gutters and screens clean, and apply questionable stored water to ornamental plants or the soil around established plants rather than spraying edible leaves.
Keep stored and greywater out of the wrong place
Greywater is household water from sources such as showers, baths, some laundry rinse cycles, and sinks. It is not the same as water containing toilet waste, and it is not a free-for-all for the garden. RHS guidance recommends avoiding bleach, disinfectants, dishwasher salt, and harsh cleaners; using greywater promptly rather than storing it; applying it with a watering can; alternating with rain or mains water to reduce salt buildup; and favoring ornamental plants over edible crops. (Royal Horticultural Society)
For a household shortcut, use only clearly suitable rinse water and follow your local plumbing, wastewater, and drought rules. Never use water containing strong cleaners, disinfectants, bleach, or concentrated degreasers. Do not store a bucket for days, do not spray greywater onto edible leaves, and do not connect improvised greywater to a permanent irrigation system where grease and fibers can clog it.
Rainwater and greywater also have different risk profiles. Rainwater from a clean, covered system is usually the better first choice for garden use; greywater is a contingency tool that should be used thoughtfully and intermittently. When in doubt, use the water on an established ornamental bed, keep it off foliage, and choose fresh water for seedlings, salad greens, and plants you plan to eat raw.
Do a 20-minute summer water audit
You do not need a whole-yard redesign to find the largest waste. Choose the bed or zone that dries fastest and spend 20 minutes tracing the water from source to soil.
Minutes 1–5: map the demand. Write down what is growing there, whether it is new or established, how much sun and wind it receives, and whether the soil is sandy, clayey, compacted, or covered with mulch. Mark containers, seedlings, trees, and thirsty crops that should not share a schedule with drought-adapted plants.
Minutes 6–10: observe a live cycle. Watch for overspray, misting, pooling, broken emitters, dry edges, water running downhill, or a hose connection that leaks. Look at the lowest part of the bed first; runoff there is a clear sign that the application rate is faster than infiltration.
Minutes 11–15: measure the delivery. Put straight-sided cans or cups across a sprinkler zone, or place a small container under several drip emitters for the same interval. Check whether the zone applies water evenly enough to justify a shared schedule.
Minutes 16–20: make one change and schedule a recheck. Add or correct mulch, move a line to the root zone, adjust a sprinkler arc, split a zone, shorten a cycle, or pause an automatic timer after rain. Check the soil below the surface later that day and again before the next planned watering. If it is still dry at root depth, increase the duration or improve coverage; if it is saturated, reduce the amount or improve drainage.
This audit prevents the most common wasteful response: watering everything longer because one plant or one dry patch looks stressed. Find out whether that patch received less water, lost water through runoff, has compacted soil, or is simply a plant that belongs in a different zone.
Common water-saving mistakes that backfire
Watering a little every day: Shallow sprinkles can keep the surface damp while leaving deeper roots dry, especially in a warm bed. Check the root zone and use a deeper application when the plant and soil can accept it; keep frequent moisture for seedlings and newly planted crops that genuinely need it.
Putting mulch against stems: A thick, wet collar can create rot and hide pests or damage. Leave a clear ring around crowns and trunks, and keep the layer even instead of building a volcano.
Assuming a timer is an irrigation plan: A controller repeats instructions; it does not understand a clogged emitter, a broken sprinkler, a new shade pattern, or yesterday’s storm. Inspect the system, use rain delay, and revise zones as the garden changes.
Planting drought-tolerant varieties and stopping water immediately: Establishment is the expensive phase for water. Water the root ball thoroughly and regularly enough for it to develop, then lengthen intervals gradually as new growth and soil checks show that the plant is established.
Treating rain barrels as drinking-water storage: Roof runoff can contain debris, microbes, and material picked up from the roof. Keep containers covered and screened, use local rules as the final authority, and reserve uncertain water for cautious soil application around established ornamentals.
Using any leftover household water: Soap, salt, bleach, disinfectants, and degreasers can harm plants or build up in soil. If the ingredients are unclear, do not put the water in the garden. If greywater is permitted and suitable, use it promptly, apply it to soil, and rotate with cleaner water.
Fixing a dry spot by overwatering the whole zone: A dry spot is evidence to investigate, not a command to add minutes. Use cans, inspect the head or emitter, check compaction and roots, and correct the local cause.
Conclusion
The highest-return summer sequence is simple: cover the soil, water the root zone, measure what arrives, and match the schedule to the plants and weather. Then separate thirsty crops from low-water plantings, improve infiltration, and capture rain or reuse household water only within safe limits.
If you can do only one job today, audit the zone that runs most often. A repaired leak, corrected sprinkler arc, or two-inch layer of suitable mulch can save more water than a vague promise to “water less.” Keep checking below the surface, because a healthy plant is the result you want—and lower water use is the result the system should deliver.