How to Cut an Aloe Plant: Pruning and Gel Harvesting
Learn how to cut an aloe plant safely, from choosing the right outer leaf to cleaning tools, draining aloin, harvesting gel, and helping the plant recover.
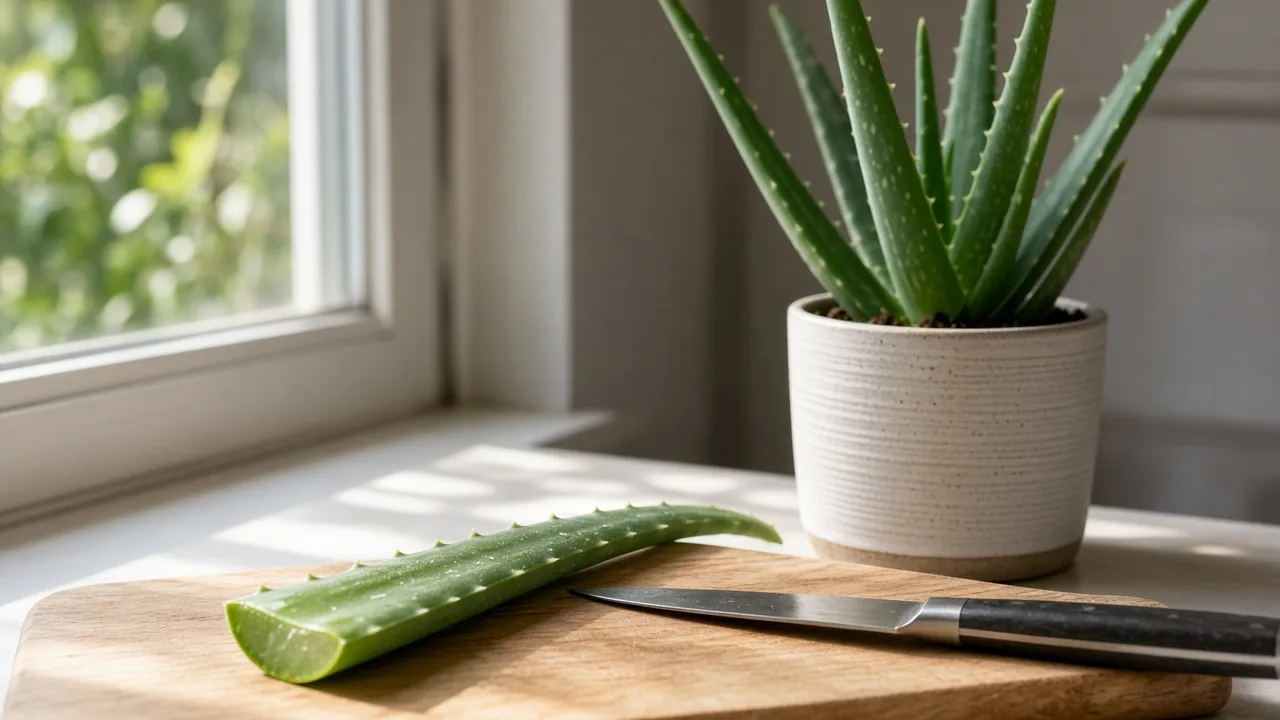
Cutting an aloe plant is simple once you match the cut to the reason you are making it. Removing a collapsing leaf is plant sanitation. Taking a firm outer leaf for gel is a harvest. Separating an offset is propagation. Those jobs all use a sharp, clean blade, but they do not use the same selection rules or aftercare.
The safest general rule is to cut one mature outer leaf at its base, leave the central rosette untouched, and keep the cut surface dry while it seals. Aloe vera (Aloe barbadensis) is a water-storing succulent with fleshy leaves arranged in a rosette. NC State Extension describes it as a plant for very well-drained soil that should dry between waterings, so a fresh cut and constantly wet soil are a poor combination. (NC State Extension)
Decide why you are cutting before you reach for a knife
Look at the plant and name the job first. If a leaf is fully dry, physically broken, or soft from rot, remove it for the plant’s health. If the goal is gel, harvest a firm, plump, mature leaf. If the plant has produced a baby offset, you are separating a new plant rather than trimming a leaf. Making that distinction prevents the common mistake of removing a healthy leaf when the real problem is a wet root zone.
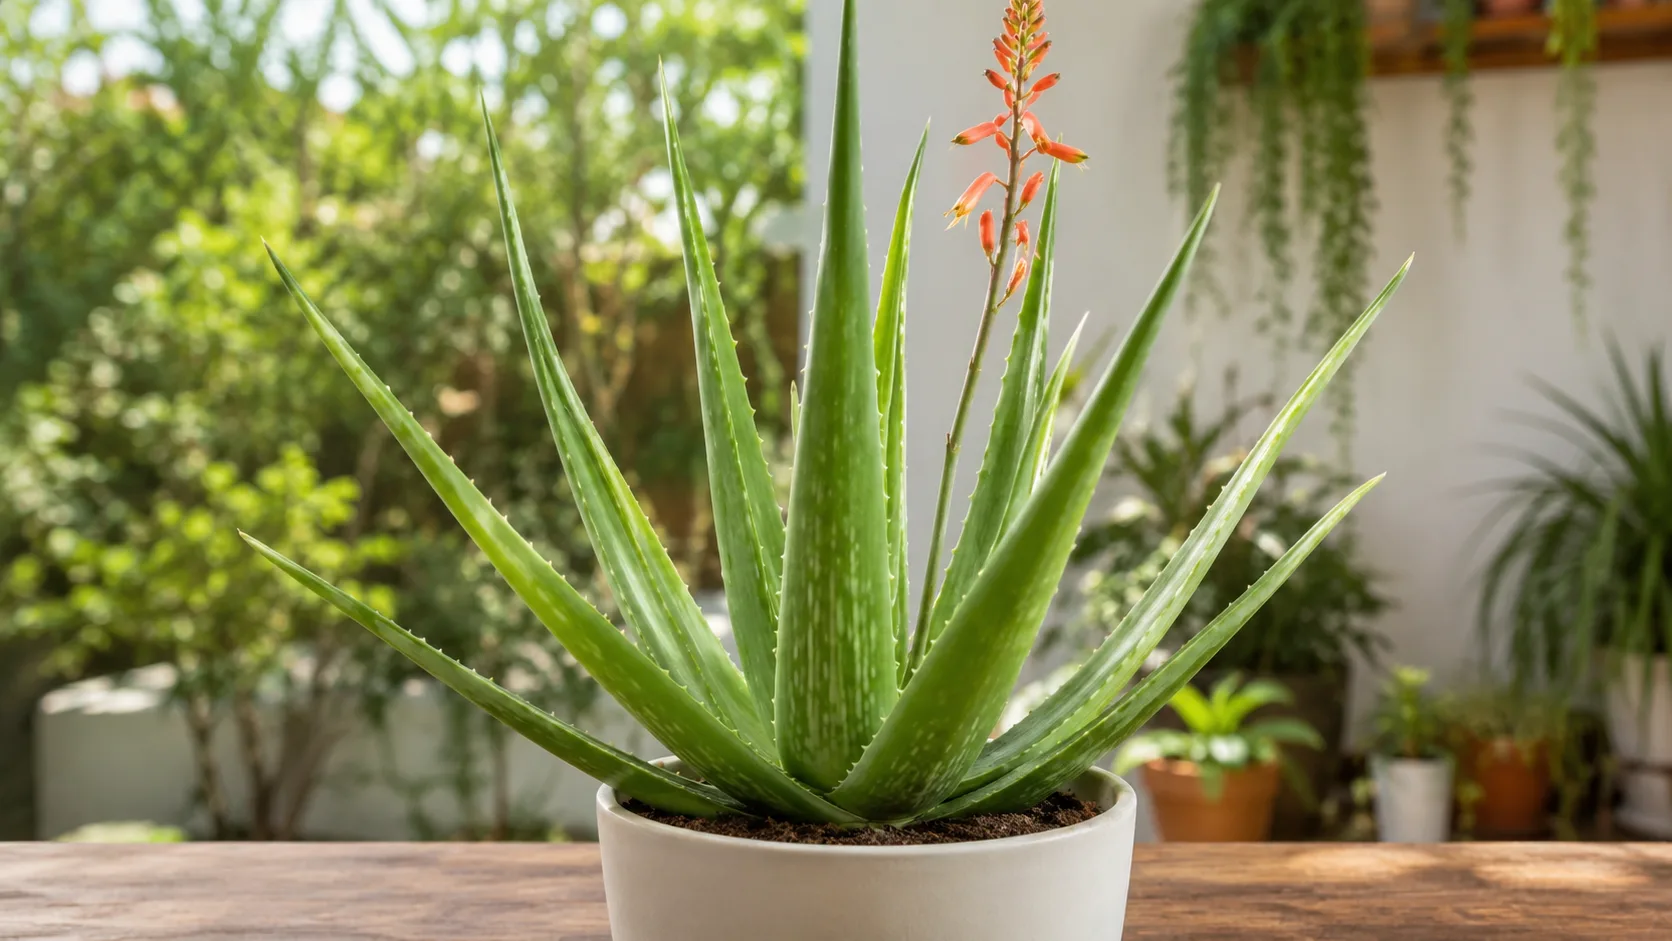
Do not cut simply because the rosette is large. Aloe grows slowly compared with many leafy houseplants and does not need routine shaping. Pruning is usually corrective: remove tissue that is dead, damaged, diseased, or obstructing the plant. Harvesting is optional and should be limited to an established plant with several healthy leaves left after the cut.
Know what is inside an aloe leaf
An aloe leaf is not a uniform tube of “gel.” The clear inner gel is surrounded by green skin and a thin layer of yellow latex, also called aloin. That latex is bitter, can irritate skin, and is not the part to casually ingest. NC State Extension notes aloe’s low-toxicity status and recommends cutting away the outer leaf to use only the gel; it also advises testing a small area of skin first. (NC State Extension)
The distinction matters at the cutting board. A newly cut leaf may drip yellow liquid before you reach the clear center. Let gravity remove that latex, discard it, and rinse the cut end before filleting the leaf. Do not squeeze the leaf to force liquid out: pressure mixes the bitter outer sap with the material you want to keep.
Choose the right time to cut
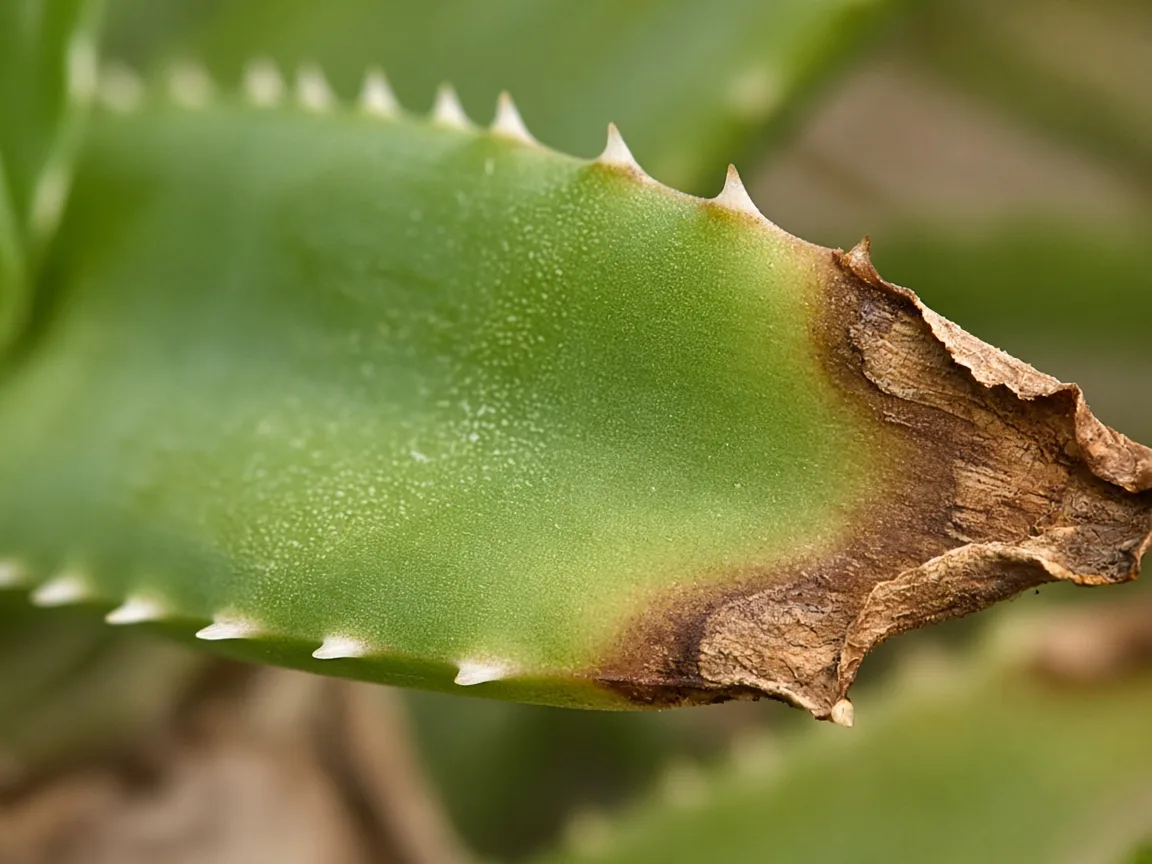
For ordinary pruning, cut as soon as a leaf is completely dead or dangerously soft. Removing a failing leaf reduces contact with neighboring tissue and makes it easier to inspect the crown. If only the tip is dry from age or sun stress, you can trim the dry section for appearance, but the leaf will not become biologically whole again.
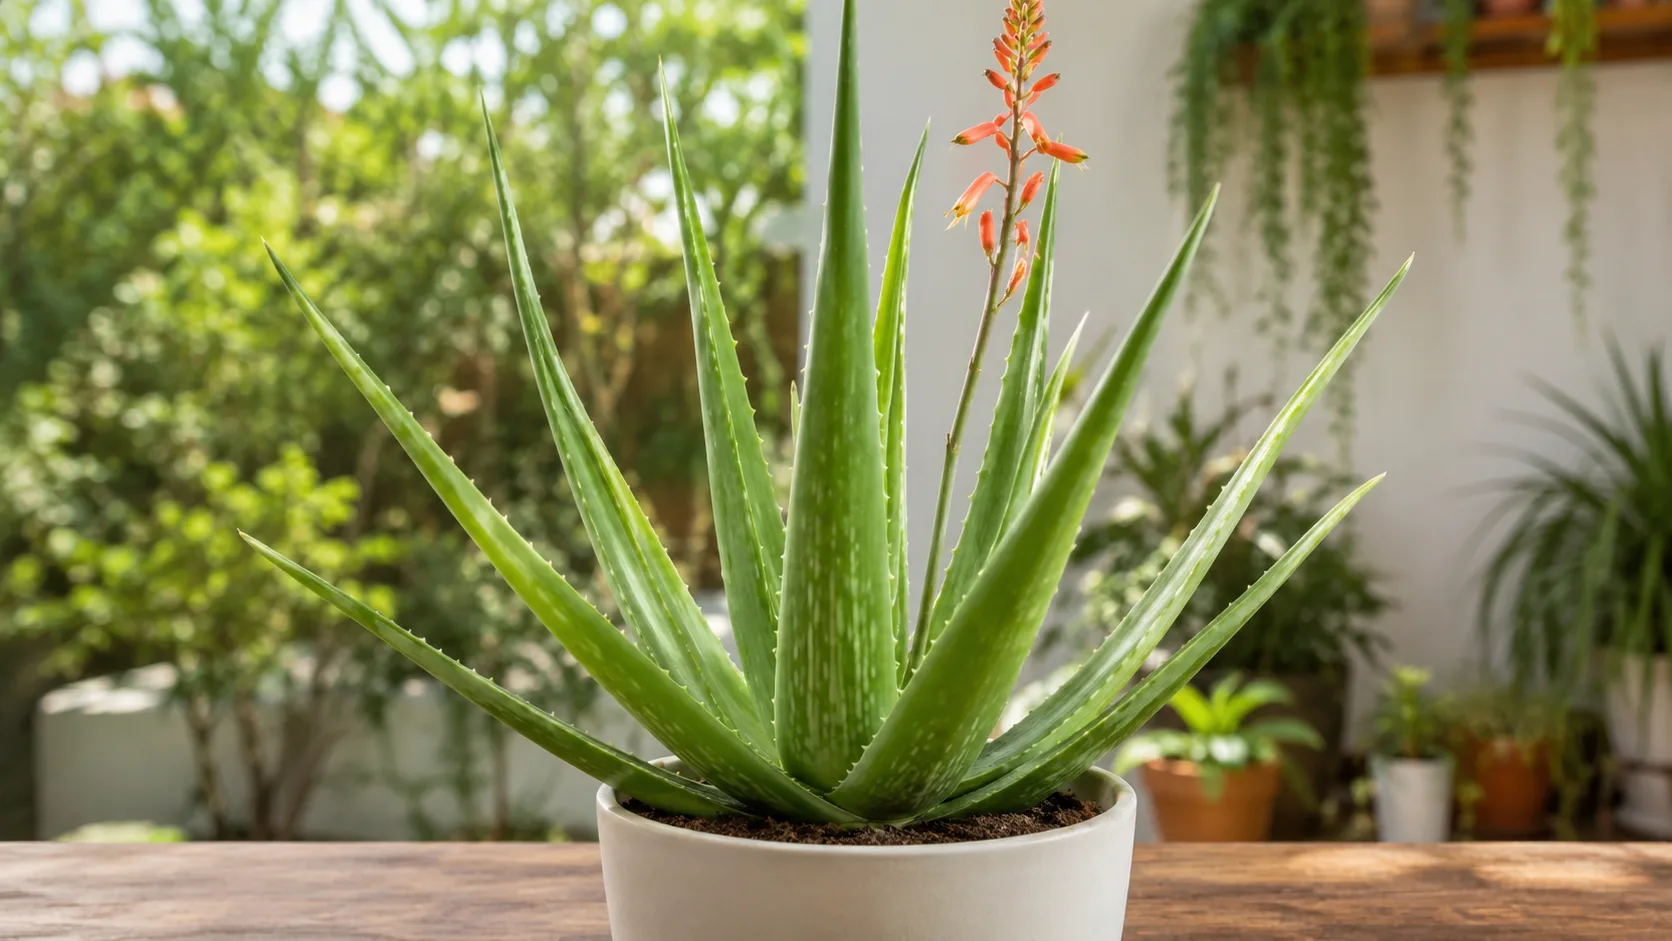
For gel harvest, wait until the plant is growing steadily and the leaves are firm. A small aloe with only a few leaves needs those leaves for photosynthesis and stored water. Postpone harvesting after a recent repot, a move into intense sun, a pest outbreak, or any period of shriveling, mushiness, or root trouble. The calendar is less useful than the plant’s reserves.
Indoor aloe can be cut at any time for an urgent sanitation job. For a planned harvest, a bright, active growing period gives the plant the best chance to replace the removed leaf. Strong light does not make a cut heal by magic, but it supports the growth that follows. UF/IFAS recommends well-drained soil, bright light, and allowing the soil to dry between waterings. (UF/IFAS Gardening Solutions)
Gather tools that make a clean cut
You need fewer supplies than many pruning kits suggest:
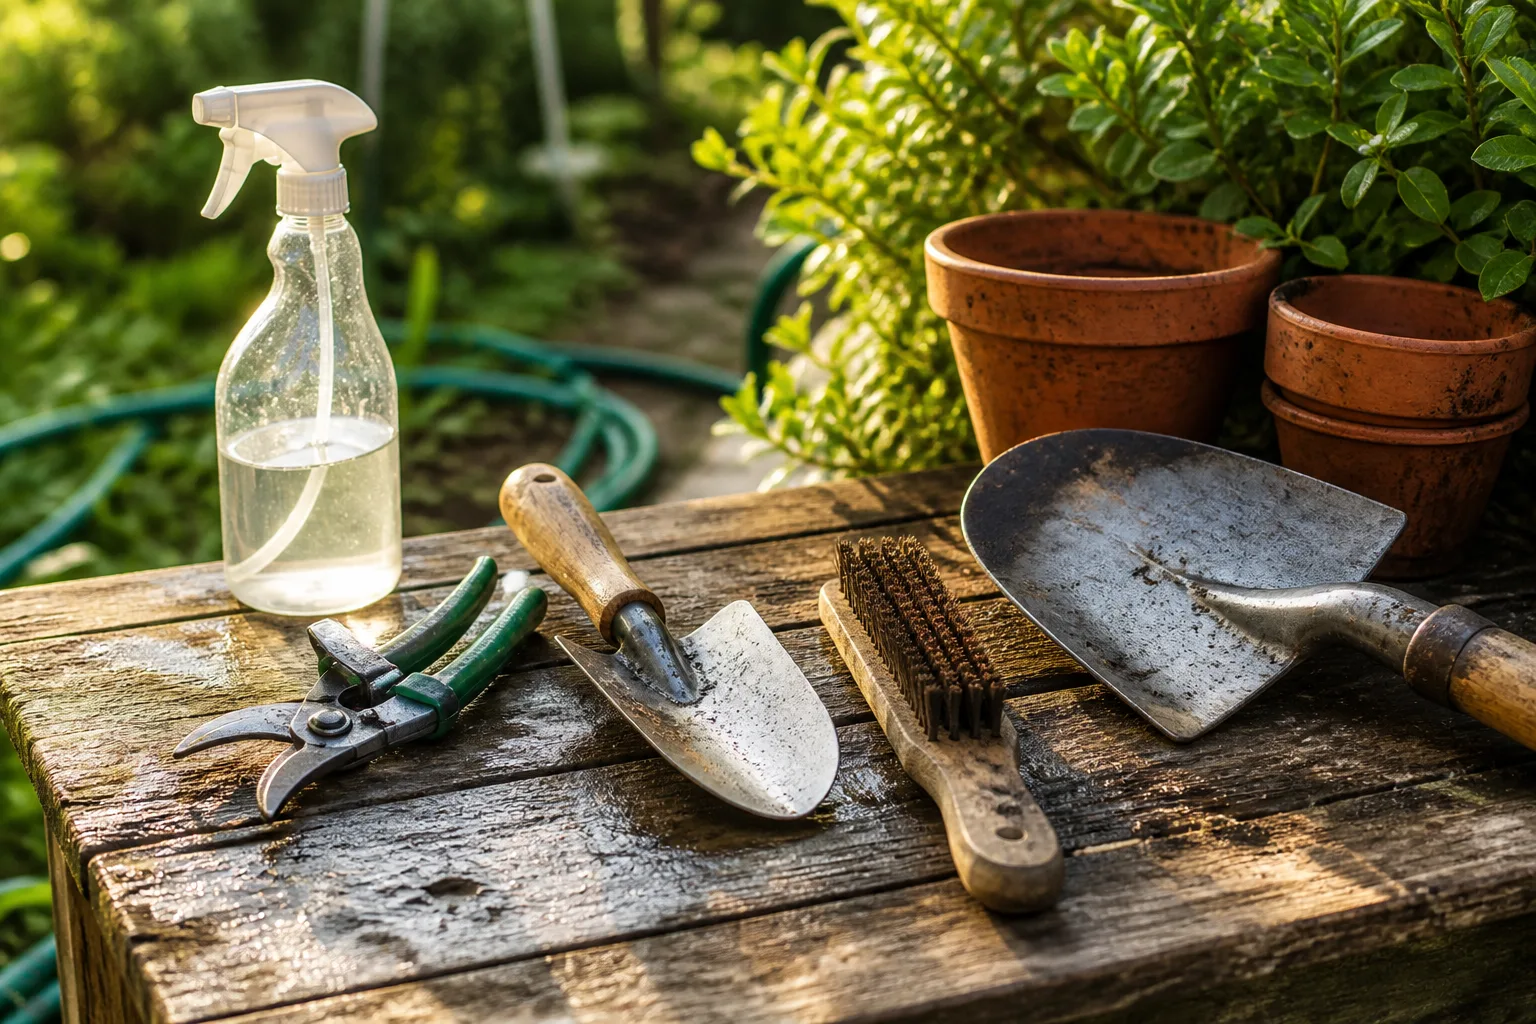
- A sharp knife for a broad, mature leaf or clean pruning shears for a smaller one.
- Gardening gloves if the leaf margins are sharp or your skin is sensitive.
- Rubbing alcohol and a clean cloth for wiping the blade.
- A cutting board, bowl, or cup if you are harvesting gel.
- A clean spoon and airtight container for the gel.
Disinfect the blade before the cut and again between plants. A dull blade crushes the leaf base instead of slicing it, leaving a ragged wound that dries slowly. Never use a tool with visible soil, sap, or plant debris on it. The few seconds spent cleaning are especially worthwhile when you are cutting near the crown, where a contaminated blade can move problems into living tissue.
Choose the leaf that can be spared
Aloe’s newest growth is in the center. The oldest leaves sit around the outside of the rosette. For gel, choose a lower outer leaf that is thick, firm, and free of rot. It is more mature than the tight central leaves and usually contains more usable gel. Leave the center and the leaves immediately around it alone.
For plant health, choose the leaf that is actually failing, even if it is not the outermost one. A soft leaf at the base deserves attention before a mildly blemished outer leaf. If several leaves are affected, do not strip the whole rosette in one session. Remove the worst tissue, investigate water and drainage, and allow the plant to stabilize before another cut.
Do not remove more than the plant can support. A conservative rule is one leaf from a small established plant, or one or two leaves from a large, vigorous rosette. Leave enough green tissue to keep photosynthesis going. A cut leaf does not grow back from its cut end; the plant replaces leaves through new growth at the center.
Make the cut at the base
Move neighboring leaves aside gently and identify where the chosen leaf joins the short central stem. Cut straight through the leaf as close to that base as you can without slicing the crown or another leaf. A single decisive cut is safer than sawing back and forth.
If the leaf is wide, support it with your free hand below the cut, keeping fingers behind the blade path. For a small leaf, pruning shears may give you better control. Do not cut halfway through a leaf and leave a torn flap attached unless you have a specific reason to take only a portion; a complete leaf removal leaves less damaged tissue at the plant.
Afterward, do not paint the wound with glue, cinnamon, oil, or household disinfectant. Aloe normally dries and forms a protective callus on its own. The practical aftercare is air, a dry crown, and correct watering—not a coating that traps moisture against the cut.
Handle a leaf cut for gel
Lay the freshly cut leaf on a clean surface and keep it separate from food until the yellow drainage has been dealt with. Gel harvested for skin use should come from a healthy, correctly identified aloe vera plant. Do not treat a decorative “aloe” of unknown species as interchangeable with aloe vera; the genus contains many different plants with different properties.
Drain latex before collecting gel
Stand the leaf upright with the cut end over a cup for about 10 to 15 minutes. Yellow or reddish sap may drain out. That is latex, not the clear gel. Discard the liquid, rinse the cut end under cool water, and wash the work surface.
UF/IFAS and NC State Extension both distinguish the useful inner gel from the outer leaf material, while the ASPCA lists aloe as toxic to cats, dogs, and horses when eaten. Keep the whole unprocessed leaf, latex, trimmings, and gel away from pets. (ASPCA)
Fillet the leaf without the spines
Use a clean knife to remove the narrow serrated edges. Then place the leaf flat and slide the blade just under the green skin, working from the thicker base toward the tip. Scoop or lift out only the translucent inner gel. If a yellow tint remains, rinse again and trim away more of the skin-side material.
Use fresh gel promptly rather than preparing a large batch on the assumption that it will keep like a commercial product. Fresh plant gel has no preservative system. A small spoonful collected for immediate use creates less waste and less temptation to store questionable leftovers.
Prune brown, yellow, or mushy leaves differently
Color alone does not diagnose the cause. A firm, dry brown tip may be age, sun stress, or a period of drought. A yellow leaf that is still firm may be older tissue or a response to conditions. A leaf that is translucent, collapsing, or mushy at its base is more concerning for excess moisture and rot.
If the tissue is fully dry and papery, cut it away or remove the whole leaf at the base. If it is soft and wet, do not water the plant to “help it recover.” Check the pot’s drainage hole, empty any cachepot, and inspect the crown and roots if several leaves are collapsing. Clean the blade between cuts and keep healthy plants away from any discarded diseased material.
What happens after cutting
The removed leaf stops growing. The cut on the parent plant should dry and callus, while new leaves eventually emerge from the center. That does not mean the plant will replace a leaf on a predictable schedule. Light, temperature, root health, season, and the amount removed all change the pace.
Watch the cut area over the next several days. A dry, firm surface is the expected direction. A spreading wet spot, bad smell, or darkening that moves into the crown suggests a broader rot problem rather than normal healing. Do not confuse the yellow sap from a harvested leaf with a problem on the parent plant; inspect the two separately.
Help the parent plant recover
Keep the aloe in bright light appropriate to its previous conditions. If it has been living in shade, do not place it suddenly in harsh midday sun immediately after cutting; increase exposure gradually. Maintain the plant’s usual dry-down pattern and do not add extra water because a leaf was removed.
The pot should have a drainage hole, and the growing mix should drain freely. NC State Extension recommends well-drained soil and notes that aloe can be grown in succulent-type conditions; it also warns that overwatering can lead to root rot. (NC State Extension)
Delay fertilizer, repotting, or propagation on the same day unless one of those jobs is necessary to address a serious problem. Stacking several stressful operations makes it harder to tell which change caused a decline. Give the plant stable light, dry intervals, and time.
Avoid these cutting mistakes
The most damaging errors are usually small decisions made at the wrong moment:
- Cutting the center leaves because they look convenient. That removes active growth.
- Taking several healthy leaves from a young plant for a tiny amount of gel.
- Using a dull or dirty knife that tears the base.
- Leaving runoff in an outer cachepot after the cut.
- Squeezing the leaf so latex contaminates the gel.
- Applying a wet “healing” paste to the parent plant’s wound.
- Putting trimmings in reach of a curious cat or dog.
- Planting a fresh aloe leaf in soil and expecting it to root like a stem cutting.
The cure for most of these mistakes is restraint: make the smallest clean cut that solves the identified problem, then observe before doing more.
Store fresh aloe gel safely
If you are using gel on skin, start with a small patch and stop if irritation develops. This is general plant-handling information, not a recommendation to use aloe for burns, wounds, ingestion, or a medical condition. The clear gel is not a substitute for professional care, and “natural” does not mean every preparation is safe for every person.
For plant-care purposes, keep harvested gel in a clean airtight container in the refrigerator and use it quickly. Freeze excess in small portions if you need longer storage, but discard gel that develops a sour smell, visible mold, a film, or unexpected discoloration. Never store the yellow latex with the clear gel.
Can you plant an aloe leaf cutting?
Usually, a single aloe leaf is not the dependable way to make a new plant. Aloe vera is more reliably propagated by separating rooted offsets, or pups, from the parent plant. A leaf cut may remain green for a while and give the impression that it is rooting, but that is not the same as forming a viable new rosette.
If your plant has pups, wait until an offset has its own roots or a strong connection that can be separated cleanly. Treat pup division as a separate propagation job: use a clean blade, protect the parent crown, and allow fresh wounds to dry before returning plants to a normal watering routine.
When cutting signals a larger problem
Repeatedly cutting leaves is not a care plan. If new leaves become soft, the base smells sour, the pot stays wet for many days, or the plant leans while losing roots, diagnose drainage and light instead of trimming symptoms endlessly. A leaf that is brown only on the sunny side points you toward acclimation and exposure; a mushy lower rosette points you toward moisture and rot.
The same plant can show both problems. For example, an aloe moved from a dim shop to intense outdoor sun may scorch on top while its oversized pot remains wet below. Pruning the brown tips may tidy the appearance, but only gradual light acclimation and a recoverable watering setup address the causes.
Keep pets away from aloe trimmings
Aloe is not a pet-safe houseplant. ASPCA identifies saponins and anthraquinones as toxic principles and lists vomiting, lethargy, and diarrhea among possible signs in animals; its plant entry covers cats, dogs, and horses. Keep the plant, discarded leaves, latex, and gel out of reach, and contact a veterinarian or animal poison-control service promptly if a pet chews it. (ASPCA)
This is also why scraps should not go into an accessible compost bucket if pets can investigate it. Seal them in a waste container or place them in a secured compost system. Wash the knife, board, hands, and any surface that contacted the sap before using them for food preparation.
Conclusion
To cut an aloe plant safely, choose the job first, select the least disruptive leaf, and make one clean cut at the base with a disinfected blade. Harvest only from a firm outer leaf on an established plant; drain and discard the yellow latex before collecting clear gel. For damaged leaves, remove failing tissue while investigating water, light, drainage, and pests rather than treating pruning as a cure.
Leave the center of the rosette intact, keep the crown dry, and give the plant stable bright light and well-drained soil while it recovers. That approach keeps a useful harvest from becoming an avoidable setback—and gives the aloe the time it needs to grow its next leaf from the middle.