How to Store Root Vegetables So They Stay Fresh Longer
Store carrots, beets, potatoes, onions, and sweet potatoes longer with crop-specific temperature, humidity, curing, and storage advice.
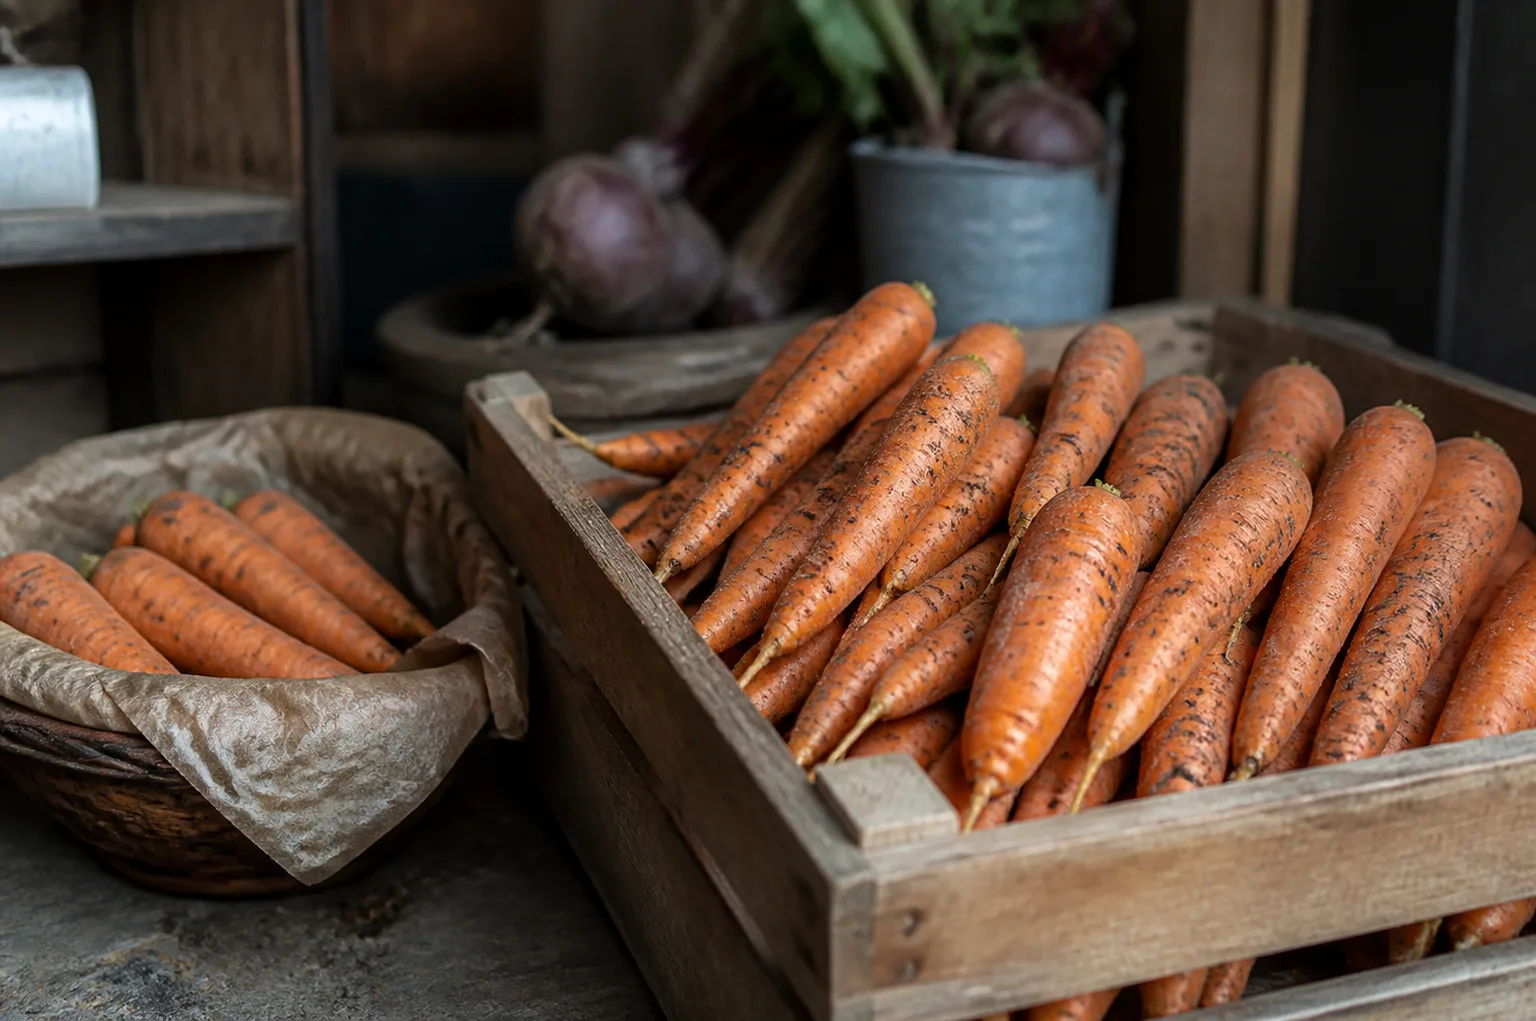
Root vegetables keep longest when you match each crop to the right temperature, moisture, and airflow. Most carrots, beets, turnips, rutabagas, and parsnips prefer cold, humid storage. Mature potatoes need darkness and cool air, sweet potatoes need warmer conditions, and dry onions need a cool, dry, well-ventilated place. Sorting first prevents one “root cellar” setting from shortening the life of another crop.
For a small harvest, a refrigerator crisper and a few breathable bags may be enough. A larger harvest can go into a cellar, basement, or insulated outbuilding if you can keep the space cool, humid where needed, dark, and ventilated. The most useful rule is to check what your storage space actually does through the season, then adjust the crop placement around those readings. A cool corner that stays damp is not automatically a good place for every vegetable.
Start by Sorting Crops Into Three Storage Groups
Before you put anything away, sort vegetables by their storage needs rather than by the part of the garden where they grew. For household use, three broad groups cover most root crops: cold, humid roots; mature potatoes; and crops that prefer warmer or drier conditions. The groups can share a building, but they should not necessarily share the same bin or microclimate.
Cold, Very Moist Roots
Carrots, beets, parsnips, turnips, rutabagas, and many radishes stay firm in cold, humid conditions. For a root cellar, a practical target for many of these crops is close to 32°F with about 90–95% relative humidity. Some crop-specific commercial guides recommend even higher humidity when roots are washed, bagged, and held under carefully controlled conditions. At home, think “cold and damp enough to limit drying, but not wet or stagnant.” The University of Alaska Fairbanks Cooperative Extension storage chart gives crop-by-crop cellar targets for several common vegetables.
This is why root-cellar advice often recommends moist packing material or a high-humidity bin. These roots lose water and become limp when air is too dry. Yet droplets, soaked packing, and poor ventilation encourage decay. You want the vegetables and their packing medium to feel cool and slightly moist, not slick or dripping.
Potatoes Need Cool, Dark Air
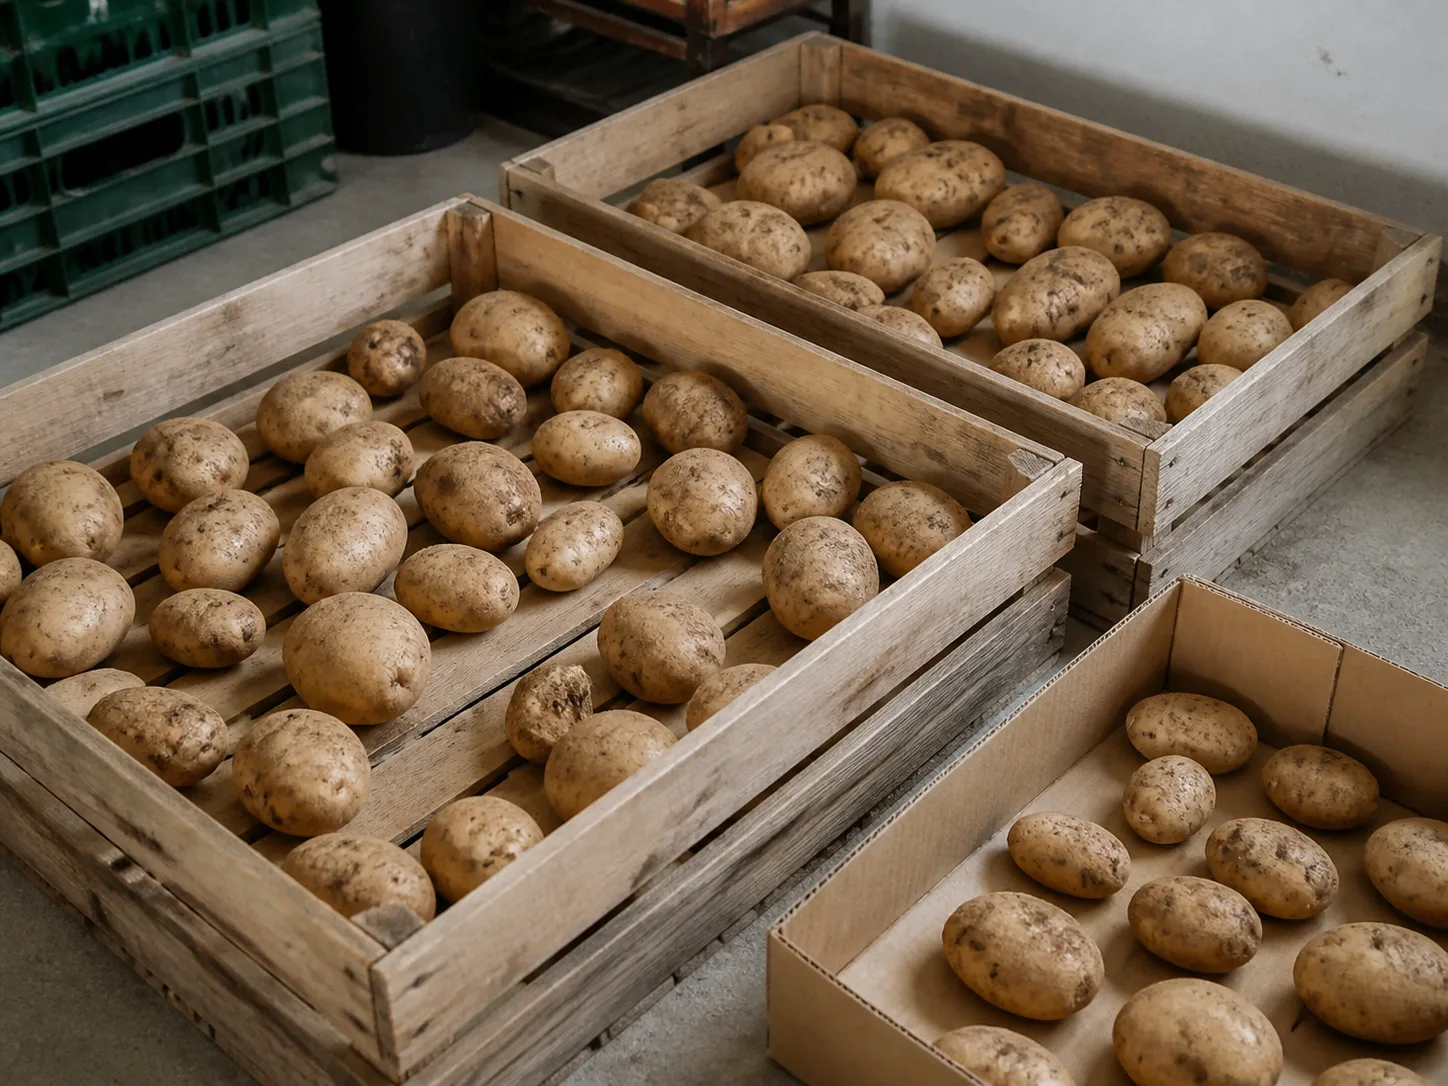
Mature potatoes also need cool storage, but do not treat them exactly like carrots. They keep best in darkness with good ventilation and a moderate level of humidity. Penn State Extension’s potato storage guidance advises curing harvested potatoes for two to three weeks before long-term storage, then keeping them cool; it also warns against very cold temperatures that can lead to sweetening and against light that causes green patches. A common household target is roughly 38–45°F, though exact advice depends on whether potatoes are for eating, seed, or processing.
Use a dark crate, paper sack, or ventilated box. Do not seal potatoes in plastic or pack them tightly in a wet medium. They need air around them, and the storage area should stay dark: green skin is a sign of light exposure, not a cosmetic issue to ignore. If potatoes turn green, trim away green portions generously; discard heavily green or bitter potatoes rather than relying on cooking to make them safe.
Sweet Potatoes and Onions Need Their Own Conditions
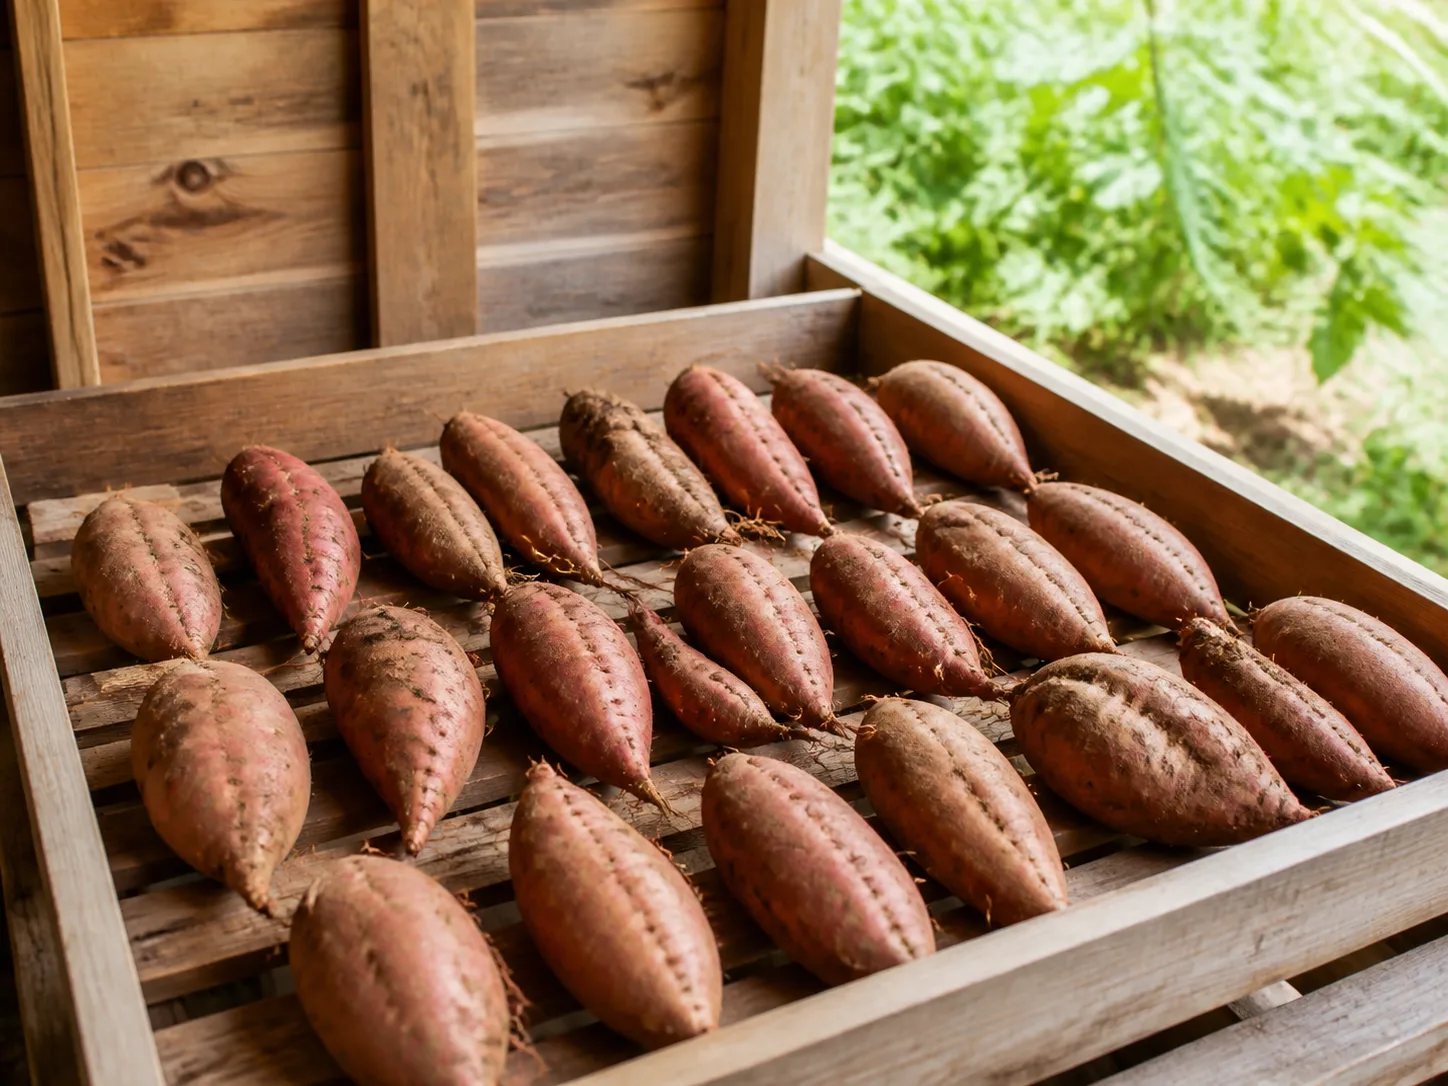
Sweet potatoes are a warm-climate crop and are vulnerable to chilling injury. They should be cured after harvest and then stored considerably warmer than ordinary potatoes—around 55–60°F is a useful home target. A cold cellar or refrigerator can damage them, while a hot, dry room can encourage sprouting and shriveling. Penn State Extension’s sweet-potato curing guidance recommends curing sweet potatoes at about 80–85°F with high humidity for several days, then moving them to warmer long-term storage.
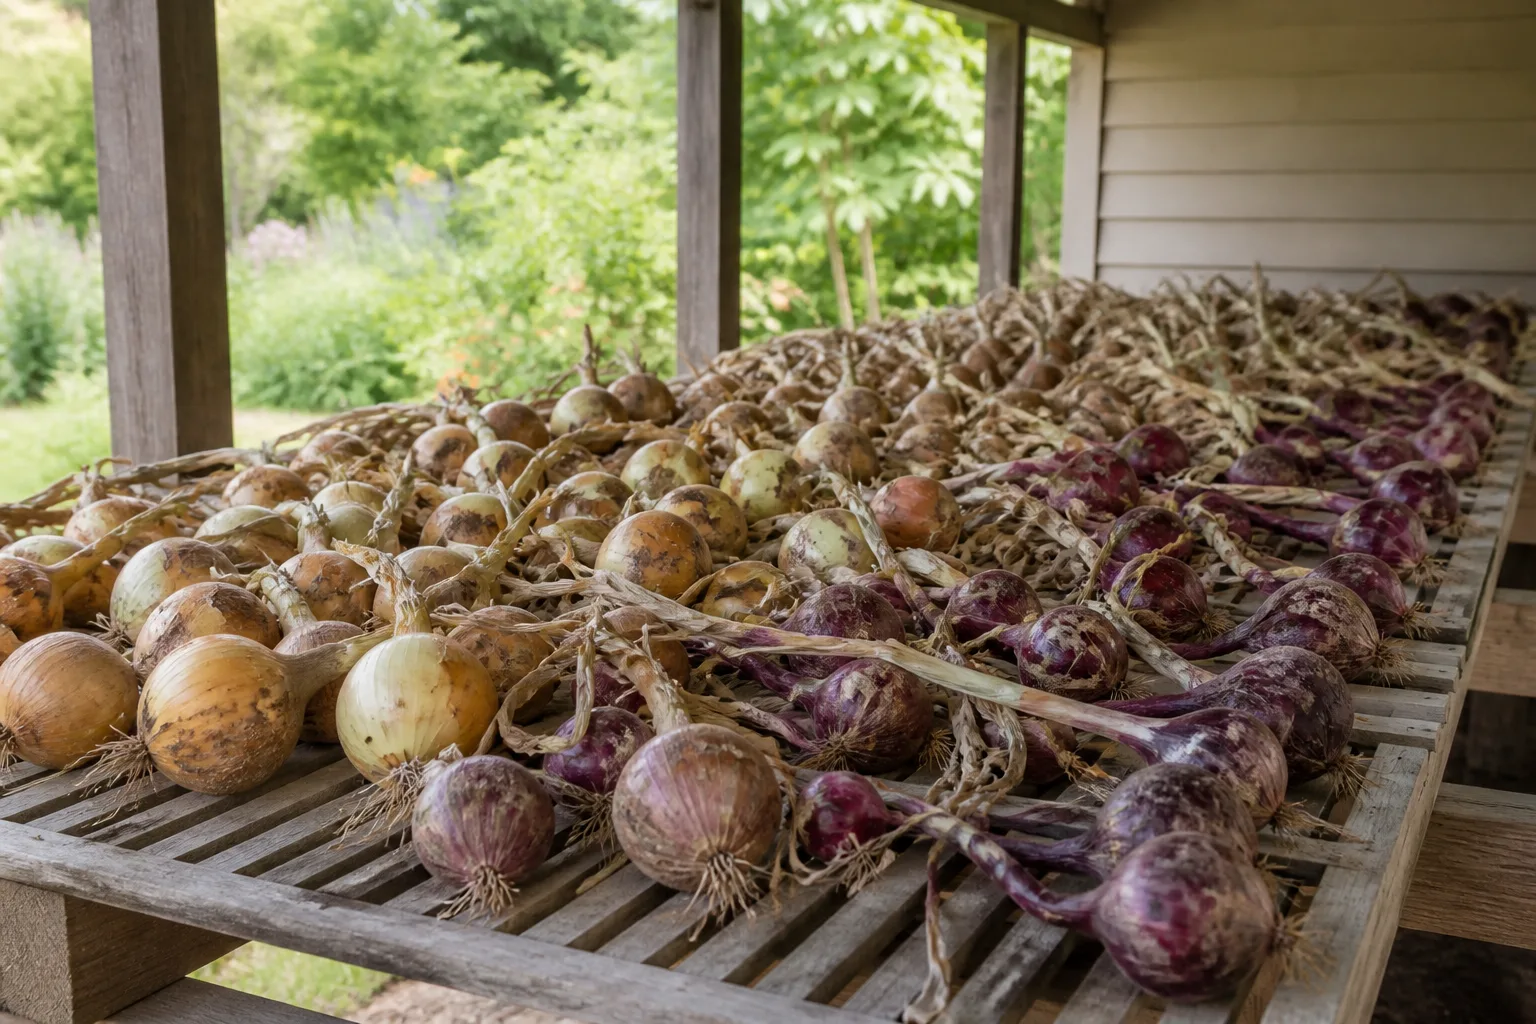
Dry onions belong in another group. Unlike carrots, they need a dry, airy environment after their necks and outer skins have cured. High humidity that helps carrots stay crisp can make onions more prone to decay. Store cured onions in mesh bags, slatted crates, or another open container in a cool, dry spot. Keep them away from damp root bins and from potatoes when possible: the two crops want different humidity, and the humid conditions that help potatoes can shorten onion storage life.
Prepare the Harvest: Trim, Dry, and Sort
Good storage starts outdoors. Harvest mature, sound vegetables in dry weather if you can, and handle them gently. Bruises, cuts, fork wounds, and broken skins give decay an easy entry point. Lift roots with a fork placed far enough away to avoid spearing them, loosen the soil, and lift by hand. Do not drop produce into a bucket or toss it into a pile.
Separate vegetables into three piles: sound roots for long storage, slightly damaged roots to eat soon, and roots that are soft, badly bruised, moldy, or cut deeply to discard. A small nick may be harmless for immediate cooking, but it makes a poor candidate for months in a cellar. Even one rotting root can soften nearby produce, so the time spent sorting pays off later.
Remove leafy tops from carrots, beets, turnips, and similar roots, leaving a short stub rather than cutting into the shoulder. Leaves keep drawing moisture from the root and can cause shriveling. Trim close enough to remove the foliage, but do not gouge the crown. Brush away loose clods once the soil is dry enough to fall away; avoid scrubbing or cutting the skin.
When to Leave Soil on—and When to Wash
There is no single “never wash” rule that fits every storage system. For a home cellar or crate, it is usually safer to store roots dry on the surface: let damp soil dry, brush off loose dirt, and avoid putting wet vegetables into a closed bin. This reduces free moisture and lets you spot damaged skin. Some traditional methods also store unwashed, cured roots in a cool, humid space.
Controlled packing systems can work differently. Utah State University Extension’s root-crop chart describes washed roots placed in bags and stored at narrowly controlled temperatures and very high humidity. That is a specific postharvest method, not proof that wet produce can be put into any cellar or refrigerator. If you wash a small batch for immediate refrigerator storage, dry the roots well first and use a breathable or perforated bag. For long-term bulk storage, follow one method consistently and keep surface water out of the container.
Curing Is Crop-Specific
Curing is a short, warm, ventilated holding period that lets certain crops heal small wounds or dry protective outer layers. It is essential for potatoes and sweet potatoes intended for longer storage, and it is useful for onions and garlic. It is not a generic step for every root. Carrots and beets are normally moved into cold, humid storage rather than left warm to cure.
For potatoes, cure mature, unwashed tubers in a dark or shaded place with gentle ventilation for about two to three weeks. Penn State Extension gives a curing range around 50–60°F with high humidity. Brush off loose soil after curing; do not wash before storing. For sweet potatoes, the curing temperature is much warmer—roughly 80–85°F with high humidity for four to seven days—followed by storage near 55–60°F. Keep them dark and avoid rough handling because the skin is easily damaged.
Onions need a dry cure until the neck is tight and the outer skins are papery. Spread them in a single layer on a rack or mesh where air can move around them. Trim and store only after the neck and outer layers have dried. The exact time varies with size, weather, and airflow; judge by the dry neck and papery skin rather than an arbitrary number of days.
Choose the Storage Space You Can Maintain
The best storage spot is one whose temperature and humidity you can monitor. Put a basic thermometer in the area and, if possible, use a hygrometer to track relative humidity. Check both morning and evening for several days, then repeat after a cold snap or warm spell. A room that feels chilly to you can still be too warm for carrots, and an unheated garage can drop below freezing overnight.
Keep vegetables in the dark, allow air movement, and avoid placing bins directly against a cold exterior wall or near a heater. A small fan may improve stagnant air in a cellar, but it will not correct a room that is too warm or too dry. Likewise, adding water to a floor or spraying vegetables can make a room feel humid while leaving standing moisture that promotes mold.
Refrigerator: Best for Small Harvests
For a few pounds of roots, the refrigerator is simpler than building a cellar. Use the crisper drawer for carrots, beets, radishes, and turnips, with leaves removed. A perforated bag or loosely closed container helps slow moisture loss while allowing some air exchange. Keep produce dry on the outside and remove condensation if it collects. Do not put a wet harvest into a sealed plastic bag.
Refrigerator temperatures vary by shelf and appliance, and some areas may be cold enough to freeze delicate produce if they sit against a vent or back wall. Leave room for cold air to circulate and check the drawer instead of assuming it has one fixed humidity setting. The refrigerator is generally too cold for sweet potatoes and is not suitable for curing potatoes or onions. Keep those crops in a cool, dark pantry or other suitable space instead.
Root Cellar: Best for Large Winter Batches
A root cellar is useful when it holds stable cold, humid air without freezing. Many root vegetables store well near 32°F and 90–95% humidity, while potatoes are often kept slightly warmer and drier. This may mean separate bins or shelves rather than one mixed pile. The University of Alaska Fairbanks Cooperative Extension storage chart, for example, lists different temperature and humidity targets for carrots, beets, potatoes, onions, and turnips—a reminder that the “cellar setting” is not identical for every crop.
Use crates, boxes, or bins that allow inspection. Keep wet produce off the floor, and leave a path for air to move around containers. If the cellar has warmer and cooler zones, measure them instead of guessing. Put the cold-hardy, high-humidity roots in the coolest appropriate area; keep onions dry and potatoes dark with ventilation. A cellar that occasionally freezes needs insulation or a warmer location for the most sensitive produce.
Garage, Basement, or Outdoor Clamp
A basement or insulated garage can work if it stays within the target range and does not become too dry. A cardboard box in a warm basement may keep vegetables out of sight but will not stop sprouting or water loss. Check the temperature during the coldest night and warmest afternoon. If the space swings widely, use it for shorter-term storage and keep the most valuable harvest in the refrigerator.
In mild, well-drained climates, some roots can remain in the ground and be lifted as needed. This works best where soil does not stay waterlogged and hard freezes are limited. A thick layer of straw or other loose mulch can protect roots from light frost, but it is not a guarantee against severe cold, rodents, or saturated soil. Lift crops before a major freeze or prolonged wet period if you are unsure.
For larger quantities, gardeners sometimes use an outdoor clamp: a well-drained mound that insulates a pile of roots with straw and soil. The Royal Horticultural Society’s root-vegetable storage guide describes layered storage and the need for a dry site and protection. Clamps require careful setup, local climate knowledge, and protection from rodents and excess rain. They are not the easiest first choice for a small urban harvest.
Root Vegetable Storage Chart
Use these figures as starting points for sound, mature vegetables in stable storage. Extension recommendations differ because crop varieties, preparation, humidity control, and intended use differ. At home, stable conditions and regular sorting matter as much as hitting a precise number.
| Crop | Practical storage target | Typical method | Indicative storage life |
|---|---|---|---|
| Carrots | About 32°F; 90–95% RH | Remove tops; cold, humid bin or refrigerator crisper | Around 4–5 months in well-managed cellar storage |
| Beets | About 32°F; 90–95% RH | Leave a short stem; cold, humid storage | About 3 months |
| Parsnips | About 32°F; 90–95% RH | Cold, humid bin; protect from drying | Up to about 6 months |
| Turnips | About 32–38°F; 90–95% RH | Remove tops; cold, humid storage | About 2–3 months |
| Rutabagas | About 32–35°F; high humidity | Cold cellar or refrigerator for small batches | Roughly 2–6 months, depending on conditions |
| Mature potatoes | Around 38–45°F; dark, ventilated | Cure first; store in slatted crate or paper sack | Several months; up to 7–8 months under suitable conditions |
| Sweet potatoes | About 55–60°F after curing | Cure warm; store dark with gentle ventilation | Roughly 3–6 months |
| Dry onions | Near 32°F in a dry, ventilated space; household conditions may be warmer | Cure until necks and skins are dry; mesh or slatted container | Several months; UAF lists up to about 8 months under ideal conditions |
RH means relative humidity. Storage life is not a freshness guarantee or a safety date. Variety, maturity, bruising, and actual room conditions all affect how long a crop stays in good shape. Use the shortest-storage crops first and inspect the rest regularly.
Use Sand or Sawdust Without Making Roots Wet
Moist sand, clean sawdust, or another suitable packing material can help prevent carrots, beets, and similar roots from drying in a cellar. The material should be only slightly damp: squeeze a handful, and it should hold together lightly without releasing drops. If it is dusty and dry, it will pull moisture from the vegetables; if it is wet enough to glisten or drip, it may encourage decay.
Use a clean, sturdy container. Add a thin layer of packing material, arrange roots so they do not press hard against each other, then cover them lightly before adding the next layer. Keep the lid loose or use a container that allows appropriate air exchange. Avoid mixing crops with different needs in the same packed bin. Onions and potatoes, for example, should not be buried in moist sand with carrots.
Do not assume sand is required. A refrigerator drawer, perforated bag, or ventilated crate may be easier for a small amount. Packing helps most when the storage room is already cool and you can check the material. It does not make a warm closet into a root cellar, and it cannot compensate for vegetables that went into storage wet or damaged.
Check Stored Roots and Fix Problems Early
Make inspection part of the routine. Once a week, look for soft spots, wet patches, mold, shriveling, sprouting, and condensation. Remove any decaying item promptly and check the vegetables that touched it. If one crop is drying out, raise humidity around that crop or use a better container. If surfaces are wet or mold appears, improve airflow, remove excess moisture, and make sure the temperature is not fluctuating.
Use these signs to troubleshoot:
- Wrinkled or rubbery roots: The air or packing material is too dry, or the roots were stored with their tops attached. Move them into a more humid microclimate and use them soon; severely shriveled roots will not regain crispness.
- Soft, wet patches or mold: Moisture is trapped, the produce went into storage wet, or airflow is poor. Remove affected roots, dry the bin, and reduce condensation without letting the remaining crop dry out.
- Potatoes sprouting early: The storage area may be too warm, too bright, or both. Move sound potatoes to a cooler, darker, ventilated spot and use sprouting ones soon if they remain firm and otherwise sound. Discard potatoes that are badly shriveled, green over much of the surface, or soft and rotten.
- Sweet potatoes shriveling or pitting: They may be too cold or too dry. Move them to a warmer location and check for chilling injury; a refrigerator is not a suitable long-term spot.
- Onions softening or sprouting: They may be in a humid location or a warm room. Separate affected onions and improve dryness and ventilation.
Keep a simple note of the coolest and warmest reading in each storage spot. If the cellar freezes in January or the garage warms up in spring, you can move remaining crops before losses become obvious. Rotate bins so older vegetables are used first. Do not wash and re-pack the whole harvest every time you inspect it; handle roots gently and only remove the ones that need attention.
What to Do With Edible Greens
Carrot, beet, and turnip tops are often edible, but they do not belong attached to roots in long-term storage. Remove the greens as soon as practical and store them separately. Wash and use fresh leaves promptly, or cook them while still crisp. Their storage life is much shorter than that of a sound root.
If you have more greens than you can use immediately, blanching and freezing is a better route than expecting them to keep for months in a cellar. Keep the roots dry and properly trimmed while the greens are handled separately. This small step makes a visible difference: roots with foliage attached lose moisture faster and become limp sooner.
When to Preserve Instead of Storing
Long storage depends on a consistently cool, dark environment. If your only available room is warm, if the crop is bruised or cut, or if you have more produce than you can inspect, use some of the harvest promptly or preserve it. Freezing is usually the most practical home option for many roots: clean, peel or trim as appropriate, cut into even pieces, blanch according to a tested recipe, cool, drain, and package for the freezer.
Pickling is another option for suitable recipes. Root vegetables are low-acid foods, so do not improvise water-bath canning times or assume vinegar can be reduced safely. For shelf-stable canning, use a tested recipe and the required pressure-canning method where directed. If you are not set up for safe canning, freeze the surplus or share it while it is fresh.
Storing in the ground can also extend the harvest season, but it is not preservation for every climate. The approach works best when the soil drains well, winters are mild enough, and you can protect crops from hard freezes and pests. The RHS guide and Lovely Greens’ in-ground storage overview both emphasize the value of suitable soil and protective covering. Lift roots before conditions turn wet or severe, and do not leave a valuable crop exposed to weather you cannot predict.
Conclusion: Store Each Crop by Its Needs
To keep root vegetables fresh longer, begin with sound produce, remove leafy tops, cure only the crops that need curing, and group crops by their temperature and humidity preferences. Give carrots, beets, parsnips, and turnips cold, humid storage; keep potatoes dark, cool, and ventilated; cure sweet potatoes and store them warmer; and keep onions dry. A refrigerator can handle a small batch, while a cellar or clamp can hold more only when its conditions are stable.
Measure your storage space, check it weekly, and use damaged or short-lived vegetables first. If your home cannot provide the right conditions, freeze or cook the surplus rather than forcing every crop into one damp box. The best storage plan is the one you can maintain through the season.



