Why Are My Indoor Plant Leaves Turning Yellow? Causes and Fixes
Diagnose yellow indoor plant leaves caused by overwatering, underwatering, light, nutrients, root problems, pests, or natural aging. Step-by-step checklist and fixes.
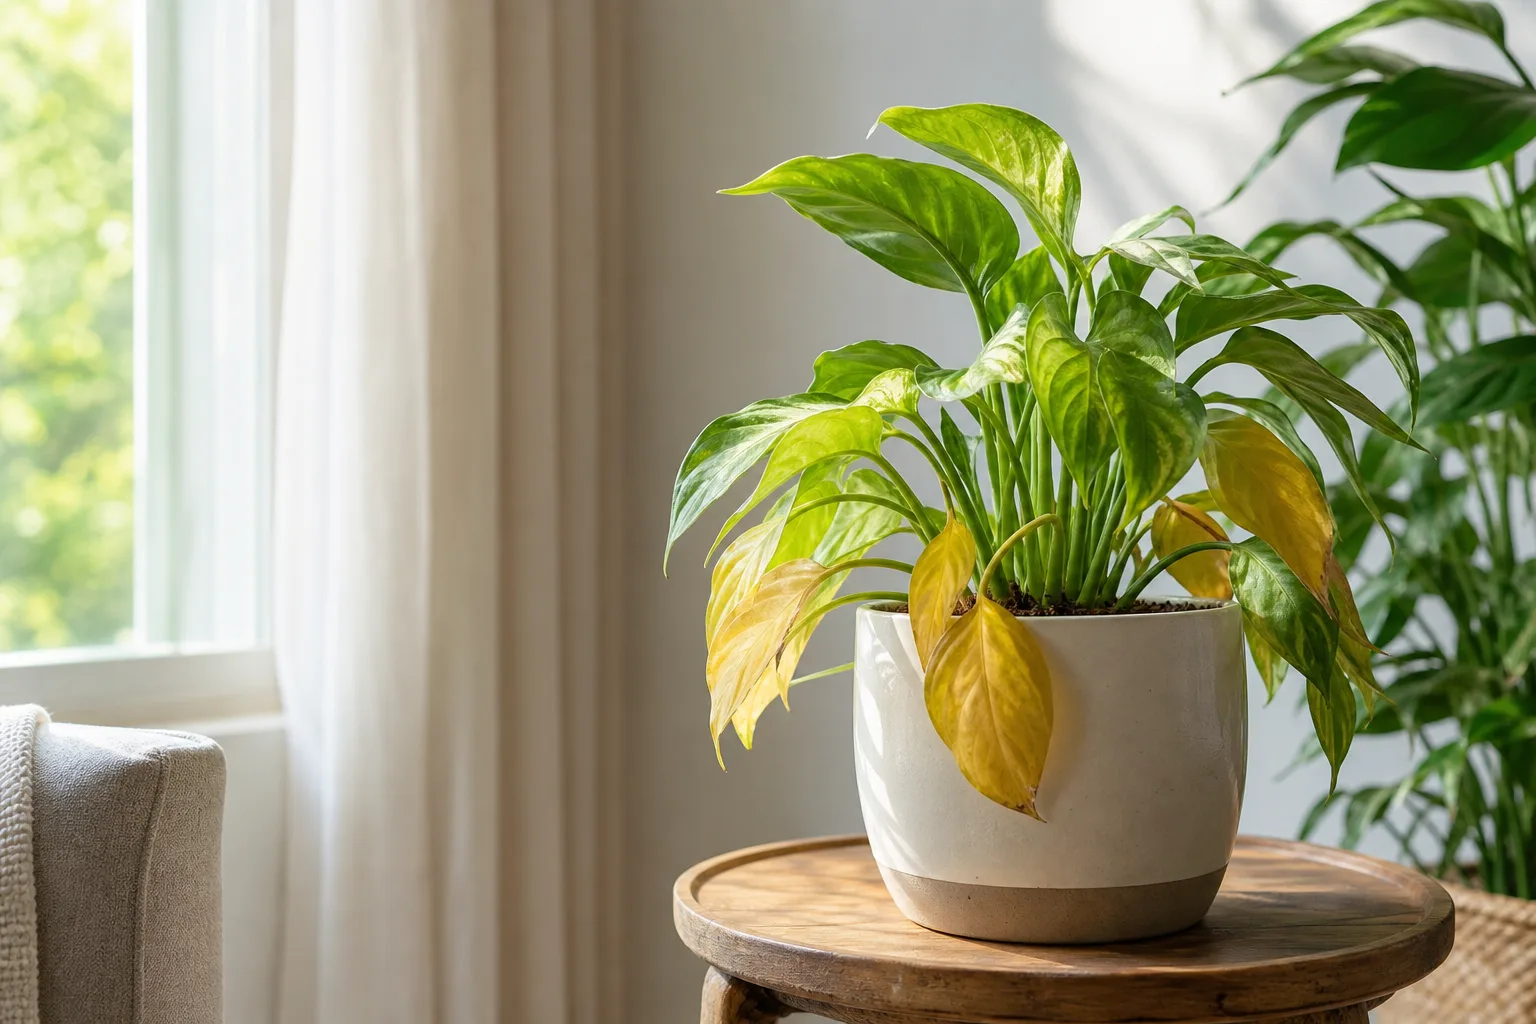
Yellow leaves are a symptom, not a single disease
When indoor plant leaves turn yellow, the plant is signaling stress. University of Maryland Extension identifies leaf yellowing as often one of the first symptoms of plant stress, and overwatering as the number one reason indoor plants fail. (University of Maryland Extension) The cause could be watering, light, nutrients, roots, pests, temperature, or simply old age. A yellow leaf usually will not turn green again. The goal is to stop the spread and let new growth come in healthy.
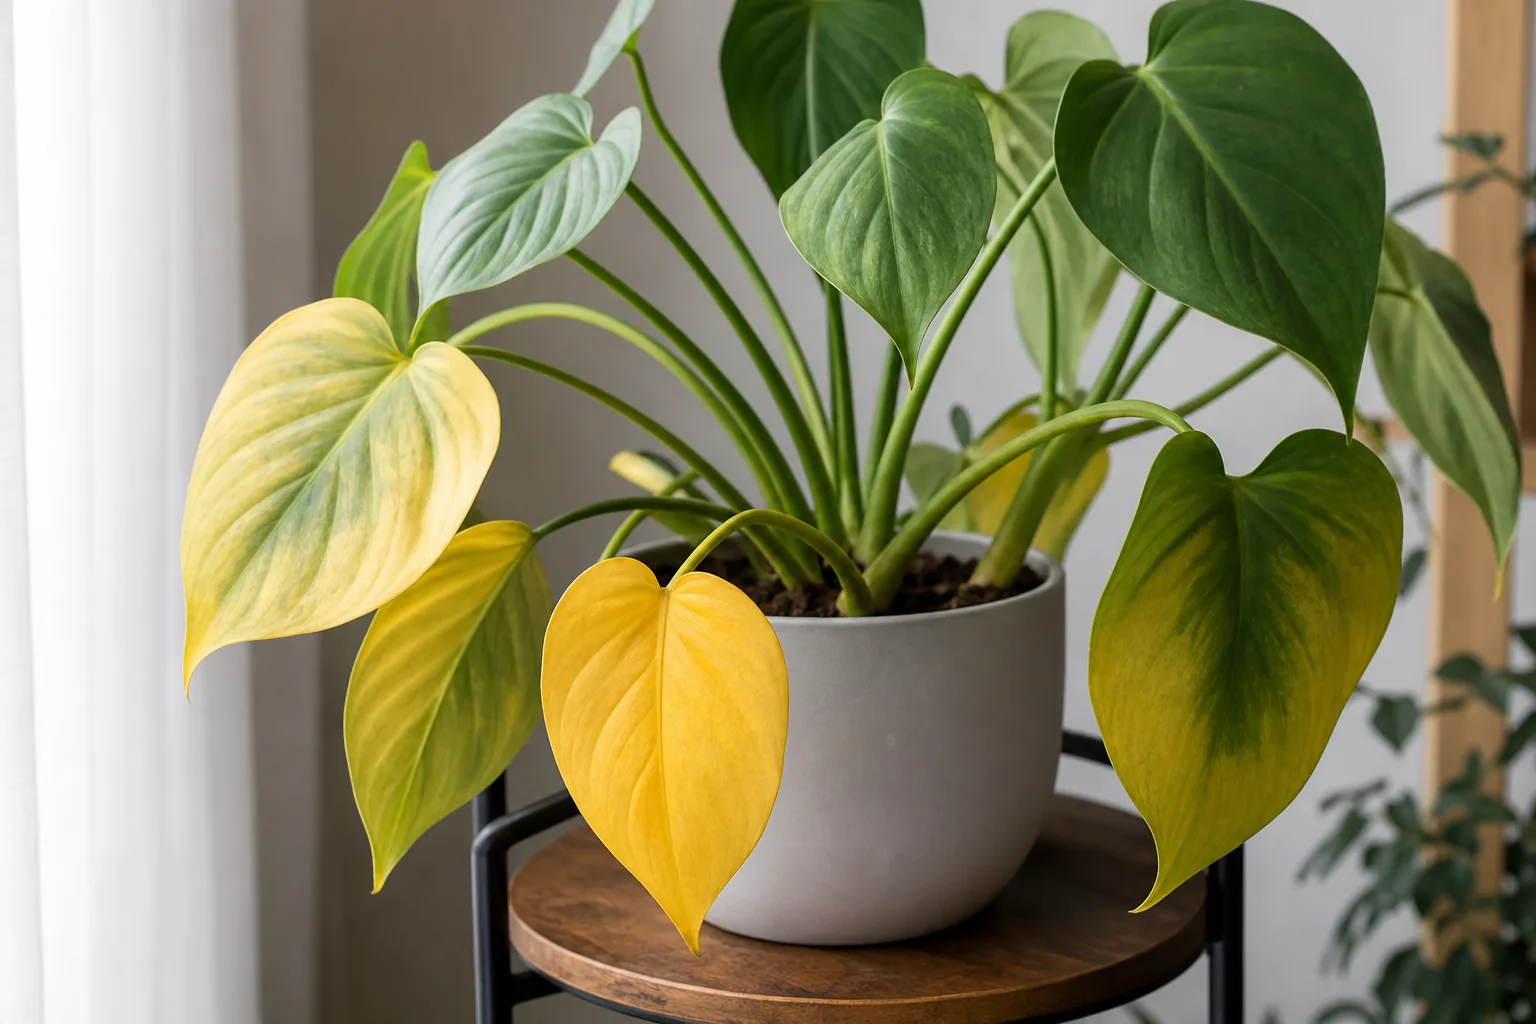
Do not respond to yellowing by watering, feeding, moving, and repotting all at once. Diagnose one likely cause, make one correction, and watch new growth.
Quick diagnosis: read the pattern
Before reaching for the watering can or fertilizer, pause and observe. Iowa State Extension notes that yellowing is often the result of several factors coming together, and it is important to investigate all potential causes. (Iowa State Yard and Garden)
| What you see | Check next | Most likely direction |
|---|---|---|
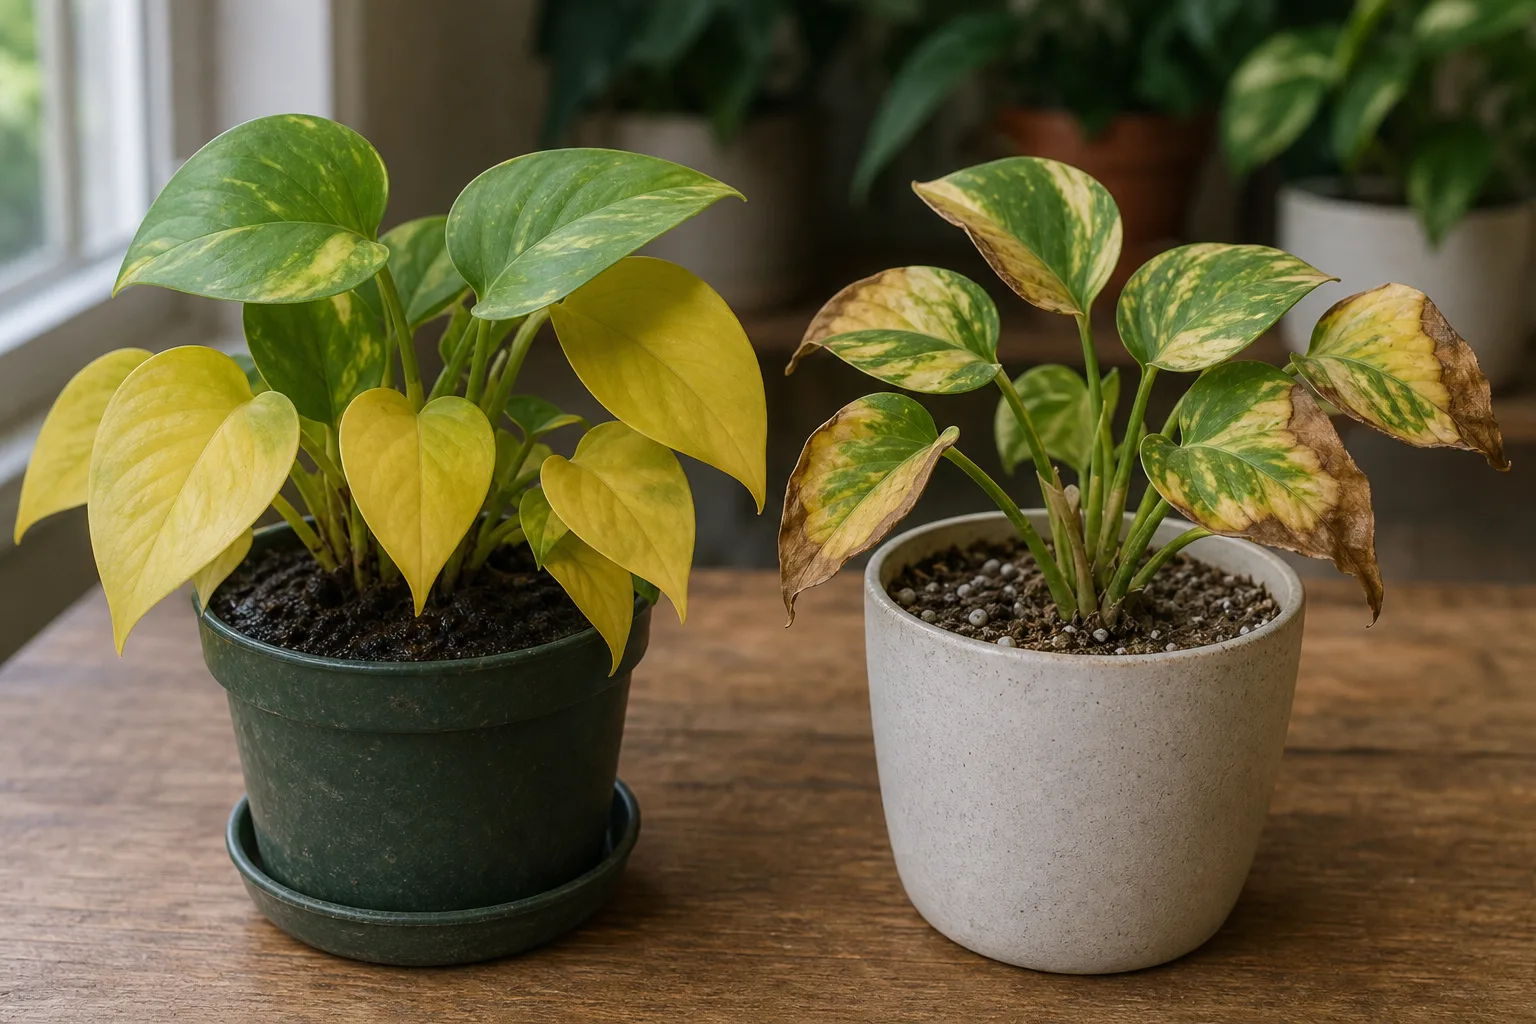
| Several soft yellow leaves; pot stays wet and heavy | Probe root zone; inspect roots if spreading | Overwatering or root rot |
| Yellow leaves with crisp brown edges; pot feels light | Check if root ball is dry or water-repellent | Underwatering |
| Oldest lower leaves turn yellow one at a time; new growth green | Confirm moisture is normal and stem is firm | Natural senescence |
| Pale, washed-out plant; stems stretched or leggy | Review window distance and seasonal light | Too little light |
| Bleached tan-yellow patches on the window side | Check direct-sun exposure | Sun scorch |
| Yellow between green veins on older leaves | Assess feeding history and soil pH | Magnesium or nitrogen deficiency |
| Yellow between green veins on newest leaves | Check pH and iron availability | Iron deficiency |
| Tiny yellow or white speckles; fine webbing under leaves | Inspect leaf undersides with a hand lens | Spider mites |
| Yellowing after moving, repotting, or temperature change | Review recent changes; check roots for rot if wet | Environmental shock or root stress |
Watering problems: the most common cause
Clemson HGIC states that the main cause of death of potted plants is overwatering, and that the symptoms of overwatering and underwatering are similar because both lead to poor root health. (Clemson HGIC) This is why you cannot diagnose by leaf color alone. You must check the soil.
Overwatering
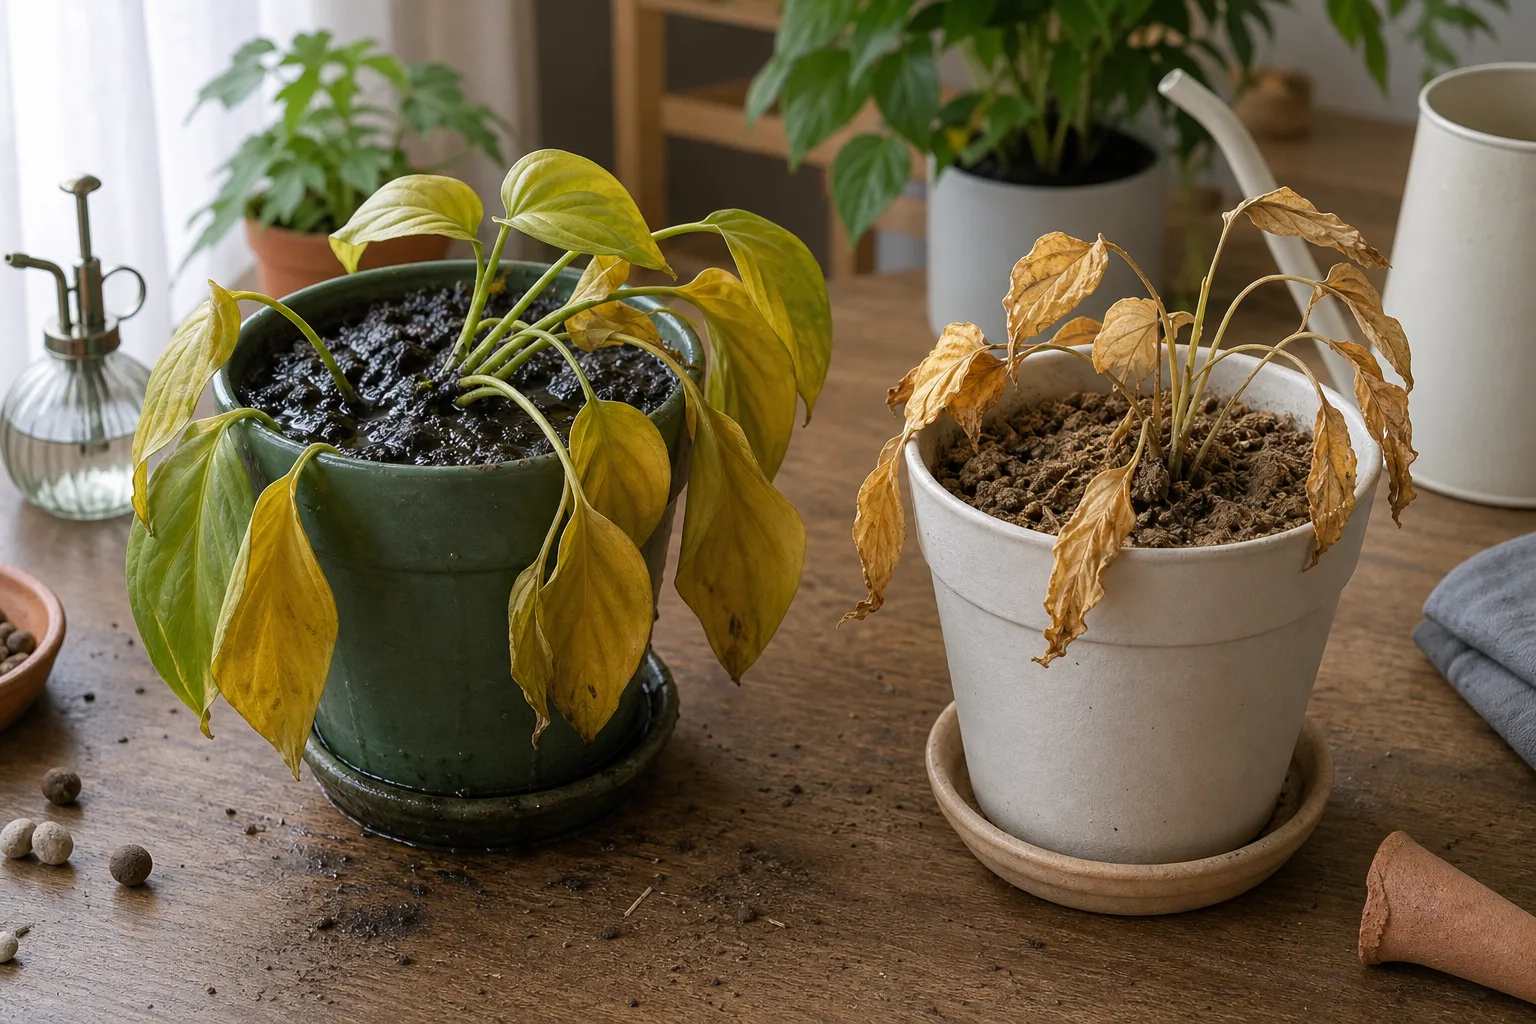
Overwatering means the root zone stays saturated too long, not that one watering was generous. Roots need both water and oxygen. When soil stays wet, roots suffocate, die, and become vulnerable to rot pathogens.
Look for soft, limp yellow leaves that may affect lower and middle leaves together. The pot feels heavy for days after watering. The soil surface may stay dark and damp. Fungus gnats, a sour smell, or wilting despite wet soil are all red flags. Clemson HGIC notes that roots surrounded by water cannot take up oxygen, and these roots may rot — eventually the whole plant may die. (Clemson HGIC)
University of Maryland Extension describes root rot symptoms as yellowing, browning, dieback of leaves, and roots that are brown to black and soft or mushy, with the outer portion easily pulling away. (University of Maryland Extension root rot)
What to do: Stop watering. Move the plant to brighter filtered light to increase water use. Empty saucers and cachepots. If yellowing spreads or the pot stays wet, unpot the plant, trim black or mushy roots with clean pruners, and repot in fresh, well-draining mix in a pot with drainage holes.
Underwatering
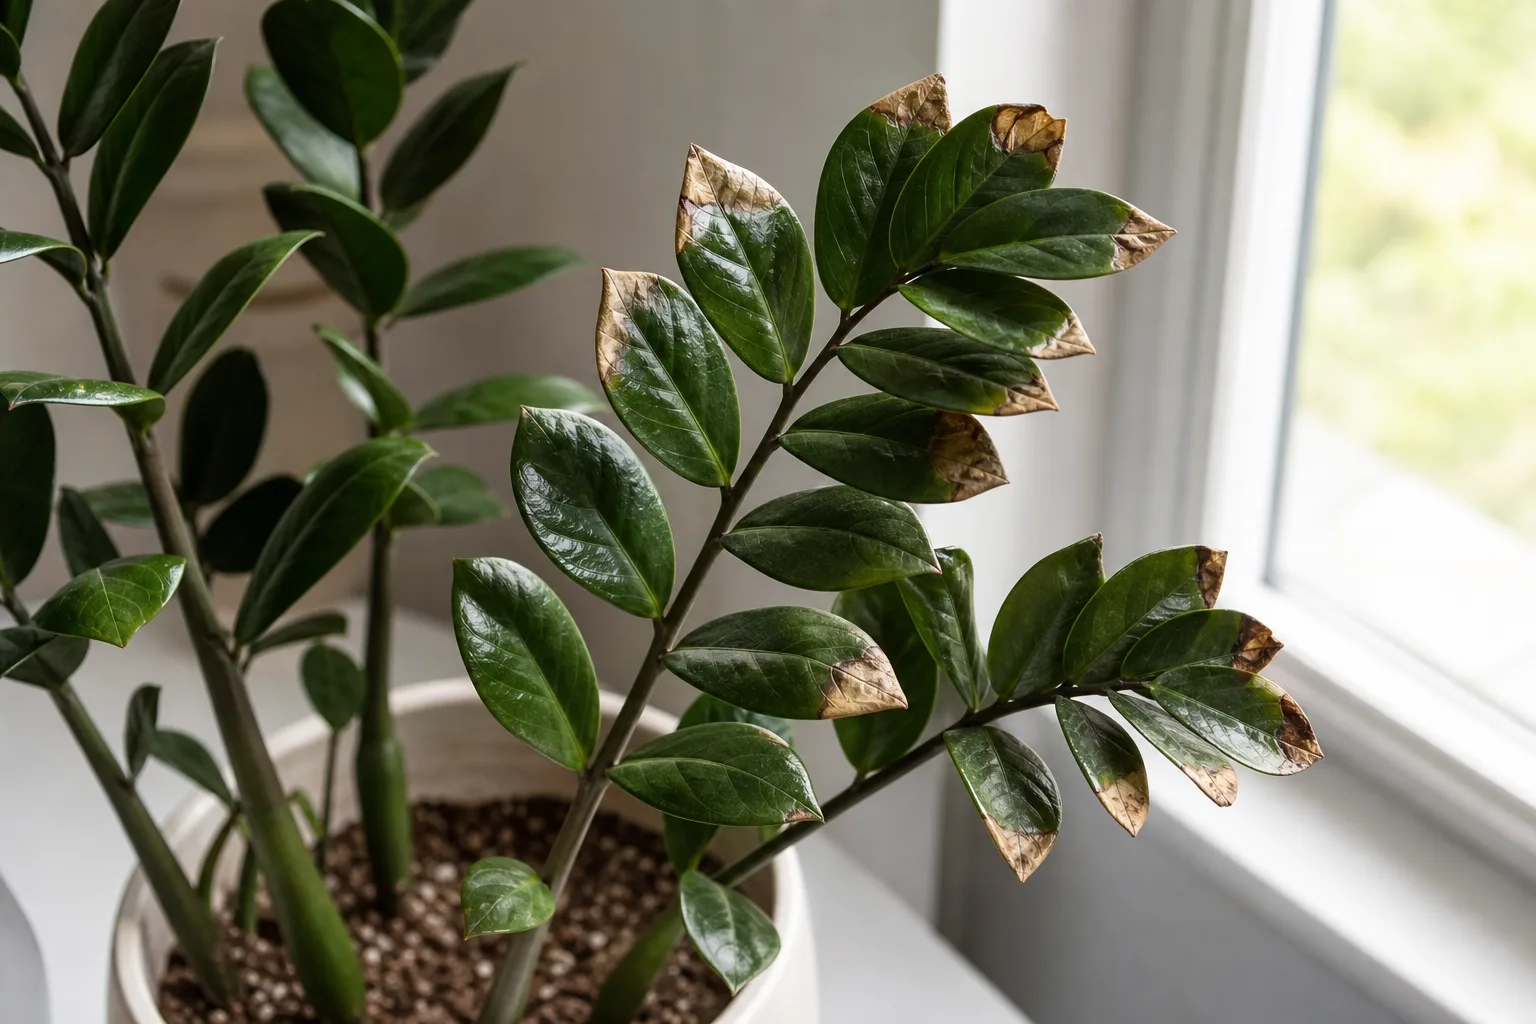
Underwatered plants show yellow leaves with dry, crispy brown edges or tips. The pot feels unusually light. Soil pulls away from the pot wall, and water may run straight through without wetting the root ball. Leaves may curl or droop.
What to do: Water slowly and thoroughly until water runs out the drainage holes. If the mix has become hydrophobic, bottom-water by setting the pot in a sink or basin of water for 15–20 minutes, then drain fully. Do not overcompensate by keeping the plant permanently wet.
Light problems: too little, too much, or changed too fast
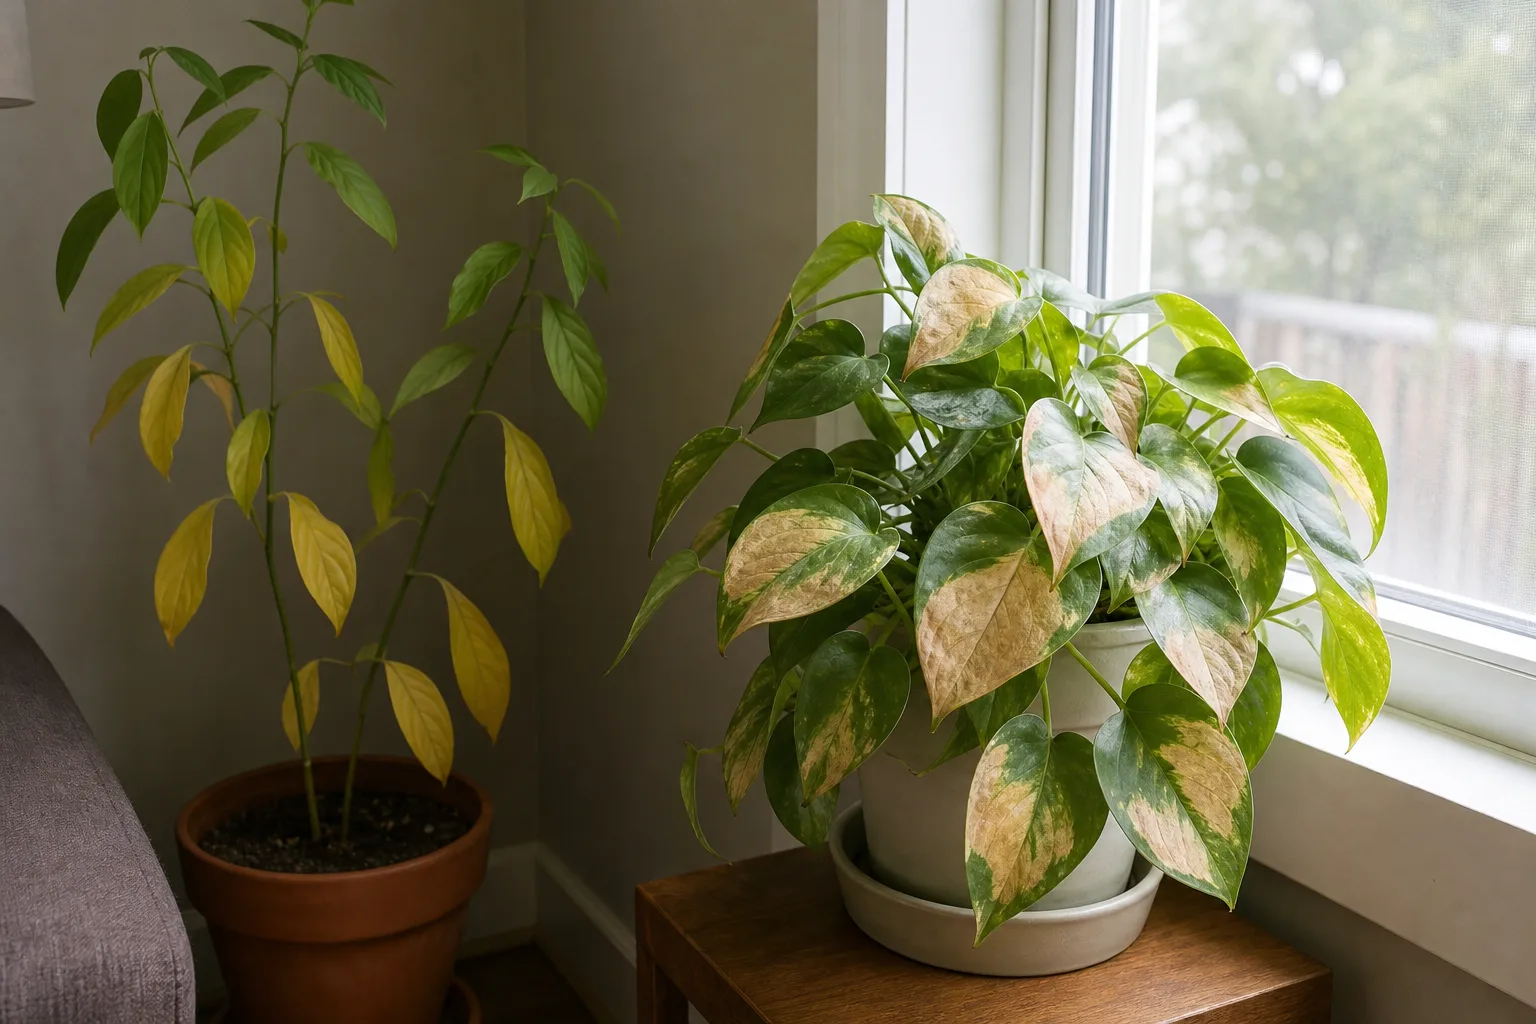
Low light
When a plant sits too far from a window, photosynthesis slows. The plant cannot produce enough energy, so it sheds older leaves to conserve resources. Low-light yellowing usually starts on lower, older leaves and is often accompanied by stretched stems, long internodes, small new leaves, or a generally pale, washed-out appearance. Iowa State Extension lists light levels that are too low as a common cause of leaf yellowing and drop. (Iowa State Yard and Garden)
What to do: Move the plant gradually closer to a brighter window. A sudden jump from dim to direct sun can scorch leaves. Increase light in stages over a week or two. Old stretched growth will not compact, so judge improvement by the next new leaf.
Sun scorch
Too much direct sun, especially through south- or west-facing windows, can bleach leaf tissue. Scorch appears as pale, tan-yellow, or bleached patches on the side facing the light. It is localized, not uniform across the plant. The RHS notes that too much light or sunshine in the middle of the day can cause leaves to scorch yellow. (RHS leaf damage guidance)
What to do: Filter harsh light with a sheer curtain or move the plant a few feet away from the glass. Do not confuse sun scorch with stable variegation — scorch is damaged tissue, while variegation follows predictable boundaries.
Nutrient deficiencies: patterns to recognize
Nutrient-related yellowing should come after moisture, light, and root health in your diagnosis. The RHS explains that interveinal chlorosis — yellowing between veins while veins stay green — is usually indicative of manganese, iron, or magnesium deficiency, with iron deficiency affecting the youngest leaves first and magnesium and manganese deficiencies starting in older leaves. Nitrogen deficiency causes a more general yellowing, initially of older leaves, often with a lack of vigor. (RHS chlorosis guidance)
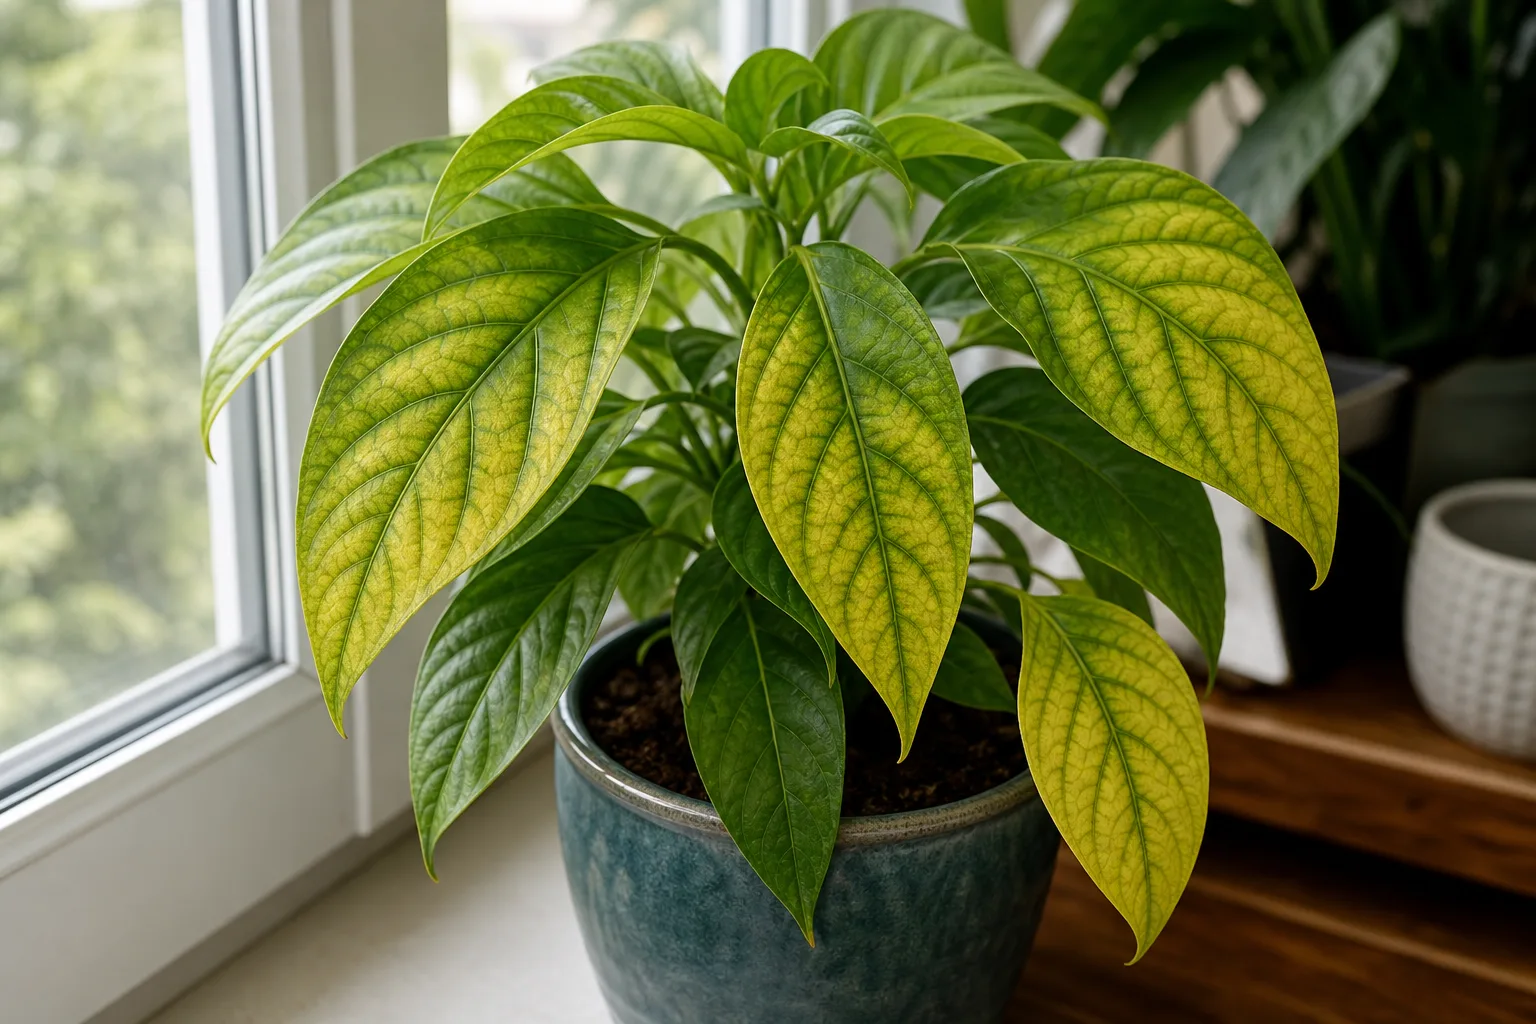
| Deficiency | Which leaves first | Pattern |
|---|---|---|
| Nitrogen | Older, lower leaves | Uniform pale yellowing; whole plant looks washed out |
| Iron | Newest, youngest leaves | Yellow between green veins; veins stay dark green |
| Magnesium | Older leaves | Yellow between veins starting at edges; may show V-shaped green at base |
| Fertilizer salt buildup | Leaf edges and tips | Brown crispy margins, lower leaf drop; white crust on soil surface |
The RHS also warns that any form of root stress — including overwatering and underwatering — can induce nutrient deficiency symptoms by impairing the roots’ ability to take up nutrients. (RHS leaf damage guidance) So nutrient deficiency may be a secondary effect, not the root cause.
What to do: Fix watering and light first. If the plant is stable and shows clear deficiency patterns, apply a balanced houseplant fertilizer at half the label rate. University of Maryland Extension recommends correcting fertilizer use and leaching or replacing affected medium if excess salts have accumulated. (University of Maryland fertilizer guidance) For salt buildup, flush the pot thoroughly with water until it runs clear from the drainage holes. Do not fertilize a waterlogged, root-damaged, or recently repotted plant.
Root and pot problems
Yellowing that persists despite sensible watering often traces back to what is happening below the soil line.
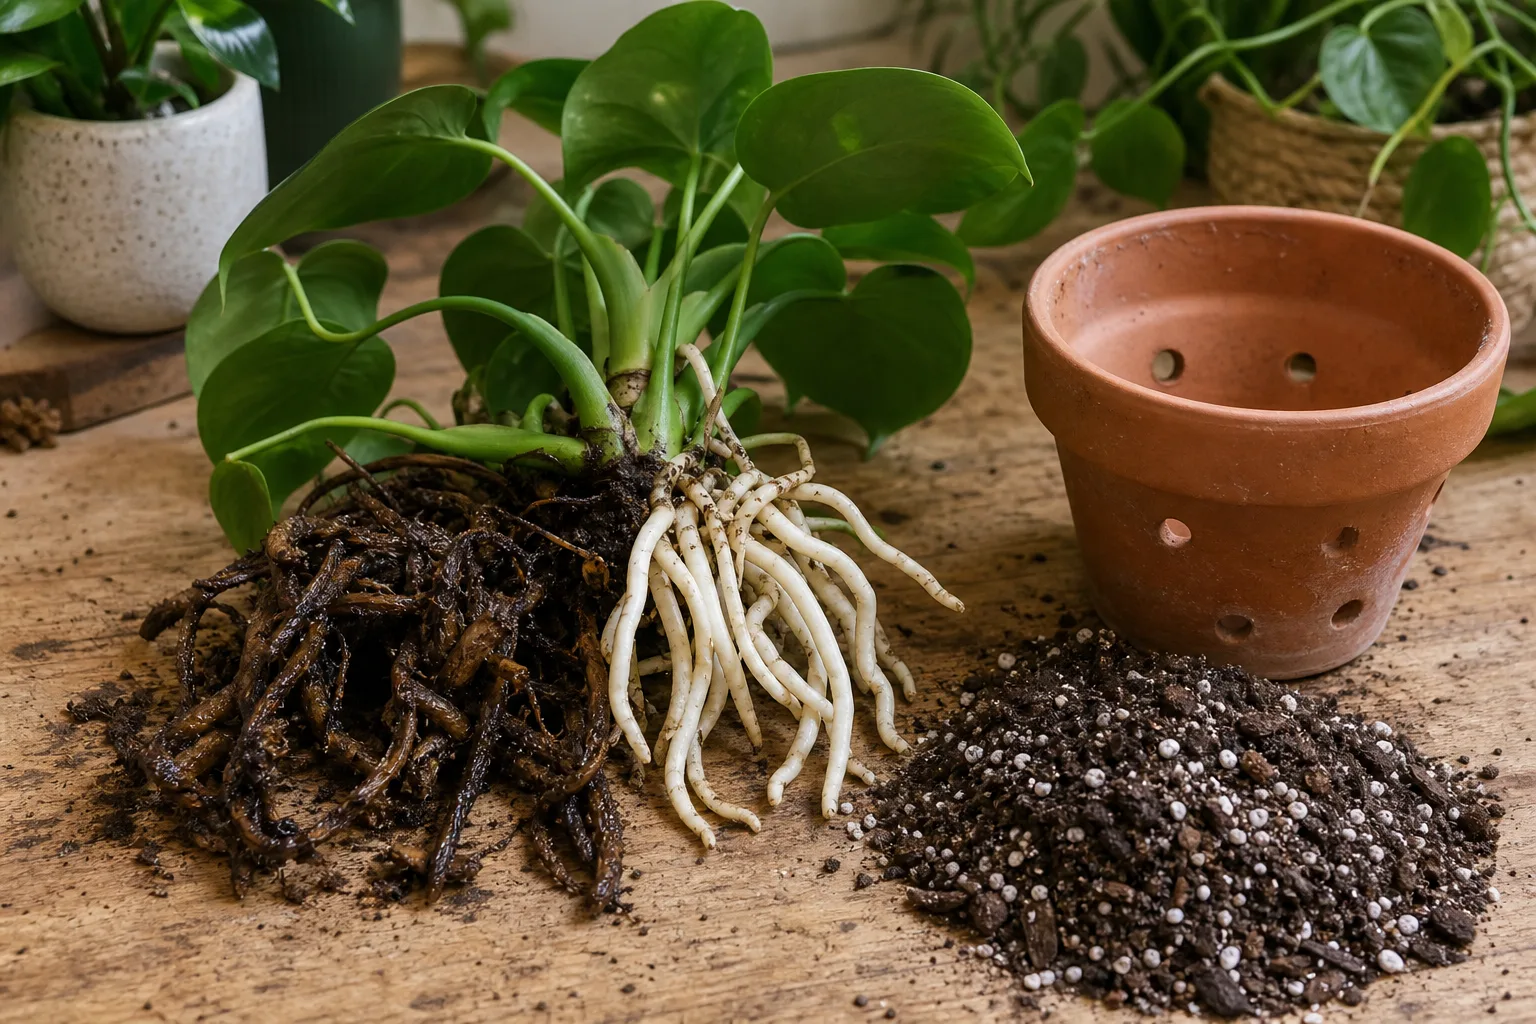
Root rot
Root rot produces yellowing, wilting, and leaf drop even when the soil is moist. University of Maryland Extension describes Pythium root rot as causing stunting, yellowing, and wilting even when potting media moisture is adequate, with roots that are brown to black and soft. (University of Maryland Extension root rot) Phytophthora causes root tips to turn dark brown and rapidly go soft, often with lower leaf yellowing and drop.
What to do: Unpot the plant, remove all black or mushy roots with sterilized pruners, and repot in fresh, well-draining mix in a clean pot with drainage holes. Do not reuse old soil. Water sparingly until new growth appears. Severely rotted plants may not recover; if any firm stem sections or healthy nodes remain, take cuttings as a backup.
Root-bound stress
A plant that has filled its pot with roots may dry out so quickly that it experiences chronic mild underwatering, leading to yellow lower leaves. Roots circling the drainage holes or visible at the soil surface are signs.
What to do: Move up one pot size — no larger. An oversized pot holds excess wet soil around roots and can trigger rot. The RHS specifically lists overpotting as a cause of widespread leaf yellowing because excess medium around a small root system stays wet too long. (RHS leaf damage guidance)
Drainage and soil structure
A pot without drainage holes, a dense peat-heavy mix that stays soggy, or a cachepot that traps runoff can all keep roots wet even when you water correctly. Clemson HGIC advises watering until it runs out the bottom of the pot and emptying the saucer — never letting plants sit in water. (Clemson HGIC)
Pests that cause yellowing
Pests damage leaves by sucking sap, which drains nutrients and creates discolored patches. The RHS includes aphids, red spider mites, whiteflies, mealybugs, and scale insects among pests that cause leaf yellowing and discolouration. (RHS leaf damage guidance)
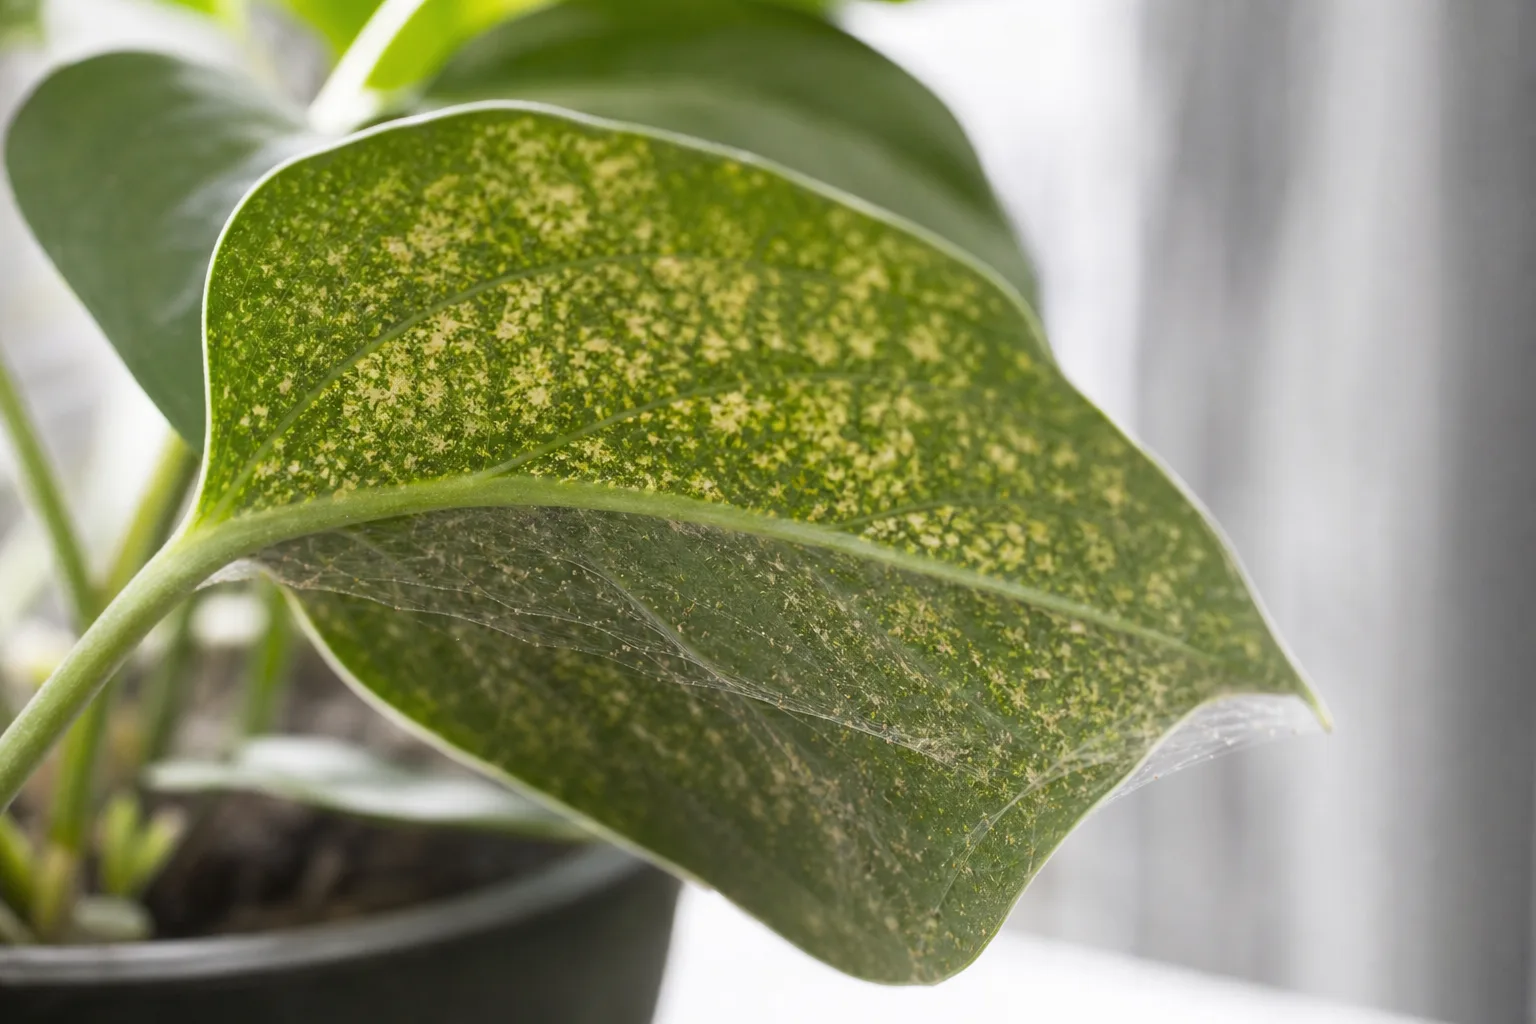
Spider mites
Spider mites produce tiny yellow or white stipples on leaves that can merge into a bleached or bronze appearance. University of Minnesota Extension advises checking undersides for mottling, moving specks, and fine webbing; their feeding can yellow leaves and cause leaf drop. (University of Minnesota Extension)
What to do: Isolate the plant immediately. Rinse leaves thoroughly in a shower or sink. Apply insecticidal soap or horticultural oil to all leaf surfaces, repeating weekly for 3–4 weeks. Spider mites thrive in dry, warm conditions, so raising humidity can help suppress reinfestation.
Other sap-feeding pests
Aphids, mealybugs, scale, thrips, and whiteflies can all cause yellowing, distortion, sticky honeydew, or visible insects on stems and leaf undersides. Identify the pest before treating. Isolate the plant, remove heavily infested leaves, and apply a treatment labeled for indoor use on the identified pest.
Environmental stress: temperature, humidity, and change
Iowa State Extension emphasizes that improper environmental conditions are the leading issue causing leaf drop, and that blasts of cold or warm air from doors, windows, or air ducts are likely to cause leaves to yellow and drop. (Iowa State Yard and Garden)
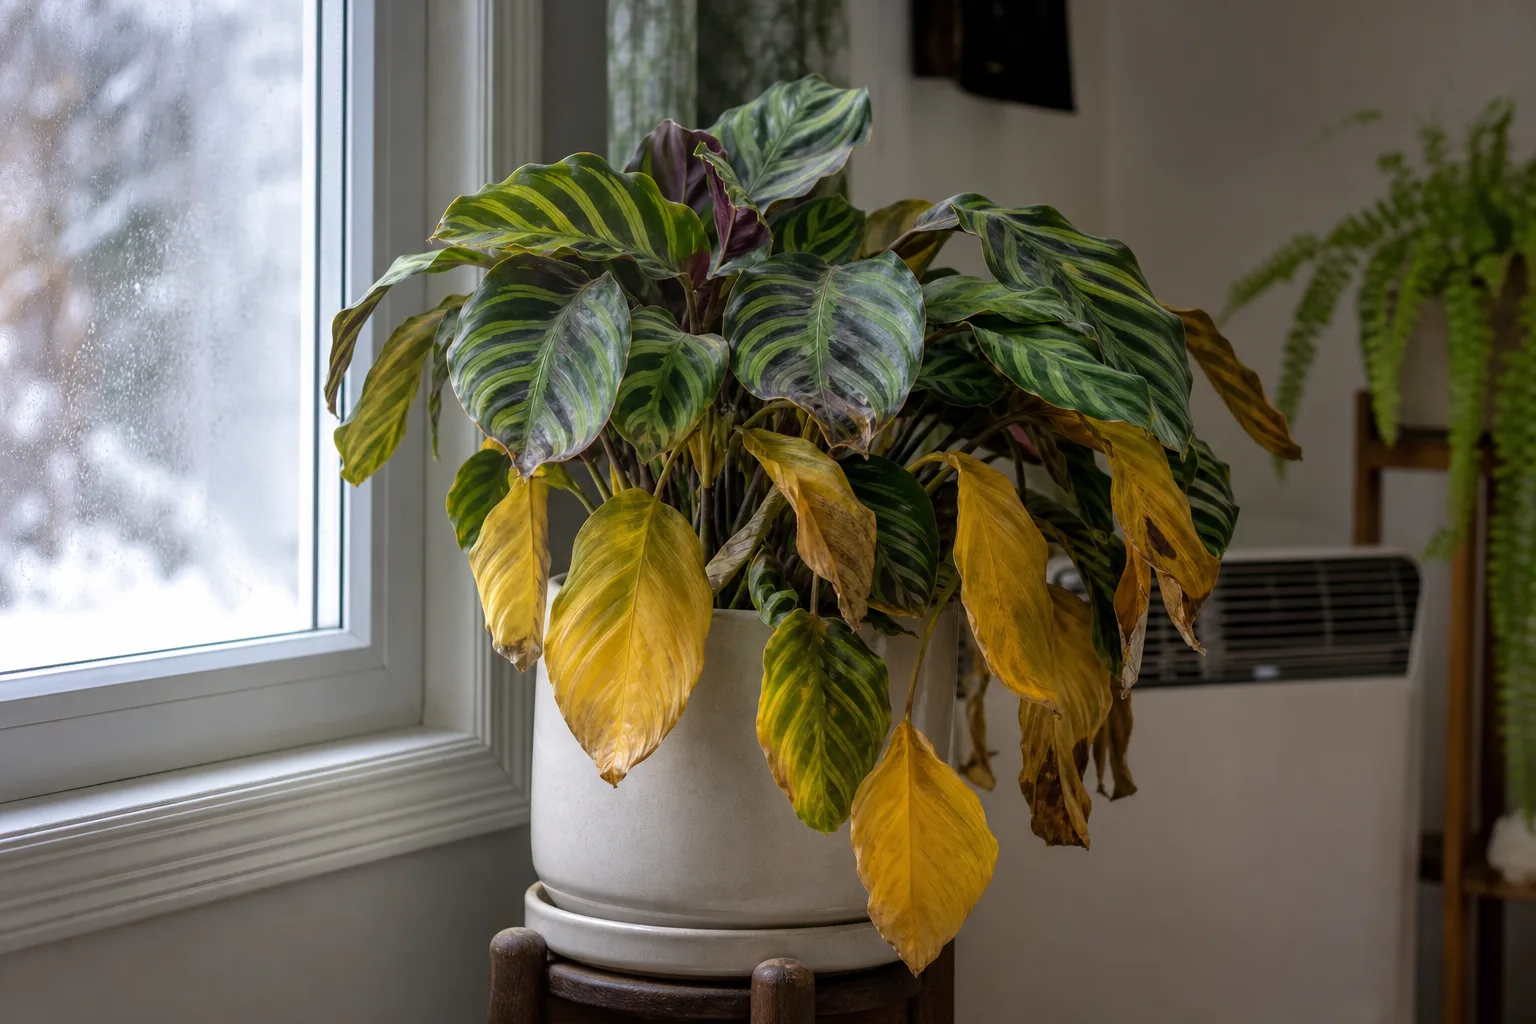
Temperature and drafts
Cold windows in winter, air-conditioning vents in summer, heaters, and drafty doors can all trigger yellowing and leaf drop. The RHS lists too cold a temperature, sudden temperature drops, and exposure to draughts as causes of yellow leaves. (RHS leaf damage guidance)
What to do: Move the plant away from cold glass, drafts, and direct airflow from vents. Most tropical houseplants prefer temperatures between 65–80°F (18–27°C) and dislike sudden changes.
Low humidity
Dry air more commonly causes brown leaf tips than uniform yellowing, but severely low humidity can contribute to overall leaf stress and yellowing in humidity-sensitive plants like calathea, ferns, and maranta. Iowa State Extension notes that low humidity will cause the browning and eventual drop of leaves. (Iowa State Yard and Garden)
What to do: Group plants together, use a humidifier, or place pots on pebble trays with water kept below the pot base. Misting provides only brief relief and is not a substitute for root-zone moisture or consistent humidity.
Repotting shock
A plant may lose a few older leaves after repotting due to root disturbance. This is usually temporary and self-limiting. However, spreading yellowing after repotting can also mean the new pot is too large, the mix stays wet, or roots were damaged. Check moisture at depth before deciding to wait it out.
When yellow leaves are normal: natural senescence
Every leaf has a finite lifespan. It is normal for the oldest, lowest leaves on a mature plant to yellow and fall one at a time as the plant redirects resources to new growth. The RHS confirms that the odd lower leaf on a mature plant may yellow and fall naturally. (RHS leaf damage guidance)
This is low urgency if the stem is firm, root-zone moisture is balanced, new growth is green, and only one leaf is fading at a time. Investigate when multiple leaves yellow simultaneously, the newest growth is pale, or the plant wilts on wet soil.
Seven-step diagnosis checklist
- Count and locate affected leaves. One oldest lower leaf is different from multiple leaves or yellow new growth.
- Probe the soil and lift the pot. Check moisture 2–5 cm below the surface. Record: wet and heavy, evenly moist, or dry and light.
- Read the pattern. Soft and uniform, crisp brown edges, bleached patches, green veins on yellow background, or tiny speckles — each points to a different cause.
- Review light and recent changes. Note window exposure, seasonal daylight changes, recent repotting, fertilizing, drafts, or room moves.
- Inspect for pests. Check leaf undersides with a hand lens. Look for webbing, sticky residue, bumps on stems, or moving specks.
- Inspect roots only if necessary. Unpot when wet soil, odor, spreading yellowing, or rapid decline justifies it. Do not unpot a mildly stressed plant.
- Make one matched correction. Track whether yellowing stops and whether the next leaf opens healthy before adding another intervention.
The most damaging error is responding to wilt and yellowing with more water when roots are already saturated. Clemson HGIC warns that wilting is not always an indication of the need to water — root rot, caused by too much water, also causes wilting. (Clemson HGIC)
How to fix yellow leaves and prevent a repeat
| Cause | Fix | Prevention |
|---|---|---|
| Overwatering | Stop watering; improve light; inspect and trim rotted roots; repot in fresh mix | Check soil before watering; use drainage pots; empty saucers |
| Underwatering | Rehydrate slowly; bottom-water if mix is hydrophobic | Check pot weight and soil regularly; do not rely on a calendar |
| Low light | Move gradually to brighter filtered light | Place plants within a few feet of a window; adjust seasonally |
| Sun scorch | Filter with sheer curtain; increase distance from glass | Know each plant’s light tolerance; acclimate gradually |
| Nutrient deficiency | Apply balanced fertilizer at half strength after fixing moisture | Feed monthly during growing season; flush soil periodically |
| Fertilizer salt buildup | Flush pot with water until it runs clear; repot if severe | Avoid overfeeding; water thoroughly so salts drain out |
| Root rot | Remove rotted roots; repot in fresh mix; reduce pot size if needed | Use well-draining mix; never let pots sit in water |
| Pests | Isolate; identify pest; rinse leaves; apply targeted treatment | Inspect new plants; check leaf undersides monthly |
| Temperature stress | Move away from cold glass, drafts, vents | Keep plants in stable 65–80°F range; avoid sudden changes |
| Natural aging | Remove the yellow leaf; monitor that it is only one at a time | Expect periodic lower-leaf loss on mature plants |
Remove a leaf once it is fully yellow or clearly dying, using clean pruners near the base of the petiole without cutting into the main stem. A partly green leaf still has functioning tissue, so leave it unless disease or pest control requires removal. A yellow leaf will not turn green again; successful treatment is a halt in spread and healthy new growth.
Prevention is a system, not a schedule: check soil moisture at depth before every watering, use pots with drainage holes and a well-aerated mix, match watering frequency to light and season, inspect leaf undersides periodically, and avoid oversized pots.
Related guides
- Use Indoor Plant Watering Basics for a quick-reference cheat sheet on when and how to water.
- Read How to Water Indoor Plants the Right Way for step-by-step top and bottom watering methods and recovery protocols.
- Compare How to Save a Dying Houseplant when yellowing is accompanied by wilting, leaf drop, or obvious decline.
- Use Fertilizing Indoor Plants: Complete Care Guide for seasonal feeding schedules and nutrient-specific advice.
- Read Houseplant Diseases: Identification and Treatment when root rot, leaf spot, or fungal issues are suspected.
- Check How to Tackle Indoor Plant Pests at Home for pest identification and treatment strategies.
- For Monstera-specific yellowing, use the Monstera yellow leaves guide.
Conclusion
Yellow leaves are a message. Read the leaf position, pattern, and texture. Check the soil at depth. Lift the pot. Once you match the symptom to the cause — wet, dry, dark, hungry, root-bound, or simply old — make the smallest correction that addresses that cause. Then watch new growth. A yellow leaf rarely turns green again, but a plant that is no longer stressed will replace it.
Start with watering. Overwatering is the most common cause of yellow indoor plant leaves across nearly every houseplant species. If the pot is wet and heavy, do not add more water. If the pot is dry and light, water thoroughly and drain. Everything else — light, nutrients, pests, temperature — comes after the root zone is right.