How to Kill Grass to Create a New Flower Bed Before Planting
Compare sod removal, sheet mulching, and solarization, with realistic timelines, setup steps, and edge planning to limit lawn regrowth after planting.
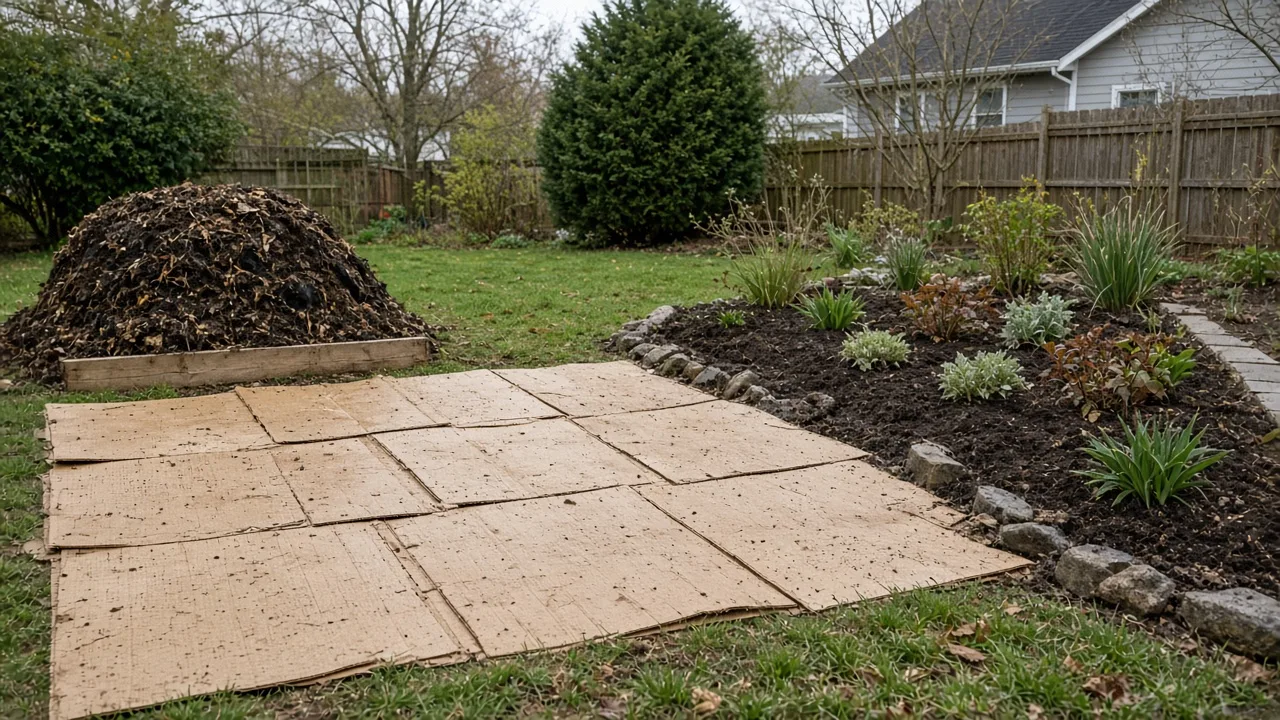
To turn lawn into a flower bed, choose the removal method by when you want to plant, how vigorous the turf is, and how much soil disturbance the site can tolerate. Removing sod is the fastest route to bare ground; sheet mulch is a low-dig option that usually needs months; solarization can suppress turf and weed seeds during a reliably hot, sunny stretch. None is a universal one-step cure for every lawn grass.
This is a new-bed conversion problem: the turf is covering an area you intend to plant, so you can treat the whole footprint before flowers go in. That makes the choices different from removing a few grass clumps among established flowers, where digging or covering the soil could damage plants you want to keep. Start by choosing the bed location and finish line; then remove the turf in a way that suits the site rather than reaching first for a spray bottle or tiller.
Choose a grass-removal method by timeline and site
Use sod removal when you have a large patch to clear quickly, can handle the physical work, and want to plant in the current season. Use sheet mulch when you can wait through a growing season or over winter, want to preserve the soil profile, and can keep the paper/cardboard covered. Choose solarization when you have a flat, sunny area and several weeks of strong summer heat. A black tarp, sometimes called occultation, blocks light but does not heat soil as much as clear plastic under the right solarization conditions. Iowa State University Extension and Outreach’s page is specifically about converting lawn to a new garden bed; the table below compares the main methods by timeline and site.
| Method | Typical planning window | Best fit | Main trade-off |
|---|---|---|---|
| Cut and remove sod | Same day to a few days, plus any soil correction | A small or medium area that must be planted soon | Heavy labor; removes some topsoil and may leave deep roots |
| Sheet mulch / smother | Several months; often fall to spring | A low-disturbance conversion with flexible timing | Slow; seams, dry layers, or vigorous rhizomes can let grass return |
| Clear-plastic solarization | About 4–6 hot, sunny weeks; longer in cooler conditions | Open, full-sun ground during summer | Seasonal and weather-dependent; deep perennial structures may survive |
| Opaque tarp / occultation | Several weeks or longer; check the turf before planting | Light exclusion when peak heating is not possible | Speed varies with species, temperature, moisture, and duration |
Treat those windows as planning ranges, not guarantees. A thin, shallow-rooted lawn on a sunny site is easier to convert than a mature mat of Bermuda grass or another creeping turf. If a test patch stays green or sends up fresh shoots after the cover comes off, extend the treatment or remove the survivors before planting.
Check the site before you start
Draw the proposed outline with a garden hose, rope, or marking paint and live with the shape for a day. A broad curve can look natural, but overly tight bends are harder to edge and mow. Keep enough width to plant in layers and enough access to reach the center without stepping on flowers or compacting wet soil.
Before covering or stripping anything, check the lawn’s slope, drainage, sun exposure, and existing trees. A New York Times garden column on making a no-till bed also emphasizes assessing the site and choosing between smothering and solarization based on what is growing there. Water that pools after rain needs a drainage or grading plan before you smother the lawn; a new bed does not fix a soggy low spot by itself. If mature tree roots cross the site, avoid aggressive sod cutting or deep tilling that could sever them. Call the local utility-marking service before digging trenches or installing deep edging.
Map sun, water, slope, and utilities
Observe the location at the time of day your intended plants need sun. Most flowering perennials need several hours of direct light, but shade plants and woodland species are exceptions; the bed should be designed for the actual site rather than the spot where grass was easiest to remove. Note where the roof, pavement, or slope sends runoff, and make sure the bed will not direct water toward a foundation or onto a neighbor’s property.
A nearly level area is simplest for sheet mulch and plastic covers because materials stay in place and moisture spreads more evenly. On a slope, sod removal may expose soil to erosion, while cardboard and mulch can slide or wash away before they settle. Use contour-aware planting and secure the cover; if you cannot keep the soil stable, establish the bed in smaller sections instead of clearing a large bare slope at once.
Remove sod when you need to plant soon
Sod removal gives you the most immediate visual reset and makes it easier to establish small plants or seed into a prepared surface. It is the right choice when waiting months is impractical, but it is also the most strenuous method. A sod cutter can speed up a broad, relatively even lawn; for a small curved border, a sharp flat spade and garden fork may be more controllable.
The objective is to remove the grass crown and most of the dense root mat without excavating a foot of healthy soil. Cut the outline first, then divide the turf into strips or manageable squares. Avoid rototilling live turf as a shortcut: chopping perennial runners and rhizomes into pieces can spread the problem through the new bed, and tilling may bring buried weed seeds closer to the surface.
Cut sod cleanly and protect the soil
Mow the grass short and water the area the day before if the ground is dry; slightly moist soil is easier to cut than hard, powdery soil. Use a flat spade or sod cutter to slice beneath the crowns, working to a consistent shallow depth rather than digging deeply by guesswork. Roll or stack each strip with the roots enclosed so it is easy to move, and keep the exposed soil covered if you cannot finish the project that day.
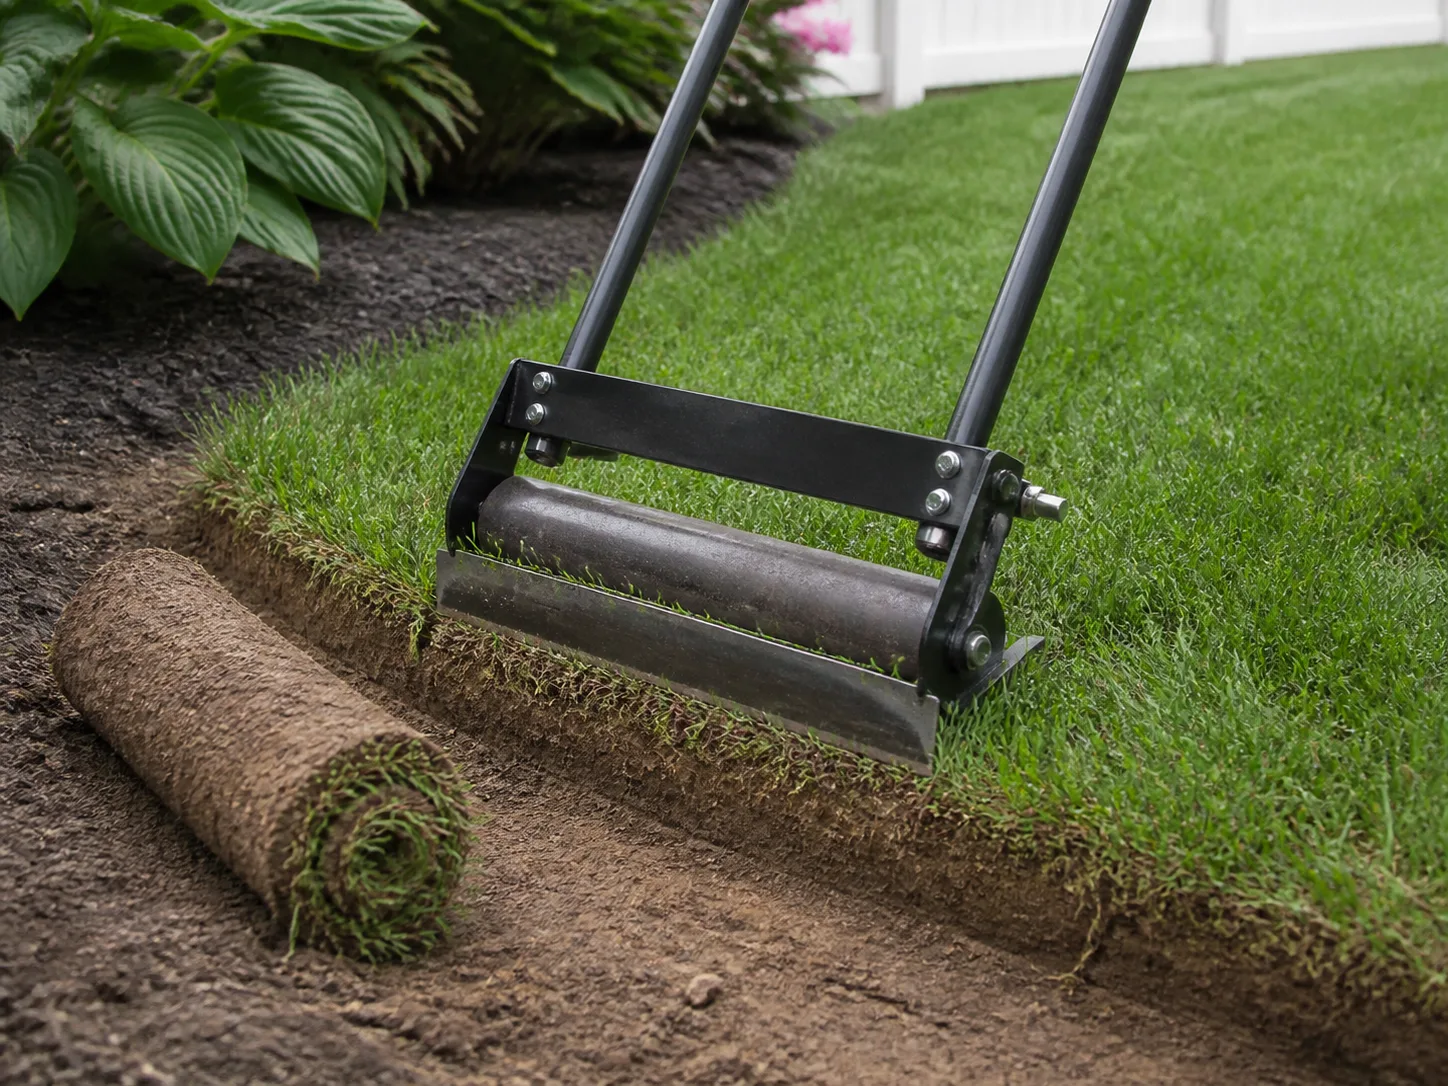
Lift the turf rather than repeatedly chopping it in place. Inspect the cleared surface for connected runners and thick root mats, especially at the lawn edge; remove obvious live pieces with a fork. Some soil will leave with the sod, and that is a real cost of the fastest method. If the site is depleted or uneven, spread a thin layer of finished compost after a soil test rather than automatically replacing the missing depth with purchased topsoil.
Sod can be reused elsewhere if it is healthy and you can lay it promptly on prepared ground. If you compost it, keep the stack isolated from the new bed and allow it to break down fully; living crowns or seed heads placed on a cool, open compost pile can survive or spread. Do not simply turn the strips upside down under the new flowers and assume they are dead.
After removal, rake only enough to level and expose remaining crowns. A shallow follow-up pass is often enough to pull out roots; deep cultivation is more likely to disturb soil structure than to improve it. Water the bare area and watch for regrowth over the next week or two if the lawn was vigorous. Remove any green shoots before you add plants or a decorative mulch layer.
Smother lawn grass with sheet mulch
Sheet mulching blocks light and gradually weakens grass while organic material decomposes above it. It is often called a no-dig or lasagna method, though there is no single universal recipe. For a flower bed, the practical sequence is to mow low, wet the lawn, lay a continuous opaque paper/cardboard barrier with overlapping seams, wet the barrier so it conforms, and cover it with a stable organic mulch or planting layer.
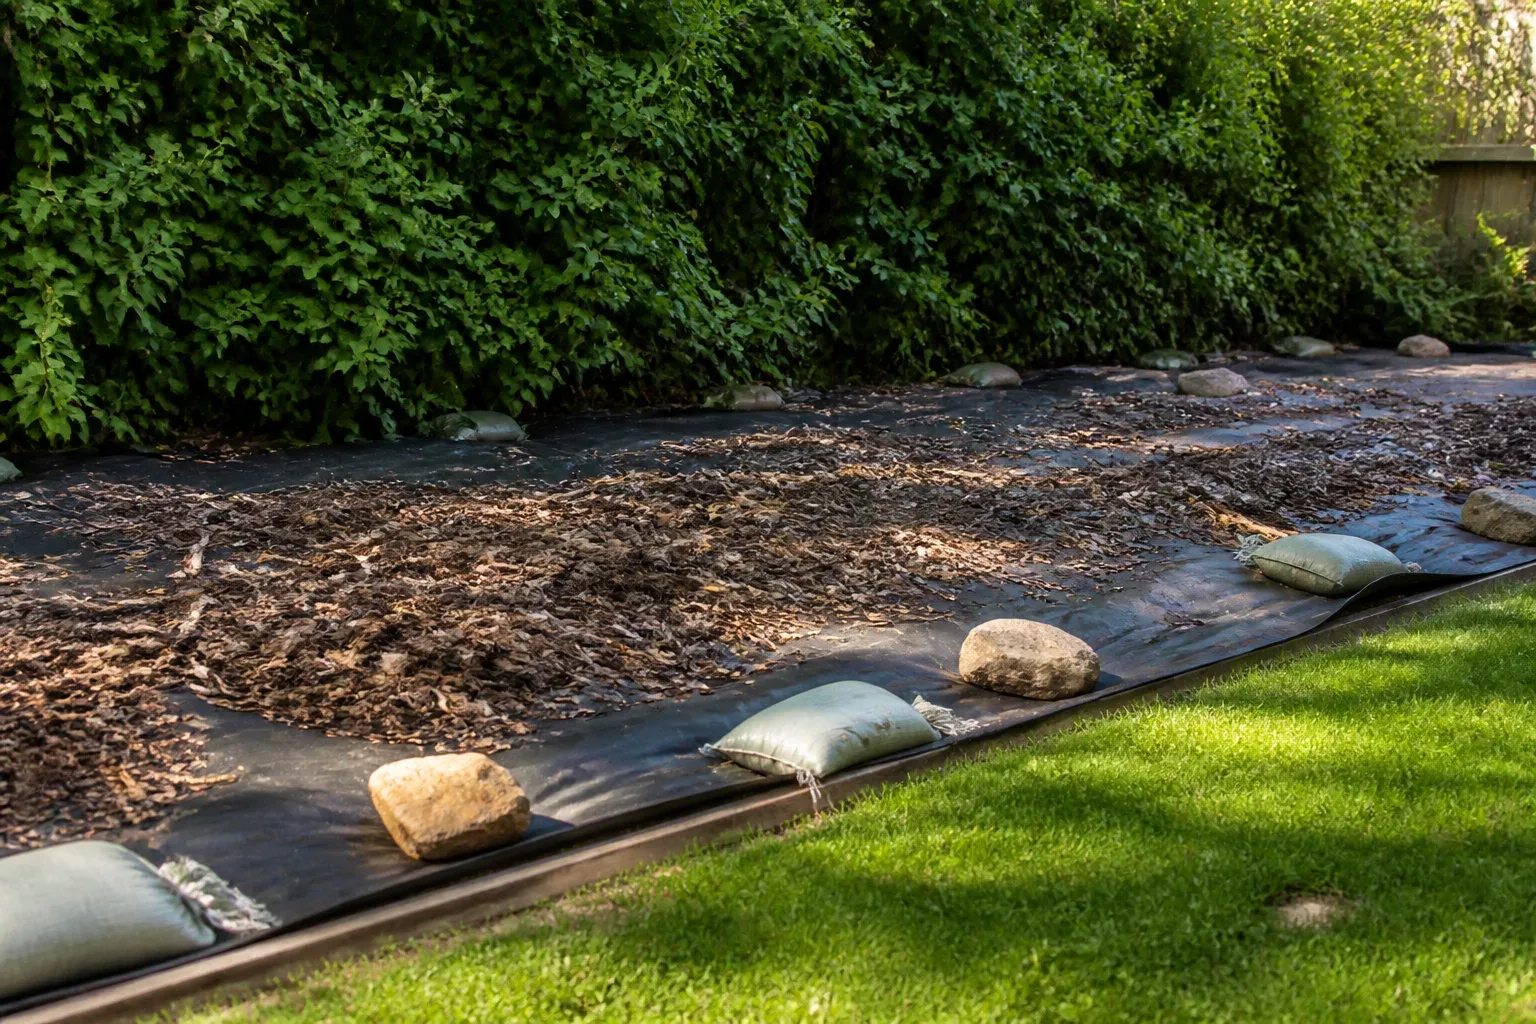
This option is easiest when you can prepare the area in fall and plant the following spring, or when you can let the cover sit through a long growing season. Gardening Know How’s account of converting an overgrown field describes leaving plastic over the site from fall to spring, then raking out remaining root clumps before planting. That is one gardener’s experience, not a universal schedule, but it illustrates the useful rule: inspect the ground after uncovering it instead of assuming a set number of weeks killed every perennial root.
Lay cardboard or paper in overlapping layers
Mow the grass as low as the mower safely allows and remove thick thatch or debris that would hold the paper away from the soil. Water the site so the soil is moist, not flooded. Lay plain corrugated cardboard or several overlapped sheets of uncoated paper across the entire lawn footprint, extending the edges beyond the outline so grass cannot immediately sneak in at the seams. Wet each layer as you go; a dry sheet can shift in wind and leave light gaps.
Overlap seams generously—roughly a handspan is a practical minimum—and stagger the joints between layers. Remove tape, labels, glossy coatings, and plastic film. Avoid using a stack of impermeable materials or landscape fabric as a permanent substitute for organic paper: the cover needs to stay dark enough to suppress turf, but water and air must still reach the soil as it breaks down.
Cover the paper with a few inches of mulch or suitable compost, distributing the load evenly so the paper remains in place. Keep the layer away from tree trunks, woody stems, and any plant crowns that are already in the area. If the sheet-mulched bed will be planted later, you can let the barrier decompose before planting. If you want to plant through it, cut modest openings only where needed and check that the turf directly beneath each hole has died; each cut is a possible escape route for grass.
Water the completed cover when rainfall is absent and check the perimeter after wind. Cardboard that dries, curls, or blows open exposes the lawn and lets it resume growth. Persistent grass that appears along the edges usually means the treatment footprint was too small, not that you need to bury the entire garden under a much thicker layer. Extend the paper beyond the living turf and keep the edge covered until the grass stops pushing through.
Solarize turf during the hottest sunny stretch
Solarization uses clear plastic to trap solar heat in moist soil. It can suppress grass, weed seedlings, and some seeds in the treated upper soil, but results depend on sun, wind, moisture, plastic-to-soil contact, duration, and the biology and depth of the target grass. It is not equivalent to leaving any plastic over the lawn: a shady spot or a cool, windy period may never build enough heat.
UC IPM describes soil solarization as a four-to-six-week treatment during a hot period, with longer exposure sometimes needed under cooler or less favorable conditions. Its guidance also notes that solarization is generally less dependable against perennial weeds with deep roots, rhizomes, corms, or tubers than against annual weeds; some shallow rhizomes may be controlled, while others can resprout. The Alabama Cooperative Extension System’s solarization guidance similarly describes the method as a multi-week treatment and cautions that weed control does not automatically carry over into later years.
Prepare, seal, and monitor the clear plastic
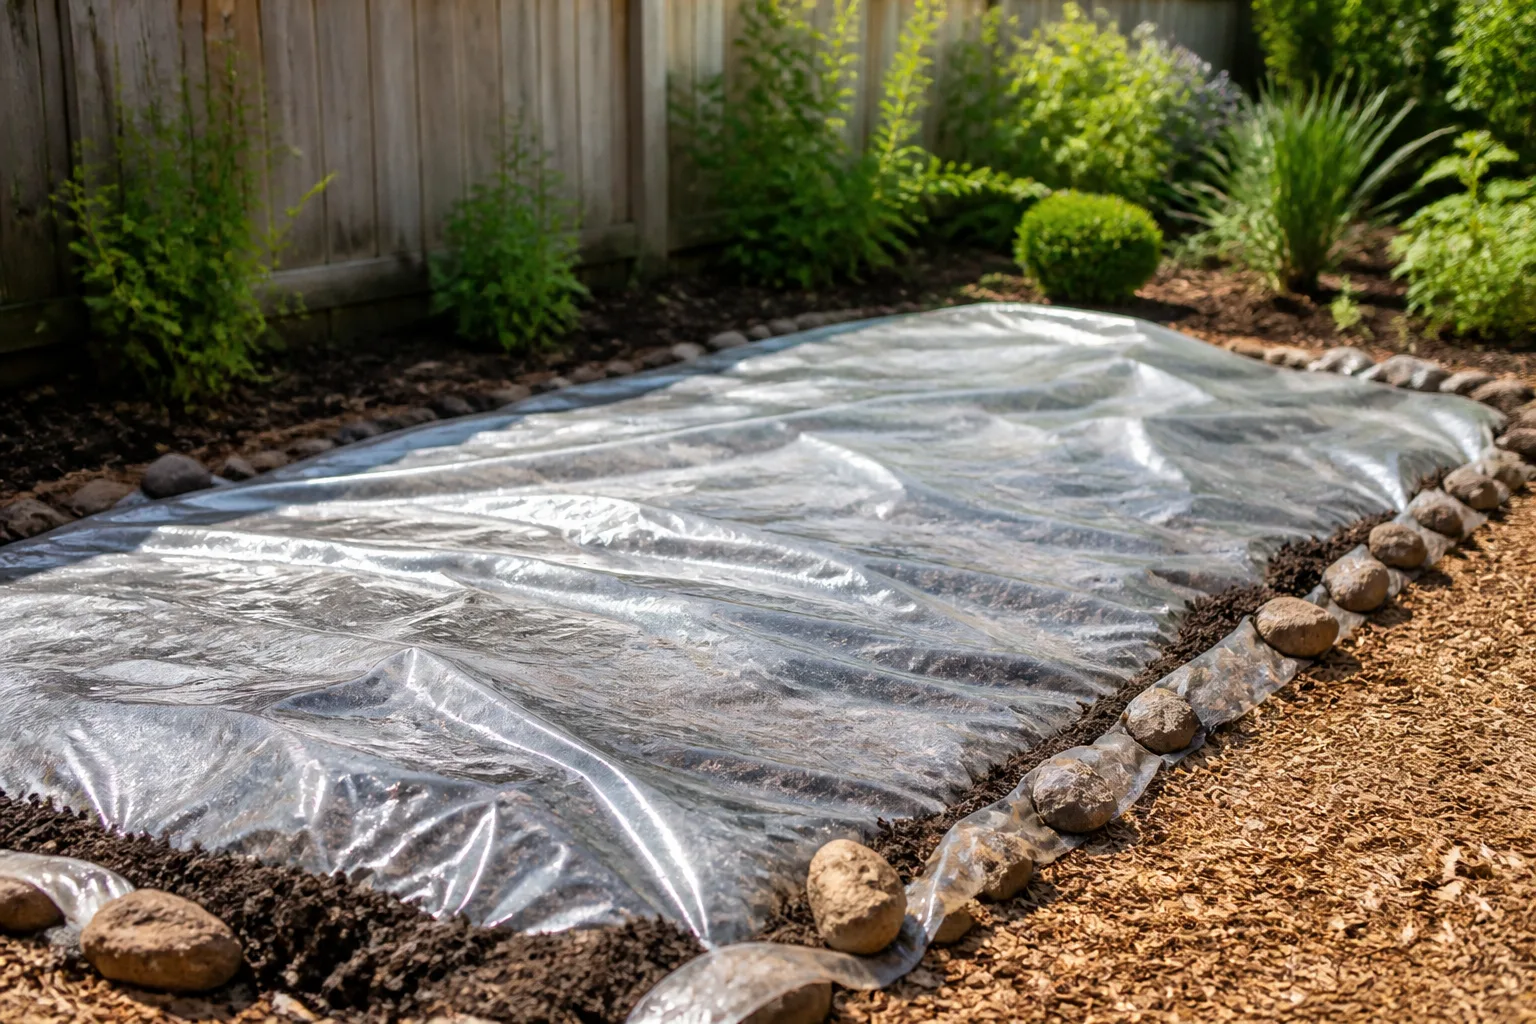
Mow the turf low, remove sticks and sharp debris, and smooth high clods so the plastic can lie close to the ground. Water the soil deeply before covering; moist soil transfers heat better than dry soil. Stretch clear polyethylene over the full target area with enough extra material to secure the edges. For a flat bed, burying the perimeter in a shallow trench creates a better seal than placing a few loose stones on top.
Check the plastic after wind and rain. Patch holes, reseal lifted corners, and keep the sheet in contact with the soil; air gaps reduce heating and can let grass continue growing. A soil thermometer inserted near the center can show whether the soil is getting hot, but temperature at one point does not prove every edge or deeper root is controlled. Leave the sheet in place for the appropriate hot-weather window, extending it if the site had clouds, shade, or cool nights.
When you remove the plastic, do not rototill deeply. UC IPM recommends minimizing post-treatment disturbance because cultivation can bring viable weed seeds from deeper soil back to the surface. Lawn Love’s practical solarization walkthrough likewise highlights keeping the plastic in close contact with the soil and securing the edges. Rake out dead thatch and visible live roots, then plant or prepare shallowly. If green grass remains, hand-remove or repeat a suitable treatment; do not bury active shoots under compost and assume heat has finished the job.
Use a black tarp when blocking light matters more than peak heat
Opaque tarping, often called occultation, kills or weakens plants mainly by excluding light, while clear plastic solarization aims to raise soil temperature. eOrganic’s review by University of Maine researchers explains that clear plastic generally heats more under hot, sunny conditions, while black tarping can be useful when the goal is to keep a prepared bed dark and suppress later emergence. The relative effectiveness varies with climate, soil moisture, weed species, and how tightly the tarp is secured.
For a new flower bed, a heavy reusable tarp can be convenient if the ground is not hot enough for solarization or you want to hold a prepared footprint until planting. Mow first, wet dry ground, and secure the edges so light cannot leak underneath. Leave it for several weeks or longer, then uncover a small test area and look for live crowns before committing to plants. If the grass remains vigorous, extend the cover or switch to sod removal in that patch.
Avoid promising yourself a fixed kill date. A black tarp can make a lawn look completely suppressed while dormant crowns or rhizomes remain alive underneath. When the cover is lifted, sunlight and rain may trigger renewed growth, so the test-and-remove step is part of the method, not evidence that the tarp failed.
Combine methods only for the problem they solve
A combination can be practical when the lawn has both a large easy-to-cover area and a few persistent clumps. For example, remove sod along the future edge to create a crisp boundary, then sheet-mulch the interior. Or solarize a sunny summer patch and lift the surviving rhizomes afterward. Combining methods should reduce work or solve a specific weakness; layering plastic, cardboard, soil, and compost without a plan can make the bed harder to water and level.
If you have time before planting, sheet mulch over most of the area and reserve sod removal for the thickest turf or places where the paper would be difficult to anchor. If an aggressive grass grows back from the adjoining lawn, treat that source strip as a boundary problem: remove the visible runners, extend the cover beyond the edge, and install a maintainable edge. Do not repeatedly till small green shoots into the soil; remove them while their roots are still accessible.
Use herbicide only when label and plan allow it
A new bed has no established flowers to shield, but herbicide is still not automatically the best conversion method. Product labels vary by target grass, application site, weather, replanting interval, and whether the product is selective or nonselective. If you consider one, identify the turf first and follow the current label exactly, including personal protective equipment, application limits, re-entry directions, and any waiting period before planting.
A nonselective product can injure any contacted green plant and may be a poor fit near trees, water, or desirable vegetation. A grass-selective product can still affect ornamental grasses and other grass-like plants later if spray drifts or roots are exposed. Pre-emergent products prevent some seeds from germinating; they do not remove living sod or rhizomes. For a homeowner converting an ordinary lawn patch, sod removal, sheet mulch, or solarization usually gives a clearer path from treatment to planting without guessing at a product’s replanting restrictions.
Prepare the exposed soil without deep tilling
Once the turf is dead or removed, assess what remains before amending. Check for hardpan, standing water, construction debris, compacted paths, and any change in soil level near sidewalks or foundations. A home soil test can identify pH and nutrient needs; add fertilizer or lime only when the result and the plants you plan to grow call for it. Compost improves organic matter, but a thick layer of rich material is not a substitute for correcting drainage or choosing plants suited to the site.
If you removed sod, the surface may be lower because the grass and its root mat carried soil away. Add soil or compost in modest layers and blend only into the upper few inches where needed. If you sheet-mulched, the organic layer will settle as it decomposes, so do not build a tall mound against a structure or woody stem. Leave enough clearance that finished soil and mulch will not cover siding, pavement drainage gaps, or plant crowns.
Where the grass was perennial and rhizomatous, inspect exposed soil for pale, wiry runners before planting. Pull out the pieces you can reach without excavating unnecessarily. For deeply rooted turf, expect some monitoring and repeated removal; the first visible brown canopy does not guarantee every underground growing point has died. Leaving the topsoil mostly intact helps preserve structure, and shallow cultivation reduces the chance of bringing new weed seeds up from below.
Plant after checking for live turf, not after a calendar date
The safest planting signal is a clear surface with no active grass growth, not “six weeks have passed.” Before setting out flowers, inspect the center, edges, seams, and any low spots. Rake aside mulch or loose dead foliage and look for green crowns, white runners, or fresh shoots. If you find a few, remove them now and recheck after rain or irrigation; if a large patch is still alive, delay planting or clear that section with another method.
Sod removal may let you plant quickly, but only after the bed is level and the soil is suitable for the plants. Sheet mulch often needs an autumn-to-spring interval or a long warm season before the cover is fully settled. Solarization is most reliable when the treatment coincides with hot, sunny weather, so a cool spring calendar does not replace the heat needed for the process. In every case, choose planting season based on the flowers and your climate, then count backward to schedule lawn removal.
Do not assume all dead grass needs to be removed. Thin, fully dead turf can decompose under a new organic planting layer, but thick thatch may repel water or create an uneven, spongy surface. Remove what prevents roots from reaching soil, and keep crowns and root flares at the correct height when planting. Water new plants at their root balls rather than trying to compensate for a dry or uneven bed with frequent shallow sprinkling.
Stop lawn grass at the new bed edge
A new bed next to a lawn is not finished when the middle is bare; its boundary must be easy to inspect and maintain. Cut a clean edge with a spade, half-moon edger, or suitable edging product and keep mulch from spilling over the line. A narrow trench or physical edging can make creeping grass easier to spot, but no shallow barrier reliably stops every rhizome. Inspect the lawn side and pull runners before they establish crowns inside the planting.
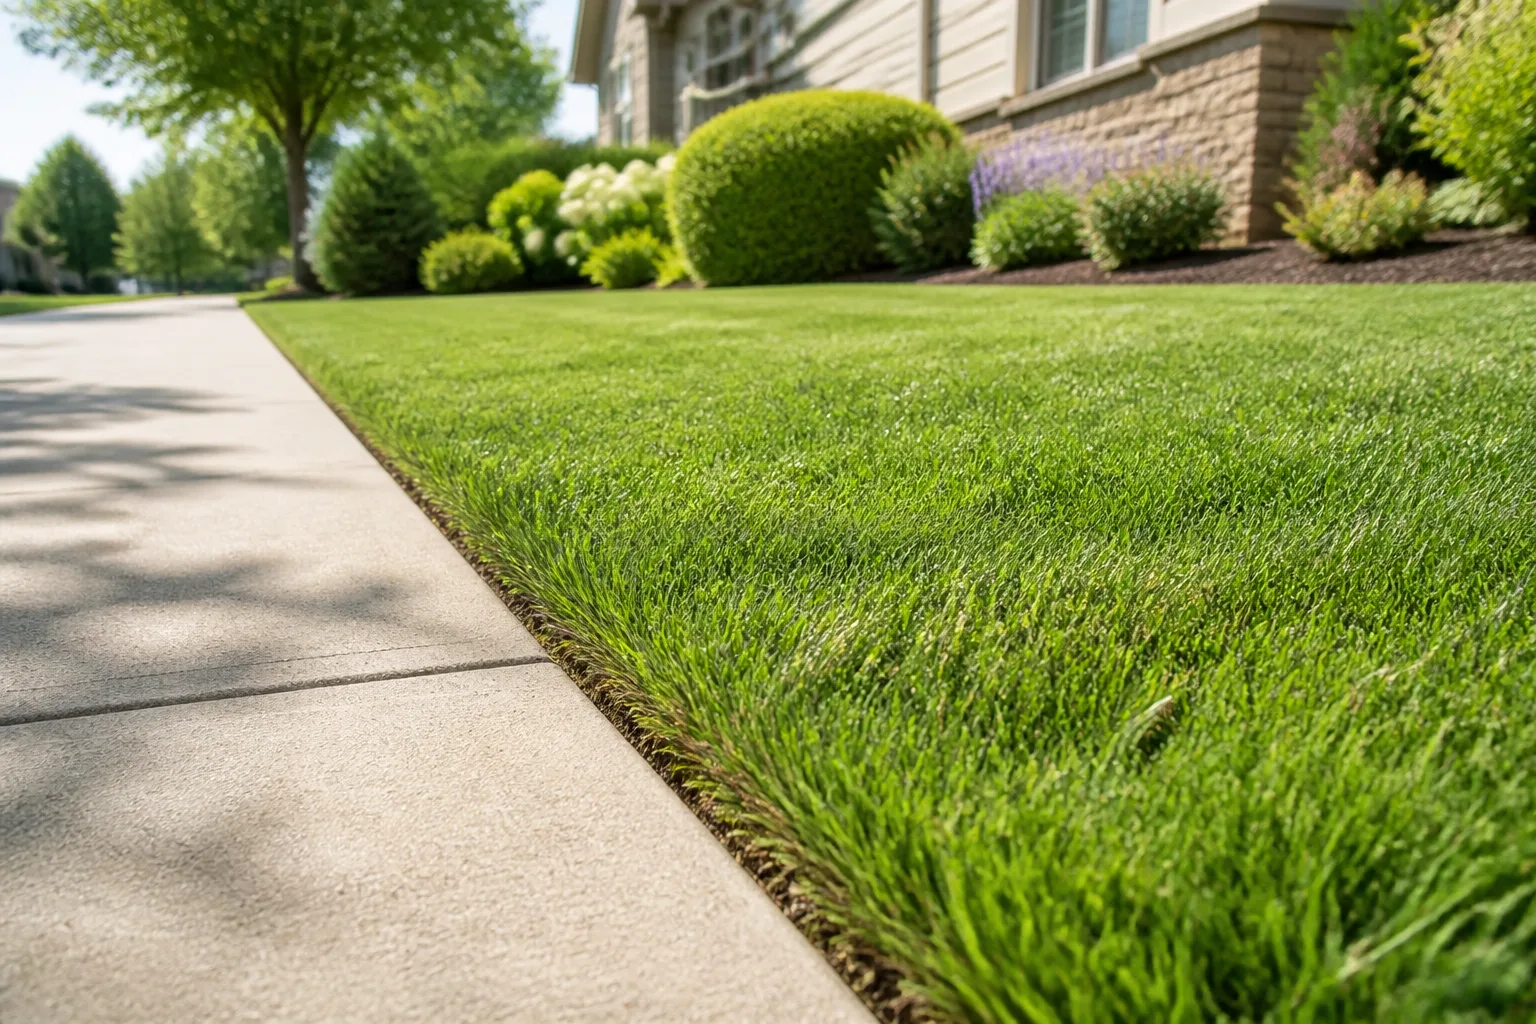
Make the bed wide enough that flowers do not sit directly on the mowing line. Leave room for plants to reach mature spread and for a hand tool to clear the edge without cutting into crowns. Mulch the bed after planting, but keep it away from stems and crowns; it suppresses new seedlings and makes small grass shoots easier to see, yet it cannot replace an intact boundary or remove a deep-rooted invader.
During the first growing season, check the perimeter every week or two when the lawn is actively growing. Mowing can hide a runner until it crosses into the bed, so look for grass entering beneath foliage and along seams in edging. A quick pull when the shoot is young is easier than digging a mature clump out of a dense perennial planting. If the same section keeps returning, trace it back toward the lawn rather than only cutting the visible leaves.
Fix setbacks before they become a second conversion
If grass appears after you plant, identify where it started. A few seedlings across the bed may come from seed and can be pulled shallowly. Shoots in a line near the lawn edge suggest an incoming runner or a gap in the edge. A broad return across the covered footprint means the original turf survived or the treatment was too short for the site. These patterns point to different fixes, so do not repeat the same method everywhere without checking.
For sheet mulch, lift the mulch at a small test spot and look for a dry, torn, or overlapped seam. Repair the gap, wet the cardboard, and add enough cover to keep it dark. For solarization or tarping, identify whether the grass grew beneath a loose corner or resprouted from a deeper rhizome; reseal or remove the roots as appropriate. If sod cutting left a living border, extend the cut slightly into the lawn and remove the connected runner without digging into the new flowers.
Avoid solving every setback with a thicker mulch pile. Excessive depth can keep water and air from reaching the root zone, bury plant crowns, and raise the bed surface above edging. Reopen only the affected area, remove the live structure or correct the seam, and restore a moderate, even layer. If the lawn species is unusually persistent or invasive, ask a local Extension office to identify it and recommend a method for your climate before disturbing a larger patch.
Conclusion
To kill grass for a new flower bed, match the method to your deadline: cut and remove sod for speed, sheet-mulch for a slower low-dig conversion, or solarize during a reliably hot, sunny window. A black tarp can suppress growth by excluding light, but it is not interchangeable with solarization, and none of these covers guarantees that deep perennial roots are gone.
Prepare the outline and drainage first, keep soil disturbance shallow, then check the center and edges for live crowns before planting. Finish with a clean, maintainable lawn boundary and inspect it through the first growing season. That sequence turns a bare patch of lawn into a bed with less rework—and gives you a clear next step if a stubborn runner appears.



