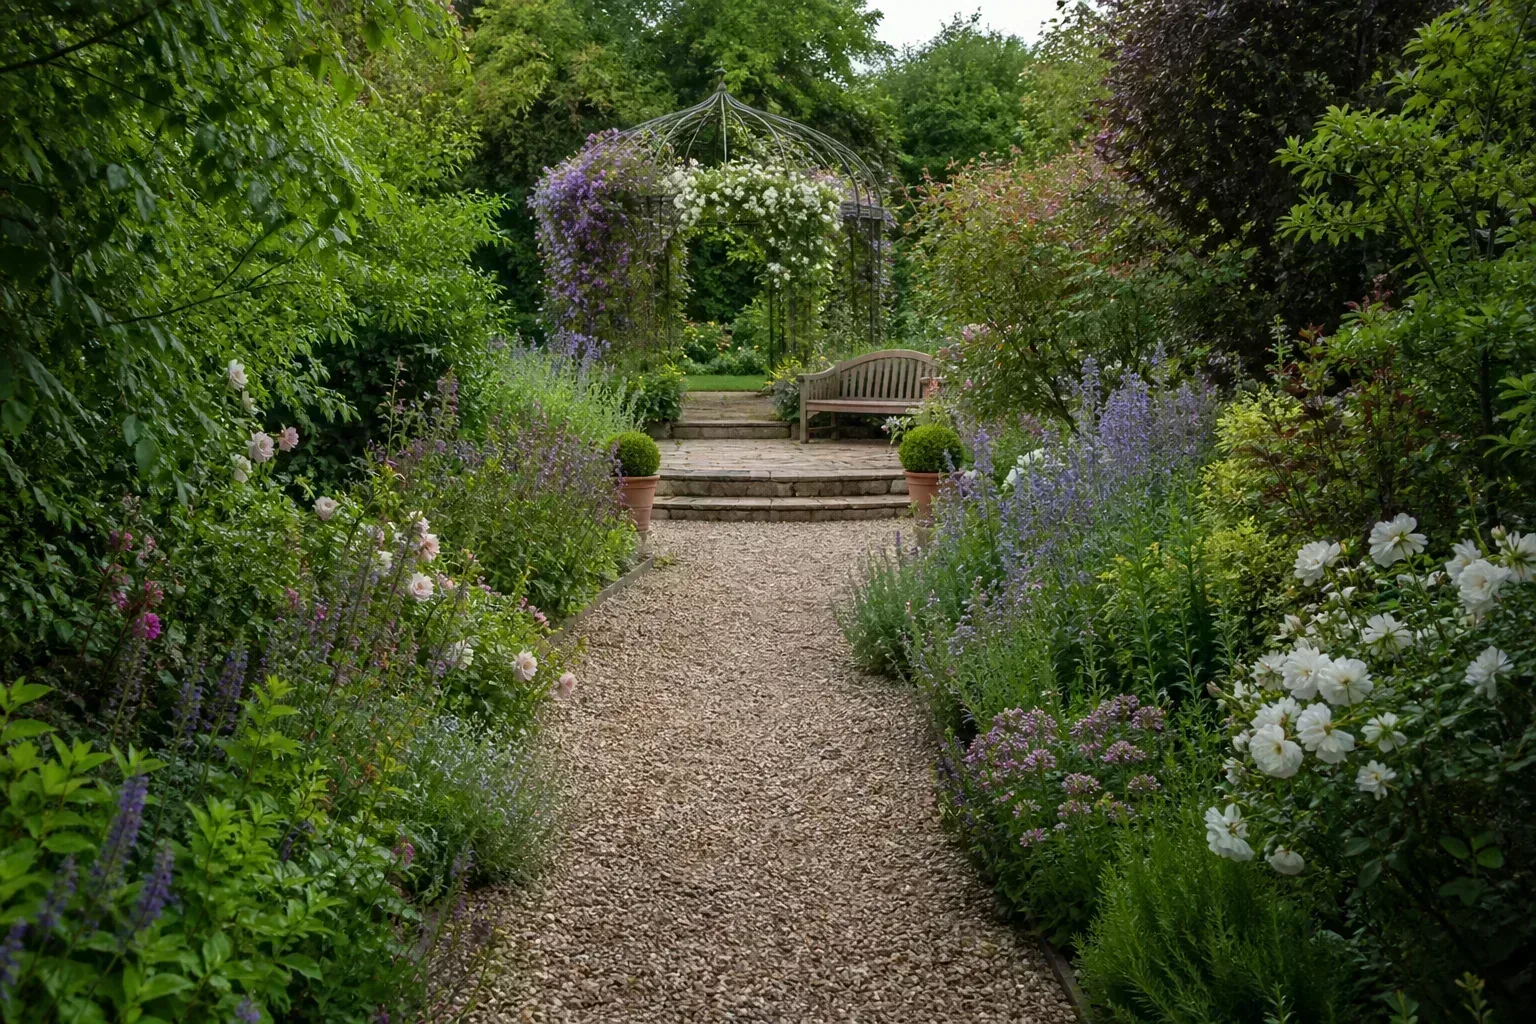
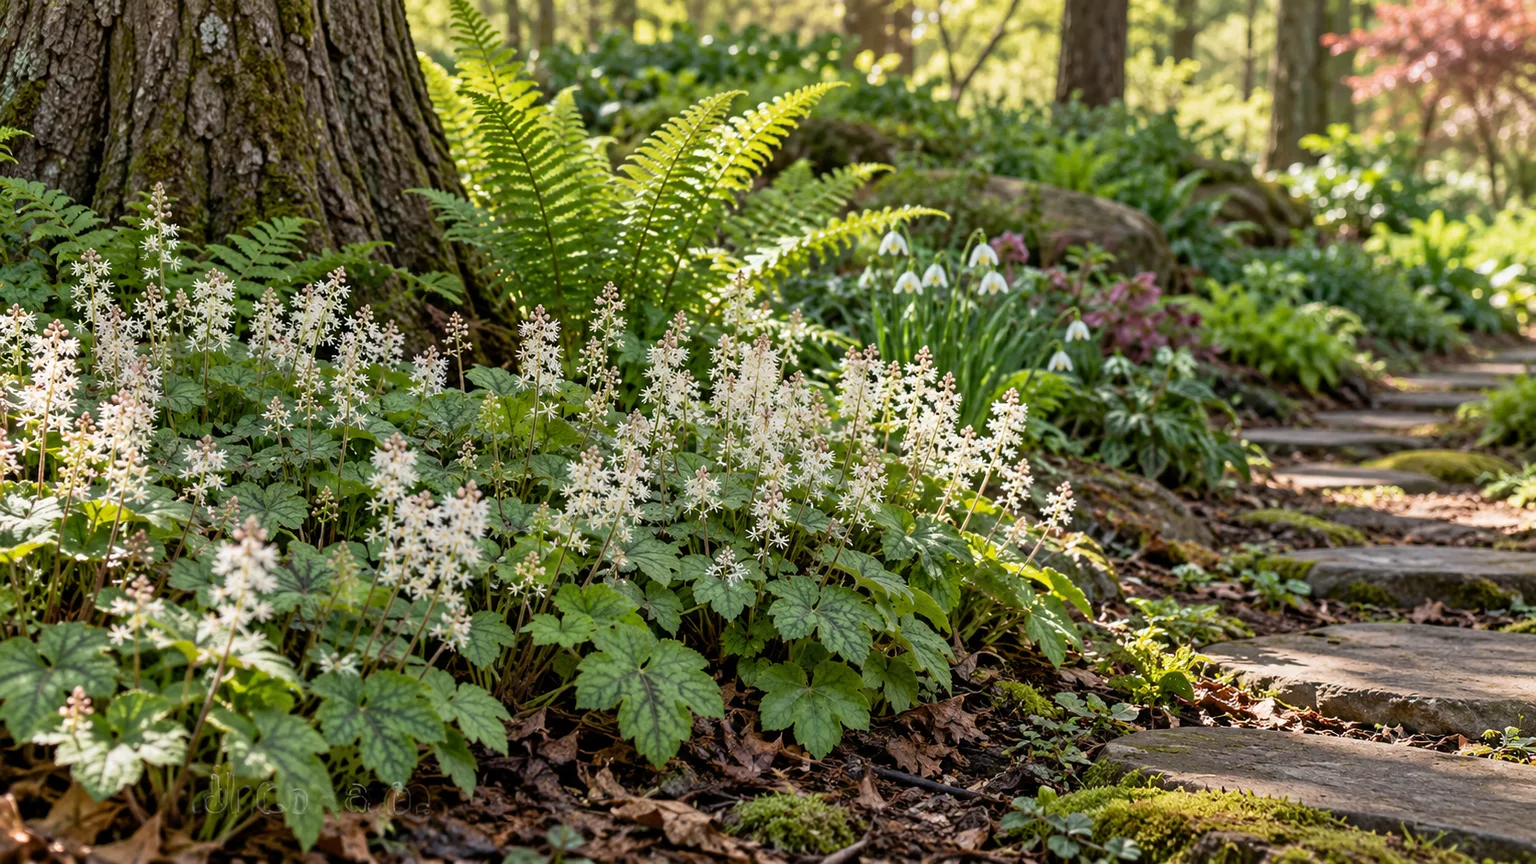
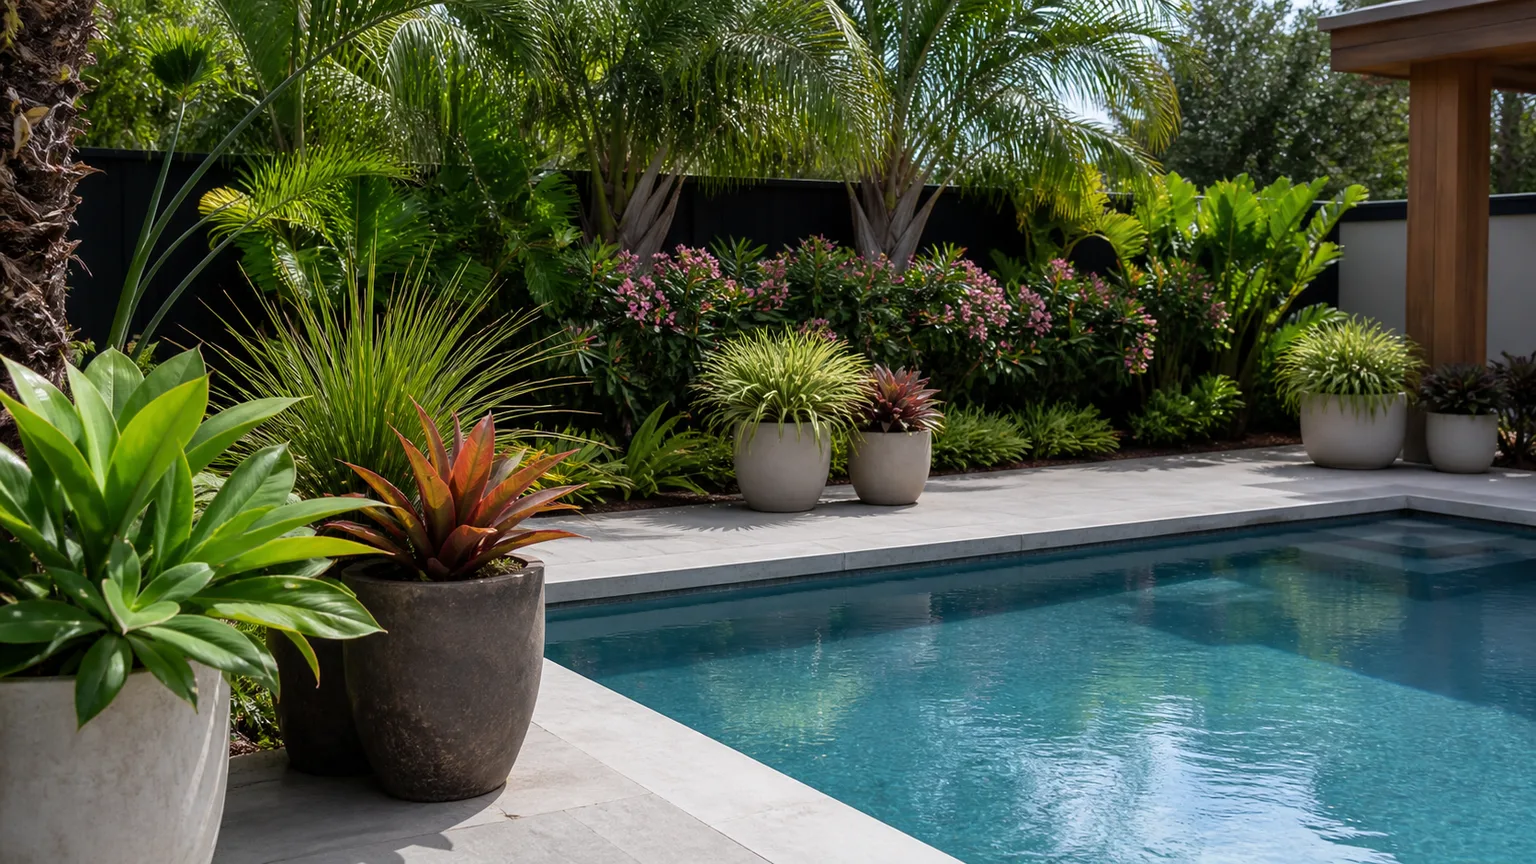
7 Low-Cost Landscaping Updates for a Better Yard
Make a yard look finished on a realistic budget with seven landscaping updates, from climate-fit plants and mulch to edging, lighting, and garden art.
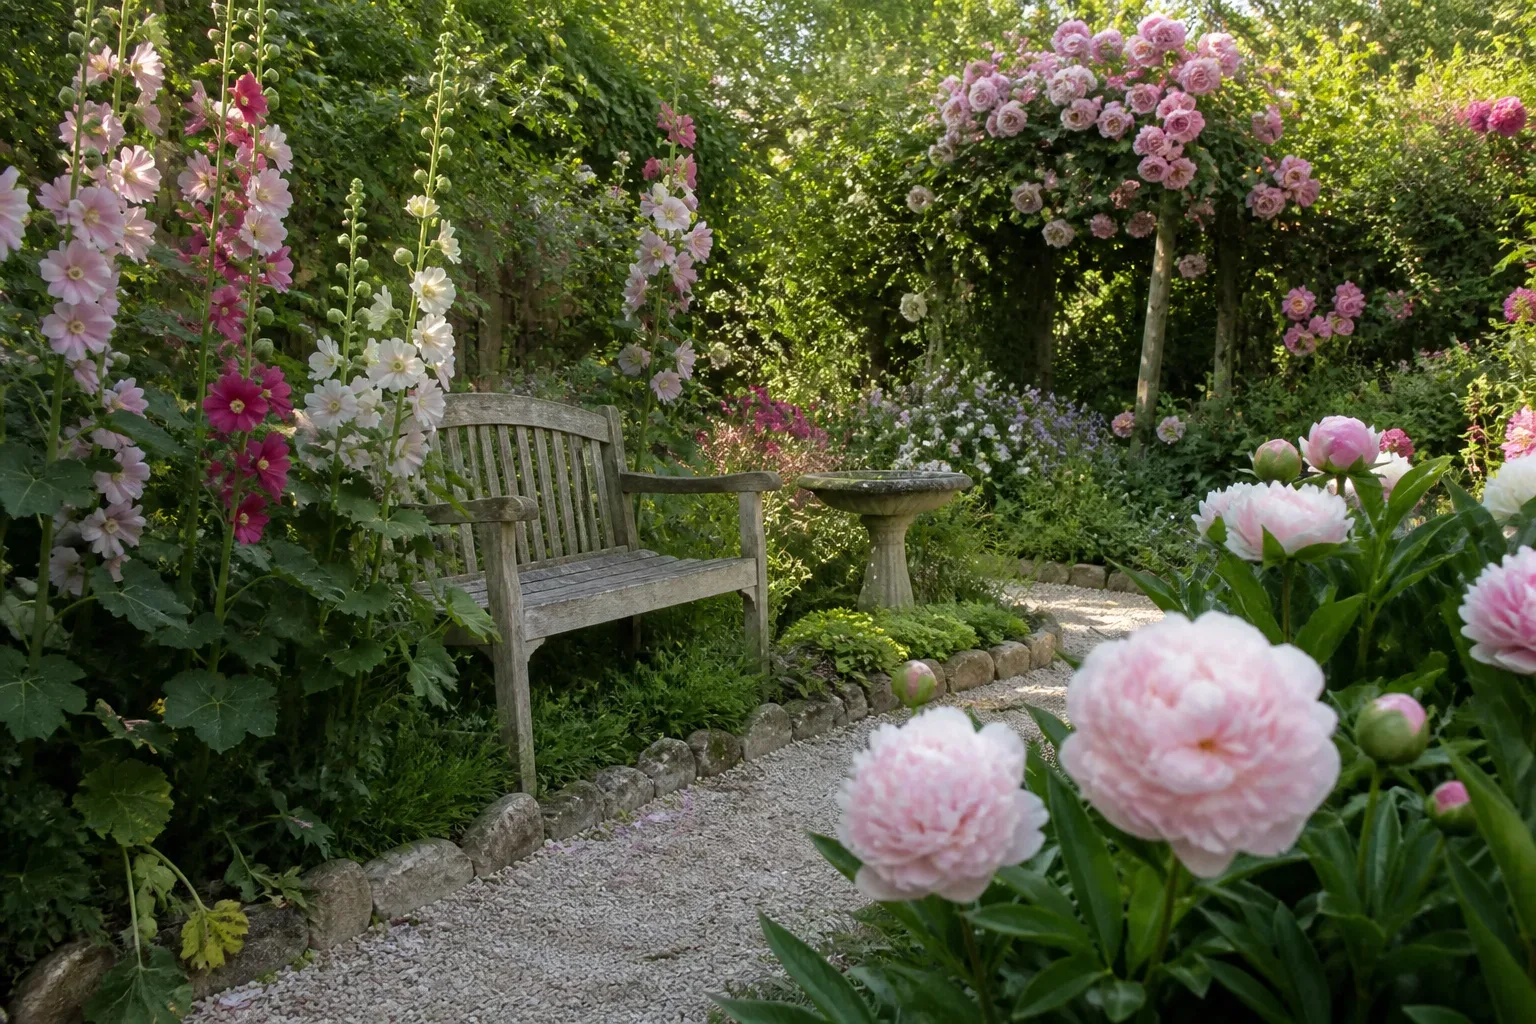
A yard can be healthy and still look unfinished. Usually the problem is not a lack of expensive plants; it is that the planting beds, lawn, path, and outdoor living areas do not yet have a clear relationship.
The best low-cost landscaping updates give each part of the yard a job. Plants supply structure and seasonal interest, mulch makes soil look intentional, an edge separates one surface from another, and lighting or a small focal point helps the space work after dark. Start with the update that fixes the most visible problem, then stop before the yard becomes a collection of unrelated projects.
Start with a 30-minute yard audit
Walk from the street or sidewalk toward your front door, then repeat the walk from the patio or the most-used back-door route. Take photos from eye level. A camera reveals crooked bed lines, blocked paths, bare mulch patches, and plants that disappear into a larger shrub much faster than standing in the middle of the yard does.
Mark five things: the best view, the first thing that looks messy, where water sits after rain, the route a mower or wheelbarrow needs to take, and the place where you would actually sit or entertain. This turns “make the yard nicer” into a short list of visual and functional jobs.
Define the problem before you buy
If the bed looks messy because the edge has disappeared, buy a half-moon edger or plan the border before buying more plants. If the bed is empty and flat, add a repeated planting group. If the yard is pleasant in daylight but unusable at night, lighting is the better first move. Do not use mulch to hide a drainage problem or a new planter to block an already narrow walkway.
Before digging, check local utility-marking requirements; in the United States, that usually means contacting 811. Also note the hours of sun, the direction of roof and driveway runoff, and the mature width of anything you plant near a path. The EPA WaterSense landscape-design guidance makes the same fundamental point: plant choices should respond to soil, sun, wind, moisture, and local climate rather than color alone.
1. Replace a tired planting strip with climate-fit plants
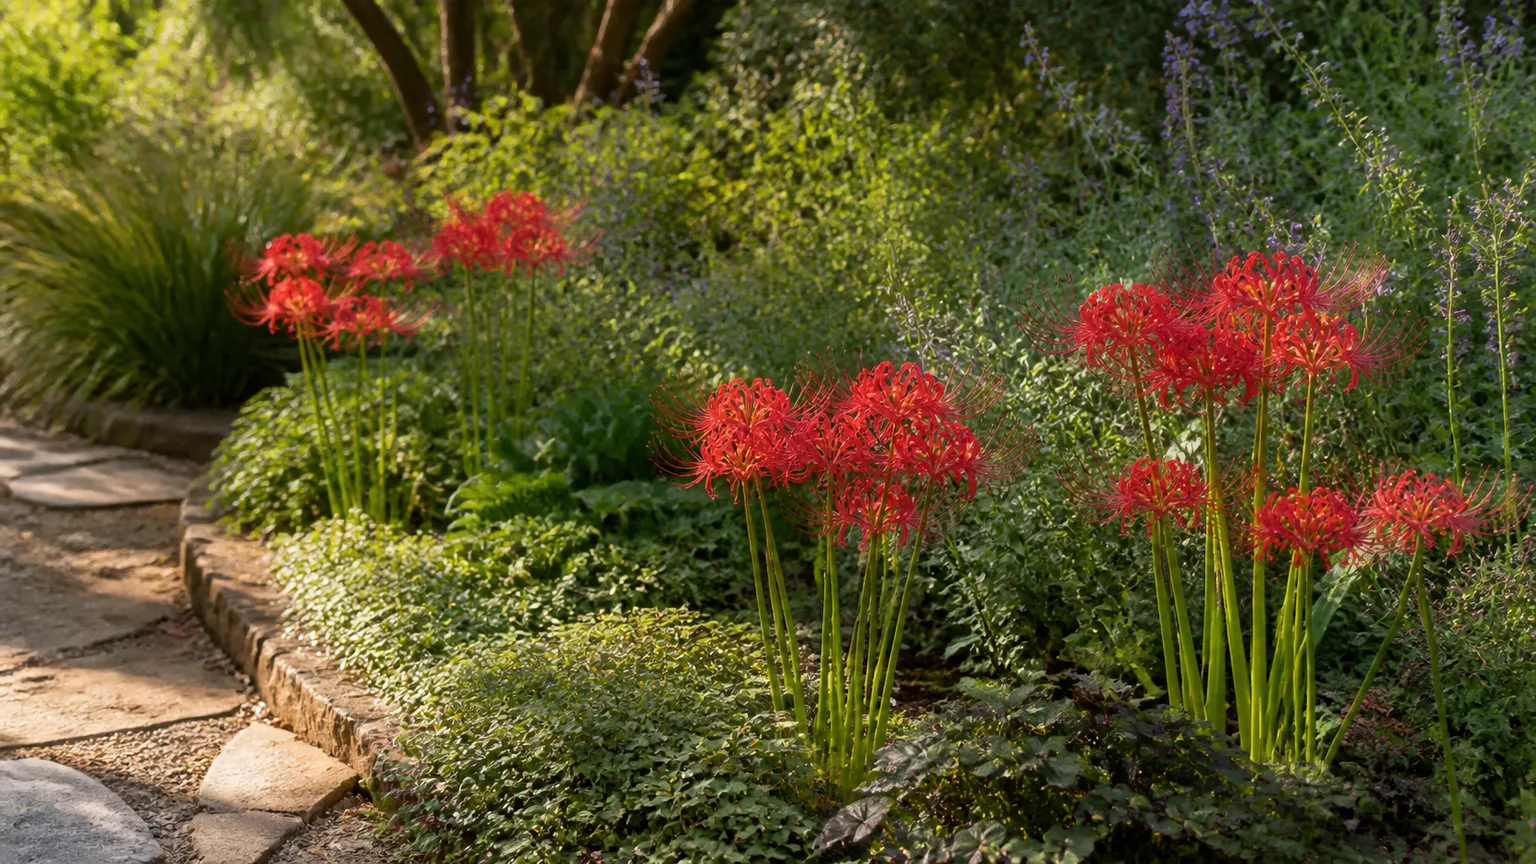
A narrow strip of mixed annuals can look cheerful for a few weeks and then become the highest-maintenance part of the yard. A more durable refresh is a small palette of perennials, shrubs, ornamental grasses, or ground covers that suit the site and repeat at least one shape or color.
“Native” is a useful starting filter, not a complete planting plan. The National Wildlife Federation explains that plants form the base of food webs and provide wildlife with food, cover, and places to raise young. That ecological value is a strong reason to include locally appropriate species, but a native plant still fails when it is put in wet clay, deep shade, or a hot reflected-sun strip that does not match its needs.
Choose by site conditions, not color alone
Make a short site card for the bed before you visit a nursery:
- Light: full sun, morning sun, bright shade, or deep shade.
- Water: dries quickly, stays evenly moist, or collects runoff.
- Soil: sandy, clay-heavy, compacted, or already loose and dark.
- Scale: the maximum height and width that will leave the path and windows clear.
- Maintenance: weekly deadheading, seasonal pruning, or mostly hands-off.
Then group plants with similar water needs. The EPA calls these groupings hydrozones because separating thirsty turf from drought-tolerant shrubs helps prevent both overwatering and underwatering. If you want less irrigation, the design change is not merely buying drought-tolerant plants; it is keeping them out of the same zone as plants that need frequent water.
Buy smaller plants when the bed is not needed for instant coverage, and spend the savings on repeating the same plant. Three or five of one good plant usually look more deliberate than seven unrelated impulse purchases. Water new plants consistently through establishment, even when the mature plant is drought tolerant; “low maintenance” begins after the roots have settled in.
Use repetition for a designed look
Repeat a plant, material, or color at least twice so the eye can connect separate areas. For example, echo a silvery leaf near the front walk and again beside the patio, or use the same dark mulch in each bed rather than mixing red bark, pale stone, and bare soil.
Keep the tallest plant at the back of a border or at the center of an island bed, then step down toward the edge. Leave enough room for the mature plant instead of filling every gap on planting day. A bed that looks slightly sparse now often looks balanced after one growing season; an overfilled bed becomes expensive when you have to move half of it.
2. Refresh beds with the right mulch layer
Mulch is one of the fastest visual resets because it turns scattered soil into a continuous surface. It also has a practical job: organic mulch can reduce evaporation, slow weeds, moderate soil temperature, and reduce erosion. Those benefits are why the EPA includes mulch in its water-smart landscape recommendations, not because every bed needs the same color or material.
Remove large weeds, rake out compacted clumps, and water dry soil before applying mulch. If you spread mulch over a mat of perennial weeds, you have mostly hidden the problem. If the bed already has a thick layer, loosen and redistribute it rather than adding another bag on top every year.
How much mulch to use and where to stop
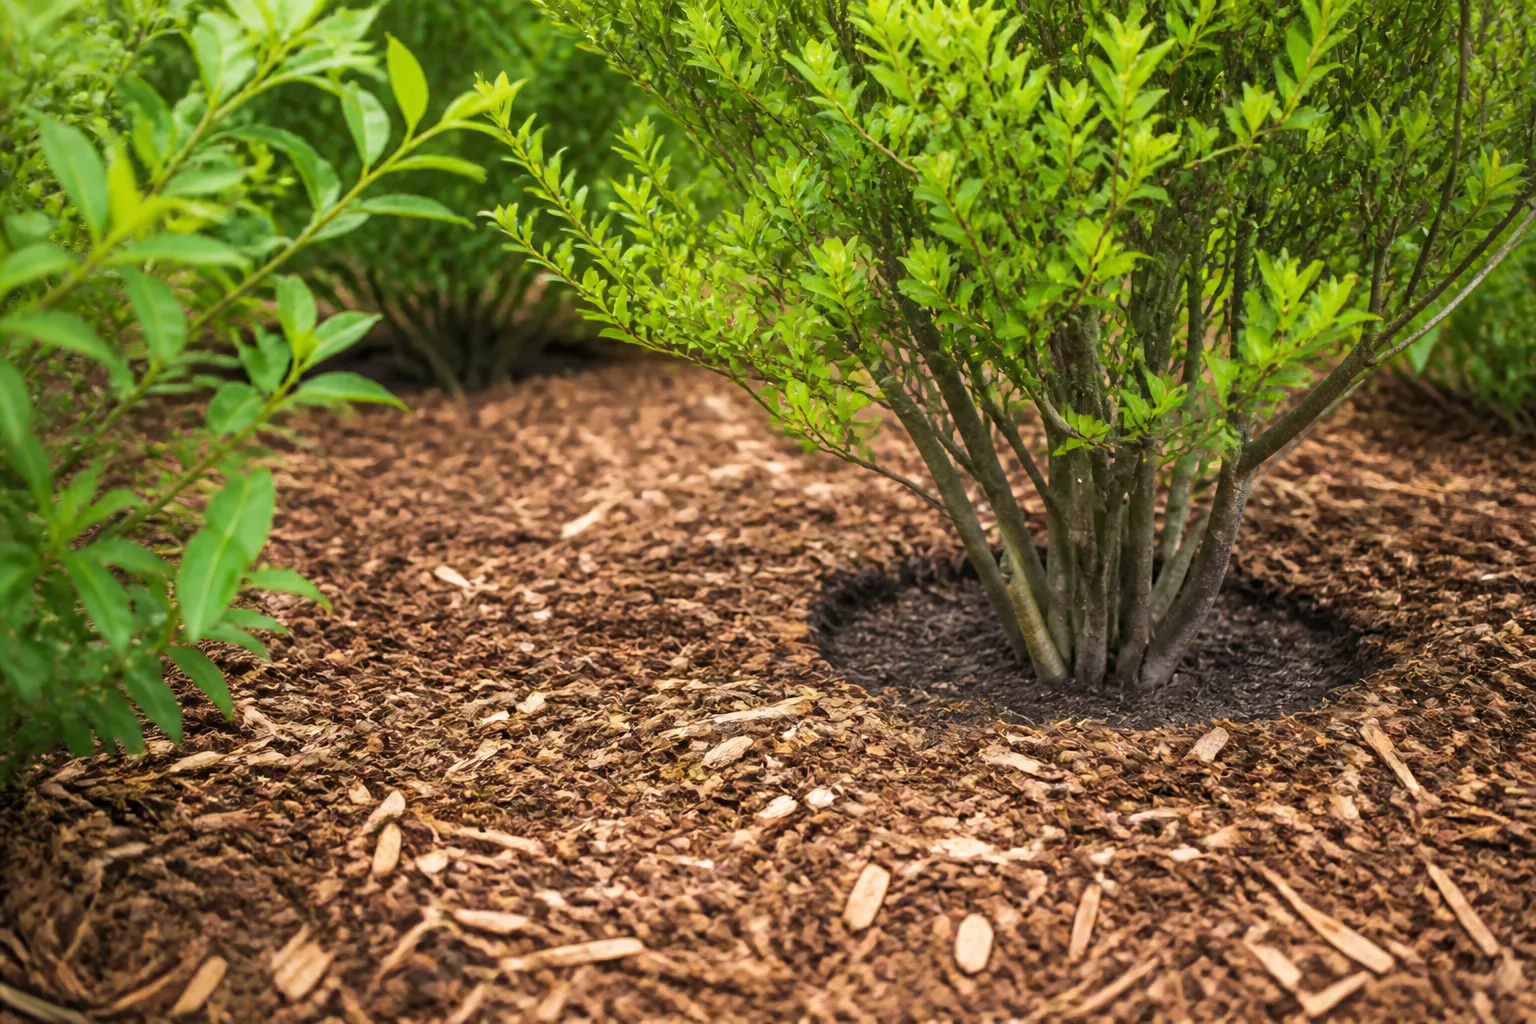
For most ornamental beds, start with roughly 2 to 3 inches of loose mulch. Use a thinner layer around shallow-rooted ground covers or in areas that stay wet, and measure instead of guessing: too much mulch can keep the crown of a perennial damp and can bury low stems.
Pull mulch away from trunks, shrub stems, and plant crowns. The finished surface should look like a flat blanket with a small open ring around each woody stem, not a volcano. Keep mulch below siding, vents, and the bottom edge of fences, and leave drainage paths open where water needs to move.
Choose material by the job. Shredded bark knits together on a slope, coarse chips look relaxed in a woodland bed, compost is useful as a soil amendment but may disappear quickly as a top dressing, and stone stays in place but can increase reflected heat and is difficult to remove later. A single material repeated through visible beds usually creates more polish than an expensive specialty mulch used in only one corner.
3. Cut a clean edge between lawn and beds
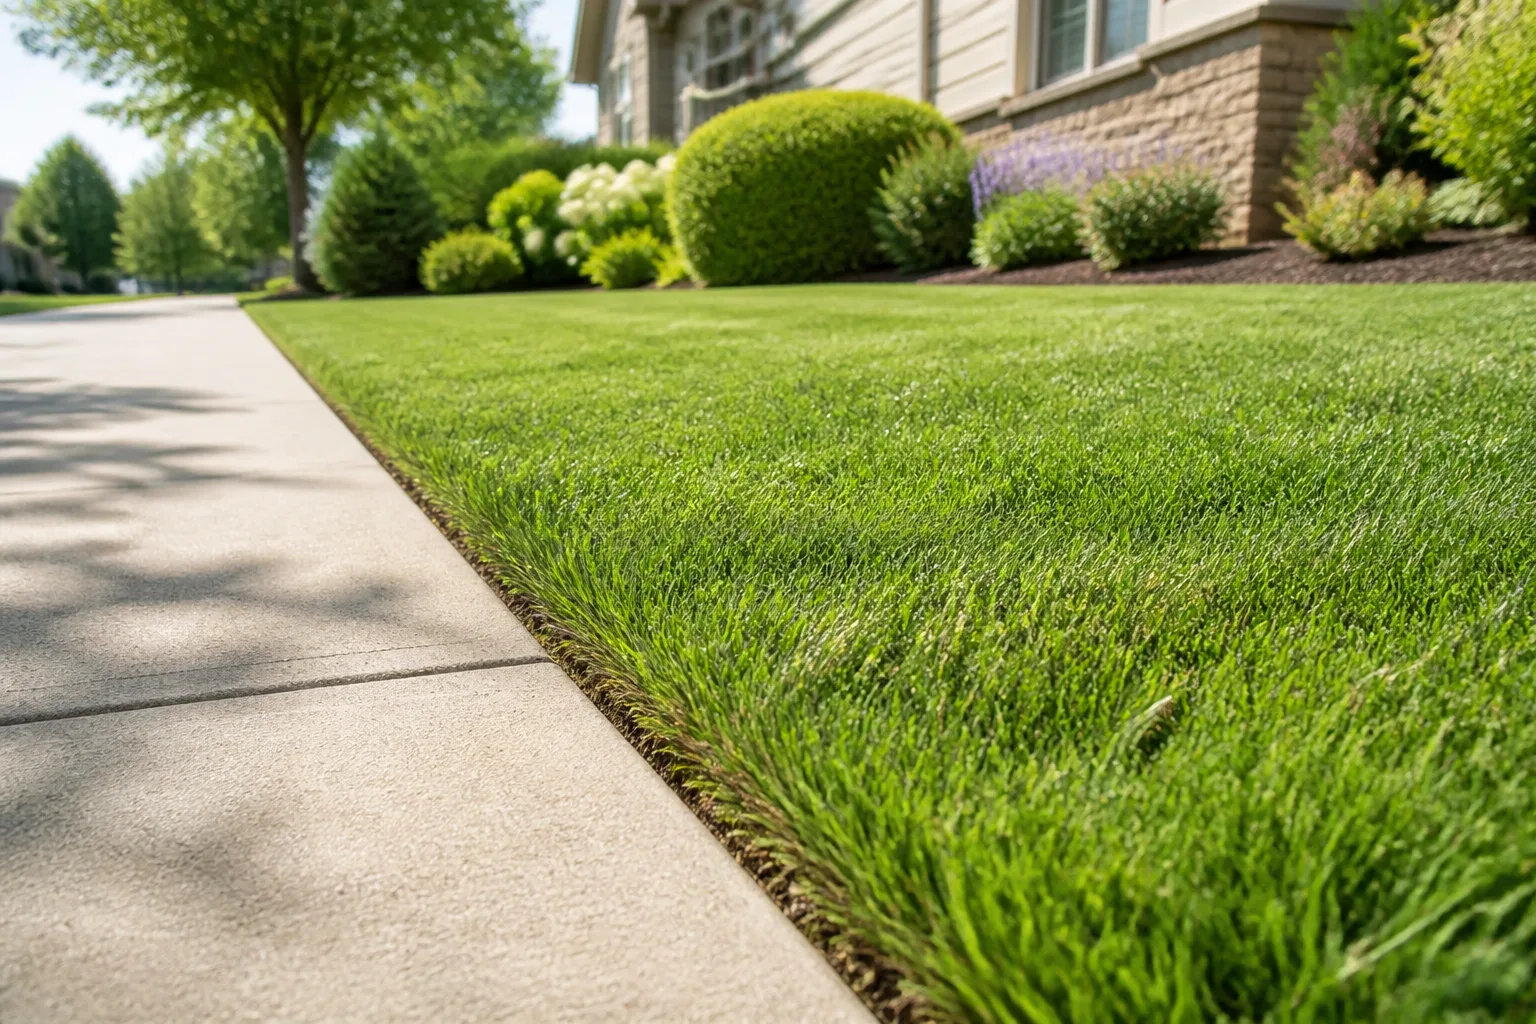
An edge is a boundary line, and boundary lines make a small budget feel larger. When grass folds into the bed, mulch spills onto the sidewalk, or a path has a wavy gap, the whole landscape reads as unfinished even if the plants are attractive.
Use a half-moon edger, flat spade, or sharp border tool to cut a shallow trench along the intended curve. Sweep the cut soil back into the bed, remove runners, and pull the lawn edge into a line that a mower can follow. The low-cost version is a maintained “live edge”; it costs little to install but needs a quick recut several times a season.
Choose a live edge or physical edging
A live edge works best when the border is broad, gently curved, and easy to reach. Brick, stone, steel, or recycled plastic edging makes more sense when mulch regularly washes into a walkway, a mower needs a hard stop, or the bed meets a slope. Set rigid edging so it is stable and does not create a toe-catching lip; a beautiful border that makes the main path unsafe is a poor trade.
Use one border material for the most visible bed instead of mixing several edging styles. Salvaged brick can look intentional when the pieces are similar in color and laid level. Random rocks often look like leftovers unless they are large enough to read as a deliberate dry border and are placed consistently.
4. Turn the entry path or patio into a focal point
You do not need to replace a patio to make it feel more designed. Clean the surface, remove weeds from joints, repair or disguise one obvious eyesore, and give the route to the door a stronger frame. A short gravel landing, two large containers, a repeated paver pattern, or a narrow planted strip can make the entry feel like a destination instead of leftover space.
Start with circulation. Measure the route when two people are walking side by side and when a bin, stroller, or wheelbarrow has to pass. Keep plant foliage from narrowing the path, and check that a new container will not force visitors into wet soil or across a step. The Gardeners’ World garden-design guidance treats paths, boundaries, seating, and planting as connected decisions, which is the right way to approach a small refresh.
Low-cost hardscape moves that last
Pick one surface to improve and make it repeat elsewhere. If you add pale gravel to a small sitting area, use a thinner ribbon of the same gravel near the gate. If you paint a planter or front-door accent, repeat the color in a cushion, trellis, or ceramic pot rather than introducing a new color for every object.
Avoid thin decorative tile in a freeze-thaw climate unless it is rated for exterior use and installed on a suitable base. Avoid loose stone where a slope sends it into a drain or where a mower will fling it. The most affordable hardscape is the one that does not need to be rebuilt next spring.
Small changes in elevation can also create a focal point without a retaining-wall project. Set two matching pots on broad, stable pavers, frame the end of a path with a bench, or use a low platform to lift a container above surrounding ground cover. Keep the transition obvious and level enough to avoid a trip; the point is to direct the eye, not to create a surprise step.
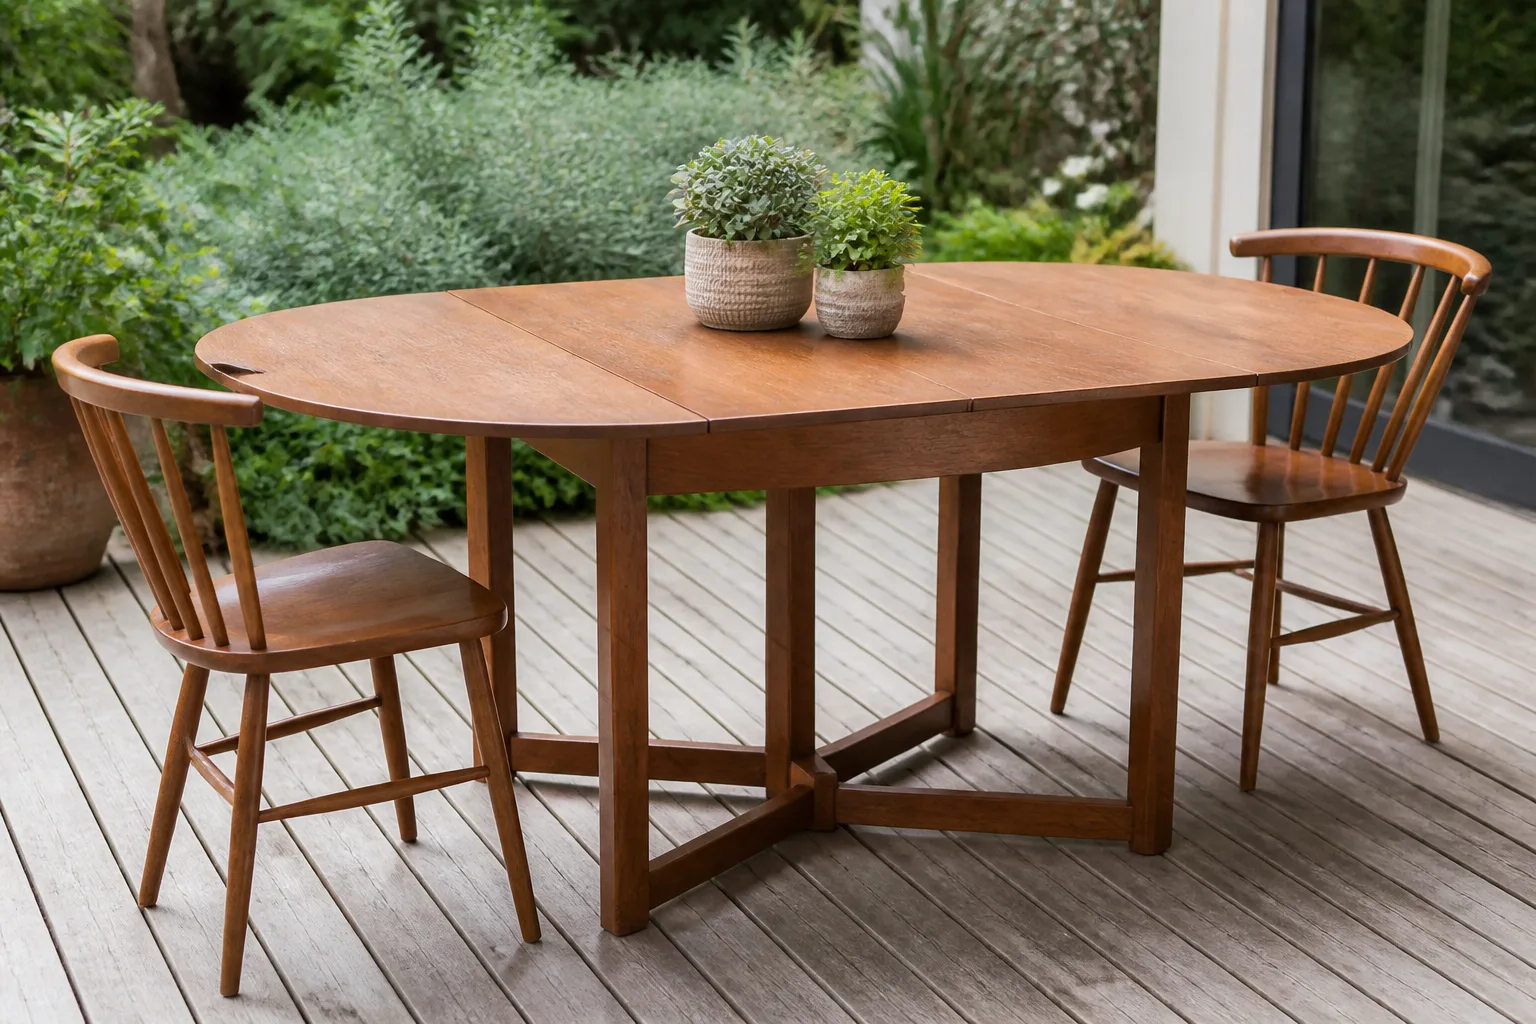
If the patio feels empty rather than ugly, resist the urge to fill every corner. A shaded chair, a narrow console-style plant stand, or a single large container can define how the space is used. Leave room to pull furniture out, sweep underneath it, and move through the area with a watering can. Empty space is part of the design when it protects circulation.
5. Add low-glare outdoor lighting
Lighting can make a path safer, extend the useful hours of a patio, and reveal the shape of a planting bed. It works best as a few quiet layers: a light that helps you find the door, low path markers where feet need guidance, and one or two shielded accents that show off a tree, wall, or textured bed.
The goal is not maximum brightness. DarkSky International describes light pollution as the alteration of natural outdoor light levels and highlights problems such as light trespass, clutter, and overlighting. Aim fixtures downward, use timers or motion sensors where appropriate, and choose the lowest output that lets you move comfortably. Shield a light that shines into a bedroom window or across a neighbor’s yard.
Solar fixtures are convenient for a small path or a temporary rental-friendly refresh, but their output depends on placement, weather, and battery quality. A low-voltage wired system costs more to plan but gives more consistent light and makes it easier to space fixtures intentionally. Line-voltage outdoor work should follow local code and may belong with a qualified electrician.
Place light for use, not decoration
Stand on the path after sunset and have someone move through the space. Notice where a foot lands, where a step disappears, and where a door lock is hard to see. Place light at those points rather than outlining every bed. String lights can make a patio welcoming, but use weather-rated equipment and a support that can carry it; do not hang a heavy strand from a weak branch or an improvised wire.
Install one or two fixtures first and test them for glare from inside the house. Light that looks magical from the yard can feel harsh from a living-room window. A shorter run with warmer, shielded light usually looks more expensive than a bright line of mismatched solar stakes.
6. Add one small water or wildlife feature
A small water feature creates movement and a focal point without requiring a pond. Options include a shallow birdbath, a recirculating tabletop fountain, a wall spout that drains into a gravel basin, or a planted container designed to hold water. Pick one feature that fits the scale of the yard; three tiny fountains compete instead of creating calm.
For a wildlife-minded update, combine water with cover and food-producing plants rather than treating a birdbath as a stand-alone decoration. The National Wildlife Federation identifies food, water, cover, and places to raise young as core habitat needs. A small basin near native shrubs can do more for the garden than an ornate feature surrounded by bare stone.
Place water where you can see it and maintain it, but not where overflow will soak the foundation, stain a path, or collect beneath a deck. Keep the rim stable, give birds or insects a shallow landing area, and check local wildlife guidance if you live in a region where bears or other animals make open water or feeders impractical.
Keep water features easy to maintain
Choose circulation for a fountain, or be ready to empty and scrub a still basin regularly, especially during hot weather. Remove leaves before they decompose, keep the pump intake clear, and do not let a shallow decorative bowl become a neglected mosquito nursery. If a feature requires an extension cord across a walkway, it is not in a safe location.
The easiest feature to maintain is the one close to a hose and visible from a frequently used window. If you cannot reach it without moving furniture or climbing over a bed, you will eventually stop cleaning it. A simple ceramic birdbath that stays fresh can outperform a complicated feature that runs dry.
7. Build personality with containers and garden art
Containers and garden art are the fastest way to add personality because they do not require regrading a yard or waiting for a shrub to mature. Use a large pot at the entry, a smaller repeated pot near the patio, or one vertical trellis to draw the eye upward. A painted stone, mosaic stepping pad, salvaged gate, or handmade obelisk can become a focal point when the rest of the landscape is kept quiet.
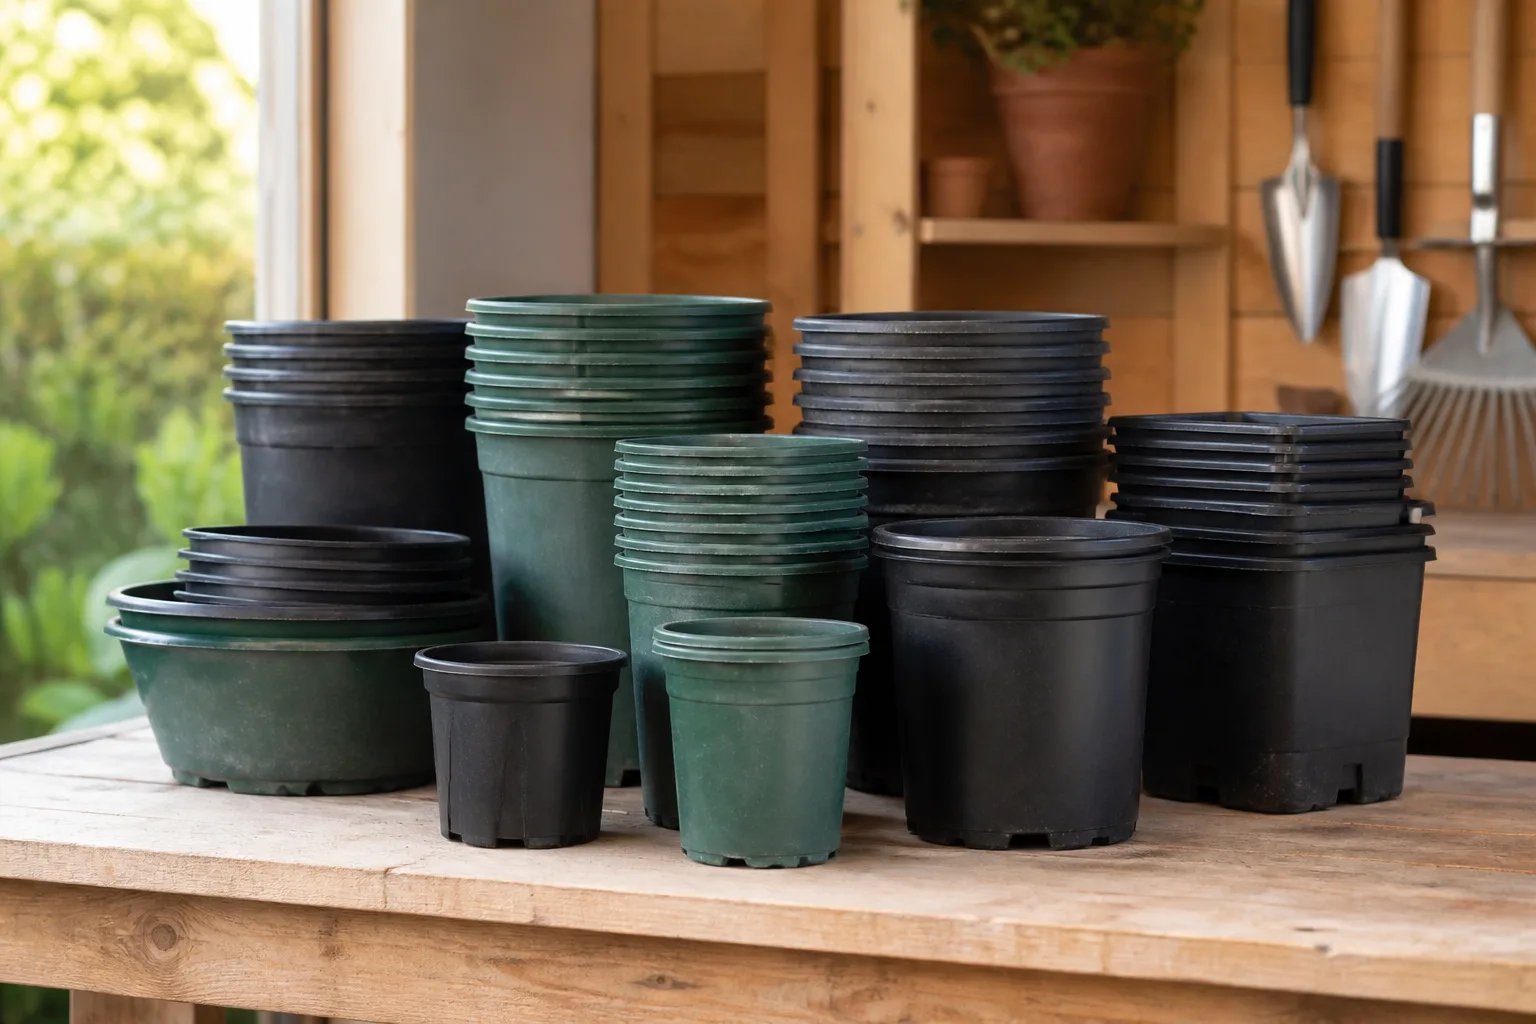
Treat the objects as part of the planting plan. A container needs a stable base, a drainage hole, and enough weight that wind cannot tip it onto a path. Art should have a clear viewing angle and should not hide house numbers, a light, a hose connection, or the opening of a gate.
Keep upcycled pieces safe outdoors
Clean and inspect anything you reuse. Avoid containers that held unknown chemicals, remove sharp edges and splinters, and use outdoor-rated paint or finishes when the object will be exposed to rain. Wood that touches soil will eventually decay; elevate it, accept the patina, or treat it as a seasonal accent instead of building a permanent bed around it.
Use the same restraint as you would with plants: one strong object is better than a row of unrelated signs, statues, and painted rocks. If you want to build a trellis or obelisk, Fine Gardening’s guide to garden structures is a useful reminder to match the structure to the plant and to make the support sturdy enough for outdoor conditions.
A weekend order that keeps costs under control
Do the work in an order that prevents you from damaging a finished project. On Friday, photograph the yard, measure the bed and path, check utilities, and choose one visual direction: repeated native plants, a dark mulch-and-stone palette, or a simple patio color scheme.
On Saturday morning, clean first. Remove dead material, pull weeds, wash the path or patio, and cut the bed edge. This often creates enough improvement that you can decide whether you still need a new feature. If the bed line is the real problem, stop there and save the plant budget for a better season.
In the afternoon, plant, water, and mulch. Put the plants in their nursery pots on the ground before digging so you can adjust spacing. Apply mulch after planting, leaving trunks and crowns open. Test the walkway before adding pots, lights, or art.
After dark, place temporary lights where you think they belong and walk the route again. Move fixtures until the path is readable without glare, then secure them. On Sunday, add one container or focal object and make a maintenance note: watering during establishment, edge touch-ups, mulch checks, light-battery changes, or water-feature cleaning.
The budget rule is simple: pay for the feature you will notice every day and borrow, reuse, or postpone the rest. A clean line, a coherent plant palette, and one reliable focal point usually create more impact than seven half-finished upgrades.
Conclusion
The most effective landscaping refresh is not the one with the longest shopping list. It is the sequence that gives the yard structure first, then adds plants, atmosphere, and personality in a way you can maintain.
Start with the visible problem: a planting strip that needs repetition, a bed that needs mulch, a lawn that needs an edge, or a path that needs safer lighting. Choose plants for the actual site, keep water and utilities in mind, and add only one focal feature at a time. Those choices make a modest budget look intentional because every improvement supports the next one.