How to Grow and Care for Mini Monstera
A practical mini monstera care guide covering fenestrated leaves, watering, potting mix, moss poles, propagation, pests, and root problems.
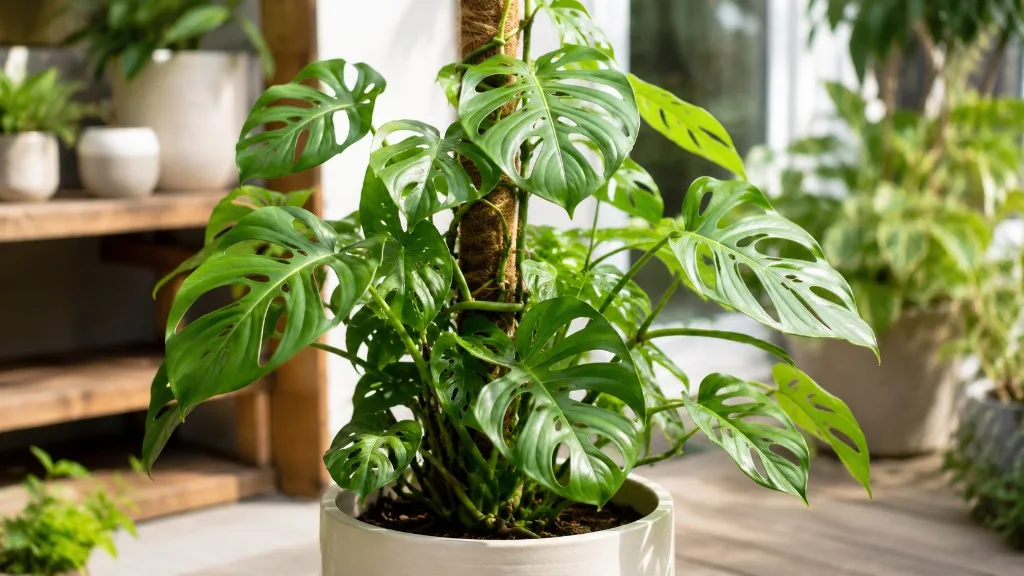
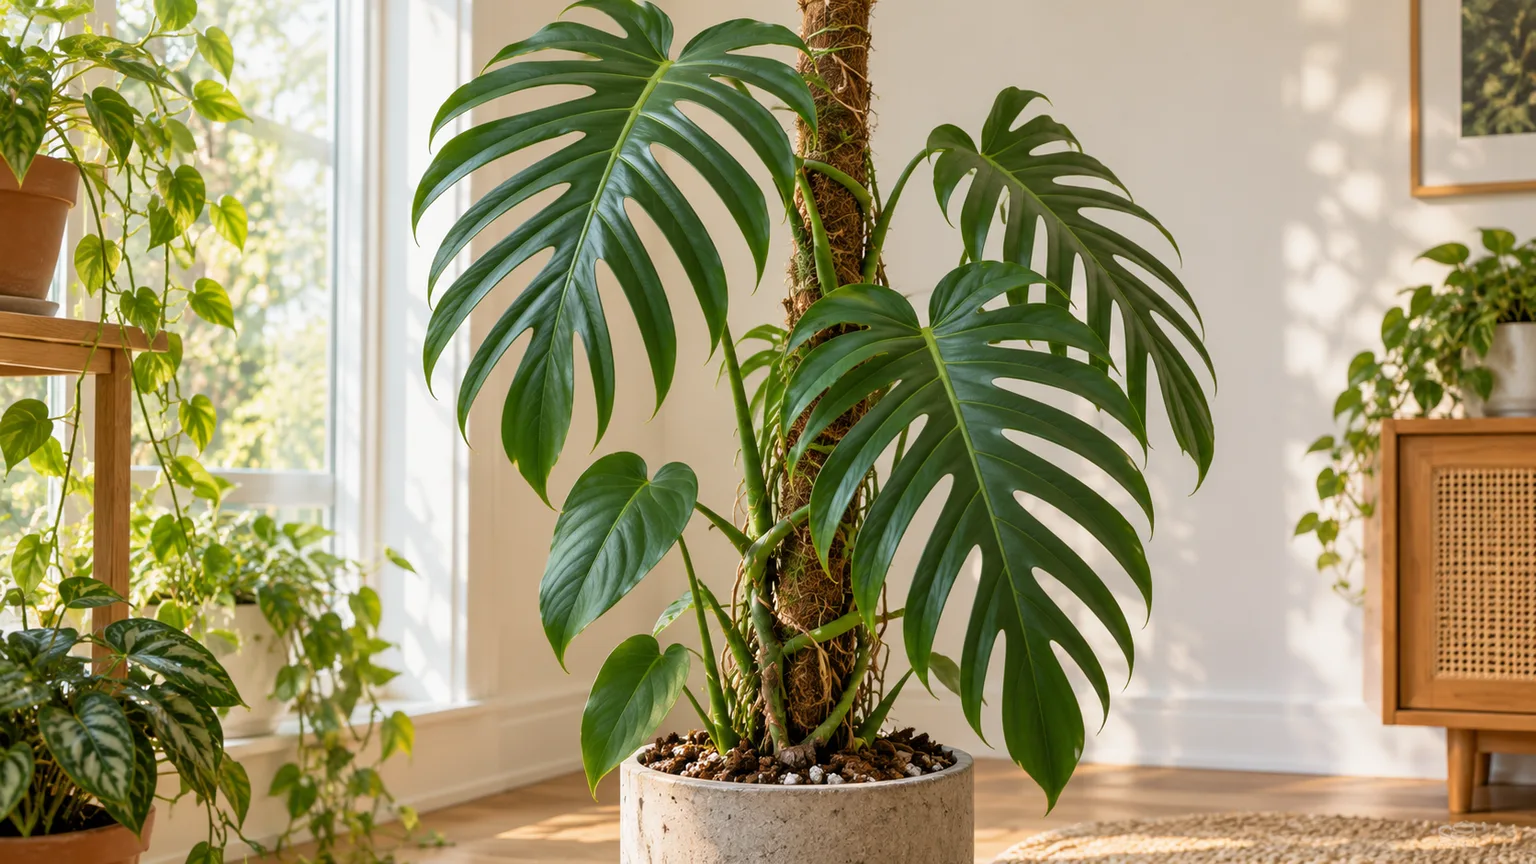
Mini monstera is the easygoing climber that can turn a bright corner into a wall of split leaves—provided you give it enough light and something to climb. Its botanical name is Rhaphidophora tetrasperma, and despite the nickname, it is not a true Monstera or a Philodendron. It is a separate tropical vine in the arum family, native to the wet tropics of Thailand and Malaysia.
The reliable routine is simple: bright filtered light, a loose mix in a pot with drainage, a deep watering followed by a partial dry-down, and a support placed behind the stems. The details matter, though. A plant can survive in a dim room but stop making fenestrated leaves; it can look thirsty while sitting in wet, damaged soil; and a cutting can fail simply because the piece you took had no node.
Meet Mini Monstera: Not a Monstera, Still an Aroid
The common name is a visual shortcut. R. tetrasperma has small, glossy leaves with splits and holes, so it resembles a miniature version of Monstera deliciosa. The relationship is more distant than the nickname suggests: both belong to Araceae, but they are different genera. The North Carolina State Extension plant profile identifies mini monstera as a climbing, evergreen perennial with aerial roots, rapid growth, and an early tendency to develop fenestrations.
Indoors, it is usually grown for foliage rather than flowers. A mature vine may be trained upward, allowed to trail, or cut back to make several stems in one pot. The Royal Horticultural Society’s plant record lists the accepted name as Rhaphidophora tetrasperma and places it in Araceae, which is useful when a plant label calls it “Monstera minima” or “Philodendron Ginny.” Those names can describe the plant in commerce, but they do not change its care needs.
The fastest way to read its needs is to watch new growth, not to judge the oldest leaves. A new leaf that unfurls smaller, paler, or less split than the previous leaf is telling you about the current light, support, root health, and nutrition. One old yellow leaf, by contrast, may simply be a leaf reaching the end of its useful life.
Start With the Right Setup
Set up the pot and location before trying to correct a problem. A bright window, an airy root zone, and a support that reaches at least a few nodes above the current plant prevent more trouble than a shelf full of products.
Choose Light That Produces Fenestrated Growth
Give mini monstera several hours of bright, indirect or filtered light. An east window is often easy to manage; a bright south or west window can work if a sheer curtain or a little distance softens the strongest midday rays. The goal is not darkness with “no direct sun.” The goal is enough light for active growth without hot, unfiltered rays baking the foliage.
Fenestrations are a useful signal, but they are not an instant light meter. Very young leaves may have fewer holes, and a plant that has recently been moved may need time to mature its next leaves. If several new leaves arrive solid, noticeably smaller, or widely spaced along a stretched stem, increase light gradually. Move it closer to the window over a week rather than placing a shade-grown plant in harsh afternoon sun in one step.
Leggy growth is another light clue: long gaps between leaves, small blades, and stems leaning toward one side of the room. Rotate the pot a quarter turn every week or two, but do not keep rotating a climber so aggressively that its aerial roots never settle against the support. If natural light is weak, a grow light on a consistent timer can be more predictable than moving the plant from room to room.
Build an Airy Mix and a Draining Pot
Use a quality indoor potting mix amended with orchid bark and perlite or another coarse, stable material. The mix should hold enough moisture for the roots to drink but contain enough air space that it does not stay slick and heavy for days. A simple starting blend is two parts indoor potting mix, one part fine-to-medium orchid bark, and one part perlite; adjust it if your home is very dry, your pot is terracotta, or the mix dries too quickly.
The exact recipe matters less than the behavior. Wet a handful: it should absorb water rather than repel it, then crumble when squeezed instead of forming a dense brick. Avoid garden soil in a houseplant container. It compacts, drains unpredictably, and can carry outdoor pests.
Choose a pot with an unobstructed drainage hole and only a little more room than the root ball. A large decorative pot filled with excess mix stays wet longer than the plant can use. Plastic holds moisture and gives you more time between waterings; terracotta loses moisture through the sides and can be useful in a humid home or for a grower who tends to water too often. Neither material fixes a poor mix or a pot without drainage.
Water by Soil Moisture, Not the Calendar
Water when the top inch or so of the mix is dry and the lower root zone is beginning to lighten, then water thoroughly until it drains from the bottom. NC State Extension gives the top-inch test as a practical starting point for this species. A finger test, wooden skewer, or the weight of the pot is often more useful than a fixed weekly reminder.
Let the excess drain completely. Do not leave the pot standing in a saucer of water, and do not add a small splash every few days that wets only the surface. That pattern creates a damp upper layer while the inner root ball alternates between dry pockets and stagnant wet pockets. The BBC Gardeners’ World watering guidance for a related Monstera makes the same important distinction: root problems are usually linked to how often a plant is watered and how long the mix remains wet, not to the quantity of water used in one complete drink.
Adjust the interval to the conditions. A small plant in terracotta near a bright window may need water sooner than a large plant in plastic several feet from the glass. In winter, slower growth and lower light usually mean a longer dry-down; in a warm, bright growing season, the plant may need checking twice a week. Check the soil each time instead of watering because a date on the calendar says it is due.
If the leaves droop but the mix is wet, do not automatically add water. Inspect the roots and smell the soil first. A thirsty plant perks up after a thorough drink; a plant with damaged roots may remain limp because the roots cannot move water even though the pot is moist.
Support the Vine Before It Gets Top-Heavy
Mini monstera is naturally a climber. Its slender stems and aerial roots are designed to find a surface, and the plant usually makes larger, better-oriented leaves when the stem is trained upward rather than left to sprawl across a shelf. Install the support while the plant is still manageable so you do not have to force mature stems into a sharp bend.
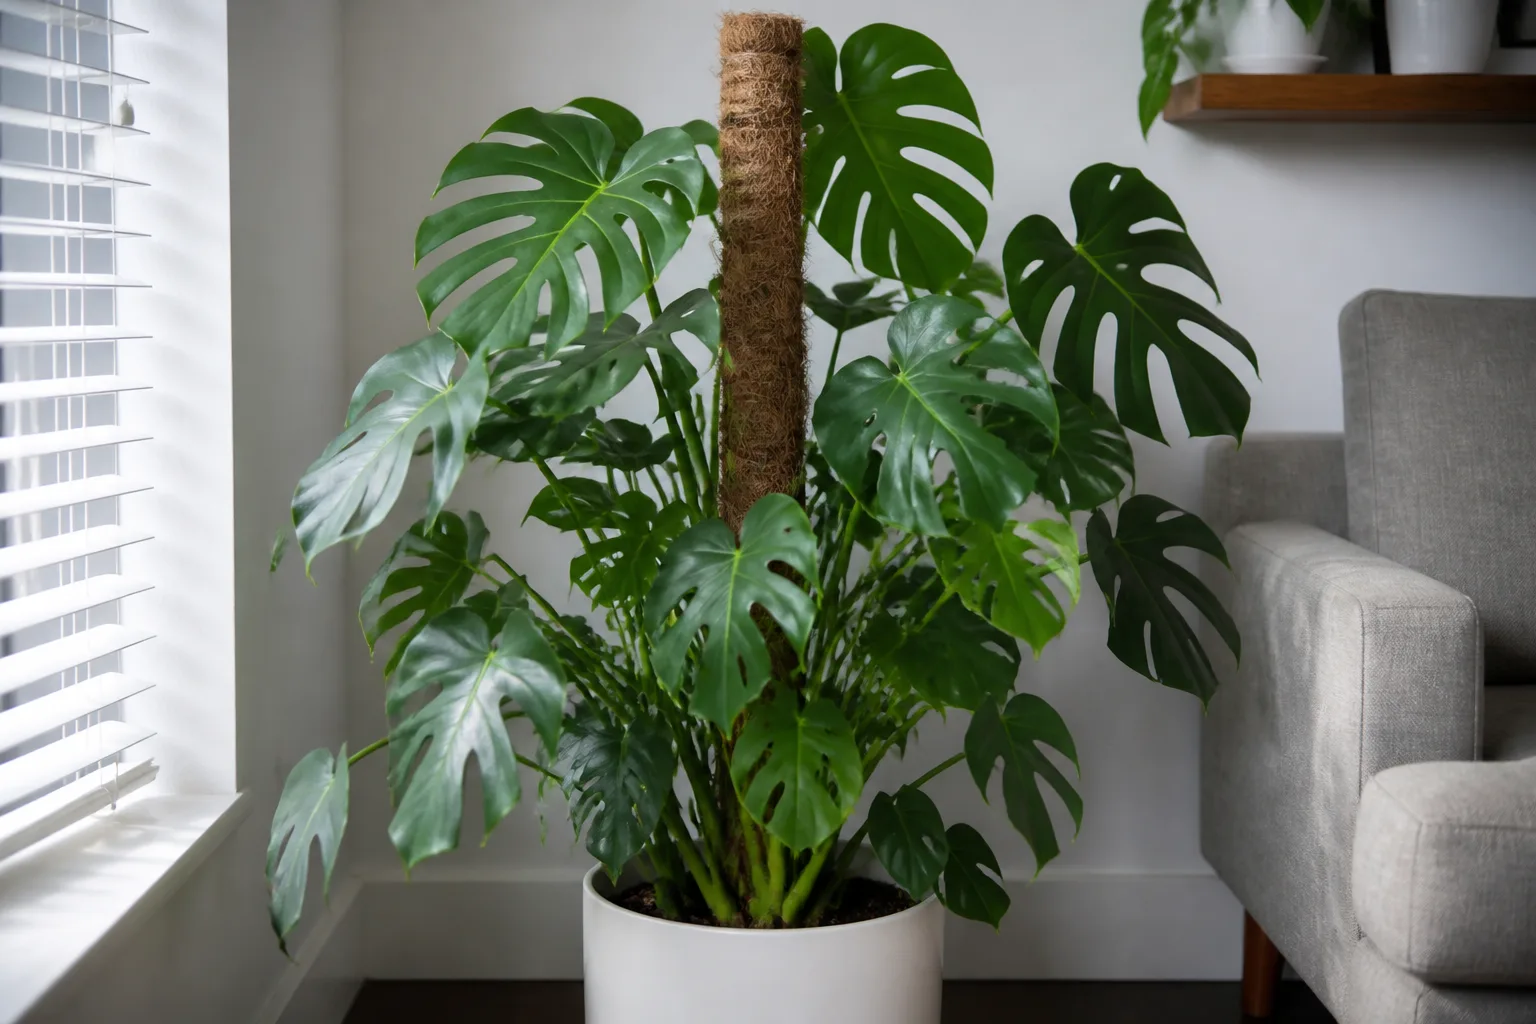
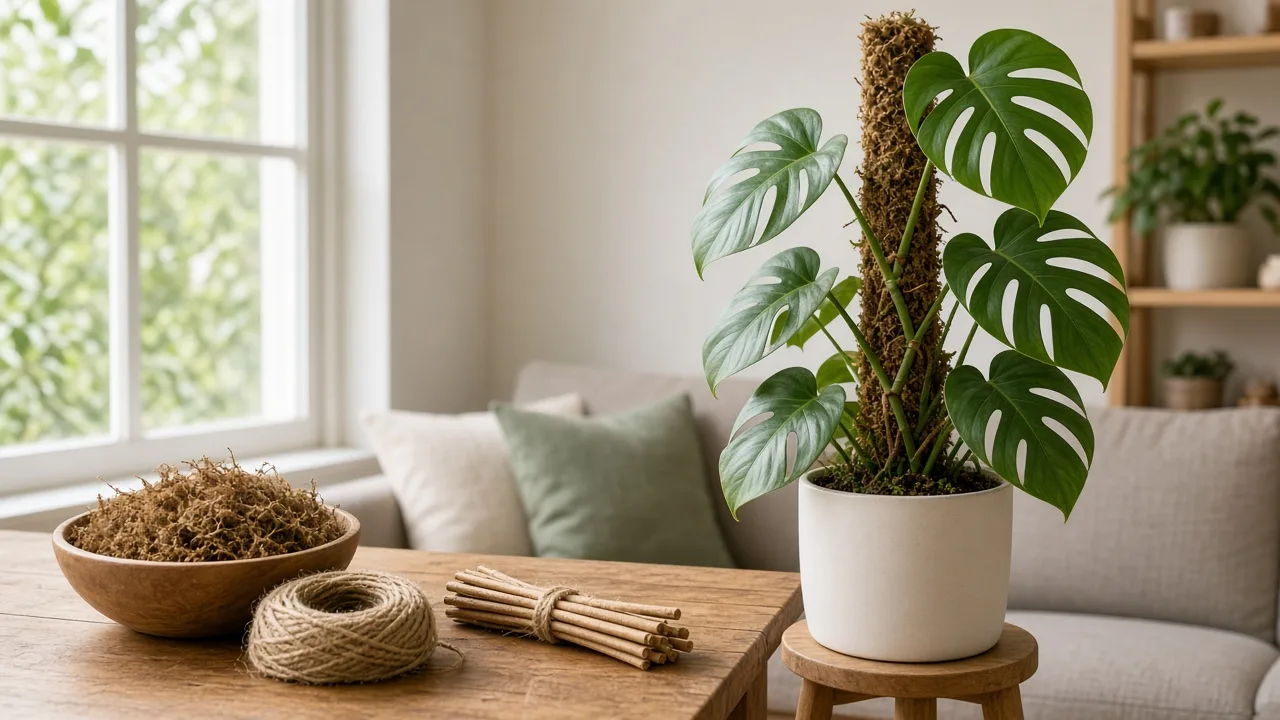
Place the pole or trellis behind the main stems, close enough that new aerial roots can touch it. Use soft ties or plant clips in a loose figure eight. Tie the stem, not the petiole, and leave room for it to thicken. Tight wire or a rigid twist tie can cut into the stem as the plant grows.
Moss Pole vs Trellis vs Hanging Basket
Choose the support based on the way you want to use the plant:
- Moss or coir pole: best when you want vertical growth and are willing to keep the support slightly moist. It gives aerial roots a textured surface, but a dry pole is mainly a stake.
- Bamboo or wire trellis: neat, light, and low-maintenance. It guides the vine but does not offer a moist rooting surface for aerial roots.
- Hanging basket: suitable for a trailing display. It is not a failure if the plant hangs, but leaves may remain smaller and the stems will not develop the same upright silhouette.
The Fine Gardening overview of Monstera culture is helpful on the broader aroid principle: support is part of how climbing plants display their foliage, not simply a decorative accessory. Do not bury aerial roots in the soil by force, and do not panic if a few grow outward. They are normal structures; guide them toward a support or trim only the ones that are genuinely in the way.
Temperature and Humidity Without Overcomplicating It
Keep mini monstera warm and away from cold drafts, air-conditioner blasts, and heating vents. NC State Extension lists a comfortable range around 65–80°F (18–27°C) and notes that the plant grows well at high humidity. Stable room conditions are usually more valuable than chasing a particular percentage.
Humidity becomes most useful when the root system is healthy and the air is genuinely dry. A humidifier near the plant, a grouped plant shelf, or a correct pebble tray can reduce dry-air stress. A pebble tray will not compensate for a pot sitting in water, and misting the leaves is a short-lived effect that can leave foliage wet without changing room humidity for long.
Give humid air a little airflow. Stagnant, constantly wet foliage is a better invitation to leaf-spot problems than a slightly drier room with good circulation. If you use a humidifier, keep it clean and place it near—not blowing directly onto—the plant.
Feed During Active Growth, Then Ease Off
Fertilize during active growth in spring and summer with a balanced liquid houseplant fertilizer diluted according to its label. Apply it to already-moist soil rather than a bone-dry root ball. A modest, consistent feeding routine is safer than using a strong dose to force a larger leaf.
Reduce or pause feeding when growth slows in low light or winter. Fertilizer cannot replace light, and salts can accumulate when the plant is using little water. If the pot drains freely, an occasional thorough watering that flushes the mix can reduce residue, but do not use repeated flushing to compensate for an overly concentrated fertilizer program.
New leaves that are pale, small, and slow can reflect weak light, root stress, or nutrition. Correct those possibilities in that order: check light and moisture first, then feed if the plant is actively growing. If the roots are damaged, fertilizer can add stress instead of solving the problem.
Prune, Clean, and Train for a Fuller Plant
Prune to control length, remove damaged foliage, or create cuttings—not because every aerial root or old leaf needs to disappear. Use clean, sharp scissors and make a cut just above a node if you want the remaining stem to branch or push a new shoot near that point. A top cut makes a useful propagation piece; cutting only the side leaves changes the appearance but does not shorten the vine.
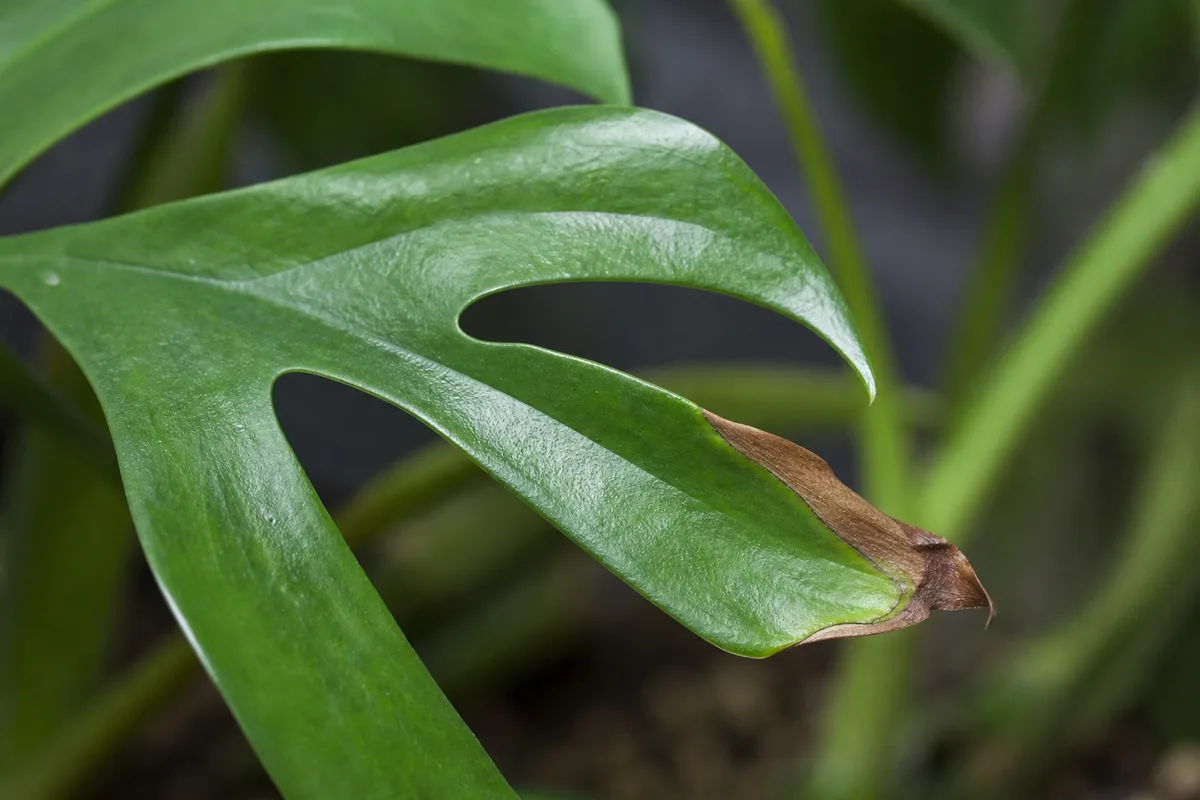
Remove leaves that are fully yellow, brown, or torn when they no longer contribute much to the plant. If only a crisp edge is damaged, you can trim the brown tissue with clean scissors and follow the leaf’s natural outline. The trimmed section will not turn green again, so the goal is appearance and preventing further tearing, not reversing old damage.
Wipe dusty leaves with a damp, soft cloth when needed. Clean foliage receives light more efficiently, and the underside check gives you a regular chance to spot webbing, scale, or sticky residue before an infestation spreads.
Propagate From a Node: Water vs Soil
The one non-negotiable for propagation is a node. A node is the small joint on the stem where a leaf, bud, or aerial root emerges. A leaf without a node may stay green for a while but cannot produce a new climbing stem.
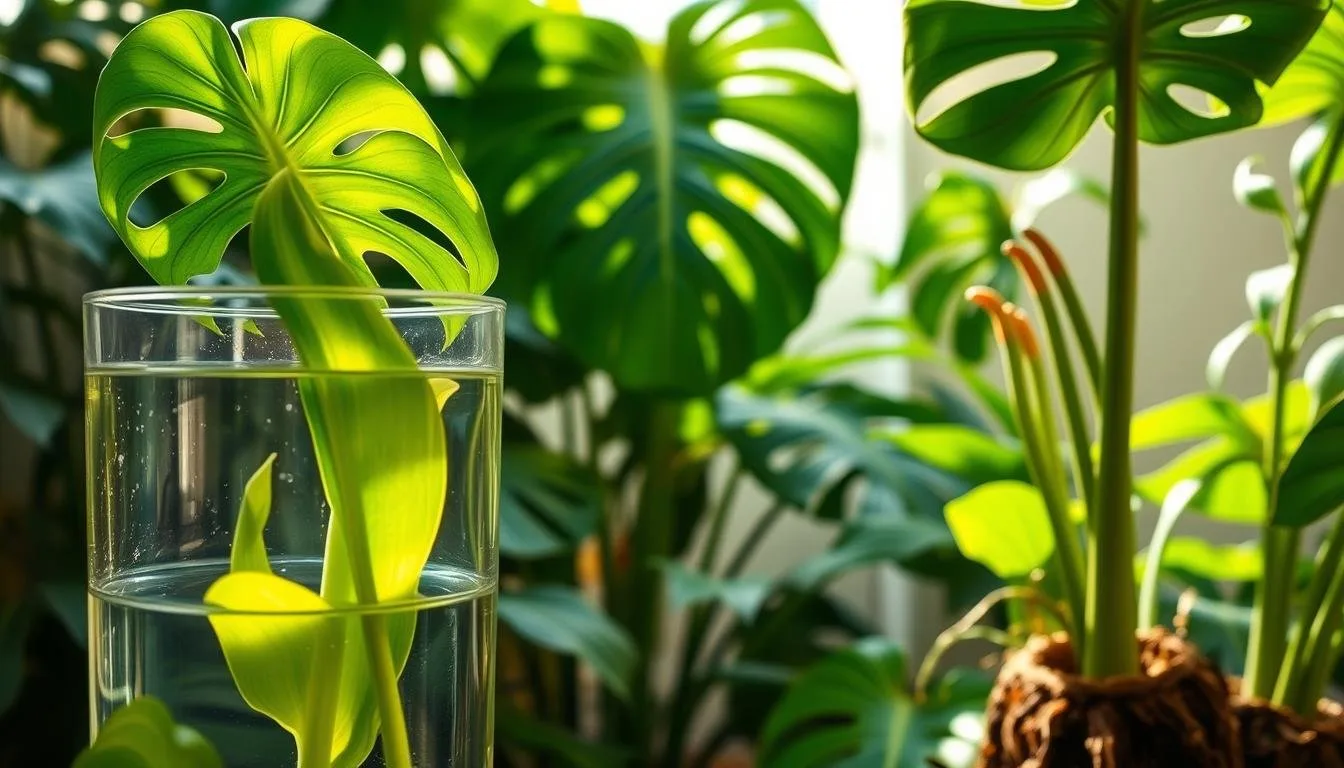
Take a cutting from a healthy, actively growing stem with a clean blade. One node and one leaf can work; two or three nodes give you more flexibility. Remove leaves that would sit underwater or below the soil, but keep enough foliage to power root development. The practical propagation guide from Aussie Green Thumb also emphasizes using a healthy stem and transferring a water-rooted cutting once the new roots are established rather than rushing it into dry mix.
How to Root a Cutting in Water
Water is easy to observe and useful when you are learning what a node looks like. Put the node under clean water while keeping the leaf above the water line. Set the glass in bright, indirect light, refresh the water when it becomes cloudy, and wait for several firm roots before potting.
Water roots are adapted to constant access to water, so the move into soil is a transition rather than a finish line. Use a pre-moistened, airy mix and keep it evenly—not permanently soggy—for the first couple of weeks. Some leaf droop after the move is normal; a soft, blackening stem or a sour-smelling mix is not.
How to Root a Cutting in Soil
Soil propagation avoids a major water-to-soil transition and can produce roots that are ready for a pot from the beginning, but you cannot see progress. Tuck one node into lightly moist mix, keep the leaf above the surface, and place the pot in warm, bright indirect light.
The mix should stay lightly moist while the cutting roots, never waterlogged. Do not tug every day to check it. After a few weeks, gentle resistance and new growth are better signs than a calendar deadline. A cutting that has no node, is kept cold, or is buried too deeply can fail even when the soil recipe is perfect.
Repot Without Triggering a Setback
Repot when roots circle the root ball, emerge repeatedly from the drainage hole, the mix has broken down and stays wet, or the plant dries dramatically faster than it used to. A slow week of growth alone is not enough reason to disturb a plant; low light, recent pruning, or winter dormancy can all slow it down.
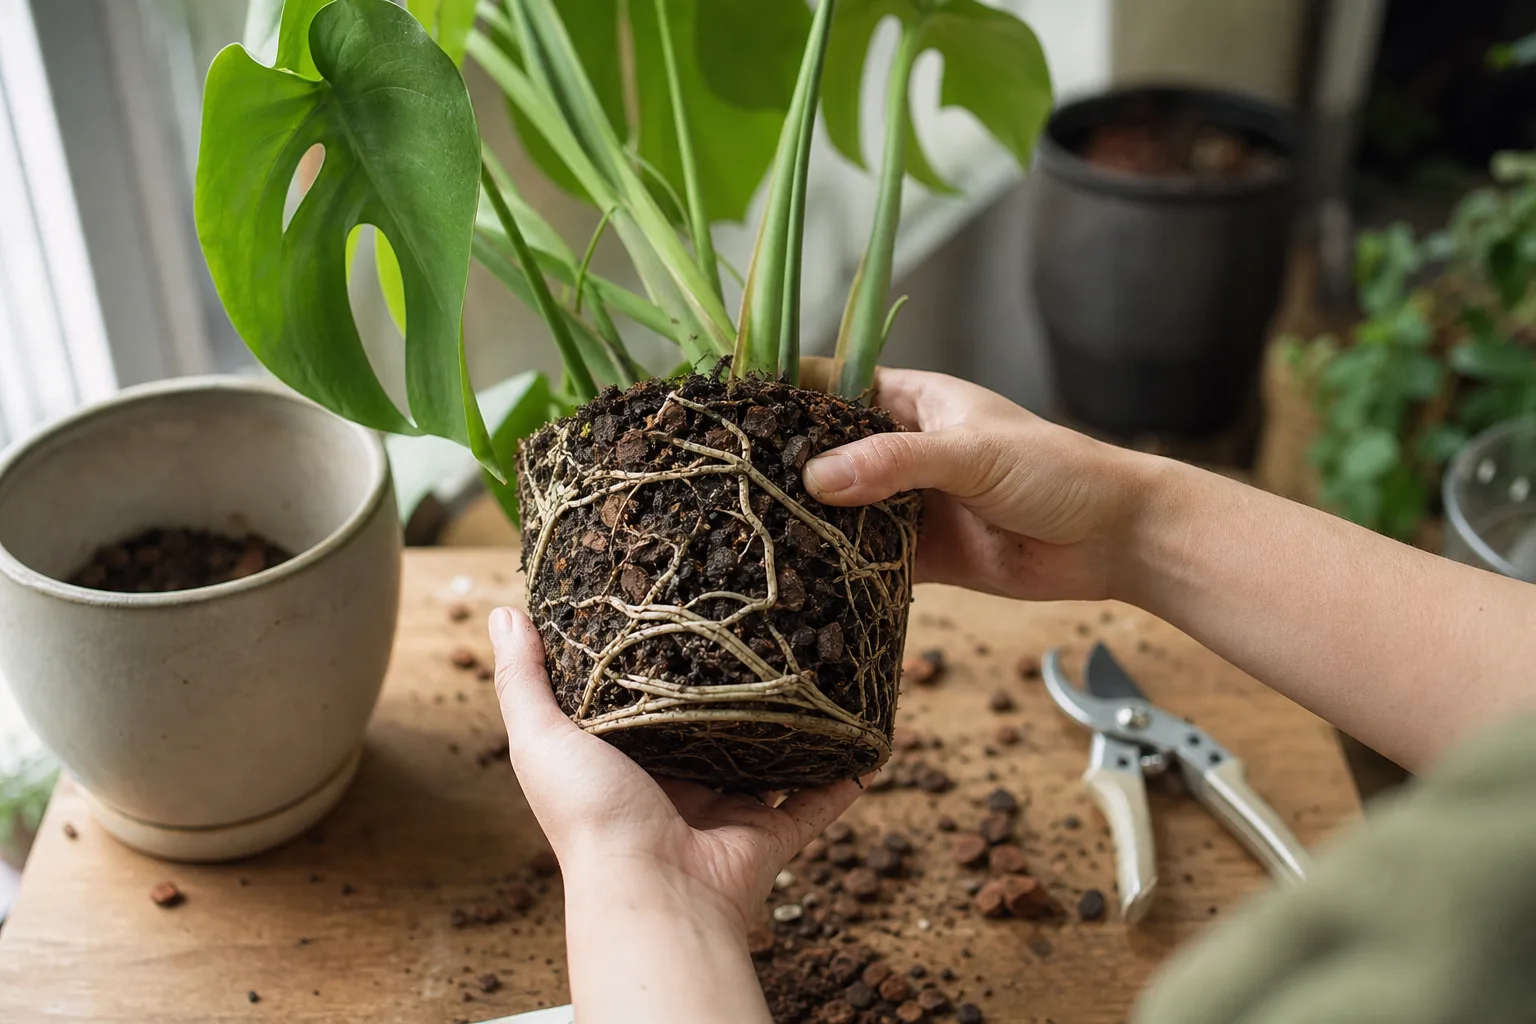
Choose a pot one size larger, not a container several inches wider. Water a day or so before repotting if the root ball is extremely dry, then slide the plant out and inspect the roots. Healthy roots are generally firm and light-colored; brown, mushy, hollow, or foul-smelling roots need to be removed with clean scissors.
If only a few roots are damaged, trim them, remove loose rotten mix, and replant at the same depth in fresh mix. If most of the root ball is gone, a smaller pot may be safer than the original size because the remaining roots cannot use a large volume of wet soil. When a vine has too little healthy root to support its leaves, take a healthy node cutting as insurance.
After repotting, water the new mix through once and let it drain. Keep the plant in bright filtered light, out of harsh sun, and avoid feeding until you see active recovery. A support can be reset during the same repot, but do not yank attached aerial roots away from the old surface unless necessary.
Diagnose Yellow Leaves, Droop, and Brown Tips
Symptoms overlap, so begin with the root zone and the newest growth instead of treating a leaf color as a diagnosis. Ask three questions: Is the mix wet or dry? Are the roots firm or mushy? Did the symptom begin on old leaves, new leaves, or the exposed side facing a window?
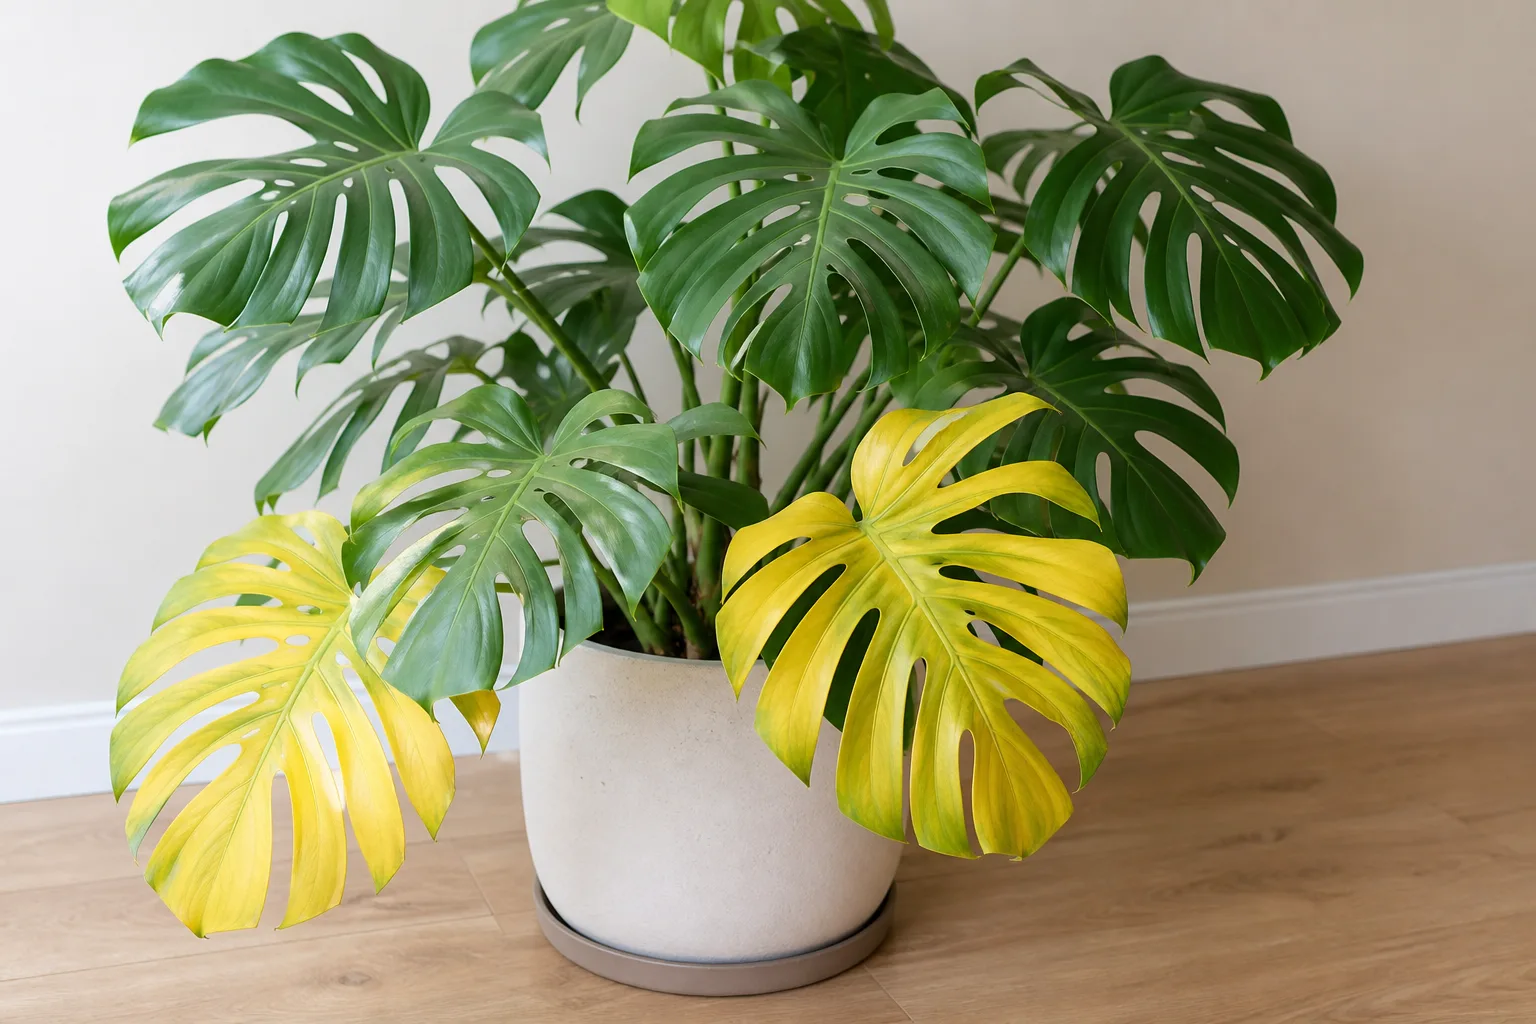
Yellow leaves: One older leaf turning yellow can be normal aging. Several yellow leaves with wet mix, a limp stem, or a sour smell point toward overwatering and root stress. Yellowing with very slow, stretched growth can also indicate inadequate light. Check the pot before changing both light and water at once.
Curled or drooping leaves: Dry mix plus a light pot suggests thirst; water thoroughly and watch for recovery. Wet mix plus persistent droop suggests roots are not functioning, so unpot and inspect rather than watering again. A badly dried root system may need to be restarted from healthy stem cuttings.
Brown, crispy edges: Dry air, repeated under-watering, hot window exposure, salt buildup, or root damage can all contribute. Move scorch-prone plants back from direct afternoon sun, improve the consistency of watering, and check roots if browning is spreading while the soil stays wet. A humidity increase helps only when the underlying root and watering routine are sound.
No fenestrations: Do not assume a young plant is defective. New leaves can develop more holes as the vine matures. If an established plant suddenly produces solid leaves, improve light, give it a support, and check whether roots are crowded or stressed before adding fertilizer.
Manage Pests and Root Problems Early
Inspect new plants before placing them beside a collection. Look under leaves and around nodes for webbing, fine stippling, cottony clusters, hard bumps, or sticky residue. NC State Extension lists spider mites, fungus gnats, and scale among the pests that can affect this species, along with bacterial leaf spot and fungal problems such as root rot.
Isolate a suspected plant. Rinse foliage gently if the plant and potting mix can tolerate it, wipe visible pests away, and use only a product labeled for the pest and plant, following the label. Repeat inspections because eggs and protected scale can outlast one treatment. Avoid spraying a stressed plant in harsh sun or applying multiple products together.
Root rot is a root-zone problem, not simply “too much water.” It is the combination of prolonged wetness, low oxygen, damaged roots, and conditions that allow decay to progress. The repair sequence is straightforward: unpot, identify firm roots worth saving, cut away mushy tissue with clean tools, replace broken-down mix, use a clean draining pot, and correct the watering interval. If the stem base is soft or most roots are gone, propagate a firm node rather than repeatedly watering the failing root ball.
Keep Mini Monstera Safe Around Pets and Children
Treat mini monstera as toxic if chewed or swallowed. NC State Extension flags it as a poisonous plant and recommends caution around pets and children; wearing gloves is sensible if the sap irritates your skin. Keep the pot where a cat, dog, or child cannot reach the leaves, stems, fallen pieces, or pruning waste.
If an animal or child bites the plant, remove access and contact a veterinarian, poison-control service, or medical professional for situation-specific advice. Do not rely on a home remedy or wait for symptoms to become severe. Pet safety is a placement decision, not a reason to panic about owning the plant: a secure shelf, hanging display, or closed growing area can make the risk manageable.
Conclusion
Mini monstera care comes down to matching the root zone and the climbing habit to the room. Put Rhaphidophora tetrasperma in bright filtered light, use a loose mix and a pot that drains, water when the upper mix dries rather than on a fixed schedule, and support the stems before they sprawl.
When the plant struggles, inspect instead of guessing. Solid new leaves usually call for a light and maturity check; yellow leaves call for a moisture and root check; brown tips call for a broader look at water consistency, air dryness, salts, and sun. Give it a node when propagating, a little room when repotting, and a safe location around pets. With those decisions in place, this fast-growing vine can stay compact, leafy, and impressively fenestrated for years.