Leggy Houseplants: Causes, Pruning, and Light Fixes
Leggy growth is a classic low-light adaptation where plants stretch toward available light at the expense of dense, compact foliage. Internodes lengthen, leaves become smaller, and stems may bend or flop. Many growers mistake this as fast healthy growth, but it usually signals that the plant is producing weaker tissue with lower structural strength. Over time, leggy plants become sparse and less resilient. The fix centers on improving light quality and training growth back to balance. Move plants closer to bright indirect light or supplement with grow lights, then prune strategically to encourage branching. Rotating pots helps prevent one-sided lean. Recovery is gradual: old stretched sections do not shrink, but new growth can become compact under better conditions. Combining improved light with correct watering and moderate feeding produces denser regrowth over subsequent cycles.
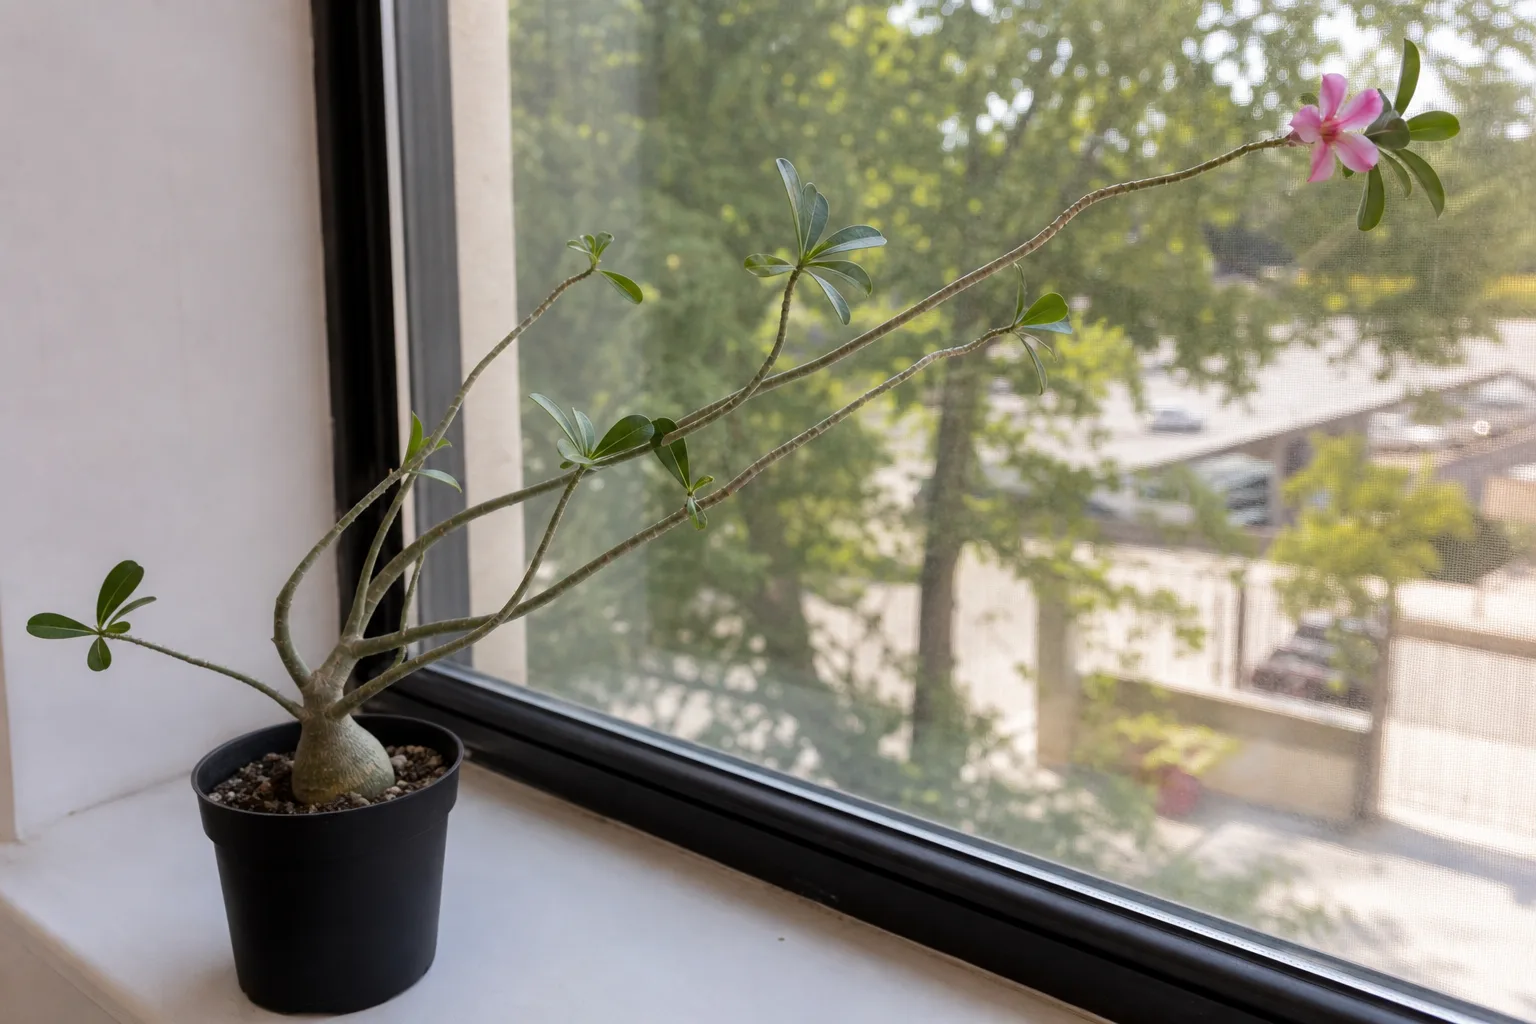
Leggy Growth on Houseplants
Still unsure?Match your symptoms to the most likely problems in under a minute.Run diagnosis →Understand and fix leggy growth
Long stems with wide spacing between leaves and small sparse foliage indicate etiolation from insufficient light intensity or duration.
Overview
Leggy growth is a classic low-light adaptation where plants stretch toward available light at the expense of dense, compact foliage. Internodes lengthen, leaves become smaller, and stems may bend or flop. Many growers mistake this as fast healthy growth, but it usually signals that the plant is producing weaker tissue with lower structural strength. Over time, leggy plants become sparse and less resilient.
The fix centers on improving light quality and training growth back to balance. Move plants closer to bright indirect light or supplement with grow lights, then prune strategically to encourage branching. Rotating pots helps prevent one-sided lean. Recovery is gradual: old stretched sections do not shrink, but new growth can become compact under better conditions. Combining improved light with correct watering and moderate feeding produces denser regrowth over subsequent cycles.
Leggy Growth patterns: what you see vs. likely cause
Match your plant to the closest pattern, then start with the first step before trying other fixes.
| What you see | Likely cause | First step |
|---|---|---|
| Long gaps between leaves; plant leans to window | Insufficient light (etiolation) | Move closer to bright indirect light or add a grow light |
| Leggy only on one side | Uneven light exposure | Rotate pot weekly; supplement weak side with light |
| Leggy in winter but was compact in summer | Seasonal light drop | Accept slower growth or add supplemental lighting |
| Leggy with pale new leaves | Low light plus possible nutrient lack | Increase light first; fertilize lightly in active growth |
How to identify it
- Internodes are noticeably longer than earlier growth.
- New leaves are smaller or paler than expected.
- Stems lean strongly toward windows or light source.
- Lower leaves shed, leaving bare stem sections.
- Plant looks sparse despite ongoing stem extension.
- Growth quality worsens in winter or dim rooms.
When to worry
Take corrective action when new growth is repeatedly weaker, stems lean heavily, or the plant can no longer support itself upright.
Common causes
Insufficient light intensity
Light levels are too low to support compact growth, so stems elongate to seek brighter conditions.
Short daylight duration
Even moderate intensity may be inadequate if exposure hours are too short, especially in winter.
Crowding and shading
Nearby plants or furniture block light, creating directional stretch and uneven canopy development.
Overfertilizing in low light
Excess nutrients can drive weak, elongated growth when light cannot support dense tissue formation.
Lack of pruning
Without periodic pinching or pruning, plants continue apical stretch and lose branching density.
Step-by-step fix
Increase usable light
Move to brighter indirect light or use full-spectrum grow lights for 10-12 hours daily as needed.
Rotate regularly
Turn the pot weekly so all sides receive similar exposure and stems grow more evenly.
Prune back stretched stems
Cut above nodes to trigger lateral branching and reduce sparse elongated sections.
Propagate healthy cuttings
Use tip cuttings from leggier plants to restart fuller specimens while rejuvenating the parent plant.
Moderate fertilizing
Feed lightly during active growth only, matching nutrients to improved light availability.
Support regrowth structure
Stake weak stems temporarily while new compact growth develops in better light conditions.
Prevention tips
- Place plants where light levels match species needs.
- Supplement winter light with grow lamps when required.
- Prune routinely to maintain branching and shape.
- Avoid heavy fertilizing in dim environments.
- Rotate pots to prevent directional leaning.
Common mistakes
- Assuming rapid stretching equals healthy vigor.
- Pruning without improving light, causing repeat legginess.
- Moving from low light to harsh direct sun abruptly.
- Ignoring one-sided growth until stems weaken.
Related care topics
These care guides help prevent repeat issues once you have treated the immediate problem.
Leggy growth is a pattern of elongated stems, wide gaps between leaves, reduced leaf size, and weak or one-sided architecture. In many houseplants it develops when usable light is too low for compact growth. The plant continues extending toward a better-lit position, but it cannot build the dense canopy you expected.
Pruning alone does not solve the cause. Old internodes do not shorten, and a plant cut back into the same dim conditions usually stretches again. The effective sequence is to confirm that the growth is abnormal for the species, improve light gradually, and then prune or train only as the plant’s biology allows.
This guide synthesizes extension and horticultural guidance rather than reporting a controlled lighting trial. The adenium photographs show one visible form of elongated growth, but they do not define normal architecture for every species. Diagnosis here depends on a change over time: compare successive internodes, leaf size, stem strength, and light direction while accounting for the plant’s natural climbing, trailing, rosette, or shrubby habit.
What leggy growth means
“Leggy” is a visual description, not a disease. It commonly corresponds with etiolation, a low-light growth response that produces elongated internodes, thinner stems, and underdeveloped leaves. A plant may also lean through phototropism, directional growth toward light. These responses can occur together but are not identical.
Height itself is not evidence. Vining aroids, climbing figs, hoyas, and many succulents naturally lengthen stems as they mature. Seedlings also have different proportions from adult plants. Compare the newest section with earlier compact growth on the same plant and with healthy examples of the exact species.
Leggy growth develops over time. A long bare segment is a record of past conditions, even after placement improves. Focus on whether the latest internodes are shortening and leaves are sizing normally.
Confirm etiolation from the growth pattern
Measure, do not just glance. Photograph a stem against a ruler and compare the distance between three recent nodes with three older healthy nodes. Note leaf size, color, stem thickness, orientation, and whether several stems changed at the same time. A repeated change across the canopy is more persuasive than one wandering shoot.
Check light history. Has the plant moved farther from a window, been shaded by a tree or curtain, or continued warm active growth through a darker season? Has dust accumulated on leaves or glass? Did neighboring plants grow large enough to shade it?
Then rule out root decline and pests. A plant with long internodes can also have yellow leaves from wet roots, or distorted tips from thrips. Legginess describes architecture; it does not exclude a second problem.
Long internodes, smaller leaves, and weak stems
The classic pattern is progressively greater spacing between nodes, leaves that are smaller or paler, and stems that bend toward the strongest light. Lower leaves may drop, leaving a sparse base. New growth can look fast because stems gain length, yet the plant produces less robust tissue. Iowa State Extension includes spindly growth among environmental houseplant symptoms, reinforcing the need to evaluate placement before treating disease.
The University of Maryland’s indoor-lighting guide explains that insufficient light leads to weak, spindly growth and small leaves. That pattern is stronger evidence than a vague label such as “low light plant,” which means tolerance, not an absence of light requirement.
If internodes remain normal but stems flop, investigate watering, mechanical support, stem rot, or the species’ climbing habit. If leaves are small but spacing is compact, roots, nutrition, temperature, or genetics may be more important than light.
Leggy growth versus normal climbing
| Pattern | Likely explanation | Useful next check |
|---|---|---|
| Longer gaps plus smaller pale leaves | Insufficient usable light | Compare recent placement and seasonal light |
| Long stem with normal leaf size seeking support | Normal climbing or vining habit | Add a trellis and check mature form |
| One side leaning with normal spacing | Directional light response | Rotate placement or light from above |
| Thin growth plus wet mix and yellowing | Low light with root stress | Check roots and drainage |
| Sudden distorted tips with scars or pests | Feeding injury, not simple legginess | Inspect folds and undersides with magnification |
| Stretch after heavy feeding in a dim room | Growth exceeds light support | Pause feeding and correct light |
Some climbers produce larger mature leaves only after receiving support and suitable light. Cutting every long shoot can prevent that transition. Know whether the plant is meant to trail, climb, form a rosette, or branch as a shrub before redesigning it.
Why indoor light creates stretching
Plants use light as energy and as developmental information. When quantity or direction changes, stem extension, leaf angle, and allocation change. Indoor light declines sharply with distance from a window and varies with orientation, latitude, season, glazing, overhangs, trees, curtains, and room surfaces.
Human vision adapts, so a room that looks bright can supply far less plant-usable light than the window area. A phone lux app can compare locations consistently, although it is not a calibrated plant sensor and lux is weighted to human vision. Use it as a relative tool alongside plant response.
Create a placement map before buying equipment. Record relative readings at leaf height near the window, at the current pot, and at a proposed shelf during the brightest part of the day. Repeat on an overcast day and after seasonal changes. The numbers need not define a perfect threshold to reveal that a plant receives a fraction of the light available one step closer.
For a repeatable comparison, use the same phone or meter, hold it in the same orientation at canopy height, and record the time, weather, curtain position, and distance from the window. Treat phone lux readings as relative rather than laboratory-grade measurements. Pair them with a weekly photograph and measurements of three consecutive new internodes; shorter spacing without bleaching or heat injury is better evidence of improvement than a single high reading.
Canopy self-shading matters as plants mature. A location that supported a small nursery plant may leave lower shoots dark once upper leaves overlap. Spacing, selective training, and an overhead source can distribute light more effectively than simply increasing brightness on the topmost leaf.
Intensity, duration, distance, and season
Light quantity is not just “bright” or “dark.” Intensity at the leaves and duration across the day both contribute. A plant receiving moderate light briefly may stretch just as one receiving dim light for longer does. Short winter days can expose a placement that seemed adequate in summer.
Distance matters because the window is the source. Moving a plant a meter across a room can make a large difference even though the whole space looks illuminated. Screens, tinted glass, and sheer curtains reduce transmission. Clean foliage and glass when safe to do so, but do not polish leaves with products that may leave residue.
The RHS houseplant growing guide recommends matching placement to the plant and recognizes seasonal changes in indoor conditions. No universal “two meters from a window” rule is reliable because windows and species differ.
Directional light and phototropism
A plant leaning toward a window may be responding normally to directional light even when internode length remains acceptable. Rotating the pot can create a balanced display, but frequent large rotations may cause repeated bends as shoots reorient. Rotate gradually and consistently if symmetry is the goal.
Overhead grow lights produce more even vertical architecture than a small lamp placed at the side. Reflective pale walls can soften contrast but do not replace adequate source intensity. Crowded shelves may shade lower leaves even when the top receives enough.
For plants trained on a support, orient the growing face intentionally. Some climbing foliage plants attach or orient leaves relative to support and light. Visual symmetry is not always the plant’s natural form.
Fertilizer, warmth, and low-light growth
Warm rooms can keep plants metabolically active during dark seasons. Adding high nitrogen or frequent fertilizer may promote soft extension without sufficient light to support compact tissue. Fertilizer supplies mineral nutrients; it does not supply energy.
Pause or reduce feeding when growth is weak and light is limiting, following product and species guidance. The University of Nebraska–Lincoln Extension’s houseplant fertilization advice links fertilizer need with active growth and warns against excess. Resume balanced feeding when appropriate light supports normal growth.
Do not deliberately chill tropical plants to stop stretching. Temperatures below their tolerance cause injury. Either improve light, accept slower seasonal growth, or choose plants that match the location.
Fix the light before pruning
Make one measured improvement, document it, and watch the newest nodes. Move closer to the same window, open a sheer during safe hours, remove an obstruction, or add supplemental light. Preserve environmental stability while increasing usable light.
Low-light leaves can scorch after abrupt intense exposure. Acclimate over days or weeks depending on species and the size of the change. Watch for bleached patches or crisp areas on the window-facing side, which indicate excess exposure rather than correction.
The goal is not maximum light. It is the species-appropriate range that produces normal spacing without heat or scorch. Shade-adapted foliage, desert succulents, and seedlings have different needs.
Improve window placement without scorching
Start by moving the plant incrementally closer to a suitable window and monitoring leaf temperature and direct-sun duration. Morning sun can be gentler than intense afternoon exposure, but glass, season, and climate alter that pattern. A leaf touching hot or cold glass can be damaged even when room air seems comfortable.
Keep the canopy unobstructed and rotate only when appropriate. If a plant cannot move, use a stand to raise it into the light or prune the shading neighbor. Cornell Cooperative Extension’s overview of houseplant placement and care provides a useful reminder that indoor conditions change by location and season. Avoid placing foliage where curtains crush it or where heating vents create rapid water loss.
Maryland Extension notes that light intensity and duration affect indoor plant performance. Judge the adjustment through shorter new internodes and normal leaf size, not by a single meter reading.
Set up a grow light by plant response
Choose a fixture intended for safe, continuous operation and follow its manufacturer’s distance, mounting, heat, moisture, and electrical instructions. A timer creates a consistent day and a dark period. Do not stare into high-intensity lamps, allow water to contact non-rated equipment, or overload adapters.
There is no universal grow-light distance. Output, optics, heat, species, and duration differ. Begin within the manufacturer’s recommended range, measure if specifications provide PPFD, and observe the plant. Continued stretch suggests too little total light; bleaching, curling, or heat injury suggests too much or too close.
Position the fixture over the canopy and raise or redistribute it as the plant grows. A small bright spot may serve the top while lower shoots remain shaded. Multiple modest sources can provide more even coverage than one narrow beam.
Evaluate the full photoperiod instead of reacting to one bright hour. A plug timer improves consistency, while a schedule that overlaps natural daylight can extend a short winter day. Plants also need a regular dark interval; continuous illumination is neither necessary nor a universal shortcut to faster recovery.
Keep leaves outside the fixture’s heat zone and cables away from water. Secure clamp lamps to a stable structure, use equipment rated for the environment, and follow the manufacturer’s electrical load limits. Horticultural improvement is not worth creating a falling-light or electrical hazard.
If the manufacturer supplies a PPFD map, use the value at the actual distance and position rather than the fixture’s maximum center reading. Edge plants may receive much less than the center. Reposition pots or widen coverage while continuing to use internode spacing and leaf condition as the biological check.
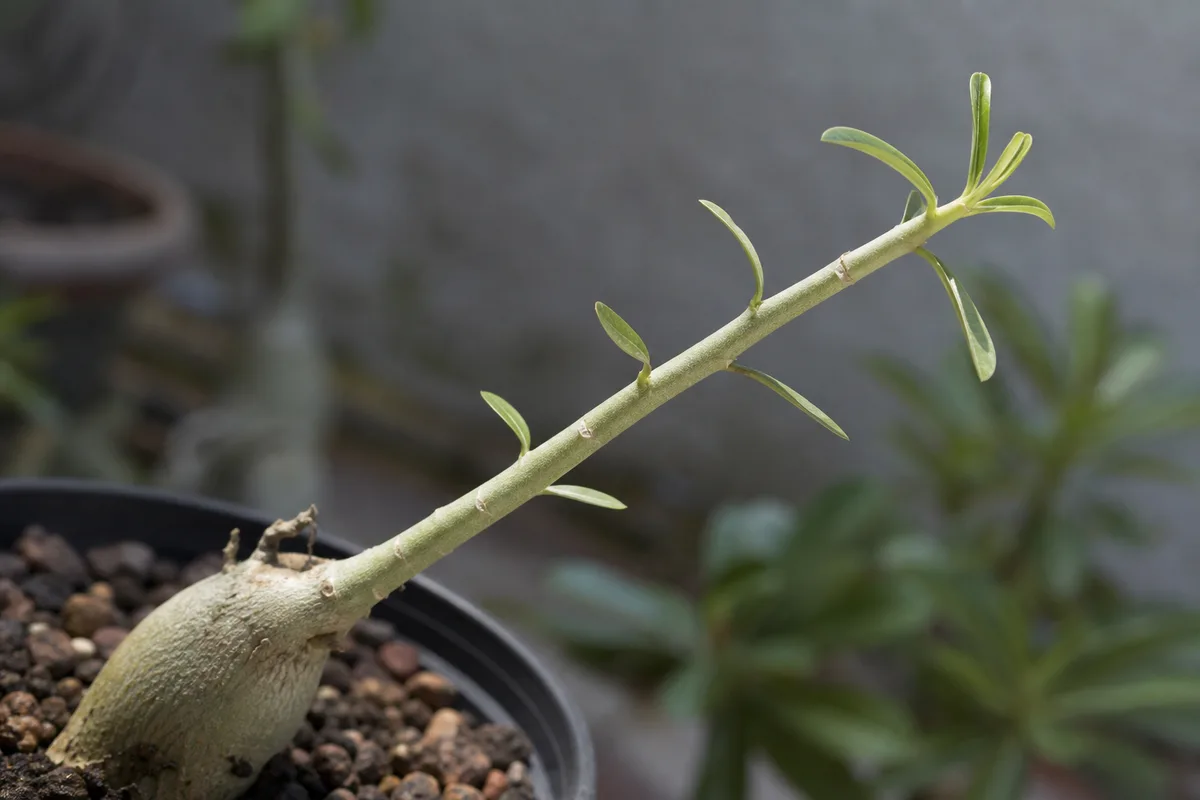
Prune and train for better structure
Once light is corrected, decide whether to keep old stems, train them, or remove some. Pruning can stimulate axillary buds below a cut in species capable of branching, but response depends on plant type, season, health, and node position. Rosettes, palms, and single-growing-point plants may not tolerate the same cuts as branching vines or shrubs.
Use clean sharp tools and identify nodes before cutting. Plan the final shape while leaving enough healthy foliage to support recovery. Stagger severe renovation when the plant is weak rather than removing nearly all photosynthetic tissue at once.
Training may be better than cutting. Tie flexible vines loosely to a trellis, coil suitable stems, or allow a natural trailing habit. Supports should not constrict growth or hide pest-prone junctions.
Before pruning, assess plant reserves. A specimen with active root rot, severe pests, or very few green leaves may need stabilization before architectural work. Removing a large share of its foliage reduces photosynthetic capacity and creates wounds. Correct the urgent health problem first unless pruning is needed to remove diseased tissue.
Plan cuts on a photograph. Mark which nodes will remain, which stem sections can become cuttings, and how much foliage stays on the parent. This small step prevents an impulsive “hard reset” that leaves no viable bud or produces a shape that cannot be supported.
Choose the cut and protect the node
For a branching stem, cut just above a healthy node, leaving a small margin without damaging the bud. Remove dead or diseased tissue separately and sanitize tools between affected plants. Make clean cuts rather than crushing stems.
Pinching a soft tip removes apical dominance and may encourage lateral shoots, but it cannot overcome insufficient light. New branches formed in dim conditions will also stretch. Wait for improved conditions and active growth before expecting a strong response.
Do not top palms or other plants whose single crown does not regenerate. For succulents and caudiciforms, account for sap, wound drying, season, and rot risk. Species-specific propagation or pruning guidance outranks a generic houseplant rule.
Propagate healthy cuttings when appropriate
Propagation can restart a fuller pot while shortening the parent. Use firm, pest-free material and the correct unit: many vines require a node; some shrubs root from stem cuttings; certain succulents root from leaves; other plants must be divided. Label cuttings and keep tools clean.
Do not crowd numerous cuttings into stagnant wet media to create instant fullness. Root them under suitable light and moisture, then combine established plants only if their root zones can be managed together. Discard material with systemic disease or severe pest contamination.
Propagation preserves genetics but not the old architecture. The new plant still needs adequate light or it will repeat the same internode pattern.
Recovery expectations and monitoring
Old stretched internodes will not shrink. Improvement appears above the last elongated section as shorter spacing, thicker stems, better leaf size, and less directional lean. Take a weekly photograph from the same position and measure three new internodes.
Growth rate varies. Pruning can pause visible extension while buds activate, and low-season light may delay the response. Avoid increasing fertilizer simply because a cut plant takes time to branch.
If new growth remains leggy after light improvement, verify fixture output, distance, duration, canopy coverage, temperature, roots, and species habit. If leaves are also mottled, scarred, or deformed, reopen the pest and health diagnosis rather than adding more light indefinitely.
Track three indicators: internode length, mature size of each new leaf, and stem angle relative to its support or light source. Improvement in two of the three is meaningful even if the plant is not yet visually full. Older bare nodes may never reactivate, so density may need to come from branching above them or from rooted cuttings added later.
Do not judge within a few days. A leaf already initiated before the move may still expand with the old pattern. Depending on species and season, more than one growth cycle may be needed before the new conditions are clearly represented.
Species exceptions and false alarms
Vines and climbers naturally make longer search shoots, especially before reaching support. Mature aroids may change node spacing with climbing conditions. Trailing plants often lose leaves near the base as older tissue ages, which can create a sparse look without classic etiolation.
Seedlings stretch rapidly under weak light and can become unstable; prevention is easier than correction. Succulents can show narrow, pale, elongated growth that will not return to compact form. Prune only when the species safely branches or propagates.
Adenium naturally forms branches and a swollen caudex under suitable conditions, but growth habit varies with age, genetics, pruning, and strong light. Do not compare it with a bushy commercial specimen that may have been trained repeatedly.
Plants sold as “low light” are usually plants that tolerate lower light without immediate death, not plants that build their best form in darkness. Tolerance can look like survival with slow growth and greater spacing. If a low-light placement is nonnegotiable, accepting a looser habit or selecting a better-adapted species may be more realistic than constant pruning.
Newly rooted cuttings may initially produce different spacing while roots establish. Give them adequate light and time before diagnosing a permanent problem. A sudden change after establishment is more informative than the proportions of the first juvenile shoot.
Common mistakes
The most common mistake is pruning first and leaving the plant in the same location. Others include moving directly into harsh sun, placing a weak decorative lamp too far away, running a grow light continuously without darkness, and fertilizing heavily to force branching.
Rotation is useful for display symmetry but cannot replace light quantity. A mirror or white wall can improve distribution modestly but does not turn a dark room into a growing site. Misting does not correct etiolation.
Avoid cutting without locating nodes or understanding the species. A dramatic chop can eliminate the only viable growing point. Preserve a healthy backup cutting when appropriate and make changes in stages.
Prevent legginess from returning
Match plants to real placement conditions before purchase. Reserve the brightest sites for high-light species and use tested supplemental lighting where natural light is insufficient. Reassess in winter and when outdoor foliage begins shading windows.
Rotate display plants gradually, clean leaves, prevent neighboring canopies from blocking them, and raise lights as shoots grow. Use timers and periodically confirm that fixtures have not shifted or dimmed.
Feed according to active growth, maintain functional roots, and prune or pinch compatible species before stems become unmanageable. Compact growth is the result of a stable system, not one corrective weekend.
Conclusion
Leggy growth is usually diagnosed by a change in architecture: longer internodes, smaller leaves, weaker stems, and directional stretch. Confirm that this differs from the species’ normal climbing or trailing habit, then correct intensity, duration, placement, and seasonal light before reaching for shears.
Old stretched stems remain stretched, but future growth can be more compact. Acclimate plants to better light, prune above viable nodes only when the species permits it, and track new internode spacing. The result is not an instant cosmetic reset; it is a healthier growth pattern that no longer repeats the original problem.
Plants commonly affected
These houseplants often struggle with leggy growth. Open a care guide or plant-specific troubleshooting page for tailored fixes.
 Medium
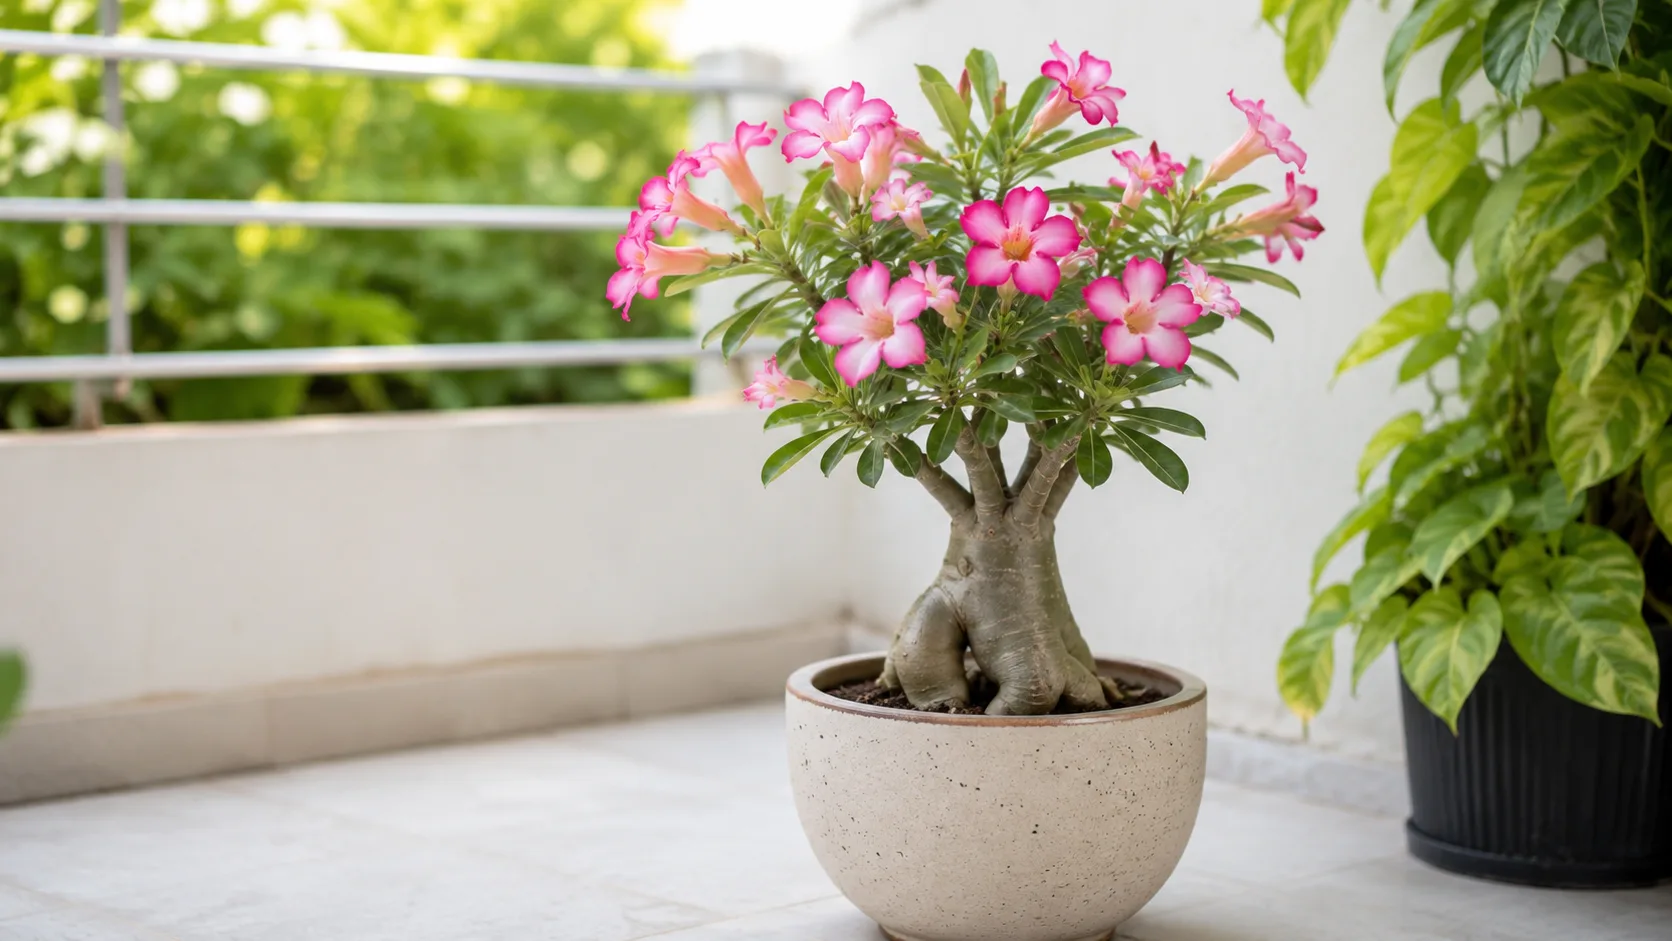
Adenium
Likely causeLow light causes etiolation—long thin stems leaning toward the brightest window with sparse leaves.
Quick fixMove to the sunniest spot or add grow lights; prune leggy stems back in early spring.
 Medium
African Milk Tree
Likely causeCommon on this plant type; confirm with recent watering, light, and root checks.
Quick fixInspect the plant and correct the most likely care stressor before stacking treatments.
 Medium
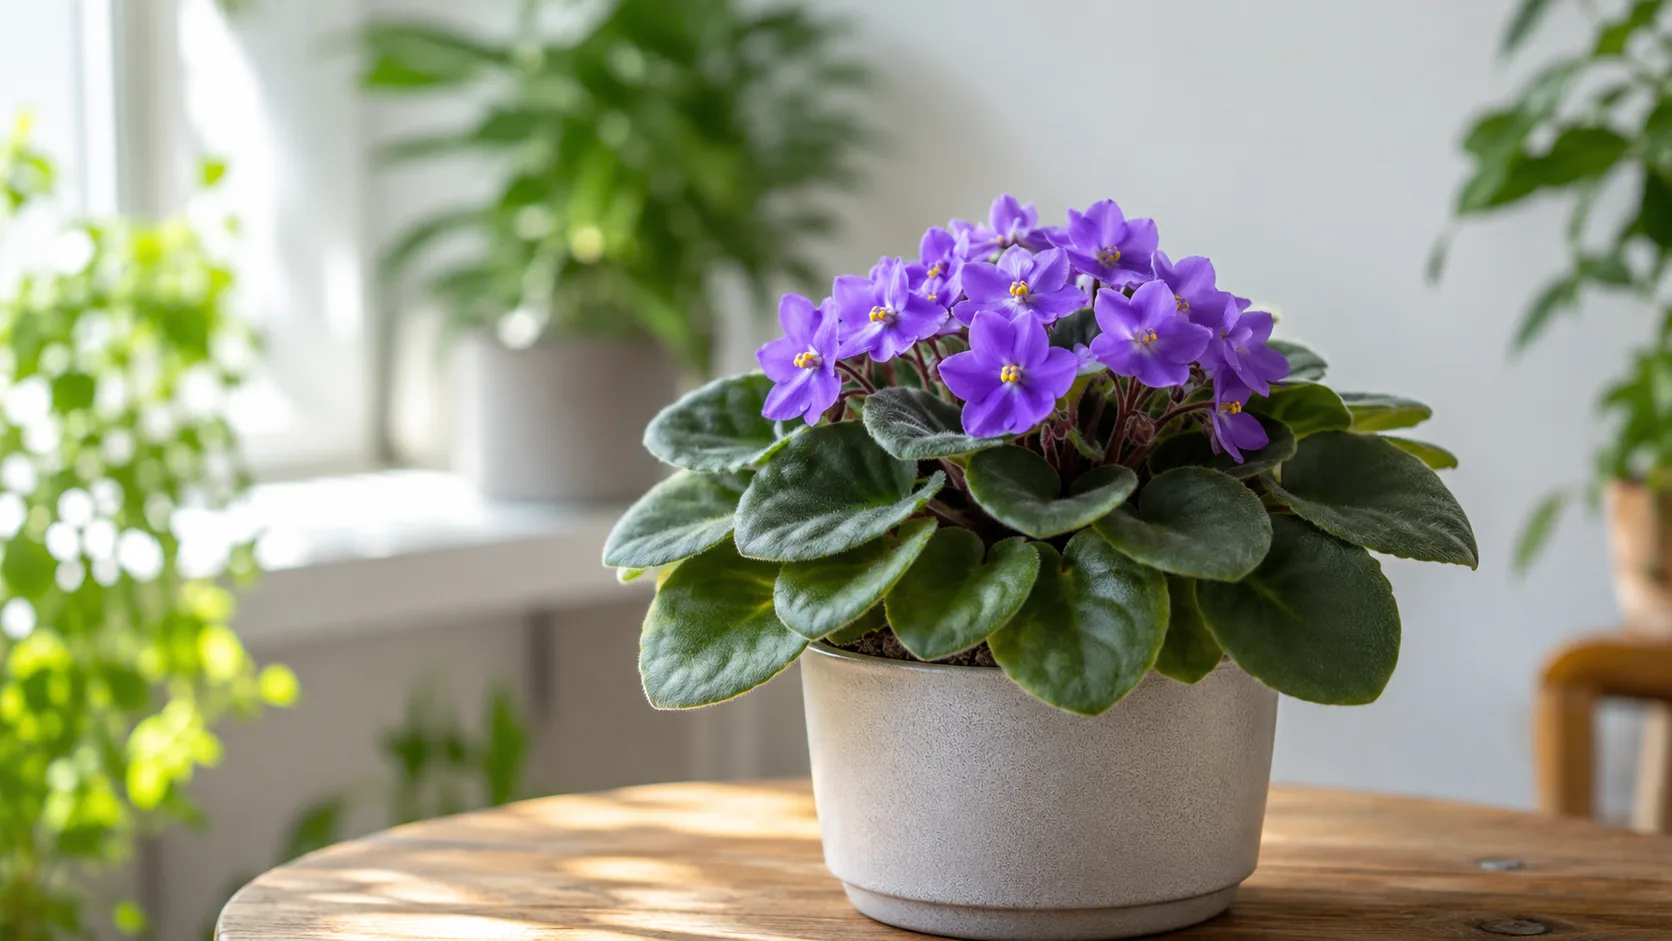
African Violet
Likely causeLeggy Growth on African Violet: A step by step guide on how to fix leggy African violets. Everything you need to know about this common problem and how to address it.
Quick fixInspect African Violet, confirm leggy growth matches your symptoms, then adjust care or treat per authoritative guides.
 Medium
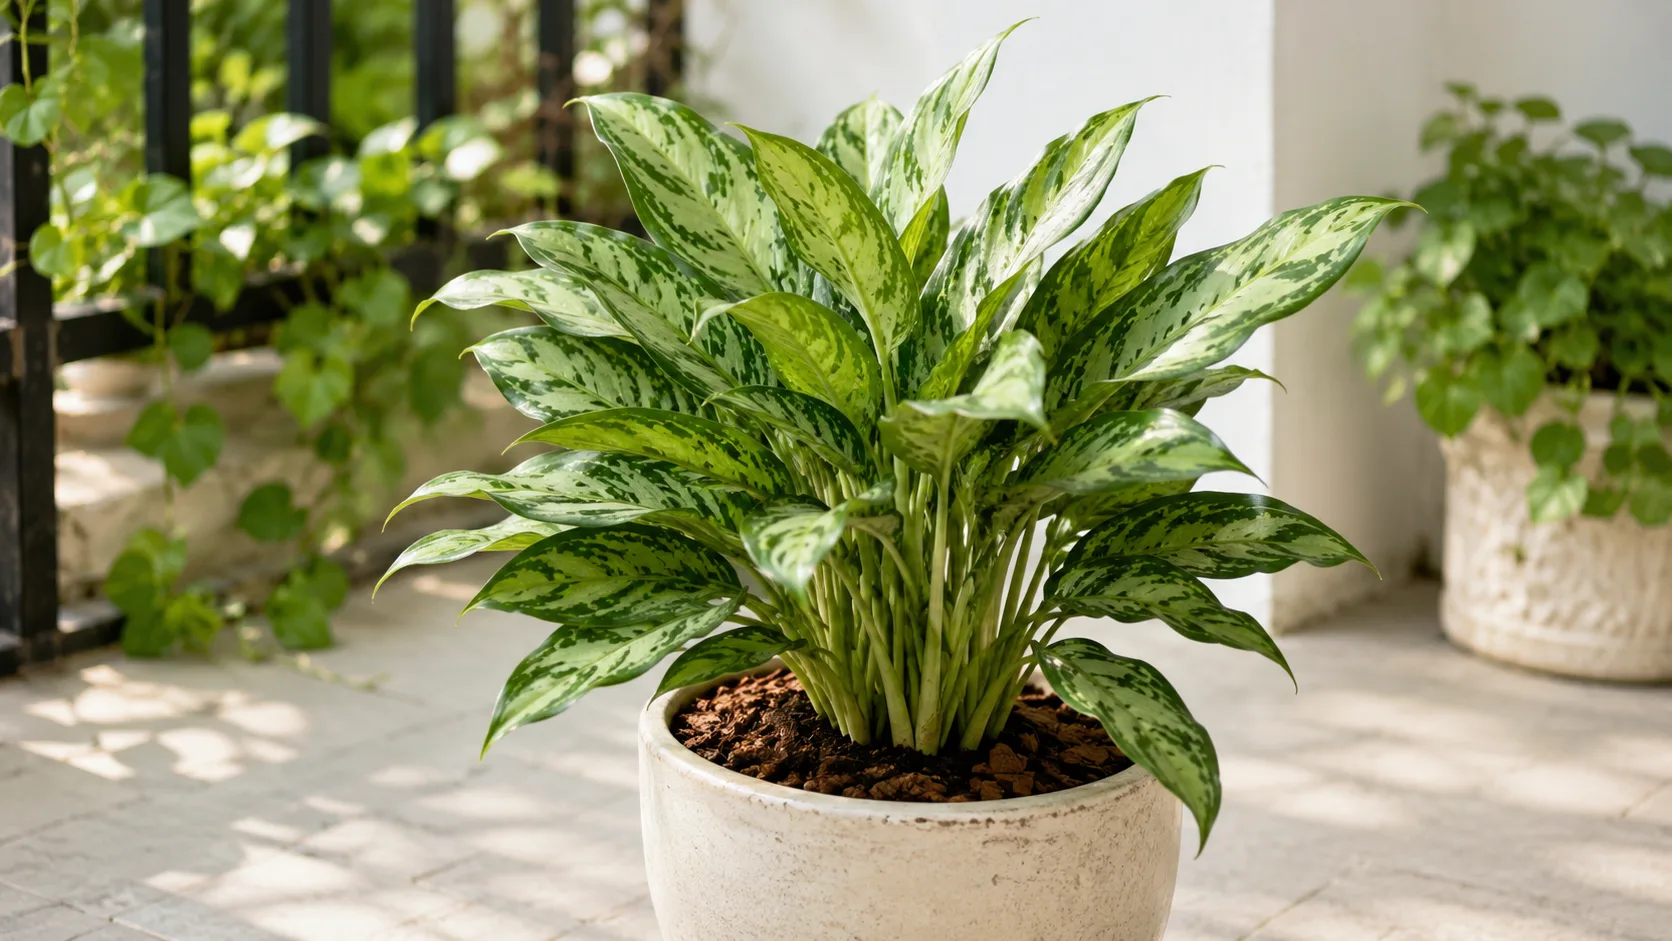
Aglaonema
Likely causeCommon on this plant type; confirm with recent watering, light, and root checks.
Quick fixInspect the plant and correct the most likely care stressor before stacking treatments.
 Medium
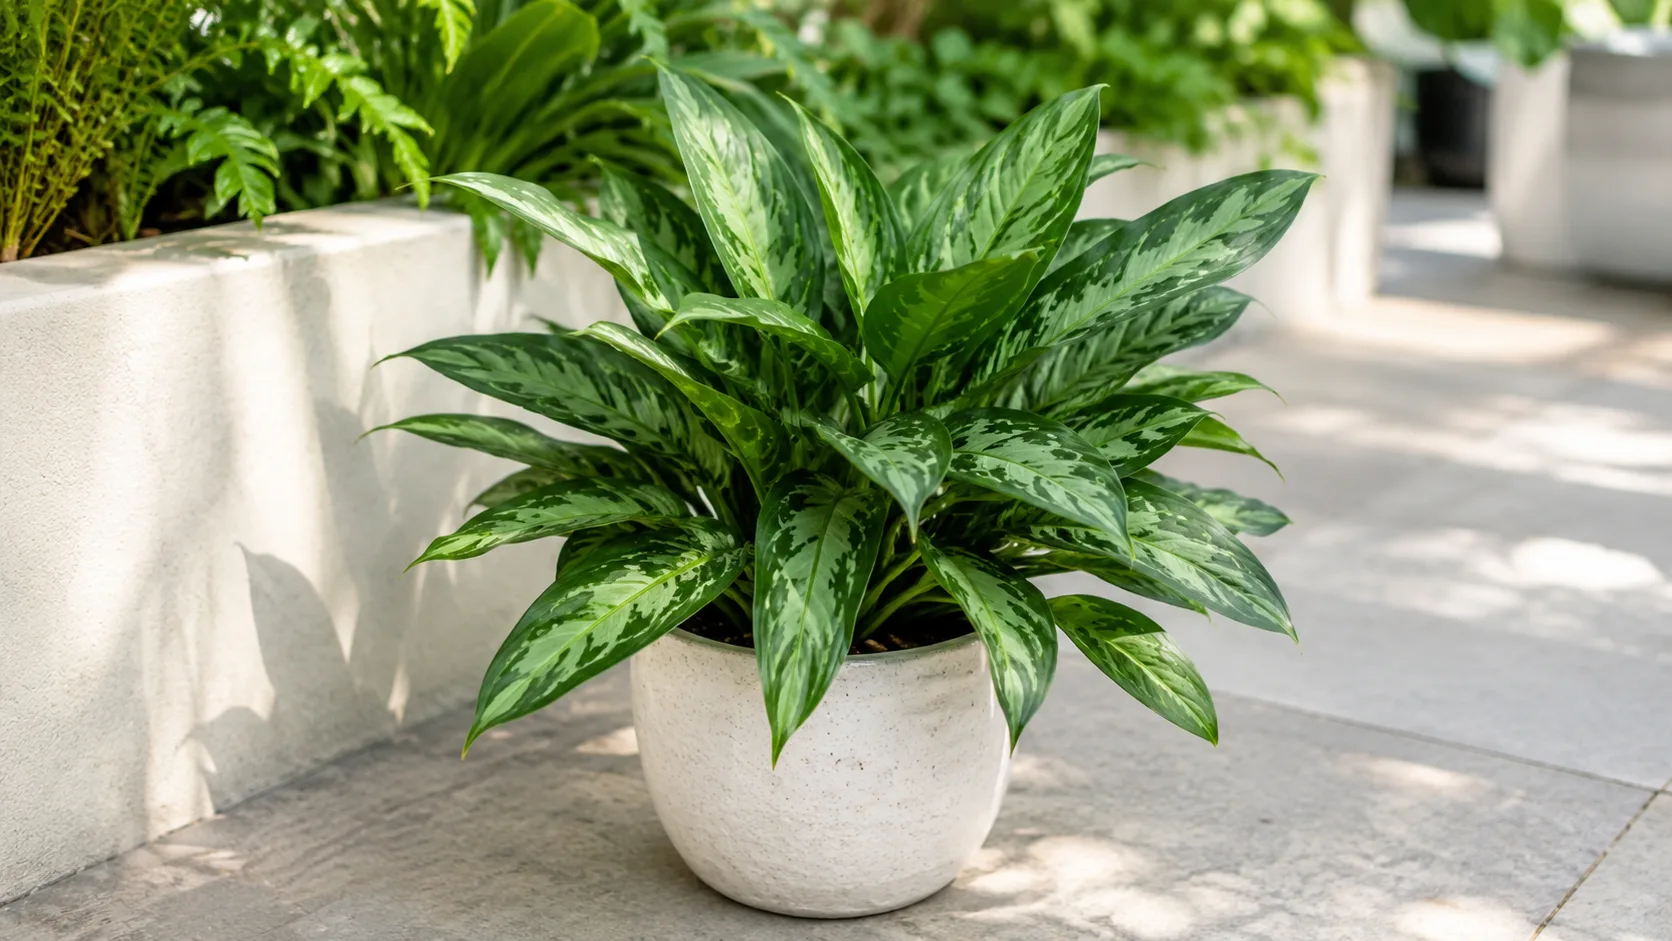
Aglaonema Cutlass
Likely causeCommon on this plant type; confirm with recent watering, light, and root checks.
Quick fixInspect the plant and correct the most likely care stressor before stacking treatments.
- Medium
Aglaonema Lady Valentine
Likely causeCommon on this plant type; confirm with recent watering, light, and root checks.
Quick fixInspect the plant and correct the most likely care stressor before stacking treatments.
- Medium
Aglaonema Maria
Likely causeCommon on this plant type; confirm with recent watering, light, and root checks.
Quick fixInspect the plant and correct the most likely care stressor before stacking treatments.
- Medium
Aglaonema Pictum Tricolor
Likely causeCommon on this plant type; confirm with recent watering, light, and root checks.
Quick fixInspect the plant and correct the most likely care stressor before stacking treatments.
 Medium
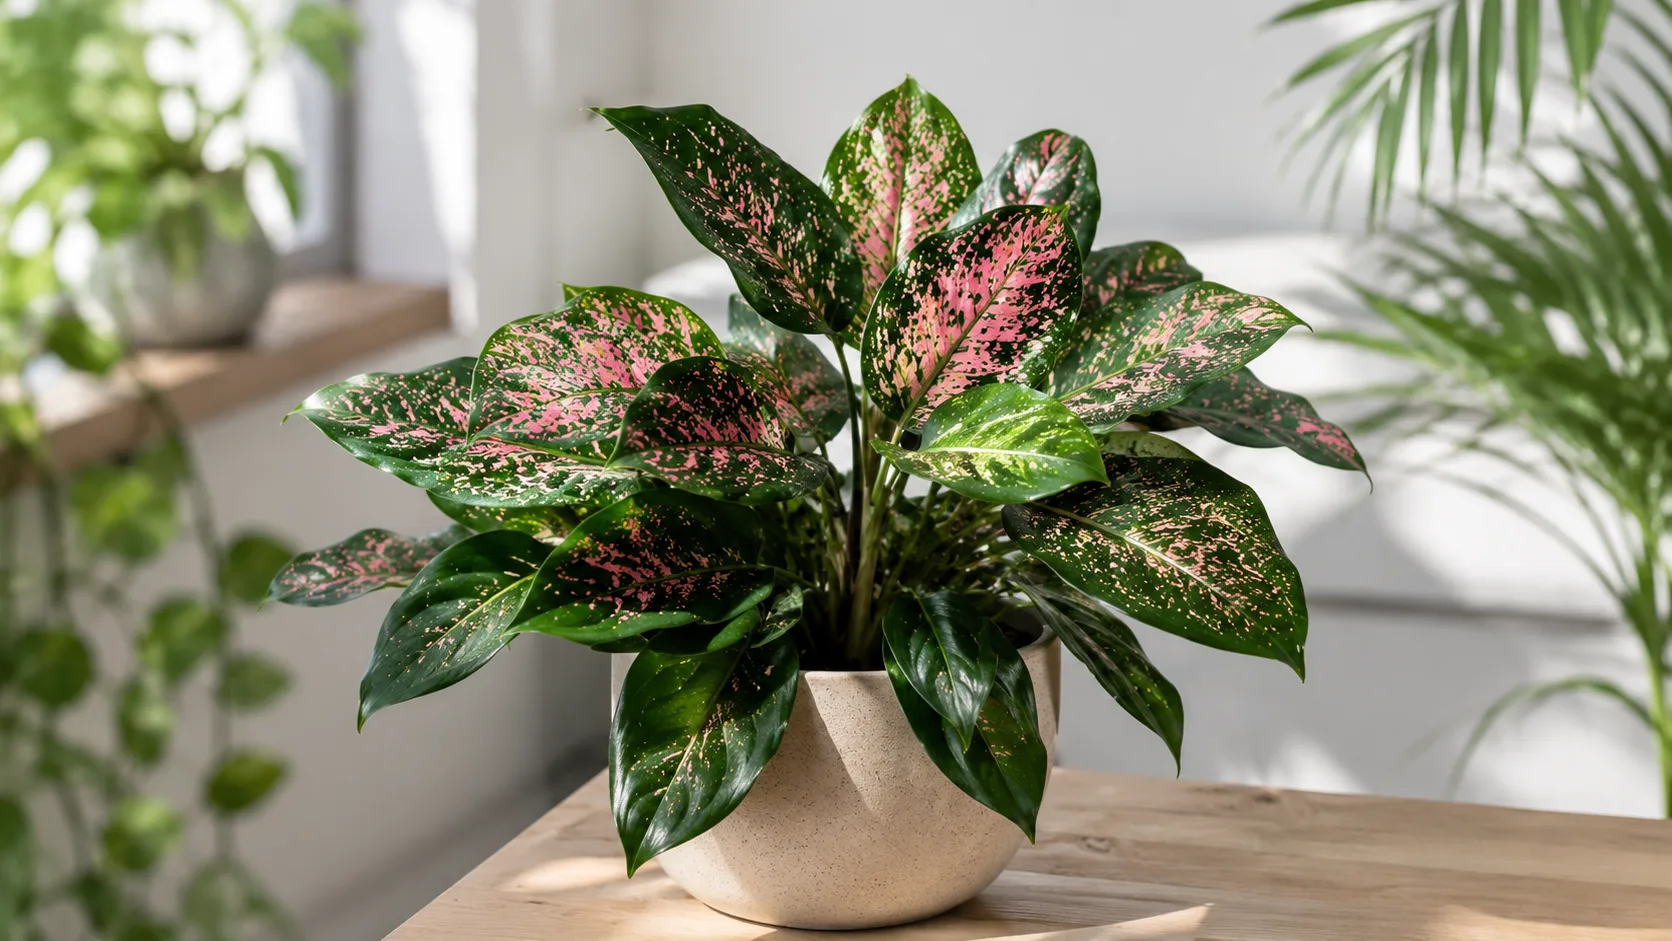
Aglaonema Pink Dalmatian
Likely causeCommon on this plant type; confirm with recent watering, light, and root checks.
Quick fixInspect the plant and correct the most likely care stressor before stacking treatments.
- Medium
Aglaonema Red Siam
Likely causeCommon on this plant type; confirm with recent watering, light, and root checks.
Quick fixInspect the plant and correct the most likely care stressor before stacking treatments.
 Medium
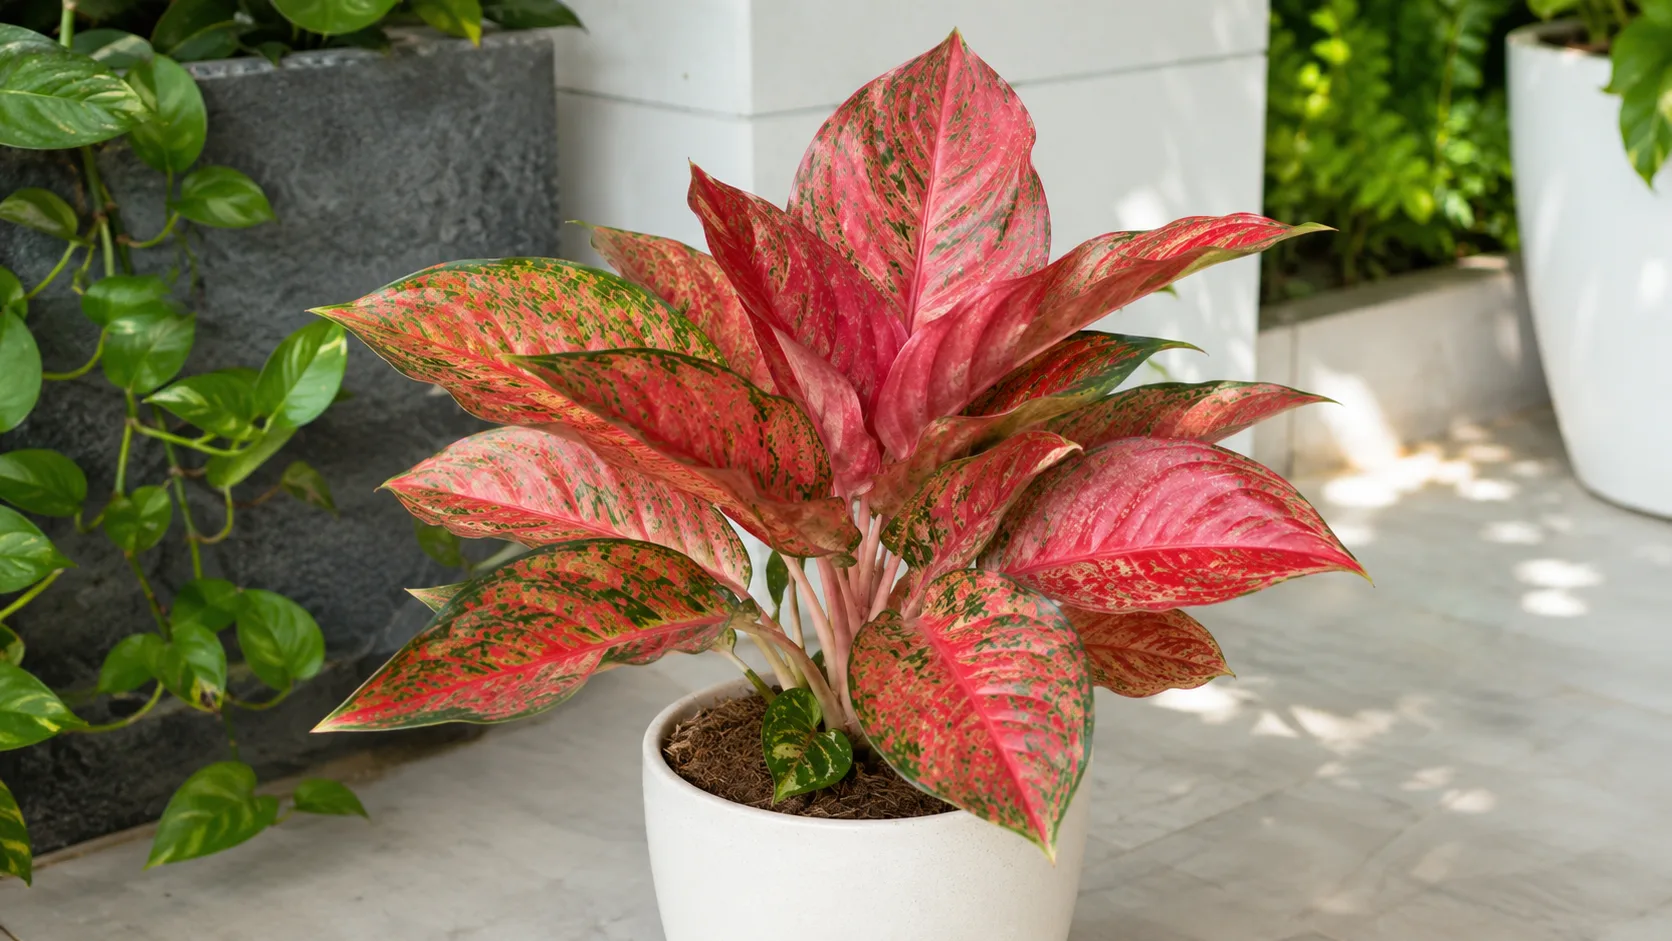
Aglaonema Red Valentine
Likely causeCommon on this plant type; confirm with recent watering, light, and root checks.
Quick fixInspect the plant and correct the most likely care stressor before stacking treatments.
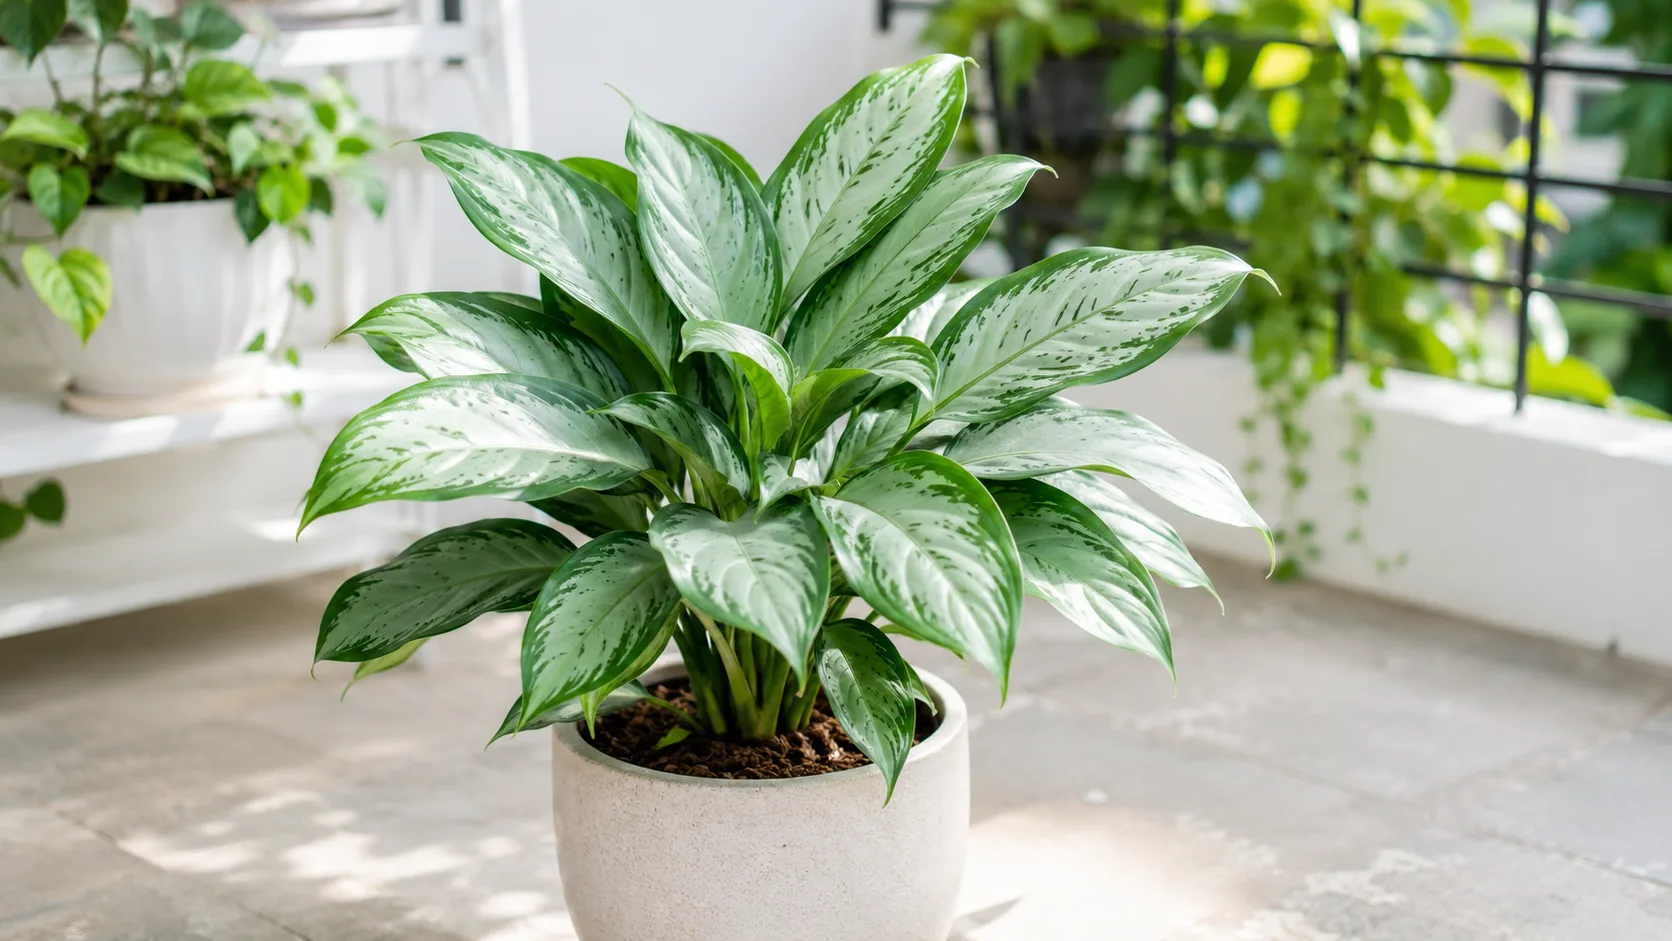 Medium
Aglaonema Silver Bay
Likely causeCommon on this plant type; confirm with recent watering, light, and root checks.
Quick fixInspect the plant and correct the most likely care stressor before stacking treatments.