DIY Mold Remover With Vinegar: Safe Steps That Work
Learn how to make a DIY mold remover with vinegar for small bathroom spots, what surfaces to avoid, and when recurring growth needs professional help.
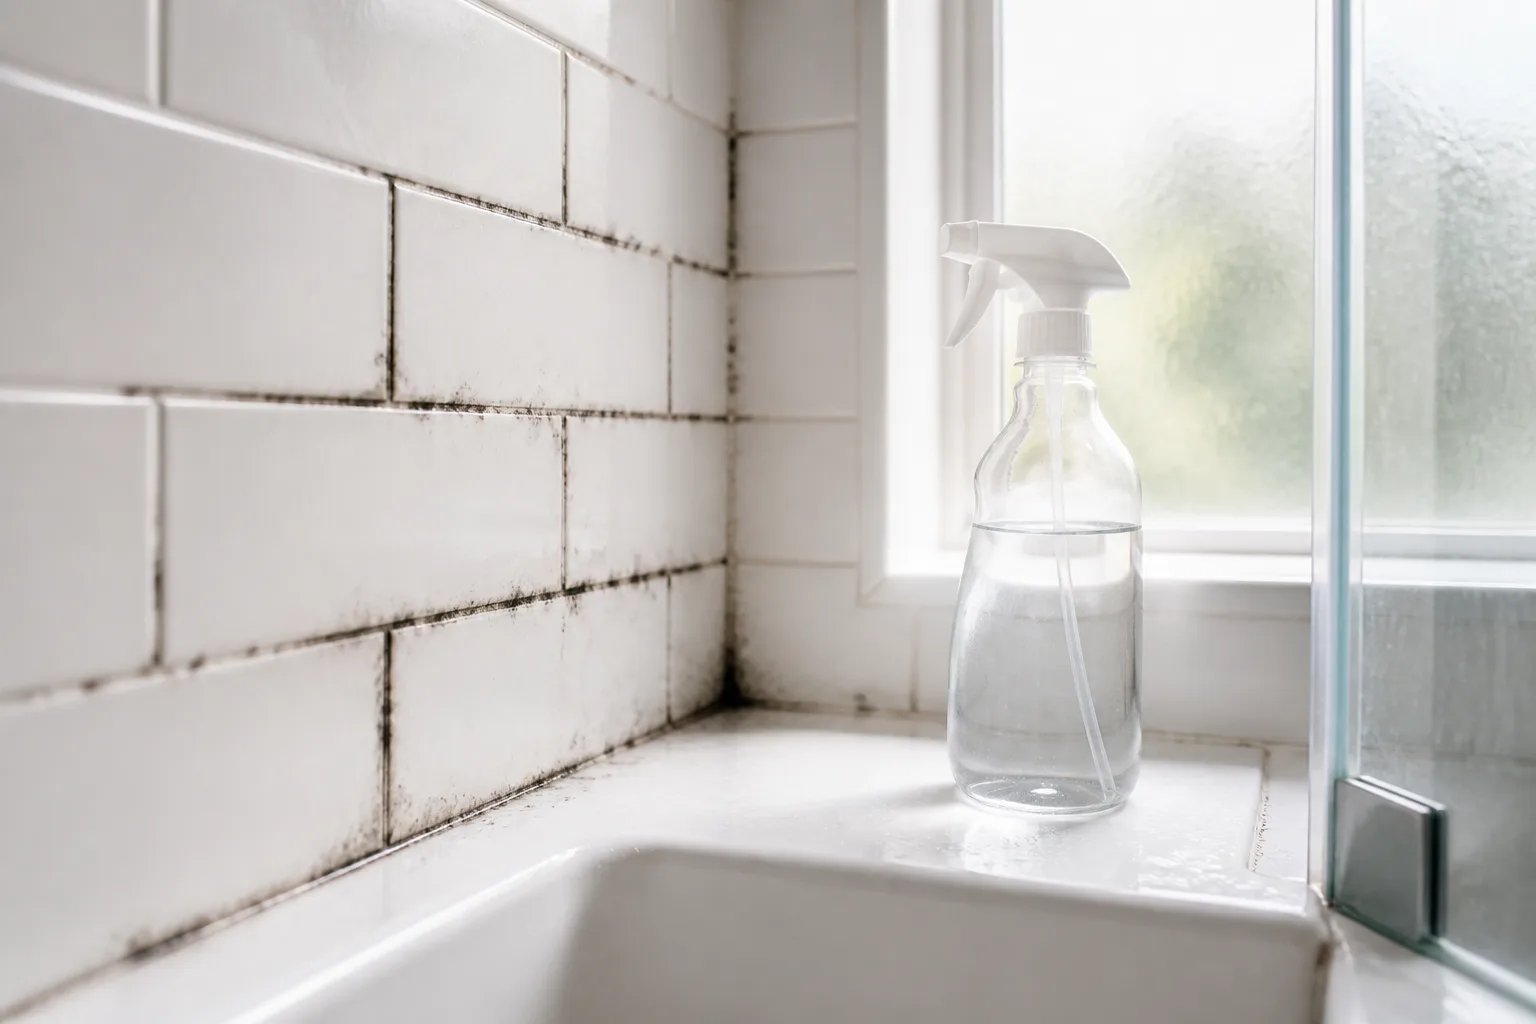
For a small, fresh patch of mold or mildew on a compatible bathroom surface, plain distilled white vinegar is a reasonable first treatment. It is inexpensive, ready to use, and avoids the more serious risk of mixing several cleaners. It is not a universal mold-remediation solution, though: the surface, the size of the growth, and the moisture source determine whether this is a sensible DIY job.
The safest approach is simple: choose one product, protect your eyes and skin, keep the patch wet long enough to work, remove the residue without scattering it, and dry the area completely. If mold is inside a porous building material, keeps returning, follows a leak, or covers a large area, stop treating the symptom and address the building problem.
Why vinegar is useful for a small mold patch
Vinegar is a water solution of acetic acid. Household white vinegar is generally around 4–6% acetic acid, while concentrated or horticultural vinegar can be much stronger; the National Pesticide Information Center’s acetic-acid overview warns that stronger solutions can severely irritate or burn skin and eyes. For indoor cleaning, use ordinary household distilled white vinegar—not agricultural vinegar, industrial acetic acid, or an unlabeled concentrate.
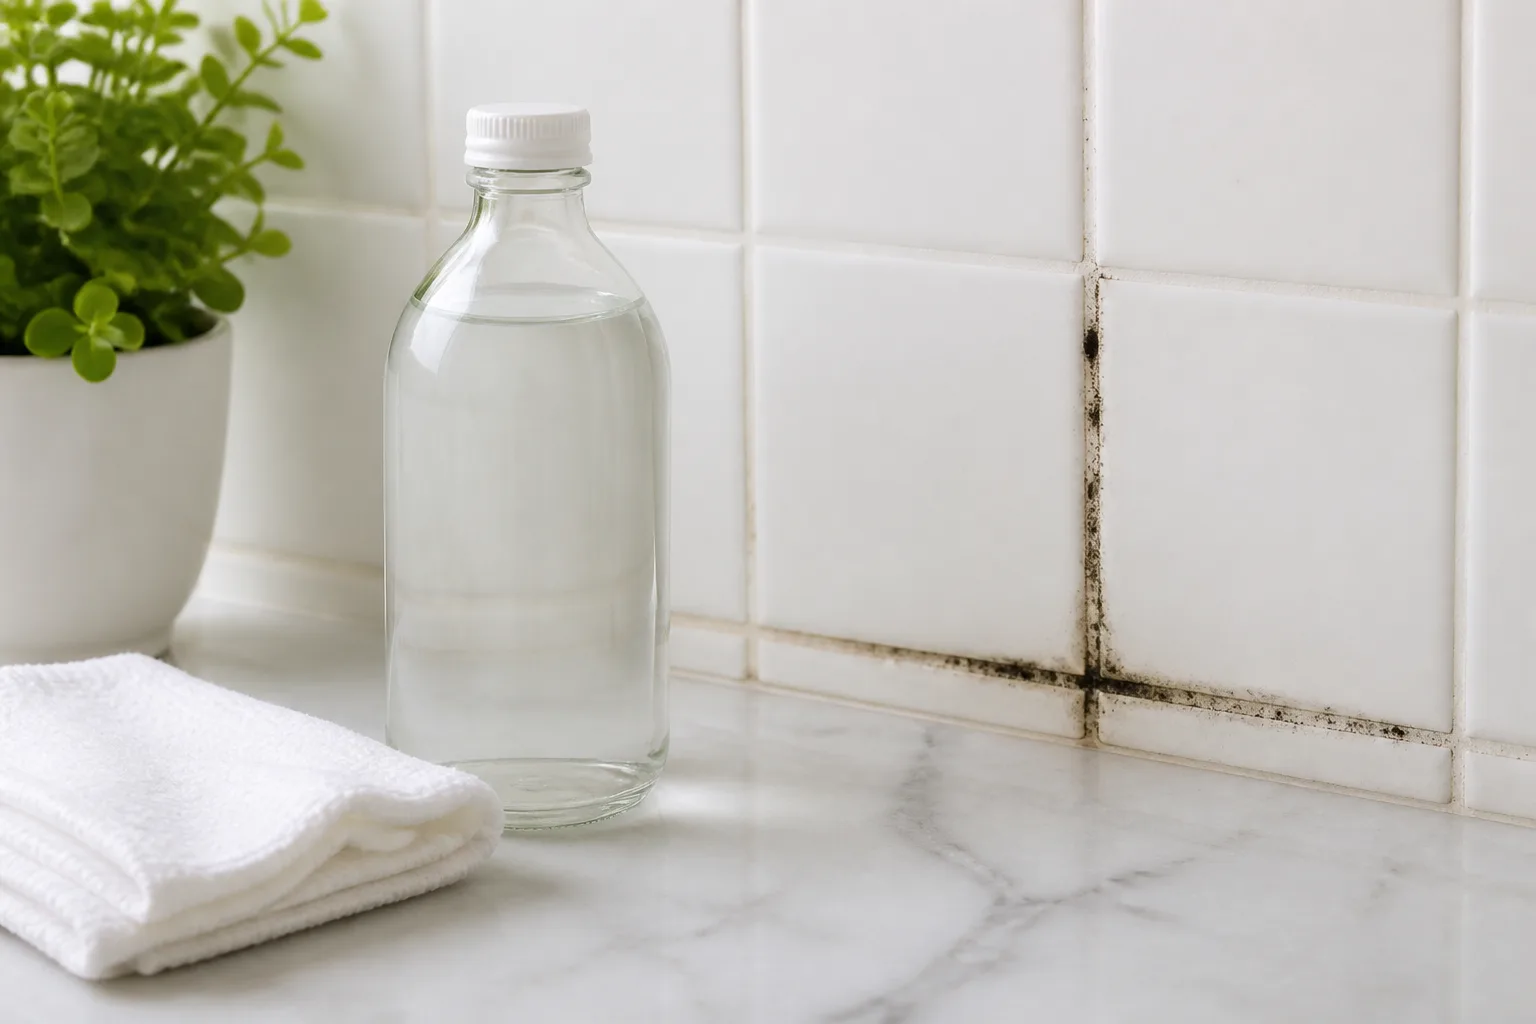
Vinegar’s mild acidity can damage or kill some surface mold and mildew, especially on hard, non-porous materials where the liquid can reach the growth. Results vary, and a successful treatment does not guarantee a clean-looking surface: pigment can remain in grout or paint after the active growth is gone. That distinction matters because repeatedly spraying a dark stain is not the same as removing mold.
Vinegar also has a practical advantage: the recipe does not require measuring a multi-ingredient concentrate. Use it by itself, keep the bottle labeled, and treat it as an irritating cleaning chemical even though it is sold as a food ingredient. “Natural” describes the source, not the dose or the exposure risk.
When vinegar is the wrong tool
Do not reach for vinegar just because a patch is black or because a social-media recipe promises to remove every type of mold. Color cannot tell you how deep the growth goes, and a household spray cannot repair wet drywall, replace soaked insulation, or stop a plumbing leak behind a wall.
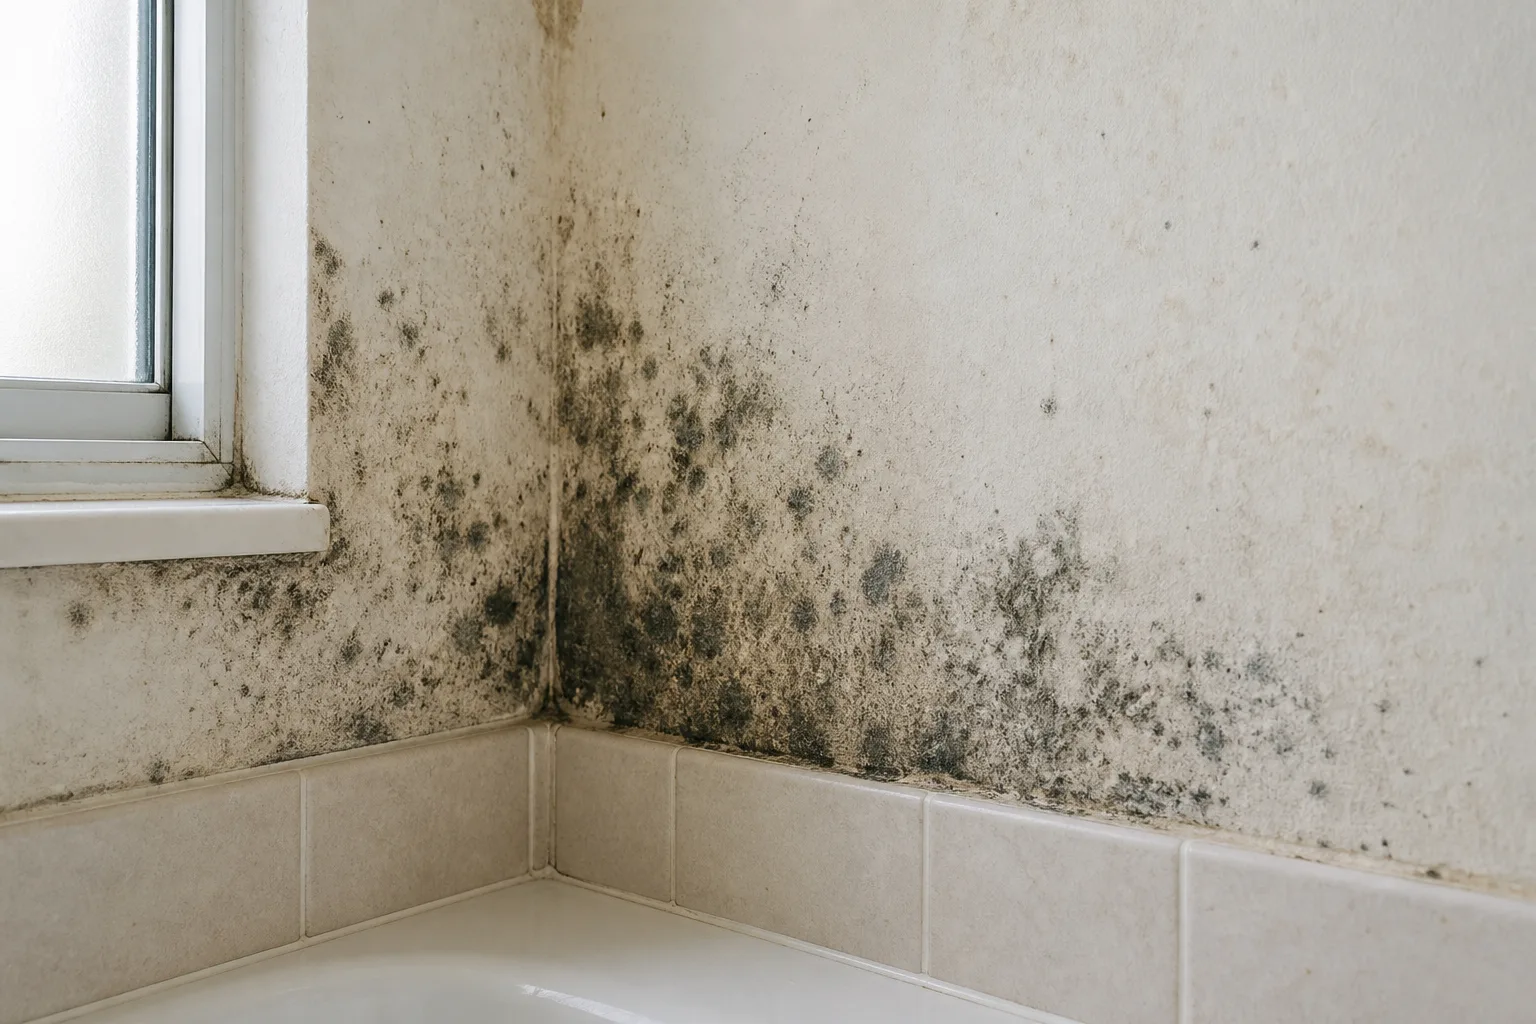
Vinegar is a poor choice when the growth is widespread, when the material is soft or absorbent, or when you cannot identify why the area stays damp. Skip it for moldy drywall, ceiling tiles, insulation, carpet padding, upholstery, wallpaper, and heavily contaminated wood. On those materials, liquid can move the problem deeper or leave the material wet longer.
It is also the wrong tool for acid-sensitive surfaces. Marble, limestone, travertine, many polished stones, some cement-based finishes, hardwood, waxed wood, and certain metal coatings can etch, dull, discolor, or corrode when exposed to acid. If you are unsure what a surface is, do not guess; check the manufacturer’s care instructions or choose a compatible cleaner.
The Centers for Disease Control and Prevention’s mold guidance notes that you do not need to identify the species of mold before deciding to remove visible growth. The useful questions are more ordinary: Is it a small area on a cleanable surface? Can you work without disturbing a larger contaminated material? Can you fix the moisture that allowed it to grow?
Safety before you spray
Mold cleanup creates two separate exposures: the mold and the cleaner. Wear gloves, eye protection, long sleeves, and clothing that can be washed. For a small cleanup in which you might disturb visible spores, an N95 respirator is a sensible minimum; the CDC’s cleanup guide also lists an N95 respirator, goggles, and protective gloves as basic personal protective equipment. A Mississippi State University Extension safety note likewise frames ventilation and protective gear as part of responsible mold cleanup.
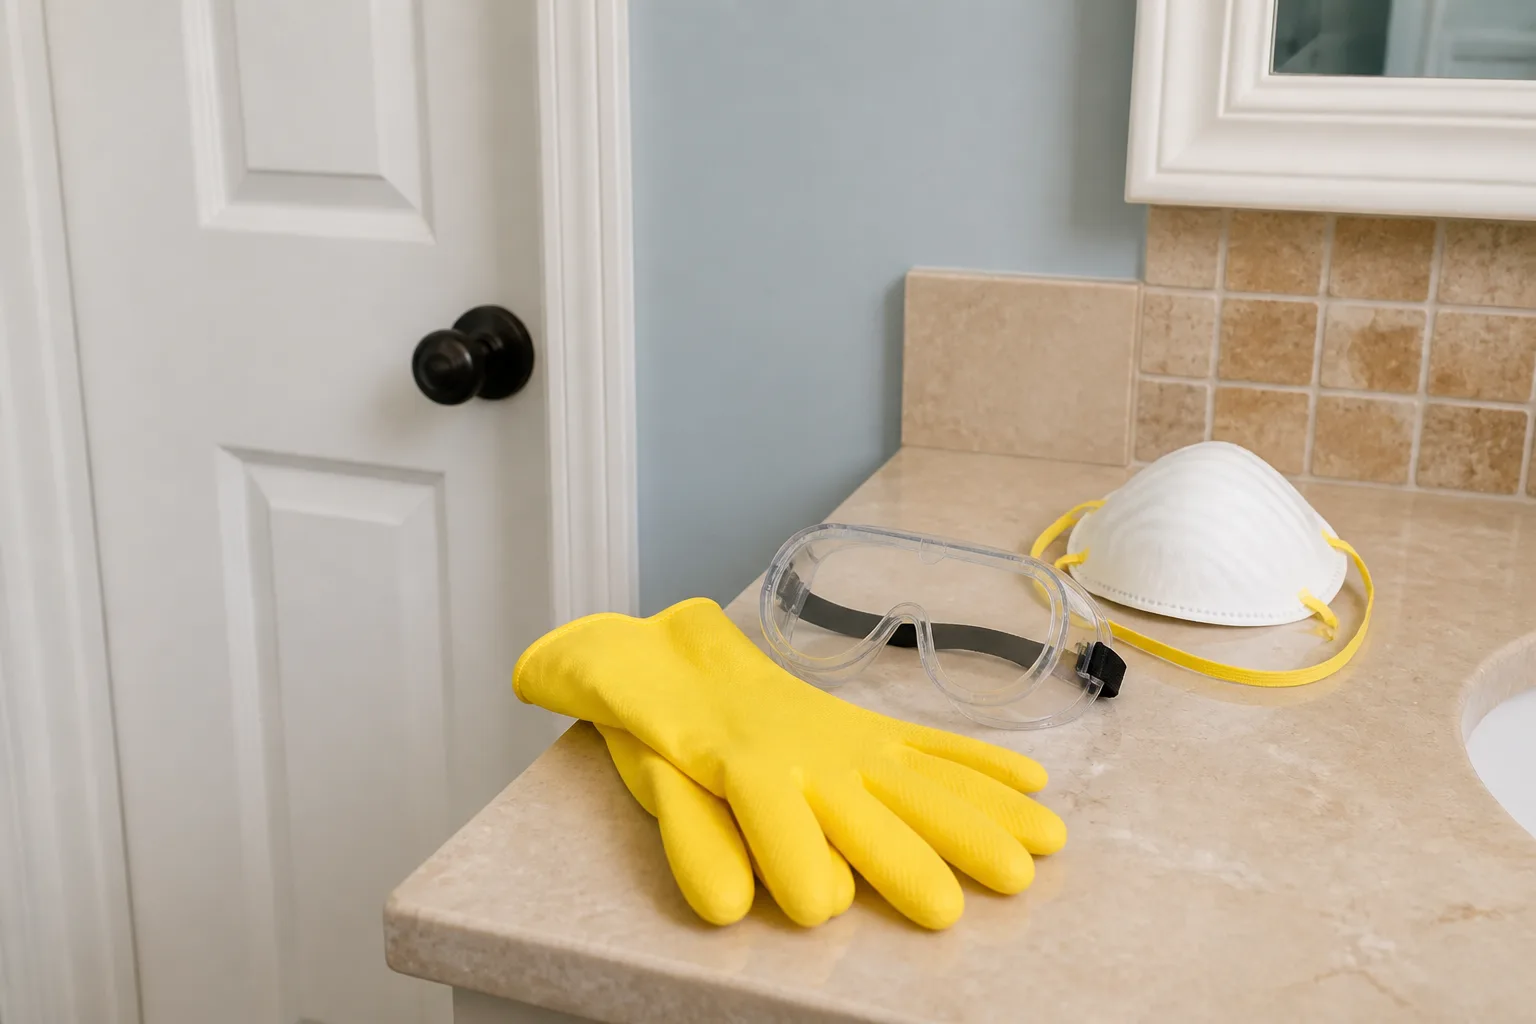
Ventilate the room by opening a window or running an exhaust fan that vents outdoors. Do not aim a portable fan directly at the patch: moving air across mold can spread particles to clean surfaces. Keep children, pets, and anyone with asthma, a mold allergy, chronic lung disease, or a weakened immune system away from the work area until cleanup is finished and the room is dry.
The chemical rule is non-negotiable: never mix vinegar with bleach, ammonia, hydrogen peroxide, or another cleaner. Do not pour vinegar into a bottle that previously held a different product, even if the bottle looks empty. Rinse the surface and let it dry before switching products, and never layer cleaners to compensate for a weak first pass.
If cleaner splashes into your eyes or causes breathing trouble, leave the room, get fresh air, and follow the product’s first-aid directions or contact an appropriate medical or poison-control service. Keep the bottle labeled and out of reach; the National Pesticide Information Center specifically cautions that acetic acid becomes more hazardous as its concentration rises.
Gather the supplies
You do not need a cupboard full of ingredients. Set up the whole job before disturbing the patch so you do not walk through the house wearing contaminated gloves or search for a bag with moldy towels in your hand.
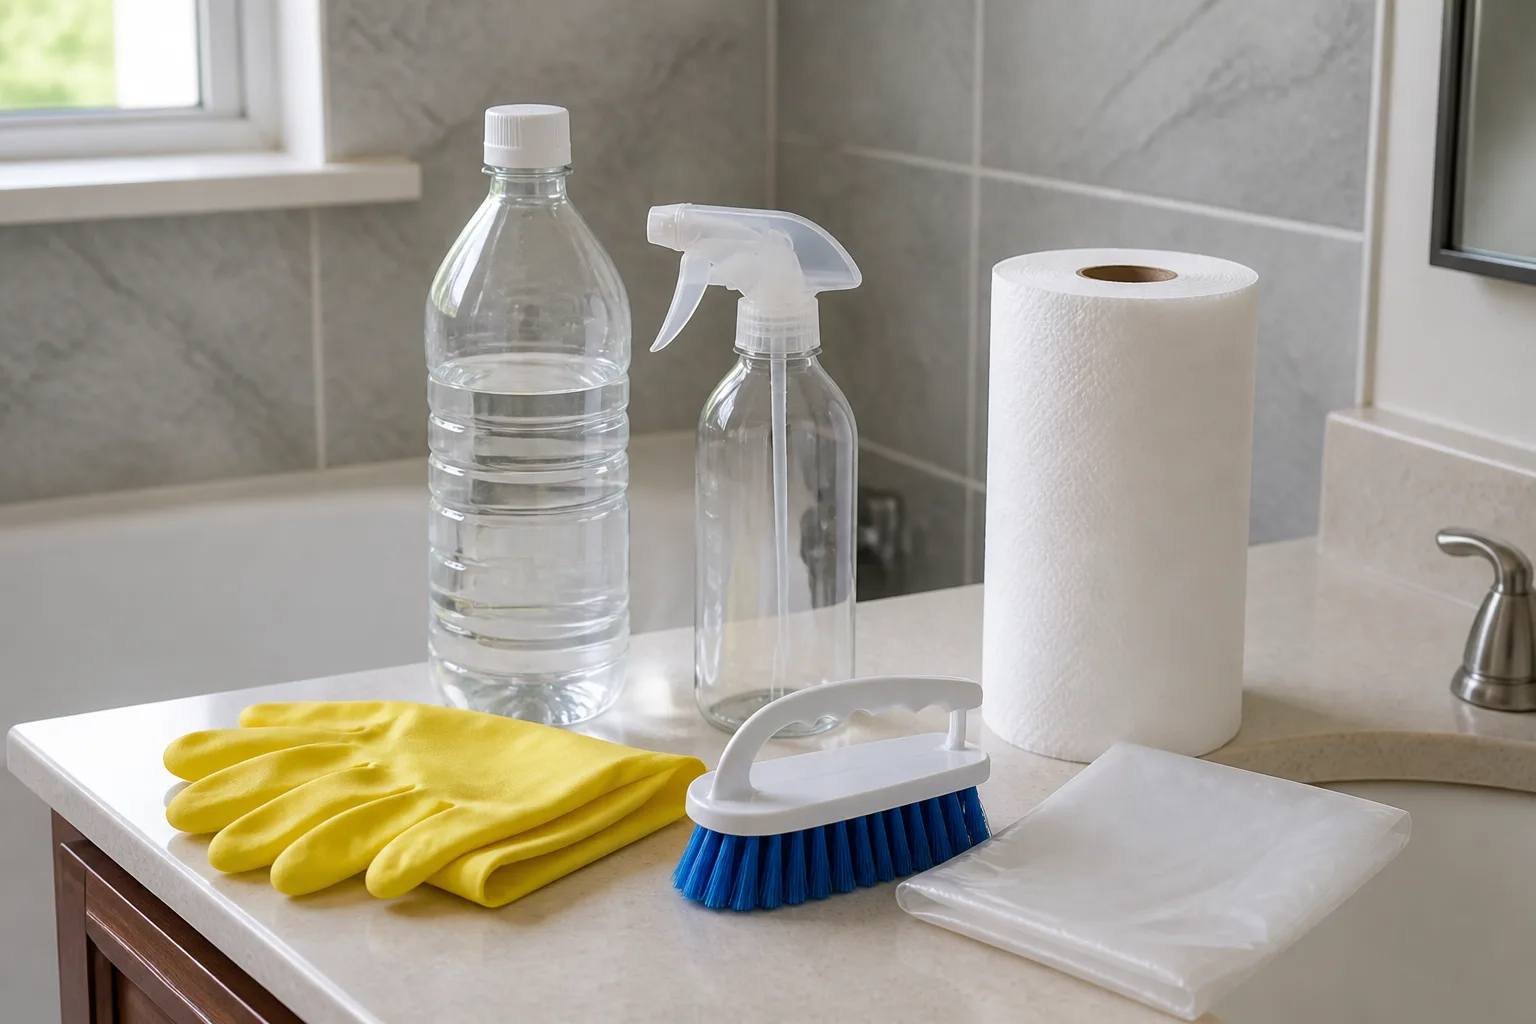
- Distilled white vinegar, used undiluted
- A new or thoroughly cleaned spray bottle that never held another cleaner
- A label and marker for the bottle
- Rubber or chemical-resistant gloves
- Protective eyewear
- An N95 respirator for small cleanup work that may disturb spores
- A stiff nylon brush or disposable scrub pad, depending on the surface
- Paper towels or washable cloths that can be laundered promptly
- A plastic bag for used disposable wipes and pads
- Clean water for rinsing
- A surface-compatible all-purpose cleaner for a later stain-cleaning pass, if needed
Avoid metal brushes. They can scratch glazed tile, damage fixture finishes, and make grout harder to clean the next time. Avoid adding essential oils to the vinegar: fragrance does not solve the mold or safety problem, and extra ingredients make the bottle harder to identify and more complicated to use around sensitive people and pets.
The right recipe: undiluted white vinegar
Pour undiluted distilled white vinegar into the clean spray bottle and label it with the contents. There is no need to dilute it for this small-surface method; dilution reduces the amount of acetic acid reaching the patch and makes the contact time less predictable.
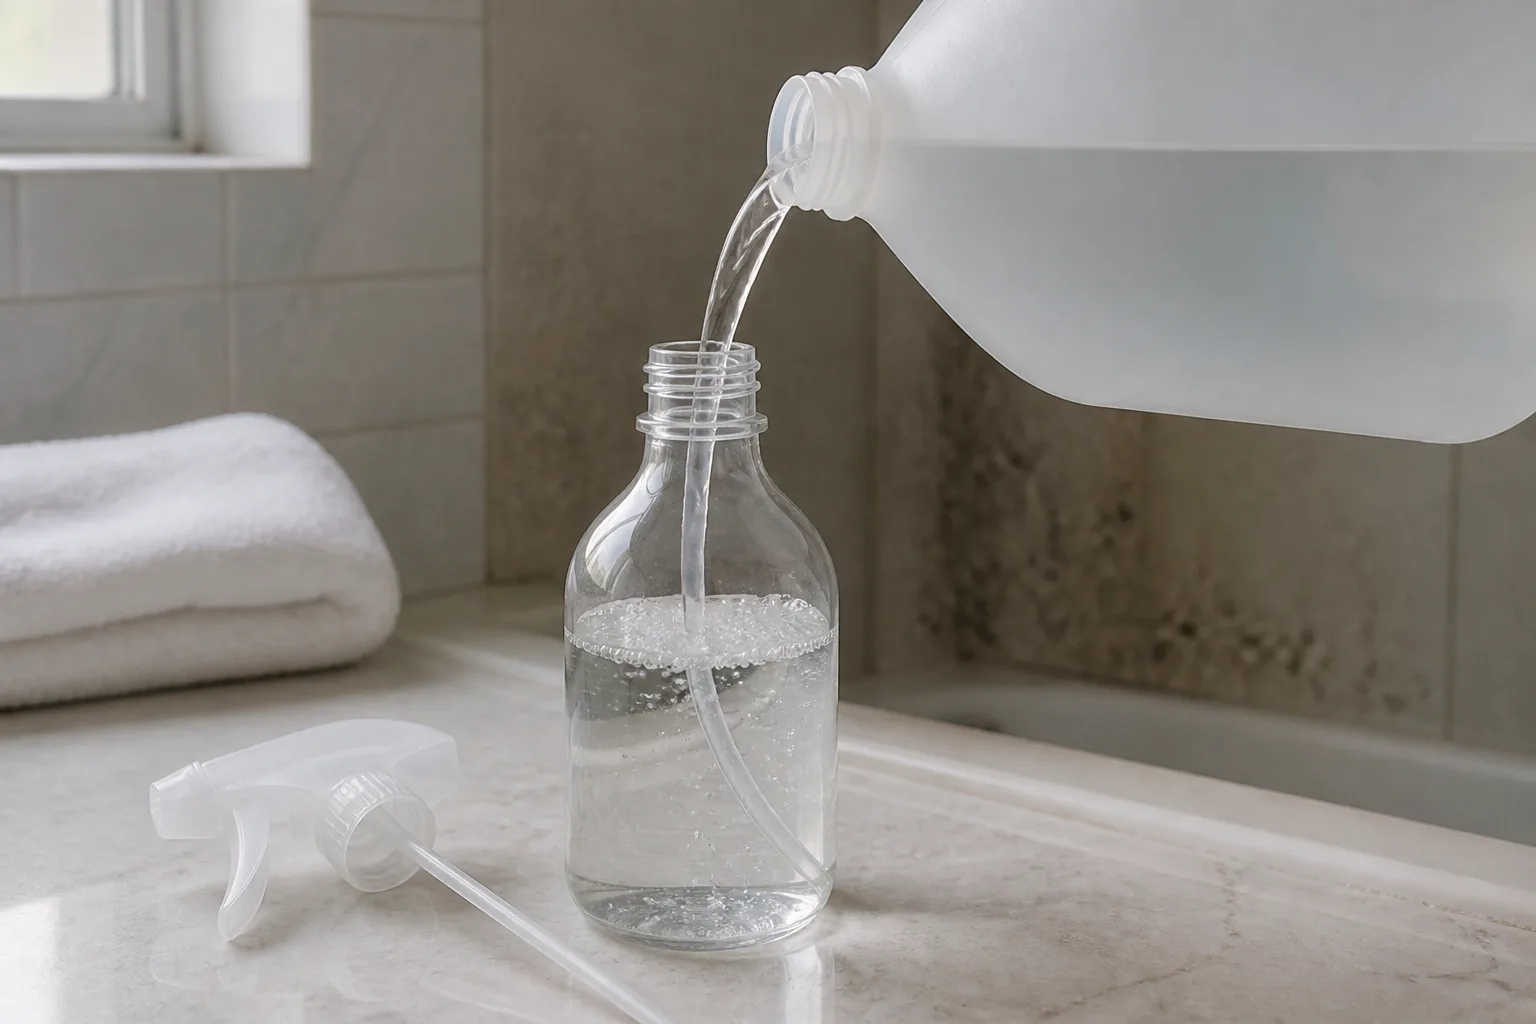
Use a trigger that produces a controlled spray rather than a fine mist when possible. A coarse spray or a vinegar-dampened cloth keeps more liquid on the target and puts fewer droplets into the air. Do not fill the bottle with bleach, peroxide, baking soda, dish soap, or a second cleaner “for extra power.”
The bottle is a short-term tool, not a mystery mixture to store indefinitely. If the label is missing, the bottle has changed color or smell, or you cannot remember what was previously inside it, discard the contents according to local household-chemical guidance and start with a clean container.
How to apply the vinegar mold remover
Treat this as a controlled cleanup, not a quick spritz. The order matters because dry brushing first can spread spores, while scrubbing before the vinegar has had time to work mostly creates mess and friction.
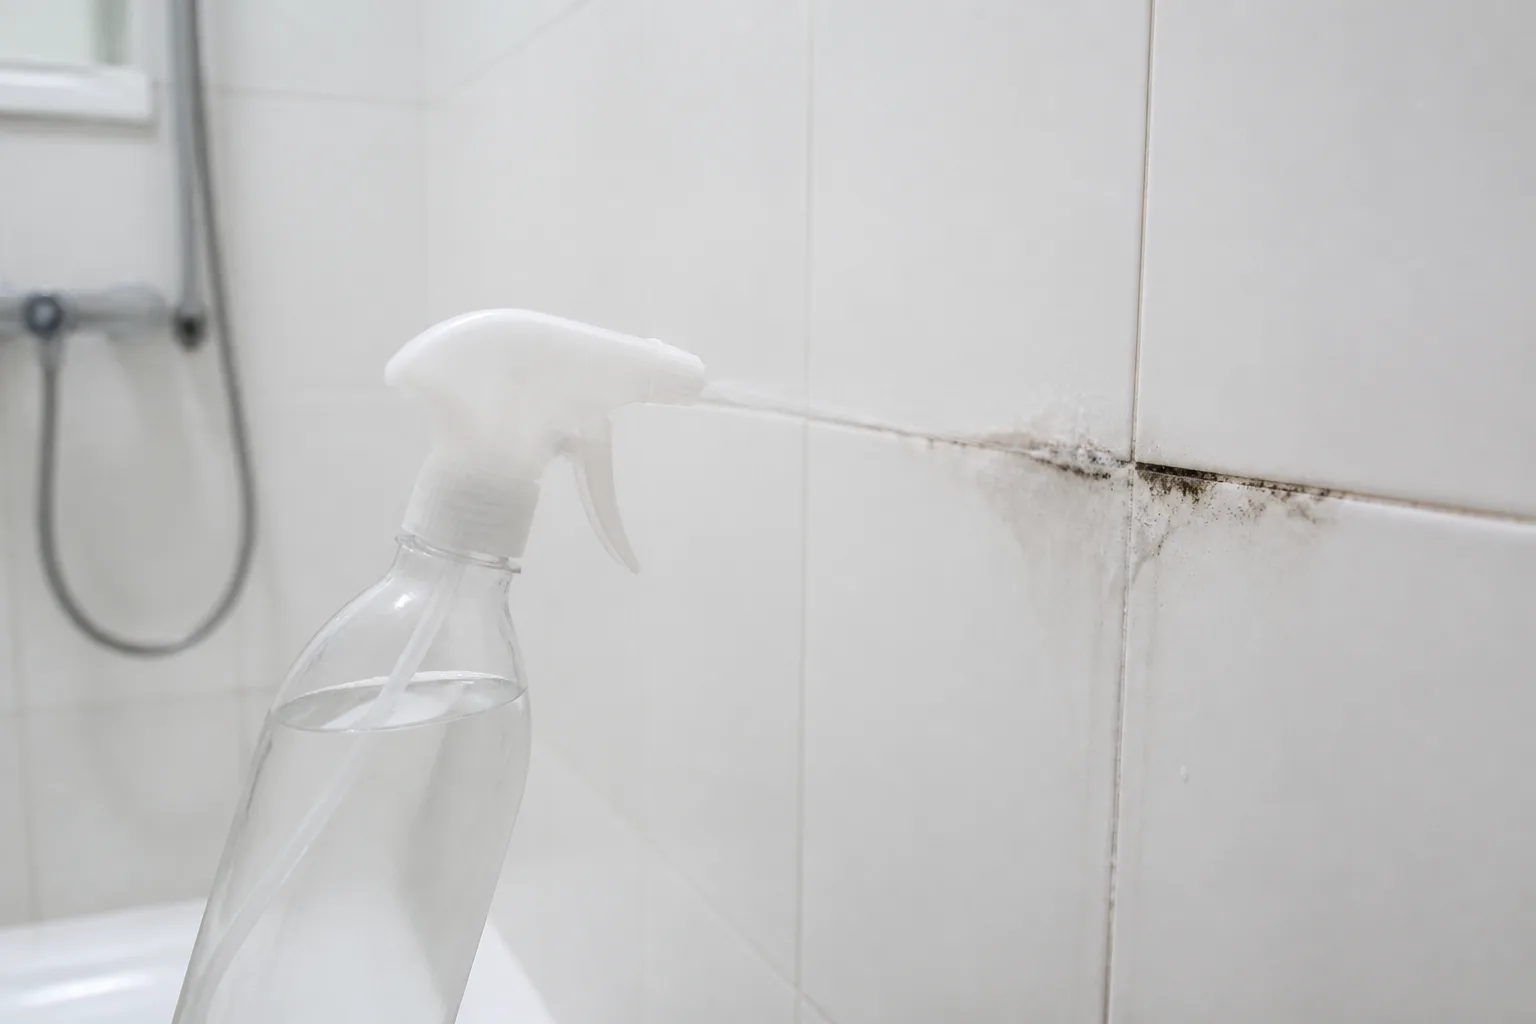
Step 1: Ventilate and isolate the work area
Remove toiletries, towels, bath mats, and other loose items from the immediate area. Put washable items straight into a laundry basket or sealed bag rather than setting them on another bathroom surface. Close the door to nearby rooms if that improves containment, while still allowing the bathroom to exhaust air outdoors.
Put on gloves, eye protection, and the respirator before you disturb the patch. If the area is behind a movable object, take a quick photograph first; that record can help you see whether the patch returns and can reveal a leak pattern that is easy to miss while cleaning.
Step 2: Test the surface and prepare the bottle
Choose an inconspicuous spot made of the same material and apply a small amount of vinegar. Wait a few minutes, wipe it away, and inspect for dulling, color change, sticky finish, or damage. A test spot is not a guarantee, but it is a low-cost way to catch an incompatible stone sealer, paint, or fixture finish before the whole area is wet.
Prepare the bottle only after the surface passes that check. Keep the nozzle close to the target rather than spraying from far away, and spray onto a cloth for a small vertical spot if a trigger would create too much airborne mist.
Step 3: Saturate the patch and let vinegar dwell
Apply enough vinegar to make the visible growth thoroughly wet without flooding the wall, grout joint, or fixture. Keep the area visibly wet for about 30 minutes as a practical starting point, provided the material is compatible and the liquid is not running into a porous substrate. The point is contact time, not soaking the building material.
Do not leave vinegar sitting for hours just because a stain is dark. A longer dwell cannot fix a damaged substrate, and excess liquid can travel behind caulk, under flooring, or into unfinished wood. For a stubborn but small patch on a compatible hard surface, a second controlled pass after rinsing and drying is safer than an all-day soak.
Step 4: Wipe, rinse, and scrub without spreading spores
After the dwell period, wipe from the outside edge toward the center. Fold the paper towel or cloth inward as it becomes soiled, and change it rather than making repeated passes with the same contaminated side. Use a stiff nylon brush only where the surface can tolerate brushing; let the tool do the work instead of pressing hard enough to break grout or scratch tile.
Rinse the cleaned area with a small amount of clean water, then wipe it dry. The rinse removes loosened residue and leftover vinegar, which matters if you plan to use a different, surface-compatible cleaner for a remaining stain. Do not switch immediately to bleach, peroxide, or another product while vinegar is still present.
Put disposable wipes and pads into a plastic bag, tie it closed, and take it to an outside trash container. Wash reusable cloths separately according to their care instructions, and wash your gloved hands before touching clean towels, door handles, or your face.
Step 5: Dry the surface and inspect the result
Use a clean towel to remove surface water, then run the exhaust fan and leave the area open to airflow until it is fully dry. Check the patch in good light once dry rather than judging the result while the tile or grout is still wet; moisture can temporarily darken both a clean stain and active growth.
If the surface is dry, no fuzzy or slimy growth remains, and the area stays clean over the next several days, move to prevention. If growth remains, returns quickly, smells musty, or appears to be coming from behind the finish, do not keep increasing the vinegar dose. Reassess the material, the moisture source, and whether the job has crossed into professional remediation.
Match the treatment to the surface
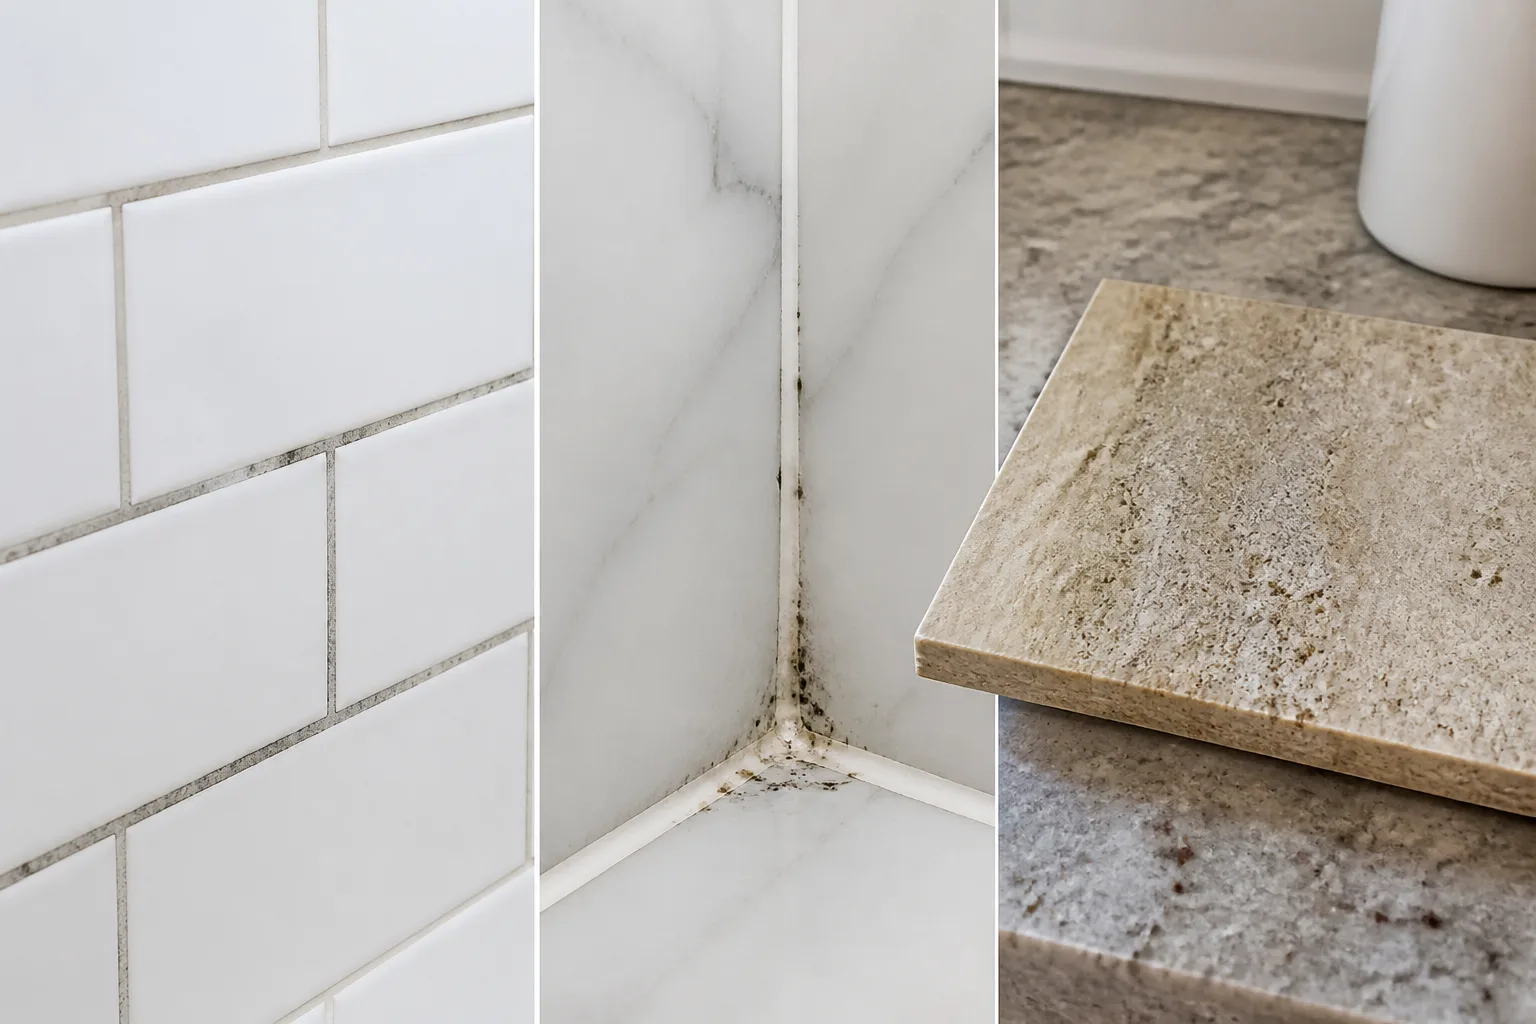
“Bathroom surface” is not a single material. Glazed ceramic tile, cement grout, silicone caulk, painted drywall, and natural stone react differently to acid, water, abrasion, and repeated cleaning. This is where a careful vinegar method succeeds or fails.
Tile and glazed bathroom surfaces
Glazed ceramic or porcelain tile is usually the most forgiving place to test a vinegar method because the face of the tile is non-porous and easy to rinse. The joints are a different story: liquid can remain along the edges, and the grout may hold discoloration after the surface growth has been removed.
Apply only enough vinegar to wet the affected area, avoid letting it pool under fixtures, and rinse the tile after wiping. Do not assume the same method is safe for an unglazed tile, decorative finish, stone accent, or metal trim. A practical shower-tile cleaning reference also distinguishes glazed tile from porous grout and warns that persistent growth can point to failed caulk or water intrusion; use that as a practical reminder to inspect the joint, not as a reason to scrub harder.
Grout and caulk
Cement grout is porous, so a vinegar spray may reach surface growth without removing the dark pigment that has soaked into the joint. Repeated acid exposure can also wear at cement-based materials and sealers. Use a gentle nylon brush, keep the dwell controlled, rinse thoroughly, and stop if the grout becomes powdery, rough, or crumbly.
Caulk is less repairable. If mold is embedded through silicone caulk, the bead is peeling, or there is a gap that stays wet, wiping the surface may improve its appearance without solving the problem. The durable fix is usually to remove the failed caulk completely, let the joint dry, and recaulk with a product appropriate for wet areas; if you rent, photograph the condition and report the leak or failed seal rather than cutting into it yourself.
Painted walls, wood, and other porous materials
Be cautious with painted drywall and wood even when the visible patch looks small. The liquid can soften some finishes, leave a halo, or move into the material, and a surface spray cannot tell you whether the back of the wall is wet. Do not scrub aggressively or sand moldy material; both actions can spread particles and damage the finish.
For porous materials, first look for condensation, a plumbing leak, roof or window leakage, or water trapped behind furniture. If the material is swollen, soft, stained through, or repeatedly damp, involve the property owner, a qualified contractor, or a mold-remediation professional. Vinegar may be appropriate for a nearby hard trim surface, but it is not a substitute for replacing damaged porous material.
What to do when the stain remains
Mold removal and stain removal are different jobs. A dark mark can be residual pigment, mineral staining, degraded caulk, or damage to the finish; color alone cannot confirm that live mold is still present. Once the surface is dry, inspect texture and recurrence instead of assuming every shadow needs another chemical treatment.
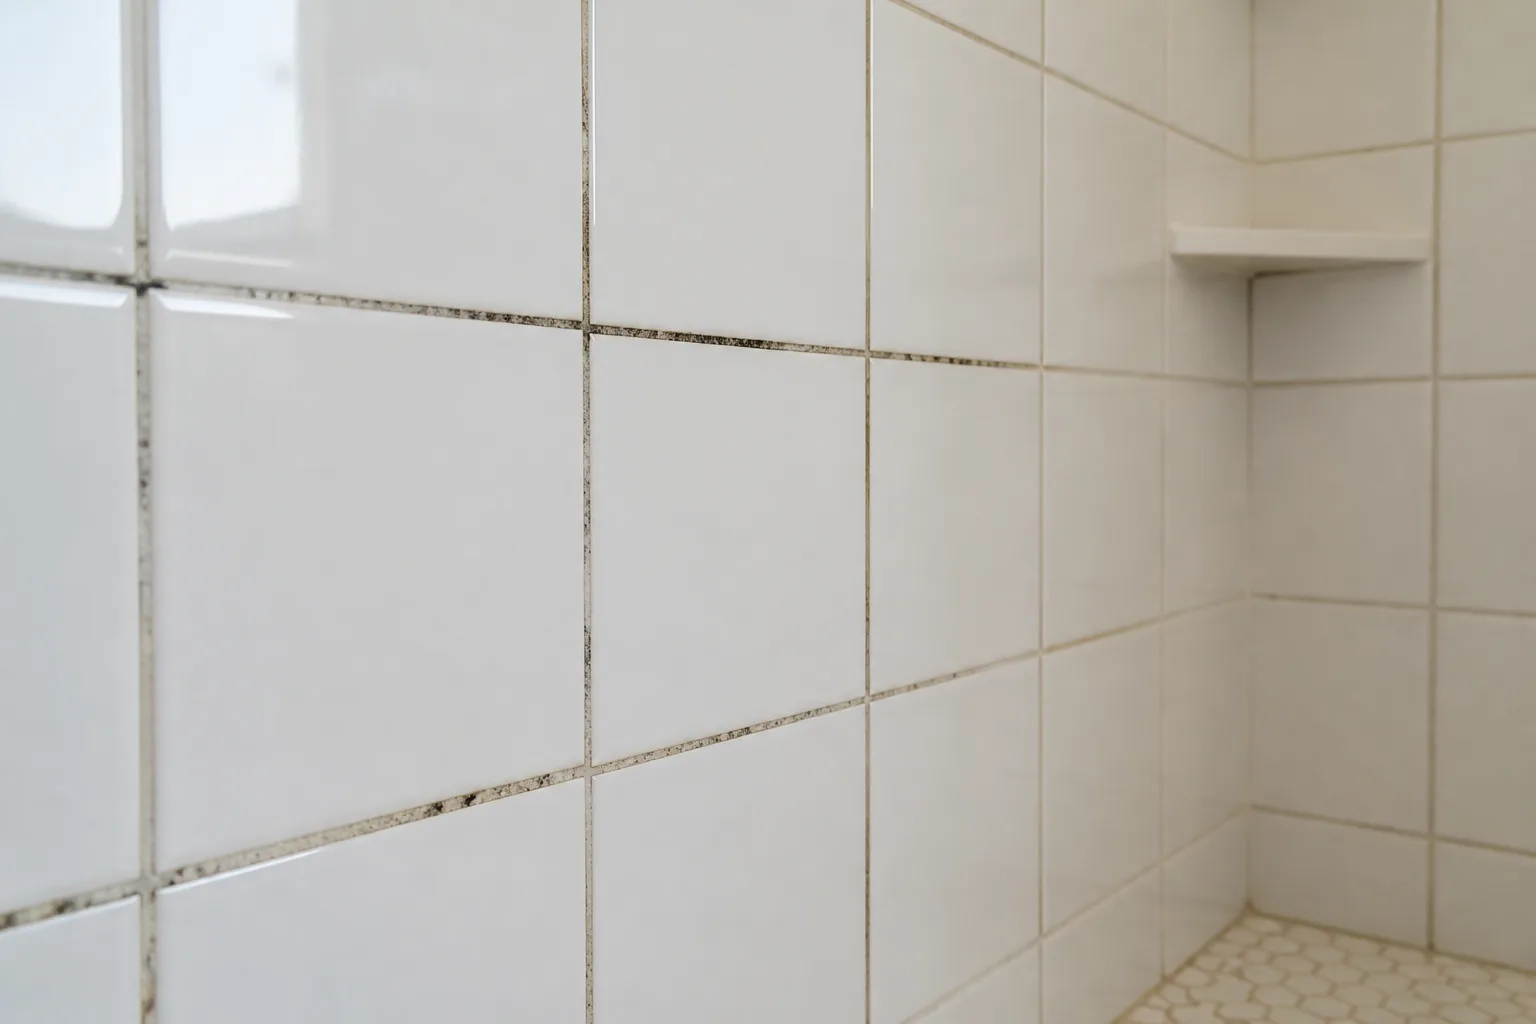
If the remaining mark is on a compatible, non-porous surface, use a small amount of a manufacturer-approved all-purpose or bathroom cleaner as a separate step. Rinse away vinegar first, ventilate, and follow the cleaner’s label. Do not combine the products in the same bottle or apply one directly over a wet layer of the other.
On stained grout, test a grout-safe cleaner in a hidden spot. Some discoloration will not lift without regrouting, and an acid cannot restore grout that has been chemically or mechanically damaged. If the grout is sound but the stain is persistent, focus on cleaning and sealing guidance for that specific grout rather than repeating an increasingly strong homemade recipe.
Prevent mold from returning
Cleaning removes the visible problem; moisture control determines whether it returns. The CDC recommends keeping indoor humidity no higher than 50% all day when possible, and calls for fixing leaks, improving airflow, and drying wet areas quickly. A bathroom that looks clean but stays humid after every shower is still set up for regrowth.
Use the exhaust fan during a shower and keep it running long enough afterward to remove lingering moisture. If the fan vents into an attic or wall cavity rather than outdoors, it may not be solving the problem; have the ventilation route checked. In a sealed bathroom or humid climate, a dehumidifier can help, but it should support—not replace—an exhaust fan and leak repair.
Make drying a routine rather than a once-a-month deep clean. Squeegee or towel the wettest tile, spread out the shower curtain, hang towels so they dry, and leave the door ajar when privacy and household layout allow. Wipe condensation from windows and inspect the corners, ceiling line, pipe penetrations, and caulk for early signs of recurring dampness.
If a patch returns in exactly the same outline, appears after rain, grows behind a toilet or vanity, or is accompanied by a musty odor, investigate the source before cleaning again. Recurrence is useful evidence: it often tells you where water is entering or where air is failing to circulate.
When a professional should take over
Consider professional help when the affected area is larger than a small isolated patch, when the growth covers roughly 10 square feet or more, or when the material is porous and cannot be cleaned without opening or replacing it. The EPA’s mold-cleanup guidance uses about 10 square feet as an important point for consulting more detailed remediation guidance; the exact decision also depends on the water event and the building materials involved.
Escalate sooner after flooding or sewage contamination, when a leak has soaked a wall or ceiling, when mold is inside HVAC components, or when the source is hidden. A landlord, building manager, insurance representative, or qualified remediation contractor may need to coordinate the repair. Do not let a surface-cleaning success delay drying and structural work.
Households with asthma, severe mold allergies, chronic lung disease, or immune suppression should use extra caution and may want someone else to perform the cleanup. The CDC says health effects vary and that home mold testing is not recommended as a prerequisite to removal; you usually do not need a species name before taking a safe, proportionate next step.
Professional help is also appropriate when vinegar fails twice on a compatible hard surface, when the patch returns within days, or when you cannot keep the work area dry. A stronger chemical is not the logical next step if the building is still wet. Source control, safe removal, and replacement of damaged material matter more than finding a harsher spray.
Conclusion
For a small mold patch on a compatible hard surface, the best DIY mold remover with vinegar is simply undiluted distilled white vinegar in a clean, labeled spray bottle. Protect yourself, test the surface, wet the patch for a controlled dwell, wipe and rinse without spreading spores, and dry the area completely.
Use vinegar as a limited cleaning method—not a promise that every mold problem can be sprayed away. Keep it off acid-sensitive stone and questionable porous materials, never mix it with other cleaners, and treat recurring growth, water damage, large areas, and damaged drywall or caulk as signals to investigate the building and bring in qualified help.



