How to Change Oil in a Lawn Mower: Safe Steps
Learn how to change oil in a lawn mower safely: identify a four-cycle engine, choose the right oil, drain and refill it, and recycle used oil responsibly.
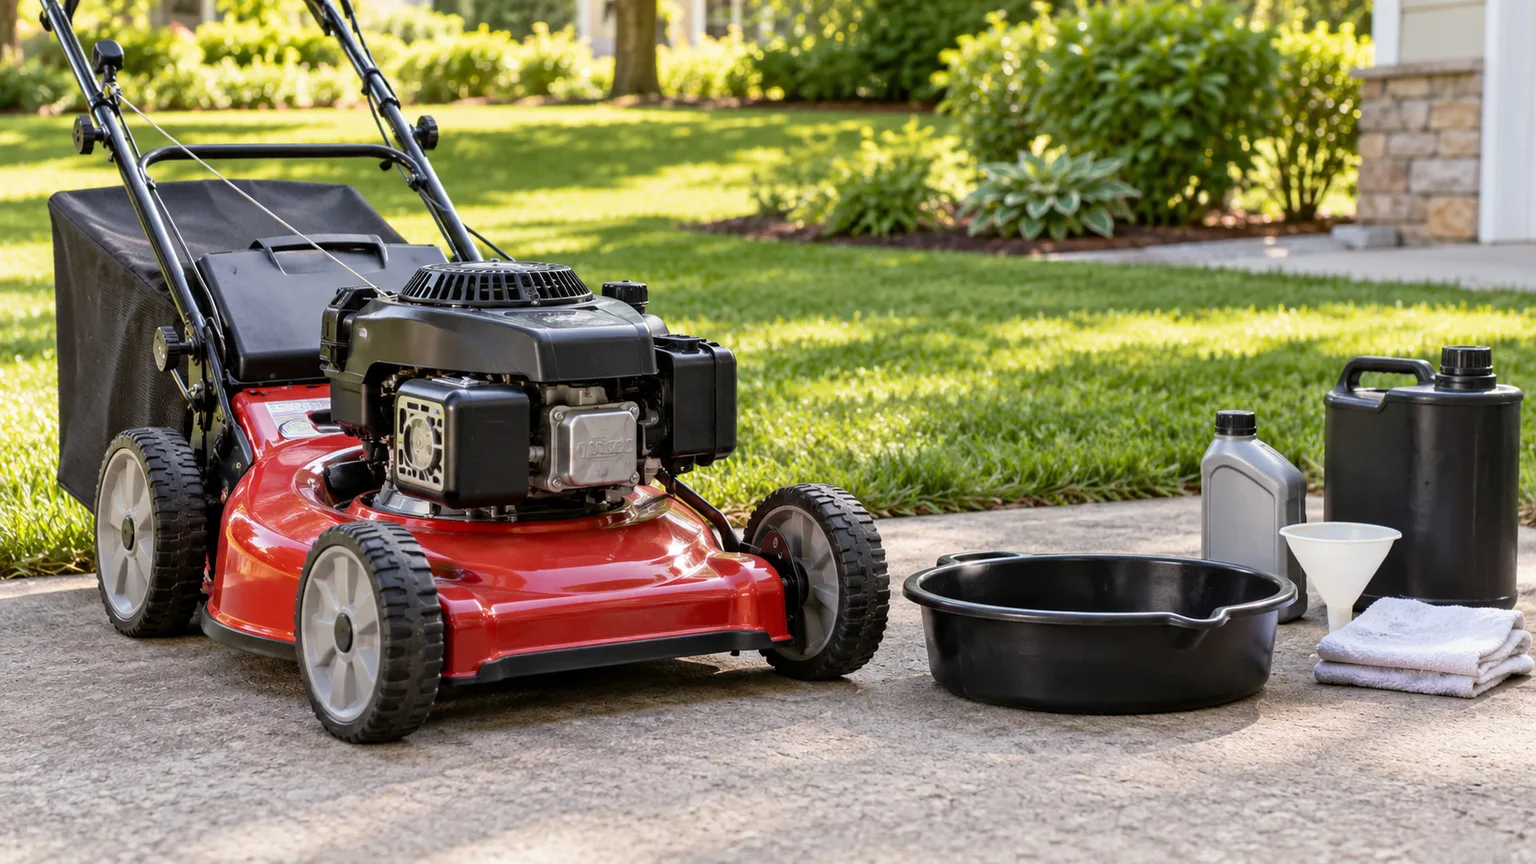
A lawn mower oil change is straightforward once you know which engine you have and where its manufacturer expects the oil to leave. Those details matter more than a generic oil grade, an assumed ounce count, or advice to turn every mower on the same side. Start with the model number and owner’s manual; then use the steps below only where they match your machine.
Confirm Your Mower Has an Engine That Uses Crankcase Oil
This guide is for a gasoline mower with a four-cycle (four-stroke) engine and a separate crankcase-oil fill. A two-cycle engine uses oil mixed with gasoline in a specified ratio, so it does not get a conventional crankcase oil change.
Briggs & Stratton identifies the engine by its fill arrangement and cautions owners not to mix oil into the gasoline of its four-cycle engines; check the cap, engine label, and manual rather than guessing from the mower’s appearance. Its engine-cycle guide explains the distinction.
A battery or corded electric mower has no gasoline engine crankcase to service, although a self-propelled model may have a separate gearbox or other component with its own lubrication schedule. A riding mower may use a four-cycle engine but have a different drain location, oil filter, access procedure, lifting requirement, and capacity from a walk-behind mower. Do not use the engine-oil steps on a transmission, hydrostatic drive, or sealed gearbox unless that unit’s manual calls for it.
Find the mower’s product model and the engine’s model/type or serial number. They may be on separate labels, and a mower brand can install engines from several manufacturers. Use the engine manual for oil grade and capacity, and the equipment manual for access, deck orientation, safe lifting, and controls; Honda’s manual page and Briggs & Stratton’s lookup let owners find manuals by product or engine information.
Check the Level and Follow the Right Change Interval
Check the oil on level ground before mowing, with the engine stopped and cooled enough for safe handling. Clean dirt from around the fill cap, remove the dipstick, wipe it, and reinsert it exactly as the manual specifies.
Some dipsticks are checked fully seated or screwed in; others are checked without threading, so a correct reading depends on the method. Repeat the reading once if the oil is near a mark.
Oil level and oil-change timing are related but different questions. If the level is low, add the specified oil a little at a time and recheck; topping up does not remove old or contaminated oil.
Conversely, dark oil alone is not a precise service interval: fresh oil can darken, and low hours do not override a model’s stated annual or hour-based schedule. Look for the required hours, season, and any break-in change in the manual.
There is no single interval for every mower. Briggs & Stratton calls for a first oil change after five hours on many engines, but says owners should follow the model manual; its maintenance schedule also notes that some EXi engines do not require a routine oil change.
Its guidance recommends more frequent service in dusty or dirty conditions, and the company’s oil-change page says wet grass, heat, and rough or hilly use may affect the schedule. A recent Lawn Love walkthrough gives common push- and riding-mower examples, but a model-specific schedule takes priority over those general ranges.
If oil is below the safe mark, do not run the engine just to warm it for a drain. Top it up first if the manual permits, or arrange service if the level is extremely low or the engine has been run without oil. Oil that smells strongly of gasoline, looks milky, contains visible metal, or rises above the full mark calls for diagnosis, not just a routine change; fuel dilution, water, or internal wear may be involved.
Gather Tools and Choose a Clean Work Area
Gather only the tools your drain method requires: the owner’s manual, the correct fresh four-cycle oil, a stable catch pan, funnel, clean rags, gloves, and eye protection. Add a correctly sized wrench or socket for a drain plug, an approved oil extractor if your manual allows one, and the exact replacement filter if the engine is fitted with one. Cardboard or an absorbent pad can protect a driveway, but it is not a substitute for a pan that can hold the full used-oil volume without tipping.
Set a leakproof, sealable container aside for the old oil and keep it separate from fuel, coolant, brake fluid, solvents, and water. Choose a flat, well-lit outdoor work area away from children, pets, drains, and ignition sources. If a riding mower must be raised, use the lift points and rated support equipment specified for that model; never rely on a jack alone or work beneath a machine that can roll or fall.
Make the Mower Safe Before Opening the Engine
Turn off the engine, remove the ignition key, disengage the blades, set the parking brake on a riding mower, and let the exhaust, cylinder, and surrounding surfaces cool before you touch or reach near them. If the manual recommends warming the oil first, a brief run outdoors can make it flow more easily; shut the mower down afterward and wait until the hot parts are safe to handle. John Deere’s riding-equipment guidance, reported in Martha Stewart’s mower-oil walkthrough, also warns that drained oil may be hot, which is why a useful warm-up does not mean servicing a hot engine.
Prevent accidental starting before you put a hand near the engine. On a gasoline walk-behind mower, disconnect the spark-plug lead by its boot and keep it away from the plug; on battery equipment, remove the safety key and battery pack as directed.
Riding equipment may have additional interlocks or battery-isolation steps, so use its manual rather than assuming the push-mower procedure applies. Briggs & Stratton’s service instructions specifically tell owners to disconnect the spark-plug wire before maintenance.
Fuel creates a separate fire hazard even though the job is an oil change. Do not smoke, create sparks, or work near an open flame; keep the mower away from heaters and hot surfaces, and do not drain fuel into the oil pan.
Briggs & Stratton warns that gasoline and its vapors are flammable and explosive in its fuel-safety guidance. If your manual requires fuel shutoff or tank draining to access a drain point, follow its method outdoors with an approved fuel container; if fuel is leaking or vapor is strong, stop and resolve that problem before servicing.
Choose the Correct Oil and Capacity
Use the oil viscosity and service classification specified for your exact engine and expected outdoor temperatures. SAE 30 is common for some small engines in warm conditions, but it is not a universal lawn-mower oil.
For example, Briggs & Stratton lists different temperature guidance for SAE 30, 10W-30, and synthetic 5W-30 in its oil-type and capacity guide; another manufacturer or engine may specify something else. Follow the grade and API service category in your own manual, including any cold-weather limitation.
Do not assume that automotive oil is automatically right or automatically wrong. The label on a bottle must meet the engine’s viscosity and service requirements, and the manual may specify oil intended for air-cooled small engines or make a particular temperature distinction.
Avoid aftermarket additives unless the manufacturer expressly approves them; Briggs & Stratton advises against special additives for its small-engine oil recommendation. Synthetic oil does not eliminate the prescribed change interval for engines that still require an oil change.
Capacity is just as model-specific as viscosity. A small push mower, a larger vertical-shaft engine, and a riding mower with an oil filter can hold different amounts.
Use the listed capacity as a starting reference, not a command to pour the entire bottle into a drained engine: some oil remains in passages, the amount removed may differ, and filter replacement can affect the fill. Stop at the correct dipstick mark or other manual-specified level, not at a generic “15 to 20 ounces” estimate.
A four-cycle engine keeps its lubricating oil in the crankcase; do not pour that oil into the fuel tank. Two-cycle equipment can require an oil-and-gas mixture, but that is a different engine design and a different operation.
If you cannot verify whether the machine is four-cycle, find the model number before opening a fill port. Briggs & Stratton’s cycle reference explains why mixing fuel oil into a four-cycle engine can damage it.
Select the Drain Method Your Manual Allows
Before loosening anything, identify the mower’s intended drain path. Many walk-behind engines drain through a plug, some can be emptied through the dipstick tube with a suitable extractor, and some manuals permit tipping the mower to let oil flow through the fill opening.
A riding mower may use a hose or dedicated drain valve. These are alternatives, not interchangeable shortcuts: the design determines what can be removed cleanly and how the machine may be positioned.
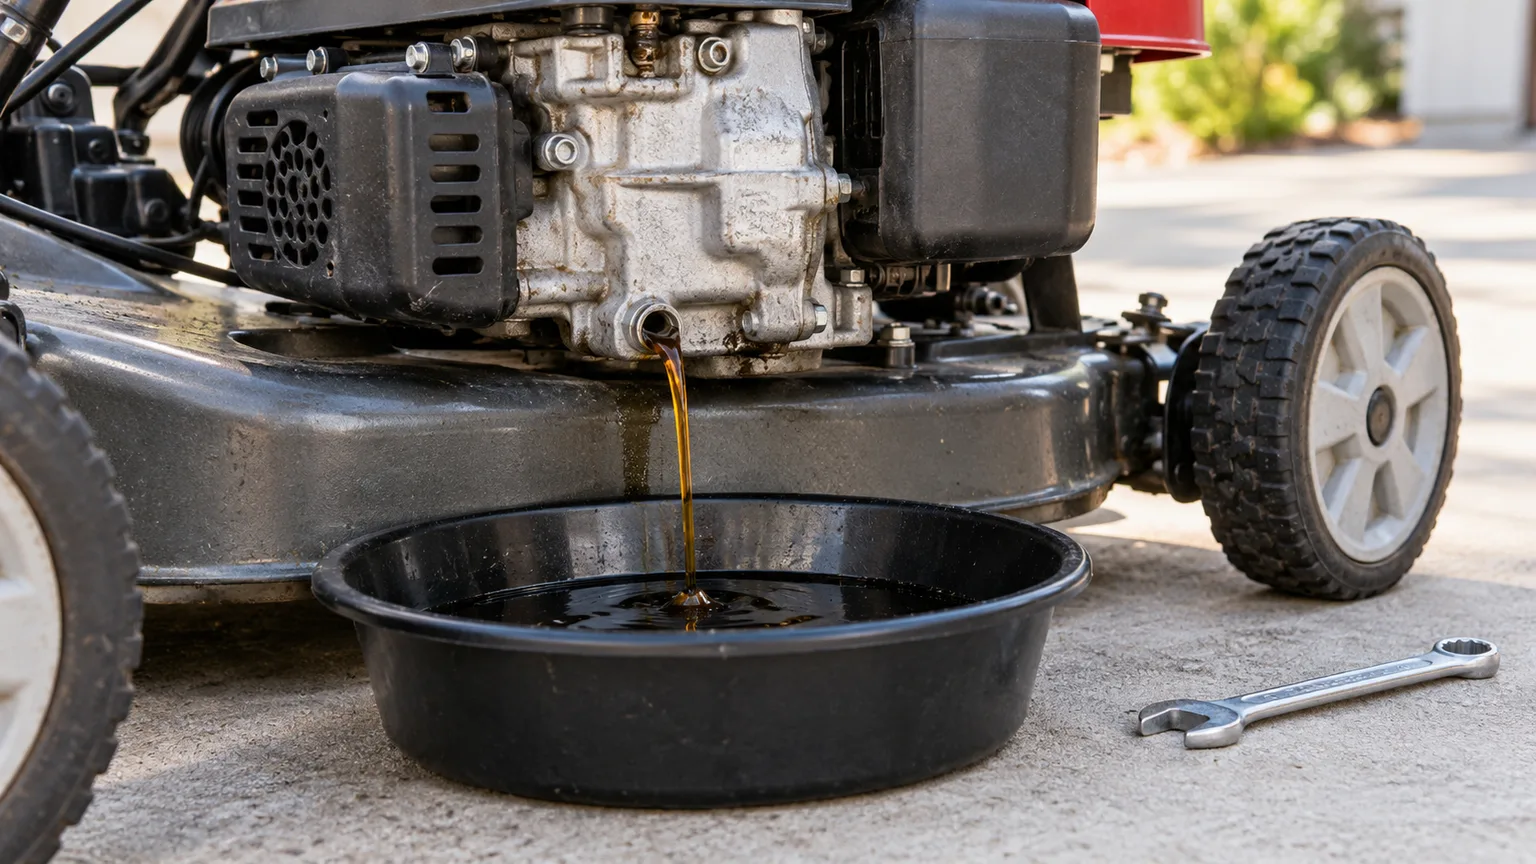
Clean around the fill cap and drain point before opening them so grit does not fall into the crankcase. Position the pan to catch oil before removing the plug or starting an extractor, and keep it away from the mower’s hot muffler. The drain picture below shows one plug-style setup; use your manual for the actual drain location and orientation.
Drain Through the Plug or Hose
If the mower has an accessible drain plug, place the pan below it and use the correct wrench or drain hose. Remove the fill cap or dipstick if the manual says to do so, then open the drain point slowly so oil flows into the pan rather than onto the deck or ground. Let it drain until the stream has dwindled to occasional drops; do not start the engine to force out the remainder.
Check the plug, washer, and sealing surface for damage or debris. Reinstall the plug and any gasket in the order shown in the manual, tightening to its stated specification where one is given. “Tight” is not the same as “as hard as possible”: overtightening can damage threads or seals, and a missing washer can leave a slow leak that appears only after the engine runs.
On a riding mower, secure the machine on a level surface, engage the parking brake, and use the manual’s drain hose or valve rather than reaching beneath an unsupported deck. If the manual specifies ramps or a lift, verify their capacity and lock the mower in place before going near the underside. When the drain point is inaccessible or a plug is rounded, stop and use the approved alternative or a service shop instead of improvising with an unstable lift.
Use an Oil Extractor Through the Fill Tube
An oil extractor can reduce spills when the manual allows suction through the dipstick or fill tube. Remove the dipstick, fit the extractor’s tube to the maker’s instructions, and lower it gently until it reaches the oil in the crankcase; do not force it past a bend or through resistance. Pump or draw oil into the extractor’s closed container, then check the container and tube for leaks.
Extraction is convenient, but it is not the right tool for every sump shape. A tube that stops above the bottom may leave more used oil behind, while a tube that is too large can jam in the fill passage. Use the mower’s specified method if the manufacturer says to drain through a plug, and never use a fuel siphon or a tube that has held gasoline for engine oil.
Tip a Walk-Behind Mower Only When Specified
Only tip a push mower if the equipment manual describes the method and direction. Mower designs differ in where the carburetor, air filter, fuel cap, and crankcase sit; tipping toward the wrong side can send oil into the intake or allow fuel to escape. “Spark plug up” or “air filter up” may fit some designs, but do not substitute a general rule for your model’s diagram.
Empty or stabilize the fuel only when the manufacturer requires it, and follow its approved procedure. Disconnect the spark-plug lead, keep the mower off, and use a second person or proper support if needed to control the handle without putting fingers near the blade. Do not lift by the handle alone if the mower can slip, do not turn a mower completely upside down, and do not tip a riding mower as if it were a push mower.
Return the machine to its normal level position before refilling or checking the oil. If oil has spilled into the air-filter housing, clean and inspect it before restarting, and replace a saturated paper filter according to the manual. If the mower was tipped against instructions or fuel has leaked, let vapors disperse outdoors and check the air intake and fuel system before starting it.
Replace an Oil Filter When the Schedule Calls for It
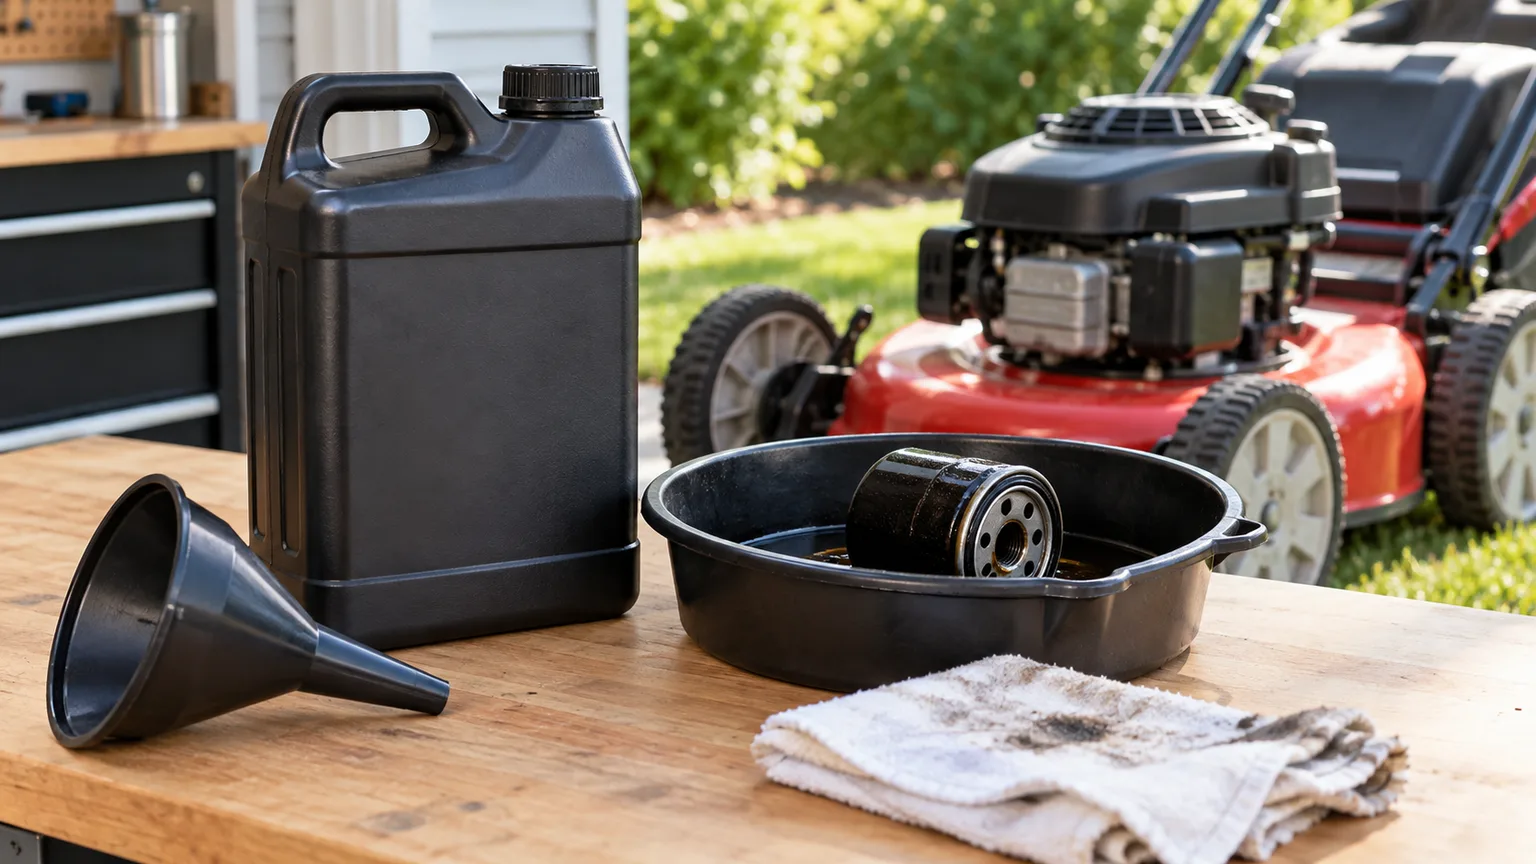
Not every mower has a replaceable engine-oil filter. A filter is more common on riding-mower engines and some larger equipment; small walk-behind engines may rely on other internal or splash-lubrication designs. Check the parts diagram and maintenance schedule rather than searching the chassis for a filter that is not there.
When the service schedule calls for a filter change, put the drain pan under it before loosening the old cartridge. Wipe the mounting surface clean and make sure the old rubber gasket came off with the filter; a gasket left behind can cause a serious leak when the new filter seals over it.
Lightly oil the new gasket if the filter maker or manual directs it, then thread the filter on by hand and tighten by the specified method. Do not crush the seal with an extra turn from a wrench.
Some engines require a filter change at a different interval from the oil, while others pair the two services. Follow the manual on whether to replace it every oil change and whether to prefill it; those instructions are not universal. If the filter is dented, leaking, cross-threaded, or difficult to remove without damaging its mount, stop rather than forcing it.
Refill Slowly and Set the Final Level
Confirm the drain plug or valve is closed and the filter is installed before adding fresh oil. Set the mower upright on level ground, wipe the fill area again, and use a clean funnel.
Pour a small amount, pause to let it settle, and check the dipstick according to the manual’s exact insertion method. Repeat in small additions as the level approaches the full mark.
Do not pour in the stated capacity all at once. Capacity numbers are useful for buying oil and planning service, but the final reading controls the actual fill; a different drain method may leave different residual oil behind.
Stop at the upper mark or prescribed fill line, never above it. Overfilling can cause foaming, leaks, smoke, or oil entering the air-intake system, while underfilling can deprive moving parts of lubrication.
If the engine has no dipstick, use the manual’s sight level, fill-plug opening, or measured capacity procedure. Keep the mower exactly level while measuring and do not infer the correct amount from how much oil was drained, especially if oil was spilled or the engine was low beforehand. A manual may specify a fill-to-thread level or a measured quantity; use that instruction rather than applying a dipstick rule from another mower.
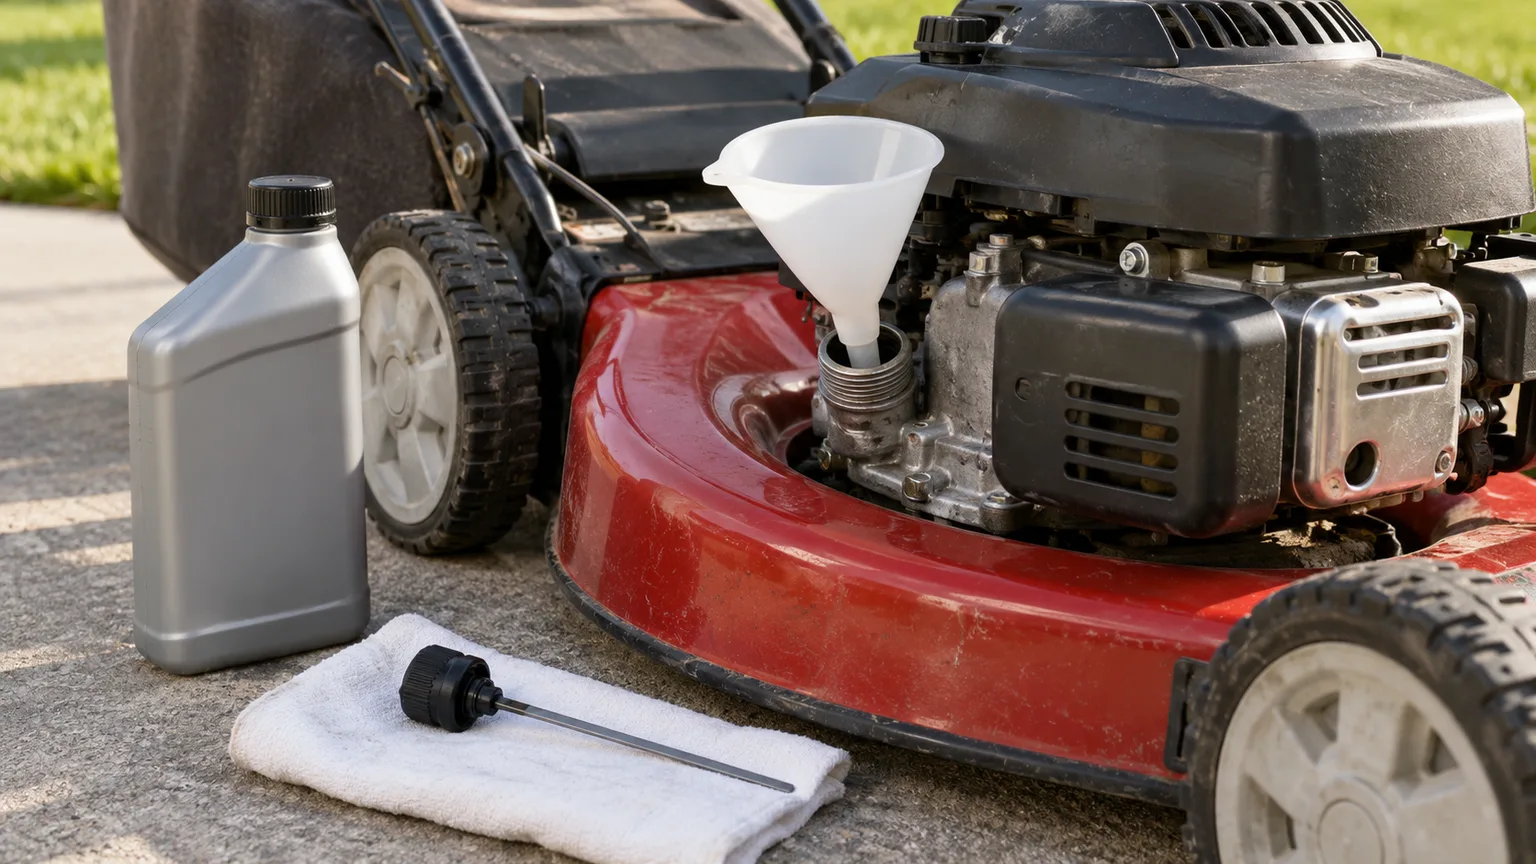
Clean any drips from the engine and chassis before running the mower. Oil left on the muffler can smoke or smell when it heats, and a slick patch on the floor creates a slip hazard. Replace and tighten the dipstick or cap before reconnecting the spark-plug lead or reinstalling a battery and safety key.
Restart Briefly and Check for Leaks
Start the mower outdoors on a level surface, with the deck and guards in place and no one near the blade. Let it run briefly only long enough to confirm normal operation and, where applicable, circulate oil through a new filter; then shut it off. Do not leave a machine running unattended or run a gasoline mower in a garage, shed, or other enclosed space.
Look under the drain point and around the filter for fresh oil. If either is wet, shut the engine down, isolate it again, let hot parts cool, and correct the leak before mowing. Wait for oil to settle, then recheck the level exactly as the manual specifies; top up in small increments if it has fallen below the proper range.
The final dipstick check is not optional after a change. The first check before running confirms the initial fill, while the check afterward can catch oil that has filled a filter or passage. Keep the pan nearby until the engine passes this inspection, and do not mow if the level is below the safe mark, a plug is loose, or oil is still leaking.
Diagnose Smoke, Leaks, or a Wrong Reading
A puff of smoke after maintenance does not prove that the new oil is wrong. Oil spilled onto a hot surface or oil that reached the air cleaner when the mower was tipped may burn off, but persistent smoke deserves a shutdown and level check. First confirm the mower is upright on level ground and the oil is not above the full mark; then inspect the air-filter housing and the areas you touched.
If the dipstick reads low immediately after a change, verify that the mower is level, the dipstick is inserted correctly, and the oil has had time to settle. Add only the specified grade and a small amount at a time. If the oil level keeps dropping, look for a leak or consumption problem instead of repeatedly topping it up without finding the cause.
Stop and arrange small-engine service if oil is milky, strongly fuel-smelling, visibly metallic, or rapidly rising; if smoke continues after the level and spill areas are corrected; or if the engine knocks, overheats, or will not run normally. A routine oil change cannot fix a damaged seal, a fuel leak into the crankcase, a worn engine, or a failed oil-pressure system. When the owner’s manual does not cover the procedure or the mower requires a lift you cannot secure, a dealer or qualified repair shop is the safer next step.
Store and Recycle Used Oil Properly
Pour the drained oil into a clean, leakproof, sealable container and keep it upright away from children, pets, heat, and storm drains. Do not pour used oil onto soil, into a sink, into a storm sewer, or into household trash. Used engine oil can contain dirt, metal, water, and chemicals; the U.S. EPA’s consumer guidance recommends preventing spills, using a leakproof container, and checking local collection options for recycling.
Call ahead to a municipal household-hazardous-waste program, recycling center, or automotive service location and ask whether it accepts small-engine oil, how it should be contained, and whether it takes oil filters. Rules and accepted volumes vary by location. Keep the oil separate from gasoline, antifreeze, solvents, and other fluids because contamination can make it harder or impossible for a collection site to recycle.
If the mower has an oil filter, drain and handle it according to the collection program’s instructions; some facilities accept filters with used oil and some require separate handling. Put saturated rags, absorbent material, or disposable gloves into the waste stream your local authority specifies instead of assuming they belong in ordinary trash. Wipe a small spill with absorbent material and keep the cleanup waste out of drains and soil.
Avoid the Oil-Change Mistakes That Cause Trouble
The most expensive errors are usually small: selecting oil by habit, skipping the manual, pouring in a whole bottle, or starting the engine before checking the drain plug. A few simple checks prevent most of them: verify the engine type, confirm the product and grade, use the approved drain route, and read the level after filling. Do not rely on the oil’s color alone or treat a quick top-up as a complete oil change.
Avoid these shortcuts:
- Using SAE 30 for every mower. Grade depends on the engine and temperature range.
- Pouring to a guessed ounce amount. Stop at the manual’s fill specification or correct dipstick mark.
- Tilting without a diagram. The wrong orientation can flood the intake or spill fuel.
- Working around a hot muffler or live ignition. Cool the machine and isolate it first.
- Overtightening a plug or filter. Follow the specified gasket and torque instructions.
- Mixing used oil with other liquids. Keep it clean enough for the collection site to accept.
If a plug, filter, hose, or dipstick will not release normally, do not use force that may strip threads or crack a housing. If the machine is under warranty, the manual may specify approved oil or service requirements; record the oil brand, viscosity, date, and engine hours so you can answer a dealer’s questions. A brief service record is more useful than trying to remember last season’s maintenance from the mower’s appearance.
Keep a Simple Service Record
Write down the date, engine hours if available, oil grade, quantity added, filter replacement, and any leak or smoke observed after the change. Note whether the mower was used in unusually dusty, hot, wet, or heavy conditions, since those conditions may affect the interval in the manual. This record helps distinguish normal seasonal service from repeated oil loss or an interval that arrives earlier than expected.
At the start of each mowing season, check oil level, inspect for leaks, and confirm the next service point from the manual. If you bought a used mower without a reliable history, identify the exact engine and use its manual to decide whether it needs an initial service; do not infer its oil capacity from the size of the mower. For a machine with a documented “check and add” design, follow that engine’s special schedule instead of imposing a conventional change interval.
Conclusion
To change lawn mower oil safely, first confirm that the mower has a four-cycle engine and find the manual for the exact engine and equipment. Use its oil grade, capacity, interval, drain route, tipping direction, and filter instructions; then isolate the mower, drain and refill it carefully, verify the level after a brief inspection run, and contain the used oil for local recycling. If you cannot confirm the method, the oil is contaminated, or the machine cannot be secured safely, pause and ask a qualified mower technician.



