15 Plant Room Ideas for a Lush Indoor Oasis
Create a plant room that looks layered and keeps plants thriving with light-smart layouts, storage ideas, bathroom displays, and easy-care zones for any home.
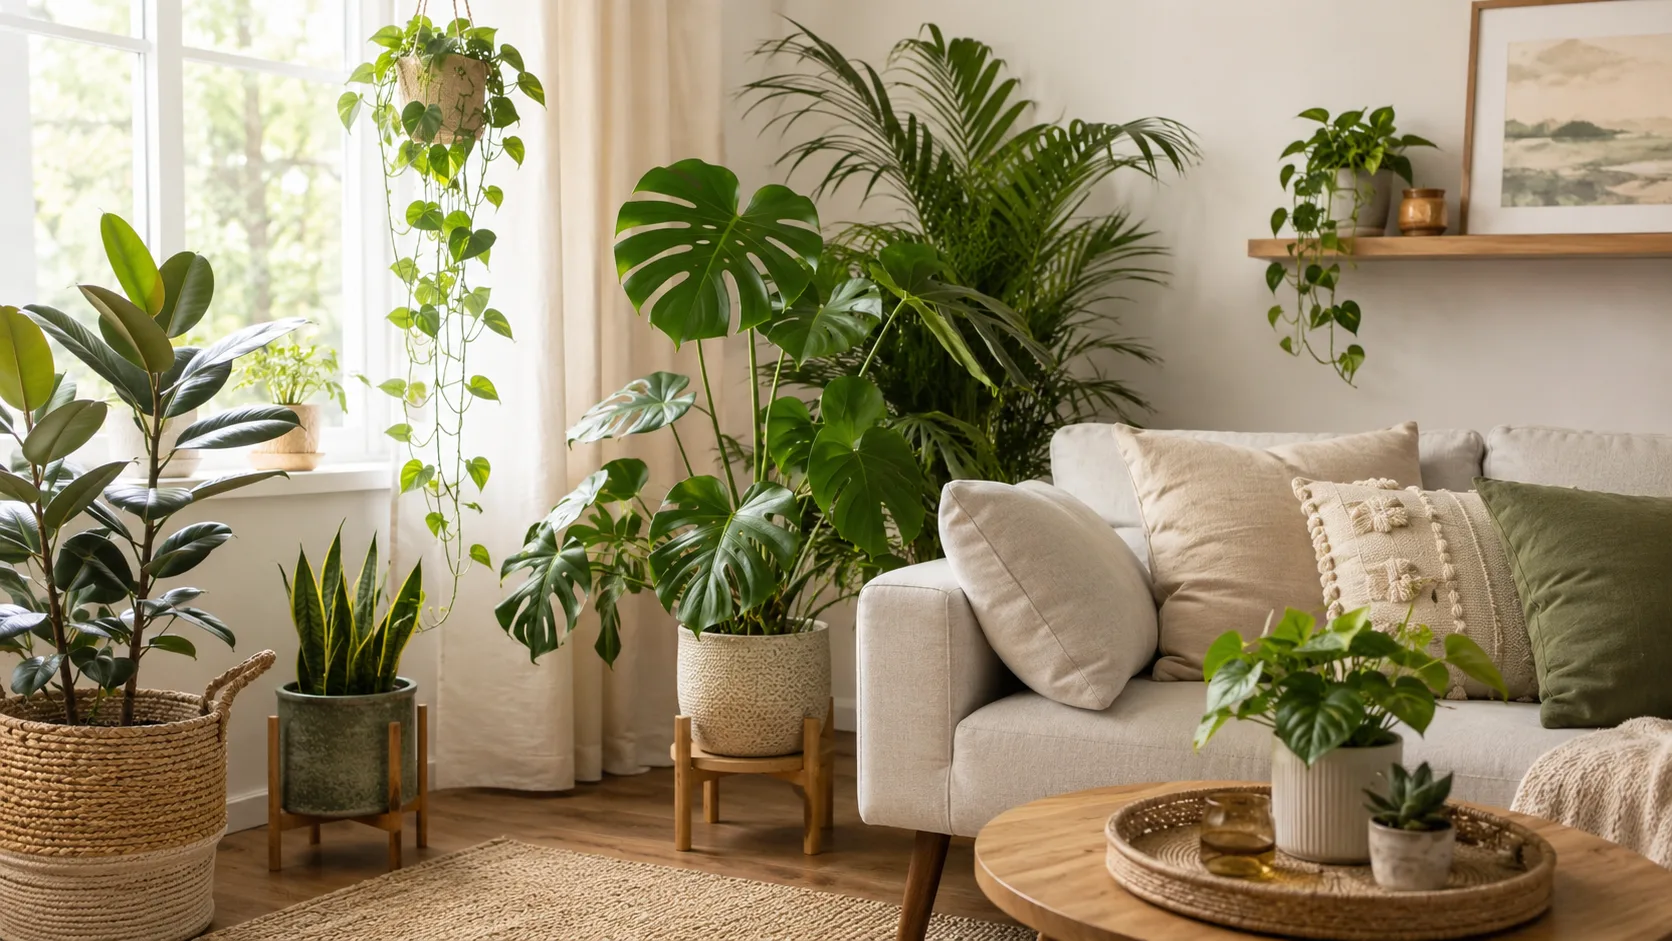
A successful plant room is not the room with the most pots. It is a place where plants receive light that suits them, water can drain without damaging floors or furniture, and you can reach every container without moving half the collection. A sunny spare room is convenient, but one well-planned corner, bathroom shelf, or bookcase can do the same job on a smaller scale.
Start by watching the light through the day, then match plants to the conditions you actually have. Window direction, outdoor shade, curtains, and distance from the glass all change what reaches a leaf; Purdue Extension notes that indoor light drops sharply as plants move farther from a window. Use these ideas as layouts to adapt, not a shopping list: the best version is the one that fits both your home and the plants you want to grow.
1. Start with a bright-window plant corner
Choose one corner beside the brightest suitable window and build outward from it. A small grouping of three or four plants reads as an intentional indoor garden without taking over the room: place one taller plant on the floor, a medium plant on a low stand, and a trailing plant on a shelf or bracket. Leave enough space to open curtains and clean the glass.
Before you buy a matching set of plants, check the window’s exposure and the amount of direct sun it receives. UConn Extension’s houseplant guidance explains that light needs vary widely and uses window direction and distance as rough placement cues; those cues still need adjustment for trees, buildings, latitude, and season. If the corner is dim, use a grow light aimed at the actual leaf canopy rather than expecting a plant labeled “low light” to thrive in darkness.
Make watering simple by keeping pots in removable nursery containers with drainage holes and using waterproof saucers beneath them. This lets you carry plants to a sink when needed and prevents decorative cachepots from becoming reservoirs. A corner should feel lush, but it should not block a walkway, a heater, or the only route to a window.
2. Make one statement plant the room’s anchor
Instead of scattering many small pots evenly around a living room, let one large, well-suited plant establish the focal point. A floor-standing monstera, palm, rubber plant, or other broad-leaved specimen can sit beside a bright window or at the end of a sofa, with smaller plants arranged nearby at lower heights. The contrast makes the display feel composed and gives the room a clear visual center.
Choose the plant for the light at its exact location and its eventual size, not just the height it has at the nursery. A plant that grows wide may crowd a passage or hide a window, while a tall plant pressed into a dark corner can lean toward the glass. Purdue’s indoor plant guidance recommends placing plants close to windows when natural light is the main source and keeping them away from heat registers and cold drafts.
Give the anchor breathing room. One large silhouette usually looks stronger than a tight ring of small pots around its base, and open floor around the container also makes it easier to rotate or move the plant for cleaning. Purdue Extension also advises keeping plants away from hot or cold drafts, so leave clearance from heating and cooling vents. If the room is narrow, use a slimmer upright form and keep foliage from brushing people as they pass.
3. Group tropical plants by care needs
A collection of tropical foliage plants can look like a miniature conservatory when you group by similar needs rather than by pot color alone. Place plants that prefer bright, indirect light together, then create another nearby group for species that tolerate a little less light. The visual effect is cohesive, and care becomes easier because you can check one zone at a time.
Avoid treating every tropical plant as interchangeable. Ferns, anthuriums, philodendrons, and pothos do not all have identical watering, light, or humidity requirements; plant labels and reliable species-specific care notes should decide their final positions. Purdue Extension describes how light preferences vary among houseplants, while UConn Extension notes that tropical plants differ in humidity needs and that misting is short-lived rather than a dependable room-wide solution.
Arrange the group with room between leaves, not pot-to-pot contact. Crowding can hide pests and makes it harder to inspect the undersides of leaves or water each container accurately. If you want a denser look, use a backdrop of one taller plant and layer smaller pots in front while leaving a hand’s width for routine checks.
4. Turn an open bookcase into a layered plant shelf
An open bookcase is a flexible plant display because each shelf can create a different height and texture. Reserve the brightest tiers for plants that need more light, let vines trail from the edges, and use a few upright plants to break up the horizontal lines. Keep some books, baskets, or empty space in the composition so the shelves look intentional rather than packed from end to end.
Before loading a bookcase, check its weight rating and how it is anchored. A wet pot weighs more than an empty one, and a row of ceramic containers can create a substantial load; secure tall shelving to a stud or use hardware rated for the wall and shelf. Put waterproof saucers under pots, and do not place a draining pot directly above a book, electrical device, or another plant.
Shelves also create light shadows. The top tier may receive useful window light while a plant just one level below sits in shade, so observe each plant at its own height and turn containers occasionally if growth leans. Houseplant Journal’s plant-specific light reference illustrates why “bright indirect light” is not one universal number for every houseplant; a light meter can help compare the actual spots on a shelf.
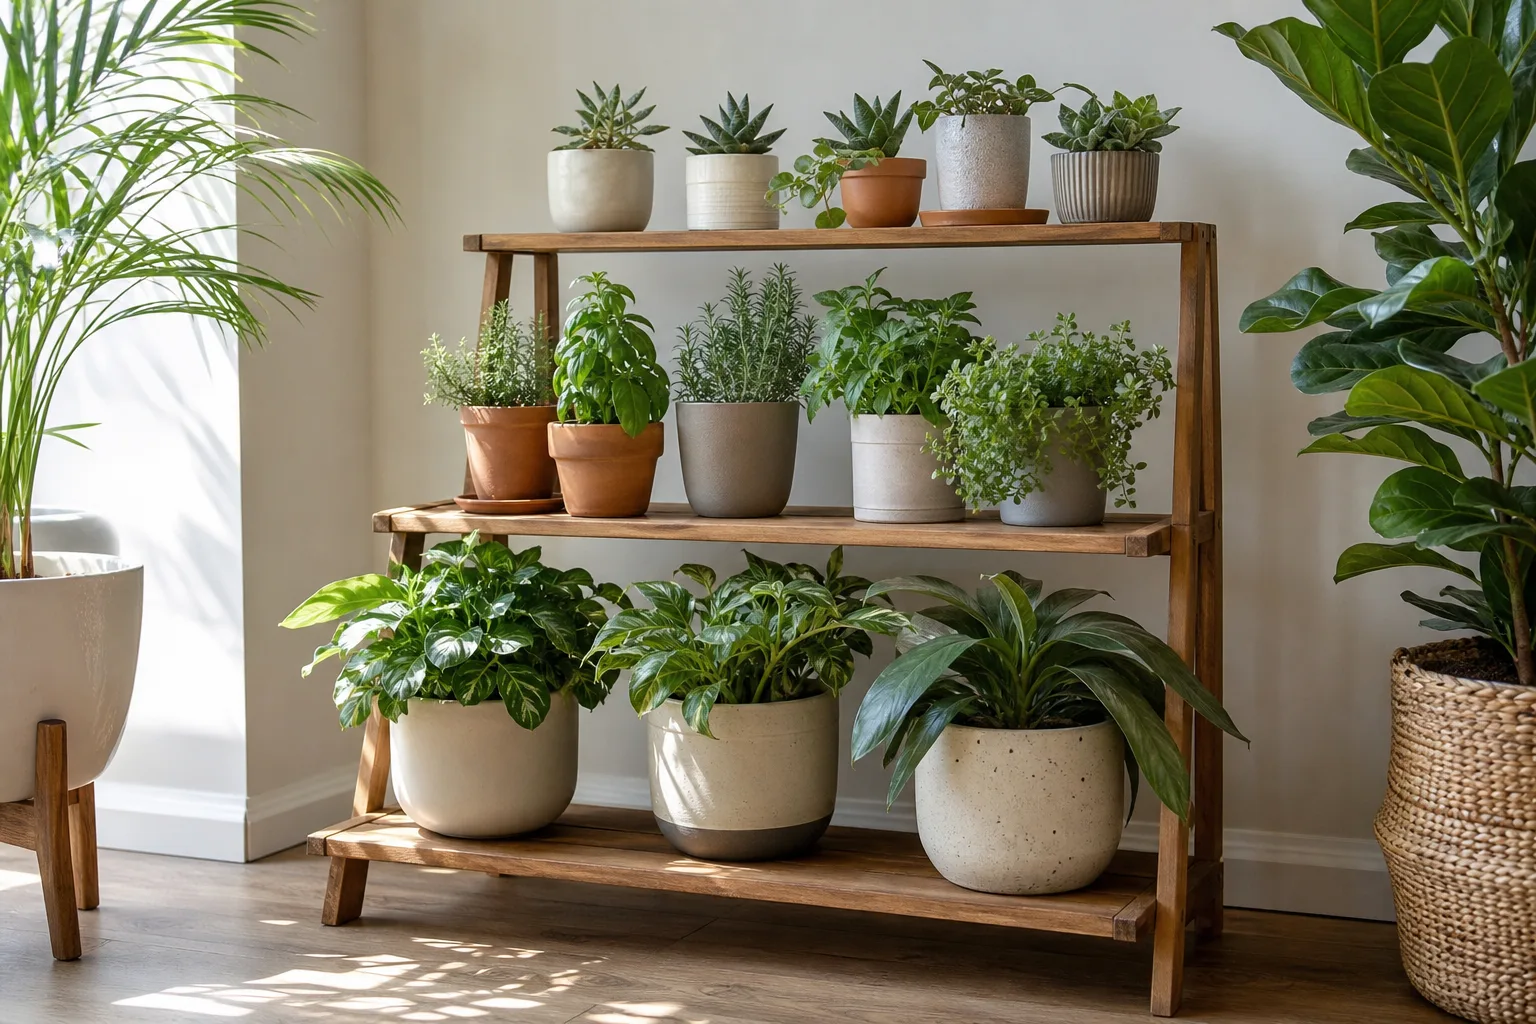
5. Frame a window with hanging baskets
Hanging plants add a leafy canopy without using floor area. Put a small number of baskets near a bright window or along its sides, then mix trailing habits and pot shapes so the plants frame the light rather than hide it. Pothos, heartleaf philodendron, and hoya can create long lines; leave enough clearance that vines do not snag curtains or brush against a heater.
Treat each hanging pot as a load-bearing installation. Attach ceiling hooks to a joist or use anchors rated for the combined weight of the planter, wet potting mix, and water; drywall alone is not a reliable support for a heavy basket. Use an inner pot with drainage and a removable cachepot or drip catcher so you can water without sending runoff onto the floor.
Hanging height matters for care. A basket placed just beyond comfortable reach quickly becomes a forgotten plant, so check it from the floor before installing the hook. If the plant needs frequent inspection or is near children or pets, a lower shelf may be safer and easier to maintain. Keep foliage clear of ceiling fans and vents, which can dry leaves or damage trailing stems.
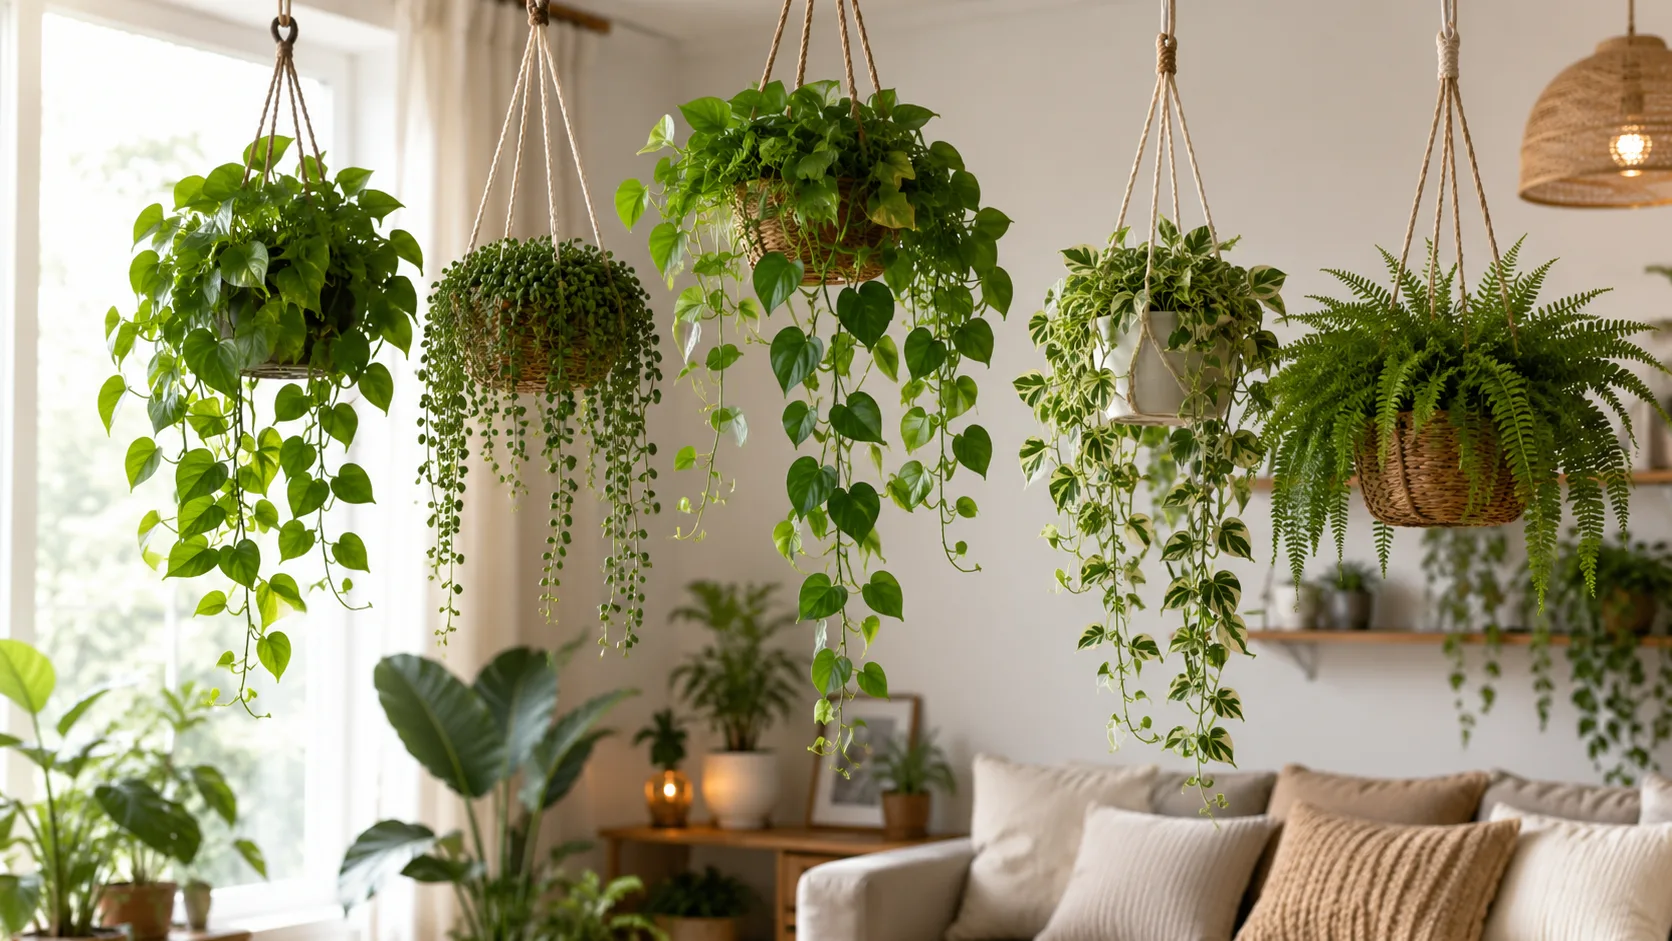
6. Build a glass-front greenhouse cabinet
A glass-front cabinet can turn a small collection into a jewel-box display and create a more contained environment for delicate plants. Add adjustable shelves, a grow light if daylight is insufficient, and a small fan that moves air gently without blasting leaves. Cabinets are especially useful when you want a tidy vertical display or need to keep a group together in a large, dry room.
Think of the cabinet as a small growing space that needs management, not as a sealed box that automatically makes plants thrive. Check temperature and humidity, leave some ventilation, and avoid allowing condensation to sit on leaves or electrical fixtures. There is no single grow-light duration for every cabinet: Epic Gardening’s guide gives examples ranging from 14 hours for tropical hibiscus to as much as 16 hours for indoor citrus, illustrating how strongly the target depends on the plant and setup. Use an appropriate fixture, follow its guidance, and set a timer instead of guessing.
Keep the shelves easy to remove or wipe, and use trays under the pots. If the cabinet is intended to limit pet access, the doors need to latch and the enclosure must stay closed; a decorative cabinet is not a substitute for checking whether each plant is toxic to an animal that might chew it. Keep lamps and cords away from water and follow the fixture’s instructions.
7. Bring humidity-friendly greenery into the bathroom
A bright bathroom can be a natural home for plants that appreciate more humidity, and even one shelf beside a window can make the room feel softer. Use the sill for compact pots, a hanging basket for a trailing plant, or a narrow shelf above the toilet if it is stable and does not interfere with ventilation or cleaning. Ferns and some tropical foliage plants are common choices when the room offers suitable light.
Humidity does not replace light. A windowless bathroom may be humid after a shower but still too dim for sustained growth, so select shade-tolerant plants carefully or add a suitable grow light on a timer. UConn Extension notes that humidity preferences vary by plant and that misting only offers a short-lived effect; a steamy room also has dry periods between showers, especially when an exhaust fan runs.
Keep plants away from direct splashes of soap and cleaning products, and use cachepots or saucers that will not stain counters. If the room stays damp, run the exhaust fan as needed and avoid crowding plants against walls where air cannot circulate. The room should be comfortable for people first, with plants placed where they do not make cleaning harder.
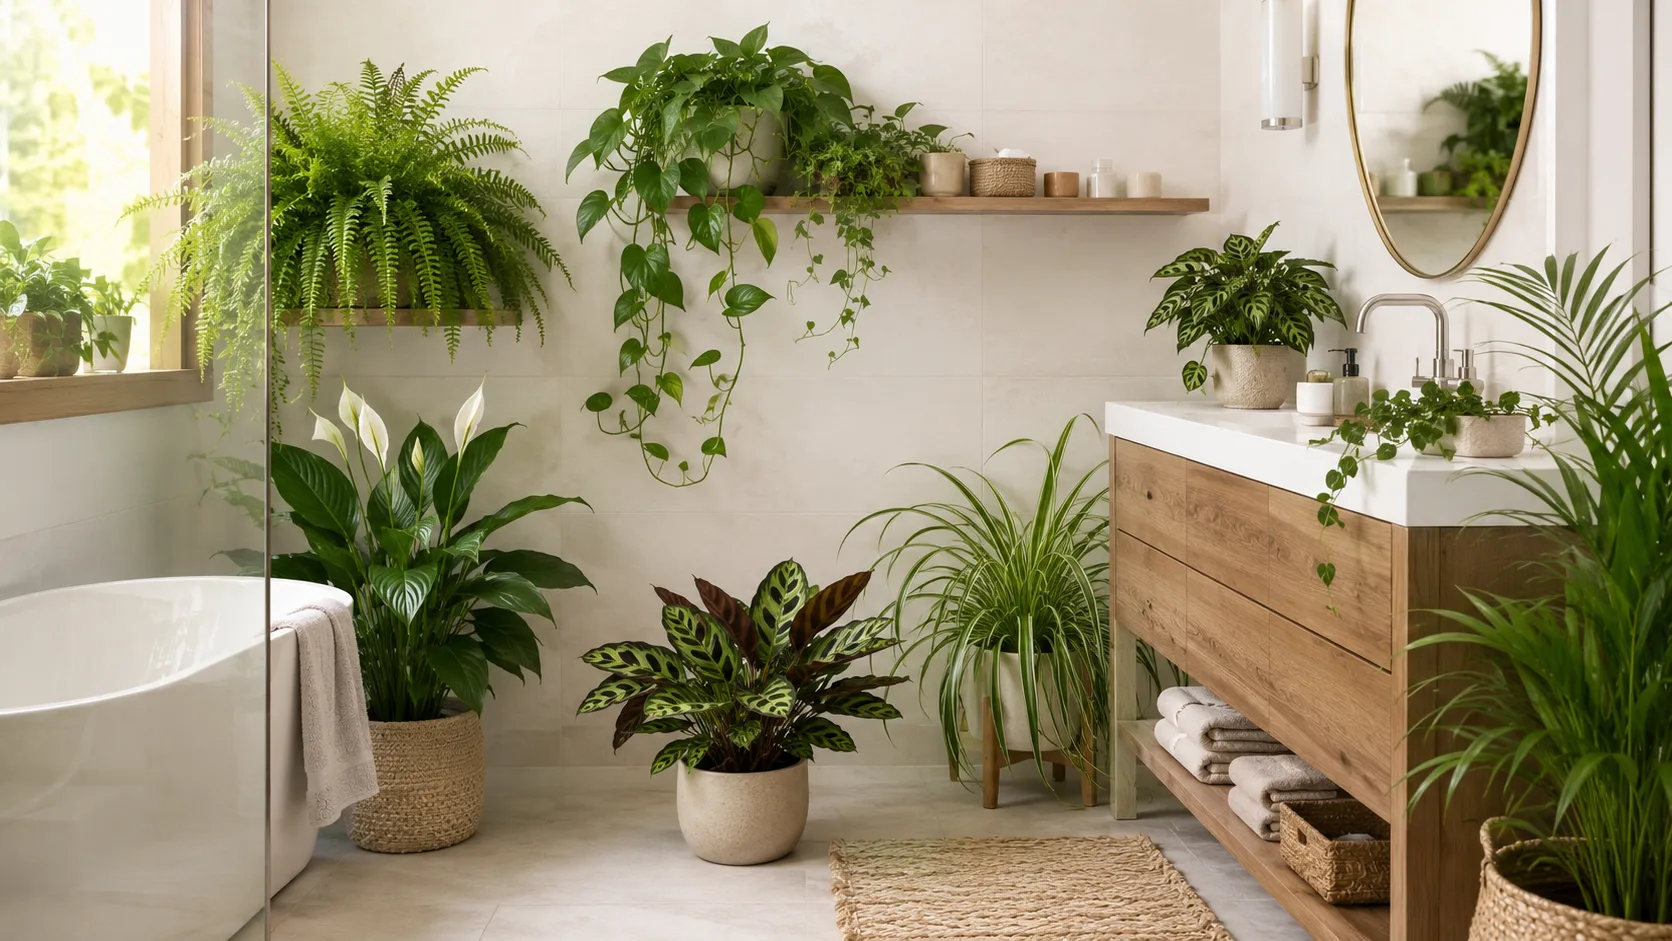
8. Use tiered stands to add height without clutter
A tiered stand is a simple way to turn a blank stretch of wall into a layered display. Put small pots on the upper tiers and larger, heavier containers below, with plants that trail toward the open sides rather than across every surface. A narrow ladder-style stand works well beside a window or sofa because it adds vertical interest without requiring shelves across the full wall.
Think through the light path before choosing the stand. A broad upper shelf can shade the plants beneath it, and a tall display pushed too far from a window can become a decorative silhouette with insufficient light. Place the most light-demanding plants where they receive the strongest suitable exposure, then choose more tolerant plants for the shaded lower level rather than forcing one species into every tier.
Stability matters as much as styling. Level the stand, keep the heaviest pots low, and avoid placing fragile containers where they could be knocked by a door or chair. Add non-slip trays or liners where water might reach a wood surface, but leave drainage holes clear. Grouping several plants on one movable stand also makes it easier to clean around them than a line of pots scattered across the floor.
9. Create a vertical plant wall with adjustable supports
For a small apartment or an empty wall near a window, use a rail, grid, or modular shelf system to lift plants off the floor. Adjustable supports let you change spacing as vines lengthen and make it easier to remove a pot for watering. Start with a few lightweight planters, then expand only after you know how much light the wall receives and how much weight its anchors can carry.
Choose a system that keeps water away from paint and wallboard. A waterproof backer, removable saucers, or trays under the pots can protect the surface, and a drip line should never run behind furniture or into an outlet. Fasten the rail to studs when possible; if you must use wall anchors, match their rating to the loaded system and the wall material.
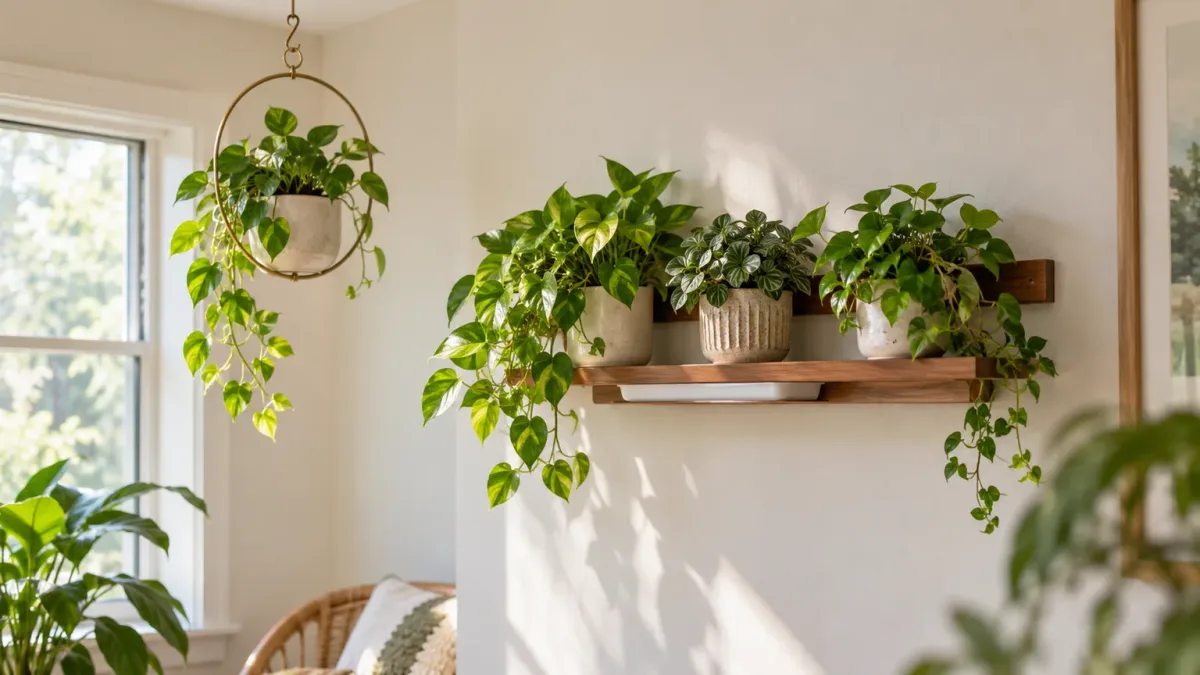
Leave gaps between plants so air and light reach the leaves behind them. A living wall is a dramatic backdrop, but it is harder to inspect for pests and remove individual pots if every plant is packed against its neighbor. If the wall is not bright enough, select an appropriate grow-light fixture and check the light at plant height instead of assuming a decorative ceiling lamp will serve as plant lighting.
10. Give the dining area a leafy backdrop
Plants can soften a dining area without turning the table into a permanent obstacle. Put a row of medium plants on a sideboard or a low shelf behind the chairs, or frame a nearby window with a pair of taller containers. Keep the center of the table available for meals, and choose containers that will not be knocked over when chairs move in and out.
This setup works best when it reinforces the room’s existing geometry. A tall plant can mark the edge of a dining zone in an open-plan room, while repeated smaller pots on a sideboard create a calmer line. Choose plants that fit the light and avoid heavy fragrance or shedding if food, allergies, or cleanup are concerns.
Leave a clear route for carrying dishes and wiping surfaces. Do not put watering trays where they can catch spills from the table, and move plants before deep-cleaning rather than dragging their pots across wood. A leafy backdrop can make a small dining nook feel distinct without requiring you to dedicate a full room to the collection.
11. Turn a reading nook into a small indoor retreat
Use one chair, one good light source, and a few plants to make a reading corner feel tucked away. A taller plant can sit behind the chair, a compact pot can share a side table, and one trailing plant can occupy a nearby shelf. Vary leaf shape and height instead of collecting several plants that all make the same silhouette.
Keep the reading lamp separate from the plant’s growing light needs. A lamp that feels bright to a person may not deliver enough useful light to a plant, and a plant placed behind a chair may be much farther from a window than it appears. If you add a grow light, aim it at the leaves and check the fixture’s distance and schedule instructions.
Do not let the display crowd the chair or trap heat around a radiator. A reading nook should leave room to sit, reach a book, and vacuum; a single carefully placed floor plant often looks more peaceful than an arrangement that fills every corner. If you enjoy rearranging the room, use a lightweight stand that can move without tipping.
12. Use a rolling cart to follow seasonal light
A rolling cart can move smaller plants closer to a brighter window in winter and farther from harsh direct sun in summer. Use the top shelf for the plants you check most often and the lower shelf for heavier containers; lock the casters when the cart is in position. This is a practical choice for renters who cannot anchor many shelves or for anyone whose best light shifts through the year.
The cart should not turn into a mixed-care collection that receives one watering schedule by convenience. Keep plants with similar moisture needs together, and move individual pots if a plant’s light preference differs from its neighbors. Purdue Extension describes the benefit of grouping plants and moving containers to improve their light exposure; turning plants periodically can also help limit one-sided growth.
Check the route from the cart to the sink before you fill it with pots. A cart that is too wide for doorways or too heavy to roll safely will stay parked, while water sloshing from saucers can spill on the floor. Purdue Extension recommends rotating plants for even growth, and a cart makes that easy; keep the heaviest pots low and leave a gap behind it so leaves do not press against cold glass.
13. Set up a discreet propagation and care station
If you propagate cuttings or regularly repot plants, designate one easy-to-clean surface as a small care station. A narrow table or cabinet can hold clean pots, labels, pruners, a watering can, and a tray for cuttings, while a shelf above it keeps supplies off the main work surface. This makes maintenance less messy and prevents tools from migrating across the living room.
Put the station where it receives usable light but is not exposed to repeated drafts or heat. Keep soil and fertilizers closed, tools clean, and water away from power strips; a waterproof tray can catch potting mix and runoff. A small task light helps you see what you are doing, but plant cuttings still need suitable growing light if they are expected to root and grow.
For a compact display, use a few clear propagation vessels rather than lining every window with jars. Change water when it becomes cloudy and move rooted cuttings into an appropriate potting medium when they are ready for the next stage. A care station is most attractive when it has a defined boundary and does not become a storage shelf for every spare container.
14. Make a pet-conscious display cabinet
In a home with a curious cat or dog, a cabinet with doors can help separate plants from reach while keeping a small collection visible. Choose sturdy furniture that cannot tip, secure it against the wall when appropriate, and make sure the doors close reliably. A latch may be necessary if an animal can nose the door open, and cords or lamps should be routed where they cannot be pulled or chewed.
Treat the cabinet as a barrier, not proof that a plant is safe. Check each species against the ASPCA’s current toxic and non-toxic plant database, and ask a veterinarian if you need guidance for a particular animal or exposure. A hanging planter is not automatically out of reach for a climbing cat, and a falling pot can be dangerous even when the plant itself is non-toxic.
Leave ventilation gaps and monitor warmth inside a sunlit cabinet, especially if it includes grow lights. If the display becomes too hot or humid, keep plants elsewhere and use the cabinet only for storage or decor. The safest layout is the one that accounts for both plant needs and the behavior of the animals that share the home.
15. Tie the room together with a restrained planter palette
Use containers to make a collection feel cohesive without making every pot identical. Choose two or three recurring materials or colors—such as terracotta, matte cream, and woven natural fiber—then let leaf shapes and plant sizes provide variety. Repeating a planter finish on shelves, stands, and the floor creates visual rhythm and helps a mixed collection feel connected.
Keep the decorative pot separate from the plant’s working pot whenever possible. Most houseplants need a container with a drainage opening, and a cachepot can conceal that inner pot while still letting you lift it out to empty runoff. Never assume a decorative basket or ceramic cover is waterproof; add a liner or saucer and check the floor after watering.
Balance the display by varying height, leaf size, and negative space. A tall plant, a medium bushy plant, and a trailing vine create a simple three-part composition, but leave room for each one to grow. A restrained palette should make the plants easier to notice, not pressure you into buying matching containers before you know whether the plants suit the space.
Conclusion
Start with one area that already has usable light, then choose a layout that fits how you move through the room. A bright corner or a single shelf is enough to test your idea; you can add a cabinet, wall display, or collection of hanging baskets once watering and maintenance feel manageable.
Before expanding, make sure every plant has an appropriate spot, every pot can drain safely, and you can inspect and reach the leaves. The most successful plant room is not the fullest one. It is a useful living space where the arrangement looks good because the plants are placed where they can continue to grow.



