Houseplant Care: Light, Water, Soil, and More
Learn houseplant care that fits your home: choose suitable plants, measure light, water by soil, prevent pests, and fix problems without guesswork.
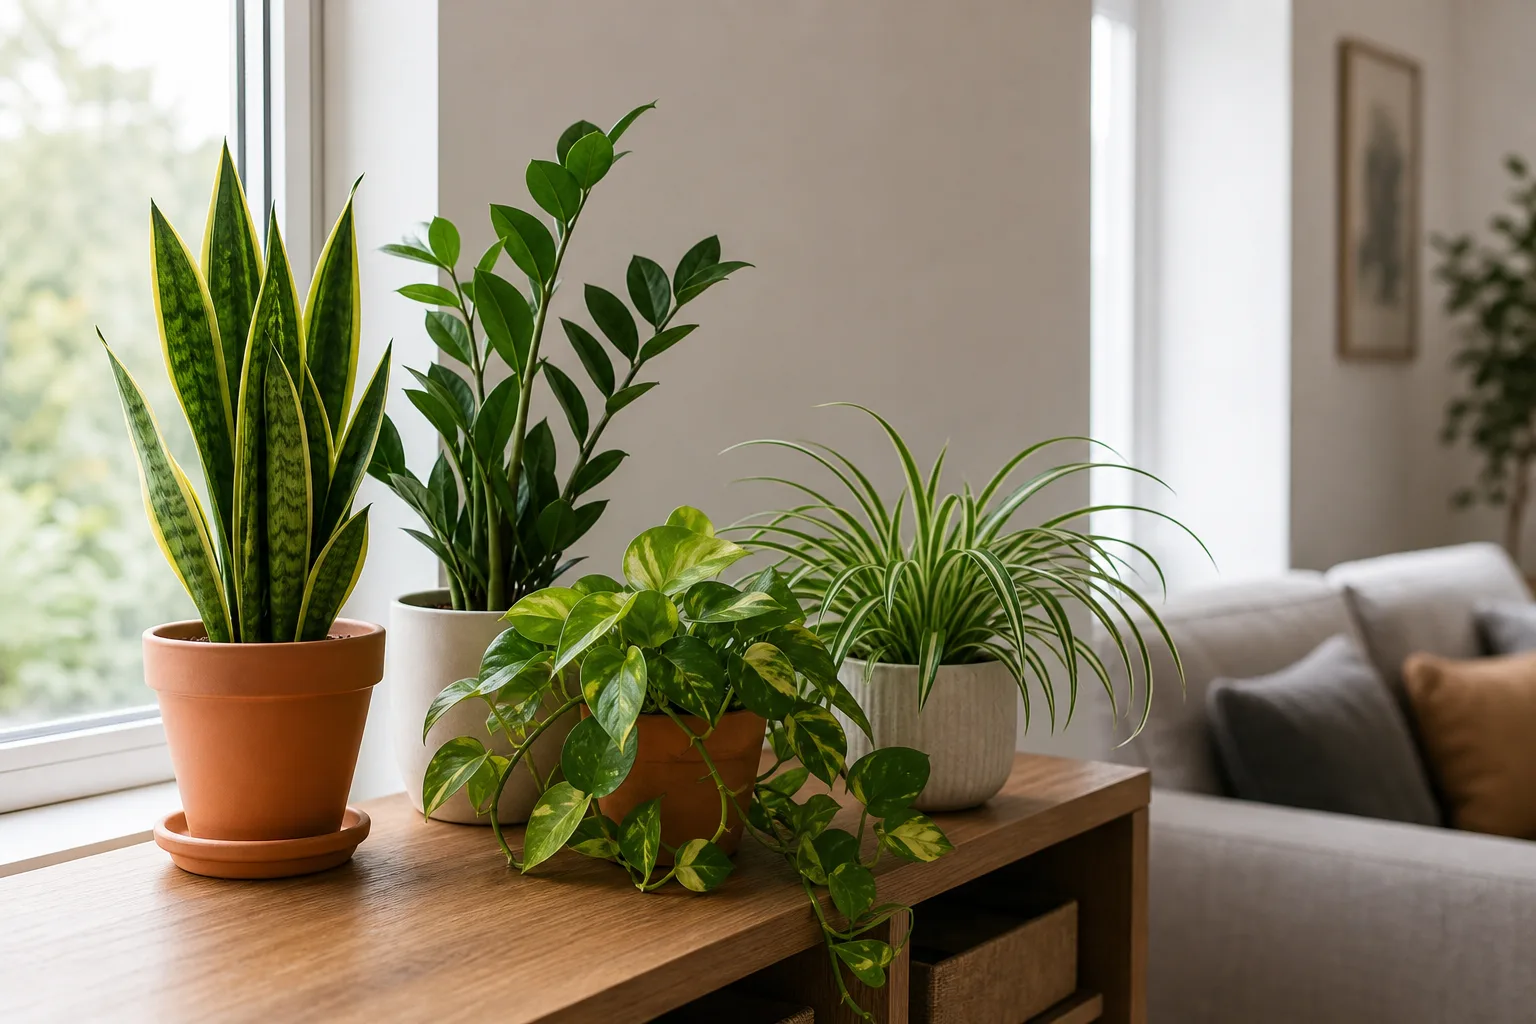
A healthy houseplant is usually the result of a good match between the plant and its spot, not a complicated schedule. Light, pot size, potting mix, and the pace of growth all change how quickly a plant uses water and nutrients, so two plants beside each other may need different care.
Start with one question whenever a plant looks unhappy: what changed in its growing conditions? Check the soil and roots before watering, look at the light it actually receives, and inspect the undersides of leaves before treating a problem. That order keeps you from making a stressed plant worse with a fast but wrong fix.
Choose plants for the room and routine you actually have
Shop for the conditions you can provide rather than for the plant’s photo or its “easy” label. A bright south-facing window, a dim hallway, a dry heated room, and a humid bathroom are different growing environments; a plant described as low maintenance still struggles when it is placed outside its tolerance. The Royal Horticultural Society’s houseplant resources distinguish easy-care plants from more challenging choices and organize recommendations by room, a useful reminder that location and plant choice belong together (RHS houseplant guidance).
Before buying, note the brightest window, how far a plant could sit from it, whether the room has drafts or heating vents, and whether anyone in the household tends to forget watering. Then match those conditions to the plant’s actual requirements. A sturdy, slower-growing foliage plant can be a better first choice than a thirsty flowering plant if you travel often; a succulent will not be “easy” in a dark room simply because it tolerates missed waterings.
Check the label for the botanical name, not only a broad category such as “tropical plant.” Care needs can differ substantially among species sold under similar common names, and the scientific name makes it easier to find accurate light, watering, and safety information later. If a plant is unidentified, take a clear photo of its leaves and growth habit and keep the tag rather than guessing its care from appearance alone.
Measure light before you choose a window
“Bright indirect light” is a description, not a fixed distance from a window. A plant’s usable light changes with window direction, glass, curtains, nearby buildings, trees, season, and the distance from the glass; a sunny window can be bright at the sill and much dimmer across the room. Wisconsin Horticulture Extension notes that too little light can cause faded foliage, stunted growth, and reduced flowering, while excessive light can cause wilting or leaf scorch (Wisconsin Horticulture Extension’s houseplant guide).
Do a simple daylight audit before moving plants. At the spot you are considering, observe the room at several times of day and notice whether direct sun lands on the leaves, how long it lasts, and whether a building or curtain blocks it. A phone light-meter app can help compare two spots, but it is not a substitute for the plant label or a calibrated meter; treat the reading as a relative comparison, not a universal threshold.
A plant leaning toward the window, stretched internodes, smaller new leaves, or loss of variegation can signal inadequate light, but one symptom alone is not proof. Conversely, crisp patches on the window-facing side after a sudden move may mean sun scorch. Move a plant in stages over a week or two when increasing exposure, then watch new growth; damaged leaves will not turn green again, so judge the adjustment by what the plant produces next.
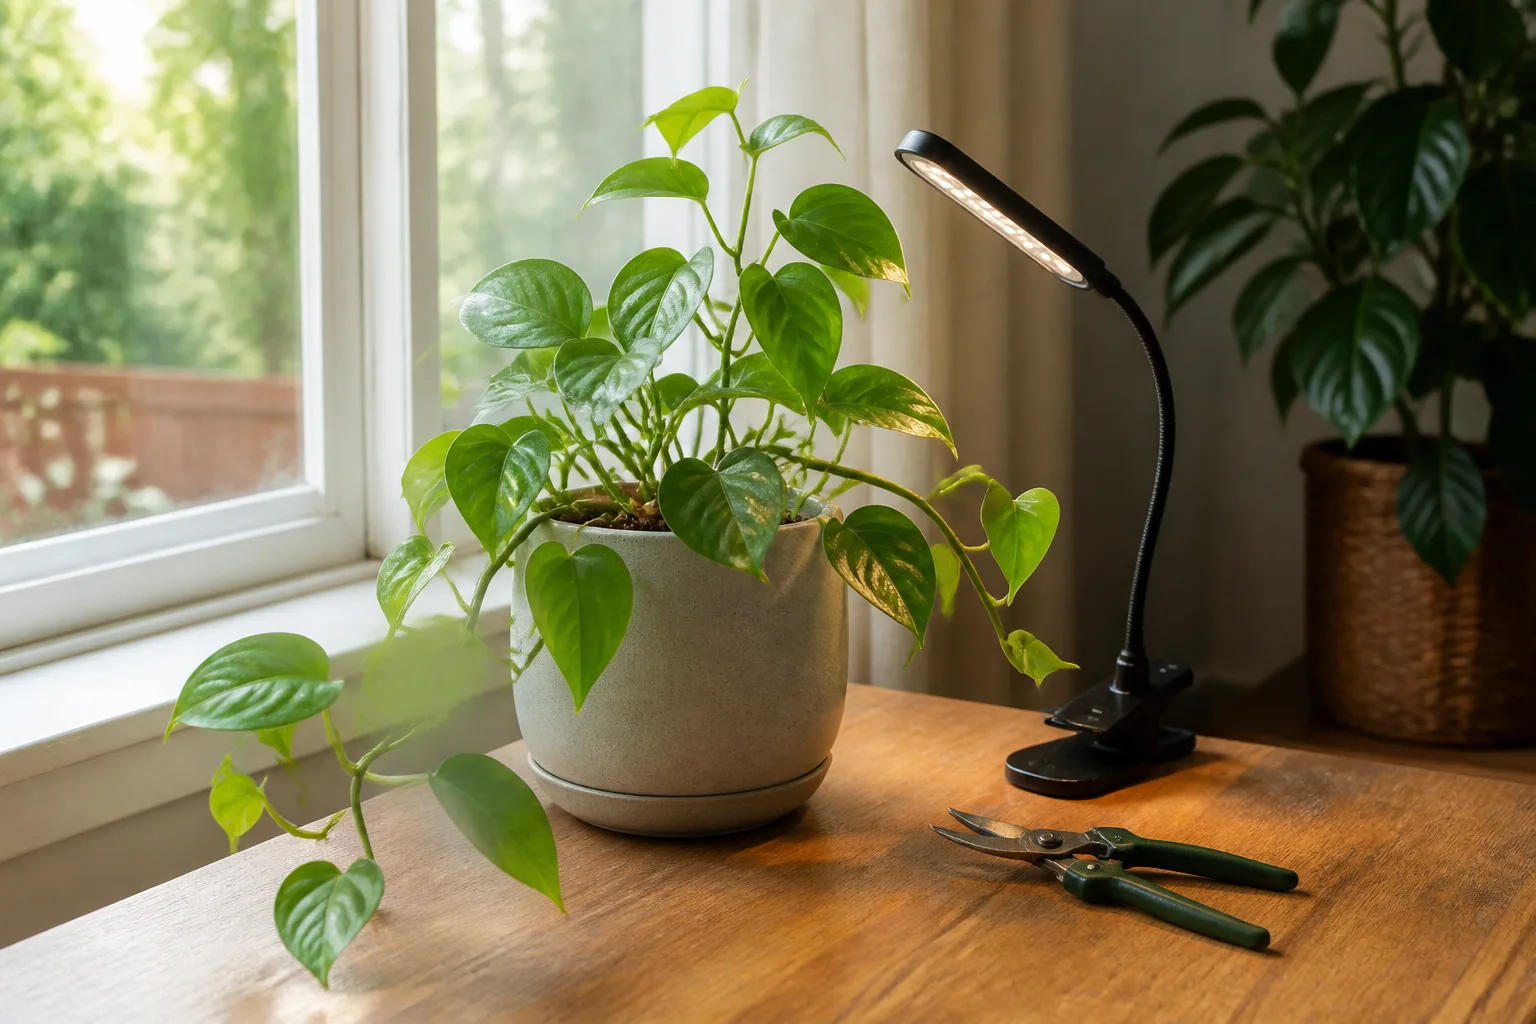
If the best window is still too dim, a grow light can supplement it. Place the light according to the manufacturer’s distance and coverage instructions and run it on a consistent timer; a lamp that is too close can bleach or heat foliage, while a decorative bulb with little plant-useful output may not compensate for a dark corner. Light is a growth input, so improve it before trying to solve slow, leggy growth with fertilizer.
Water by checking the root zone
There is no reliable houseplant watering calendar. A pot’s drying rate depends on the species, potting mix, container material and size, light, temperature, humidity, and current growth. Wisconsin Extension notes that small pots and clay pots often dry faster than larger or plastic pots, and that plants generally use more water when actively growing than when growth slows; BHG likewise recommends watering based on need rather than a fixed schedule (Wisconsin Horticulture Extension; BHG’s indoor watering guide).
Use the plant’s own pot as your moisture gauge. For a small or medium pot, push a finger about an inch into the mix; for a deep pot, use a wooden skewer or lift the pot to compare its weight after watering with its weight as it dries. A moisture meter can help with a large container, but readings vary with salts and mix texture, so pair it with a finger or skewer check rather than trusting one number.
A reliable water-and-drain routine
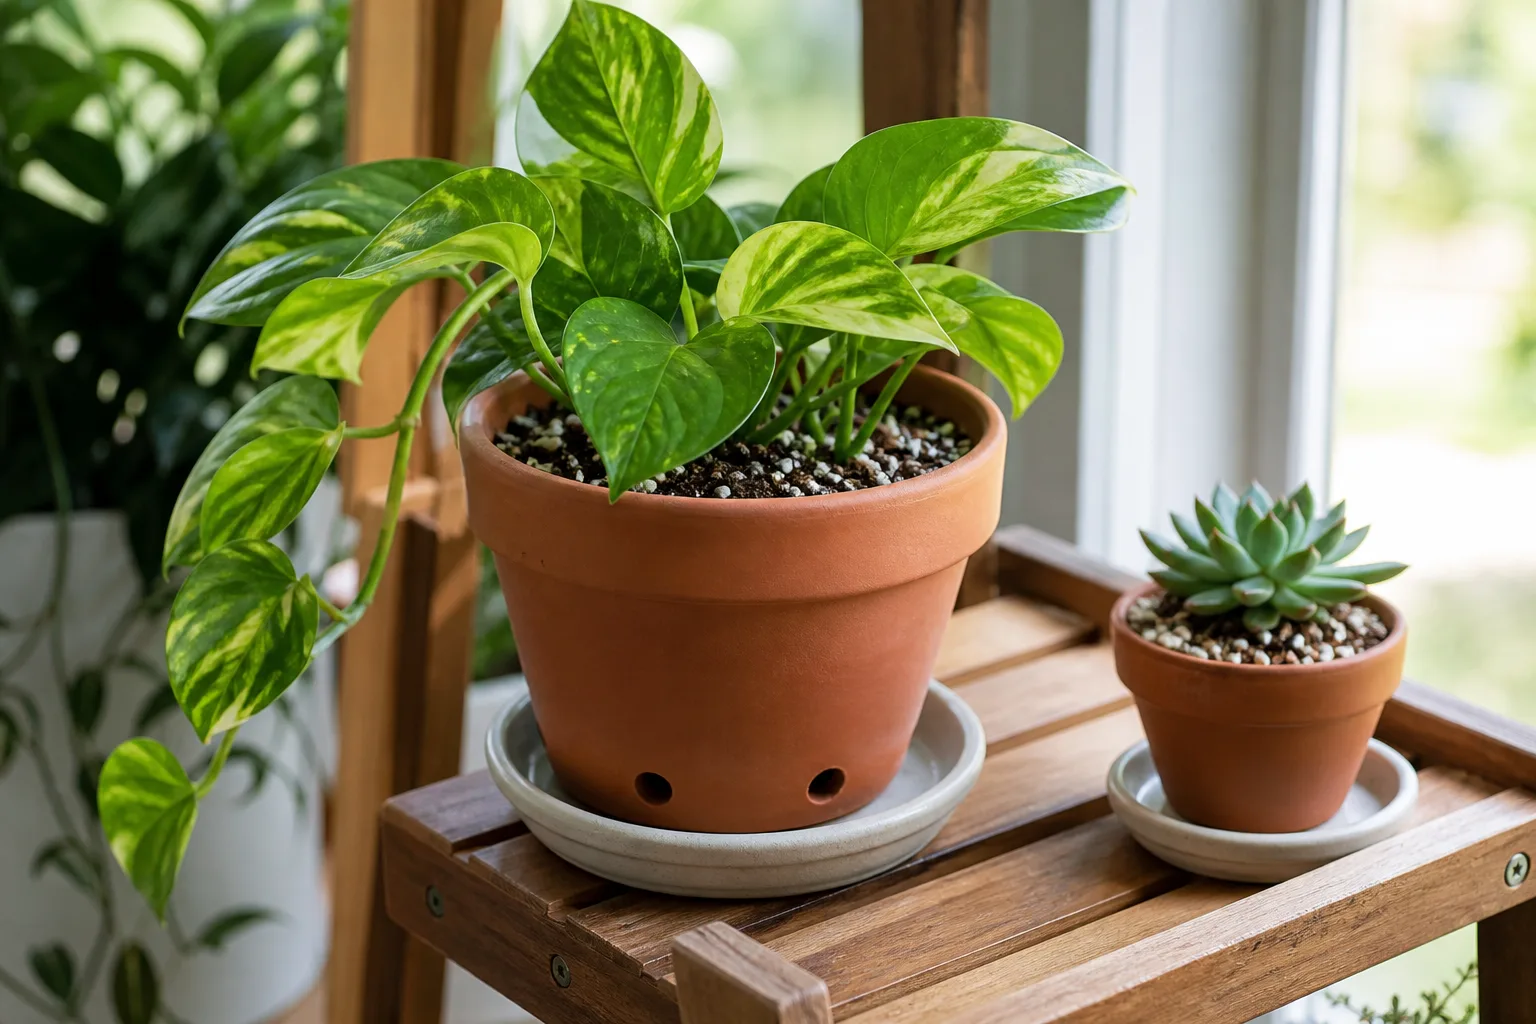
When the appropriate part of the mix is dry for that species, water slowly and evenly across the soil surface until excess runs from the drainage holes. Let the pot drain fully, then empty its saucer or decorative outer pot; roots need both moisture and oxygen, and leaving a nursery pot submerged in runoff keeps the lower mix saturated. If the mix has pulled away from the pot and water rushes down the sides, bottom-water briefly or apply water in several small passes, then let it drain.
Do not give a large plant a daily sip just because the top looks dry. Frequent shallow watering wets only part of the root ball and can leave salts concentrated near the surface; when the plant needs water, a thorough soak followed by an appropriate drying interval is usually easier to assess. The interval is species-specific: a fern or peace lily may need a different threshold from a cactus, so learn the plant’s pattern rather than copying another pot’s schedule.
Wilt is an unreliable watering alarm by itself. A dry, light pot points toward thirst, while a heavy pot with wet, cool mix suggests roots may be short of oxygen; both can produce drooping leaves. Check the mix and roots before adding water, especially when yellow leaves, sour-smelling soil, or fungus gnats accompany the wilt.
Choose the pot and mix as a system
A container is part of the watering system. Choose a pot with open drainage holes and a size that gives the current root ball a little room without surrounding it with a large volume of persistently wet mix. A decorative cachepot can hide a plain nursery pot, but lift the inner pot out to water and drain it before returning it.
Use potting mix rather than garden soil for most indoor containers. Garden soil can compact in a pot and drain poorly; a commercial houseplant mix is a workable starting point, while orchids and desert plants usually need mixes adapted to their roots and water habits. Wisconsin Extension describes common soilless mixes and recommends specialized media for orchids, cacti, and African violets rather than treating every plant as if it prefers the same substrate (Wisconsin Horticulture Extension).
Skip the gravel layer at the bottom of a pot as a substitute for drainage. Water still collects above that layer where fine mix meets coarse material, so gravel does not create an outlet; it also reduces the depth available for roots. If a pot has no holes, use it as a cover pot or move the plant to a draining nursery pot instead of trying to compensate with less water.
Keep temperature and humidity stable
Most common tropical foliage plants handle ordinary indoor temperatures, but sudden swings matter more than a thermostat’s average reading. A pot placed against cold glass, over a heating vent, beside an exterior door, or directly in air-conditioning can experience a different environment from the middle of the room. If leaves suddenly droop or drop after a move, look for drafts and hot or cold air before changing the watering routine.
Humidity needs vary by plant. Dry indoor air can worsen crispy edges on some tropical foliage, but increasing humidity in a still, crowded room can also encourage disease; keep air moving and avoid leaving foliage wet for long periods. A small hygrometer helps you see whether a room is consistently dry, and a room humidifier is a more controllable option than misting because mist droplets evaporate quickly and do not keep the root zone moist.
Grouping plants can modestly change the air immediately around their leaves, but it will not turn a dry room into a greenhouse. Choose a stable place with enough air movement and do not crowd leaves together so tightly that you cannot inspect them. Desert plants and succulents usually do not need the same humidity strategy as ferns or other moisture-loving tropicals.
Feed only when growth can use nutrients
Fertilizer supplements a limited supply of nutrients in a container; it is not medicine for a plant with poor light, waterlogged roots, or pests. Many houseplants grow most actively as daylight and warmth increase, so a modest feeding routine during active growth is more useful than applying fertilizer by habit throughout the year. BHG advises following the product label and warns that excess fertilizer can burn roots or inhibit growth (BHG’s houseplant care guide).
Follow the label for the product and plant, and avoid stacking fertilizer, “tonics,” and slow-release granules without accounting for what is already in the mix. If a plant is not growing because it is too dark, feeding will not solve the underlying problem; unused salts can build up around roots. Do not fertilize a plant that is severely wilted, newly repotted, or recovering from root damage until it resumes healthy growth.
As days shorten and growth slows, pause or reduce feeding unless the species is actively growing or flowering under your conditions. This is not a calendar rule that overrides observation: a plant under a grow light may continue to grow, while one in a cool dim room may be nearly idle. Use new leaves and the pot’s drying pattern as evidence that growth has resumed before increasing inputs.
Repot when roots or mix show a need
Repotting is a response to a root or soil problem, not a routine annual makeover. Roots emerging from drainage holes, a tight coil around the root ball, mix that collapses or no longer wets evenly, or a plant that dries dramatically faster than before can justify inspection. A few roots visible at a drainage hole by themselves do not always mean the plant is desperate for a larger pot; check the whole root ball before deciding.
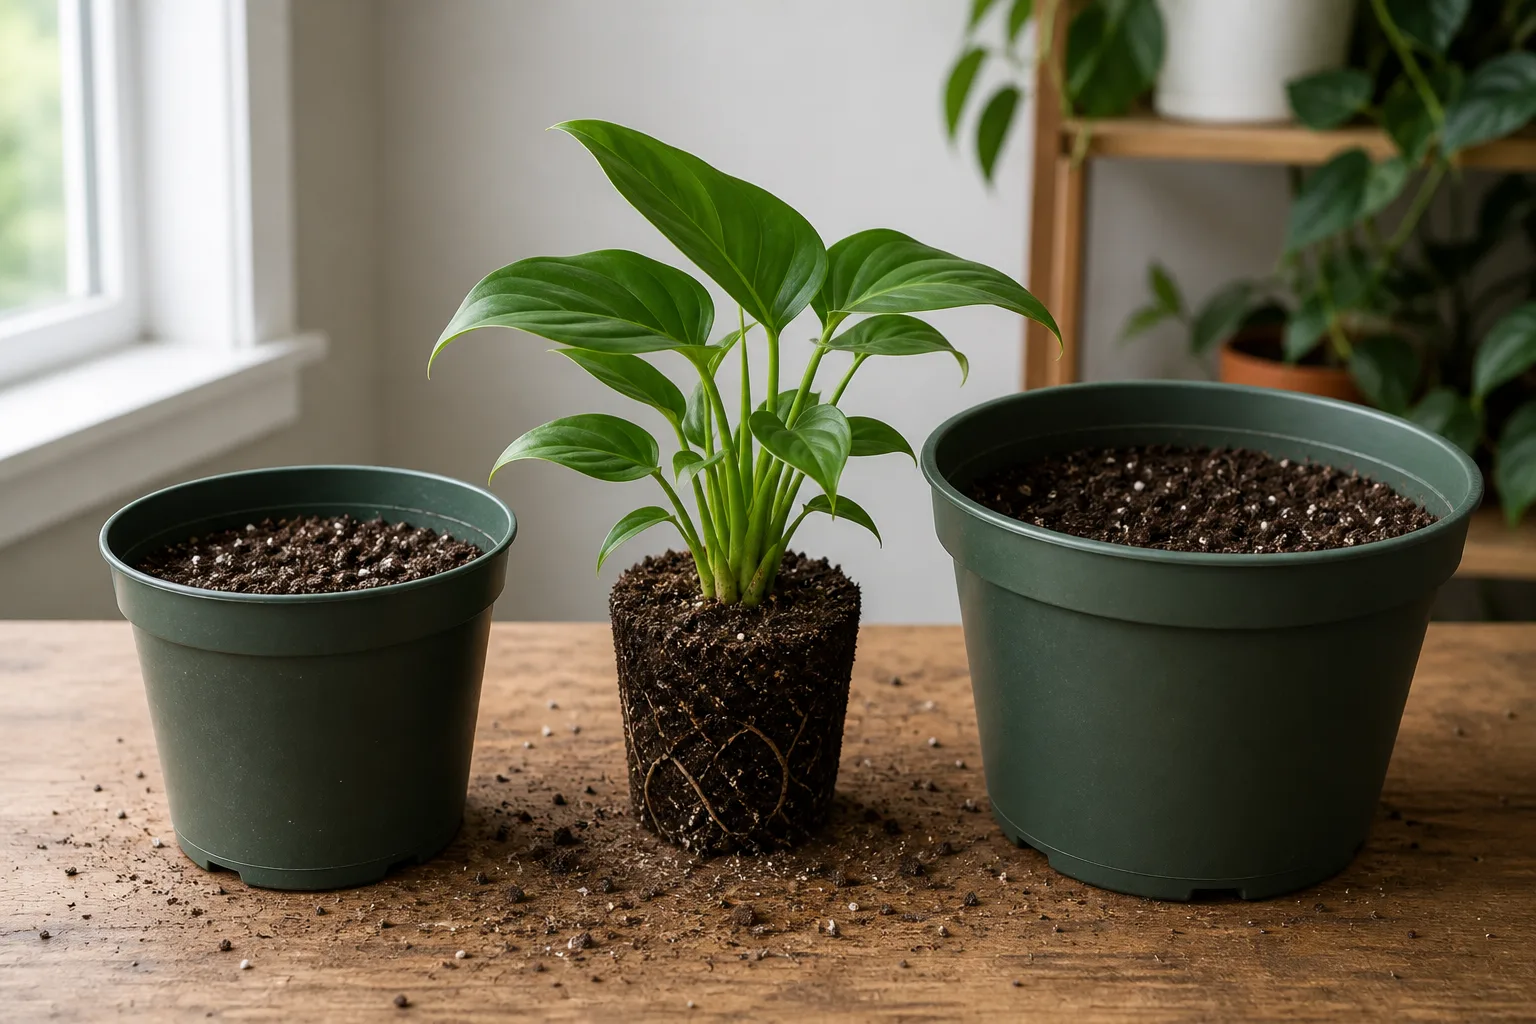
If a plant does need more room, choose a pot only modestly wider than the root ball and with drainage. An oversized container holds a larger mass of wet mix that the roots cannot use quickly, increasing the chance of prolonged saturation. Spring or the start of active growth is often the gentlest time for routine repotting, but a plant in rotting mix or a failing pot may need attention sooner; do not leave a serious root problem untreated just to wait for a season.
After repotting, water the mix to settle it, drain the pot, and return the plant to similar light while it adjusts. Avoid fertilizing immediately unless the mix or product directions call for it, and do not repeatedly pull the plant out to check the roots. The Wisconsin guide recommends inspecting the root ball and moving up only when roots have filled much of the pot, rather than repotting just because a date has passed (Wisconsin Horticulture Extension).
Make a simple care plan you can sustain
A care routine should prompt observation, not automate a mistake. Set one weekly reminder to walk through the collection, check for new growth and pests, and test the soil in plants that may be ready for water; the reminder is to inspect, not to water every pot. Record a short note for plants that are easy to misread, such as “pot still heavy Friday” or “new leaf after moving closer to window.”
Give each plant a small label with its name and a few care clues: light range, how dry the mix should get before watering, and whether it is toxic to pets. Keep the original nursery tag or take a photo of it, especially if the common name is vague. As the plant changes size or the seasons change, update the note instead of maintaining a schedule that no longer matches the room.
If you manage many plants, group them by care needs rather than by appearance alone. A shelf of thirsty tropical foliage is easier to inspect together than a mixed display where a cactus and a fern receive the same watering simply because they share a tray. Still check each pot: the same species can dry at different speeds when one has a smaller container, more root growth, or more direct light.
Read symptoms before making a fix
Houseplant symptoms are clues, not diagnoses. Yellow leaves can follow overwatering, underwatering, low light, pests, nutrient problems, or normal aging of one old leaf; browning can come from dry air, inconsistent watering, salts, direct sun, or physical damage. Clemson Cooperative Extension lists several possible causes for common symptoms, including over- and underwatering, root damage, temperature changes, and salt buildup, which is why a single symptom should not trigger a drastic treatment (Clemson Extension’s houseplant disorders guide).
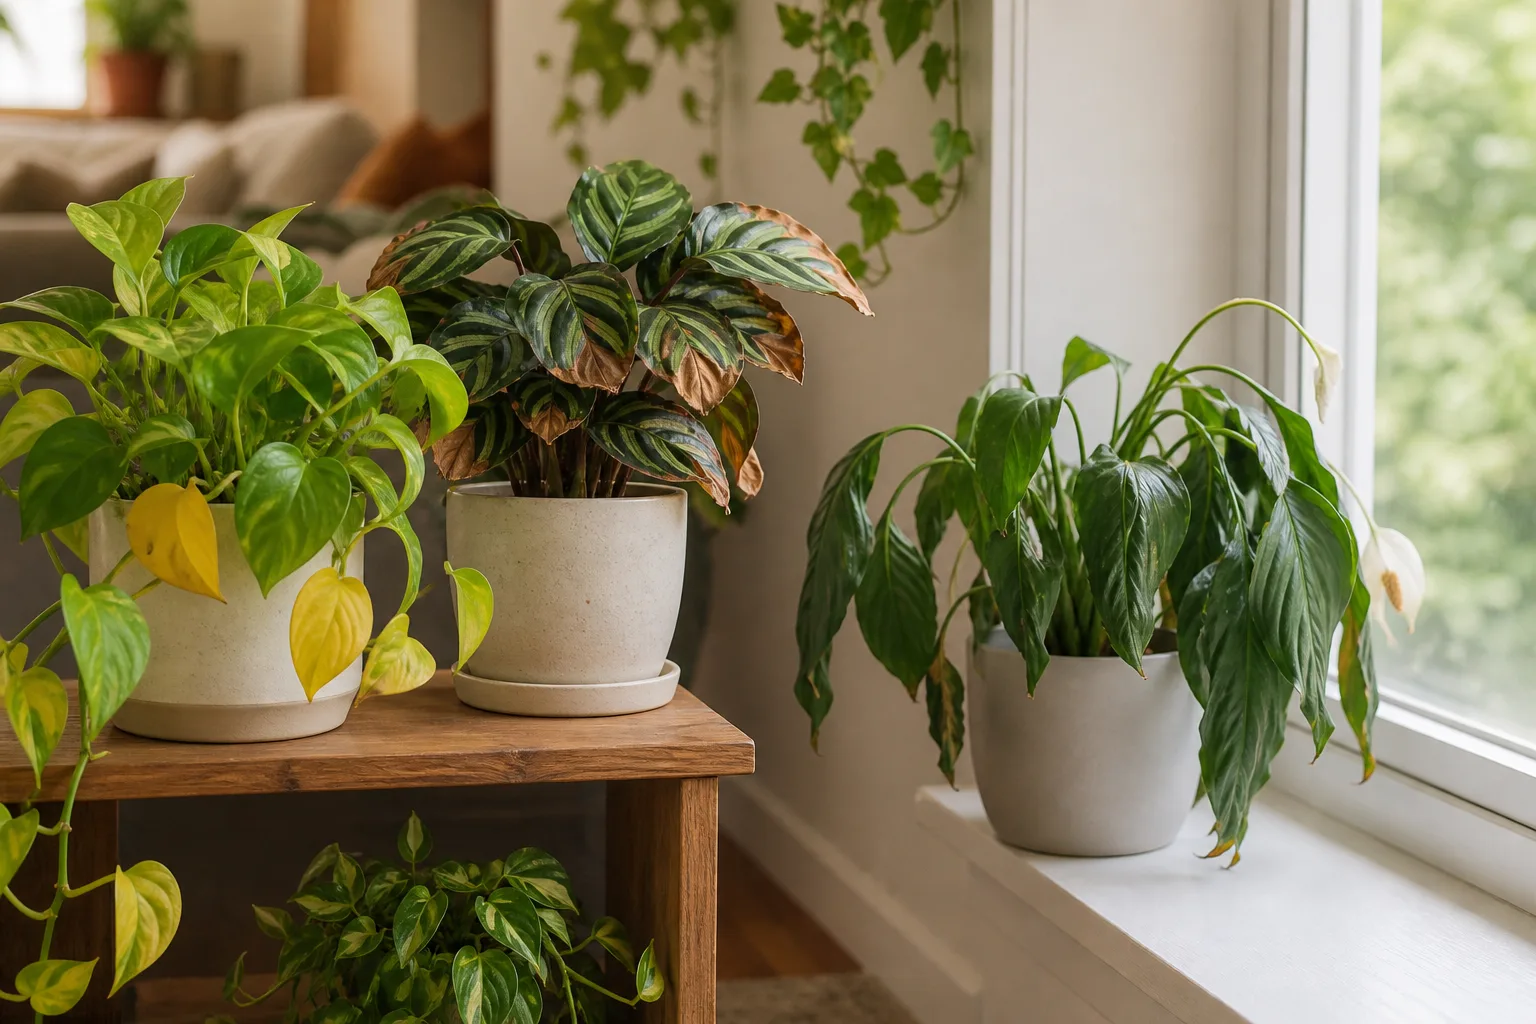
Use this order when something changes: check the soil moisture and pot weight; inspect the leaves, stems, and undersides for pests; consider whether the light or temperature recently changed; then inspect roots if the plant continues declining. Compare new growth with older leaves and take a photo every few days so you can see whether the problem is spreading. Change one major factor at a time, then allow enough time for new growth to show whether the correction helped.
| What you notice | Check first | A sensible first step |
|---|---|---|
| Yellowing across several leaves | Wet mix, drainage, light, pests | Check moisture and drainage before adding fertilizer |
| One old lower leaf yellowing | Whether new growth is healthy | Remove it only after it is fully spent |
| Crispy tips or margins | Drying pattern, salts, air vents, water quality | Stabilize watering and move away from a vent; inspect for crusty deposits |
| Long bare stems or small new leaves | Light level and distance from window | Improve light gradually before pruning or feeding |
| Drooping with wet soil | Root oxygen, compacted mix, blocked drainage | Stop watering and check drainage; inspect roots if decline continues |
| Fine webbing or sticky residue | Leaf undersides, stem joints, nearby plants | Isolate the plant and identify the pest before treatment |
A plant may also drop leaves after a move, a cold draft, or a large change in light. That does not make the move harmless, but it does mean that adding water, fertilizer, and a new location all at once will make the cause harder to identify. Keep conditions steady while you gather evidence and remove only dead or diseased tissue with clean tools.
Keep pests from spreading through your collection
Inspect every new plant before it joins a group. Look under leaves, along stems, at growing tips, and around the soil surface for webbing, cottony clusters, bumps, flying insects, or sticky residue. Wisconsin Extension recommends keeping newly purchased plants apart for one to two weeks and checking them for pests before placing them with established plants (Wisconsin Horticulture Extension).
If you find a pest, move the plant away from others and identify what it is before choosing a control. A strong rinse can dislodge some pests, while heavily infested leaves may need to be removed and discarded; repeat inspections matter because eggs or hidden insects can survive the first cleanup. Do not spray an unidentified plant with a household cleaner or mix products, and follow any pesticide label exactly, including directions for indoor use, protective equipment, and pets.
Clean fallen leaves and debris, wipe tools between plants, and inspect neighboring pots because pests do not respect pot boundaries. Clemson Extension emphasizes diagnosis and cultural conditions before applying pesticide treatments to indoor plants (Clemson Extension). If a plant is badly infested and the pest continues to spread, discarding it may protect a larger collection better than repeated, unverified treatments.
Group plants for care and design
A plant display works best when the plants share enough environmental needs to make care practical. Group plants with similar light and watering thresholds, keep them far enough apart to inspect leaves, and leave access to lift inner pots or empty saucers. A dense “jungle corner” can look full, but it becomes difficult to notice pests, clean leaves, rotate pots, or reach the back row for watering.
Use vertical stands and hanging baskets to make better use of light, but do not treat a high shelf as a low-light zone by default. Light often falls off with distance from the window, and plants above or behind one another may receive less than expected. Rotate a pot occasionally if growth leans strongly in one direction, while avoiding frequent moves that repeatedly change its conditions.
Grouping may slightly increase local humidity, but the practical advantage is often easier care and more consistent access rather than a major climate change. Keep a saucer under each draining pot rather than combining several pots over one shared tray of standing water. This lets you check each plant individually and limits water sharing between containers.
Protect pets and children around houseplants
If a pet or young child can chew leaves, choose plants by verified identity and place them where curious mouths cannot reach. Common names can refer to different species, so confirm the botanical name before relying on a “pet-safe” label. The ASPCA’s plant database notes that it is not all-inclusive and that eating any plant material can cause gastrointestinal upset; if an animal may have eaten a toxic plant, contact a veterinarian or poison-control service promptly (ASPCA Animal Poison Control’s plant list).
Keep potting mix, fertilizer, systemic products, pruning tools, and plant water out of reach as well. A decorative display is not safe simply because the plant is above a table; fallen leaves, berries, and runoff can still be accessible. For a household with pets, select species after checking a reputable toxicity database and use stable shelves or hanging hardware that cannot tip or pull down under a pet’s weight.
Adjust care with changing seasons
Indoor conditions shift even when the thermostat stays the same. Shorter days can slow growth and extend the time soil stays wet, while longer bright days, warm rooms, or active growth can make a pot dry faster. BHG and Epic Gardening both advise adjusting indoor care as seasonal light and growth change, particularly by checking moisture before watering and scaling fertilizer to active growth (BHG houseplant care guide; Epic Gardening’s winter houseplant guidance).
In a dim winter room, clean dusty leaves, move plants closer to a suitable window if their light needs allow it, and keep them away from cold glass and heating vents. Do not compensate for slower growth by watering on the old summer interval or applying extra fertilizer. When spring growth returns, watch whether pots dry more quickly and increase care only when the plant’s demand actually rises.
Summer can bring a different set of problems: intense sun through glass, hot window ledges, dry air-conditioning, and rapid drying. Screen harsh afternoon light where the species needs protection, check pots more often during heat, and do not move indoor plants outside abruptly. Any move to a patio or balcony should be gradual, protected from wind and temperature extremes, and reversed before nights become too cold for the species.
Prune, clean, and propagate with a purpose
Remove dead or badly damaged leaves with clean, sharp scissors, cutting close to the stem without injuring healthy tissue. A leaf with a brown tip will not become green again, but trimming just the brown edge can improve appearance; follow the leaf’s natural shape and leave a narrow margin of brown so you do not cut into healthy tissue. Disinfect tools between plants when disease or pests are suspected.
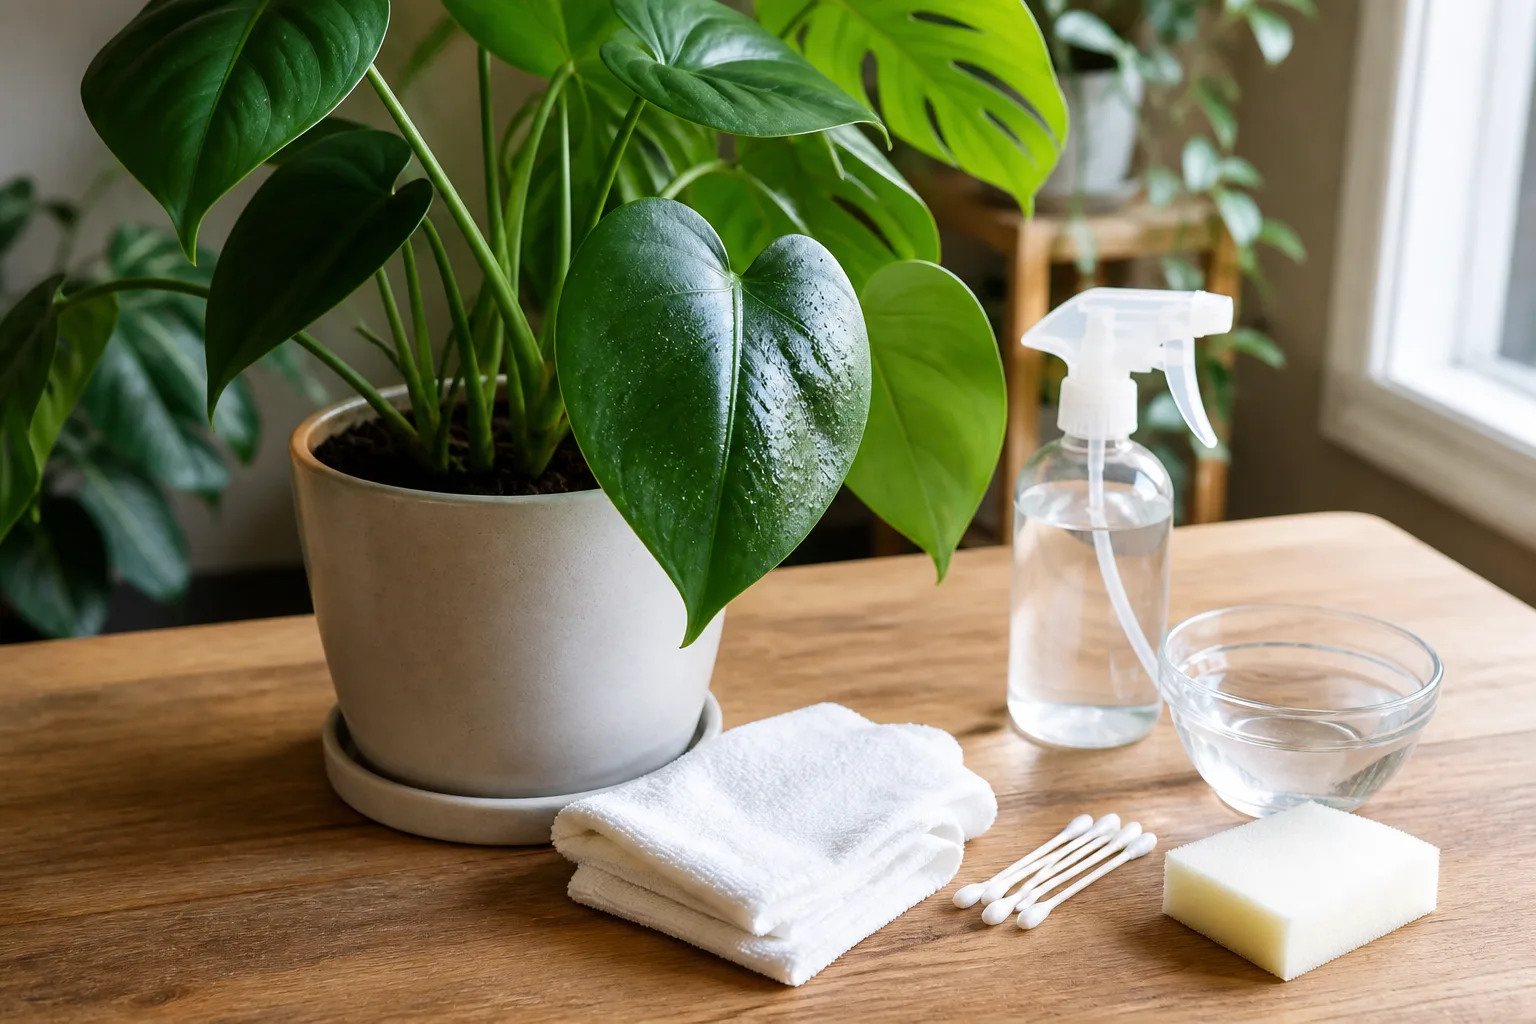
Dust can build up on broad, smooth leaves and block some light from reaching the surface. Wipe them gently with a damp soft cloth or rinse sturdy foliage with room-temperature water, then let leaves dry with good air movement. Avoid oils, shiny sprays, and abrasive cloths, which can leave residues or damage delicate surfaces; fuzzy leaves are usually better cleaned with a soft brush.
Propagation is easiest when a plant is healthy and the method matches its growth habit. Many trailing plants can root from a stem cutting that includes a node, while some species form offsets that can be separated after they have roots of their own. Do not take cuttings from a plant with unresolved pests, root problems, or severe stress, and do not assume a leaf cutting will work for every species; the right propagation method depends on where that plant makes new growth.
Mistakes that make plant care harder
- Watering by weekday: A recurring calendar can remind you to inspect, but it cannot tell you whether roots are dry. Test the mix and adjust the interval when light, temperature, or growth changes.
- Changing several conditions at once: Moving a plant, repotting it, pruning heavily, and adding fertilizer at the same time hides which change helped or harmed it. Make the most likely correction first and observe.
- Using the wrong plant for a room: A shade-tolerant plant may cope with less light, but “low light” does not mean no light. Select for the real window conditions rather than trying to rescue a sun-loving plant with repeated feeding.
- Choosing a pot for appearance alone: A large decorative pot without drainage can trap runoff, while an oversized nursery pot can keep extra mix wet around a small root system. Use a draining inner pot and size it to the roots.
- Treating every yellow leaf as a deficiency: Nutrient shortage is only one possibility. Check wet soil, root health, light, pests, and whether the leaf is simply old before adding fertilizer.
- Mistaking more attention for better care: Frequent watering, misting, and repotting can create new stress. Consistent observation and fewer, evidence-based interventions are often safer.
Conclusion
Good houseplant care is a small cycle of matching, checking, and adjusting. Choose a plant for the light and routine your home can offer, water only after checking the mix, use a pot that drains, and keep a note of what healthy growth looks like.
When a plant declines, pause before reaching for a product or a new schedule. Check moisture, roots, light, temperature, and pests in that order, then change the most likely cause and watch the next growth. A calm, repeatable routine will teach you more about your plants than any universal watering chart.



