How to Start a Vegetable Garden in 9 Easy Steps
Learn how to start a vegetable garden that fits your sun, space, budget, and schedule, with practical choices for beds, soil, planting dates, seeds, and care.

A first vegetable garden does not need a large yard, a greenhouse, or a complicated planting scheme. It needs enough light, a short crop list, and a routine you can maintain.
Step 1: Choose What You Want to Harvest
Start with meals rather than a seed catalog. List the vegetables your household eats each week, the ones that taste noticeably better fresh, and any crop you want to preserve. A garden can be productive and still be a poor fit if it produces baskets of food nobody wants.
Then set a time and space limit. North Carolina State Extension notes that vegetable gardening needs regular attention, and a convenient garden is easier to keep watered and harvested than one at the far end of a yard. A compact first plot with three or four dependable crops is easier to understand than a large bed filled with a dozen unfamiliar varieties. The Royal Horticultural Society makes a similar practical point: space is often the main limit, so grow what you like and keep experiments modest (RHS vegetable-growing basics).
Choose one or two crops that are fast or forgiving and one crop you are excited to learn. Leaf lettuce, radishes, bush beans, and many types of summer squash can provide clear feedback quickly, though local pests and weather still matter. If tomatoes are the main goal, grow tomatoes; just give them a sunny place, enough room, a support plan, and the longer season they need.
Step 2: Find a Workable Site
Walk the property at different times of day before choosing a bed. A spot that looks bright at breakfast may be shaded by a house or tree by afternoon, and a winter sun pattern can change once deciduous trees fill with leaves. If you have no established garden, observe a few likely areas for several clear days and take notes rather than guessing.
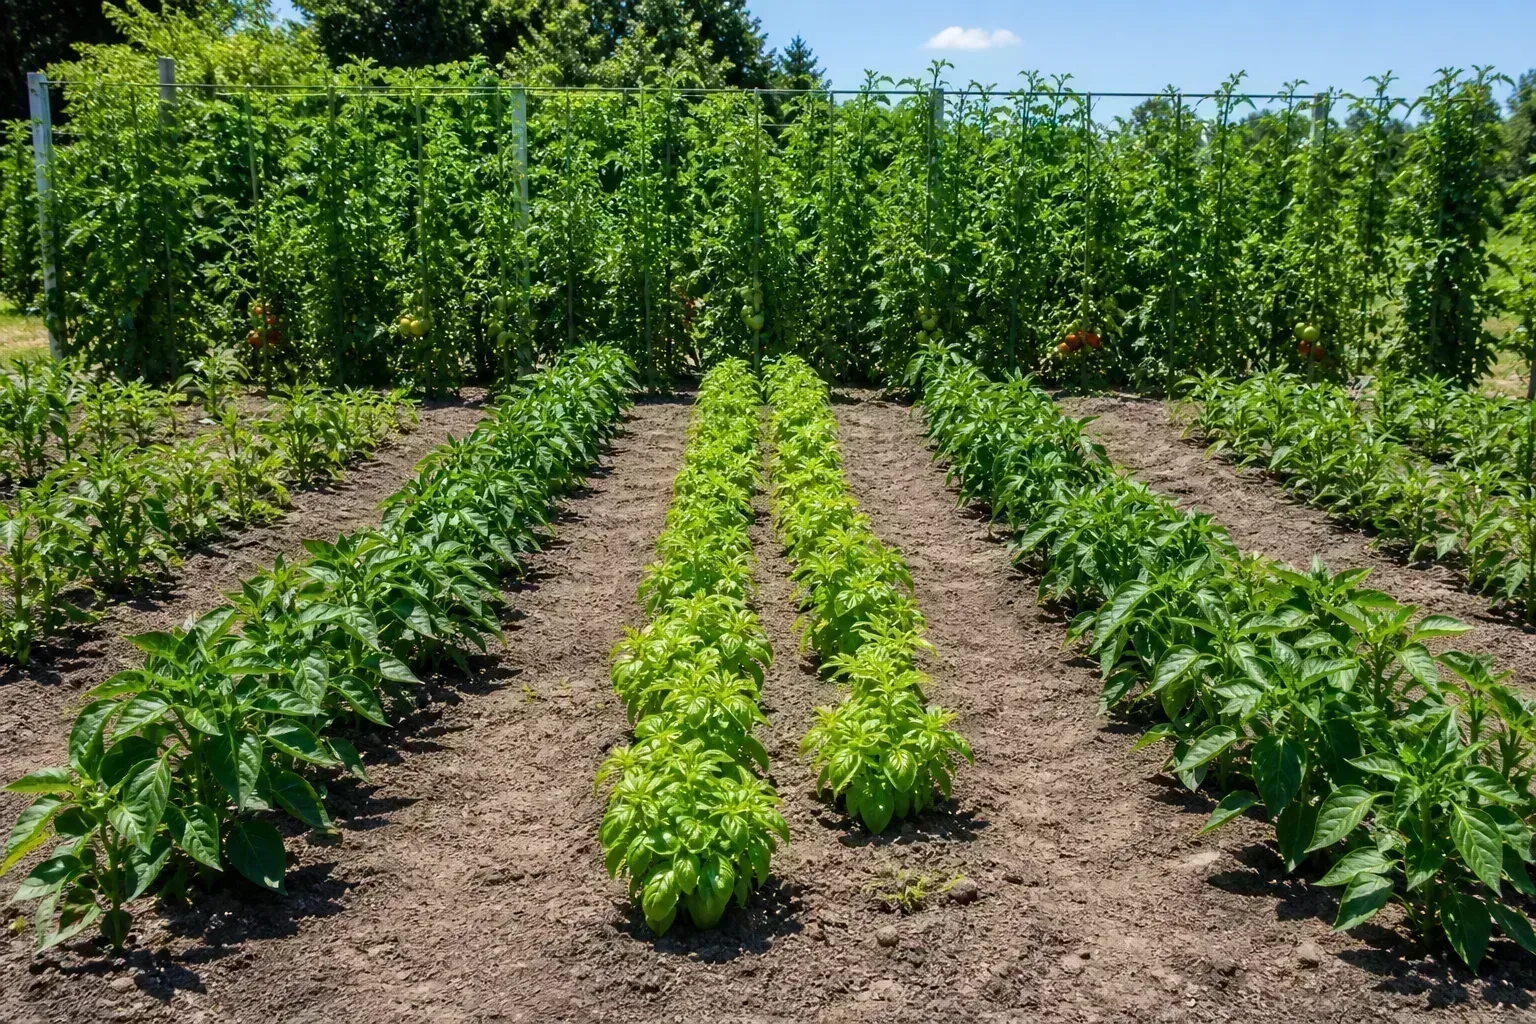
Measure Sun, Water, Drainage, and Wind
Most vegetables need direct sun, but they do not all need the same amount. North Carolina State Extension advises at least eight hours for most vegetables; leafy greens and storage-root crops can manage with about six, while fruiting crops such as tomatoes, squash, and cucumbers need more. Fine Gardening likewise recommends a sunny location and proximity to water, two site features that are difficult to fix after planting (NC State Extension’s beginner guide; Fine Gardening’s site-selection guide).
Check drainage after rain. If water stands in the proposed area for hours, roots may remain starved of oxygen; choose another location, improve the drainage where appropriate, or consider a raised bed. Do not locate the garden directly beneath thirsty trees or large shrubs: their roots compete for moisture and nutrients, and their canopy blocks light.
Make watering practical before you build. Ideally, the hose or water source reaches the farthest bed without running through a high-traffic doorway or across a path where someone will trip. Strong wind can dry soil and damage young plants, so a site with some shelter is helpful, provided a fence or wall does not cast deep shade.
Step 3: Choose In-Ground Rows, a Raised Bed, or Containers
Match the growing format to the problems your site actually has. In-ground beds use existing soil and can be inexpensive, but they require workable drainage and may need persistent weeds or compacted ground addressed before planting. Rows are efficient if you have room for longer plantings, while compact beds work well for a short list of crops that you can reach from the edges.
A raised bed is useful where the native soil drains poorly, is difficult to work, or needs to be isolated from a questionable site. It offers control over the growing medium and a clear boundary, but it costs more to fill and dries more quickly than ground-level soil. A container can fit a patio, balcony, or paved yard; choose a large pot with drainage holes and a growing mix designed for containers, and expect to water more frequently.
There is no universally best setup. University of Delaware Cooperative Extension recommends weighing location, soil, garden size, and the time available; it is better to maintain a smaller plot well than to struggle with a large one (Delaware Cooperative Extension’s garden-planning guide). If you are unsure, begin with one bed or a few containers for a season. You can expand after you see how much care and harvest they produce. For example, a gardener with one 4-by-8-foot bed and limited weekend time might grow two tomato plants, a short bean row, and a small succession of lettuce instead of forcing every favorite into the same space. A balcony gardener with only morning sun might skip tomatoes and use a deep planter for greens instead.
A raised bed is not automatically easier if it is hard to reach with a hose or sits in shade. Before buying lumber, soil, or planters, sketch the proposed setup with access paths and the route water will take from its source. That check can prevent an expensive layout mistake.
Step 4: Prepare the Soil Based on What It Needs
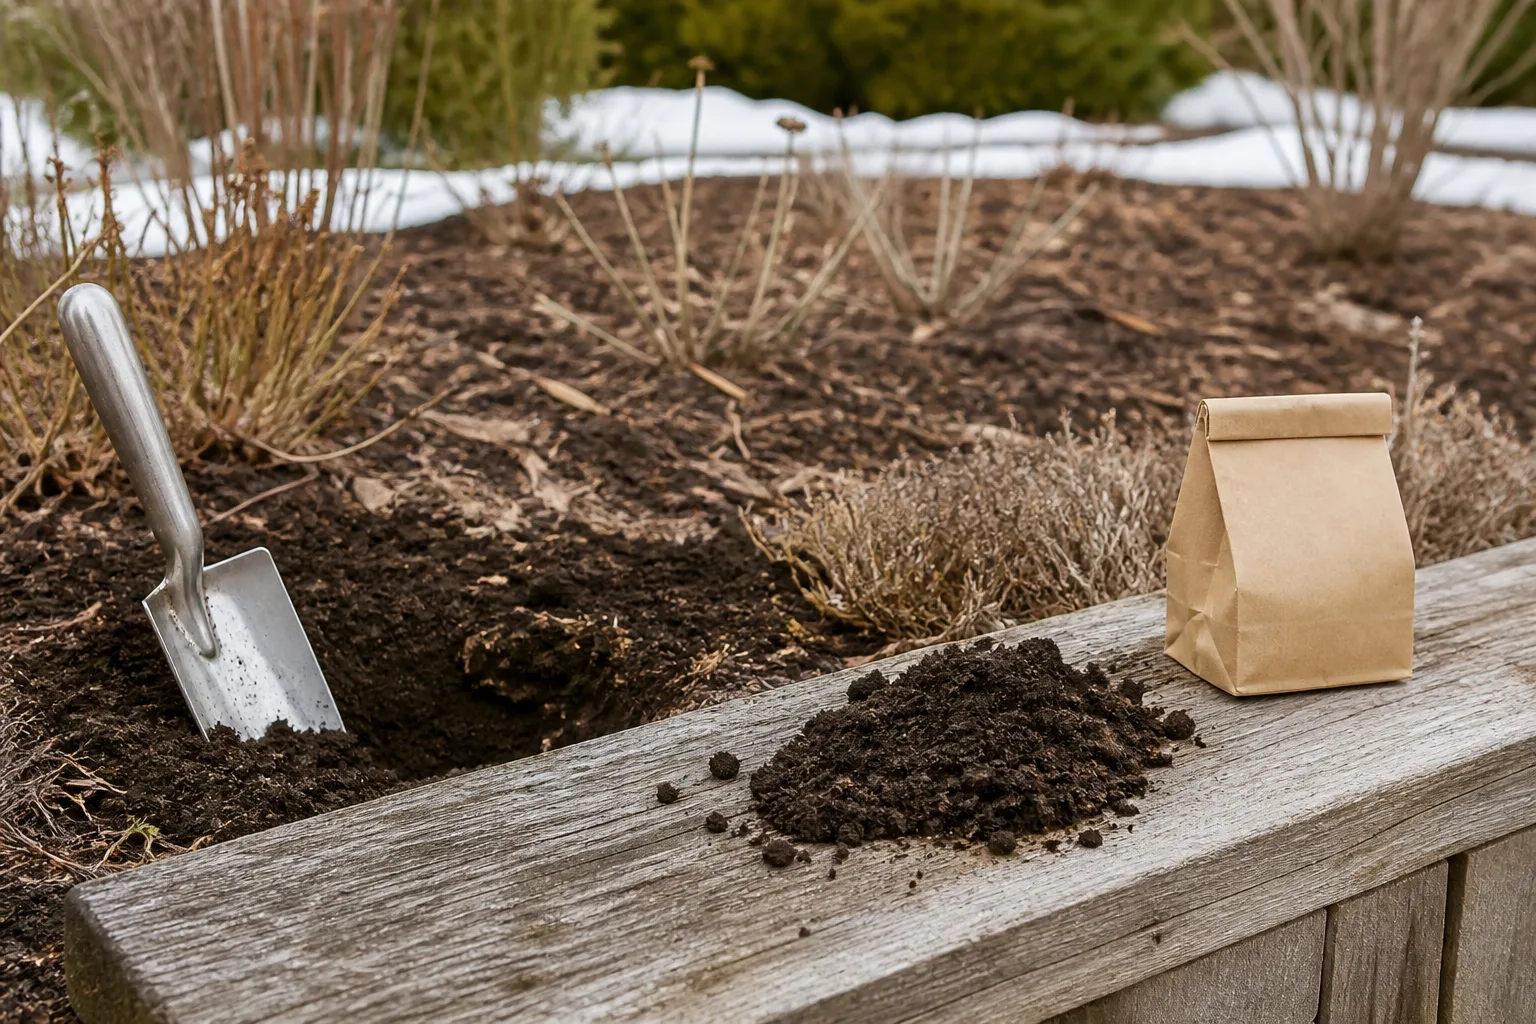
Before adding fertilizer, lime, or a large amount of compost, learn what the soil has. A soil test from a local Extension service can check pH and nutrient levels and provide region-specific recommendations (NC State Extension’s vegetable gardening guide). This is more useful than guessing from soil color or adding a general-purpose product that may be unnecessary.
For an in-ground bed or raised bed, remove perennial weeds and loosen only the area you will plant. Add mature compost when organic matter is low or the test and local guidance support it, then mix it into the surface as recommended. Compost can improve soil structure, but it is not a universal replacement for fertilizer and does not automatically correct pH or every nutrient imbalance.
Avoid working soil when it is waterlogged. Wet soil can smear and compact under pressure, leaving clods that are difficult for roots and seedlings to penetrate. A simple readiness check is to squeeze a handful: if it forms a sticky lump or smears, wait; if it crumbles when you press it, it is usually easier to work.
Container soil is different. Do not fill pots with dense garden soil, which may compact and drain poorly in a restricted volume. Use a quality potting mix, fill containers before planting, and make sure extra water can escape through the drainage holes.
Step 5: Choose Crops and Set a Local Planting Calendar
Find planting dates from a local Cooperative Extension, agricultural service, or reliable planting calendar before ordering seeds. In much of the United States, the average last spring frost and first fall frost help define the season, but they are long-term averages rather than a guarantee for a specific year. The date alone does not tell you whether soil is warm enough or whether a tender transplant can tolerate the forecast.
Read each seed packet or transplant label for planting depth, spacing, germination temperature, days to maturity, and whether the crop should be sown indoors or outdoors. These details vary by crop and variety. A short-season tomato may suit a cooler region better than a large, late-ripening type; a heat-sensitive lettuce may be an easier spring crop than a midsummer one. Days to maturity are useful for comparing varieties, but check what the number measures: some packets count from sowing and others from transplanting. Add some slack for weather and germination; a crop that barely fits the calendar on paper may not finish before the first fall frost.
Make a simple calendar with one row per crop and columns for sowing method, earliest planting window, expected harvest, and the crop that could follow it. This reveals whether you have planned two vegetables for the same space at once. University of Delaware Cooperative Extension recommends mapping later crops in advance, so the first bed does not become an accidental all-at-once harvest.
Separate Cool-Season and Warm-Season Crops
Cool-season crops such as peas, spinach, lettuce, radishes, carrots, and many brassicas can often be planted earlier in spring, depending on the local calendar and soil conditions. Warm-season crops such as tomatoes, peppers, beans, cucumbers, and squash need warmer weather; frost can injure or kill tender plants, and cold soil may slow germination.
Do not plant every crop on the same weekend just because the garden is ready. A beginner-friendly plan can have an early round of peas or greens, a later planting of warm-season crops, and a final round of greens or roots for fall. In regions with different seasons, use local growing seasons rather than copying a Northern Hemisphere frost calendar; tropical and Southern Hemisphere gardeners may plan around rainy, dry, hot, or cool periods instead.
Step 6: Draw a Layout for Mature Plants
Measure the bed and sketch it on graph paper or a phone note. Mark north, paths, the hose route, fences, nearby trees, and permanent structures before adding crops. A rough map prevents you from buying more plants than the bed can hold and gives you a record to compare with what actually grows.
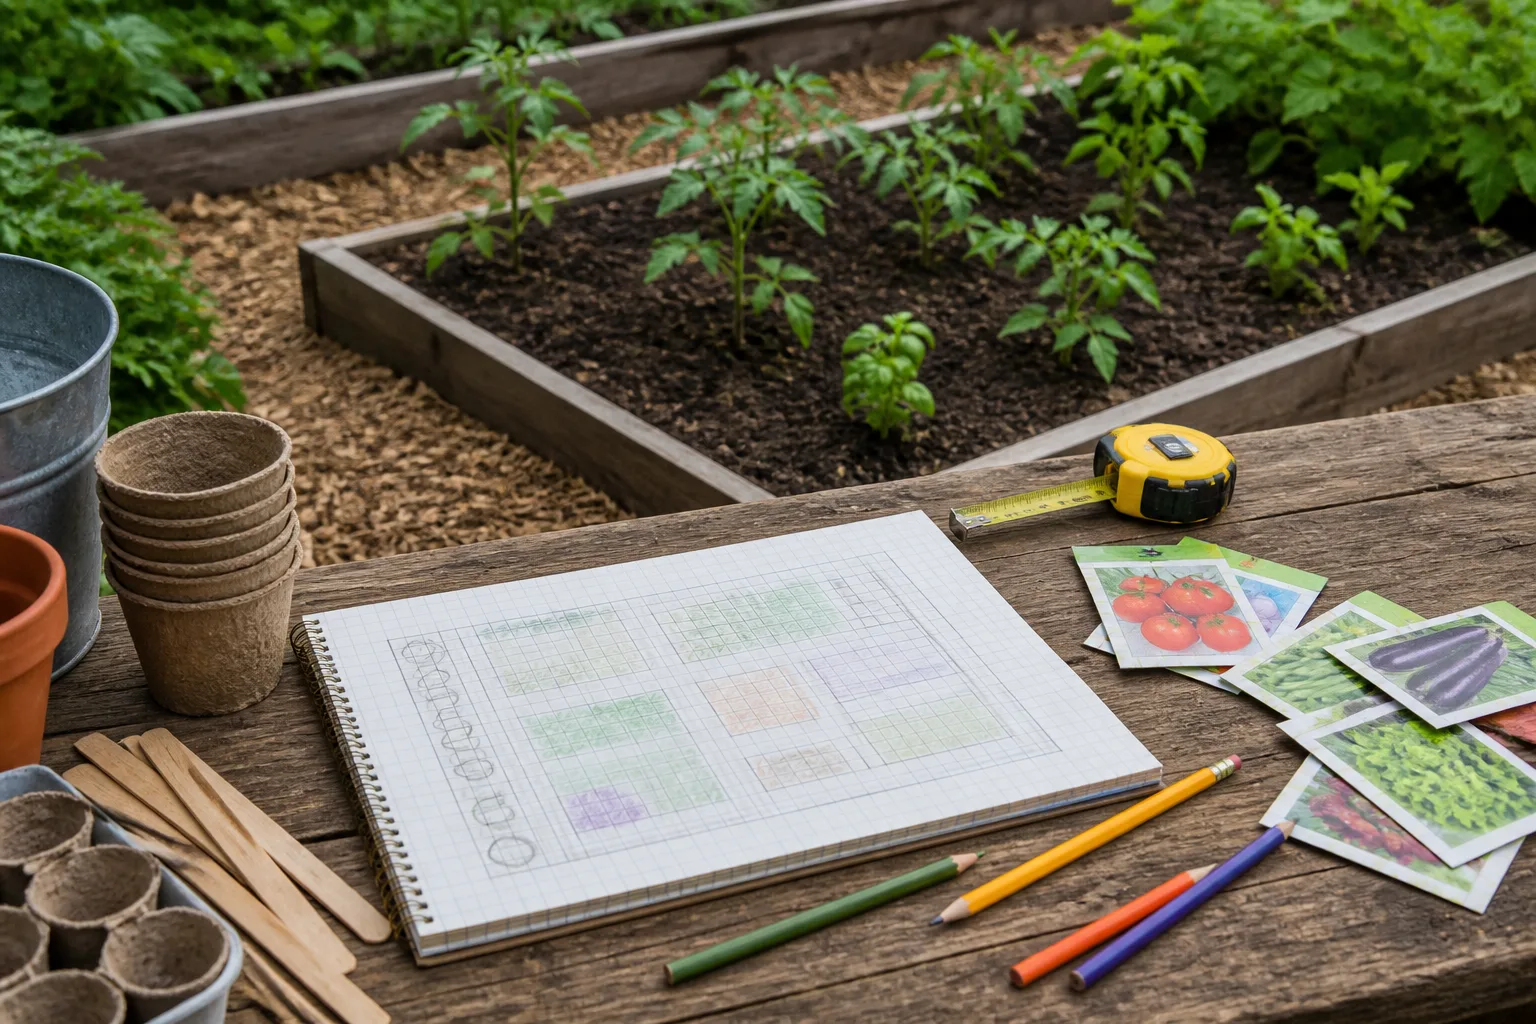
Plan Paths, Spacing, and Supports
Use the mature spacing printed on the seed packet or plant tag, not the temporary gap between seedlings in a store tray. Overcrowding reduces airflow and makes it harder to reach fruit and inspect leaves; plants may compete for light, water, and nutrients. If the recommended space seems too large for your plot, choose a compact variety or a different crop instead of forcing full-size plants together.
Plan paths so you can reach the middle without stepping into growing soil. Put tall crops and trellises where they are least likely to shade shorter plants; in a level Northern Hemisphere garden, the north edge is a useful starting point, but adjust for local sun direction, wind, and existing structures. Install stakes, cages, or trellises before roots spread and vines become tangled.
Keep the plan simple. A first bed might have a row of lettuce or radishes at the edge, bush beans in one block, and one or two supported tomatoes toward the back. That is enough variety to learn about different crops without making every part of the garden a separate experiment.
Step 7: Decide Whether to Sow Seeds or Buy Transplants
Seeds offer more variety and usually cost less per plant, but they require the right temperature, moisture, timing, and sometimes indoor light. Transplants cost more and offer fewer varieties, but they can shorten the wait for crops that need a long growing season. NC State Extension describes this as a practical trade-off: seeds are affordable and flexible, while transplants can get a garden started sooner (NC State Extension’s seed and transplant guidance).
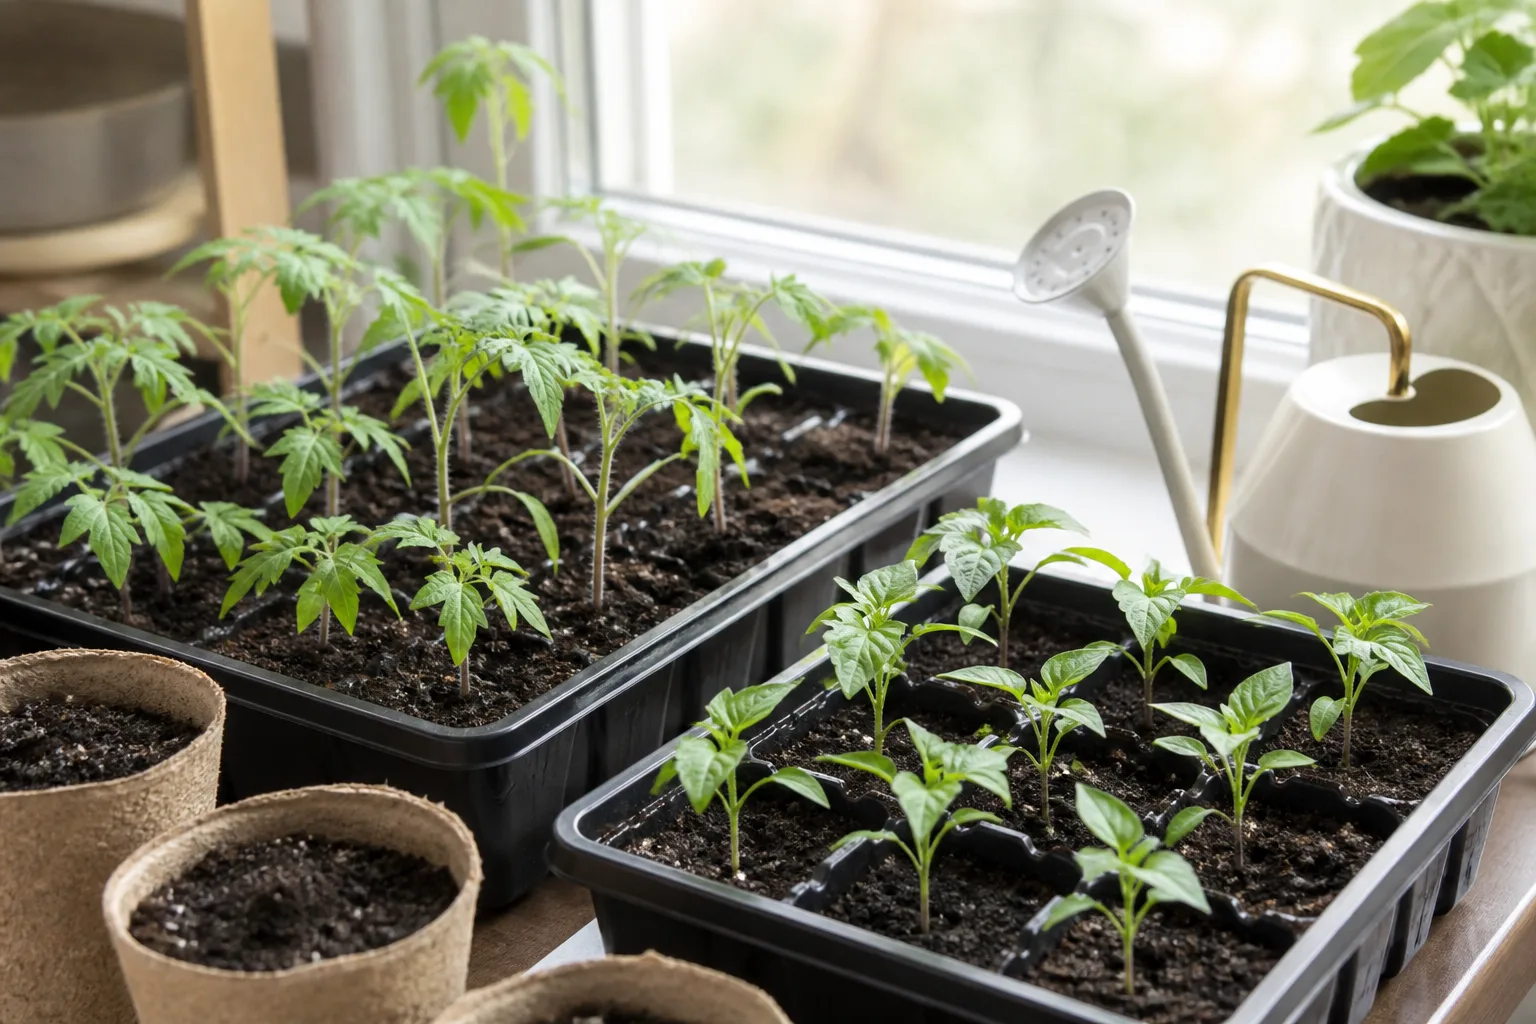
Match the Method to the Crop
Direct sow crops that establish best where they will grow, especially many root vegetables such as carrots and radishes, along with peas and beans. Their roots can be disturbed by transplanting, and direct sowing avoids an indoor setup. Follow the packet’s depth and spacing instructions, then thin seedlings if too many sprout.
Buy or start transplants for crops that benefit from a head start, such as tomatoes, peppers, and eggplant, especially where summers are short. If you raise them indoors, count backward from the expected transplant date on the packet and give seedlings strong light so they do not stretch. Before moving them outside, harden them off gradually over about a week by increasing their exposure to sun and wind each day; a seedling moved straight from a protected room into harsh conditions can wilt or scorch.
Do not start every crop indoors by default. Indoor seed starting takes space and attention, and it is unnecessary for many quick, direct-sown vegetables. In the first year, buying a few healthy transplants and direct-sowing the rest can keep the project manageable.
Step 8: Plant at the Right Time and Depth
Plant when the soil is workable and the crop’s conditions are right, not simply because the calendar says spring. For seeds, follow the packet’s depth; NC State Extension gives a general starting rule of planting most seeds two to three times as deep as their largest diameter, but tiny seeds and special crops may have different directions. Firm the soil gently around the seed so it contacts moisture, then water with a soft stream that will not wash it out.
Set transplants at the depth specified for the crop and label. Water them in so the root ball and surrounding soil make contact, then protect tender seedlings from severe sun, wind, or a cold snap if needed. Leave the spacing the plant needs and put the support in place while the area is still easy to reach.
Do not sow an entire packet in one narrow row unless you have planned for that quantity. Seed packets often contain far more seeds than a small household garden needs. Save the extras according to package instructions, or sow only a short section and reserve the bed for a later planting.
Step 9: Set a Simple Care Routine
Newly sown seeds and transplants need close attention while roots establish. Keep the seed zone evenly moist without leaving it muddy, and check it daily during dry or windy weather. Once plants are established, water based on moisture in the root zone, rainfall, temperature, and soil type rather than following a rigid calendar.
North Carolina State Extension gives about an inch of water per week as a general vegetable-garden average, including rain, but actual needs vary (NC State Extension’s beginner guide). Sandy soil drains quickly; heavy soil holds moisture longer; containers can dry out much faster than beds. Push a finger or trowel into the soil near the roots to see whether it is dry below the surface before watering again.
Mulch can reduce weeds and slow moisture loss once the soil has warmed and seedlings are established. Keep mulch from piling against stems, and check underneath it because the surface may look dry while the root zone remains moist. Containers may need more frequent checks, especially during hot weather.
Check the Garden Before a Small Problem Spreads
Set a short weekly routine: inspect the tops and undersides of leaves, remove weeds while small, tie plants to supports, and harvest anything ready. If a plant looks stressed, look at soil moisture, recent weather, leaf pattern, and nearby plants before reaching for a spray. A clear diagnosis helps avoid treating a watering problem as an insect problem.
Use physical barriers, hand removal, and sanitation where they fit the problem, and identify the pest before choosing a control. If you use a pesticide, read and follow its label, including restrictions for edible crops, harvest intervals, protective equipment, and pollinators. The EPA explains that pesticide labels set the conditions for how products may be safely and legally used (EPA pesticide-label guidance). Regular checks usually make small problems easier to understand and manage.
Give yourself a repeatable weekly rhythm. For example, on one weekday check soil and water, then on the weekend weed, tie up growth, and pick ripe produce. The exact schedule will change with weather, but a recurring check is more dependable than waiting for a plant to wilt or a pest to become obvious.
Extend the Season with Succession Planting and Rotation
Succession planting means sowing a crop in smaller batches at intervals or planting a new crop after an earlier one is harvested. It can spread out lettuce, radish, or bean harvests instead of producing everything at once. The right interval depends on the crop and climate; use the packet’s days-to-maturity estimate and local planting window to decide whether another round has time to finish.
Keep a simple map of where plant families grow. Tomatoes, peppers, and eggplant are nightshades; cucumbers and squash are cucurbits; peas and beans are legumes; broccoli, kale, cabbage, and related crops are brassicas. Moving families between beds can reduce the buildup of some pests and diseases, but a one-bed container garden may not allow a perfect rotation. Record what had disease pressure and prioritize moving those crops when possible.
At season’s end, use the map to plan what follows. A crop that finishes early can make room for a cool-season planting; a long-season tomato bed may remain occupied until frost. Planning those transitions before planting helps you use space without crowding the first crop.
Harvest, Keep Notes, and Improve the Next Round
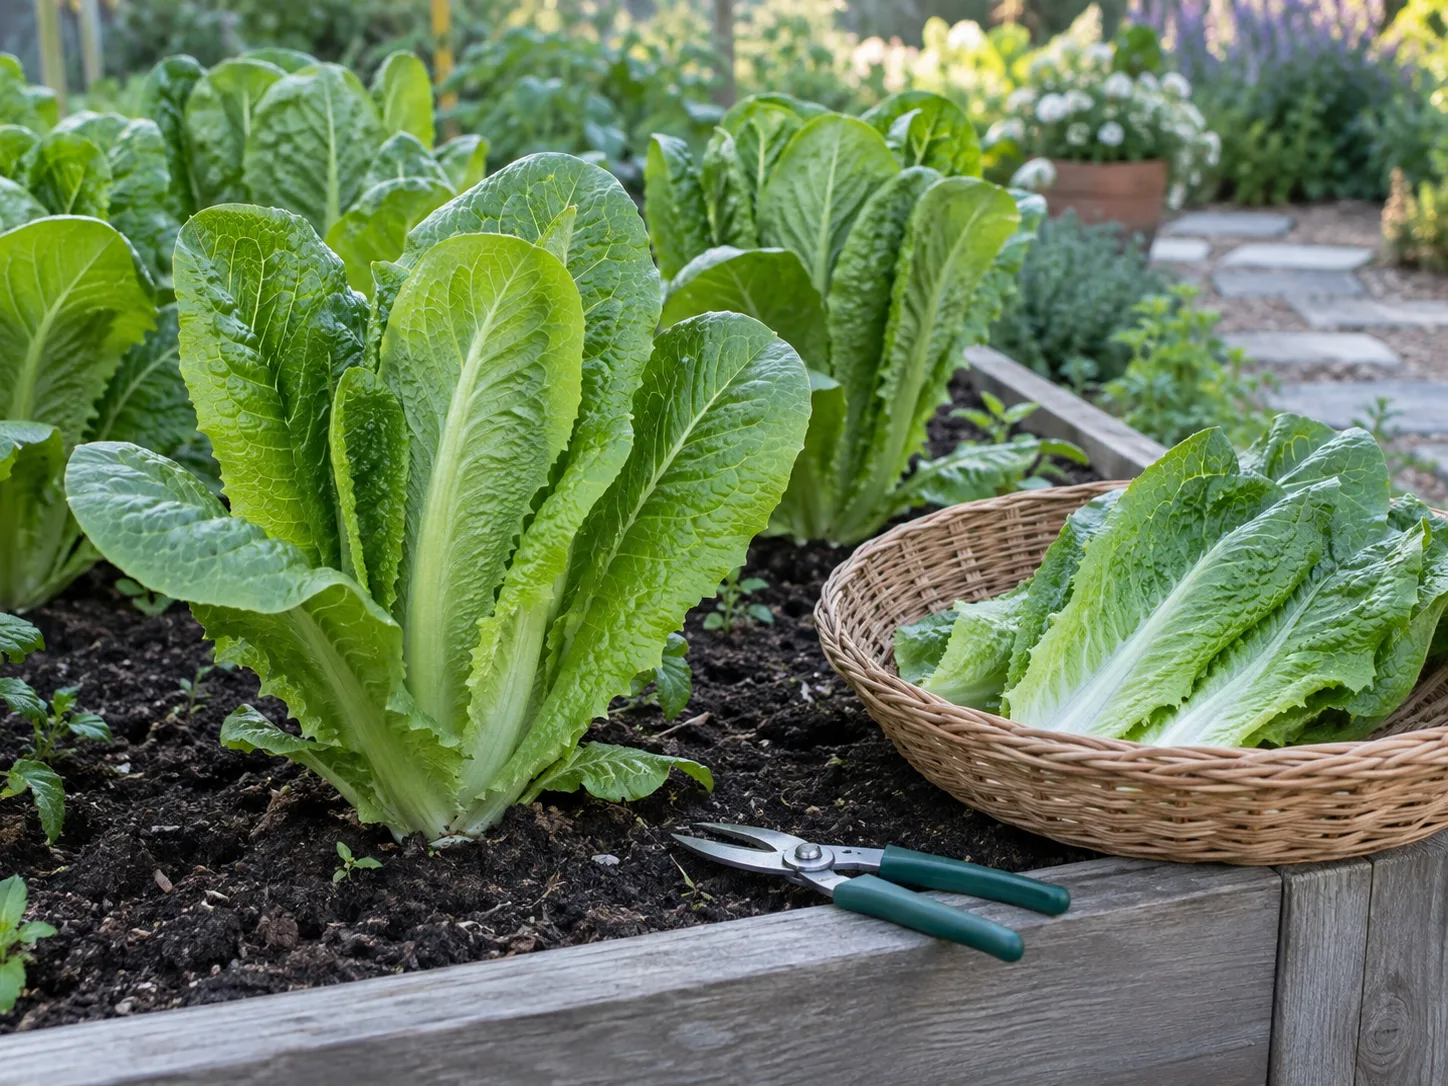
Harvest when vegetables reach the size and maturity cues for their variety. Do not wait for every crop to become oversized: beans, zucchini, cucumbers, and leafy greens are often best when picked regularly at the stage recommended for eating. Frequent harvesting can also keep a plant producing, while leaving ripe produce on it may slow or end further flowering in some crops.
Use a clean pair of scissors or pruners for crops with stems that tear easily, and avoid pulling on a plant that is still producing. Rinse and store vegetables according to the crop’s needs; tender greens and tomatoes do not have the same storage requirements. A small harvest basket near the garden makes it easier to pick a little at a time instead of postponing the job until produce becomes overripe.
Write down what you planted, when you sowed or transplanted it, how well the location worked, and what you actually harvested. Note the problem as well as the fix: “beans shaded by tomatoes” is more useful next spring than “garden was crowded.” University of Delaware Cooperative Extension recommends garden records as a way to compare what worked and what did not; even a simple phone note can guide a better second season.
A small crop that comes in steadily is often more useful than a large crop that ripens all at once. If you plant more than your household can eat fresh, decide before harvest whether you will share, freeze, can, or compost the surplus. That decision belongs in the garden plan just as much as the plant spacing does.
Conclusion
Start with a small garden you can reach, water, and harvest on an ordinary week. Check the sun and drainage, choose a format that fits the site, test soil before making major amendments, and grow a short list of vegetables you already enjoy eating.
Then use local planting guidance, respect mature spacing, and give the garden a few minutes of attention each week. The first season is both a harvest and a practical record: let what thrived, struggled, and got eaten decide what you plant next year.



