Planting Onions in Fall: Timing and Winter Care
Plant onions in fall only when the variety and winter suit your garden. Learn when to sow seeds or set bulbs, protect the row, and harvest next spring.
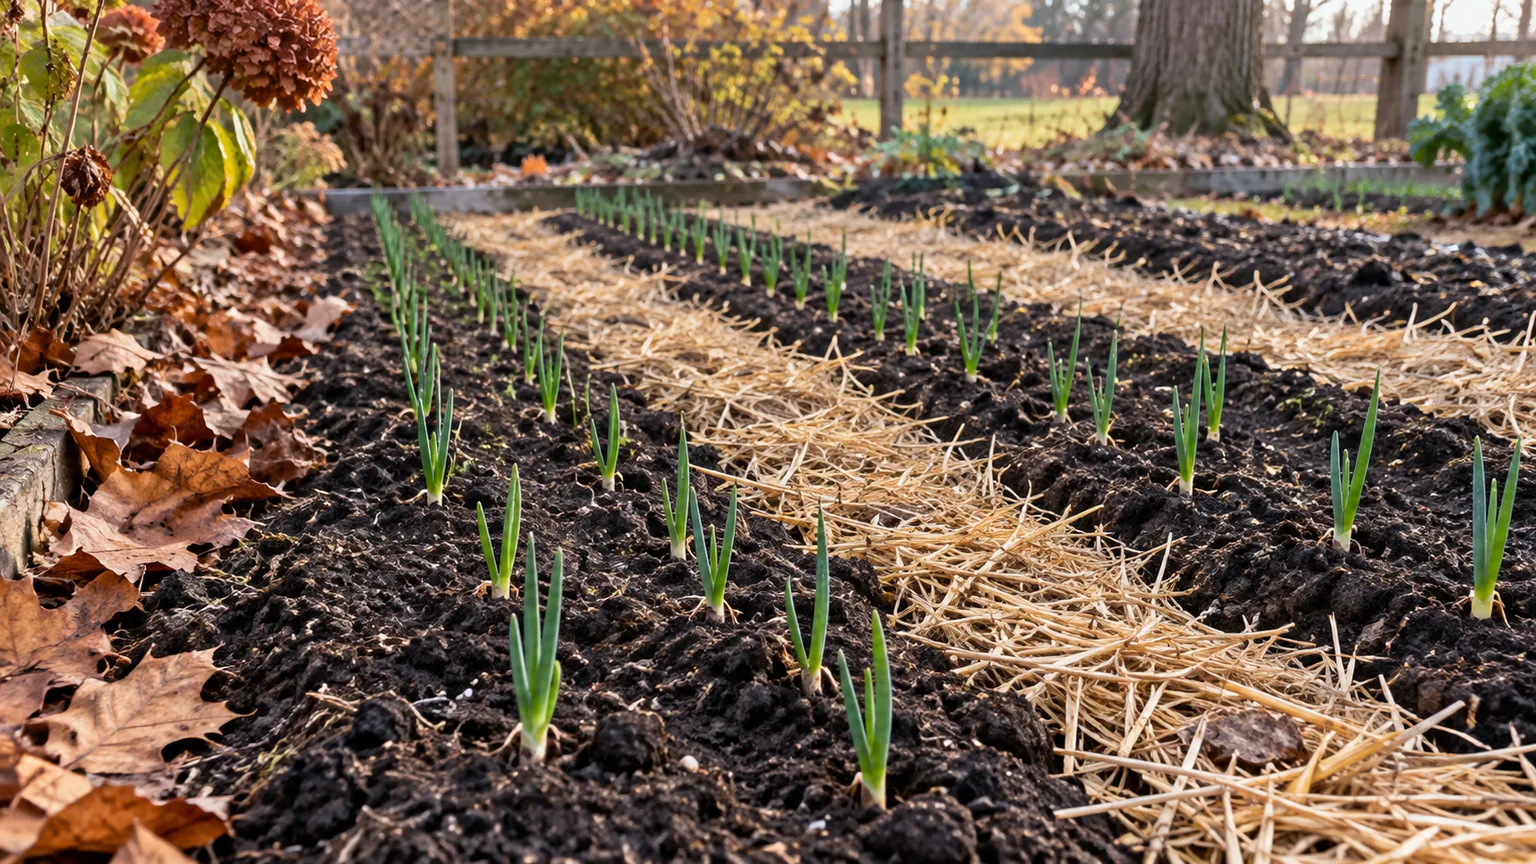
A fall onion planting can put usable green onions and young bulbs on the table before a spring-planted crop is ready. It can also fail quietly: plants may die in saturated soil, survive winter but bolt in spring, or grow into small bulbs because the variety does not match the daylight pattern where you garden.
The key is to choose a cultivar sold for overwintering in your region, then give it enough time to establish roots without pushing a soft, leafy top into winter. Fall planting is a regional method, not a shortcut that works with every onion set or in every climate. If you cannot confirm a suitable variety locally, a small trial row is safer than committing the whole onion bed.
What fall planting can—and cannot—do
Onions are biennial plants: they normally grow leaves and a bulb in one season, then flower and set seed in a second. A fall-planted crop uses autumn to establish, rests or grows slowly through the coldest weather, and resumes in spring. The advantage is an earlier start; it may also free spring time and space for another crop. It does not guarantee larger bulbs, and it does not make ordinary spring onion sets winter-hardy.
A successful overwintering crop depends on three separate things: the cultivar’s ability to tolerate your winter, its day-length response, and how much root and leaf growth it makes before severe cold. A mild winter may let plants keep growing, while a wet, freezing bed can rot bulbs or heave seedlings out of the ground. A cold spell followed by rapid spring warming can also trigger a flower stalk before a bulb reaches useful size.
Think of fall onions as an early crop for fresh eating unless the supplier specifically describes the variety as suitable for overwintering and storage. If the only information on a bag is “red,” “white,” or “yellow,” you do not yet know whether those sets suit your latitude or winter. Plant them in spring, or use a small number for scallions, rather than treating their color as proof they can survive the season.
Match onion type to latitude and day length
Onions form bulbs in response to photoperiod, or the length of daylight. Short-day varieties generally begin bulbing at roughly 10 to 12 hours of daylight, intermediate types around 12 to 14 hours, and long-day types around 14 to 16 hours. The exact threshold varies by cultivar, so a packet’s specific description matters more than the category alone. University of Illinois Extension explains that long-day onions are generally adapted to northern latitudes and short-day onions to southern locations, because the wrong daylight signal can leave plants with small bulbs or no bulb at all (Illinois Extension’s onion guide).
That photoperiod rule is why a familiar variety name can be a poor recommendation when it is separated from place. Gardeners farther south usually need a short-day or some intermediate varieties; northern gardeners need long-day varieties for spring plantings. Intermediate-day types can work across a broader band, but they are not universal: cultivar selection still needs to match the seed company’s regional notes and your local growing season.
Treat day length and winter hardiness as separate traits
A “short-day” label tells you when the plant is cued to form a bulb; it does not tell you whether the plant will survive a wet freeze or a long period of frozen ground. Conversely, a cold-tolerant variety can still make poor bulbs if its day-length class does not fit your latitude. Look for both descriptions: the right photoperiod for your area and explicit wording such as “overwintering,” “fall-planted,” or “winter-hardy” for your region.
USDA hardiness zones are a useful first screen for average winter lows, but they cannot describe soil drainage, wind exposure, snow cover, freeze-thaw cycles, or the length of a cold season. A protected bed near a wall may stay workable longer than an exposed raised bed, yet a sheltered spot can also warm early and encourage tender growth. Local extension calendars and the supplier’s regional planting instructions are better guides than a zone number used on its own.
Choose a fall-suitable variety and planting stock
Buy seed or sets from a supplier that names the cultivar and specifically recommends it for autumn or overwintering where you live. A variety that performs well when planted in spring may not tolerate the same site in fall. When a catalog lists only spring culture, do not assume the package is suitable for a fall experiment just because onions are generally cool-season vegetables.
Seeds give you the widest choice of named varieties and usually avoid the oversized-set problem, but seedlings grow slowly at first and need time to become established. Sets are small dormant bulbs that are simple to plant and can produce green onions quickly; however, garden-center sets are often sold by color rather than cultivar. Transplants give you a head start and make spacing easier, but the available varieties and fall planting windows can be limited. Utah State University Extension notes that special onion varieties can be sown in mid-to-late summer for overwintering in Utah, then mulched later in the year; that timing is a regional example, not a national calendar (USU Extension’s home-garden onion guidance).
Seeds, sets, and transplants have different calendars
For direct-sown seed, follow the variety’s fall instructions. A common starting point is about six to eight weeks before the first expected frost, but the goal is to grow a sturdy small plant before the soil becomes too cold, not to maximize foliage. Growfully’s fall-garden guidance uses that window for overwintering seed and recommends planting starts or sets closer to four to six weeks before frost (Growfully’s onion timing guide). Homes & Gardens also separates fall planting of short-day types in warmer regions from spring planting in colder regions, underscoring that a calendar month only makes sense when paired with cultivar and location (Homes & Gardens’ onion timing guide). These are practical regional rules of thumb, not guarantees; if local extension guidance gives a different date, use the local recommendation.
For sets, choose firm, small bulbs rather than large ones. Illinois Extension says small sets, about smaller than a dime, are less prone to bolting and more likely to form dry bulbs; larger sets are better used as green onions. Transplants should be short, stocky, and within the size range the supplier recommends for fall planting. A bundle of long, soft shoots is not automatically a better head start—it may have too much tender foliage to handle winter well.
Use local frost and soil conditions to set the date
Use frost dates as a planning tool, then adjust for your actual bed and cultivar. “First frost” can mean a light frost that barely affects established onions, while the more relevant deadline may be a hard freeze or the point when the soil freezes for an extended period. You want enough time for roots to anchor and tops to become sturdy, but not so much warm weather that plants grow lush foliage and become vulnerable to winter injury or spring bolting.
A useful planning sequence is to check the variety’s regional fall window, note your typical first hard freeze, and count backward from the variety’s recommended establishment period. Then look at the forecast and bed conditions. If late summer is unusually hot and dry, sowing seed may need extra irrigation; if fall is arriving early, planting sets or transplants may be the only realistic option. When the recommended window has already passed, choose spring onions rather than trying to force a fall crop into cold soil.
Timing also changes with planting stock. Seed takes longer to become a plant than a set, while a transplant begins with leaves and roots already formed. The calendar ranges above are not interchangeable. A date that works for fall-sown seed in one area could be too early for a transplant in another, so use the packet’s method-specific directions and local frost information rather than counting back by the same number of weeks for every form.
A small test row is especially useful when the seed source is new or local fall onion advice is limited. Mark the cultivar and planting date, leave some plants unmulched only if winter conditions are mild enough to make that safe, and record survival, bolting, and bulb size next spring. One season will not prove a variety is reliable, but it will show whether your site can support the method before you scale it up.
Prepare a sunny bed that drains through winter
Choose a spot with full sun and loose, fertile soil that drains after rain or snowmelt. Onions have shallow roots and compete poorly with weeds; waterlogged soil creates more risk than a short dry spell during the dormant part of the season. Utah State University Extension recommends moist, well-drained soil, organic matter, regular water during active growth, and early weed control for onions (USU Extension).
If the bed stays puddled after a storm, use a raised bed or another site rather than trying to solve the problem with extra compost in each planting hole. Work finished compost evenly into the bed before planting, and use a soil test to decide whether lime or fertilizer is needed. A concentrated pocket of compost or fertilizer under each onion can hold excess moisture or expose young roots to a strong nutrient band.
Rotate away from onions, garlic, leeks, and shallots if the same area has had allium disease or maggot problems. Remove old crop debris and perennial weeds before planting; small onion seedlings are easy to lose in a patch of grass or chickweed. Keep the bed accessible so you can weed shallowly without digging into the bulbs or disturbing roots.
Plant fall onions in practical steps
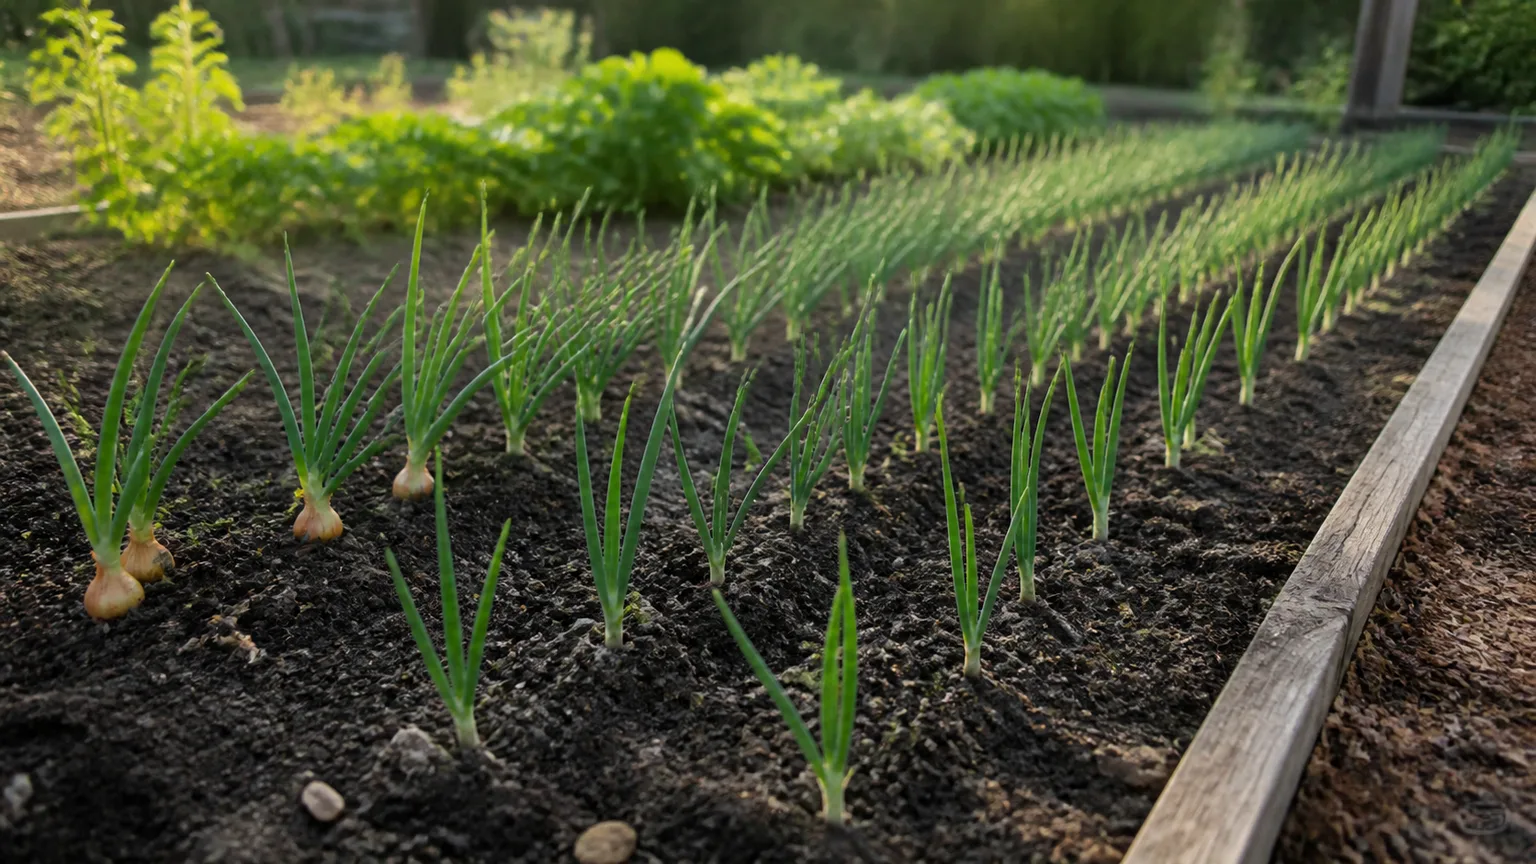
Plant at the depth and spacing recommended for the variety and the product you bought. For many home-garden sets, about 1 inch deep is a workable starting point; Utah State University Extension suggests 3 to 4 inches between plants in the row (home-garden onion spacing guidance), while Illinois Extension recommends 2 to 4 inches for dry bulbs (Illinois onion guide). Larger bulbs need room, so use the supplier’s wider spacing when it differs. Rows about 12 to 18 inches apart leave room for shallow cultivation and airflow.
For a direct-sown crop, make a shallow furrow and sow seed about ¼ inch deep, then thin seedlings to the final spacing once they can be handled. You can eat thinnings as scallions, but do not leave the rest crowded and expect full-size storage bulbs. For sets, place each small bulb with its pointed end upward and cover it lightly; do not bury it so deeply that a heavy layer of soil remains over the neck. Set transplants at the depth they were growing, with the roots covered and the green leaves above the soil.
After planting, firm the soil gently around seeds or roots and water enough to settle the bed. Label the cultivar and date, especially if you are testing multiple varieties. A simple row label often prevents spring confusion about which plants should be harvested as green onions and which were planted for bulbs.
Do not add a thick layer of fresh manure or a heavy nitrogen fertilizer at planting. Onions need nutrient-rich soil, but the crop’s first job in fall is to root and establish. If your soil test calls for fertilizer, follow its rate and timing; otherwise, even moisture and weed control are more useful than an unmeasured feeding.
Water and protect the row through winter
Keep the seedbed evenly moist while seeds germinate and while sets or transplants establish. Once plants are rooted and autumn rain arrives, water only when the soil is becoming dry several inches below the surface. Onion roots are shallow, so they benefit from consistent moisture during active leaf and bulb growth, but a continuously saturated bed can suffocate roots and encourage rot. During a dry fall, a slow watering at the soil line is better than brief surface sprinkling that wets only the top crust.
Use mulch to moderate temperature swings and reduce weeds, not to create a wet blanket around the crowns. Apply it after the soil has cooled and plants are established; if heavy mulch is laid over warm ground too early, it can trap heat and extend tender growth. Clean straw or loose, dry leaves are easier to adjust than a dense mat of wet leaves or grass clippings.
Mulch without burying the crowns
Start with a light, loose layer over the row and add more only if your local winter conditions and the cultivar call for it. A fixed six-inch depth is not right for every garden: heavy, compacted mulch can flatten shoots, keep the bed wet, and delay spring growth. In colder or more exposed sites, use a breathable row cover or low tunnel as an additional buffer, secured so wind does not lift it or rub the foliage. Savvy Gardening describes mulch and season-extension covers as options that may let some gardeners grow fall onions in colder regions, but notes that variety and local conditions determine how useful those protections will be (Savvy Gardening’s fall-onion article).
Mulch is not a substitute for choosing a winter-suitable cultivar or a draining site. If your region experiences a long, deeply frozen winter, a cover may not make an unsuitable variety reliable. It is reasonable to overwinter a small test bed in a marginal climate, but plant spring onions as your dependable crop until you have evidence that the fall variety survives in your garden.
Restart care when growth resumes in spring
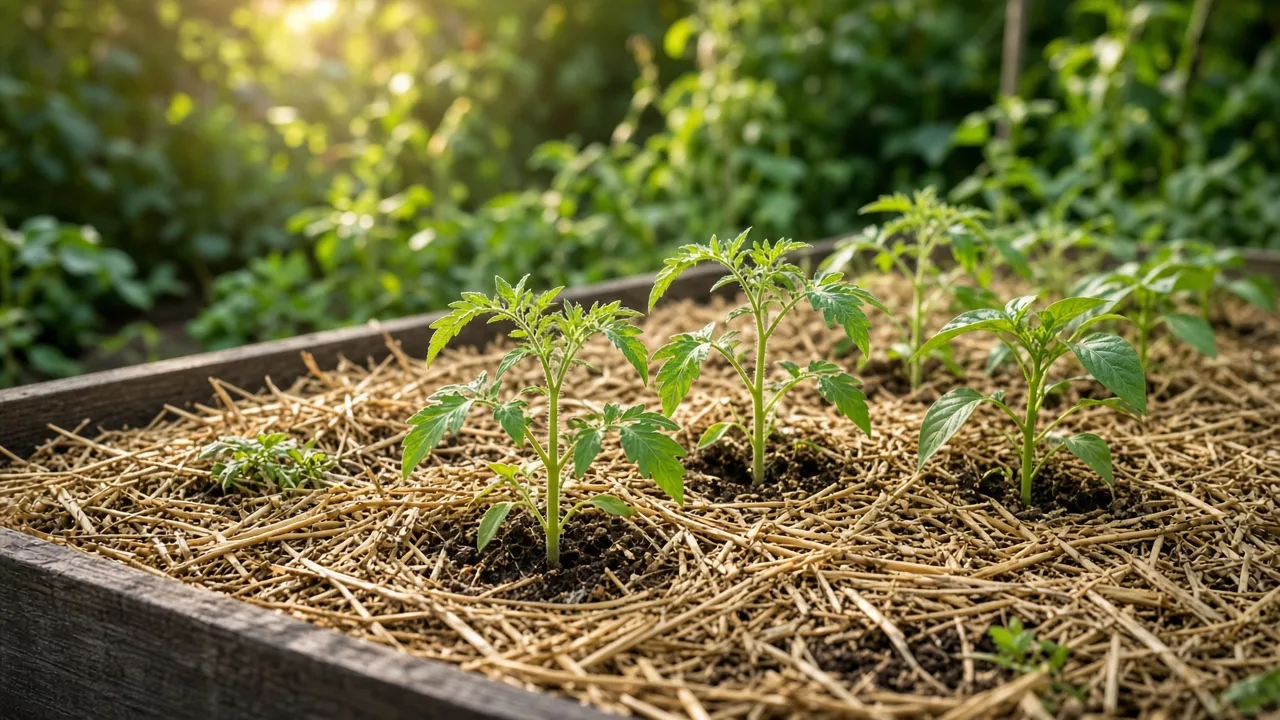
As days lengthen and the soil warms, inspect the row and ease back mulch where it is pressing on the foliage or keeping the soil cold and wet. Remove covers on mild days when ventilation is needed, then replace them if a hard freeze is forecast and the variety is still vulnerable. Do not strip all protection at the first warm spell; spring weather can swing from mild to freezing, and the bed’s exposure matters.
Thin crowded seedlings as soon as you can identify healthy plants. Use the pulled plants as scallions, and leave enough space for the bulbs you want to grow. Keep the bed weed-free with shallow hand cultivation; onions’ shallow roots can be damaged by deep hoeing, and weeds compete strongly while the onion canopy is still small. Continue to keep the root zone evenly moist as leaves expand and bulbing begins.
Feed only while leaves are actively growing
A fall crop does not need a routine spring dose of high-nitrogen fertilizer the moment it turns green. First assess leaf color, growth, soil, and the original soil-test recommendation. If the bed is pale and weak across the row and the soil test supports feeding, apply a suitable fertilizer according to its label while plants are still actively building leaves. Stop adding nitrogen as bulbs approach maturity; excess late growth can delay neck drying and curing.
Utah State University Extension provides a region-specific spring side-dressing schedule for onions and cautions against late nitrogen because it can reduce dry-onion storage potential. Do not copy its calendar dates directly into a different climate; use the principle—feed during active growth, then stop before maturity—and follow local extension or product guidance. This crop does not need to be force-fed to compensate for the wrong day-length type, late planting, crowding, or damaged roots.
Recognize bolting and other common setbacks
A central, firm flower stalk is a sign that an onion has bolted. The bulb will not return to normal storage growth once the flower stalk forms. Cut or remove the stalk if you want, but harvest the bulb soon for fresh use rather than expecting it to cure and keep well. Bolting risk is one reason to buy small, firm sets and follow fall planting recommendations rather than choosing the biggest bulbs on a display rack.
Cold exposure can help trigger flowering in an onion that is large enough to respond, and an unusual warm-cold-warm sequence can upset the crop’s normal timing. Illinois Extension notes that larger sets are more likely to bolt and that extremely cold early growth can also condition onions to flower (Illinois onion guide). A spring-planted set that is harmless in one region may behave differently after overwintering, so the cultivar and its fall label matter.
Diagnose weak growth and undersized bulbs
If seed fails to emerge, check whether the seed was fresh, whether the surface dried during germination, and whether a crust formed over the shallow furrow. If only part of a row disappears after winter, inspect for standing water, exposed roots, animal disturbance, or shoots that were smothered by compacted leaves. Re-sow or replant gaps in spring only if there is still enough season for the replacement crop; otherwise use the space for scallions or another short-season crop.
Small bulbs usually point to a mismatch earlier in the season, not a harvest trick. Common causes include the wrong day-length class, a variety not meant for overwintering, planting too late to establish, crowding, weed competition, drought during leaf growth, or bolting. Since each leaf contributes to the bulb’s eventual layers, a plant that enters bulbing with very few healthy leaves has limited capacity to size up. The next season, fix the first constraint you can identify—variety, timing, spacing, water, or weed control—instead of adding fertilizer by default.
If plants are yellowing or collapsing in patches, pull one affected plant and check the roots and base. Dark, soft roots or a decaying neck are consistent with excess moisture or disease; a cleanly severed or missing root system can point to pest damage. Remove badly affected plants, avoid moving suspect soil into a clean bed, and seek local extension help if symptoms spread. Do not apply a pesticide unless the product is labeled for the crop and the problem has been identified.
Harvest, cure, and store the bulbs
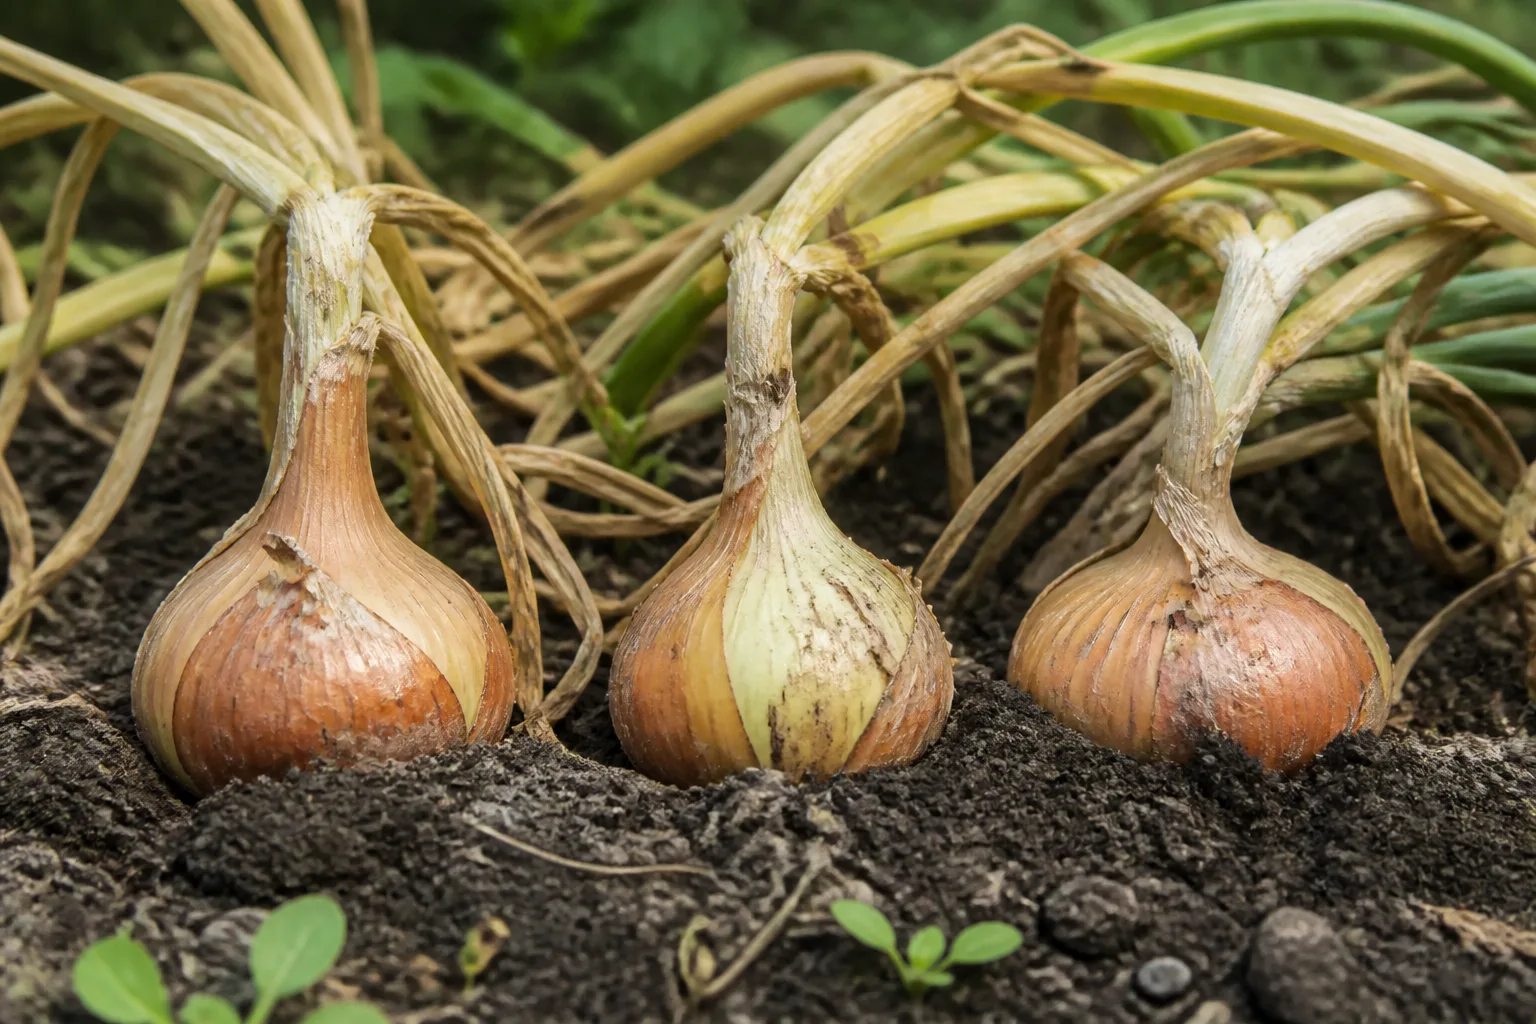
Harvest green onions whenever the tops are large enough to use; there is no need to wait for a bulb to mature. For dry bulbs, watch the plants rather than counting a fixed number of days from fall. As onions finish, leaves yellow and tops begin to fall naturally; the neck starts to soften, and the bulb’s outer skin becomes papery. Utah State University Extension advises leaving dry onions in the ground until the tops fall, then lifting and curing them with good airflow (USU Extension’s harvest and storage guidance).
Lift bulbs gently with a fork when the soil is dry enough to work, keeping the tool a few inches away from each plant. Avoid pulling hard on foliage or knocking bulbs together; cuts and bruises make storage rot more likely. If the weather is wet, move the crop under cover instead of leaving mature bulbs in saturated soil. Keep recently bolted or damaged bulbs separate and use them first.
Cure onions in a dry, shaded, well-ventilated place until the neck is dry and tight and the outer layers are papery. Do not wash bulbs before curing. Once dry, trim tops or braid them if the variety and neck condition make that practical, then store sound bulbs in a cool, dry place with air circulation. Check them regularly and remove soft or sprouting bulbs before they affect the rest.
Overwintered onions often come in earlier, but that does not make them the best crop for long storage. A fall-planted onion may be more advanced in its life cycle, may bolt, or may have been selected for early fresh use rather than keeping quality. Growfully notes that overwintered onions may not store as well as a spring-grown crop. If long winter storage is your goal, plant a separate spring crop of a variety sold for storage and treat fall onions as an earlier fresh harvest.
Conclusion
Fall planting can give you onions earlier in the year, but success starts with the right cultivar and a winter it can handle. Match its day-length class to your latitude, confirm that the supplier recommends it for overwintering, and treat frost-date ranges as local guidelines rather than universal instructions.
Give seeds, sets, or transplants their own timing and spacing, choose a sunny bed that drains, keep weeds down, and protect established plants with a breathable mulch or cover suited to your climate. In spring, watch for bolting and natural maturity cues instead of forcing growth or harvest. If your region or variety is uncertain, trial a short row and keep spring onions as the reliable crop until you see how the fall planting performs.