How to Use a Manual Sod Cutter Step by Step
Use a manual sod cutter with less wasted effort. This guide covers setup, test cuts, depth, roots, utilities, sod reuse, cleanup, and when to rent power.
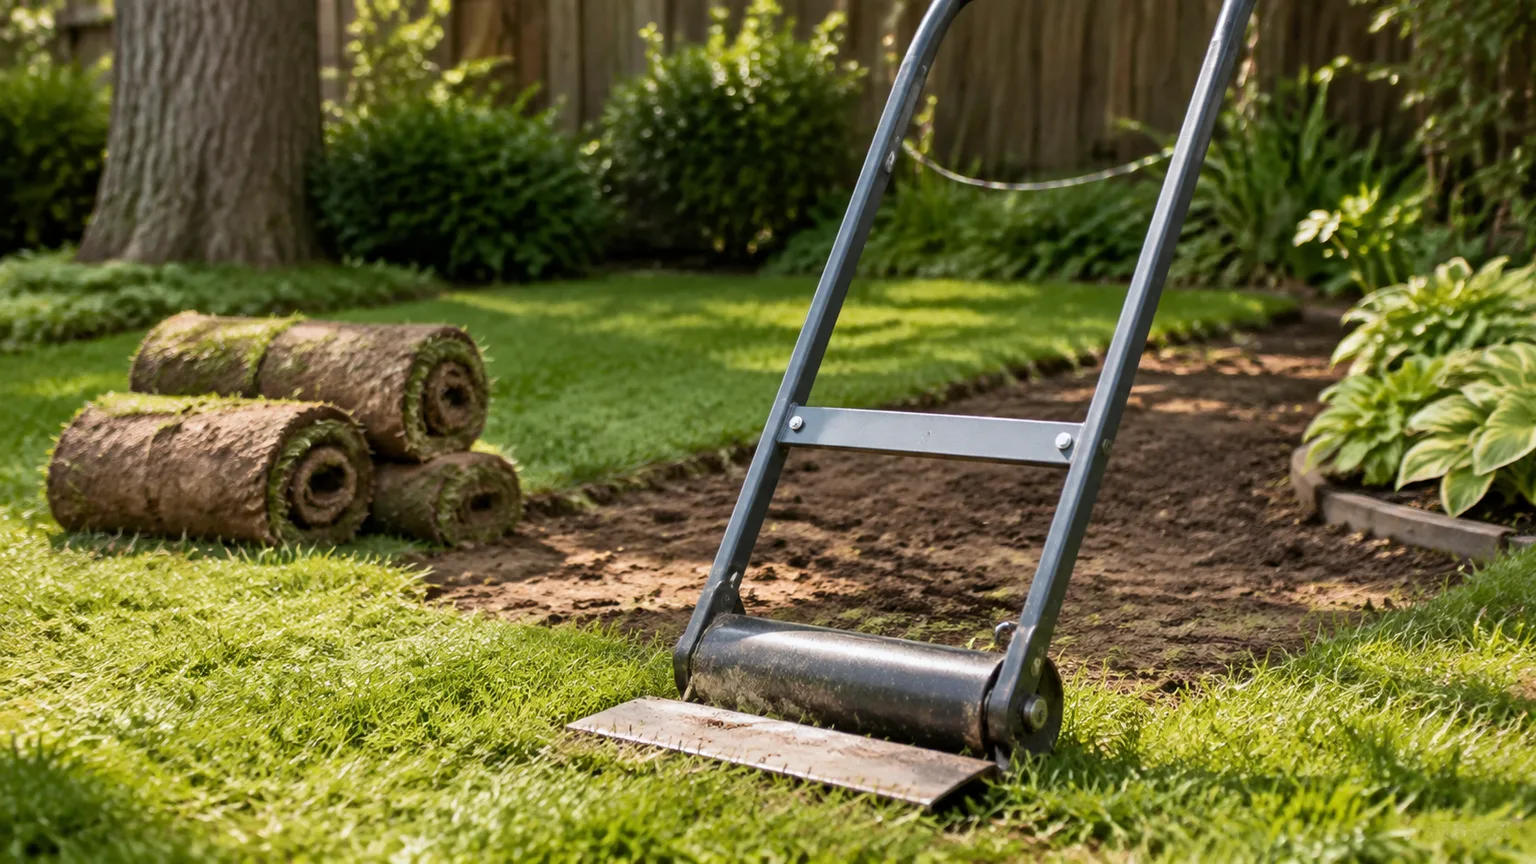
A manual sod cutter, often called a sod kicker, removes a continuous layer of grass and shallow soil with a horizontal blade. It is useful when you want a clean start for a garden bed, path, patio, reseeding project, or replacement lawn, but it is not a magic carpet remover: the tool still depends on good soil moisture, a sharp blade, straight passes, and a realistic plan for moving heavy turf.
The most reliable method is to prepare the area first, make a short test cut, adjust only as needed, then work in manageable rows. This guide is for the manual kick-style cutter with two handles, a crossbar, roller, and adjustable blade. Always follow the instructions for your specific tool if its depth control, blade angle, or starting technique differs.
Decide Whether a Manual Sod Cutter Fits the Job
Use a manual sod cutter when the work area is relatively open, the ground is walkable, and you can remove turf in long, straight runs. A small lawn conversion or a new bed along a walkway is a good match because the cutter makes narrow, predictable strips that can be rolled and hauled as you go.
The trade-off is physical effort. Each kick advances the blade, and every finished strip must be lifted, rolled, and moved. A manual cutter is a poor choice for very large lawns, steep slopes, heavily compacted clay, dense woody roots, buried obstacles, or sod that is so wet it becomes a mud-filled blanket. A square-edge spade is better for a few small patches and tight curves; a powered walk-behind cutter is usually the practical choice when area and time matter more than fuel-free work.
Cornell Cooperative Extension describes lawn conversion as a decision with lasting maintenance consequences: lawns can be useful, but other plantings may suit places where grass grows poorly or demands more work than you want to give it (Cornell Cooperative Extension on sustainable lawns). Decide what will replace the turf before you cut. Removing grass without a finished plan leaves bare soil vulnerable to erosion and gives weeds an open invitation.
Gather the Cutter, Cleanup Tools, and Safety Gear
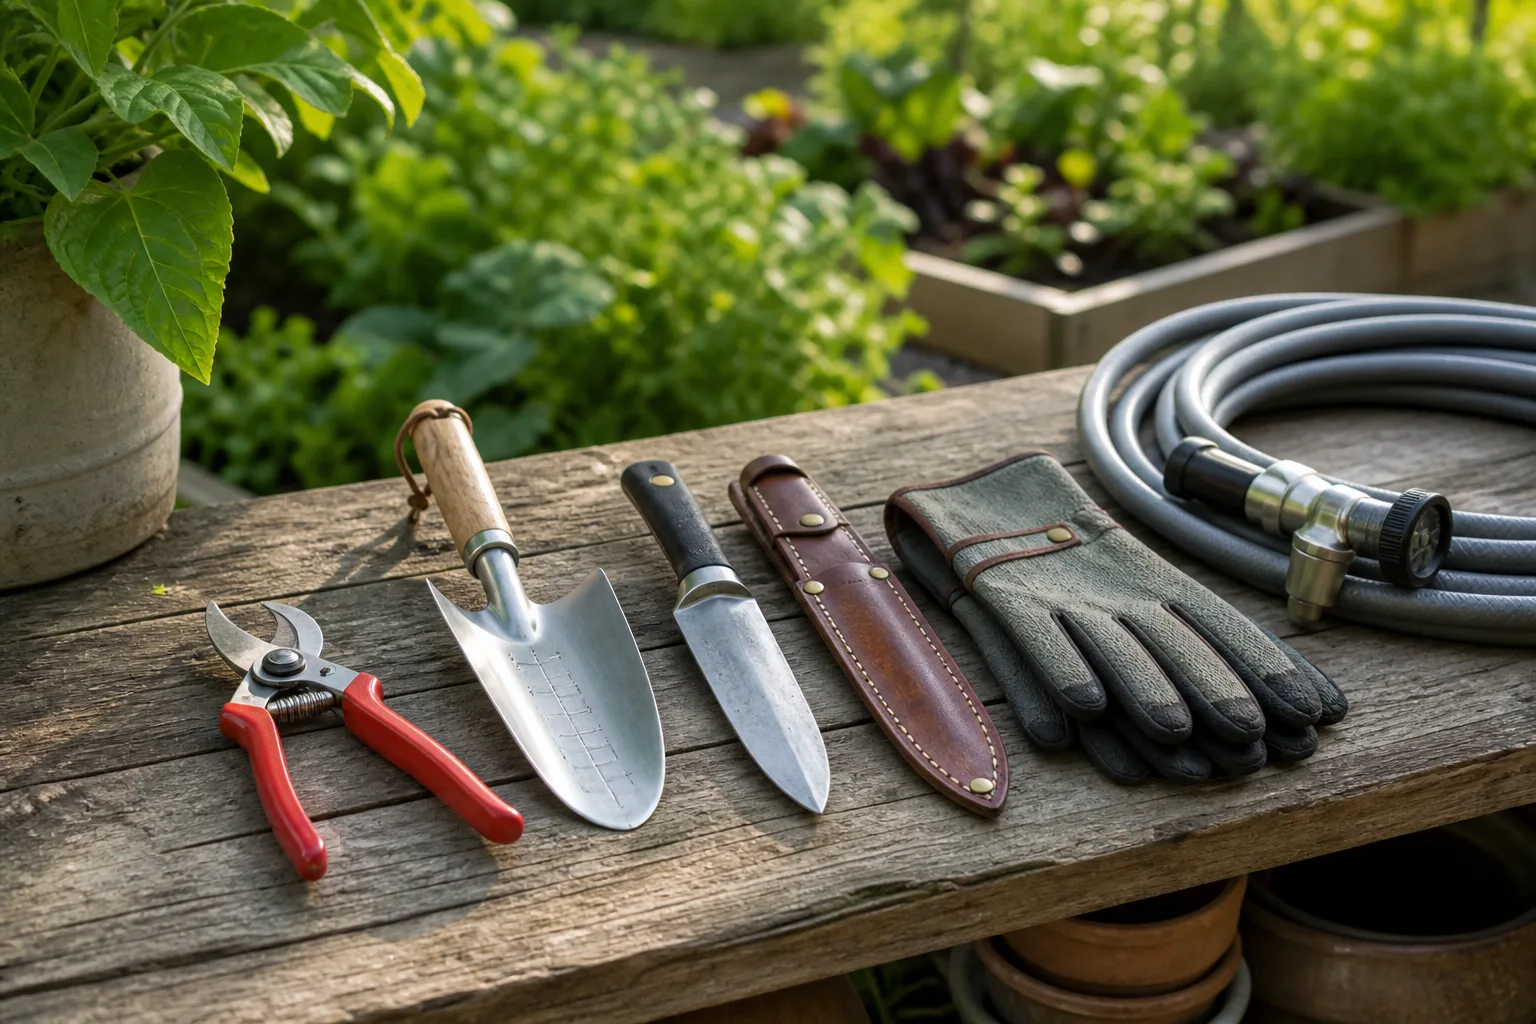
Have the entire workflow ready before the first kick. You need the manual sod cutter, a hose or sprinkler, a tape measure, lawn-safe marking paint or flags, a sharp shovel or spade for corners, a rake, and a wheelbarrow or garden cart. A utility knife is helpful for shortening a roll, and a tarp gives you a clean place to stack sod that will be reused or composted.
Wear safety glasses even when the ground looks clean; a hidden pebble can be thrown when the blade or roller hits it. Use sturdy closed-toe work boots with a firm sole and traction, plus gloves for handling rough turf and steel parts. Keep children and pets out of the work zone. Do not wear loose clothing that can catch on the handles, roller, or adjustment hardware.
Before you carry a rented cutter home, inspect the blade, fasteners, roller, wheels, and depth mechanism. Ask how the model is adjusted and whether the blade has been sharpened. A dull edge makes you compensate with harder kicks, which creates a worse cut and more strain. Take a phone photo of the starting adjustment if the rental counter demonstrates it so you can return to that baseline after a test strip.
Choose the Right Day and Soil Moisture
The ideal soil is damp enough for the blade to slide below the root mat, but firm enough to support your boots and the cutter. Water the area thoroughly about one to two days before cutting, then wait if rain leaves the surface shiny, sticky, or easily compressed. Cutting saturated soil creates heavy rolls, smears the exposed bed, and can compact the surface under your feet.
If the soil is dusty and the blade bounces, wait and water. If your boot sinks, the roller leaves deep tracks, or mud sticks to the blade, wait for drainage. A simple field check is to press a screwdriver or narrow trowel into the ground: it should enter with steady resistance rather than requiring all your weight or sliding in like soup. Sandy ground may need less waiting after irrigation; dense clay may need more time to absorb water evenly.
Timing depends on the replacement project and your local climate. Cool, active growth in spring or early fall generally makes turf easier to handle and gives new seed or transplanted sod a better establishment window, but the soil condition on the day matters more than a calendar label. Avoid working during heat that will bake exposed soil or dry reusable rolls before you can relocate them.
Mark the Area, Mow Low, and Plan Straight Runs
Measure the section you actually want to remove and mark its perimeter with lawn-safe paint, chalk, or flags. Make the shape as rectangular as the site allows. Straight edges reduce awkward turns, help the cutter track cleanly, and make the resulting strips easier to roll. Mark sprinkler heads, low-voltage lighting, drains, edging, and any plant whose roots must remain undisturbed.
If the sod will be discarded or composted, mow it short shortly before cutting. Short grass reduces drag and makes the rolls easier to handle. If you intend to reuse the turf, do not scalp it simply for convenience; preserve enough leaf area for recovery and move it quickly after cutting. Remove rocks, sticks, toys, branches, hoses, and thick leaf piles from the surface. A cutter can glide over grass but cannot safely negotiate a hidden stone.
Plan where each strip will end and where the roll will go. You do not want to finish a long pass and discover that the wheelbarrow is on the far side of a narrow gate. Start at the edge closest to your removal route, leave enough room to pull the tool out, and work in a sequence that keeps finished rolls off the uncut lawn.
Inspect and Set Up the Manual Sod Cutter
Place the cutter on level ground at the marked starting edge. Check that the blade is secure, the cutting edge is facing correctly, and the roller turns freely. Tighten loose handles or bolts before operating. The blade should be clean and sharp enough to slice roots rather than bend or scrape across them.
Set the cutting depth according to the manufacturer’s scale, not a guess based on the number printed on another model. The goal is the shallowest setting that removes the grass crown and main root mat in one intact layer. Cutting deeper takes more topsoil, produces heavier rolls, and makes the manual job harder without necessarily improving the new seedbed.
Position your feet so you can kick the crossbar forward without twisting your knee. Grip both handles firmly, keep your shoulders square to the planned line, and look several feet ahead rather than staring at the blade. The cutter should be guided by your body position and the line you marked; pulling sharply on one handle makes it wander.
Calibrate Depth With a Short Test Strip
Do not commit to the entire lawn on the first setting. Make a test cut roughly 2 to 3 feet long, then stop and lift a corner of the turf. Inspect both the strip and the exposed ground. A good result is a continuous piece with grass crowns and roots attached, a relatively even underside, and only a modest amount of soil clinging to it.
If the blade only shaves leaf bases, leaves roots rooted in the ground, or makes a strip that breaks every few inches, it is too shallow, the soil may be too dry, or the blade may be dull. Increase depth a small amount or correct the moisture problem. If the strip contains a thick slab of soil, the cutter feels hard to advance, or the roll is beyond what you and a helper can lift safely, it is too deep. Reduce depth and test again.
The test strip is also your reality check for turf thickness. A healthy, dense lawn with a strong root mat may need a different setting from thin, drought-stressed grass. A lawn with thatch, runners, or mixed grass species may not peel in one perfect ribbon. Adjust to the actual ground in front of you, and remember that the manufacturer’s maximum depth is not the target depth.
Start the First Cut With a Controlled Rhythm
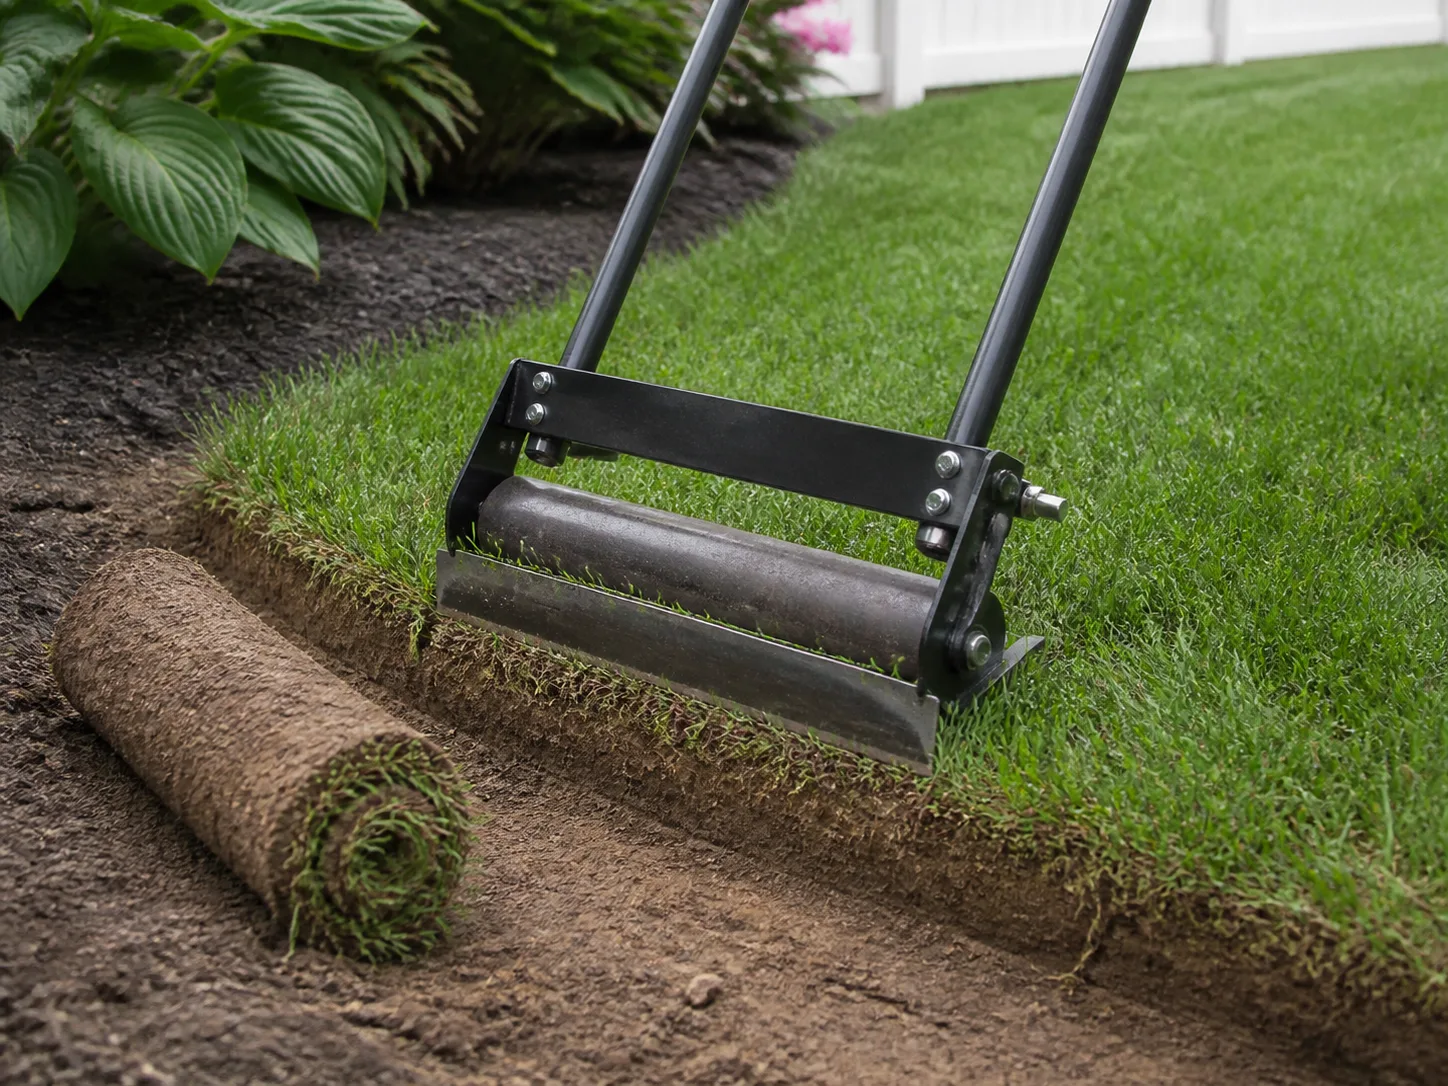
Set the cutter at the edge of the test strip with the blade aligned to the line. Press or kick the crossbar with the sole of your boot, then guide the handles forward as the roller advances. The motion is a repeated leg drive, not a frantic stomp. Use your upper body to keep the tool level while your leg supplies the forward force.
Take short, even kicks at first. If the cutter stops, do not yank it upward or twist it sideways while the blade is buried. Pause, release pressure, and inspect for a stone, root, dry patch, or blade packed with soil. Clearing the cause is safer and faster than forcing the frame through it.
At the end of the run, raise the handles enough to lift the blade out and sever the strip. Do this before turning the cutter. Turning with the cutting edge engaged can tear the turf, bend the blade, or send the tool off line. Move the cutter back to the next starting point only after the cut is finished and the first strip is out of the way.
Keep Each Pass Straight and Slightly Overlapped
Use the edge of the previous cut as your guide for the next row. Overlap the passes slightly—just enough that a thin green line of uncut grass cannot remain between them. A small overlap is better than a gap, but excessive overlap wastes effort and removes more soil than planned.
Keep the tool moving in a straight line. If the marked boundary curves, cut straight runs up to the curve and finish the edge with a sharp spade. Trying to steer a kick cutter through a tight bend usually creates a jagged strip and puts side pressure on the blade. On a broad area, work in lanes of similar length so you can roll and move each strip before it becomes a tripping hazard.
Stop periodically to check the underside of the turf and the level of the exposed soil. Soil texture can change across a yard, especially near construction fill, tree canopies, downspouts, or old garden beds. A setting that worked in one lane may need a minor adjustment in the next. Consistency is valuable, but preserving the ground in front of you is more important than keeping one adjustment forever.
Cut, Roll, and Move Each Sod Strip
Do not leave long strips lying in the work zone while you keep cutting. Once a strip is severed, lift one end, fold or roll it with the grass side inward, and move it to the planned staging area. Smaller sections are easier on your back and less likely to break, especially when soil is damp. A helper can guide a long ribbon while you roll, but do not stretch a wet strip until it tears.
The weight comes from soil, not just grass. Lift with your legs, keep the roll close to your body, and ask for help with anything that is awkward or heavy. A wheelbarrow or garden cart reduces carrying, but do not overload it until it is hard to control. Use a tarp or boards on soft ground if repeated trips would rut the lawn you are keeping.
Healthy rolls intended for immediate reuse should be placed in shade and kept lightly moist. Do not soak them or store them tightly in a hot heap; heat builds quickly inside dense rolls. Replant as soon as practical. Turf mixed with persistent weeds, disease symptoms, or invasive rhizomes should not be moved to a new bed just because it is intact.
Choose the Best Use for Removed Sod
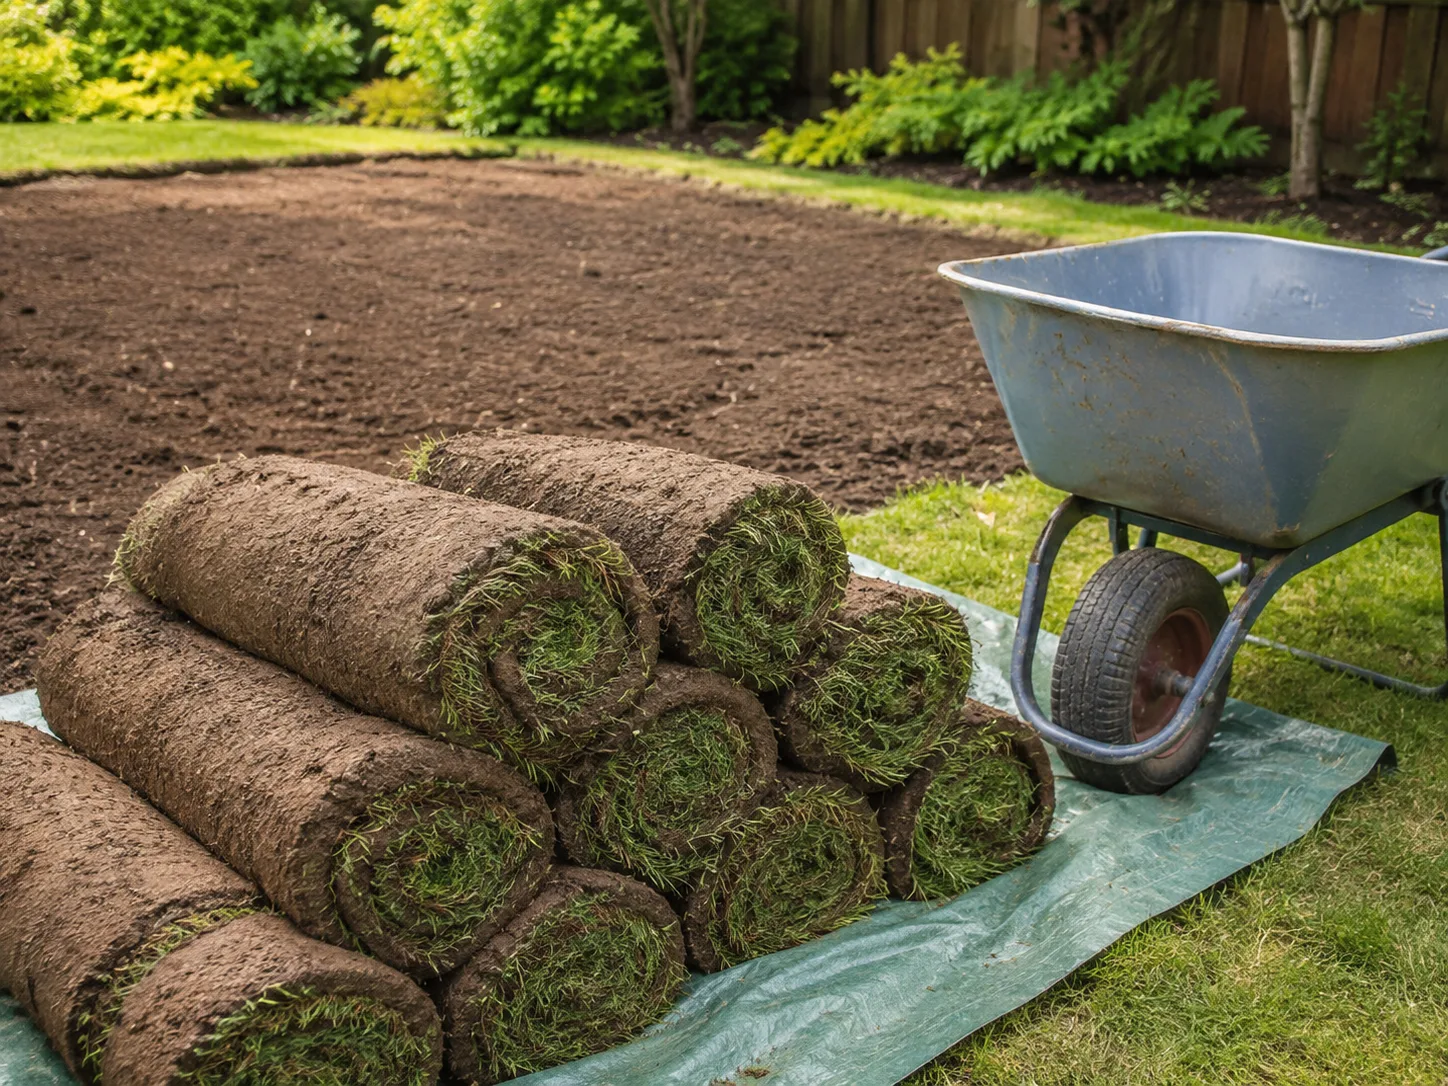
Decide the destination based on the turf’s health and your local rules. Good options include:
- Reuse it quickly: Lay healthy sod on a prepared bare patch, press it into contact with the soil, and water it according to the needs of the grass type.
- Compost it: Stack turf grass-side down in a managed pile. Cornell Cooperative Extension describes removing sod to a compost heap as part of a gradual lawn-to-garden conversion (Cornell’s lawn-to-garden method).
- Use it to build soil elsewhere: A controlled, covered stack can decompose into useful organic material, but do not spread weed-heavy rolls through a new bed.
- Dispose of it: Contact your municipality, green-waste service, or transfer station before putting sod at the curb. Soil and turf may have different disposal rules from ordinary grass clippings.
Avoid burying rolls grass-side up under a thin layer of soil; surviving crowns can regrow through the new planting. If you stack sod grass-side down, keep the pile contained and inspect it before using the finished compost. Never assume that a roll is harmless simply because it is brown after sitting in the sun for a day.
Prepare the Exposed Soil for Its Next Use
Removing sod is only the demolition phase. Rake away loose roots and clods, then check the grade. Fill shallow dips with appropriate soil and shave high spots without burying the whole area under an arbitrary layer of topsoil. If you are planting a bed, the finished surface should meet paths, edging, and nearby lawn at a sensible height so mulch and rainwater do not spill where they should not.

Test the soil before adding lime, fertilizer, or large amounts of amendment. Cornell Cooperative Extension recommends taking a representative sample from multiple spots in a similar area, generally around 6 to 8 inches deep for a garden sample, while avoiding unusual places such as compost piles, wet spots, and eroded patches (Cornell soil-testing guidance). A sod cutter does not diagnose pH, drainage, compaction, or nutrient problems, and adding amendments by habit can create a new problem.
For a new seedbed, loosen only the depth needed for the seed and its roots, break up large clods, and finish with a firm, fine surface. For a garden bed, match preparation to the plants rather than automatically rototilling. For hardscape, follow the base-depth and drainage requirements of the project; a sod cutter removes turf but does not create a load-bearing foundation.
Protect Roots, Irrigation, and Buried Utilities
A manual cutter is shallow compared with excavation equipment, but shallow does not mean harmless. Tree and shrub roots can run near the surface, especially under mature canopies. Stop before a woody root, expose it with a hand tool, and change the bed boundary if preserving it matters. Cutting roots to make a straight line is not a routine sod-removal step.
Mark sprinkler heads, drip lines, lighting cable, septic components, drains, and private irrigation before you begin. For buried electric, gas, water, communications, and other utility lines, contact the appropriate utility-locate service in your area before breaking ground. Bob Vila’s safety guidance specifically recommends calling 811 or using the local online request system even when removing only a few inches of soil (Bob Vila’s sod-cutter safety guidance). A paint mark on the grass is not a substitute for locating a line you did not install yourself.
Near a marked utility, tree, wall, foundation, or irrigation fitting, switch to hand tools and expose the area slowly. Keep the cutter’s steel blade away from anything you cannot identify. If markings are unclear or the job crosses a crowded service corridor, stop and get professional guidance rather than treating the cutter as low-risk.
Fix Common Manual Sod-Cutter Problems
Most bad cuts are feedback, not mystery. Stop after a short distance, inspect the strip and blade, and change one variable at a time. Randomly kicking harder, watering again, and changing depth all at once makes it difficult to know what solved the problem.
The Blade Skips or Only Shaves the Grass
Skipping usually points to dry soil, a blade set too shallow, a dull edge, or the cutter riding over a hard ridge. Water and wait rather than flooding the area. Check the blade against the manufacturer’s setup, clear soil from its edge, and make a new test cut. If the edge is rounded or nicked, stop and sharpen or replace it according to the rental owner’s instructions.
Sod Tears, Dives, or Becomes Too Heavy
Tearing can mean the blade is too shallow to hold the root mat, the grass is unusually dense, or you are turning while the blade is still engaged. A blade that dives and fills the roll with soil is too deep or is being forced over a change in grade. Raise the handles at the end of each pass, reduce depth in small increments, and shorten the strips if they are beyond safe lifting weight.
If the sod is heavy because the soil is wet, do not solve the problem by cutting shallower and leaving roots behind. Wait for drainage. If the root mat itself is tangled with woody runners, accept that a perfect ribbon may be impossible and switch to a spade in that section.
The Cutter Wanders, Stops, or Meets a Slope
A wandering cutter is often being steered from one handle, pushed across uneven ground, or started without a clear line. Align the frame, look ahead, and keep both handles even. For a short uneven patch, use the spade to reset the edge rather than forcing the cutter to follow every contour.
Slopes raise both control and lifting risks. Work only on ground where you can keep stable footing and control the tool; avoid traversing a slope sideways with a heavy roll waiting downhill. On a steep or irregular site, a powered machine with the right traction—or a professional crew—is safer and more predictable. Lawn Love also notes that sod cutting becomes labor-intensive and less suitable where terrain, roots, rocks, or deep-rooted grasses defeat a shallow horizontal cut (Lawn Love’s sod-cutter overview).
Compare a Manual Cutter With a Spade or Powered Rental
Choose by area, shape, ground condition, and the work you can safely sustain—not by the cutter’s maximum advertised depth.
| Tool | Best fit | Main advantage | Main limitation |
|---|---|---|---|
| Square-edge spade | Small patches, curves, edges, roots, and tight spaces | Lowest entry cost and precise hand control | Slow and physically demanding over broad areas |
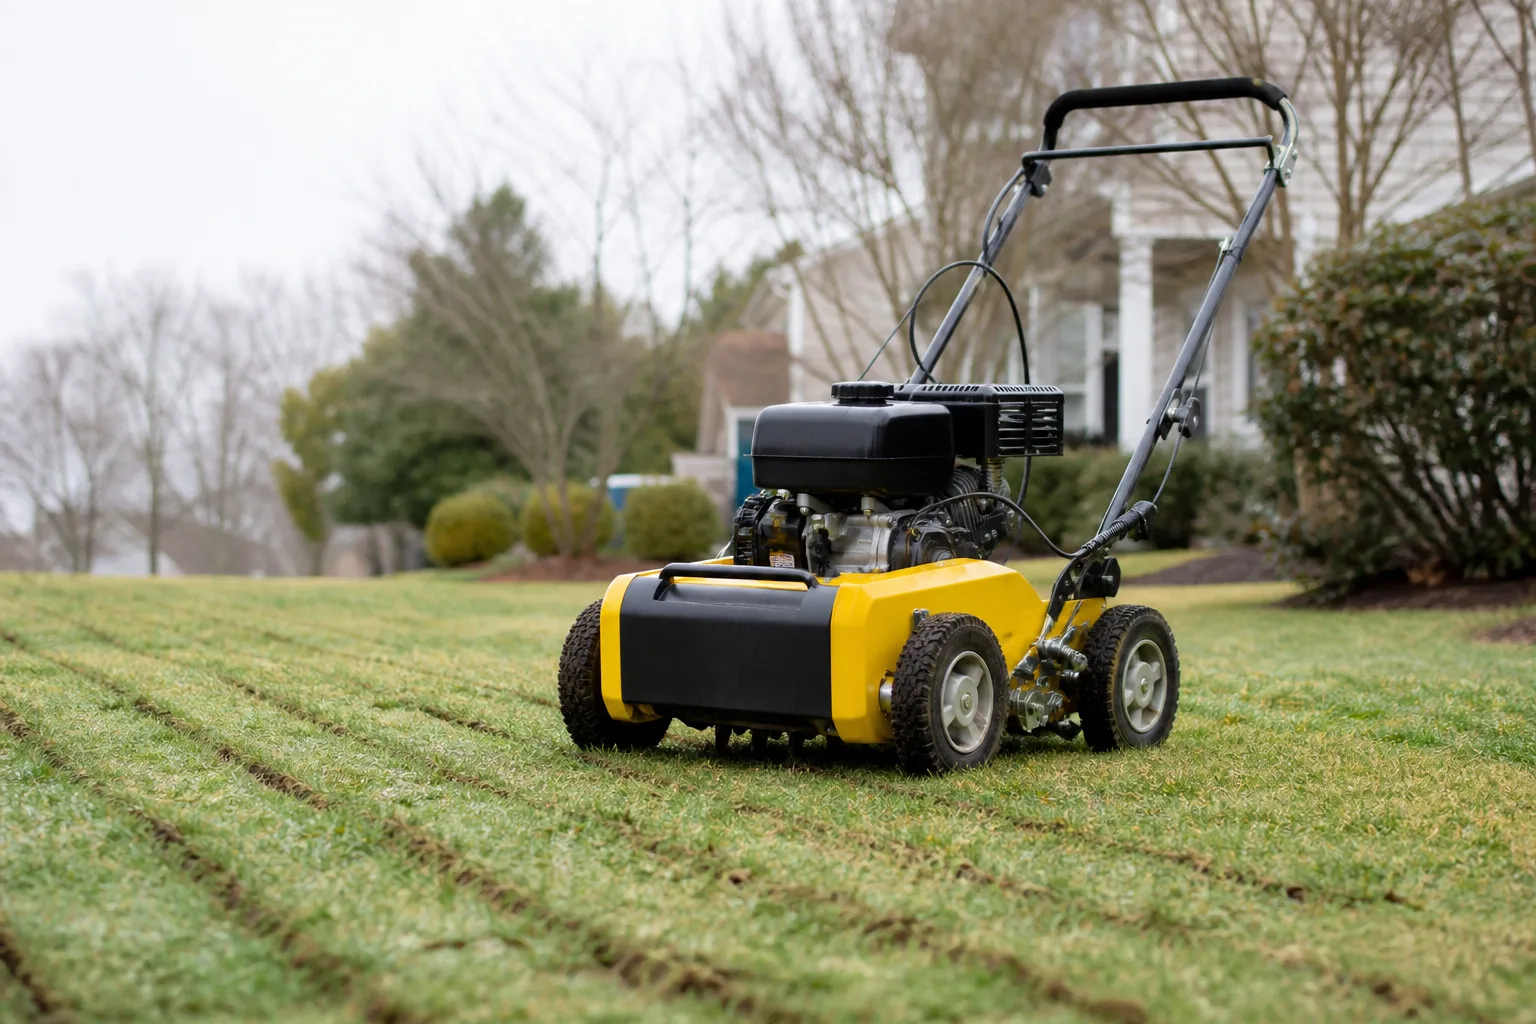
| Manual kick-style cutter | Open areas with straight runs and manageable turf | Fuel-free, clean strips, little soil disturbance when calibrated | Requires repeated leg effort and heavy lifting |
| Powered walk-behind cutter | Large, open lawn renovations | Faster production and less kicking | Rental cost, engine noise, transport, and more serious control risk |
LawnStarter’s equipment guide similarly separates small hand tools, manual kick-plows, and motorized cutters by project scale, while emphasizing a test strip and the shallowest depth that cleanly removes the turf (LawnStarter’s sod-cutter guide). Those area thresholds are useful starting points, not universal rules: a flat 600-square-foot rectangle may be easier manually than a rocky 200-square-foot slope.
Know When to Stop and Hire Help
Stop the manual job if you cannot maintain stable footing, the blade repeatedly hits obstacles, the ground is too wet to carry safely, or you are lifting rolls that require more strength than you have. Pain is not a technique problem to push through. A second person can help with moving turf, but a helper does not make a dangerous slope or an unlocated utility safe.
Consider renting a powered cutter or hiring a professional when the area is large, the finish deadline is tight, the turf must be preserved, the site is steep, or the lawn contains many roots, irrigation lines, rocks, and tight transitions. Ask a rental shop how the specific machine handles your terrain and what transport, fuel, cleaning, and return requirements apply. If the replacement project is a patio, retaining wall, drainage installation, or utility trench, the sod cutter is only one part of the excavation plan.
Conclusion
The best way to use a manual sod cutter is to make the job boringly repeatable: mark a simple layout, clear the surface, bring the soil to a damp-but-firm condition, set the blade conservatively, and prove the setting with a short test strip. Kick in a steady rhythm, keep passes straight with a slight overlap, lift the blade before turning, and move each strip before it becomes a hazard.
The cutter saves time only when the whole workflow is ready. Plan the destination for healthy sod, protect roots and utilities, test the exposed soil before amending it, and switch tools or stop when the ground exceeds what a manual frame can safely handle. A clean turf removal leaves you with more than bare ground: it leaves a workable starting point for the bed, seed, path, or lawn you planned in the first place.