6 Flower Trends for Summer 2026 That Are Worth Planting
Planning a summer garden? Learn how to use six flower trends—naturalistic planting, pollinator beds, heat-tough flowers, faded colors, cutting gardens, and pet-aware choices.
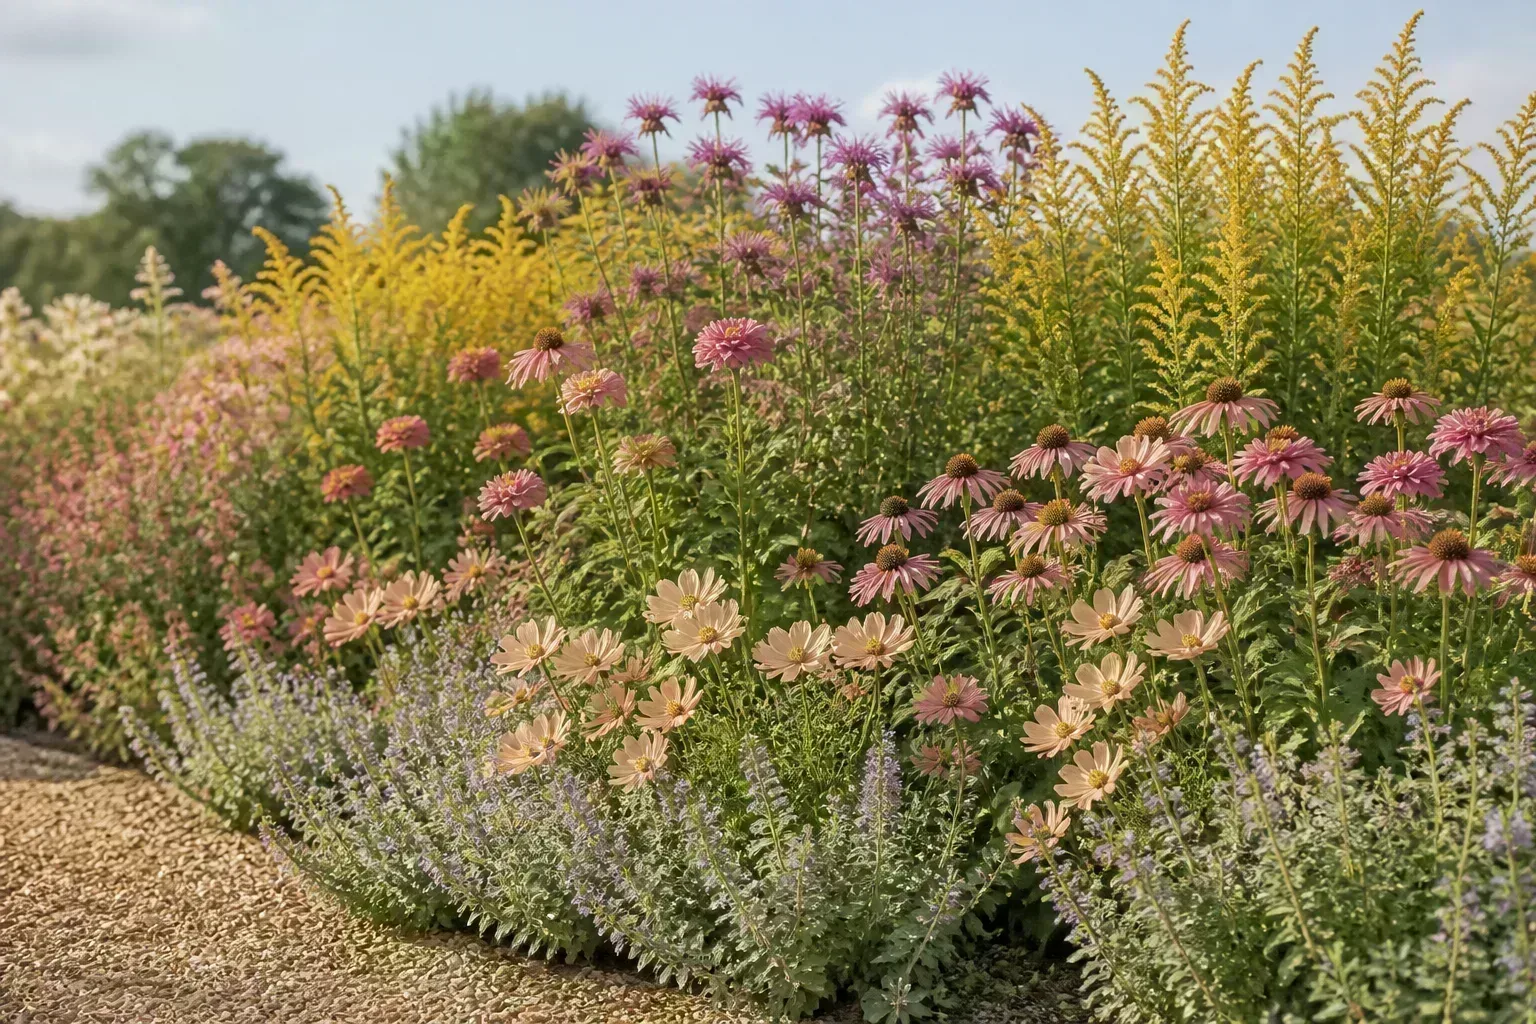
Flower trends are most useful when they solve a garden problem. A loose, meadow-like bed can support more life and forgive a slightly imperfect edge. A cutting patch can turn a small strip of sun into bouquets. A quieter palette can make a busy border feel calm. The best ideas for summer 2026 are less about buying one “it” plant and more about choosing a planting style that earns its space.
That distinction matters because a beautiful trend can still be wrong for a shady yard, waterlogged soil, a tiny balcony, or a home where pets investigate every leaf. Use the six ideas below as design directions, then filter them through your light, climate, drainage, maintenance time, and household needs.
What Makes a Flower Trend Worth Planting?
A trend earns a place in your garden when it has a job beyond looking current. Before choosing plants, decide whether the bed is meant to feed pollinators, withstand a dry corner, supply flowers for the house, create a soft view from a window, or stay low-risk around animals. One bed can do several jobs, but naming the priority prevents a crowded collection of plants with incompatible needs.
Start with three observations: how many hours of direct sun reach the soil, how quickly the area drains after rain, and how often you can water during the first growing season. Then note your hardiness zone or local climate, the mature height of nearby plants, and the direction of the view. These details are more reliable than a national trend list.
Regional plant resources can narrow the choices quickly. The National Park Service guide to gardening with native plants recommends beginning with site conditions and local ecoregion, then planning vertical layers, bloom timing, paths, and habitat. That is a useful test for every trend: does it fit the place, and can you explain what it contributes?
Naturalistic Planting With Deliberate Structure
The naturalistic garden is moving beyond the idea of scattering wildflower seed and hoping for a meadow. Its more successful version looks spontaneous but is designed. Plants repeat in generous groups, heights shift gradually, and a path or crisp edge gives the abundance somewhere to stop. You get the movement of a meadow or cottage border without making every plant compete for attention.
Think of this style as controlled informality. A few strong shapes—upright stems, rounded flower clusters, fine grasses, or broad leaves—hold the composition together. Repetition matters more than rarity. Three drifts of the same flower usually look more settled than ten unrelated specimens, even when the individual plants are less unusual.
The style is especially useful for gardeners who want less weekly grooming. Letting some perennials keep their seed heads into fall can provide texture and food, while a soft edge hides the small gaps that formal bedding exposes. It is not permission to ignore weeds, overcrowding, or plants that spread beyond their allotted space.
Arrange the Bed in Layers
Build the planting from the back or center outward. Put the tallest plants—such as bee balm, goldenrod, sunflower, or a tall ornamental grass—where they will not block shorter flowers. Follow with a middle layer of coneflower, yarrow, agastache, or zinnias, then edge the bed with lower plants and foliage. In a freestanding island, repeat the same idea around the center rather than creating a tall wall on one side.
Leave narrow access points before the plants fill in. A stepping stone or small path makes deadheading, watering, and cutting possible without compressing the soil. Use a repeated color or leaf shape to lead the eye through the bed, and keep one or two calmer spaces so the flowers do not become visual static.
The most common mistake is treating “naturalistic” as “random.” Random planting often produces a tall screen in front of a short plant, a single lonely bloom, or a midseason hole when everything flowers at once. Sketch mature widths, group plants by water needs, and repeat each main plant at least three times when space allows. The result will still feel relaxed, but the structure will be visible even on a day when nothing is at peak bloom.
Pollinator Gardens Designed for a Full Season
Pollinator planting is one of the strongest trends because it turns flowers into habitat. The goal is not to create a decorative bee magnet for one week; it is to offer a changing supply of nectar, pollen, host foliage, and shelter. A small bed, container grouping, or sunny border can contribute when the plants are chosen for the local region and maintained with care.
The Penn State Extension guide to pollinator-friendly gardens emphasizes plant diversity, regional natives, different flower forms, host plants, and a bloom succession that stretches from early spring through late fall. It also recommends planting at least three of a kind together, a simple rule that makes flowers easier for insects to find and makes the bed look intentional.
Choose Diversity Over a Single Showy Bloom
Use a mix of flower shapes rather than filling the entire patch with one fashionable bloom. Flat-topped clusters can serve many small insects; tubular flowers offer a different access pattern; open daisies expose pollen and nectar. Coneflower, black-eyed Susan, bee balm, milkweed, goldenrod, asters, yarrow, and late-season sedums can become a starting palette, but the right combination depends on your region and soil.
Stagger flowering times. Add at least one early-season source, a dependable summer group, and late flowers that carry the bed toward frost. If a plant’s bloom window is short, pair it with foliage, seed heads, or a neighbor that takes over later. The Penn State Extension explanation of flower color and pollinators is a useful reminder that color is only one factor; flower form, corolla depth, scent, timing, and the number of blooms all affect who can use a plant.
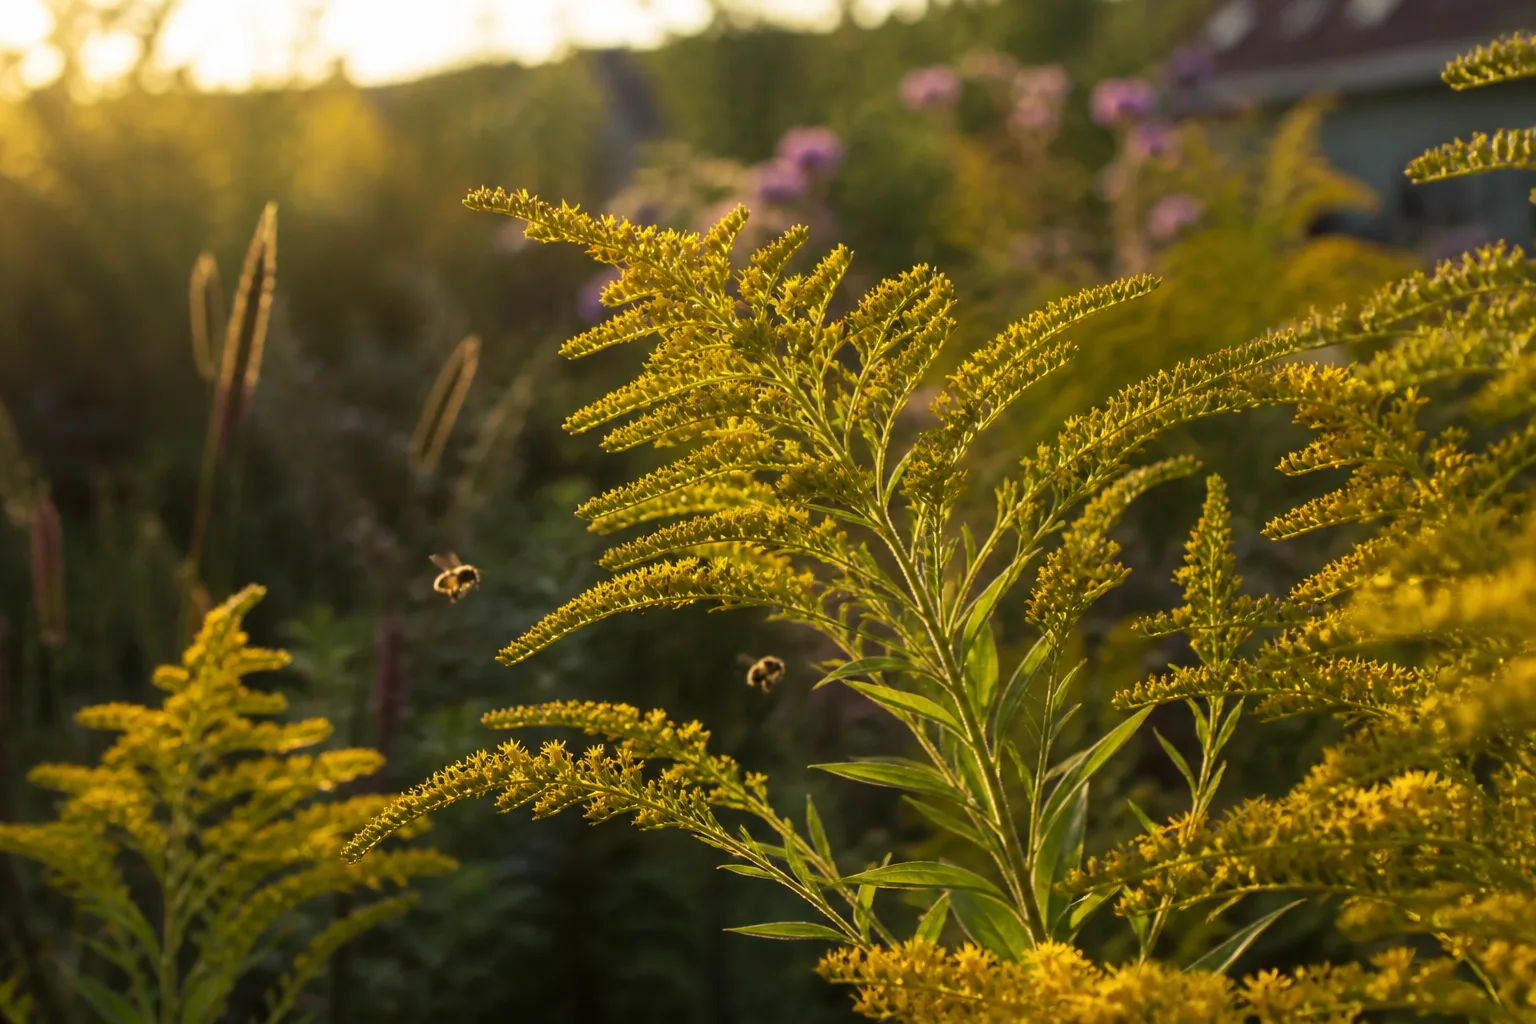
If you love double flowers, place them strategically. Dense extra petals can make pollen or nectar harder for some insects to reach, so include accessible single or open flowers as the working core of the bed. You can still use a showier cultivar as an accent, but do not let ornamental breeding remove all the useful flower shapes.
Add Host Plants and Shelter
Nectar is only one part of a pollinator garden. Butterfly larvae need host plants, and many native insects need places to overwinter or nest. Milkweed supports monarch caterpillars; parsley-family plants can host swallowtail caterpillars. Chewed leaves are not automatically a failure—they can be evidence that the garden is supporting a life stage that adult butterflies cannot provide on nectar alone.
Make room for shelter by leaving some hollow stems and seed heads through winter, keeping a little leaf litter where it will not smother crowns, and avoiding a perfectly sterile bed. The National Garden Bureau pollinator guidance also points to bare ground, dead wood, and reduced pesticide use as habitat considerations. If you prioritize ground-nesting bees, do not cover every inch with landscape fabric or a thick, compacted mulch layer.
Choose local natives when they fit the site, and confirm that any introduced plant is non-invasive in your area. The Pollinator Partnership garden cards organize native planting ideas by region, which is more useful than copying a plant list from a different climate. Water new plants consistently, especially in the first year; a habitat garden still needs establishment care before it can become resilient.
Heat- and Drought-Resilient Flowers
Water-wise flowers are trending because hot spells and water restrictions make a thirsty border difficult to maintain. Russian sage, catmint, agastache, yarrow, coneflower, zinnias, and angelonia can be candidates for sunny, well-drained sites, but “drought tolerant” never means “never water.” A plant that survives a dry period once established can still wilt, scorch, or stop flowering when a new root ball dries out.
Match the plant to the stress, not just the forecast. Silver or gray foliage can reflect intense light; fine hairs and leathery leaves can slow moisture loss. A plant adapted to dry soil may fail in a heavy, wet pocket, while a plant suited to humid summer air may dislike a hot strip that bakes against a wall. Drainage, organic matter, wind, and reflected heat all change the result.
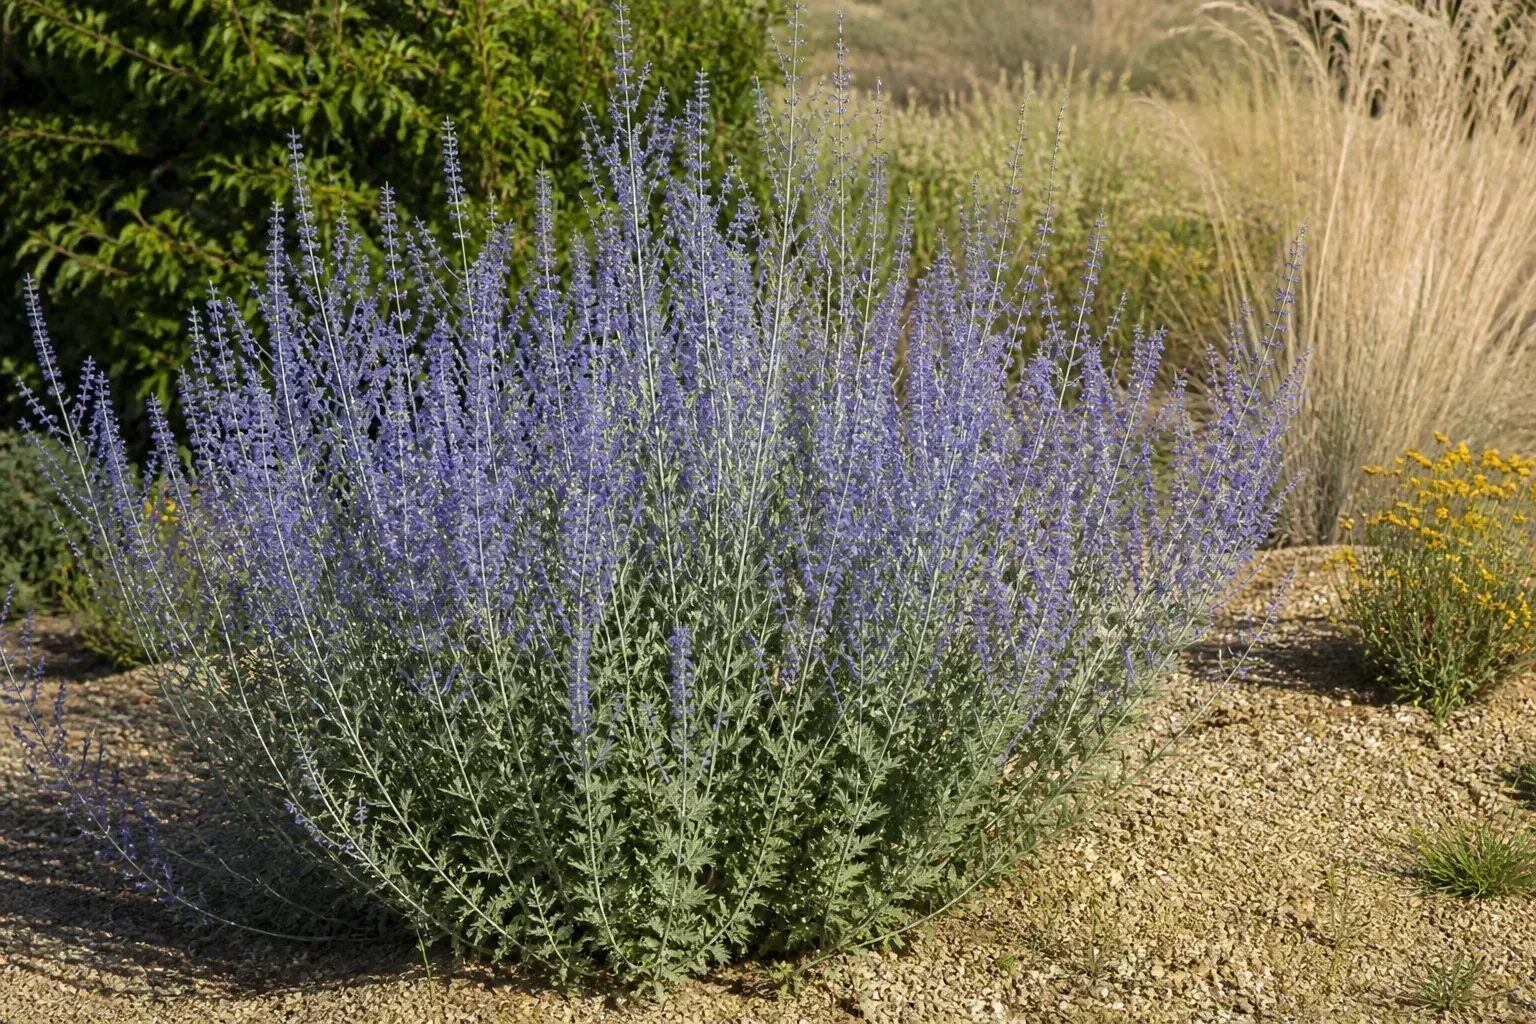
The Royal Horticultural Society’s drought-resistant plant guidance recommends improving soil and watering carefully while plants establish. Its drought-tolerant pollinator planting advice also highlights the value of plant variety, mulch on already-moist soil, and flowers with different structures. A diverse bed is less likely to lose all of its color when one plant pauses during extreme heat.
Respect the Establishment Period
Planting a tough perennial and immediately withholding water is a reliable way to lose it. Water the root zone slowly and deeply after planting, then check the soil beneath the surface before watering again. New plants usually need a regular schedule while roots move into the surrounding soil; reduce frequency only as growth shows that the plant is established. Containers and sandy beds dry more quickly than a loam border.
Prepare the soil without turning a dry-garden bed into a rich, floppy jungle. Add organic matter where it improves structure and water availability, but avoid pushing excessive lush growth with fertilizer. Apply mulch after the soil is moist, keeping it away from the crown or stems. The RHS drought-pollinator planting reference notes that established roots and good coverage improve resilience.
When heat arrives, water early so less is lost to evaporation and so foliage dries before night. Look for persistent evening wilt, crisp leaf margins, stalled growth, or a root ball that is dry while surrounding soil is wet. Those clues point to different fixes. The Savvy Gardening drought-tolerant flower guide is similarly careful that no plant is immune to drought stress and that new plants need regular care. A resilient planting is one that needs less water after establishment, not one that can be abandoned.
Faded and Earthy Colors
After years of high-contrast, saturated beds, gardeners are making room for colors that feel sun-washed: dusty rose, muted lavender, soft peach, cream, mauve, and weathered apricot. This faded-petal palette is calming because it lowers the visual volume of the garden. It also works beautifully with silver foliage, aged terracotta, linen-colored materials, and the dry textures that arrive as summer advances.
Muted colors need enough contrast to remain readable. Put pale flowers against deep green or charcoal foliage, repeat the same dusty tone in several places, and add a few dark centers or seed heads to keep the border from becoming a blur. Lavender, dusty-pink roses, pale zinnias, soft cosmos, and peach dahlias can create the mood, while yarrow, grasses, or silvery herbs supply the texture.
Do not interpret the palette as a requirement to remove every bright flower. One warm yellow coneflower or a small patch of blue can make the quiet colors look more intentional. Nor should a color trend override plant health. A pale bloom in heavy shade may look washed out; a plant that needs dry soil should not be placed in a damp bed just because its foliage matches the palette.

Use Foliage and Repetition to Keep Muted Colors Readable
Start with foliage, then layer in flowers. Silver leaves, blue-green grasses, dark green shrubs, and broad leaves each create a different backdrop. Repeat one foliage texture near the front and echo one flower color farther back. This keeps the garden connected even when individual blooms come and go.
The faded look is also a good place to use flowers after their peak. Leave a few seed heads, papery petals, and dried stems if they remain attractive and healthy. Their tan and umber tones extend the palette into late summer and reduce the pressure to cut everything the moment a flower fades. Remove diseased material promptly, but do not confuse “spent” with “worthless.”
Cut-Flower Gardens for Everyday Bouquets
A cutting garden has shifted from a specialty plot for florists to a practical way to bring the garden indoors. You do not need a large field. A sunny row, raised bed, or group of large containers can grow zinnias, cosmos, sunflowers, snapdragons, dahlias, sweet peas, yarrow, or hydrangeas for casual jars. The key is to plant for stems and repeat bloom rather than for a single dramatic display.
Mix annuals, perennials, and bulbs so the patch has different seasons of usefulness. Annuals such as zinnias and cosmos can keep producing when harvested; perennials offer structure but may have a shorter bloom window; bulbs can provide spring stems before summer annuals take over. Add a few foliage plants or herbs for filler, and plan a second sowing if your climate and seed packet recommend it.
Grow for Stem Length, Access, and Succession
Put the cutting patch somewhere you can reach without walking through the ornamental border. Straight rows or generous blocks make it easier to weed, stake, pinch, and harvest. Choose varieties described as tall or long-stemmed when bouquets are the goal, but leave enough spacing for airflow. Overcrowding produces weak stems and encourages disease even when the plants are vigorous.
Use succession planting instead of putting every seed in the ground on one day. A later sowing can replace an early flush of flowers, while a perennial or bulb covers the gap between annual waves. Pinching and support may be necessary for some plants; a short stake placed early is less disruptive than trying to rescue a bent stem after a storm.
The Penn State Extension guide to growing cut flowers recommends full sun, attention to soil, naturally tall varieties, good air circulation, and harvest practices that encourage more flowers. It also makes a helpful scale point: grow what you can reasonably use. A compact garden that supplies a weekly jar is more successful than a huge plan that becomes a second job.
Harvest Before the Afternoon Heat
Cut in the cool part of the morning, when stems are hydrated. Bring a clean bucket of water to the bed, use sharp clean snips, and place stems in water immediately. Harvest each flower at the stage that suits it: some are best when a bud is just opening, while others last longer after the flower has matured. Strip leaves that would sit below the water line and refresh the vase regularly.
Cut just above a leaf joint or lateral bud when the plant’s growth habit allows. That leaves the plant with a place to branch and may bring another flush of flowers. Deadhead ornamental plants differently when you want seeds or wildlife value, but use the cutting row as a renewable harvest rather than stripping every stem from a plant that needs foliage to recover.
Pet-Aware Flower Beds
Pet-aware planting is not a ban on flowers; it is a habit of checking before planting and managing access after planting. “Pet-safe” does not mean a flower is edible, and a non-toxic plant can still cause stomach upset if an animal eats a large amount. Common names are also unreliable because one name may describe multiple species or cultivars.
Create a short list of plants you are considering, then look up each one by its botanical name in a current, reputable toxicity database. Snapdragons, for example, are listed as non-toxic to dogs, cats, and horses in the ASPCA profile for common snapdragon. That is a specific record for a specific plant, not a reason to assume every flower with “snapdragon” in a nursery nickname has the same status.
Verify the Exact Species Before Buying
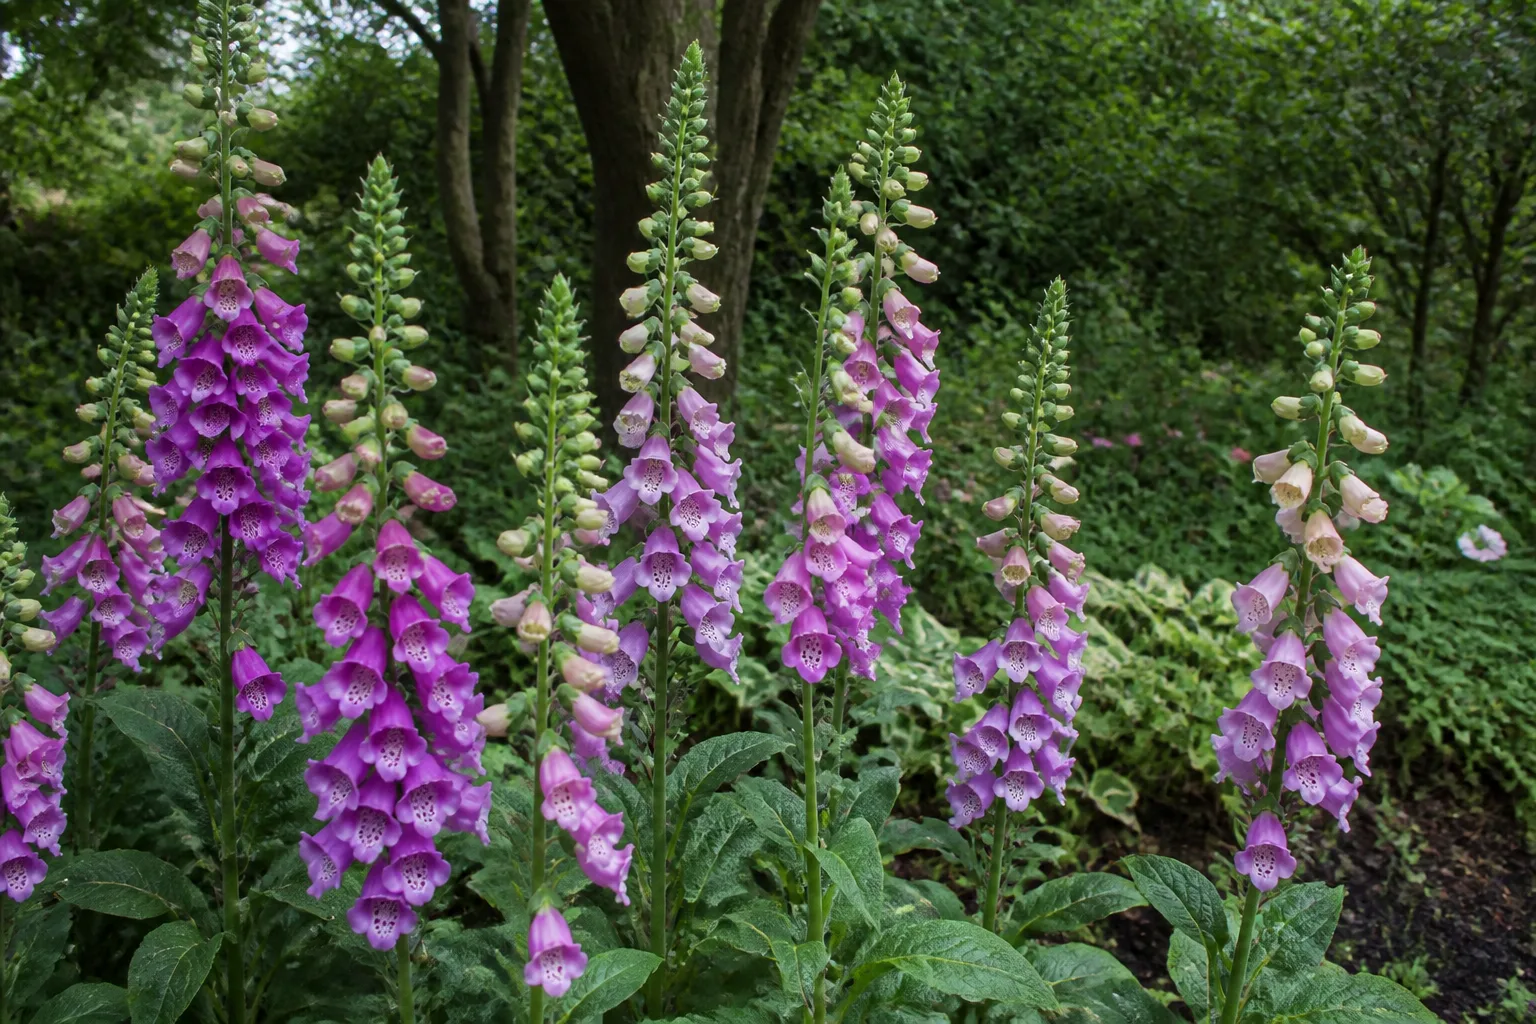
Keep a special eye on plants with serious toxicity concerns. The ASPCA foxglove profile identifies foxglove as toxic to dogs, cats, and horses, with cardiac glycosides as the toxic principle. That is why a tall, cottage-style flower should not be placed casually beside a pet path or play area. Ask the nursery for the botanical name, save the plant tag, and check the exact entry in the ASPCA toxic and non-toxic plant database before purchase.
Safety also includes products around the bed. Keep pets away from wet pesticides, fertilizers, slug treatments, and compost that contains unknown material. Remove pruned stems and fallen flowers if your animal chews on them, and use a low barrier while newly planted beds settle. Even plants that pass a toxicity check can be a poor fit if they are thorny, irritating, or constantly tempting to a pet that eats everything.
Make a Plan for Nibbles and Exposures
Place pet-aware flowers in visible beds rather than behind dense shrubs where fallen material is hard to notice. Use containers or raised edges to separate plants with uncertain status, but remember that a determined cat or dog can still reach a pot. Choose a non-toxic, durable groundcover for the path and keep a clear route around the bed so you can inspect it.
If a pet chews a plant, keep the label or take a clear sample, note the amount and time if known, and contact your veterinarian or an animal poison-control service for advice. Do not rely on a social-media list or a common-name guess. The safety question is not whether a plant is trending; it is whether the exact plant and the way it is used are appropriate for your household.
A Simple Summer Planting Plan
You can combine the trends without turning the garden into a themed display. Begin with a 15-minute site audit. Mark the hours of sun, note where water stands or runs off, and identify the easiest route for a hose. Then choose one primary job for the space: habitat, resilience, bouquets, color, or safe family use.
For a small bed, use one anchor plant or repeated group, one supporting layer, and one edge plant. A sunny pollinator bed might pair a regional coneflower or bee balm with a drift of zinnias and a lower foliage plant. A dry border might use Russian sage, yarrow, and a compatible grass. A cutting strip might be mostly zinnias and cosmos with a few sunflowers or dahlias for height. The exact plants should change with your region, but the structure stays useful.
Plan for gaps before buying more. Write down the expected bloom period of each main plant and add only what covers an empty month or supplies a missing flower shape. If you are starting with a container, choose two or three plants with similar light and watering needs rather than trying to fit all six trends into one pot.
Start With One Anchor and One Job
Plant the anchor first, then observe the site for a week of ordinary weather if you can. Add the next group only after you know where the afternoon shade falls and how quickly the soil dries. This slower sequence prevents the classic summer mistake of filling every gap with plants that later outgrow the space or need different water.
Keep a simple care list: check new plants before watering, weed while seedlings are small, stake tall stems before storms, harvest flowers in the morning, and review pet access after every new purchase. For habitat beds, leave healthy stems and seed heads when the season ends. For cut beds, clear diseased debris and rotate annuals when possible.
The most current-looking garden is often the one that feels settled rather than overplanned. Repetition, healthy plants, useful flowers, and a few intentional empty spaces will outlast a palette or plant name. Let the trend be the starting point; let your site decide the final design.
Conclusion
The six best summer flower trends for 2026 are practical directions: naturalistic beds with structure, pollinator gardens with a full-season food supply, heat- and drought-resilient planting, faded color palettes, small cutting gardens, and pet-aware flower choices. None requires a complete garden makeover.
Choose one job, match plants to your light and soil, and repeat a few dependable forms. Water new plants until they establish, build bloom succession instead of a one-week spectacle, and verify safety by botanical name when pets share the yard. A trend becomes worthwhile when it helps your garden support life, handle weather, or give you more reasons to step outside.



