6 Things That Make Your Garden Look Bad
A useful garden audit for yards that look untidy: what to fix first, what to leave alone, and how to improve curb appeal without starting over.
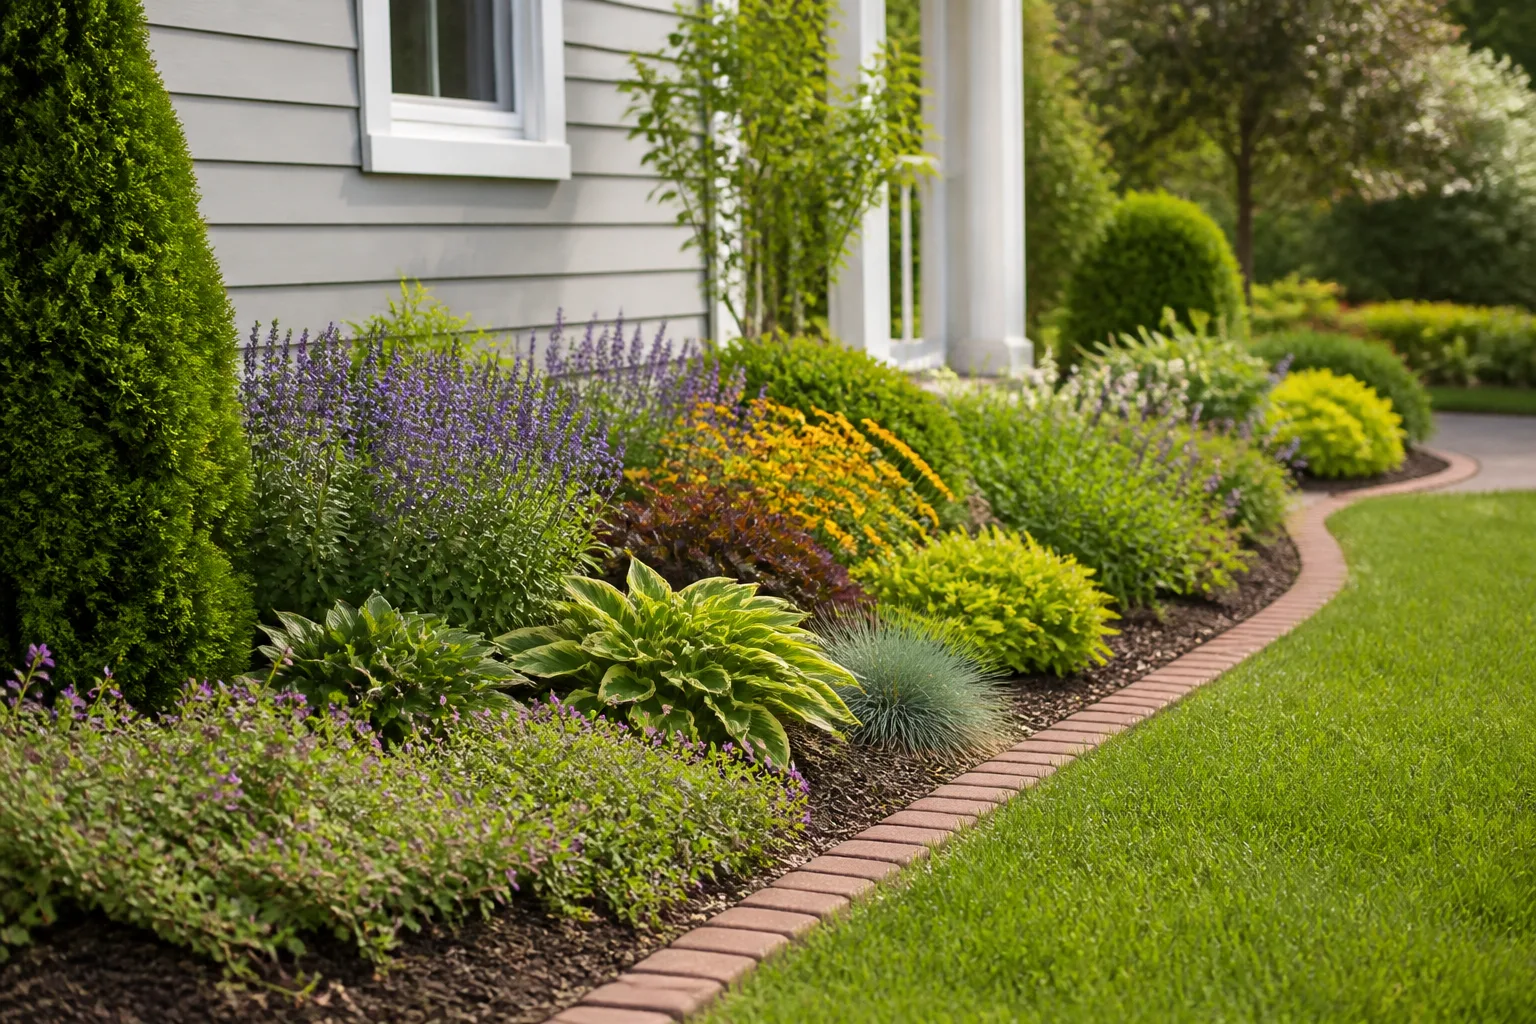
You do not need a designer garden to make a yard look cared for. Most gardens look “bad” for a smaller reason: one visual problem is overpowering everything else. A bed may be beautifully planted but crowded, a lawn may be healthy but scalped, or a patio may have good furniture hidden behind a layer of grime and leaf litter.
The useful question is not “How do I make my whole yard perfect?” It is “What is the first thing my eye notices?” The six problems below are the common culprits, with fixes that protect plant health as well as appearance. Start with the highest-impact issue, then stop before you turn a living garden into a sterile one.
The 60-second garden audit: find the visual bottleneck first
Stand where you usually see the garden—your front walk, kitchen window, porch, or driveway—and look for the feature that breaks the scene. Is it a bare patch, a line of random pots, a bed with no clear edge, a brown lawn, a collapsed shrub, or one bright decoration that competes with everything else? That feature is your visual bottleneck.
Next, walk closer and decide whether the problem is design, maintenance, or plant health. Design problems include scattered plants, awkward scale, and too many unrelated colors. Maintenance problems include weeds, dirty furniture, and leaf piles on paths. Plant-health problems include wilt, drought stress, disease, and roots growing in the wrong soil. A cosmetic fix cannot solve the last category, and extra water will not solve a bed planted in the wrong place.
Take one photo from the main viewing point before you start. It sounds fussy, but a photo flattens the space and shows whether the problem is truly the planting or simply the angle from which you see it. The goal is not to copy a magazine spread; it is to create a clear visual hierarchy: a main view, supporting plants, usable paths, and a few objects that earn their place.
Planting without a plan
A garden begins to look chaotic when every plant is treated as a one-off purchase. One purple flower, one striped leaf, one red shrub, and one tall grass may each look attractive at the nursery, but a collection of unrelated singles can read as visual static once they are planted together. The problem is not variety itself. The problem is variety without repetition, spacing, or a shared growing condition.
The RHS recommends starting with the actual site—soil, drainage, aspect, light, climate, scale, and maintenance time—before choosing plants. Penn State Extension makes the same practical point in its guide to starting a perennial garden: observe the site, account for sun, wind, soil moisture, access, and nearby structures, then design around how you intend to use the space. Those steps save more rework than any color trend.
Use repetition before adding variety
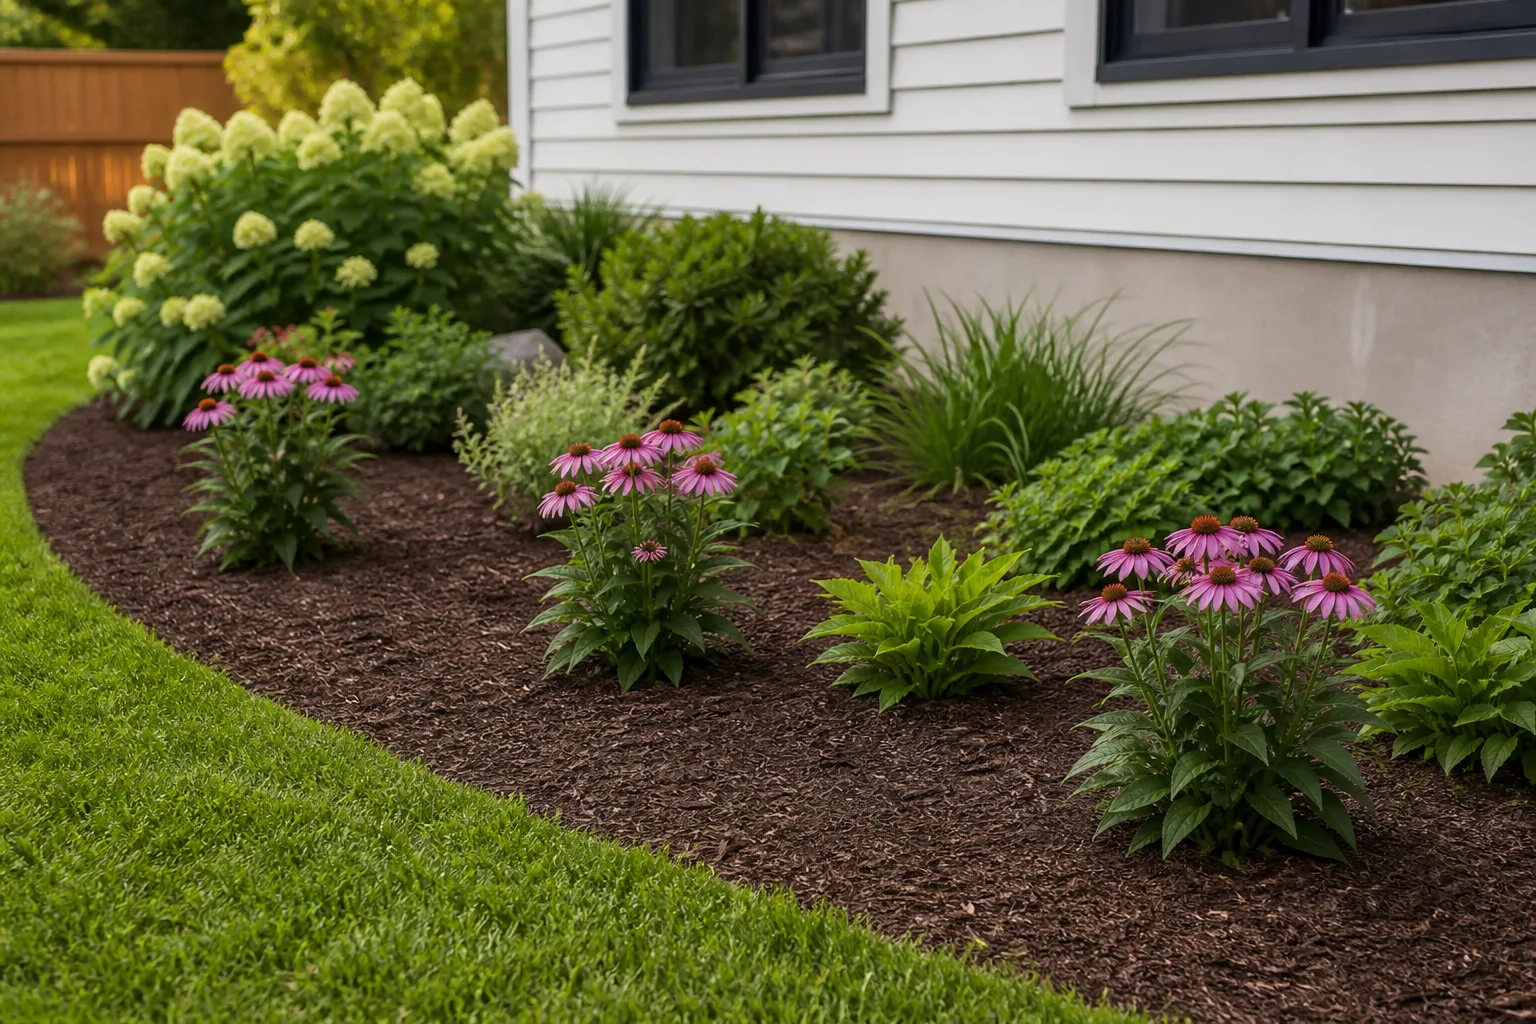
Choose two or three “threads” that can repeat through the bed: one evergreen or structural form, one dominant foliage texture, and one or two flower colors. Planting the same species in a drift of three, five, or more usually looks calmer than scattering the same number as individual dots. If you love a collector plant, give it a deliberate focal position rather than buying six unrelated collector plants and hoping they harmonize.
Repetition does not mean a rigid row. Stagger groups, overlap mature spreads slightly, and repeat a color or leaf shape at intervals the eye can follow. A curved path or bed can also help, but only if it has a reason. Homes & Gardens’ design guidance makes the useful distinction that curves should work with scale, circulation, and an organizing principle; a random arc can look accidental and make mowing or edging harder.
Use color as a filter, not a rule. Three neighboring colors on the color wheel can make a small border feel composed, while a larger space can carry more contrast. Green foliage is the connective tissue either way. If every plant is chosen for a different flower color and nothing repeats in leaf shape or height, the bed has no quiet areas for the eye to rest.
Match plants to site and mature size
A plant that struggles in the wrong spot makes a garden look untidy even when you prune and fertilize faithfully. Sun-loving plants stretch in shade; drought-tolerant plants decline in soggy soil; a shrub that will become six feet wide crowds its neighbors when planted like a one-gallon accent. Check the label for mature height and spread, then measure the space from the plant’s center—not from the edge of the pot.
Plan for the second and third year, not only planting day. Penn State’s garden-planning guidance stresses that small plants grow and need their mature amount of space, while the RHS notes that a border plan helps calculate plant quantity and spacing. If you need instant fullness, add more of a few compatible plants rather than packing in every gap with a different species.
Leave access for the work you will actually do. A bed that is too deep to reach becomes weedy and trampled, and a shrub planted hard against a fence becomes a pruning problem. If a path, hose, mower, or ladder cannot reach the area, the layout is already working against the garden’s future appearance.
Watering by routine instead of by need
Watering every bed on the same schedule can make a garden look worse, not better. Shallow, frequent watering produces a surface that alternates between wet and dry, while different plants, soil types, slopes, containers, and weather patterns need different amounts. Overwatering also creates limp growth, fungal pressure, runoff, and muddy paths—the visual clues of a system that is delivering water without checking whether roots can use it.
There is no universal “water every Tuesday” rule. Check the root zone with a finger or hand trowel, look at the weather, and notice whether the plant is newly installed or established. A newly planted shrub needs close attention while roots expand; an established drought-tolerant perennial may need less intervention. The RHS frames water management as both a shortage and excess problem: hotter, drier periods and heavier rainfall can occur in the same garden year, so design and watering need to account for both.
Separate lawn watering from beds and containers
Lawns, flower beds, and containers are different watering zones. Turf has a dense, shallow-to-moderate root system and needs even coverage; a shrub border may benefit from a slower soak around the root area; a container can dry quickly because its small soil volume is exposed on all sides. Put them on separate irrigation zones when possible, or water by hand with the delivery method that fits the plant.
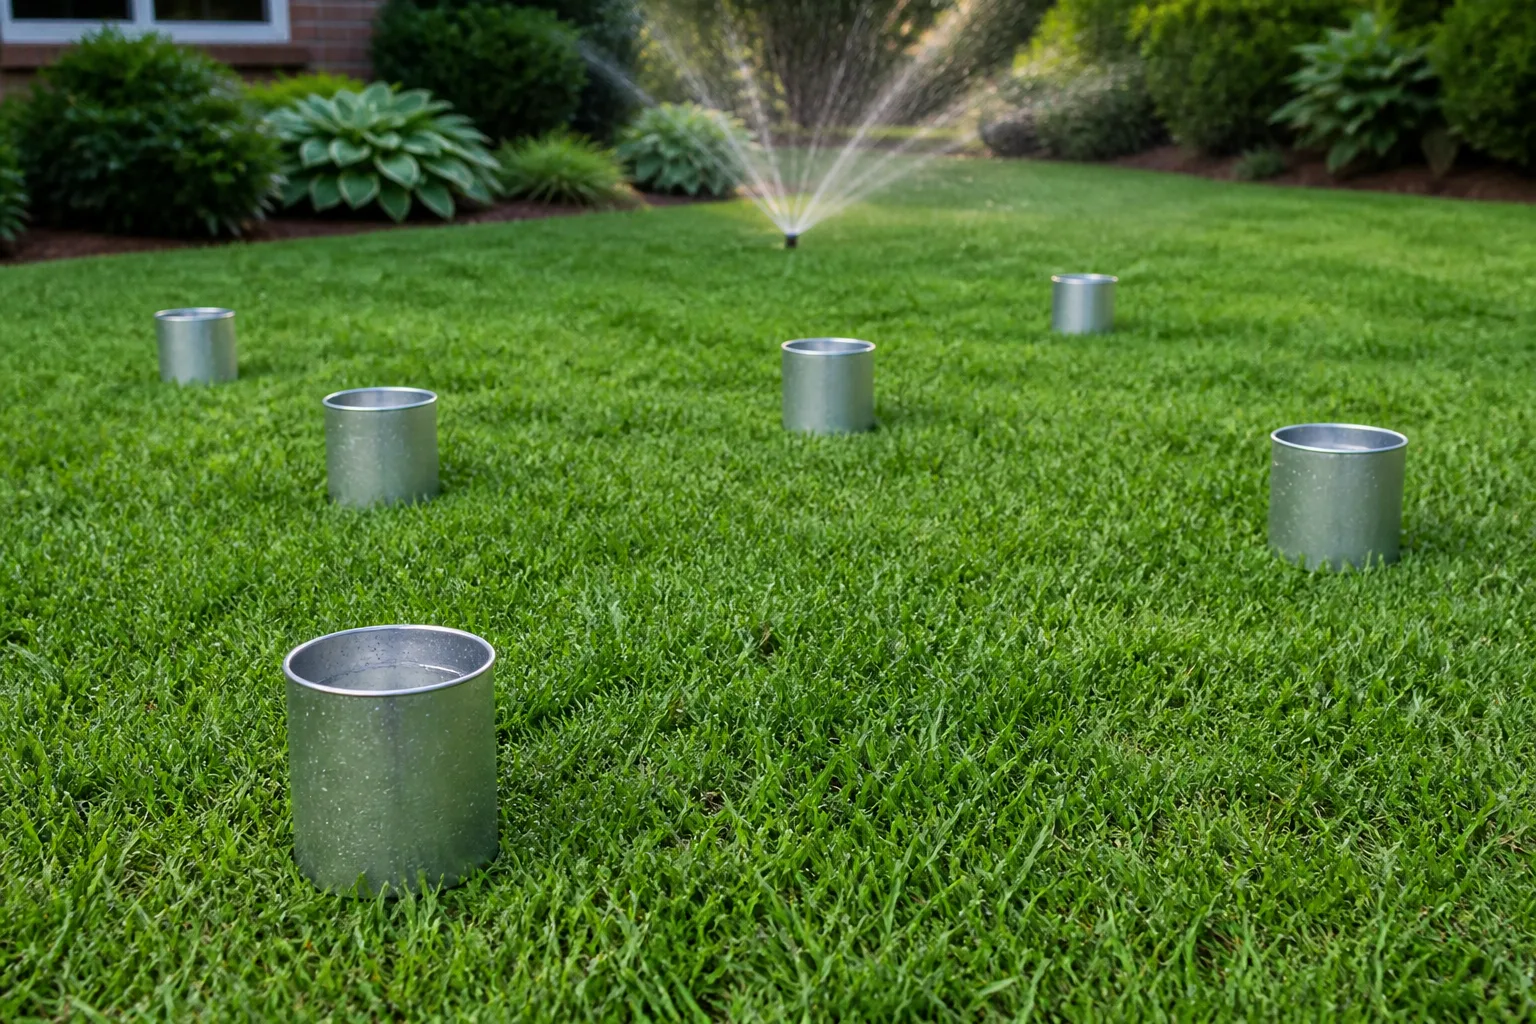
Use a rain gauge or straight-sided can to see what a sprinkler is actually applying. A timer tells you how long the system ran, not how much water reached each part of the lawn. If one corner is green and another is brown, do not automatically increase the whole system. Check for blocked heads, overspray, compacted soil, slope, and broken coverage first.
Water in a way that keeps paths and foliage from becoming the wettest parts of the garden. Direct the stream to soil, slow the flow so it can infiltrate, and adjust for rain. Morning is a practical default where it fits your climate and schedule because it gives wet foliage and surfaces time to dry, but a good root-zone soak at another safe time is better than skipping irrigation because the “perfect” hour passed.
Fix the system before adding more water
If water runs off the bed, improve the delivery and soil structure before adding minutes. Mulch can reduce evaporation and suppress some weeds, but keep it away from stems and trunks; a thick mulch volcano creates a new maintenance problem. If the soil stays saturated, investigate drainage or compaction rather than choosing plants that tolerate your watering mistake by accident.
Watering can also reveal a plant-selection problem. Group plants with similar moisture needs, shade the soil with appropriate groundcovers or mulch, and replace chronic failures with plants suited to the site. A garden that only looks good after daily rescue is not low-maintenance—it is mis-zoned.
Letting weeds become a design feature
A few self-seeded plants can support pollinators or add a meadow-like character. A bed full of weeds that obscure the intended plants is different. Once unwanted plants dominate the edge, cover the lower foliage, or set seed, the garden looks neglected and the desired plants must compete for light, water, and nutrients.
The fastest improvement is not usually a blanket herbicide application. Identify the weed, decide whether it is in lawn, mulch, paving, or a planted bed, and choose the least disruptive method. Pull or dig isolated weeds when the soil is moist; hoe tiny seedlings on a dry day; renew mulch where bare soil is inviting new germination; and correct thin turf or compacted soil that gives weeds open space.
Better Homes & Gardens’ weed guide is useful for one reason many quick weed lists miss: control depends on the weed’s growth habit. A taprooted dandelion, a creeping groundcover-like weed, and a grass weed should not be treated as the same problem. If you cannot identify the plant, photograph it, note where it grows, and ask a local extension office before applying a product.
Do not let pulled weeds lie on the path or pile beside the bed. If seedheads are present, bag them or dispose of them according to local guidance instead of spreading them through compost that will later return to the garden. And keep herbicide claims regional: product labels, permitted uses, weather restrictions, and lawn-grass tolerance vary by location.
Cutting the lawn too short—or at the wrong time
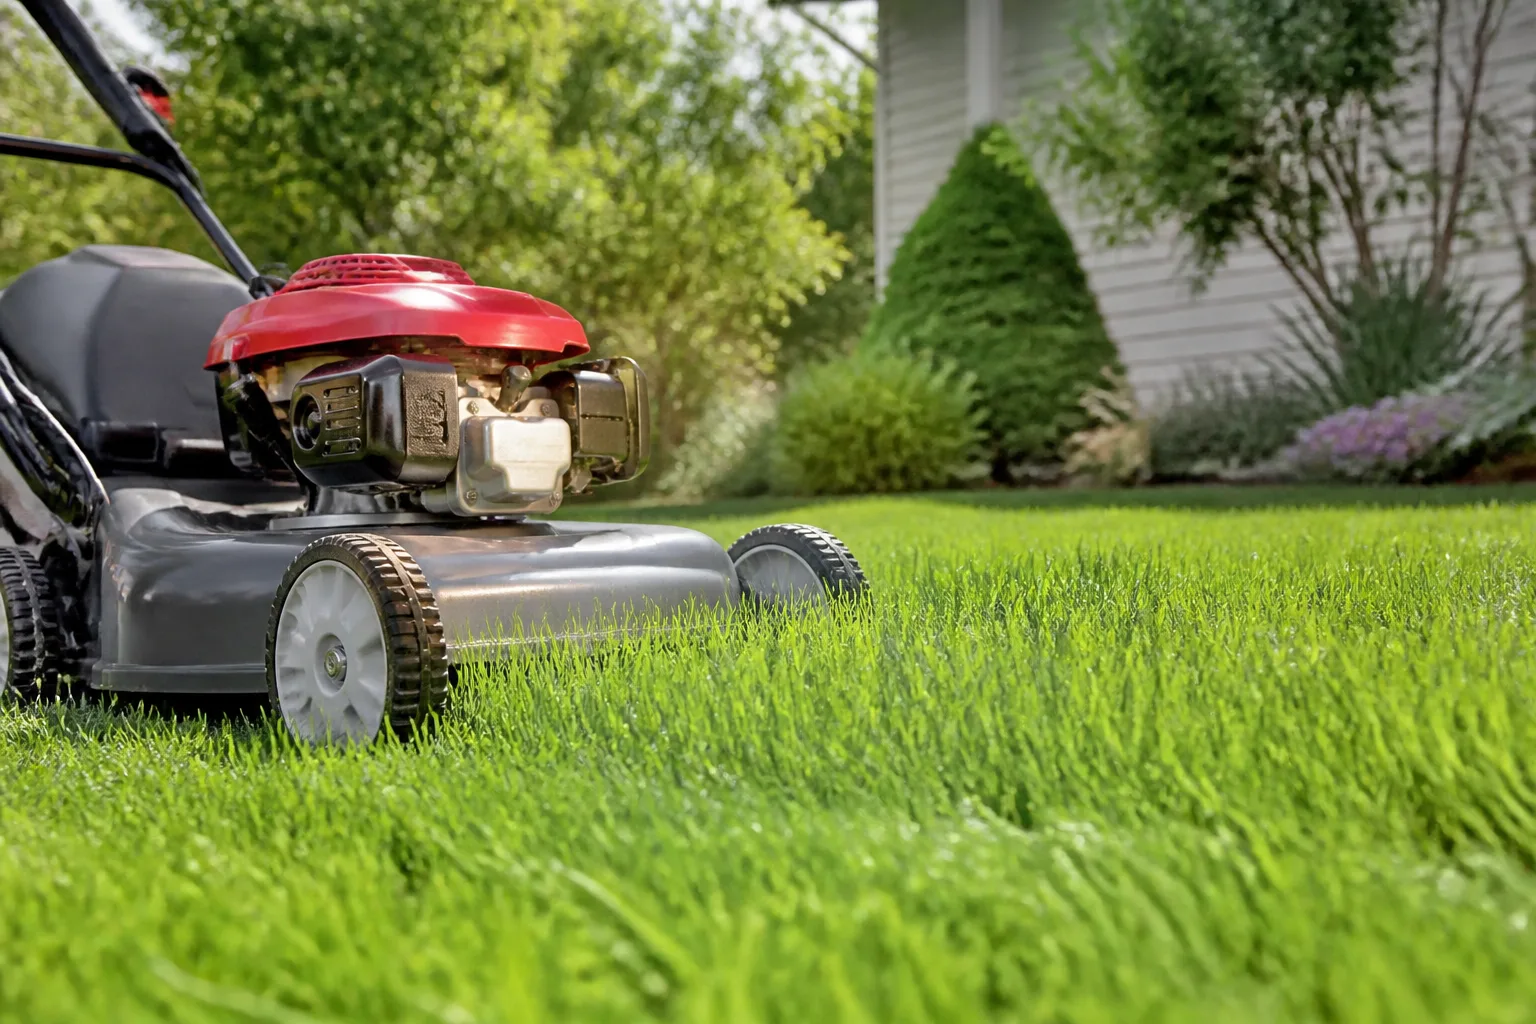
Short grass can look tidy for a day and stressed for the rest of the week. Scalping exposes soil, increases evaporation, weakens root growth, and gives weed seedlings more light. A lawn that is mowed high enough to stay dense often looks greener and more even, with fewer brown patches and less visible invasion.
The correct height depends on grass species, climate, season, shade, traffic, and mower. Treat general inch ranges as a starting point, not a universal prescription. Penn State Extension’s mowing research reports that raising mowing height can reduce weed pressure and encourage deeper roots; it recommends raising cool-season turf to around three inches or more as summer begins in its regional context. Your local extension service or seed supplier is the better authority for a specific grass type.
Use the one-third rule and sharp blades
The one-third rule is simple: remove no more than one-third of the grass blade in a single mowing. If the lawn has grown too tall, raise the deck and mow more often rather than cutting it down to the final height all at once. A gradual reset avoids the pale, shredded look that follows a severe cut.
Keep the blade sharp. A dull blade tears leaf tips, leaving a gray or straw-colored cast that can make a healthy lawn look diseased. Vary mowing directions, avoid mowing saturated soil, and keep clippings on the lawn when they are short enough to fall through the canopy. Penn State notes that returning clippings recycles nutrients; remove clumps that would smother the surface, especially after an overgrown cut.
Finish the lawn’s visual job with edges. A crisp transition between turf and bed often improves the whole yard more than another bag of fertilizer. Use a bed shape that is easy to mow and maintain; a complicated edge that disappears after two weeks of growth is a recurring chore, not a design upgrade.
Treating every leaf and stem as trash
A garden can look dirty when debris blocks paths, covers a lawn, mats down a small plant, or hides diseased foliage. It can also look unnaturally bare when every brown stem, seedhead, and leaf is removed the moment it changes color. The right cleanup decision depends on where the material is, whether it is healthy, and what the bed is meant to do through the season.
Clear leaves from steps, drains, gutters, and lawn areas where a thick, wet layer will smother turf. Remove branches that create a trip hazard, dead annuals that have collapsed into a walkway, and foliage with a disease that your local extension service says should not be composted. Those jobs create an immediate visual improvement and reduce practical risks.
Leave some healthy stems and seedheads standing when they provide winter structure, food for birds, or shelter for insects. This is not neglect; it is a deliberate naturalistic choice. The visual trick is to give the wild area a boundary: a mown edge, a clean path, or a repeated planting group makes intentional habitat read as a garden rather than an unfinished chore.
Keep cleanup seasonal and targeted
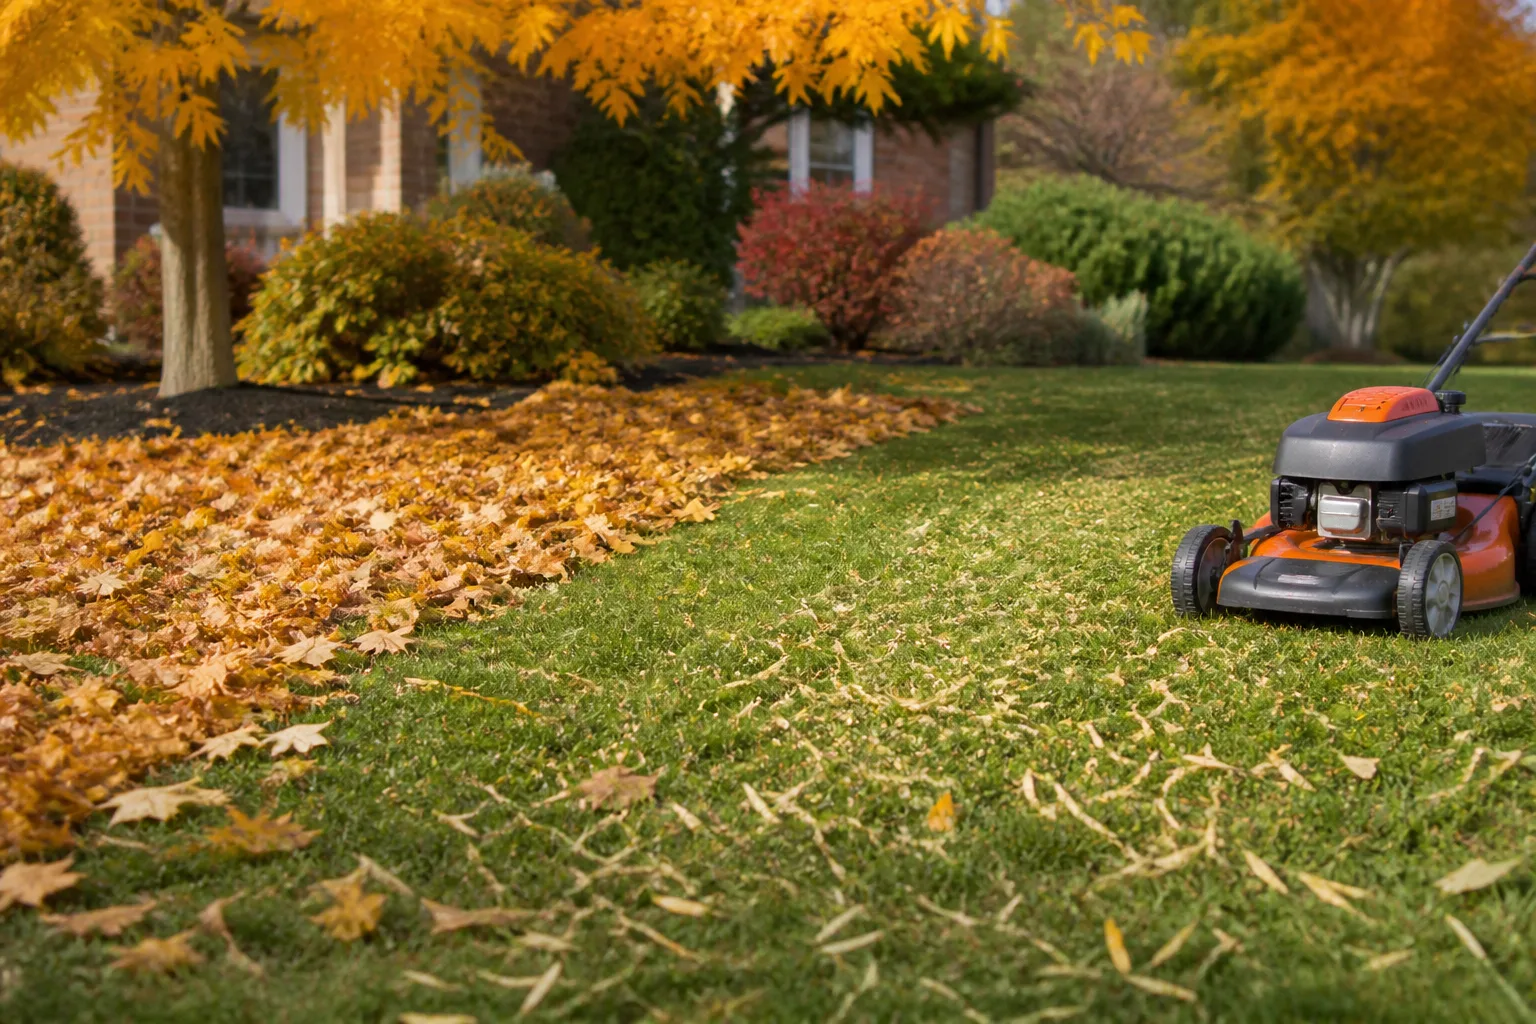
Use a short seasonal checklist instead of one dramatic cleanup day. In spring, remove winter-killed material before it hides new shoots. During the growing season, clear paths, pick up fallen branches, and remove weeds before seed. In autumn, mulch or shred healthy leaves where they can improve soil, but keep thick leaf layers off turf and crowns that need air.
Do not prune every perennial into a flat haircut just because the bed looks brown. Cut back plants that are diseased, unsafe, or blocking access; leave sturdy stems that add height and winter interest if they fit the garden’s purpose. If a bed still looks messy, define its edge and remove a few weak plants before removing all seasonal texture.
Letting furniture and decor age in place
Garden furniture and decor are part of the composition, not a separate afterthought. A dusty chair, algae-streaked fountain, collapsed cushion, leaning trellis, or faded plastic pot can draw the eye more quickly than a struggling plant. On the other hand, patina can be attractive when the object is sound, intentional, and supported by the surrounding design.
Start by judging function and scale. Can the chair be used? Does the fountain sit level and have a clean water basin? Is the birdbath visible without being buried by foliage? Does the pot belong to the garden’s color and material palette? A small yard usually benefits from fewer, better-placed objects; a large garden can hold several features if they repeat a material, axis, or color.
Avoid adding decor to fill a design problem. A statue cannot hide a bed that is too deep to weed, and string lights cannot make a broken path safe. Homes & Gardens’ discussion of scale and proportion applies beyond curves: an object should relate to the house, patio, plants, and the space around it. Oversized decor in a tight bed looks crowded; tiny pieces scattered across a large lawn look accidental.
Edit, clean, or replace in that order
Use this order because it keeps the fix affordable. Edit first: remove objects that are cracked, redundant, hidden, or unrelated to the garden’s purpose. Clean what remains: wash outdoor furniture, clear debris from a birdbath or fountain, brush soil off pots, and straighten pieces that have shifted. Repair sound items before buying replacements. Replace only when the object is unsafe, beyond repair, or so faded that cleaning cannot restore a coherent look.
Keep maintenance in mind before you add anything new. A fountain needs water care, a fabric cushion needs storage, a painted chair needs touch-ups, and a birdbath needs regular cleaning. If you will not do that work, choose fewer weather-tolerant pieces or let the planting carry the visual interest.
A 30-minute reset that improves the whole yard
When a yard feels overwhelming, make the first pass purely visual and practical. Set a timer for 30 minutes and take a bucket, pruners, gloves, a weeding tool, and a rake. Do not start redesigning the bed or shopping for plants; the aim is to remove the most obvious distractions and learn what remains.
What to do first, second, third
First, clear the view. Pick up litter and fallen branches, open the path, move empty pots, and remove anything broken or unsafe. This makes the garden easier to read immediately.
Second, restore the edges. Pull the largest weeds, sweep the hardscape, and trim only the growth that blocks a walkway or hides the bed’s shape. A defined line between lawn and planting often has more impact than a full day of detail work.
Third, check the systems. Put out a rain gauge or catch can, inspect sprinkler coverage, look at mower height, and feel the soil before watering. Mark one area that stays wet and one that dries quickly. Those observations tell you what to repair or redesign next.
Fourth, choose one planting correction. It might be moving a sun-starved plant, thinning a crowded clump, repeating a plant in an empty section, or adding mulch to exposed soil. Make the smallest change that addresses the bottleneck. If the garden still feels busy after that, remove or relocate one competing element rather than buying another.
Conclusion: make the garden look intentional, not perfect
The six things that make a garden look bad are rarely a lack of expensive plants. They are usually a lack of relationship: plants do not repeat, mature size does not fit the bed, water does not match the root zone, weeds occupy open soil, mowing stresses the lawn, cleanup ignores the season, or decor has outlasted its purpose.
Fix the most visible relationship first. Group and space plants with their future size in mind, water by conditions instead of habit, keep weeds from setting seed, mow high enough for dense turf, clean only what needs cleaning, and edit outdoor objects before adding more. A garden can be loose, wildlife-friendly, colorful, and imperfect while still looking unmistakably intentional.



