How to Make a Potted Plant Fuller: 6 Practical Tips
Learn how to make a potted plant fuller with six practical fixes for light, pruning, cuttings, support, and root health, plus mistakes that slow new growth.
A potted plant can look thin for very different reasons: it may be stretching toward light, growing in a naturally trailing form, carrying too few stems for the size of its pot, or losing leaves because its roots are stressed. The right fix depends on which of those is happening. Cutting first can remove healthy leaves without solving the cause.
To make a potted plant fuller, first identify its growth habit and correct any light, water, or root problem. Then use a method that suits the plant: pinch a branchable soft stem, prune a leggy vine and root the cuttings, train a climber, or add established divisions to a clump. These steps improve shape over time; none can force every plant to become a dense mound.
How to Tell Whether Your Plant Can Become Fuller
“Fuller” can mean more stems, more leaves, a pot surface that is less bare, or a plant that occupies more of the room. Those are related goals, but they are not interchangeable. A trellis can make a vine fill vertical space without increasing its stem count, while rooted cuttings can cover open soil even before the original plant branches.
Before choosing a technique, look at where new growth normally emerges. If the plant produces side shoots along a stem, you can often encourage a denser outline by pinching or pruning at the right point. If it grows as one crown or a tight rosette, its natural route to a fuller pot may be offsets, pups, or division rather than cutting off the center.
Branching plants, rosettes, and vines need different fixes
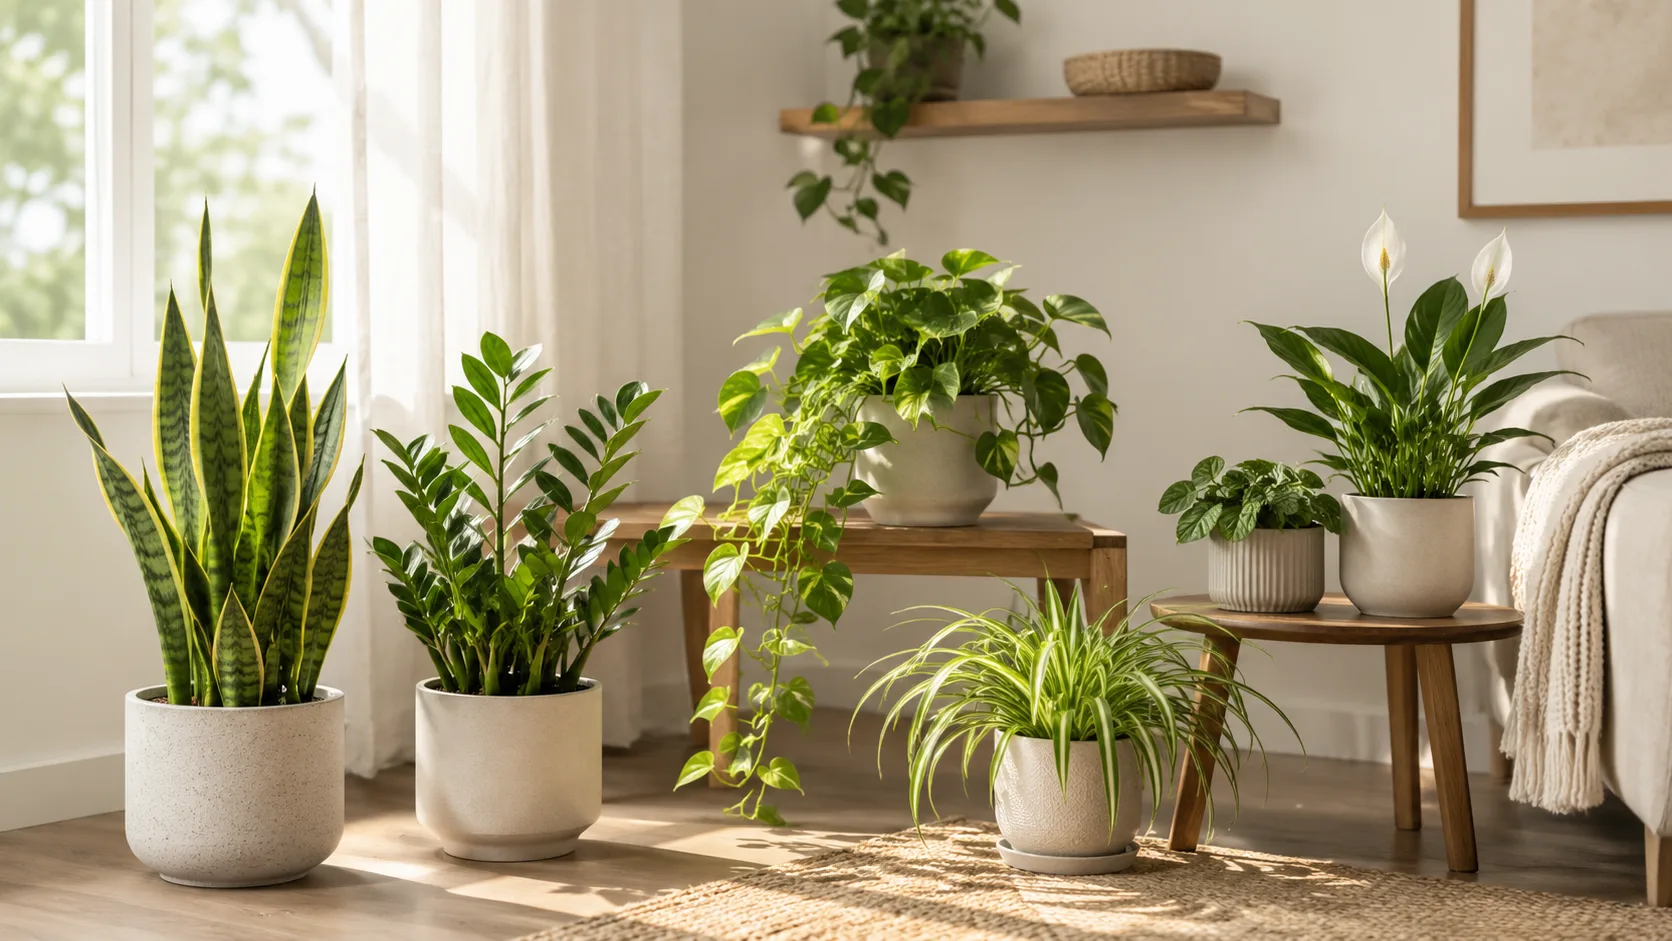
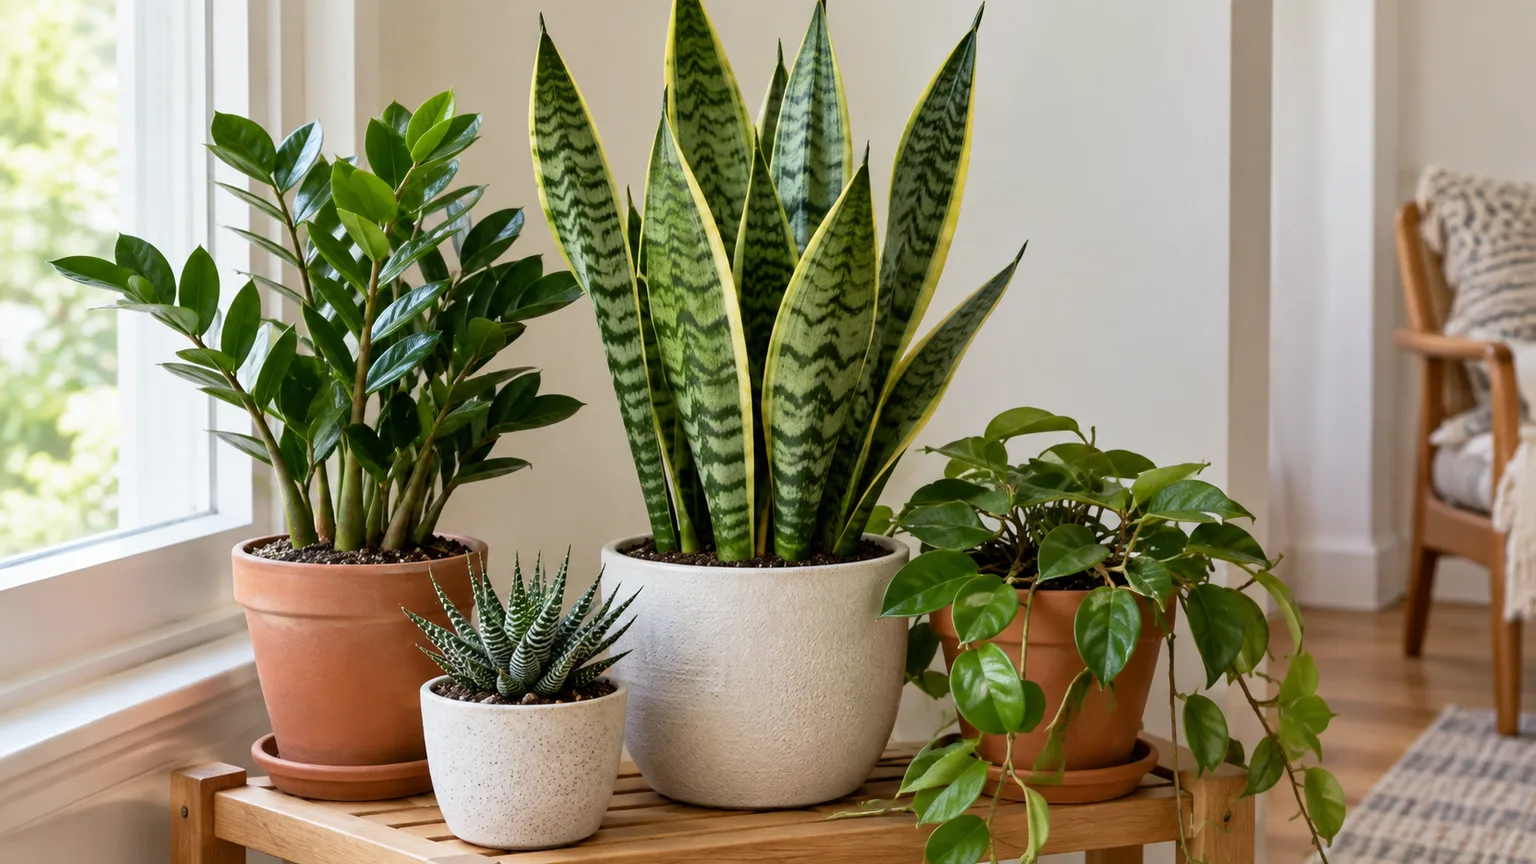
Soft-stemmed plants such as coleus and many tradescantias can branch after their growing tips are removed. Pothos and some philodendrons are vining plants: pruning a long stem can prompt growth at a node, and the removed section can become a cutting. A snake plant or many other rosette-forming plants instead makes new leaves from the base; pinching individual leaves will not turn it into a branching shrub.
The plant’s age and condition matter as much as its name. A young plant actively producing leaves is a better candidate for shaping than a weak plant with damaged roots, a dormant plant, or a woody stem with no visible buds. If you are unsure, make one small cut on a healthy stem and observe the response before pruning the rest.
Diagnose Before You Prune
Compare the newest growth with older growth, then check the plant’s setting. Long gaps between leaves and stems leaning toward a window often point to inadequate or one-sided light; yellowing, soft stems, or persistently wet mix suggest a root or watering problem. A long vine with healthy leaves may simply be following its normal growth habit rather than showing poor care.
Also inspect the pot, not just the canopy. Check that it has drainage holes, that water can escape, and that the mix is not staying soggy for days. If the plant is loose in its pot or the mix has collapsed, a root inspection may be more useful than fertilizer or pruning.
A quick symptom-to-first-action check
| What you see | Likely first check | Better first move |
|---|---|---|
| Long bare spaces between leaves; stems lean toward a window | Light level and direction | Increase suitable light gradually; wait for healthy new growth before shaping |
| Healthy but trailing stems | Natural growth habit | Train, shorten selectively, or root cuttings |
| Few leaves with wet soil or a sour smell | Drainage and roots | Correct the root-zone problem before adding fertilizer or cuttings |
| A rosette with a bare-looking pot rim | Basal offsets or divisions | Propagate offsets or divide a mature clump if the species allows it |
| One side grows toward the window | Light distribution | Turn the pot periodically and keep the plant in a suitable location |
Treat the table as a triage tool, not a diagnosis from one symptom alone. For example, a plant that dries quickly may be root-bound, but it may also sit in a hot, bright spot or have a small pot relative to its foliage. Check the pattern over several waterings before changing the container.
1. Give the Plant the Right Light
Light is the first condition to fix when a plant has become stretched or sparse. A plant cannot reliably produce sturdy, closely spaced growth if it is receiving less usable light than its species needs. Penn State Extension’s discussion of low-light houseplants shows why there is no single window rule: different plants tolerate different light levels, and even plants considered low-light can grow less vigorously when the light changes. The RHS houseplant growing guide likewise recommends matching placement to the needs of the particular plant.
Start by observing how many hours the plant receives bright natural light and whether nearby buildings, curtains, screens, or deep window recesses reduce it. A spot that looks bright to a person can still be dim for a sun-loving plant. Move the pot closer to a brighter window if appropriate, but increase exposure in steps; sudden direct sun through glass can scorch leaves that have been adapted to shade.
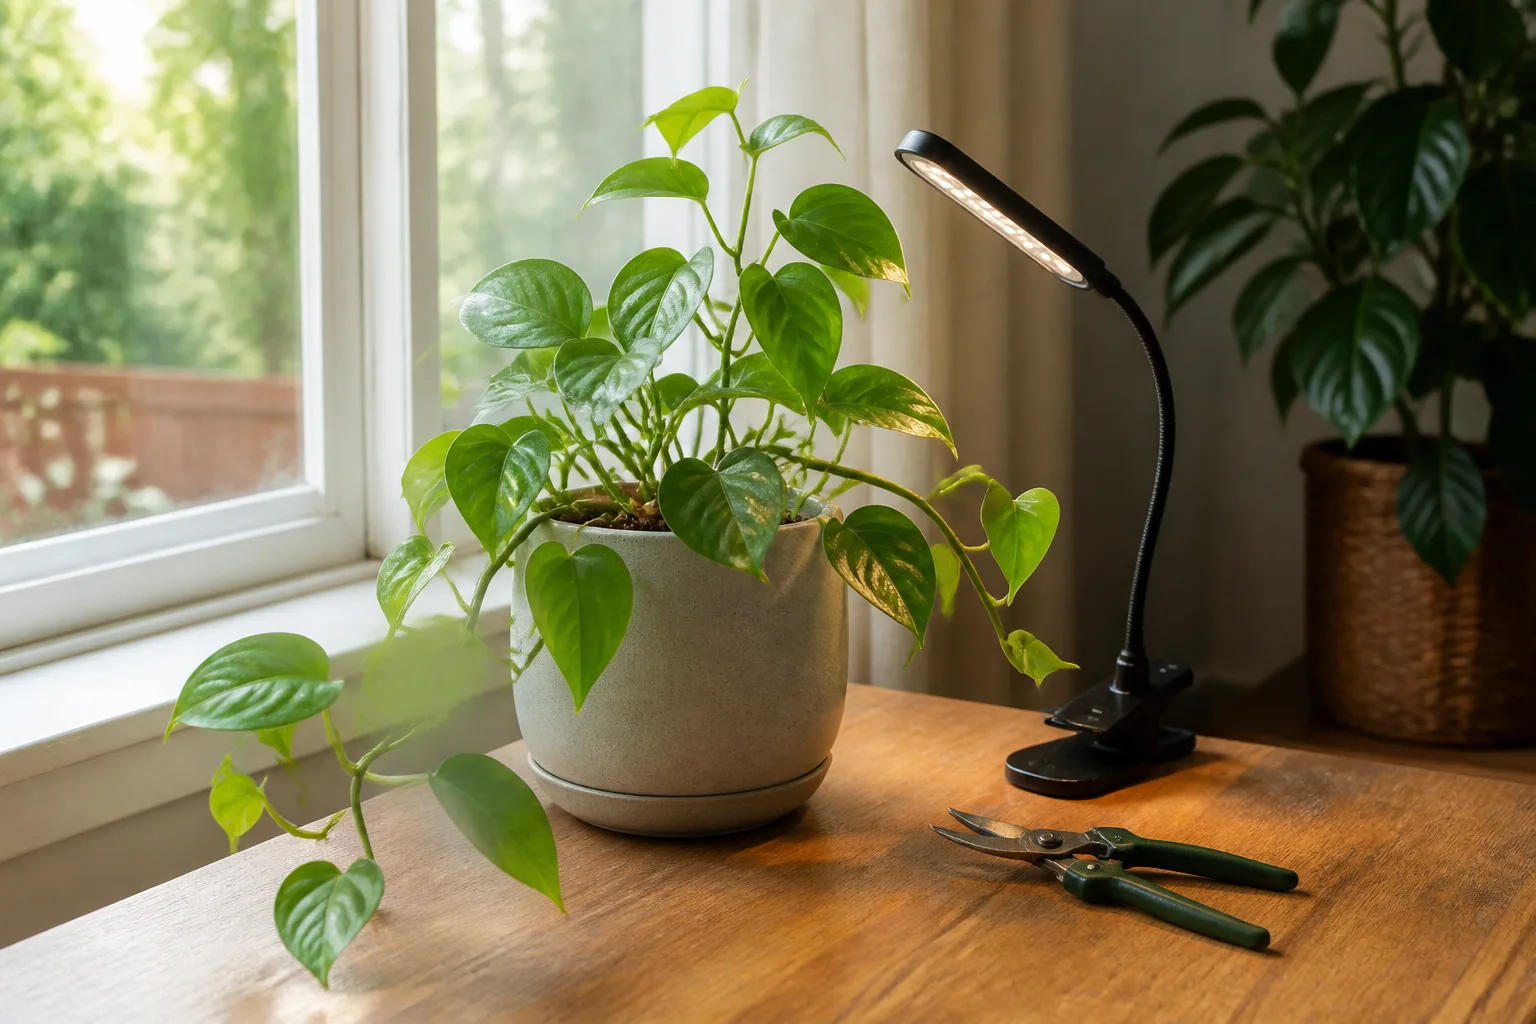
A grow light can help when the room does not provide enough daylight, but it is a supplement to be positioned and timed for the plant, not a cure-all. Follow the light’s instructions, keep it at a suitable distance, and watch new leaves for signs of bleaching, heat stress, or continued stretching. If the plant is already making compact new growth, leave it in place rather than moving it repeatedly in pursuit of an ideal-looking corner.
Allow the plant to show you whether the change helped. Existing stretched stems usually will not shorten; assess the next leaves and the spacing between new nodes. Once the plant is growing steadily in better light, pruning or pinching can shape the future growth instead of asking a stressed plant to recover and branch at the same time.
2. Pinch Soft, Branching Growth at the Right Time
Pinching means removing the soft growing tip of a stem so the plant can send growth from lower buds. It is a shaping method for plants that naturally branch, not a universal instruction for every houseplant. The RHS guide to taking houseplant cuttings describes pinching out the growing tip to encourage side shoots, while Epic Gardening’s practical guidance also stresses choosing suitable young growth and avoiding stems that have become woody.
Wait until a young plant has several healthy nodes and is actively growing. Find the point where a leaf joins the stem; that joint is a node, and buds may form just above it. Remove only the tender tip just above a node, leaving the lower leaves and stem intact. If the stem is too firm to pinch cleanly, use sharp, clean scissors rather than twisting or crushing it. Gardening Know How’s pinching overview also recommends pinching close to a node and notes that the method suits some plant types better than others.
Do not remove the tip just because a plant looks thin. If it has only a few leaves, is recovering from repotting, or is not receiving enough light, pinching may slow it further. Pinching can also delay flowers on plants grown for blooms, so decide whether a compact outline or an earlier flush of flowers matters more to you.
Try one or two tips first, then wait for the plant’s response. When side shoots appear, the plant may look fuller near the cut but can still have bare stems lower down; that is when selective pruning or rooted cuttings may help. A plant with one central crown, including many palms and rosette-forming species, should not be treated like a branching coleus.
3. Prune Bare or Stretched Stems With a Plan
Pruning removes a longer section than pinching and is useful when a vine has become lanky, a stem has lost leaves, or one side of the plant is out of balance. Correct the light problem first if the stems are elongated. Otherwise, the next growth may stretch in the same way, and repeated trimming can leave the plant smaller without making it denser.
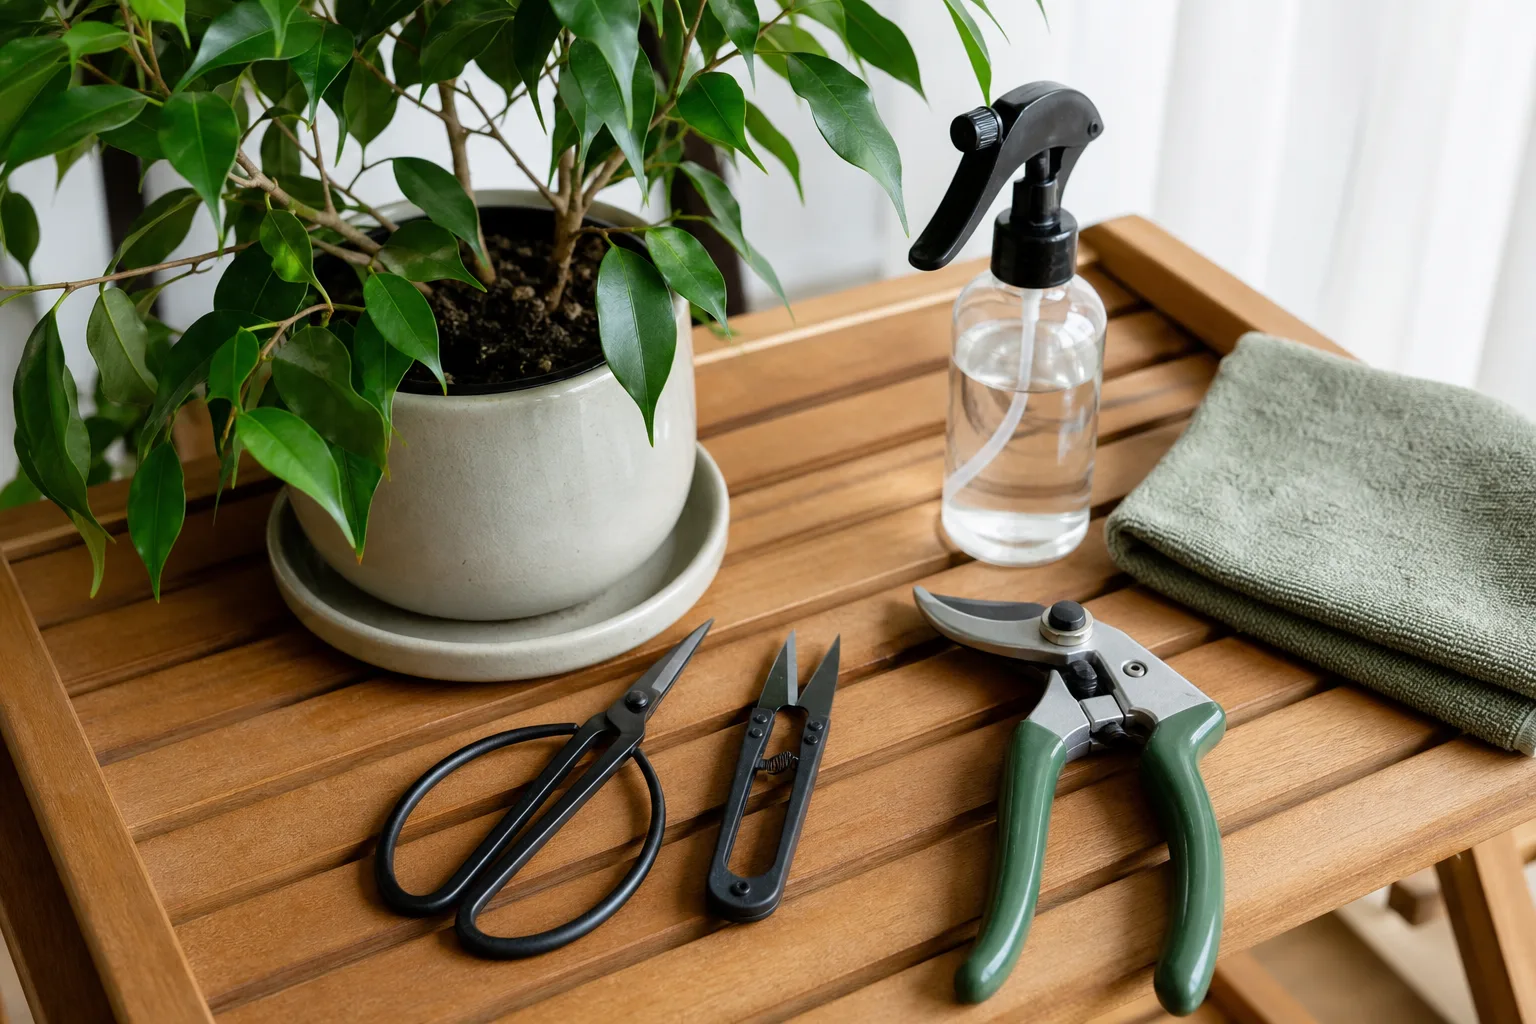
Choose the stem you want to shorten, trace it down to a healthy node, and make a clean cut just above that joint. A node is a useful landmark because leaves, buds, and sometimes aerial roots occur there. Do not leave a long dead stub, cut into the main crown, or remove a large share of the plant’s healthy foliage in one session, especially when the plant is weak or growing slowly.
The direction and number of remaining stems help determine the final shape. Shortening the longest vine can make the outline more even, but a single cut cannot fill every bare section of a long stem. If the plant has multiple healthy stems, stagger the cuts rather than shearing everything to one level; leave enough leaves to support recovery and keep the pot from looking suddenly sparse.
Root the healthy cuttings
Do not discard a healthy piece simply because it came off during shaping. Remove the lowest leaves, keep at least one or two nodes on a stem cutting, and place the node in water or a clean, airy rooting medium suited to the plant. Penn State Extension’s houseplant propagation guidance explains why stem cuttings need nodes and appropriate light, moisture, and warmth for rooting.
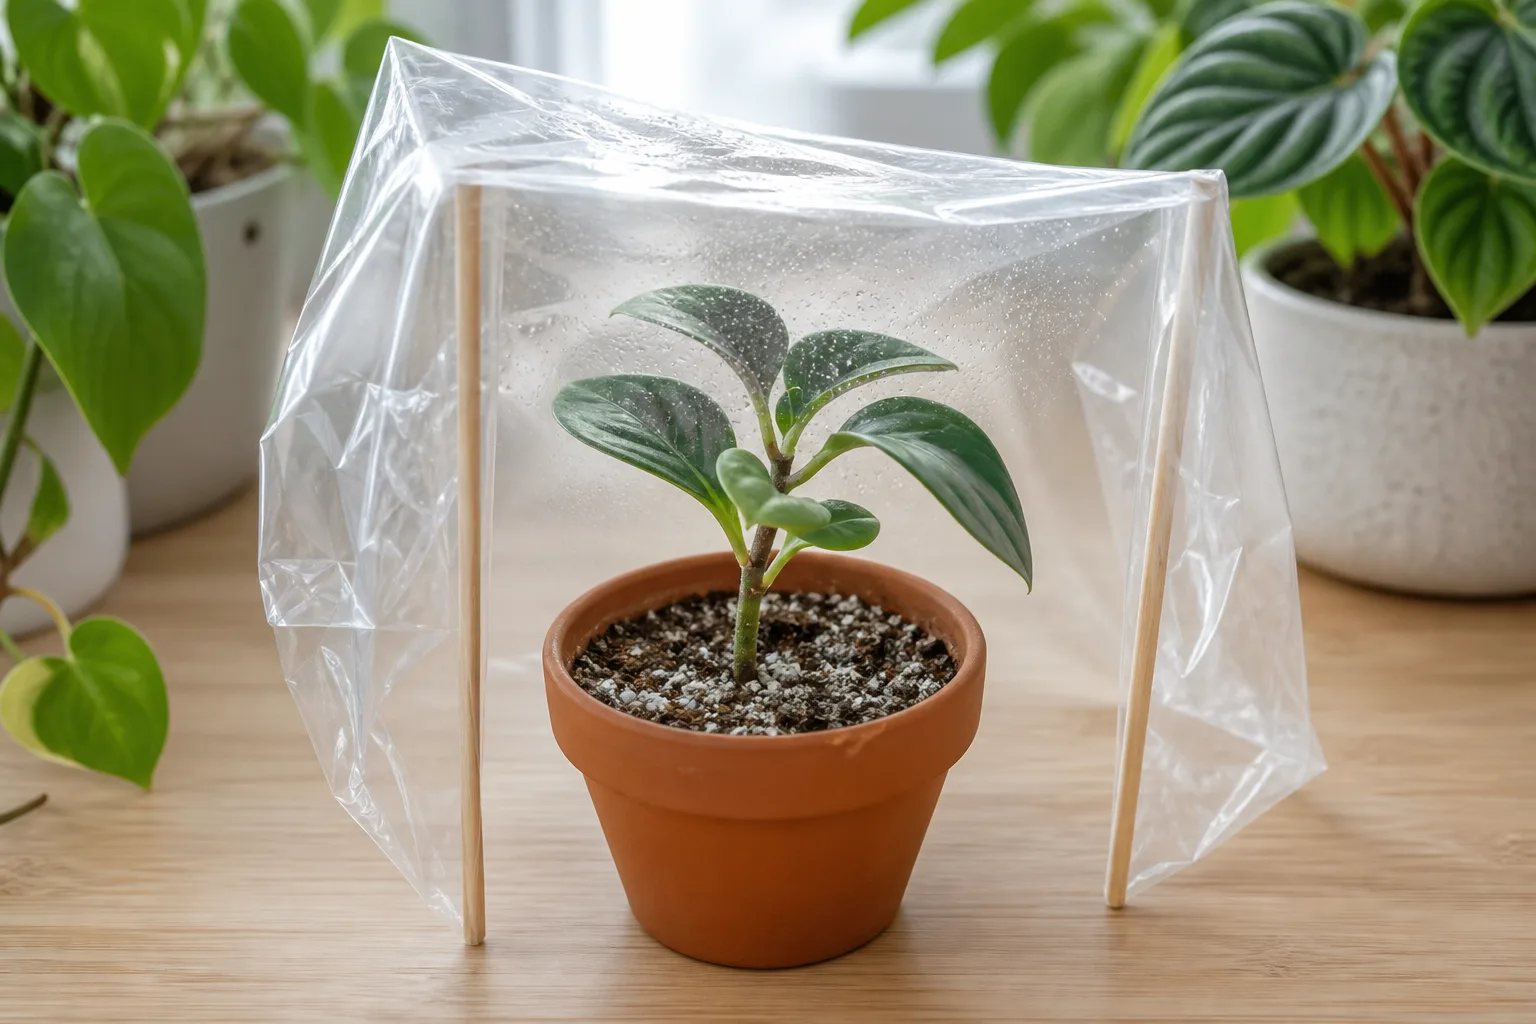
Keep the cutting in bright, indirect light and the medium lightly moist rather than waterlogged. The RHS notes that houseplant cuttings can root in water or compost and recommends moving rooted cuttings into a small pot once they have roots and begin growing. Rooting time varies by species and conditions, so use visible root growth and new growth—not a fixed calendar date—as the signal to pot it up.
4. Plant Rooted Cuttings to Close Gaps
If the parent plant has healthy roots but only a few stems in a large container, adding rooted cuttings can fill the pot more evenly than waiting for the original plant to branch. Plant them around the open edge or in the bare section, keeping their stems at the same depth they had while rooting. Angle trailing stems outward if you want them to drape over the rim, or keep them upright if the goal is a compact mound.
Use cuttings of the same species or plants with genuinely compatible light and watering needs. A thirsty fern and a drought-tolerant succulent may look good together on planting day but need different soil moisture; the mismatch can make one decline. Avoid packing stems tightly against each other, because crowded foliage dries slowly and makes it harder to notice pests or soil problems.
For plants that form several rooted crowns or offsets, division may be a better way to fill a container than stem cuttings. Ease the plant from its pot and check whether separate rooted sections can be divided without tearing a single central crown apart. Keep a viable root system with each division, use a clean container with drainage, and water according to the species while the divisions settle.
An immediate, fuller arrangement is not the same as a plant that has become bushier. Rooted starts add stems; they do not change the original plant’s growth pattern. If the goal is an evenly filled pot, this is often the most dependable visual fix, but it still needs enough light and room for the new roots to establish.
5. Train Vines and Rotate for a Balanced Shape
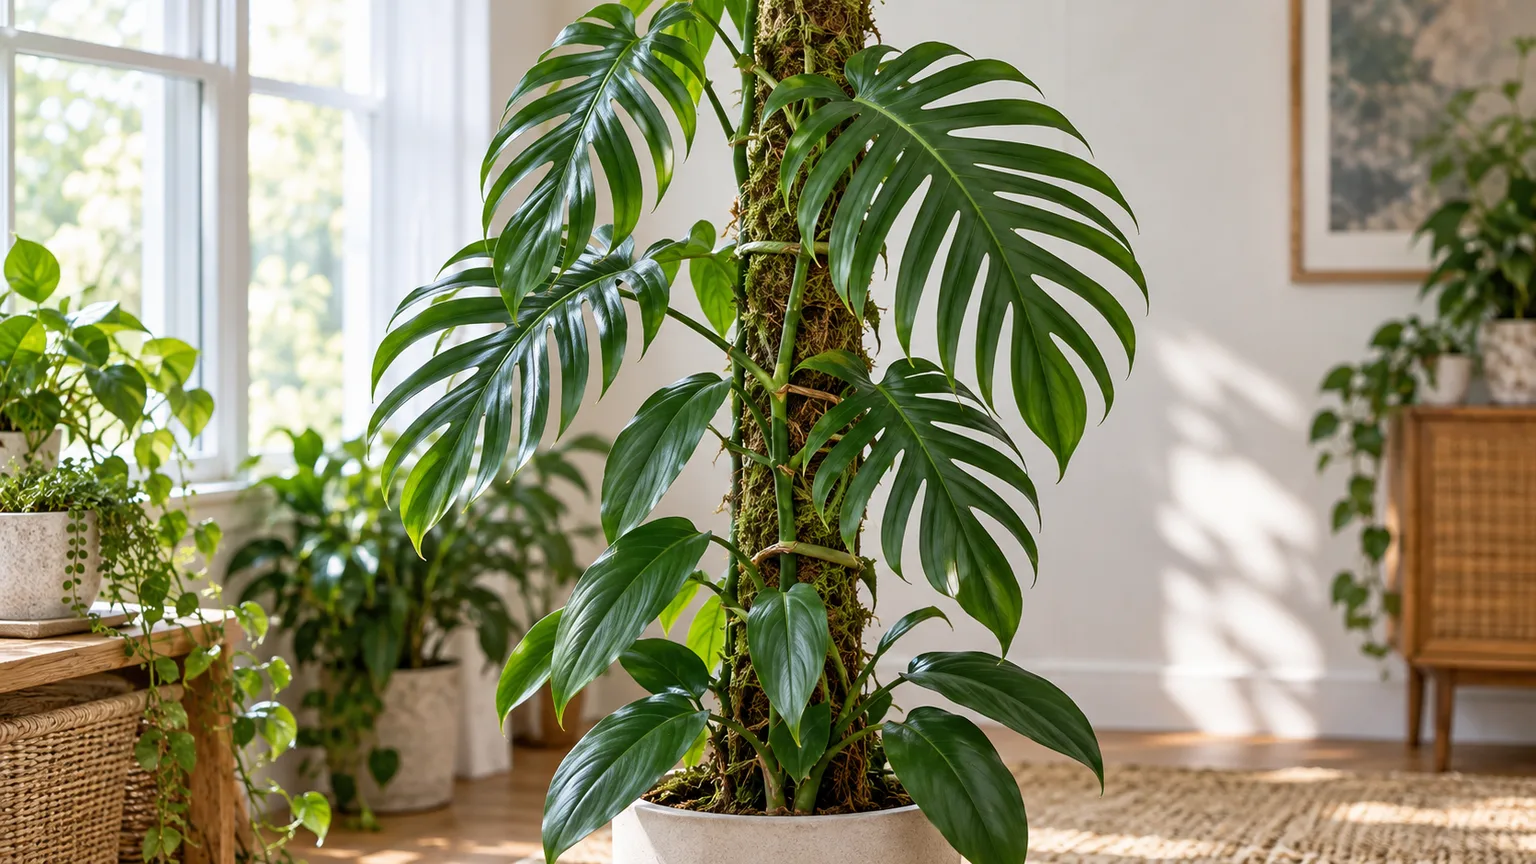
Vining plants are often meant to trail or climb, so a bare-looking center may reflect how the stems are displayed rather than a lack of health. A trellis or moss pole lets a climbing plant use vertical space, keeps long stems from sprawling across a shelf, and makes its foliage easier to see. Tie stems loosely with soft plant ties; a tight loop can cut into a growing stem as it thickens.
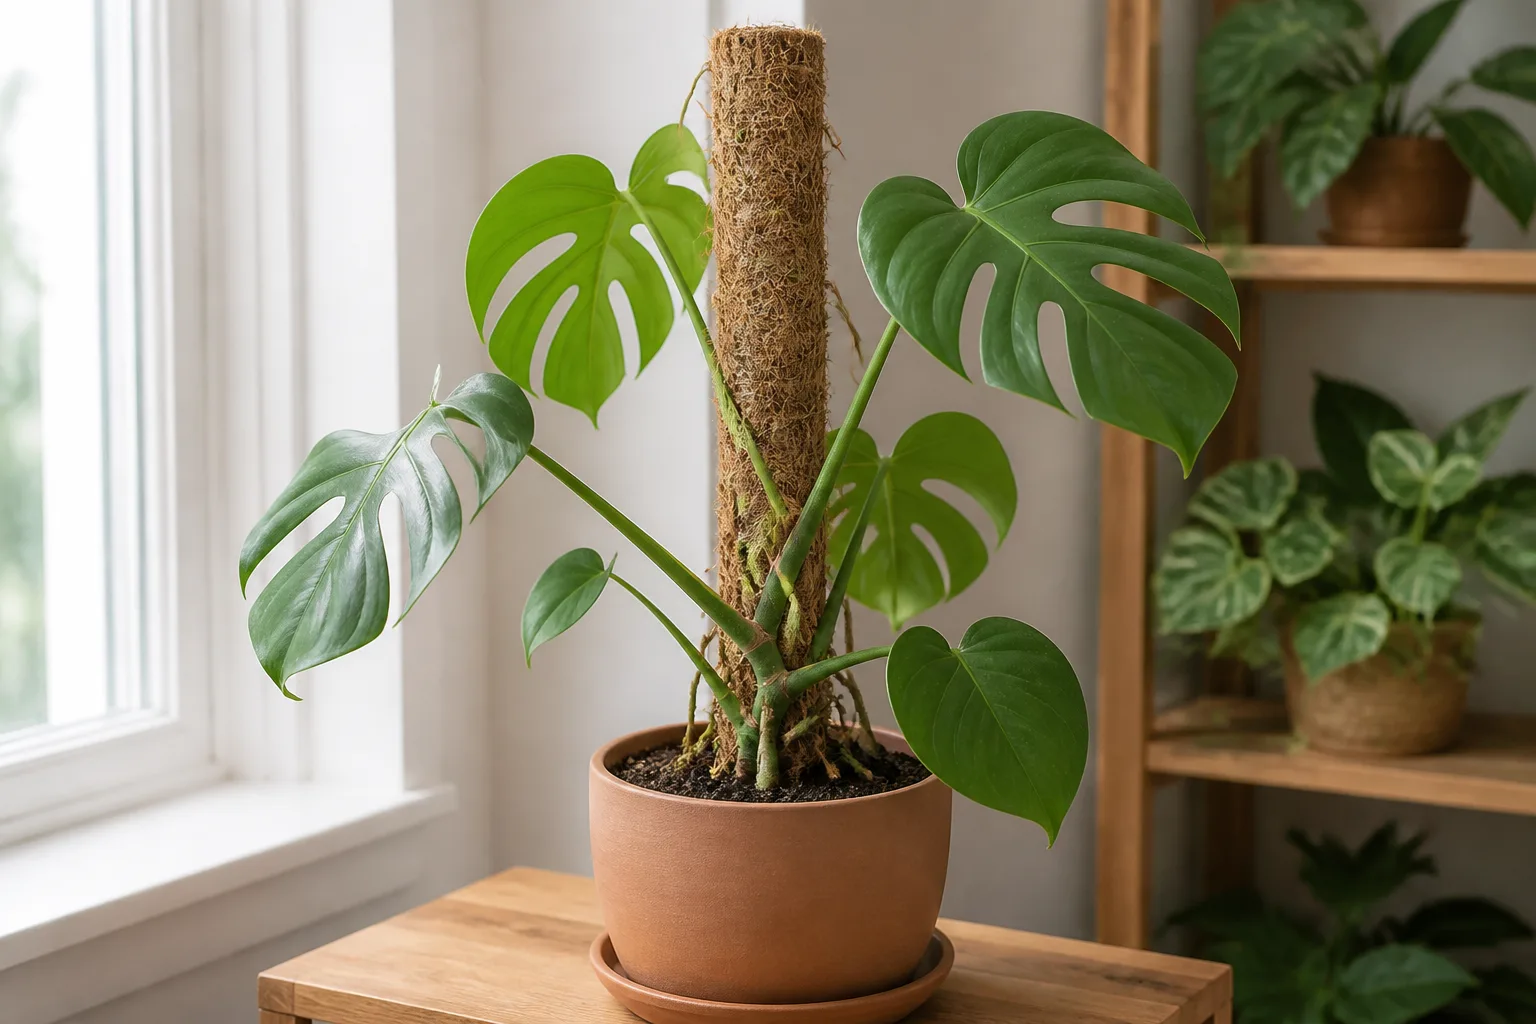
If you prefer a rounded pot, shorten a few long stems and root them back into the container instead of forcing every vine upright. Some growers guide flexible stems back over the soil surface, but do not bury leaves or keep the mix constantly wet to make a node root. A sparse stem with healthy nodes is a better candidate for cuttings than a brittle, leafless section.
Turn the pot when growth is consistently leaning toward one light source. A gradual turn helps distribute new growth around the plant, but it does not cause branching by itself. Avoid moving a light-sensitive plant from shade to strong sun simply to make the opposite side catch up; correct the overall light level and let the new growth rebalance the shape over time.
6. Fix Pot and Care Problems That Slow New Growth
Foliage fullness depends on functioning roots. If the pot has no drainage hole, the mix stays wet for long periods, or the plant has outgrown a compact root ball, new stems may be slow no matter how neatly you prune. Slide the root ball out gently if you need to inspect it; dense circling roots and very little usable mix can support repotting, while a few roots at the drainage hole alone do not prove that the plant needs a much larger pot.
When repotting is justified, choose a container only modestly larger and keep the root flare at its previous depth. An oversized pot holds more wet mix than a small root system can use, which can prolong saturation. The RHS houseplant guidance emphasizes drainage and choosing a pot size appropriate to the plant; those basics protect growth but do not directly trigger branching.
Water when the plant’s mix and species indicate that it is ready, not to a fixed weekly schedule. During active growth, feed with a suitable houseplant fertilizer at the label rate if the plant needs it; adding extra fertilizer to a dim or waterlogged pot will not make it branch faster. Correct the limiting condition first, and avoid feeding dry roots.
When humidity or a summer move can help
Humidity matters when a plant’s leaves are drying or wilting because the air is too dry for that species, but raising humidity does not usually create new branches on its own. The RHS houseplant guide points out that humidity needs differ among houseplants. Use a room humidifier or an appropriate grouping strategy when the plant’s care needs call for it; repeated misting is brief, uneven, and no substitute for correcting a root or light problem.
A sheltered outdoor stay can provide stronger natural light and airflow during suitable warm weather, but it is optional and can also scorch or damage an indoor plant. Move it to shade for short periods first, increase exposure gradually, protect it from strong wind and heavy rain, and inspect the leaves for pests before bringing it back inside. Better Homes & Gardens’ outdoor-transition guide recommends gradual acclimation and partial shade; follow the plant’s temperature limits and local weather rather than using a single calendar date.
Mistakes That Make a Sparse Plant Worse
Buying a much larger pot does not create extra shoots. It can leave a small root system sitting in excess wet mix, so repot only when the roots or degraded growing medium justify the change. If the plant is healthy but the container looks empty, rooted cuttings are a more direct way to add visible stems.
Pruning before fixing low light can produce another round of long, weak growth. Likewise, pinching a plant that does not naturally branch may remove its growing point without creating a fuller form. Identify the plant’s growth habit first and test a small cut rather than treating every stem like a flowering annual.
Crowding the pot with unrooted pieces can make the surface look busy for a few days, but cuttings that rot or compete for space do not make a durable display. Root them under suitable conditions, plant them only when established, and leave room for air to move between leaves. If the existing soil is unhealthy, refresh the root conditions before adding more stems.
Adding fertilizer, humidity, or misting without a diagnosis can distract from the cause. Fertilizer does not replace light; humidity does not fix saturated roots; and misting does not reliably increase room humidity for long. Change one important condition at a time, then observe the next growth so you can tell which adjustment helped.
How Long Does a Plant Take to Look Fuller?
Some changes are immediate: tying a vine to a support changes its silhouette, and planting rooted cuttings closes empty spaces as soon as they settle. New branches take longer. A healthy, actively growing plant may show buds or shoots within several weeks, but slower species, low-light homes, cool seasons, or recovery from root stress can stretch that timeline to months.
Expect existing stretched stems to stay stretched. Judge progress by new leaves, closer spacing between new nodes, and healthy side shoots below a cut. If the plant keeps producing thin growth, reconsider its light and root conditions before cutting again. Repeated pruning without a visible response is a signal to reassess the method, not to make a larger cut.
A Simple Four-Week Plan to Get Started
Week 1: Observe and correct one major condition. Note where the light comes from, whether the newest growth is compact, how quickly the mix dries, and whether water drains. Move the plant only if its species needs more suitable light, and do so gradually. Do not pinch a plant that is visibly stressed.
Week 2: Choose one shaping method. If the plant is healthy and naturally branches, pinch one or two soft tips. If it is a leggy vine, prune one or two stems just above nodes and save healthy cuttings. If the shape is already healthy but one-sided, adjust its position or support instead of cutting.
Weeks 3 and 4: Wait, inspect, and add growth only when ready. Keep watering consistent with the plant’s needs and look for roots on cuttings or buds below the cuts. Pot rooted cuttings into open areas only when they can establish without crowding. Record what changed so you do not layer several treatments and lose track of the one that worked.
At the end of the month, compare the plant’s new growth with your original notes. If it is healthy but still visually sparse, decide whether you want more original branches, more rooted stems, or a different silhouette. That choice will tell you whether to pinch, propagate, or train next.
Conclusion
The most reliable way to get a fuller potted plant is to match the fix to the plant: improve unsuitable light, pinch only soft stems that can branch, prune above healthy nodes, and use established cuttings or divisions to fill empty space. Vines may look fuller when trained, while rosette plants usually need offsets or division rather than tip pruning.
Give the plant time to respond and use its newest growth as your evidence. A thoughtful small change, followed by observation, is more likely to create a healthy full-looking pot than extra fertilizer, a much larger container, or repeated cutting without a clear reason.