New Backyard Landscaping: A Practical 4-Tip Plan
Plan new backyard landscaping around real use: check soil and drainage, locate utilities, build privacy where you sit, and add garden beds you can maintain.
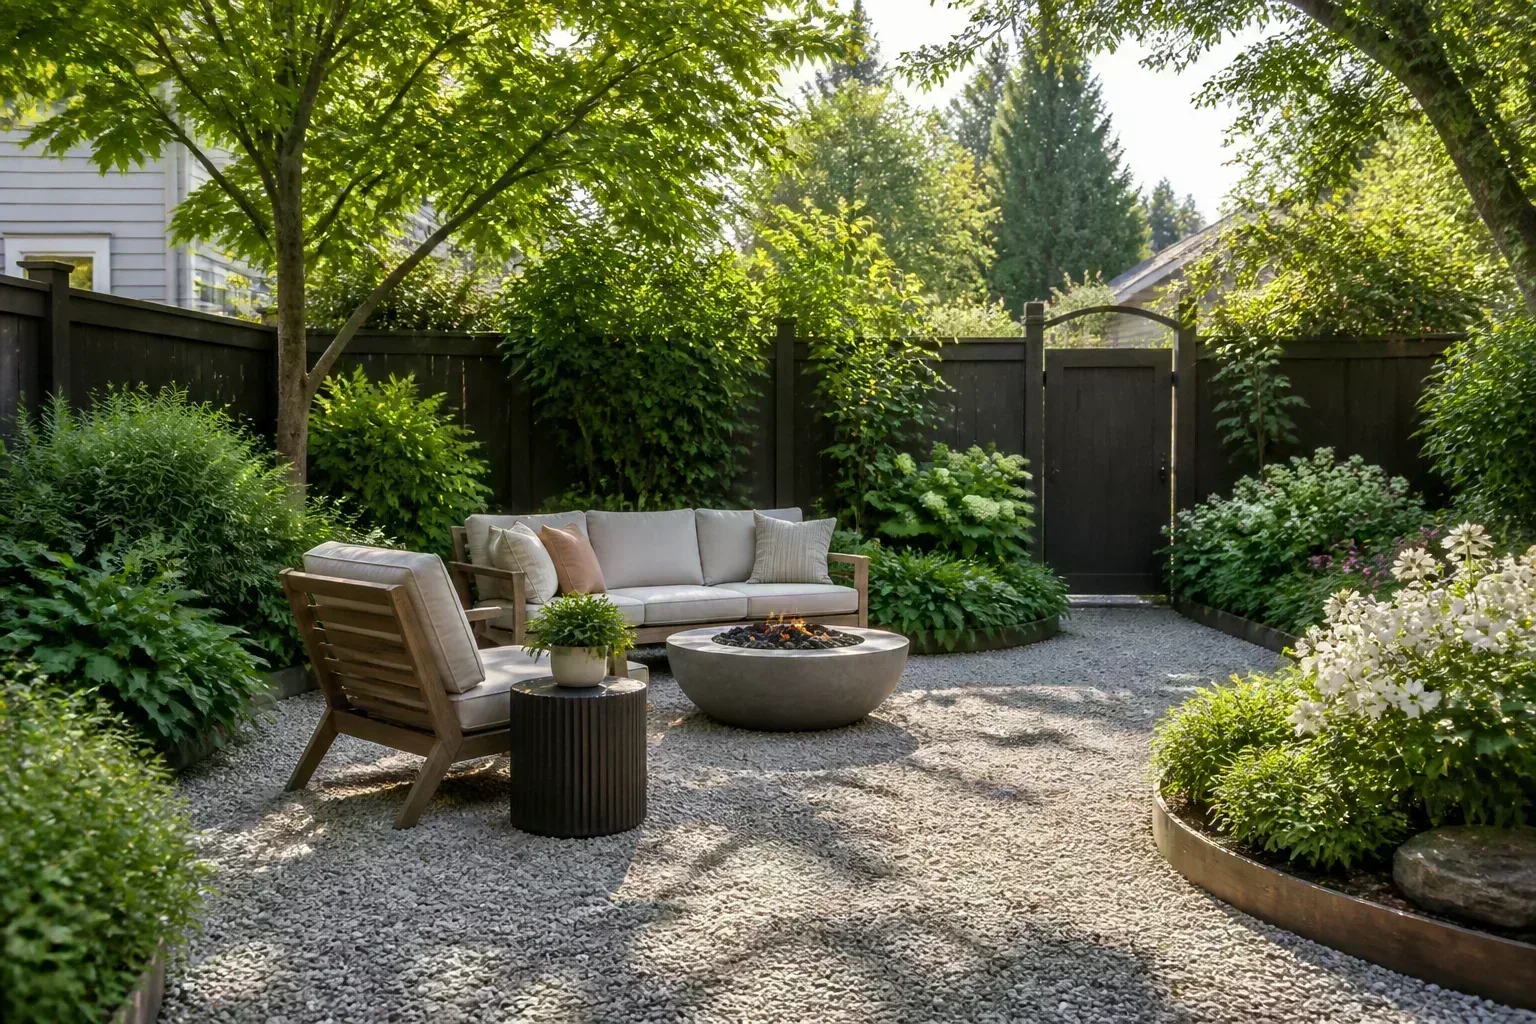
A newly built home can come with a backyard that is technically finished but still feels exposed, hot, muddy, or oddly empty. Treat that first season as a chance to learn how the space behaves, then build a plan around the parts of outdoor life you actually want: a quiet chair after work, a table close to the kitchen, a safe play patch, or a bed of herbs you can reach while cooking.
The sequence matters. Map the lot and solve water or access problems before you pour a patio or plant a hedge. Then shape a few useful zones, add privacy where it counts, and grow food only where light and upkeep make it realistic. That approach can make the yard feel intentional now while leaving room to evolve.
First, read the lot before you shop
Start with a short site inventory rather than a plant list. Find the property line and any recorded easements; note gates, doors, basement windows, hose bibs, air-conditioning equipment, downspouts, utility boxes, irrigation heads, and the route a mower or wheelbarrow needs to take. Ask the builder for any available site, drainage, irrigation, or utility drawings, and check whether the development has a homeowners-association review or landscape rules. These records can save you from putting a permanent feature over a service route or in a restricted area.
Watch the yard through more than one kind of day. A sunny Saturday does not tell you where shade falls at dinner or where water sits after a storm. Keep a simple log for a week or two: morning, midday, and late-afternoon sun; the direction of prevailing wind; views from the kitchen and the neighbor’s upper windows; and any puddles, erosion, or soggy strips after rain. If the builder recently seeded the lawn, give it time to establish before assuming every patch is a soil problem.
Make a quick site map
Draw the house and lot roughly to scale on graph paper or a simple digital sketch. Add fixed features first, then mark sun and shade, noisy or exposed edges, wet spots, and the paths people naturally take. Use tracing paper or a duplicate file to test alternatives: put the seating area near the door you use most, move the vegetable bed into the sunniest accessible spot, and see whether a screen would block a useful view from inside. Garden designer Amy Fedele of Pretty Purple Door similarly recommends measuring the property and recording conditions such as sun, wind, noise, and privacy before placing paths or choosing plants (Pretty Purple Door).
This map does not need to be a professional drawing. Its job is to expose conflicts while they are still cheap to fix: a patio that would be in afternoon glare, a tree that could shade the future garden, a path that cuts through the play area, or a low corner where a new bed would sit in standing water. Take dated photos from the same few viewpoints; you will be able to compare how the space changes across the season.
Tip 1: Divide the yard by how you will use it
Give the yard a small number of jobs. Most households can start with three: a social area for eating or conversation, a quiet or shaded place to sit, and a working area for food, tools, compost, or play. A lawn can be one of those zones if it earns its space through games, pets, or flexible use; it does not have to occupy the whole lot just because it was included by the builder.
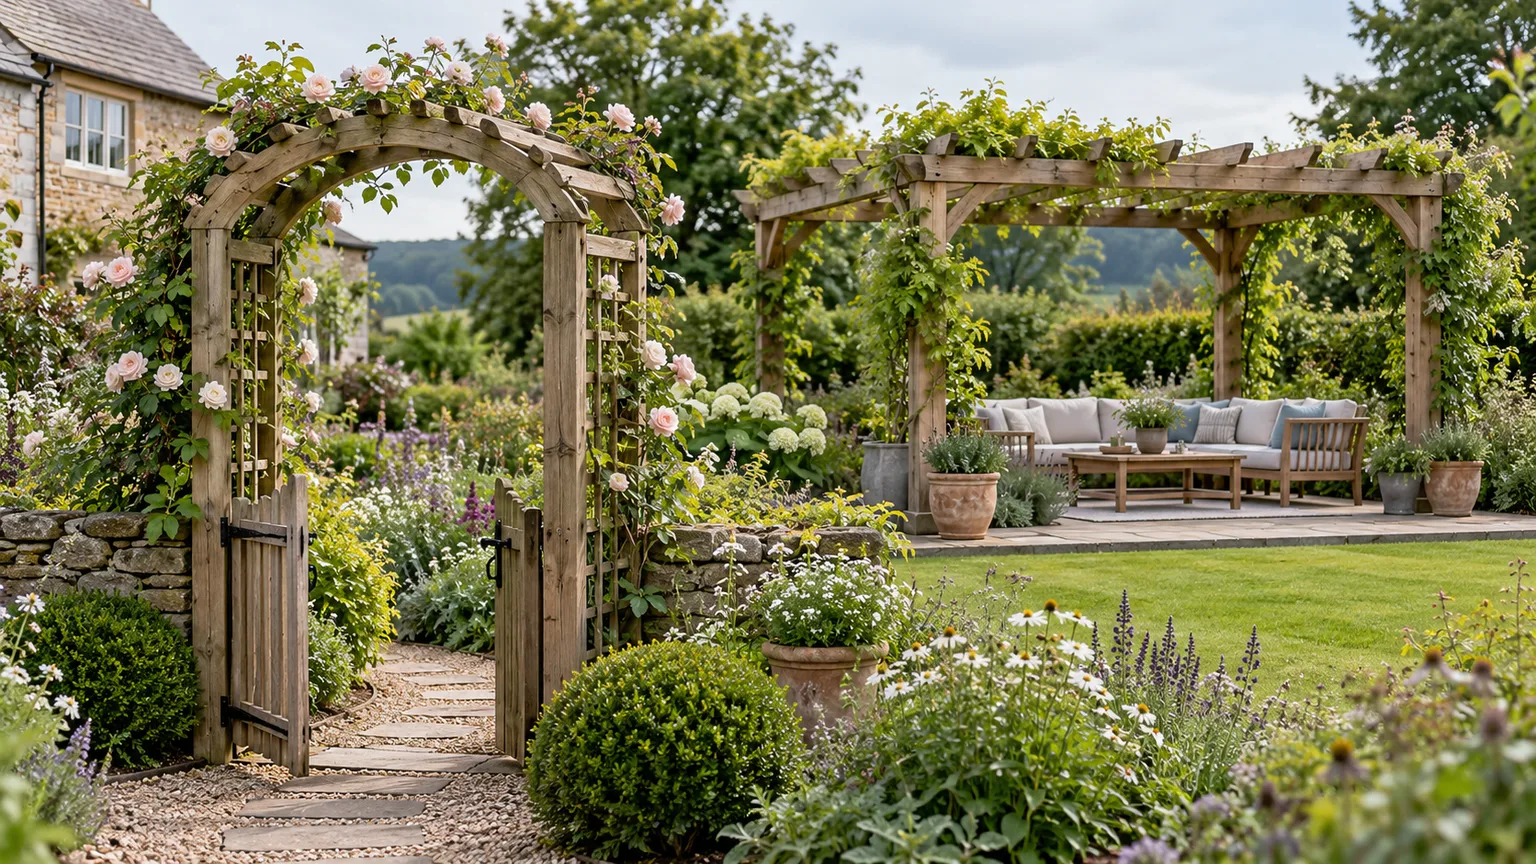
Think of a zone as an outdoor room, not a fenced compartment. A change in paving, a planting bed, a low screen, a pergola, or even a pair of planters can signal that one area is for dining and another for reading. Homes & Gardens describes how surfaces, planting, and vertical elements help separate garden uses, while Bower & Branch’s garden-room guidance emphasizes that a boundary can stay open where circulation needs to continue (Homes & Gardens, Bower & Branch).
Size the zones around real furniture and people, not a vague patch on the drawing. Allow room to pull out chairs, carry a plate from the kitchen, open a gate, or walk past someone sitting down. If the yard is small, let one surface serve more than one purpose: a patio can host dinner and become a play space when the table is folded away. If children or pets use the yard, preserve clear sightlines from the rooms where adults spend time.
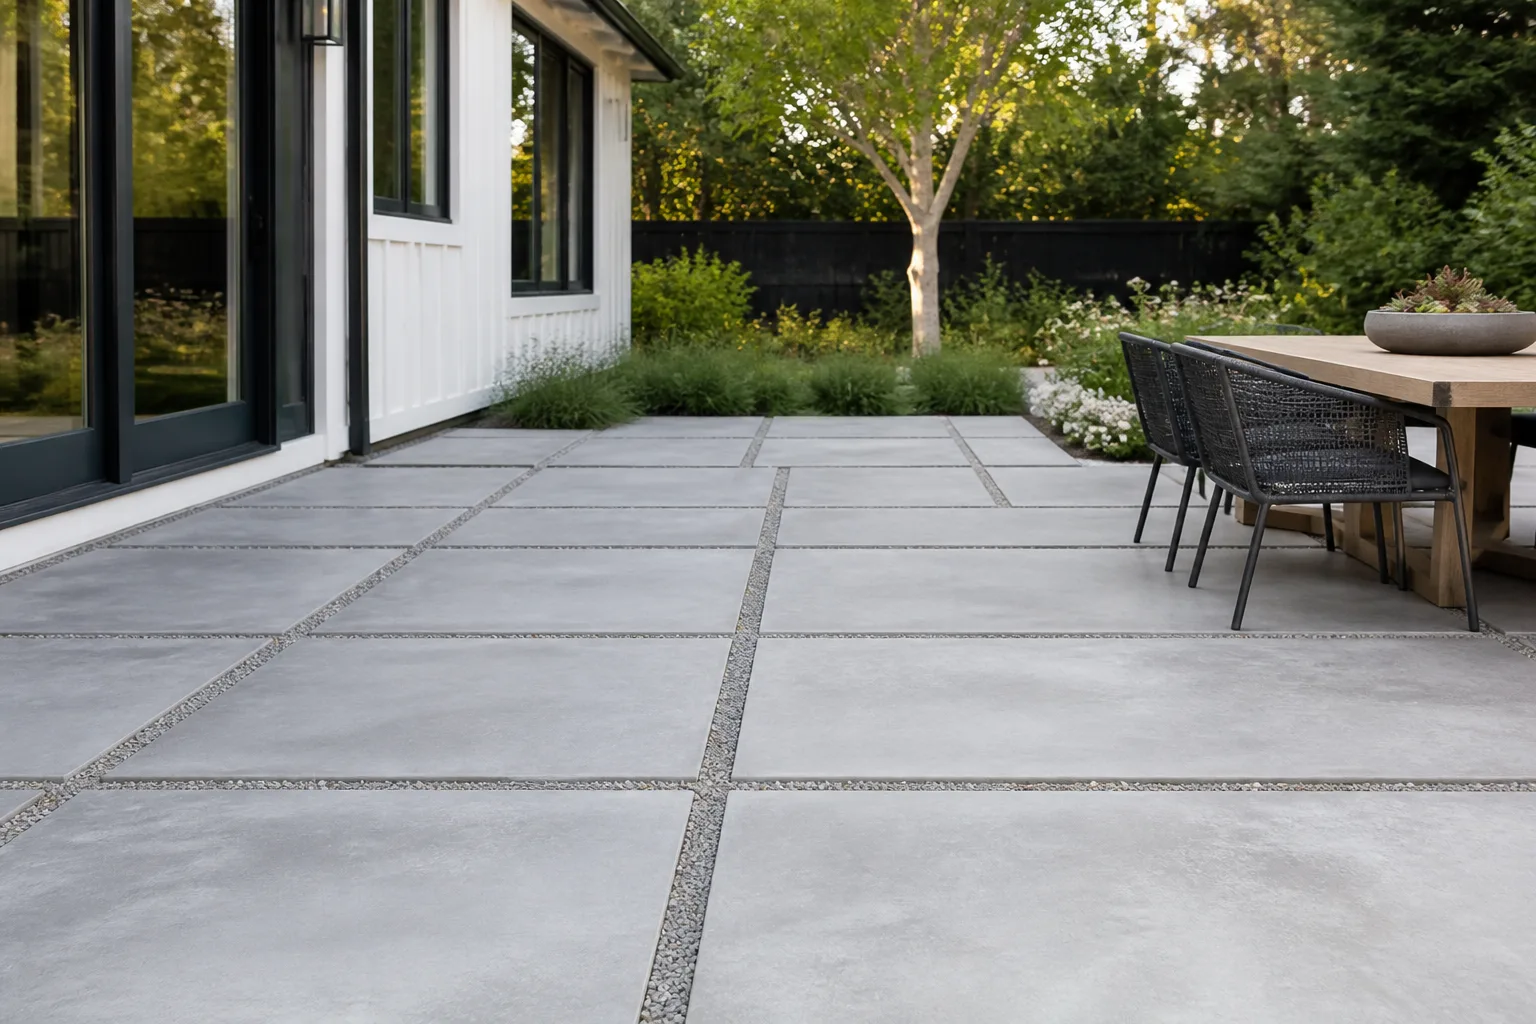
Make the paths work before choosing materials
Sketch the routes before choosing pavers or edging. Connect the back door to the place you sit, the garden, the gate, and any shed or utility area. A path should follow the trip people will make, not force them to cut diagonally across a bed or walk through wet grass. Garden zoning works best when those spaces feel connected rather than like separate projects placed side by side.
Then choose the boundary that fits the job. A broad paved area makes an obvious dining room; gravel or stepping stones can define a lighter-use route; a bed of shrubs can screen a seat without making a narrow yard feel walled in. Keep a consistent palette of two or three main materials so the new spaces read as one backyard. Before installing a large impermeable patio, consider whether a smaller hard surface plus planted or permeable areas will meet the same need. Philadelphia Water Department’s site-design examples prioritize retaining vegetation and reducing or disconnecting impervious surfaces as part of runoff planning; local stormwater rules vary, so check what applies to your property (Philadelphia Water Department).
Tip 2: Create privacy around the places you use
You rarely need to screen every inch of the property line. Sit in the chair or at the table you plan to use and identify the specific view that makes you feel exposed. Is it a neighbor’s kitchen window, a second-story bedroom, a street, or the direct view from your own back door? A privacy fix aimed at that sightline can be smaller, less expensive, and less likely to block your light than a solid wall around the whole yard.
For immediate coverage, consider a movable screen, a trellis, a fence section, or an umbrella that blocks the view from the angle you have identified. A pergola or overhead slats may help with overlooking from above, but check height rules, structural requirements, and neighbor relationships before building. A trellis can screen while still letting some light and air pass through. Use a more solid fence where privacy or pet containment requires it, and avoid closing off the yard so completely that it feels cramped or you lose sight of children playing.
Combine immediate screening with patient planting
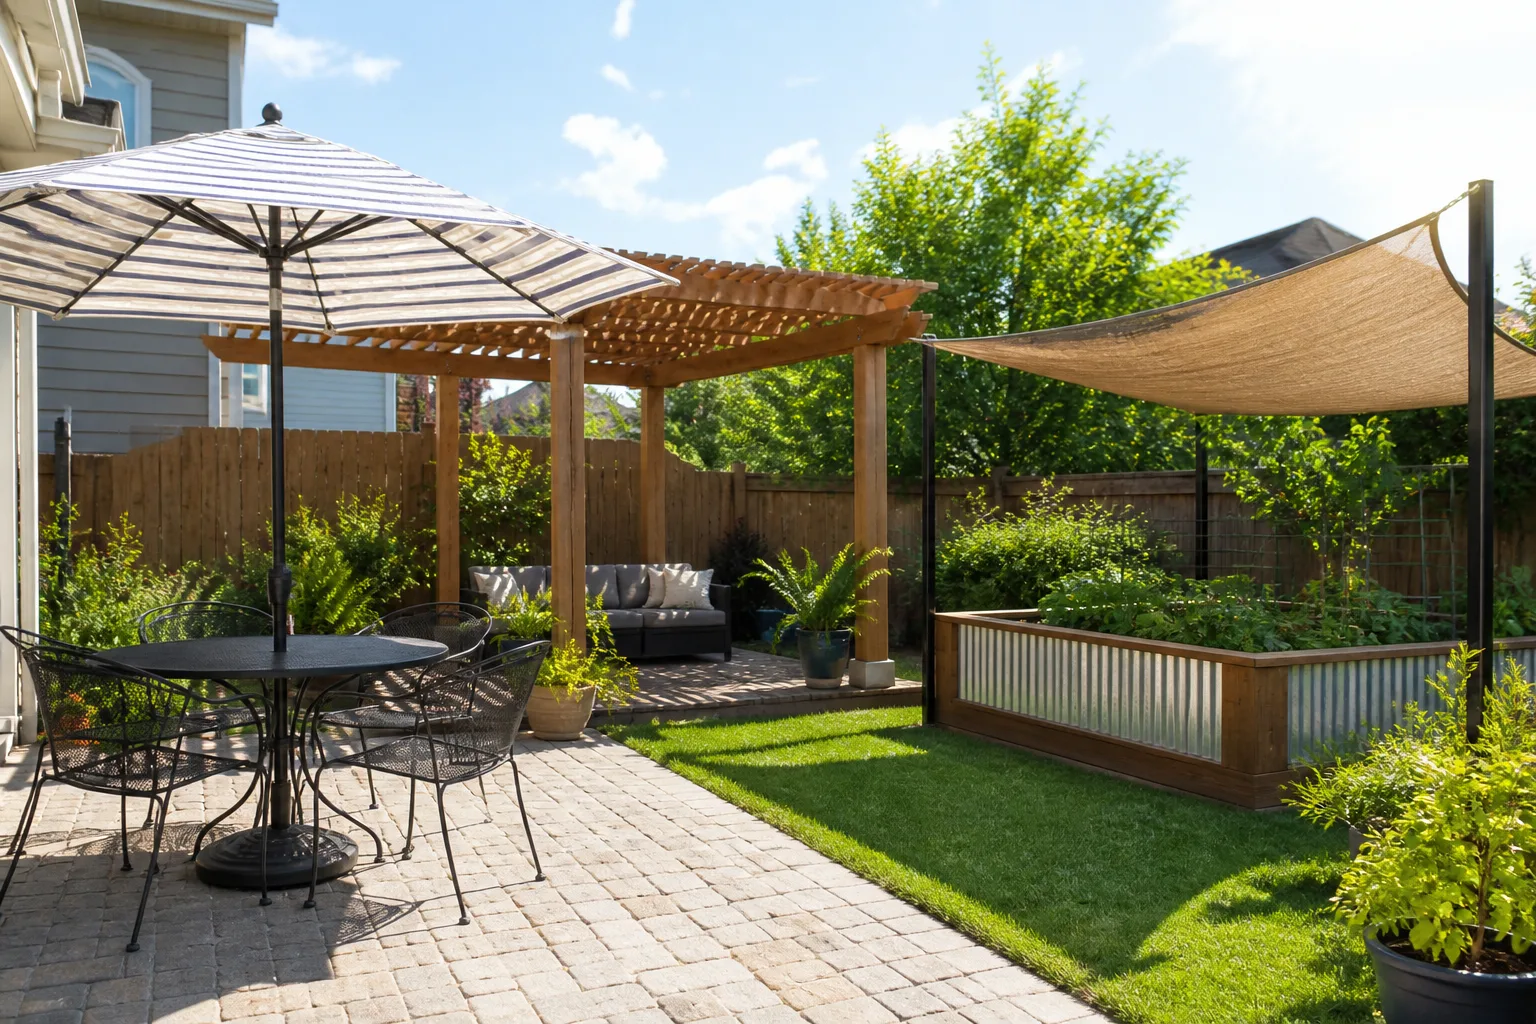
Plants make a screen feel softer, but they need time to fill in. Combine a quick structure in the problem spot with shrubs, small trees, or climbers chosen for your region and the amount of sun and water available. A layered planting is usually more forgiving than a single row of one evergreen: if one plant struggles or grows wider than expected, the whole screen does not fail at once. Before buying, check mature height and spread, how quickly the plant grows, whether it keeps leaves in winter, and whether it is considered invasive locally.
Do not plant tightly to get instant coverage. Nursery plants are small; the mature hedge may occupy several feet, shade a vegetable bed, push into a path, or require regular pruning. Leave access for maintenance and keep plants clear of utility boxes, drainage outlets, and the house. Homes & Gardens’ garden-zoning examples use trellis, pergolas, planting, and screens as different tools for different sightlines; the practical lesson is to match the type and height of the screen to the view you need to block rather than defaulting to a continuous hedge (Homes & Gardens).
If you want more privacy before the plants mature, add a portable bench, large container, shade umbrella, or screen near the seating spot. These pieces can move as you learn how the sun shifts. Keep the planting plan flexible: a new backyard can reveal wind or shade conditions that are hard to predict from a builder’s brochure.
Tip 3: Build the permanent framework first
Hardscape, fences, large trees, and grading are costly to move, so decide their locations before filling the yard with smaller plants and decorative items. This does not mean paving first at any cost. Confirm how water moves, where services run, and how people will reach each zone, then install the infrastructure that makes the layout work. A short path to a garden tap can be more valuable than a large patio you rarely use.
Construction can leave soil compacted or uneven, especially where equipment and materials traveled. Colorado State University Extension notes that construction traffic around new homes commonly compacts soil and that compaction can slow infiltration; it also advises correcting the contributing cause of drainage trouble rather than treating standing water as a purely cosmetic issue (Colorado State University Extension: Soil Drainage). Observe the yard after rain before adding soil or digging a drain. If water collects beside the foundation, flows toward a neighbor, or remains for a long time, contact the builder while any warranty or grading responsibility is clear, and get qualified advice before changing the slope.
Solve water, soil, and construction compaction
Do not assume that a thin layer of dark topsoil means the whole root zone is ready for planting. In one or two representative garden spots, check how easily a hand trowel enters the soil and whether water disappears or sits on the surface. A soil test through a local extension service can tell you whether pH or nutrients need attention; adding fertilizer or amendments without a reason can waste money and create new problems. Colorado State University Extension’s sustainable-landscaping guidance recommends beginning with a site inventory and realistic budget, and its construction sequence puts rough grading and drainage ahead of soil improvement and planting (Colorado State University Extension: Sustainable Landscaping).
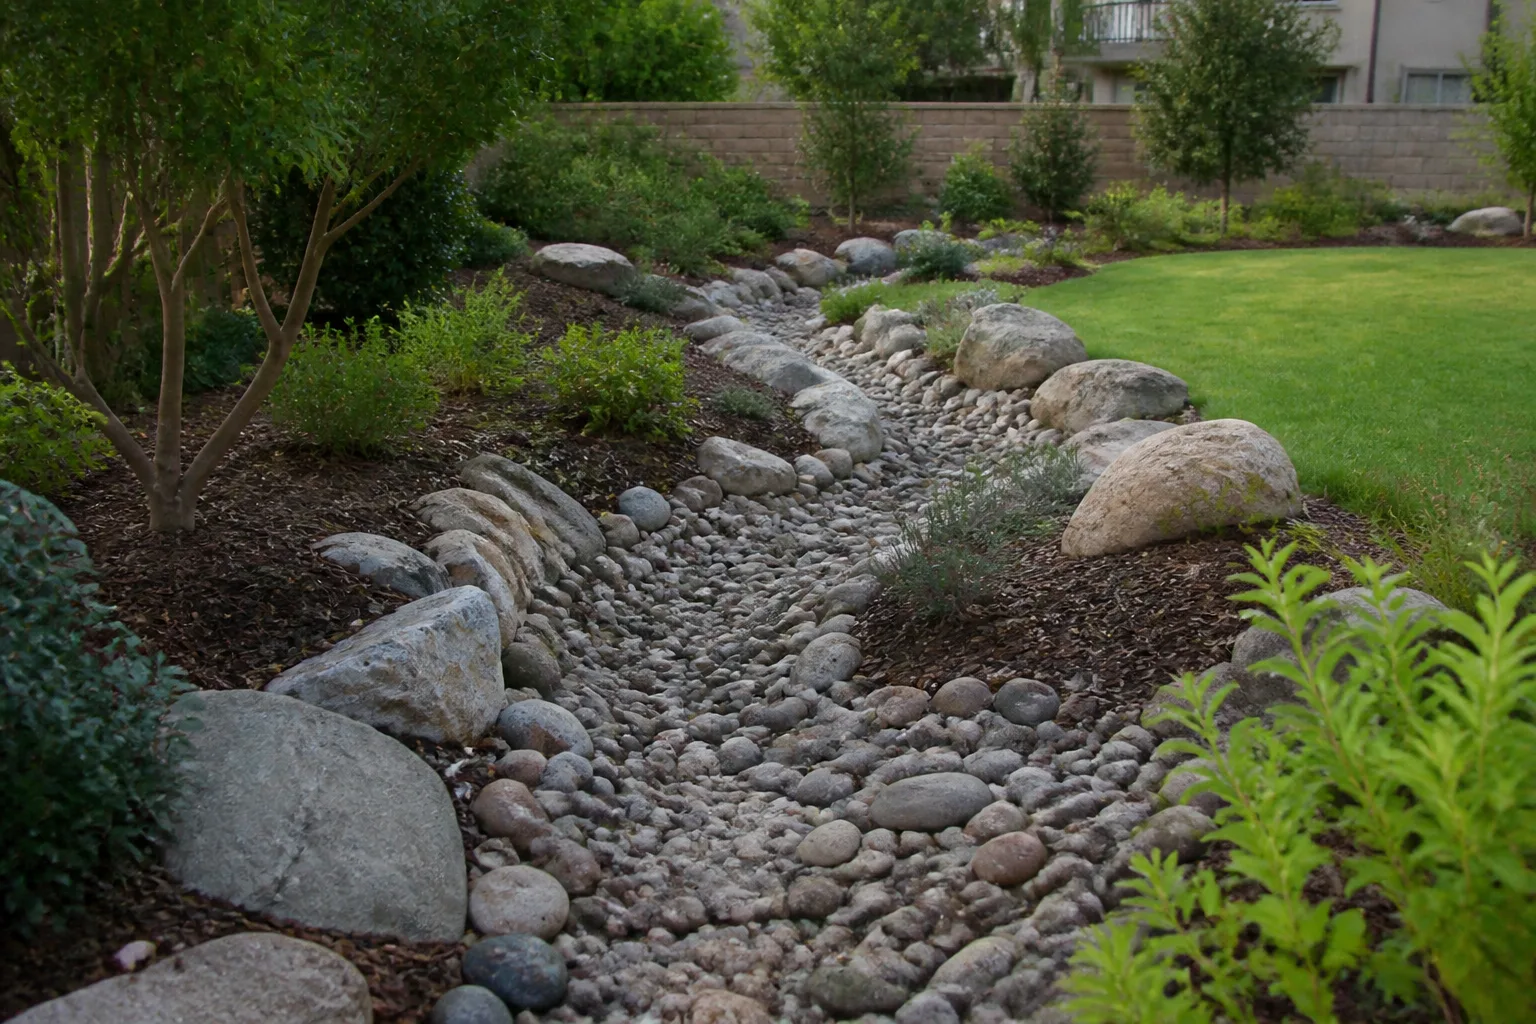
Drainage fixes need somewhere safe to send water. A dry creek, swale, or French drain is not a decorative answer if it simply redirects runoff toward the foundation or next door. The right approach depends on slope, soil, local rules, and an outlet; significant grading, retaining walls, or repeated pooling deserve a landscape professional or drainage contractor. Call your local utility-locate service before any digging for trees, fence posts, irrigation, or beds. In the United States, Call 811 says to contact the local center before putting a shovel in the ground, including for small planting jobs, and to check the waiting period in your state (Call 811).
When the site is stable, install the main patio or path, then place the framework trees and shrubs with their mature dimensions in mind. Use local extension guidance and nursery advice to match plants to your climate and soil. Choose shade trees for the places you want cooler over time, but use a movable umbrella or temporary shade while they establish. Avoid positioning a large tree where it will conflict with overhead wires, foundations, service lines, or the sunny space you are reserving for vegetables.
Tip 4: Grow food in a place you will maintain
An edible garden can make a new backyard feel lived in, but it should fit the conditions and the time you have. Pick a spot that gets the light required by the crops you want, is close enough to a hose, and does not require a long trip through the house with muddy harvests. If you are unsure how much sun the yard receives, observe it over several days before you commit; a sunny patch in spring can be shaded once nearby trees leaf out.
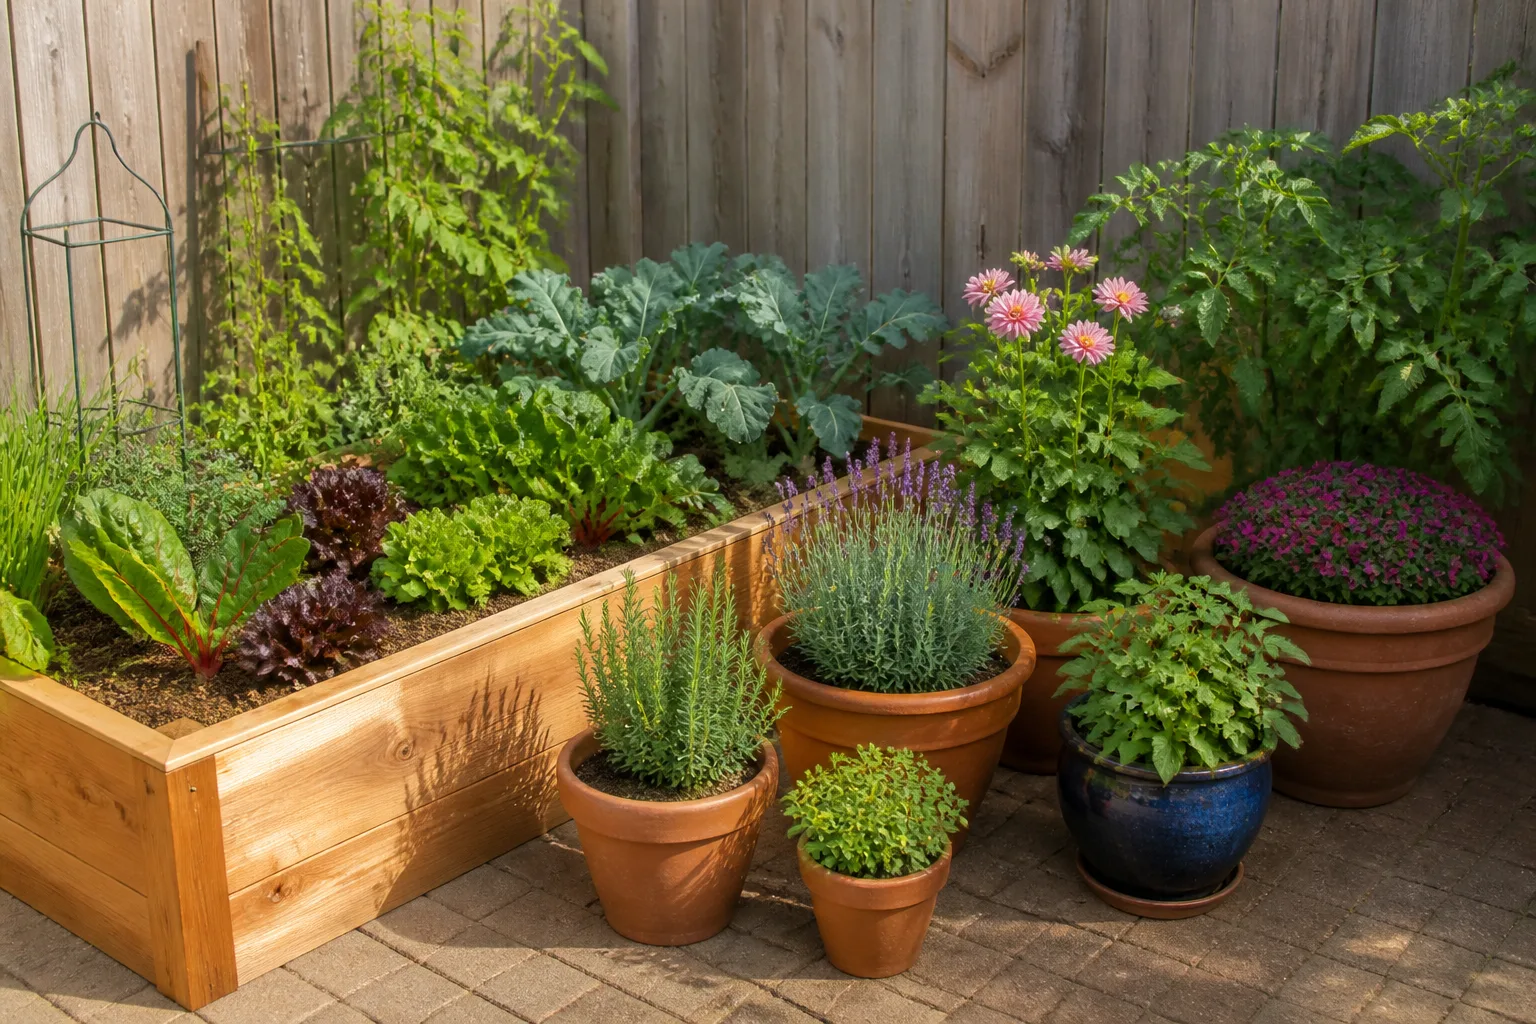
Start with one or two beds or a few containers rather than building a large kitchen garden at once. Put frequently harvested herbs near the door, and keep taller crops from shading shorter ones. Leave a comfortable route for watering, weeding, and carrying a basket. A small, tended bed usually feels more like a sanctuary than a large plot that becomes another chore. Plant varieties suited to your local growing season, and ask a nearby extension office or reputable nursery about timing and disease pressure in your area.
Choose between an in-ground bed and a raised bed
An in-ground bed is a sensible choice if the soil drains, is workable, and is free of construction debris. It can be cheaper to establish and may need less frequent watering than a shallow container. A raised bed can help when you need a contained growing area, easier access, or a clearer separation from poor or compacted ground, but it costs more to build and fill and may dry faster in hot or windy weather. Use materials intended for garden use, especially if you are growing food; Colorado State University Extension cautions against creosote-treated railroad ties near food crops because chemicals can leach into the soil (Colorado State University Extension: Sustainable Landscaping).
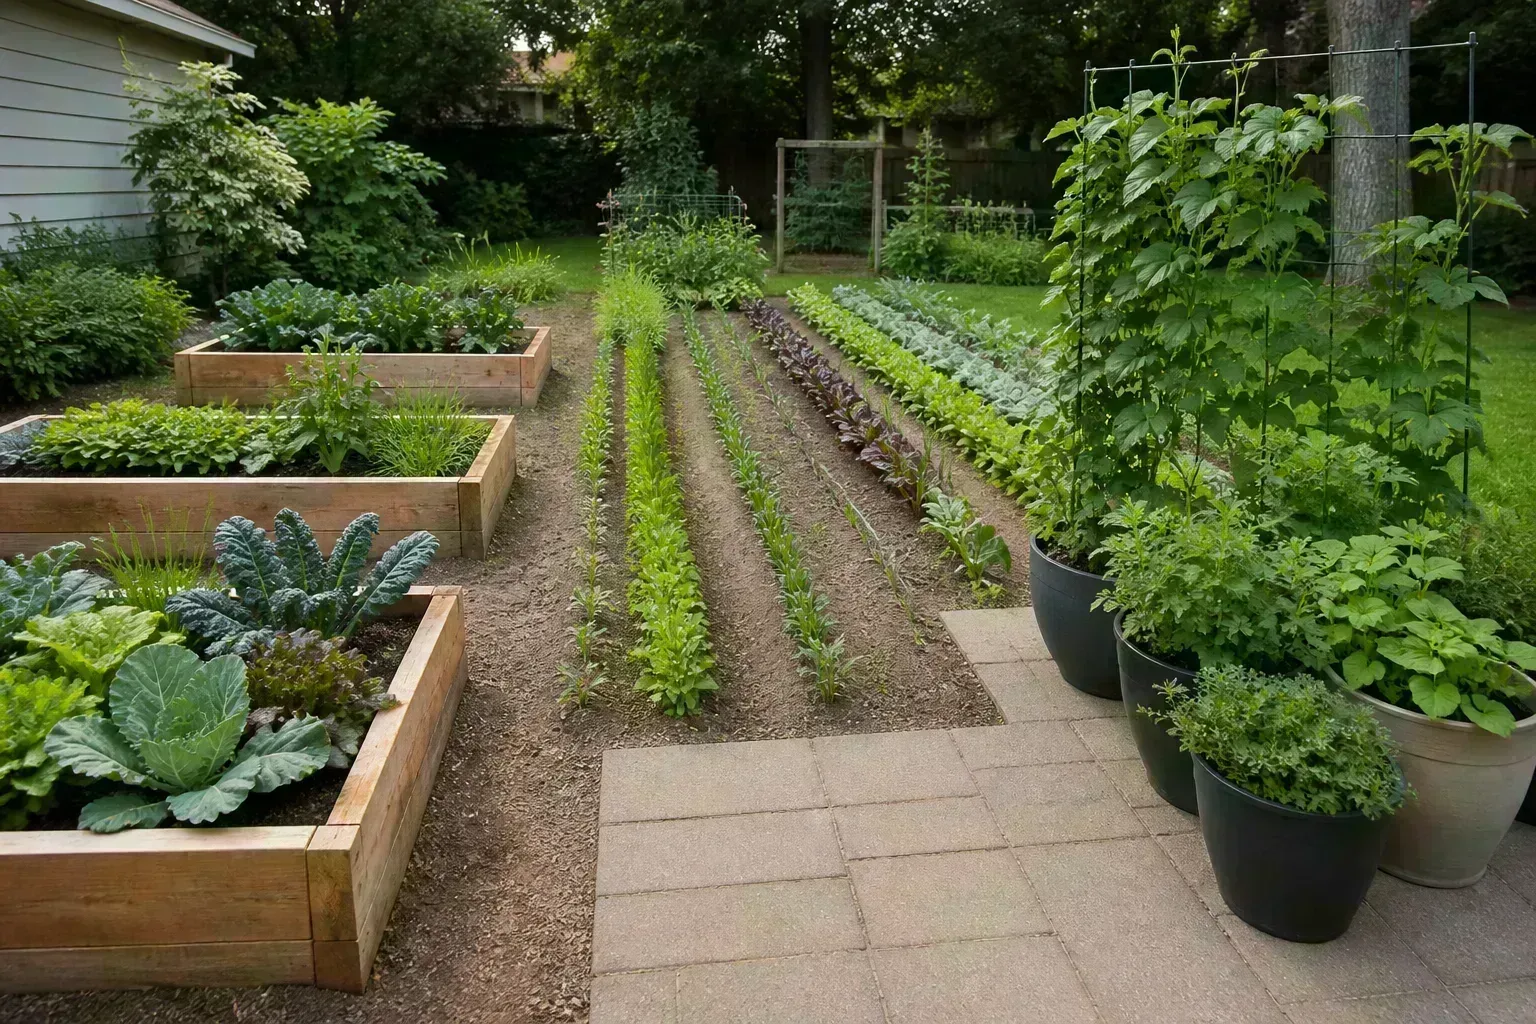
Most important, a raised bed is not a sunlight shortcut. Raising the soil a little will not undo shade cast by a tall fence, building, or tree. Move the bed to a brighter location, choose crops that tolerate the light you have, or use the shaded area for seating and shade-adapted ornamentals. A vegetable-garden layout can also use paths and bed orientation to make access and light more practical; the image below shows one way to keep planting areas organized beside a clear route.
Add shade, sound, and comfort
A sanctuary is a place you want to stay, so plan for comfort alongside planting. Put the first chair where you can test the morning and afternoon sun. A shade umbrella is a flexible first-season solution; a tree, pergola, or shade sail can become a longer-term feature once you know where shade is most useful. Check local permit, height, setback, and wind requirements before attaching a structure to the house or installing a tall freestanding feature.
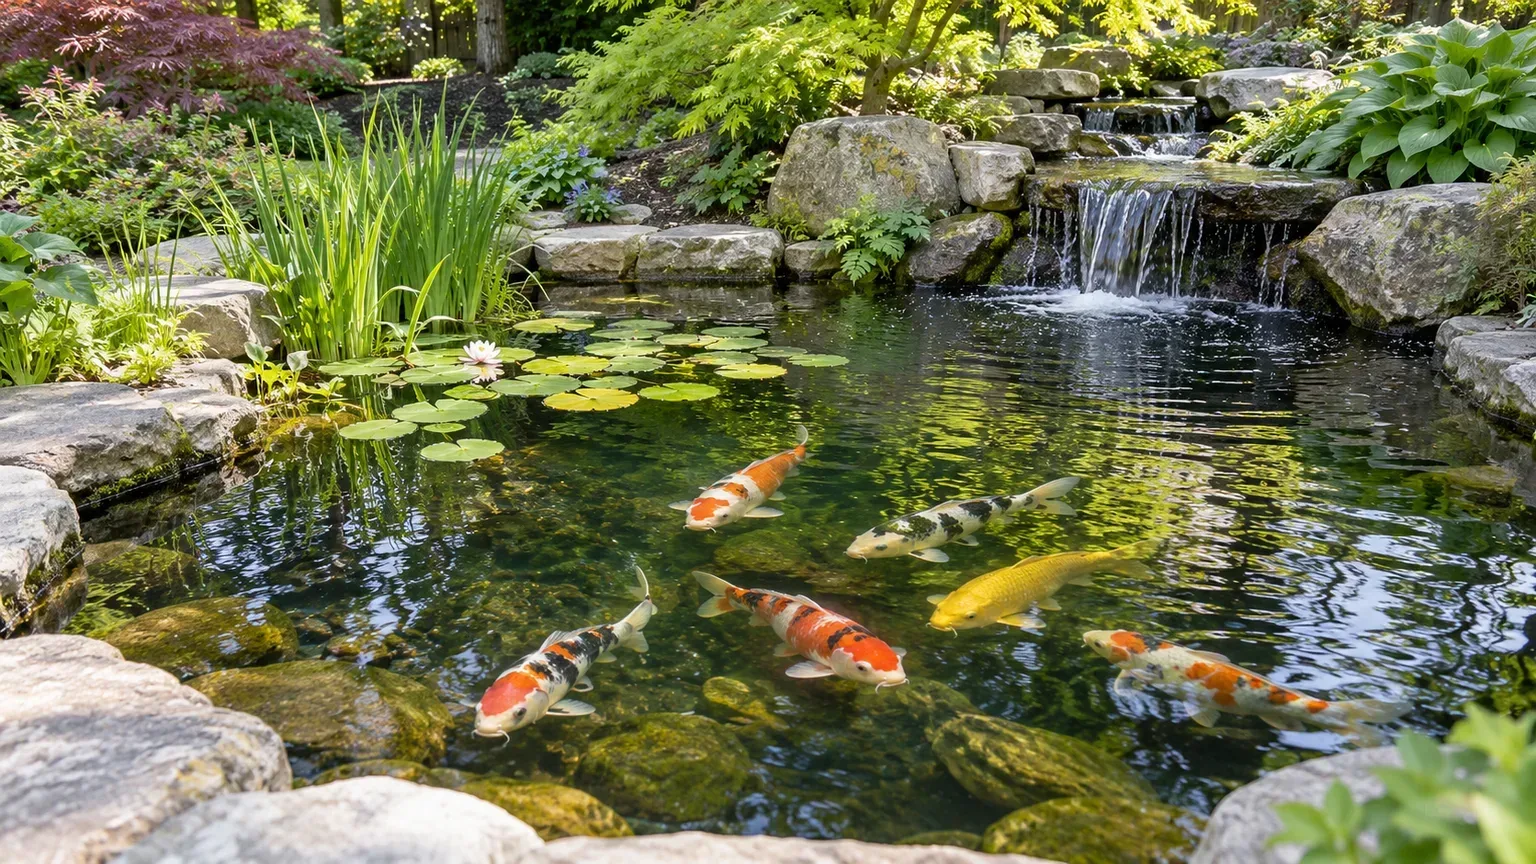
Use planting to soften views and create a sense of enclosure, but leave openings toward the parts of the yard you enjoy. Add a low-maintenance water bowl or small fountain only if you are willing to clean and refill it. Sound can come from rustling leaves, a small water feature, or a screen that buffers a nearby road; it will not erase loud noise, so be realistic about what a garden can change. Comfortable seating, a side table, an outdoor light, and a place to set down a drink can make a modest corner more inviting than a collection of decorative objects spread across the yard.
Use this phase order to protect your budget
Make one whole-yard plan, then build it in manageable sections. Phasing is easier when the first project has a clean edge and works on its own, rather than stopping in the middle of a path or leaving piles of material for the next year. Keep a simple budget that includes delivery, soil, irrigation, edging, and the recurring cost of watering or pruning. If the whole project is not affordable now, decide which part improves daily use most and complete that zone first.
A low-regret first-season sequence
Begin by collecting the builder’s drawings, checking rules, locating utilities, mapping sun and water, and listing the three outdoor activities you most want to support. Next, address confirmed drainage or soil problems and set the route for paths, service access, and irrigation. Install the essential hardscape and privacy structure, then plant large trees and shrubs at the correct time for your region. Add smaller beds, a compact edible garden, and lighting after the main framework is in place.
Leave some decisions for a second season. A year of living with movable chairs, containers, and a small screen will show whether you need a bigger dining area, more afternoon shade, or privacy only in one corner. You can then spend on a permanent pergola or extended patio with evidence about how you use the space. This is not a delay for its own sake: it reduces the chance of building a fixed feature in the place that looked best on a plan but feels wrong at 6 p.m.
Mistakes that make a new backyard harder to enjoy
The first common mistake is buying plants before recording light, soil, and mature size. It leads to a bed full of plants that need more sun, water, or pruning than the site can provide. The second is trying to make the whole boundary private at once. Screening the one table or chair you use can solve the feeling of exposure while keeping the rest of the yard open and bright.
Other expensive missteps include laying a large patio before checking drainage, burying a service route under permanent beds, planting a hedge too close to a fence, and treating raised beds as a cure for shade. Avoid adding fill to a low spot or building a drain without understanding where water will go. If the yard is muddy, uneven, or compacted, confirm whether it is a builder issue before paying to reshape it. And do not copy a neighbor’s planting scheme unless the exposure, soil, and maintenance fit your own lot.
When to bring in a landscape professional
You can sketch zones and test furniture placement yourself, but get expert help when the project involves persistent water near the home, steep slopes, retaining walls, a complex irrigation system, large trees near utilities, or substantial changes to grading. A landscape designer can turn a wish list into a scaled plan; an engineer or drainage specialist may be needed when water or structural issues are involved. The right professional depends on the problem, and local licensing rules vary.
Ask for a plan that shows dimensions, materials, drainage direction, plant sizes at maturity, and which work can be phased. Clarify who handles permits, utility marking, irrigation adjustments, and warranty questions. Request references and examples of projects with a similar lot size and budget. A written plan can be valuable even if you install the work over time, because it gives you a consistent layout to follow and makes it easier to compare contractor quotes.
Conclusion
Turn the blank yard into a sanctuary by beginning with the site, not the shopping list. Map where sun, water, views, and everyday routes fall; divide the space into a few useful zones; solve drainage and soil issues before permanent construction; and add privacy and edible beds where they fit your life. Build the expensive framework in a sensible order, then let a season of use show you what deserves the next investment. A comfortable chair, one clear path, and a well-placed screen can make the first phase feel finished while the rest of the garden grows in.