5 Tips to Keep Your Plants Watered During End-of-Summer Heat
Learn how to check soil, water deeply, protect pots from afternoon heat, and set up a reliable watering plan before a hot-weather trip.
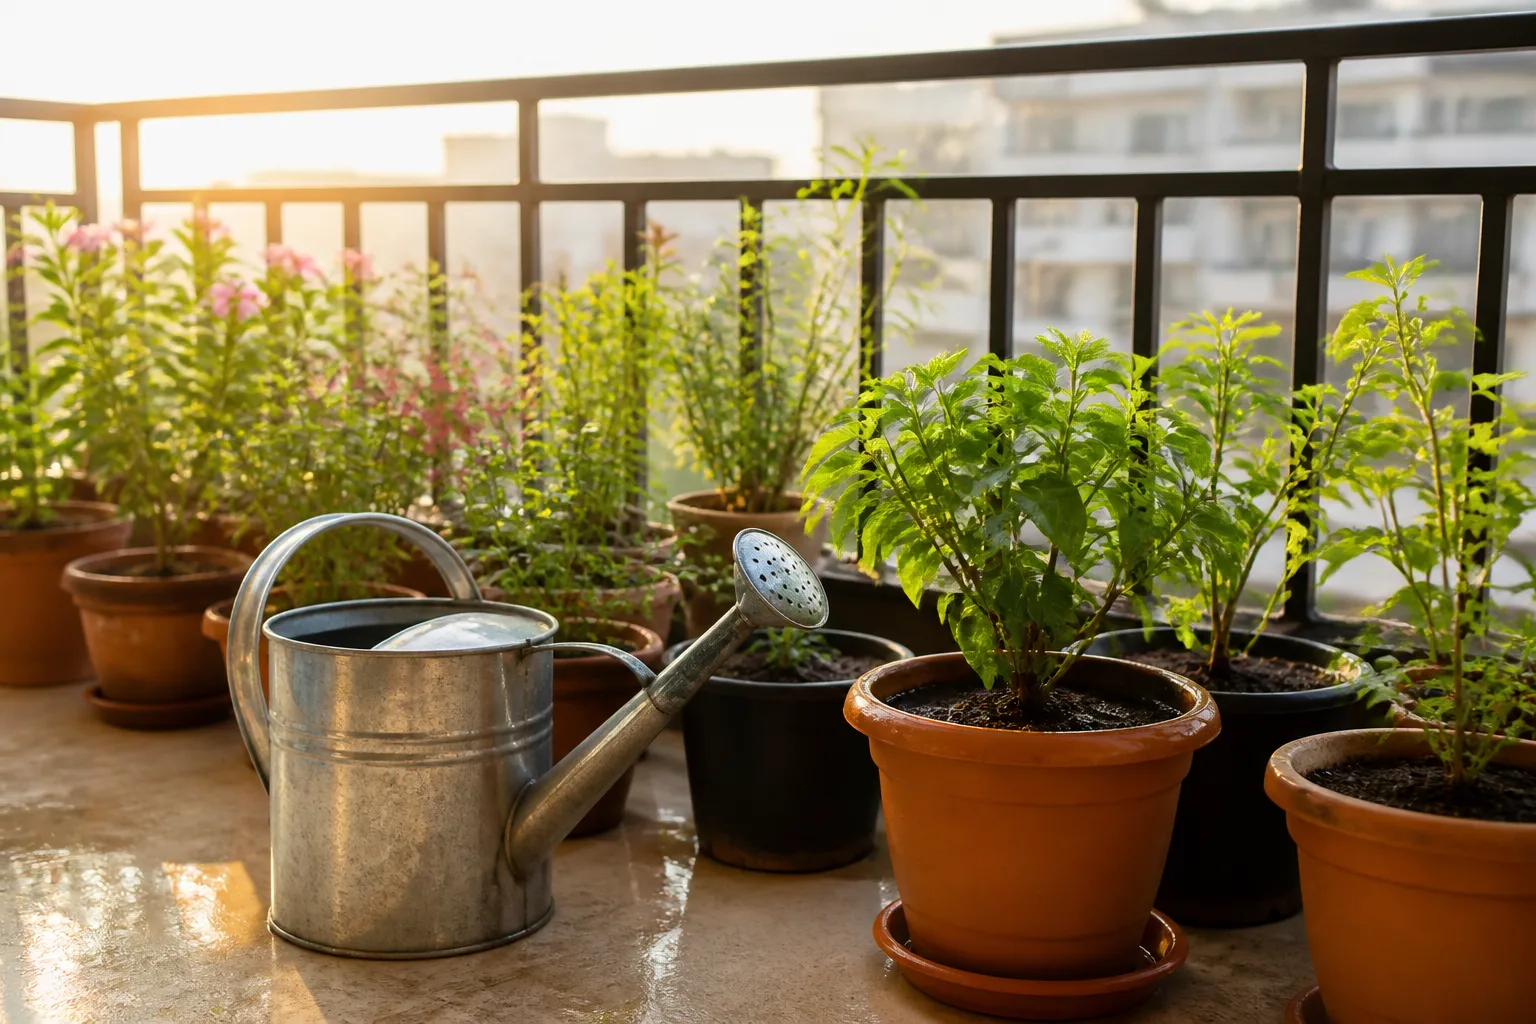
Late-summer heat can dry a shallow container in a day while a mulched garden bed stays moist below the surface. If you are leaving home, the safest plan is to check soil before watering, water thoroughly where the root zone is actually dry, reduce direct afternoon heat on vulnerable pots, and test any automatic system before relying on it. A timer or a big pre-trip soak cannot replace checking what each plant needs.
The right routine depends on where the plant grows. A tomato in a raised bed, a fern in a hanging basket, and a snake plant in a living room do not use water at the same rate. Penn State Extension notes that established in-ground plants may use about an inch of water per week as a starting point, while containers—especially smaller pots—can need more frequent attention in hot weather. That benchmark is not a universal schedule: rain, soil, exposure, plant size, and growth stage all change the calculation. (Penn State Extension)
A Quick Answer for Hot-Weather Watering
Before a hot spell or trip, check soil in several places, not just at the surface. Water dry root zones slowly and deeply, preferably early in the day; add mulch to garden beds; move portable pots away from hot pavement and harsh afternoon sun while preserving the light they need; and use a tested drip, wick, or reservoir system only when it matches the plant and the length of your absence. Ask someone to check on new transplants, thirsty containers, or plants that cannot safely go several days without attention.
For a short trip, healthy established plants in the ground may need little intervention if the soil is moist and the forecast is mild. For a balcony full of small pots during a heat advisory, you may need daily checks or a person who can water. Make the plan around the most vulnerable plants, rather than watering every pot on the same calendar.
Start With Plant and Container Differences
Heat speeds water loss, but it does not do so evenly. A container absorbs heat from its sides and has a limited volume of potting mix; a small dark pot in afternoon sun can dry much sooner than a large pale pot in a sheltered spot. Wind increases evaporation from both foliage and soil, and a hanging basket often dries faster because air reaches more of its surface. In garden beds, sandy soil drains quickly, while compacted or clay-heavy soil may hold water but absorb it slowly when it is very dry.
The plant matters just as much. A newly planted shrub has a smaller developing root system than an established shrub. Leafy vegetables, annual flowers, and many plants in active growth may need moisture more consistently than succulents or drought-tolerant perennials. Houseplants can also dry faster beside a bright west-facing window, a heat-producing appliance, or a vent. Penn State’s container-gardening guidance emphasizes that pot size, drainage, growing medium, and exposure shape how often containers need water. (Penn State Extension)
Make a quick inventory before you change anything. Note which plants are in the ground, which pots are small or exposed, which plants were recently planted or repotted, and which ones have a known preference for evenly moist soil. That short list tells you where to spend your time and where a helper or watering device is most useful.
Tip 1: Water the Root Zone Deeply Before Heat Peaks
Watering the soil around the roots is more useful than briefly wetting leaves or the top layer of potting mix. Apply water slowly enough for it to soak in. In a bed, use a soaker hose, drip line, or a gentle hose flow at the base of plants; for pots, water the entire surface until excess begins to drain from the bottom. If water races off dry ground or runs down the inside edge of a pot, pause and water again in a few minutes so the mix can absorb it.
A deep watering does not mean flooding soil that is already wet. The goal is to refill moisture where roots can use it, then let excess drain so air can return to the root zone. Penn State Extension recommends checking soil before watering in hot weather and watering slowly during dry periods, because a brief sprinkle can wet the surface without reaching deeper roots. (Penn State Extension)
Check Soil, Not Just Leaves
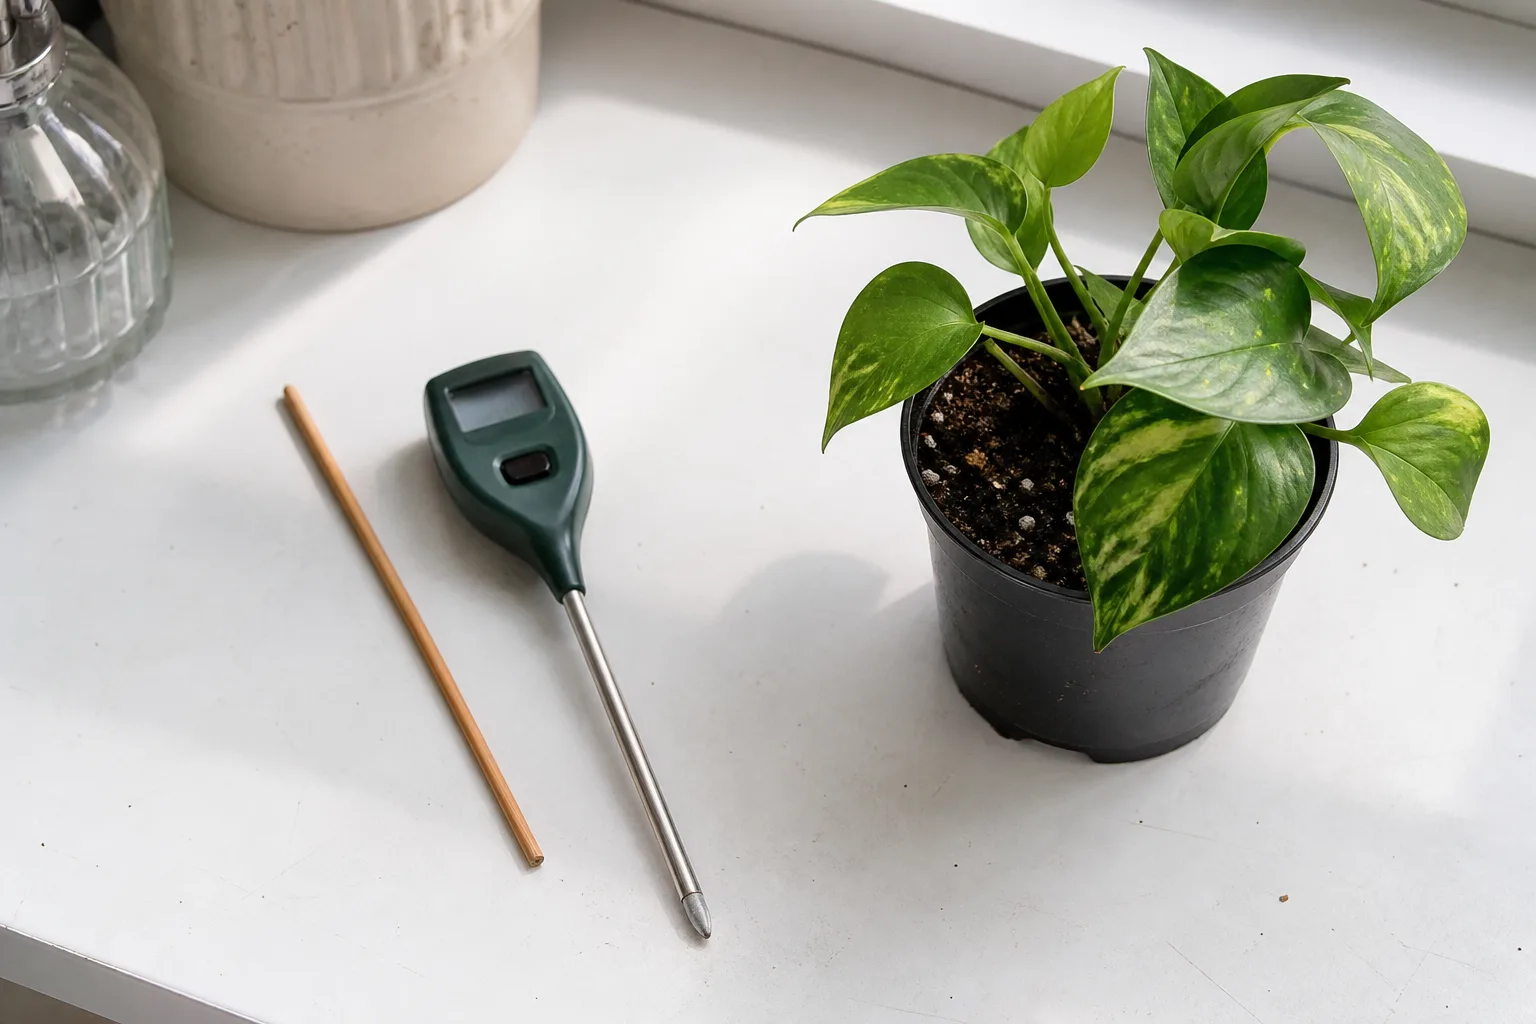
Use a finger, a wooden skewer, or a trowel to check below the surface. In a container, feel the potting mix a short distance below the top; in a bed, check several inches down near the root zone. The exact depth depends on the plant and its rooting pattern, so compare the reading with how that plant normally behaves. A moisture meter can help you compare parts of a large pot, but treat it as one clue rather than an automatic command to water.
Leaves are a poor stand-alone moisture gauge during a heat wave. Some plants temporarily droop at midday because leaves lose water faster than roots can replace it, then recover as temperatures fall. If the soil is still moist, adding more water can keep roots oxygen-starved and create a second problem. Wait for the cooler part of the day and recheck the plant and soil. If the mix is dry at root depth, water; if it is damp, provide shade or reduce heat exposure while you investigate.
Choose a Useful Watering Time
Early morning is usually the most practical time to water outdoor plants: the root zone can take up moisture before the strongest heat arrives, and foliage has time to dry if it gets wet. Penn State Extension also recommends morning watering as a way to reduce evaporation and limit prolonged leaf wetness. If a plant is truly dry in the afternoon, do not leave it thirsty just because the clock is inconvenient; water the soil then, and adjust the routine afterward. (Penn State Extension)
Watering leaves in sun does not normally cause burn from droplets acting like tiny magnifying glasses; that familiar explanation is a myth. Root-zone watering is still a better default because less water is lost to wind and evaporation, and repeatedly wet foliage can favor disease on susceptible plants. Aim the stream at the soil and use a gentle flow that does not splash soil onto leaves.
Tip 2: Mulch Garden Beds to Slow Soil Drying
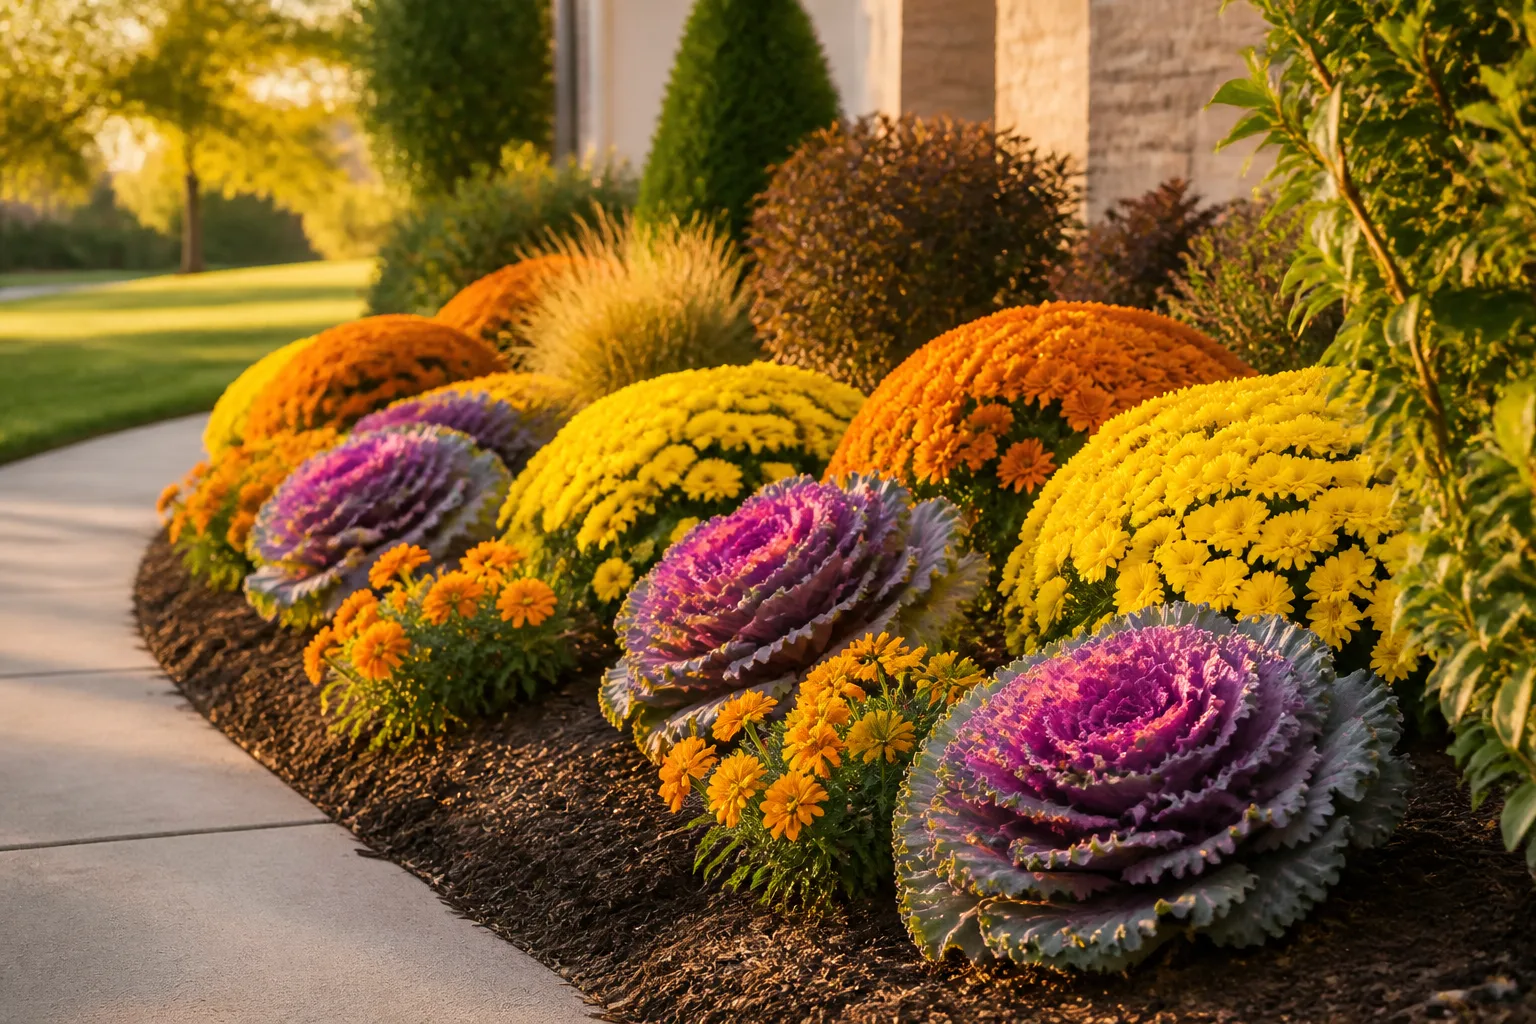
A layer of organic mulch shields soil from direct sun and wind, moderates temperature swings, and slows moisture loss from the surface. Around many garden plants, a loose layer about 2 to 3 inches deep is a useful starting point; use less around small seedlings so they are not smothered. Keep mulch a few inches away from stems and trunks to prevent a constantly damp collar, and avoid piling it against house siding or tree bark.
Mulch helps water last longer, but it does not create moisture. Water the bed first if it is dry, then spread mulch so rainfall and irrigation can still pass through. Straw, shredded leaves, compost, and fine bark are common choices, though the best material depends on the crop and how quickly it breaks down. Penn State Extension includes mulch among its heat-proofing strategies for vegetable gardens, and its watering guidance notes that a covered soil surface loses moisture more slowly. (Penn State Extension)
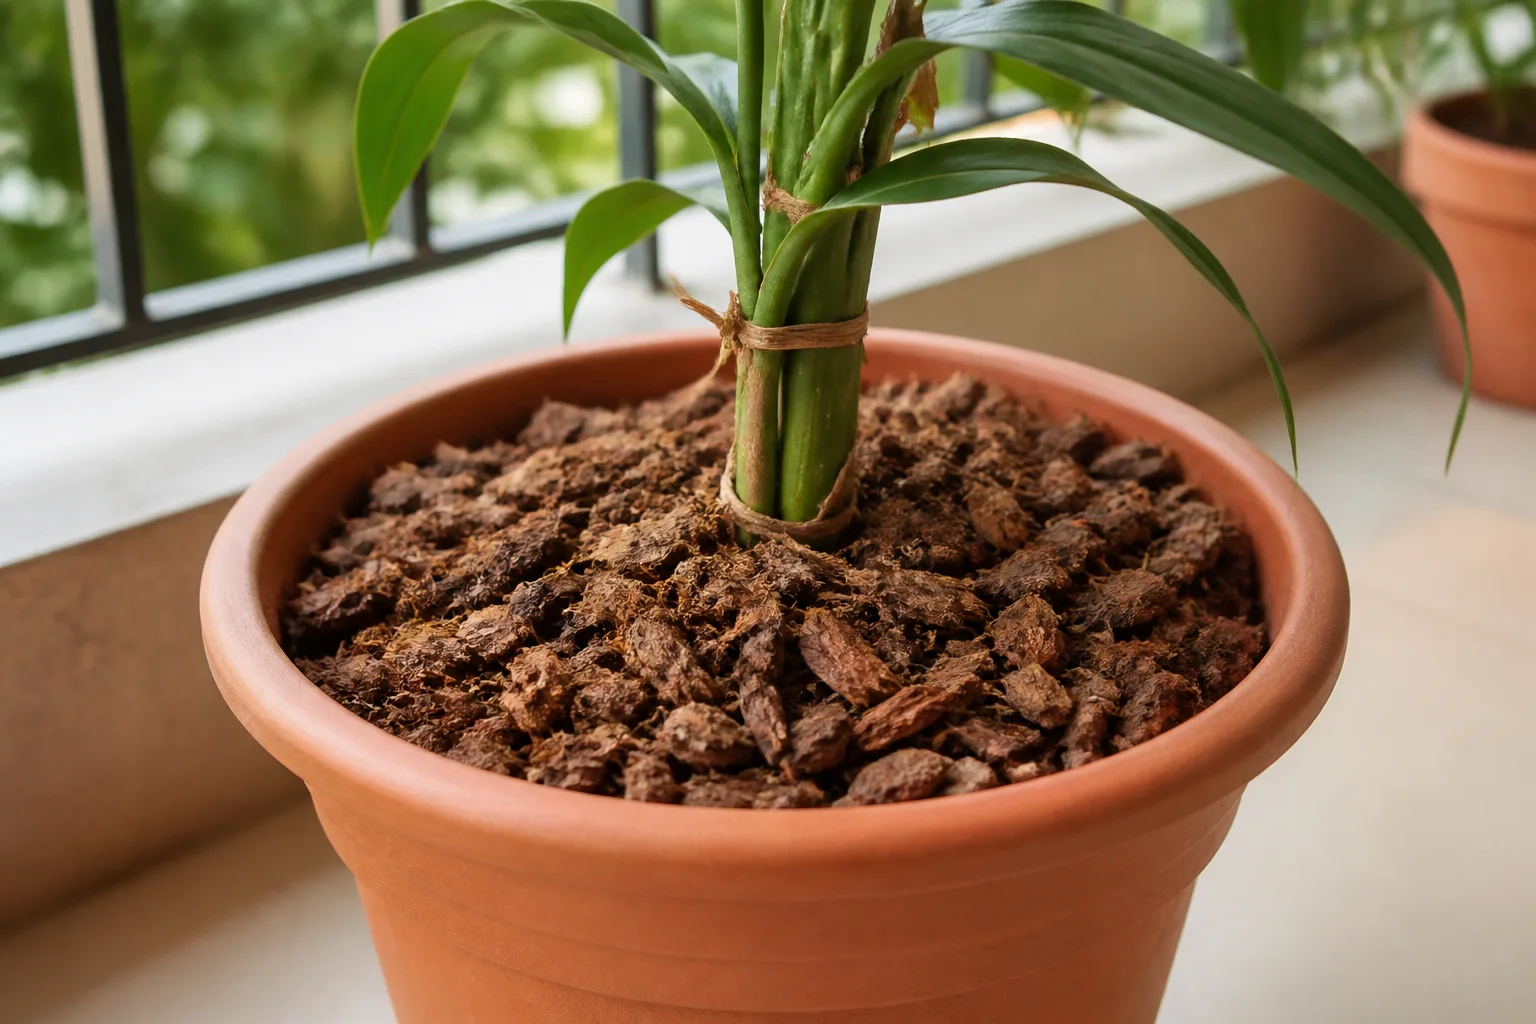
Check that water can penetrate the layer. A dry, matted surface can shed water toward the edge instead of letting it soak in; loosen it lightly and direct irrigation under the mulch. In containers, use a thin layer rather than copying the depth used in a garden bed. Mulch can reduce evaporation from the potting mix, but an overly thick layer in a small pot may keep the stem base damp and make it harder to judge moisture.
Weeds compete with garden plants for available water. Remove young weeds before leaving, especially around vegetables and new plantings, but avoid a major disturbance that damages roots right before extreme heat. A tidy, watered, mulched bed is easier for a neighbor to check and less likely to dry out unevenly.
Tip 3: Group and Move Containers Out of the Worst Heat
Pots on concrete, stone, or metal decks can heat from below as well as above. If you can move them safely, shift vulnerable containers to a spot with morning light and afternoon shade, or place them on a wooden plant stand rather than directly on a hot surface. A few feet of shade during the hottest hours can reduce stress without depriving sun-loving plants of all-day light.
Grouping pots together can reduce the amount of exposed pot surface and make watering easier, but it is not a substitute for water. Keep enough space for air to move between plants, and group plants with similar watering needs rather than placing a thirsty fern beside a cactus. For indoor plants, gather them in a bright, cooler room away from direct late-day sun, heaters, and air-conditioning drafts. Do not move them into a dark closet or seal them in plastic; the reduced light and trapped heat or humidity can create new problems.
Give Pots Shade Without Hiding Them
A light-colored shade cloth, a patio umbrella, or the shadow of a building can take the edge off intense afternoon sun for a temporary period. Do not abruptly move a plant that thrives in full sun into deep shade for an extended stay; sudden changes can stress it, and it may stretch toward light. If a container has to move, choose bright shade or filtered light, and return it gradually to its usual exposure after the heat eases.
Watering frequency can change quickly after moving a pot. A shaded container often dries more slowly than the same pot in full sun, so check it before repeating yesterday’s watering. This is especially important for moisture-sensitive houseplants and for cachepots or saucers that can hold standing water. Empty collected water after the pot drains unless the plant is specifically grown in a reservoir system.
Tip 4: Test a Self-Watering or Timed System Before Leaving
A self-watering pot, capillary wick, drip line, or hose timer can bridge a short absence, but only after you confirm that it supplies the right amount of water to the right plants. A system that works in mild weather may fall short during a heat wave; a timer that runs too long can leave roots saturated. Consider the method a tool to test, not a promise that every plant will be fine without checking.
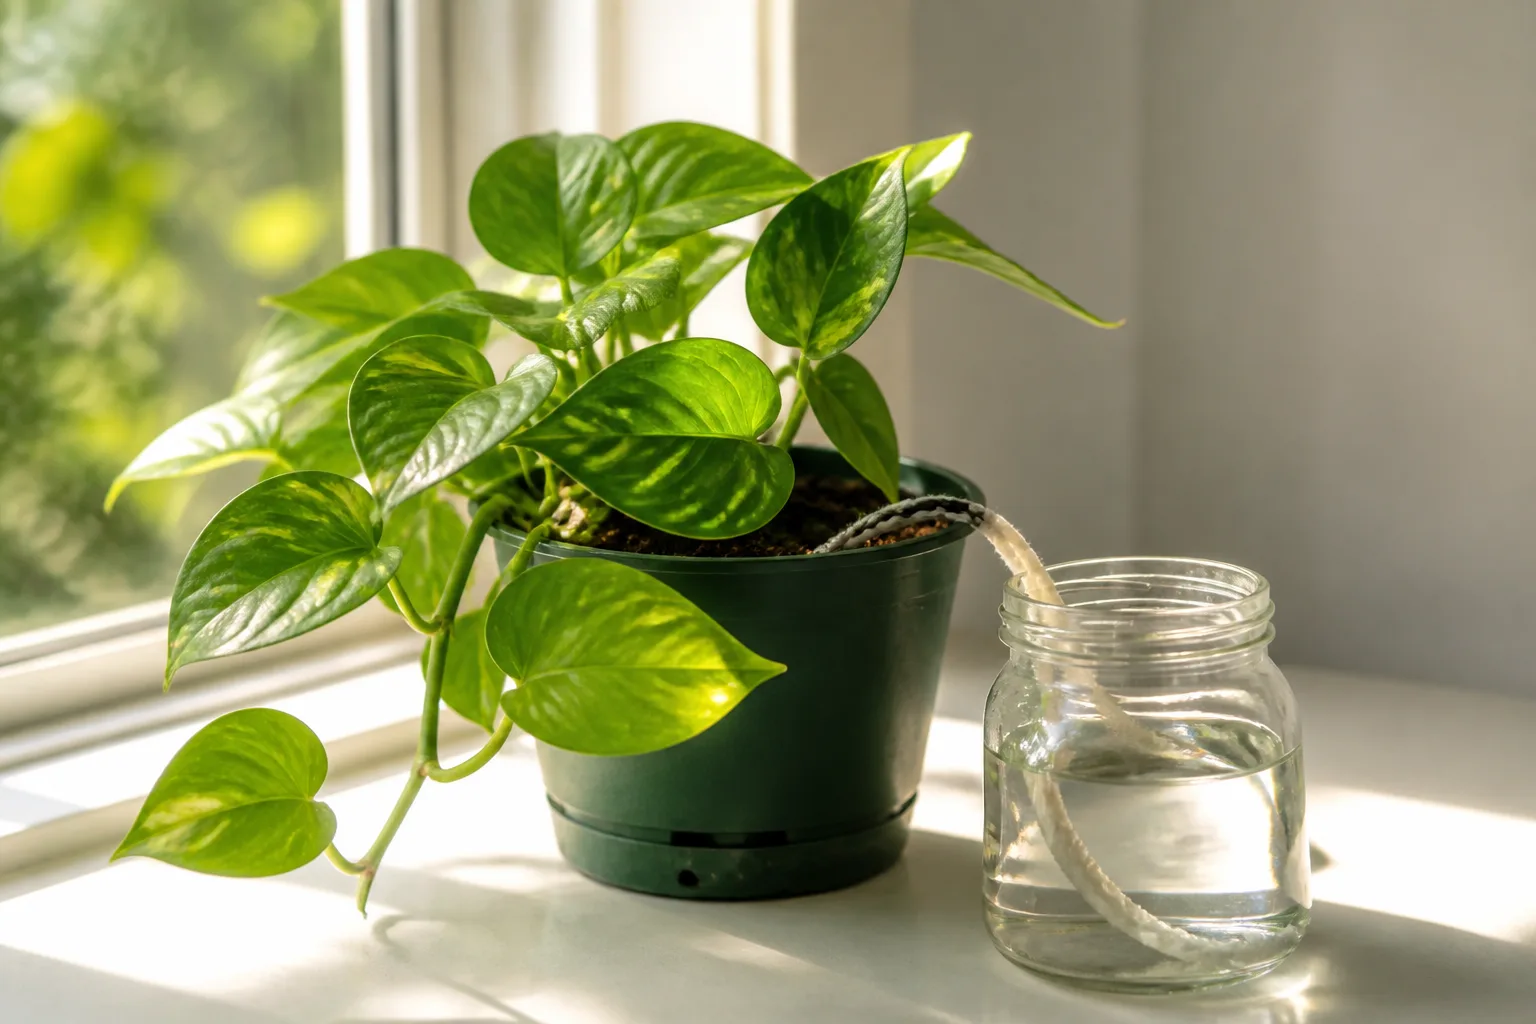
For a few indoor containers, a wick can draw water from a reservoir into potting mix, provided the wick makes good contact with both. A purpose-built reservoir pot can work for plants that tolerate its moisture pattern, but it is not ideal for every species. Outdoors, drip irrigation or a soaker hose on a timer is easier to scale across a bed or a cluster of pots. Horticulture magazine’s summer-watering guidance and Epic Gardening’s irrigation overview both stress matching delivery method to the planting area and checking that water reaches the intended root zone. (Horticulture; Epic Gardening)
Match the Setup to Pots and Beds
Use emitters or drip stakes close enough to each plant that water reaches its root ball. In a long bed, one emitter at the end of a row may leave plants at the other end dry; in a large pot, a single dripper can wet only one side. For containers with different sizes or water needs, adjustable emitters or separate timer zones make it easier to avoid giving every pot the same dose.
Bottle spikes and inverted bottles can be helpful for a small pot over a short period, but their release rate varies with the opening, soil texture, and how the bottle fits. They can clog, empty early, or leak too slowly to keep up with heat. Treat them as a trial option for a low-risk plant, not a dependable system for delicate specimens or a large collection. A water-filled tray may help some pots wick moisture from below for a limited time, but leave enough space between the waterline and potting mix to avoid keeping roots submerged.
Run a Trial and Check for Failures
Install the system several days before you leave. Run it through at least one complete watering cycle, then inspect each plant’s soil rather than assuming the device has done its job. Check for leaks, blocked emitters, runoff, empty reservoirs, and pots that remain wet long after other pots dry. If the weather forecast turns hotter or windier, adjust the system and test it again.
Test the timer with a bucket or rain gauge if you need to estimate how much water reaches an area. A timed run is not automatically an inch of water because flow rate, hose pressure, spacing, and soil absorption differ. Rainfall should count toward the total only if it soaks the root zone; a brief shower may wet leaves and mulch while leaving deeper soil dry. Gardening Know How also recommends testing a container-irrigation setup in advance and adjusting it to the plants and conditions rather than relying on a first-use guess. (Gardening Know How)
Tip 5: Ask a Plant Sitter When Weather or Trip Length Requires It
A person is the safest option when you will be away through several very hot days, when a plant needs frequent moisture, or when a new system has not been proven. A neighbor can spot problems a timer cannot: a pot knocked over, a blocked line, a broken stem, a heat wave that arrives earlier than forecast, or a plant that is wet but still wilting. If no one can water every day, ask them to check the most vulnerable plants and contact you if the soil condition does not match the care notes.
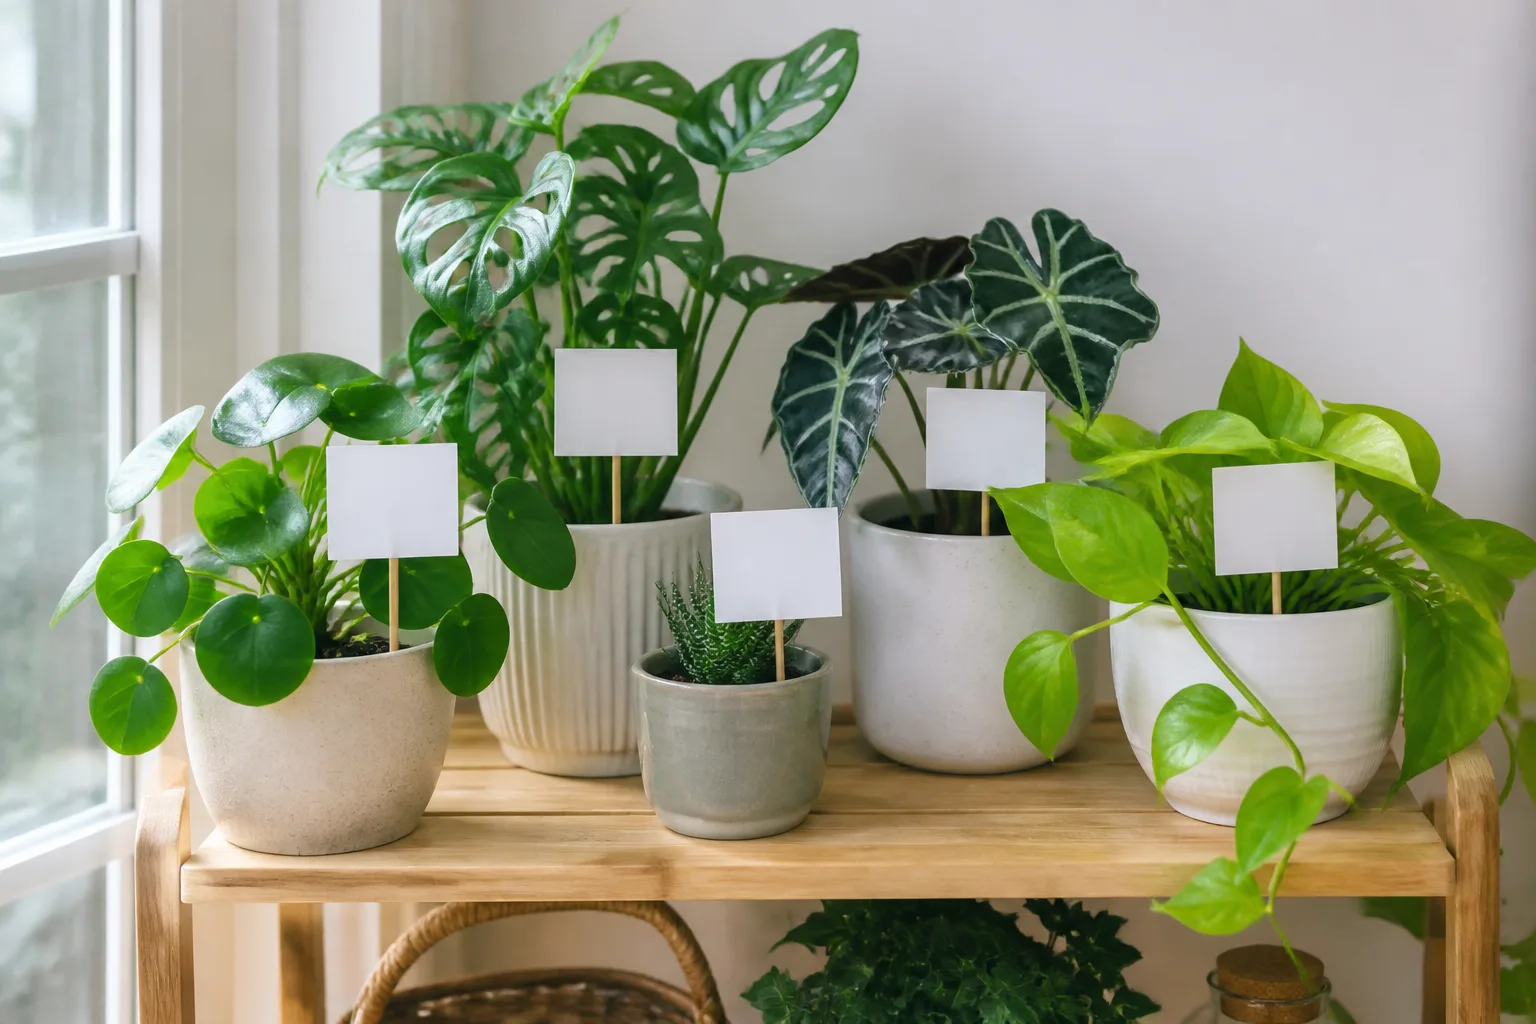
You can simplify the job by consolidating portable pots, grouping similar plants, moving them to a bright protected location, and labeling the plants that need special attention. Avoid asking someone to follow a rigid schedule such as “water everything every other day.” The weather may change, and plants can dry at different rates even on the same shelf.
Leave a Short, Plant-Specific Care Card
Make instructions short enough to use while standing beside the plant. For each high-priority container, say where to check the soil, what “dry enough” feels like, how to water, and whether the saucer should be emptied. For outdoor beds, identify the new transplants and the part of the bed a hose or soaker line covers. Show the helper how to shut off a timer or spigot if a leak appears.
Keep the note practical: “Check the top few inches of the tomato bed; if dry, water slowly at the base until the soil is moist below the surface,” is more useful than “water the tomatoes on Tuesday.” Include a contact method and a plan if the forecast shifts. If you have houseplants that should dry substantially between waterings, mark them clearly so a well-intentioned helper does not drown them.
Avoid the Common Pre-Trip Watering Mistakes
Don’t Soak Already-Wet Soil
An extra-large watering before leaving does not make a plant safer if its root zone is already moist. Roots need both water and air; keeping soil saturated for too long limits oxygen and can cause root problems. Follow the plant’s usual moisture cues, then use mulch, shade, or a supplemental system to slow drying. Water pots until the mix is evenly moist and excess drains, then empty saucers instead of leaving them full.
Likewise, do not fertilize heavily just before a heat wave in the hope of making plants tougher. Fertilizer does not replace water, and applying it to a stressed plant can add salts to the root zone. Avoid repotting, aggressive pruning, or other major changes immediately before a trip unless a plant has an urgent problem that requires action.
Don’t Trust Wilt or a Timer Alone
Wilt is a symptom, not a diagnosis. Heat, root damage, pests, disease, and dry soil can all contribute, so check moisture and look at the whole plant before adding water. If the soil is dry, water thoroughly; if it is wet, provide a cooler position and investigate drainage or root health. Watering a plant repeatedly because it droops only in midday sun can create a wet-root problem without fixing heat stress.
A timer is also not a soil sensor. It cannot know that a cool cloudy day replaced a heat wave, that rain missed the bed, or that a dripper has slipped away from a pot. Keep the equipment simple, inspect it, and make a person responsible for checking any valuable or vulnerable plants during a long absence.
Make a Realistic Departure Plan for the Forecast
Three to five days before leaving, check your local heat and rain forecast, identify which plants need daily attention, and test the watering method you plan to use. Water each plant only when its own root zone needs it. Move portable pots out of the hottest exposure, apply mulch to beds after watering dry soil, clear weeds, and ask a helper to monitor the vulnerable group if the trip overlaps a heat advisory.
On departure day, do one final soil check. Confirm that hoses and emitters are in place, timers have power and water pressure, reservoirs are filled, drainage holes are open, and no saucer is holding standing water. Leave the care note where it is easy to find. If rain is in the forecast, do not cancel every check automatically; have the helper confirm that it reached the soil and did not simply pass over the garden.
This plan scales with the risk. A cool, rainy forecast and established landscape plants may need only a final check. A small exposed container garden in strong sun may need shade plus tested irrigation and a person who can adjust the schedule. If the system fails during a trial, you have time to change it rather than discovering the problem after you return.
Conclusion
To keep plants watered through end-of-summer heat, start with the soil, not the calendar. Water dry root zones thoroughly, use mulch and temporary shade to slow moisture loss, and match any wick or timer to the plants it serves. Test your plan before you leave, and ask someone to check the plants that cannot safely wait. That approach protects plants from both drought and the damage that comes from watering blindly.