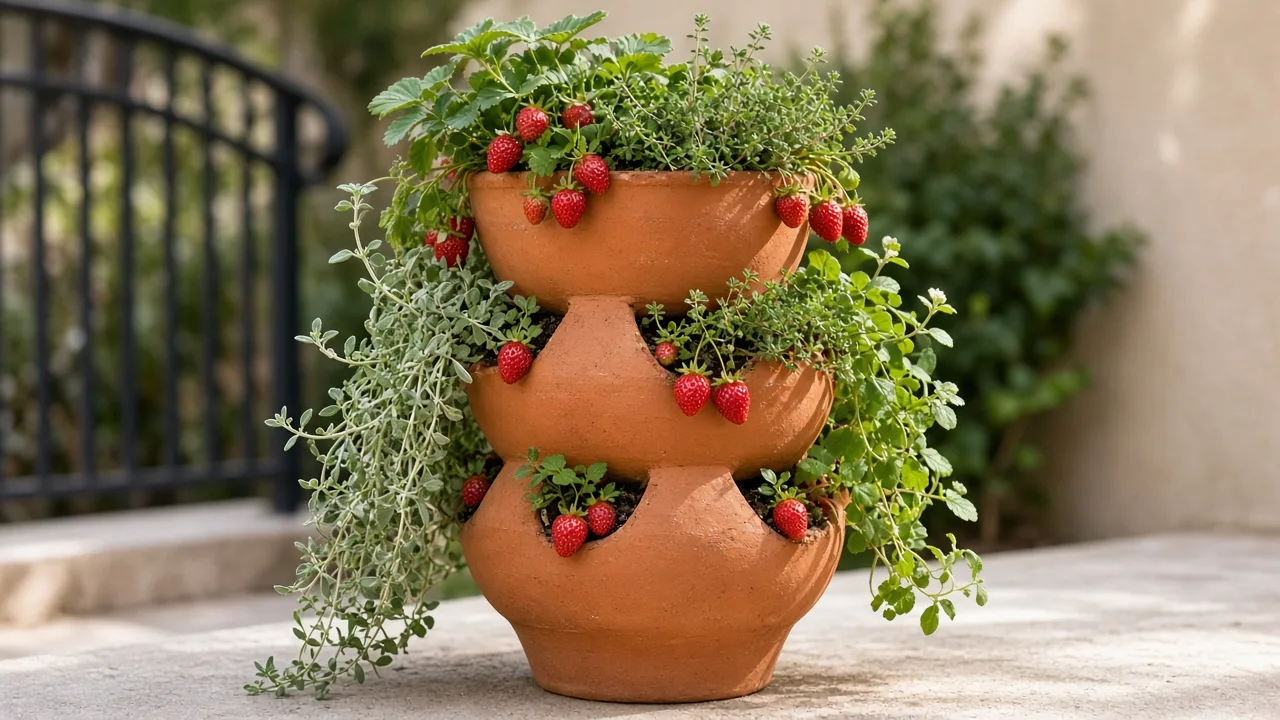
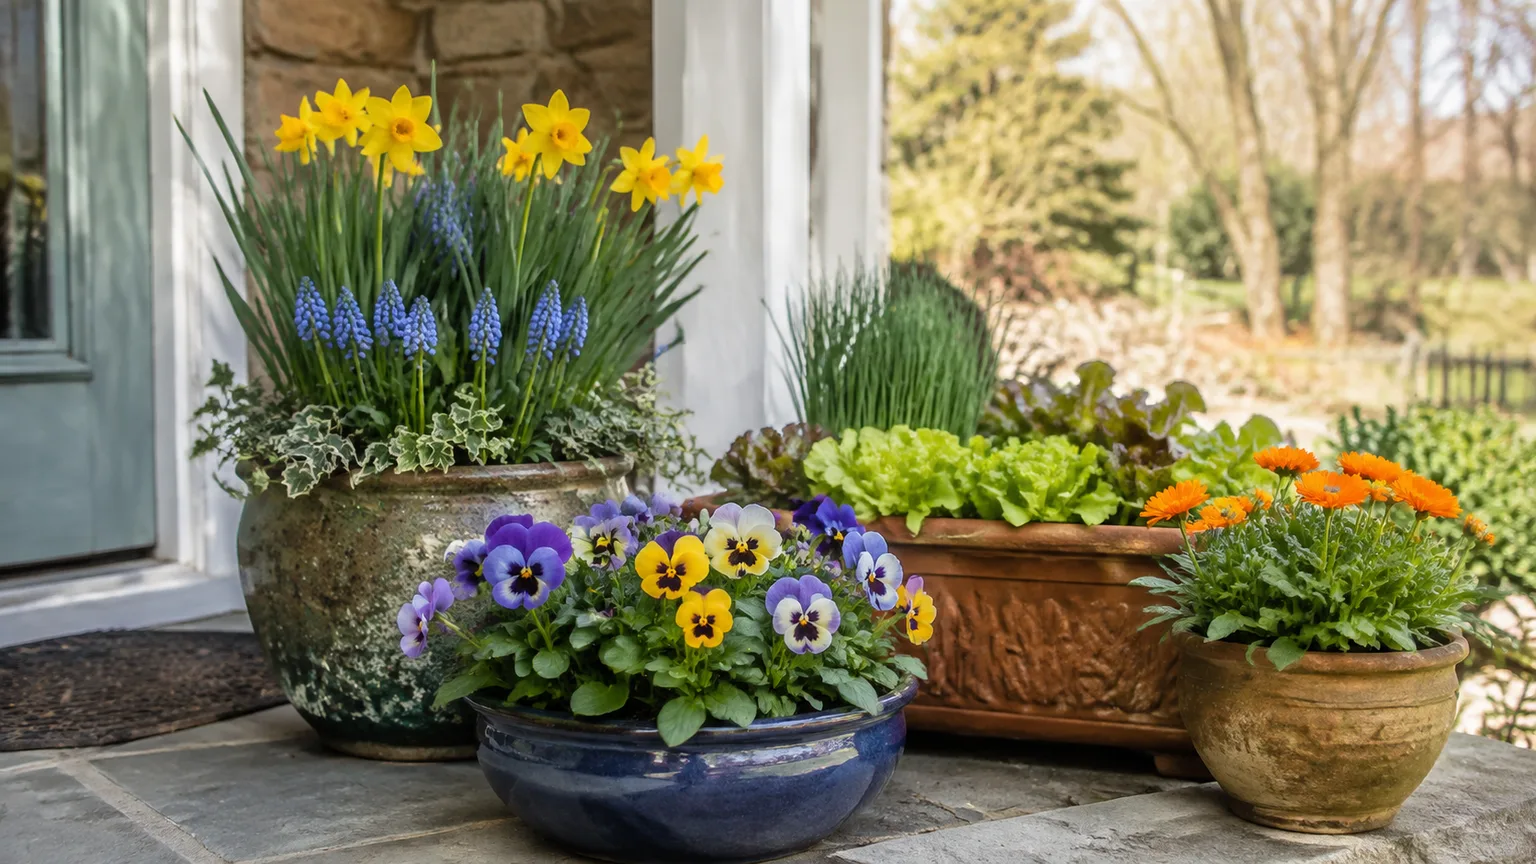
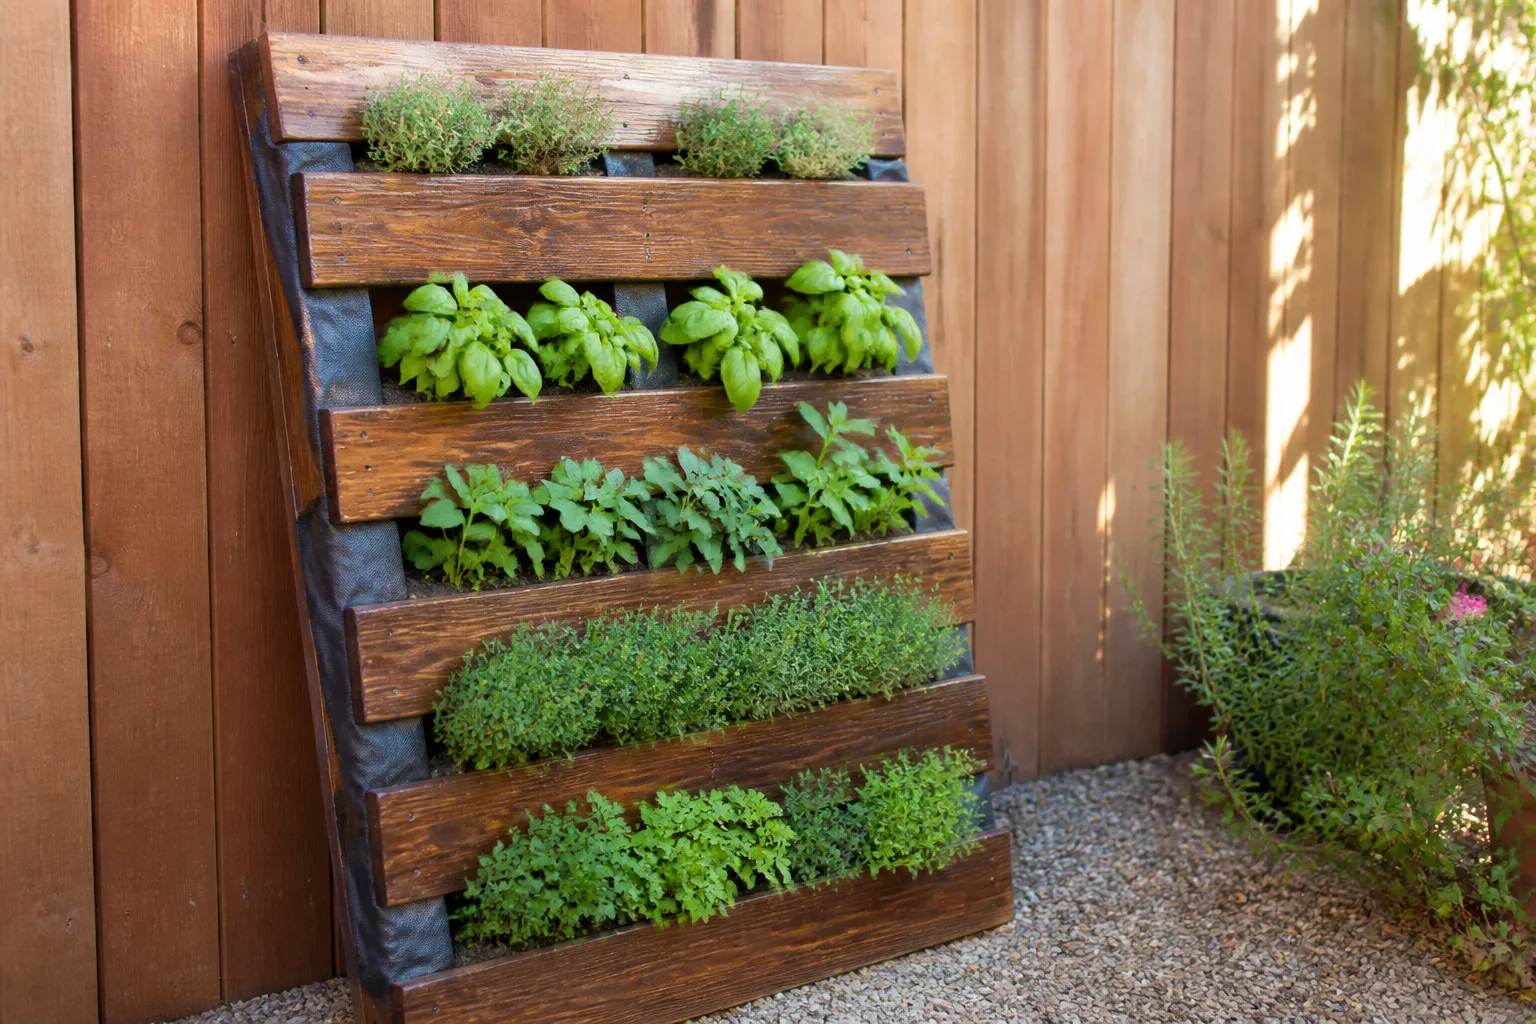
Thrill, Fill, Spill Planters: A Practical Guide
Choose a thriller, fillers, and spillers that share the same growing needs. This guide covers pot size, planting layout, seasonal combinations, and care.
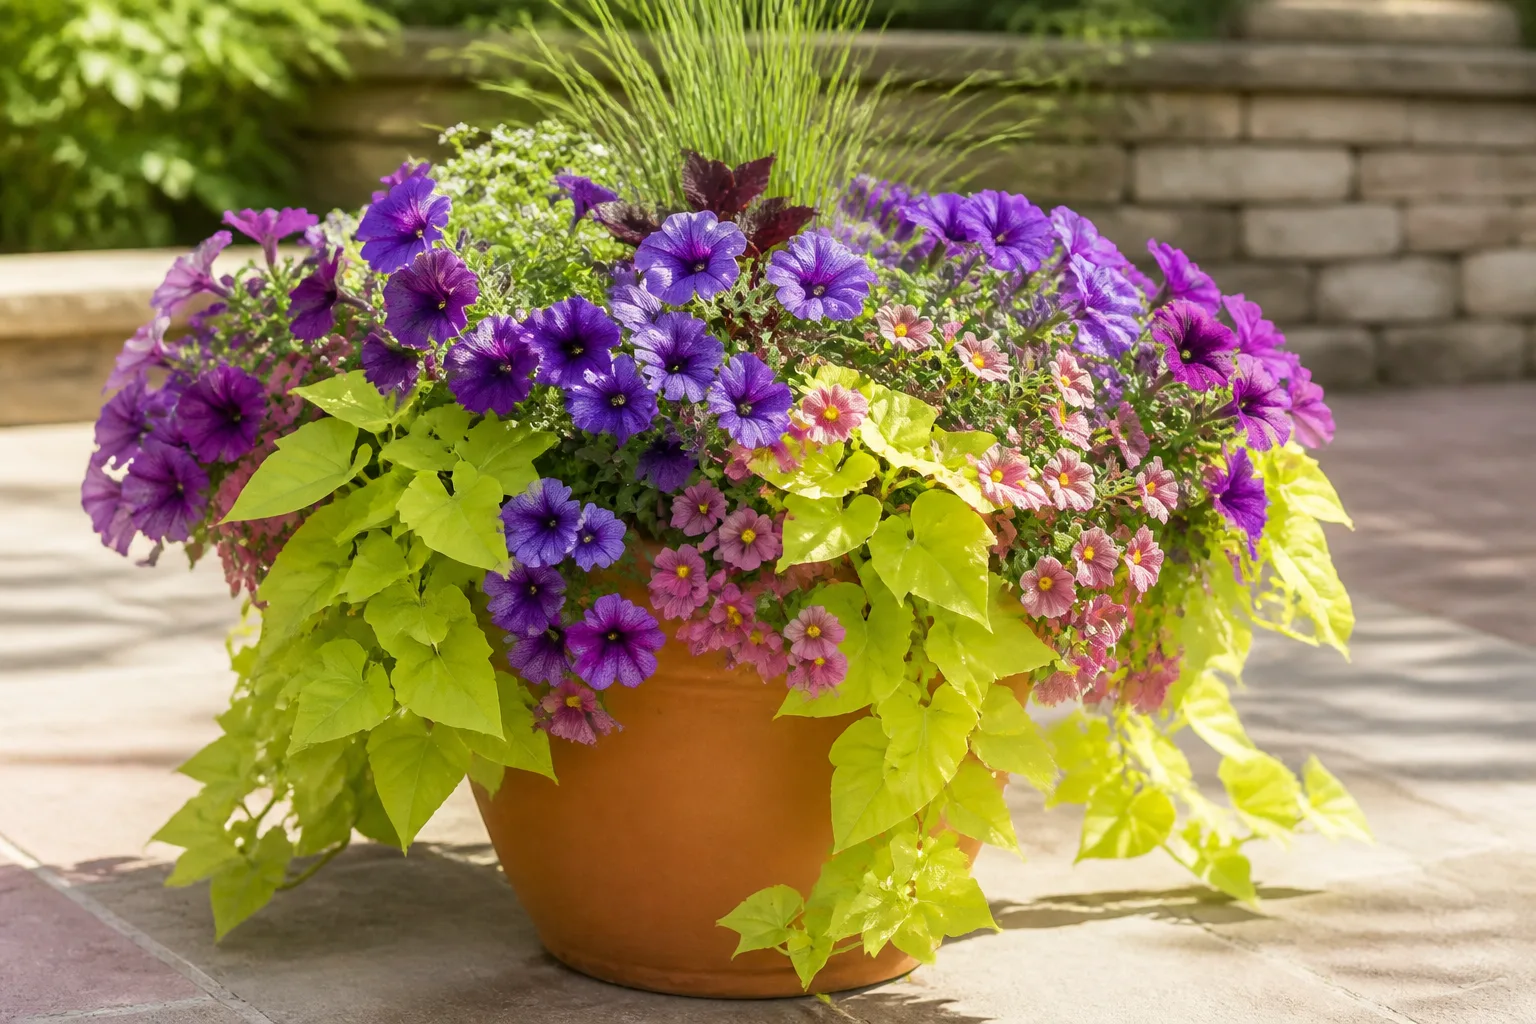
The thrill, fill, spill method is a design shortcut for arranging plants in one container: choose a focal plant with an upright or dramatic form, add one or more plants that create a fuller middle, and place a trailing plant near the rim. It gives a planter a clear silhouette, but the rhyme is only the visual plan. The plants still need to agree about sunlight, watering, temperature, and how much room they need as they grow.
That distinction is what makes the method work beyond the day you bring the pots home. Start with the container’s actual location, choose plants that can thrive there together, and then assign them roles. A well-composed pot may have three species, two, or even one; the goal is balance and healthy growth, not checking off three labels.
What the method does—and what it cannot do
The “thriller” is the visual anchor, often the tallest or most architectural plant. “Fillers” create a middle layer of color, foliage, and volume, while “spillers” trail over the container’s edge and soften its hard outline. The roles are about how a plant grows and reads in the arrangement, not about a plant’s permanent identity: the same species might be a filler in a large urn and the main attraction in a small pot.
Penn State Extension describes the method as one way to create a well-rounded container, with the focal plant placed at the center when the arrangement is viewed from all sides or toward the back when the pot sits against a wall. The extension also stresses matching growing requirements to the container’s location and leaving room for plants to mature. That makes the method a useful starting grid, not a strict formula or a promise that every combination will stay full all season. (Penn State Extension’s container-gardening guide)
The biggest weakness of a literal recipe is that it can encourage overplanting. A nursery pot may look small today, but roots and leaves continue to expand; several vigorous plants can quickly compete for the same limited water and root space. Use mature size and pot volume to decide how many plants belong together, then let the design fill in rather than packing the container to look finished immediately.
Start with the pot and the place it will live
Choose the site before choosing the plants. A container next to a sun-warmed brick wall, on an exposed balcony, or under a deep porch roof behaves differently from a pot in an open garden bed. Moving a planter later may be possible, but a large ceramic or stone pot filled with wet mix can become heavy and awkward, so picture the final position and maintenance route first.
Measure light, heat, and wind where the container sits
“Sunny patio” is not a precise enough plant tag. Check the spot at different times of day: note direct sun, the hours when a wall or roof blocks it, and whether reflected heat bakes the pot in late afternoon. Penn State Extension’s container guide makes the same essential point: a container’s exposure can shift through the day, and the plants’ requirements need to match the actual location. A quick morning-and-afternoon check is more useful than guessing from the direction a balcony faces.
Wind matters too. It can dry leaves and potting mix faster, buffet tall stems, and tip a light container. If the site is breezy, choose a stable pot, avoid a very top-heavy thriller, and consider a sheltered position. For hot, exposed corners, use plants whose tags tolerate that heat and be prepared to check moisture more often; a plant’s “full sun” label does not mean it is immune to reflected heat or drought in a small pot.
Choose a container that can hold the root system
Use a pot with at least one open drainage hole and enough room for the plants’ root balls plus their expected growth. Penn State’s container guidance recommends drainage holes because waterlogged media can deprive roots of oxygen; it also advises soilless container mix rather than heavy garden soil. A suitable potting mix holds moisture while still allowing excess water to drain, which is a better starting point than trying to correct dense yard soil inside a pot. (Penn State Extension on container gardening)
The pot’s width sets the composition, while its depth and volume set the root and water reservoir. Shallow bowls suit compact plants with modest roots, but they dry faster and leave less room for a substantial thriller. A large upright plant in a light plastic pot may also make the whole arrangement unstable outdoors. Match the container’s weight and shape to the mature canopy and the wind exposure, not just to the nursery plants’ current size.
Choose plants by role and by growth habit
After site and pot, compare plant tags for light, moisture, mature height, mature spread, and seasonal lifespan. The most reliable combination has a shared care profile. A full-sun plant that prefers a dry cycle is a poor roommate for a thirsty shade annual even if the colors look perfect together. Gardening Know How likewise cautions that plants in a thriller-filler-spiller design should have similar sun and water requirements; treat this compatibility check as more important than the rhyme. (Gardening Know How’s container design guide)
Pick a thriller for shape, not height alone
A good thriller has a clear silhouette: an upright flower spike, a plume, bold foliage, or a clump of narrow leaves that rises above the surrounding plants. Cannas and elephant ears can make dramatic focal points in spacious pots; a compact ornamental grass or a vertical flowering annual can suit a smaller container. The best choice is sized to the planter and site. A tall plant with a broad root system can overwhelm a narrow pot, while a modest upright plant may look more balanced in a tabletop bowl.
Think about viewing angle when you set its position. A pot displayed in the center of a patio can use a central thriller, with filler and spiller plants arranged around it. If the container sits against a wall or fence, put the tall focal plant toward the rear and keep lower growth in front, so it does not block the view of the rest of the arrangement. The plant does not need to be perfectly centered to read as the anchor; slight asymmetry can look more natural and can preserve sightlines.
Use fillers to connect the focal plant to the rim
Fillers are the transition layer. They may mound, branch, or spread sideways, closing the visual gap between a tall thriller and the pot’s edge. Coleus, begonias, compact zinnias, and some lantanas can serve this role depending on cultivar and exposure. Texture matters as much as bloom: a broad leaf, fine foliage, and repeated flower shapes can make a simple color palette feel layered without adding another species.
More than one filler can work, especially in a larger container, but each addition should solve a specific problem. One foliage plant might echo the thriller’s color, while a second flowering plant repeats the accent color. Avoid making every plant a different focal point. If the pot already has a bold upright plant and a vivid spiller, a calm foliage filler can give the eye somewhere to rest.
Let spillers soften the edge without hiding the pot
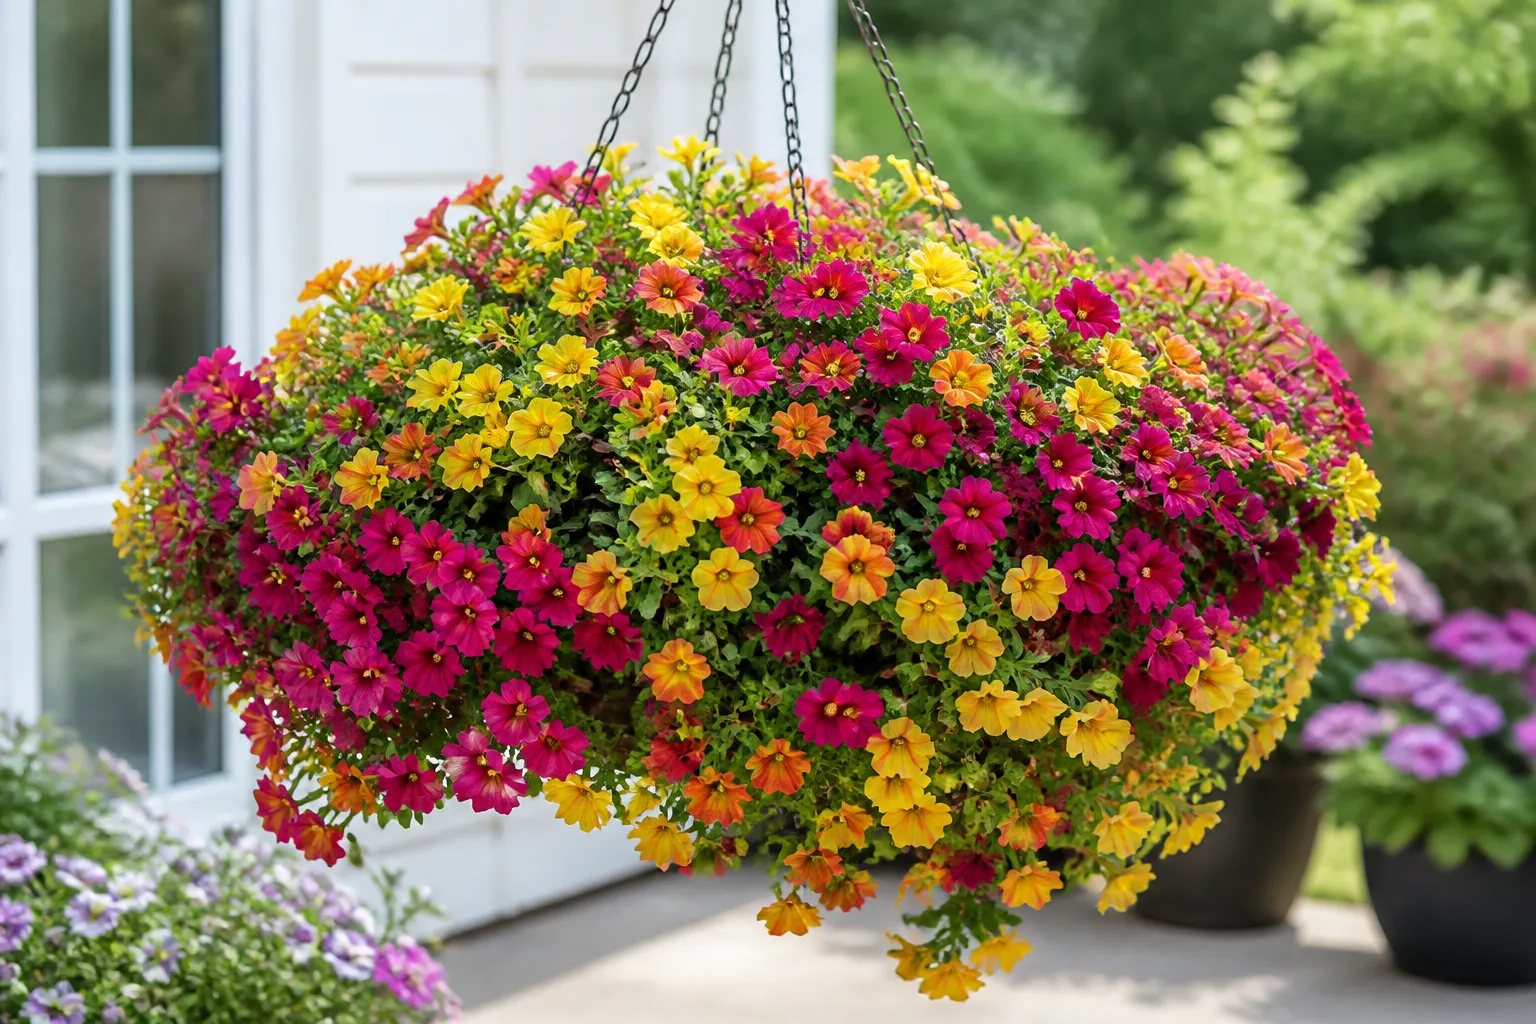
Spillers trail over the rim, add movement, and soften the container’s outline. Trailing petunias, calibrachoa, lobelia, verbena, trailing fuchsia, or sweet potato vine are common options, but their needs and growth rates vary by cultivar. Use a plant tag to check light and water, and account for how much room the trailing stems will take on a path, railing, or neighboring pot.
Place spillers near the edge they are meant to cross. A plant planted in the middle may eventually trail, but it can take longer to reach the rim and may be crowded first by neighboring roots. A wide planter can use two or more spillers at separate points around the rim; a compact pot usually needs only one. Trailing growth should frame the pot, not conceal every surface or hang where it will be crushed by a door or foot traffic.
Build a palette around shared growing needs
Think of a plant combination as a small community. Every plant in the pot shares the same light, root volume, water supply, and exposure, so the easiest palette is one in which the plants want broadly similar conditions. The exact varieties available locally, your climate, and how much maintenance you can give may change which examples make sense.
Full-sun palette: bold foliage and flower color
For a sunny, roomy summer container, try an upright canna as the thriller, a sun-tolerant coleus as the filler, and trailing verbena as the spiller. The Pennsylvania Horticultural Society features this kind of pairing in its planter ideas, including canna with colorful coleus and verbena. That is an example to adapt, not a universal prescription: select cultivars whose labels fit your local heat, light, and season, and choose a pot large enough for the canna’s mature size. (Pennsylvania Horticultural Society’s summer planter ideas)
For a lower arrangement, use a compact upright salvia, a mounding flowering annual, and a trailing calibrachoa or petunia selected for the same sun exposure. This creates the same vertical-middle-edge pattern without a giant foliage centerpiece. In very hot climates, give reflected-heat corners extra scrutiny; even sun-loving flowers may need a larger reservoir, afternoon shade, or a less exposed position.
Part-shade palette: let leaf texture do more work
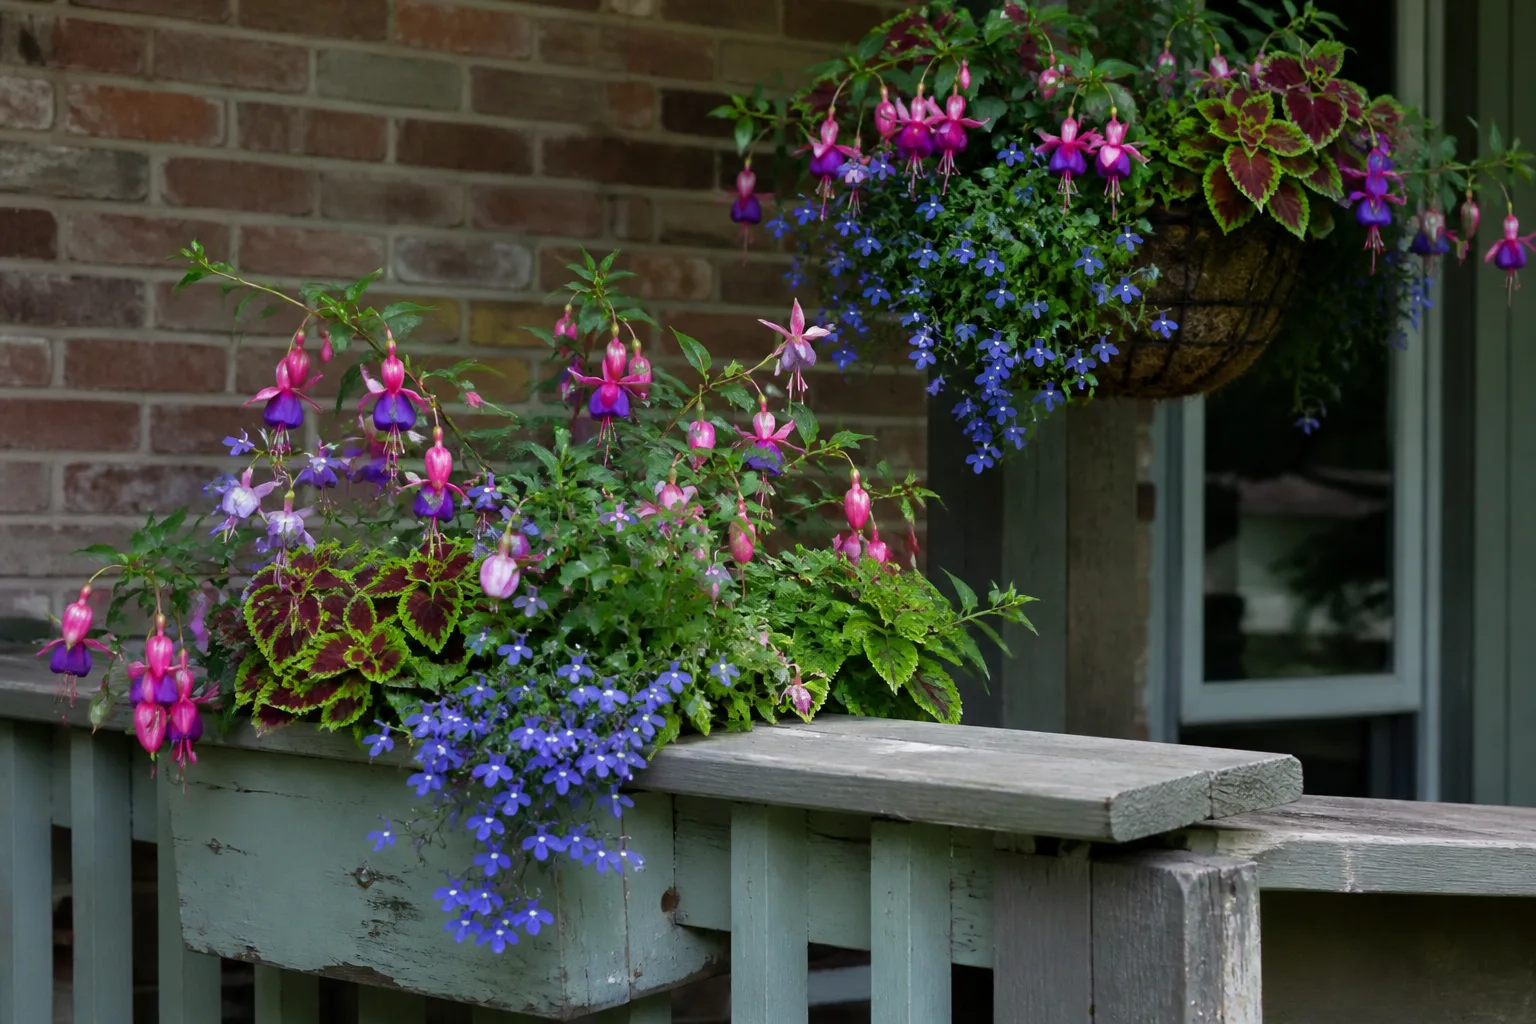
In a spot with bright indirect light or gentle morning sun, a shade-tolerant begonia can provide the focal color, coleus can make a leafy middle, and a trailing fuchsia or lobelia can soften the rim. Pennsylvania Horticultural Society’s summer examples include begonias and coleus for shaded containers and fuchsia among its recommended plants, though the specific cultivar tag should settle the final light and watering match. Choose the arrangement for the light your container actually receives rather than using a “shade” label as a guess for a dark corner.
Foliage gives a shade pot structure when flowers are sparse. Pair contrasting leaf shapes or tones—a larger leaf against fine, scalloped foliage, or deep green beside chartreuse—then use flowers as accents rather than asking all three plants to bloom continuously. This also makes the arrangement less dependent on one short flowering peak. Keep the thriller modest if the planter is small, because a broad-leaf focal plant can crowd neighboring plants faster than its height suggests.
Dry, edible palette: a useful herb combination
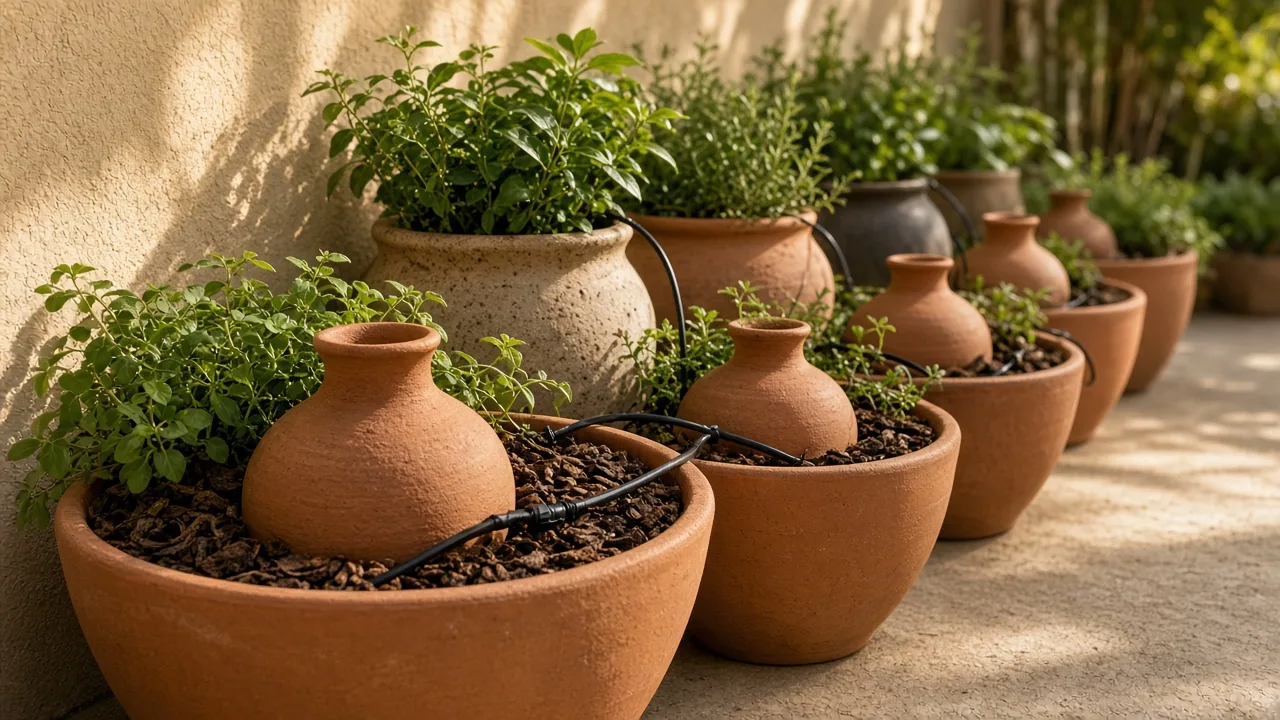
For a sunny pot with sharp drainage, lavender, oregano, and thyme offer a functional variation: lavender supplies height, oregano fills the middle, and thyme can trail near the rim. A University of Florida IFAS Extension horticulture educator uses this example and notes that all three Mediterranean herbs favor drier conditions. This is a more coherent arrangement than combining a drought-tolerant herb with a plant that expects constantly moist mix. In humid or rainy regions, use a potting mix and container that drain freely, and confirm each herb’s local suitability. (UF/IFAS Extension’s herb placement guidance)
The herb pot will not behave exactly like a lush annual flower bowl. The plants may grow at different rates, flowering may be seasonal, and regular trimming is part of keeping the herbs compact and harvestable. If you plan to cook with the leaves, avoid using plants treated with products not labeled for edible crops. If one herb grows too vigorously or wants a different moisture level in your climate, move it to its own pot rather than forcing the trio to stay together.
Plant the arrangement in a way that fits its viewing angle
Set the empty pot where it will stay, then turn it so the “front” is obvious. Arrange the nursery pots on the soil surface before planting. This dry run lets you adjust height, color, and spacing without repeatedly disturbing roots. Start with the thriller, place fillers around it, and put spillers at the rim; for a one-sided display, keep the tall plant behind the lower layers, while an all-sides view needs a balanced ring.
Read the plant tags for mature spread and use that information to decide spacing. Do not assume that a standard number of nursery pots fits every container. One vigorous plant may fill a medium pot by itself, whereas several compact annuals may share a wide bowl. Penn State Extension recommends not packing a container at planting because plants need room for root growth and better airflow as they fill out. (Penn State Extension’s container-gardening guide)
Once the layout looks right, remove each plant from its nursery pot and loosen only tightly circling roots gently. Set plants at the same depth they were growing, fill around the root balls with fresh potting mix, and leave a little space below the rim so watering does not immediately wash soil over the sides. Water slowly and thoroughly until excess drains from the bottom. Do not bury crowns or stems just to make the planter look fuller, and do not cover the drainage hole with material that blocks water flow.
Keep the container attractive without sacrificing plant health
Container care is a small routine, not a fixed calendar. Check the mix rather than assuming every planter needs water on the same day. Penn State Extension suggests checking below the surface; its general container article recommends feeling about two inches down. When that layer is dry and the plants’ needs call for watering, water the root zone until excess drains from the pot. Sun, wind, pot material, plant size, and weather all change how quickly a container dries, so a small exposed pot may need attention more often than a large shaded one.
Watch for both extremes. A plant that wilts in a dry mix needs water, but a plant that wilts while the mix remains wet may have roots short of oxygen or another problem; adding more water can make that worse. Keep drainage holes clear, empty a saucer after watering when it holds persistent water, and avoid letting the container sit in runoff for days.
Nutrients are limited to what the pot contains and what you add. Check whether the potting mix includes fertilizer and follow its label, then use a container-appropriate fertilizer at the stated interval if the plants need it. Penn State Extension notes that potted plants depend on the nutrients in the container and that fertilizer may be needed during the season; it also emphasizes following product instructions. Do not layer several fertilizer products at full strength just because flowers slow down. First check light, moisture, root crowding, and spent blooms; more fertilizer cannot correct those issues. (Penn State Extension’s container vegetable guide)
Groom the plants according to their type. Remove spent flowers when the cultivar benefits from deadheading, pinch a leggy filler if its label or care guidance supports it, and trim a spiller before it blocks a path or smothers a neighbor. Remove damaged leaves and inspect the undersides for pests when you water. If the container is intended to look full for a one-time event, accept that it may need extra watering and pruning; for lower maintenance, use fewer plants with slower, more compatible growth habits.
Troubleshoot a planter that looks wrong or struggles
When a container disappoints, diagnose the conditions before replacing the plants. A pot that is lopsided may have a viewing-angle problem rather than a plant problem: turn the container, move the thriller toward the back, or redistribute fillers. A sparse center may simply need time for healthy growth, while a crowded container needs plants removed or moved. Penn State Extension explicitly recommends transplanting or removing plants when a container becomes too full instead of accepting chronic crowding.
If one plant wilts before the others, compare its water needs, root-ball dryness, and location in the pot. A small root ball can dry faster than the surrounding mix after transplanting, so check both the root zone and the container rather than watering based on a limp leaf alone. If the mix stays wet, inspect drainage and avoid further irrigation until the top layer begins to dry in a way that suits the plants. The goal is to identify whether the issue is water amount, water retention, or a mismatch among the species.
If flowers fade but foliage remains healthy, consider the season, light, and cultivar rather than adding fertilizer immediately. Some plants bloom in waves or slow under heat; some annuals are near the end of their useful season. Deadhead where appropriate, restore the light conditions if the pot has been moved, and replace only the plant that has finished. If all plants decline together, check the shared conditions first—drainage, water, heat, and root crowding—because a single site problem can affect the whole composition.
Refresh the design as the season changes
The “perfect” container does not have to stay frozen. Annuals may finish with the season, perennials can be moved into a larger pot or into the garden when the climate permits, and an arrangement can shift as plants mature. Before cold weather, check whether tender plants are meant to be discarded, moved indoors, or protected according to their species and local winter conditions; a dramatic summer pot is not automatically hardy in a container through winter.
You can also change the design without replacing everything. Remove a finished annual, let a foliage plant become the main focal point, or add one seasonal accent in the open space. Penn State Extension notes that small containers can be moved around a perennial garden as the season changes and that perennials can provide reusable structure. Keep the roots and winter hardiness in view, though: a plant that survives outdoors in the ground may need protection when its roots are exposed in a pot.
Conclusion
Use thrill, fill, spill as a way to organize a container’s shape, then let the growing conditions decide the plants. Pick a focal form that fits the pot, add a middle layer that shares its light and water needs, and place a manageable trailer along the rim. Check mature size, drainage, wind, and the viewing angle before planting, then leave room for the plants to fill in.
When the three roles do not fit the space, simplify. A strong single specimen or a thoughtful two-plant pairing can look more intentional and stay healthier than a crowded pot. The best container is the one whose design and care requirements suit the place where you will actually grow it.