How to Keep Carved Pumpkins from Rotting Outdoors
Wondering how to keep carved pumpkins from rotting? See what three viral treatments can—and can’t—prove, plus a simple outdoor routine for Halloween week.

A carved pumpkin is a short-lived decoration, not a sealed container. Once you cut through the rind, the moist interior is exposed to air, handling, rain, warmth, and whatever microbes were already on the surface. That is why a pumpkin that looked sound at the farm stand can soften quickly after carving—and why one coating rarely overrides the weather.
This is an evidence review rather than a first-hand trial: available gardening advice does not establish a repeatable winner among bleach, hairspray, or coconut oil. The most dependable plan is less dramatic: choose a firm pumpkin, carve it close to the day you need it, keep the cavity clean and dry, and move it out of heat and rain.
The practical verdict: none is a proven winner
Bleach, hairspray, and coconut oil are often presented as quick fixes, but an attractive pumpkin on one porch is not proof that a treatment prevents rot. To establish that, you would need several comparable pumpkins per treatment, the same starting condition and weather, an untreated control, repeated trials, and a clear measure of decay. A small side-by-side display can suggest a question; it cannot settle it.
A coating may change how a cut edge looks. Oil or petroleum jelly, for example, may make an edge appear less dry for a time, while a sanitizer may reduce some surface organisms when used correctly. Neither observation proves that the pumpkin will resist mold or stay firm for a set number of days. If the forecast is warm and rainy, that environment can outweigh a thin surface treatment.
It also matters what “worked” means. One treatment might keep the carved edge from looking papery while the inside still softens; another might leave the rind glossy but do nothing to mold. A useful comparison would track separate outcomes—firmness, visible mold, odor, leaking, and how presentable the carving remains—instead of calling any single change a win.
| Hack | What it might change | Practical verdict |
|---|---|---|
| Diluted bleach | Surface microbes, if the product and use are appropriate | Not a guaranteed way to extend display life; do not improvise a mix |
| Hairspray | Surface sheen or drying | No dependable pumpkin-preservation evidence; skip it |
| Coconut oil | The look and feel of cut edges | Not established as mold prevention; treat as cosmetic at most |
The most useful “winner” is a sequence, not a jar: delay carving, remove wet pulp, and keep the pumpkin cool, shaded, and dry. Better Homes & Gardens also emphasizes pumpkin condition, location, heat, and timing, while its seasonal interview with certified Master Gardener Mary Jane Duford recommends carving closer to Halloween in warmer weather. Those are practical levers you can control without betting the display on a viral coating.
The difference between advice and evidence is especially important for these hacks. A recommendation can be based on a plausible mechanism or a few attractive photos, but that does not show how often it works or whether it beats basic care. Better Homes & Gardens includes bleach and oils among common preservation suggestions, while also emphasizing condition, shade, drying, and heat; its article does not compare those treatments in a replicated trial. The safe takeaway is to use the low-risk steps first and treat coatings as unproven.
Why carved pumpkins rot faster than whole ones
Carving removes the pumpkin’s protective rind
An intact pumpkin has a firm outer rind that limits water loss and protects the flesh from direct contact with the environment. A jack-o’-lantern has cut faces, a large opening, and often a scraped-out cavity. Those wounds expose damp tissue, and the thin edges can dry, wrinkle, or collapse while mold and bacteria take hold.
This is also why advice for storing a whole harvest should not be copied directly onto a carved decoration. The USDA ARS describes Agricultural Handbook 66 as a postharvest reference for commodity storage and handling; that kind of whole-produce guidance does not preserve an open cut surface. Epic Gardening’s guide to storing pumpkins likewise describes intact fruit with its rind and stem still protecting it; once the pumpkin is cut, that storage strategy no longer applies.
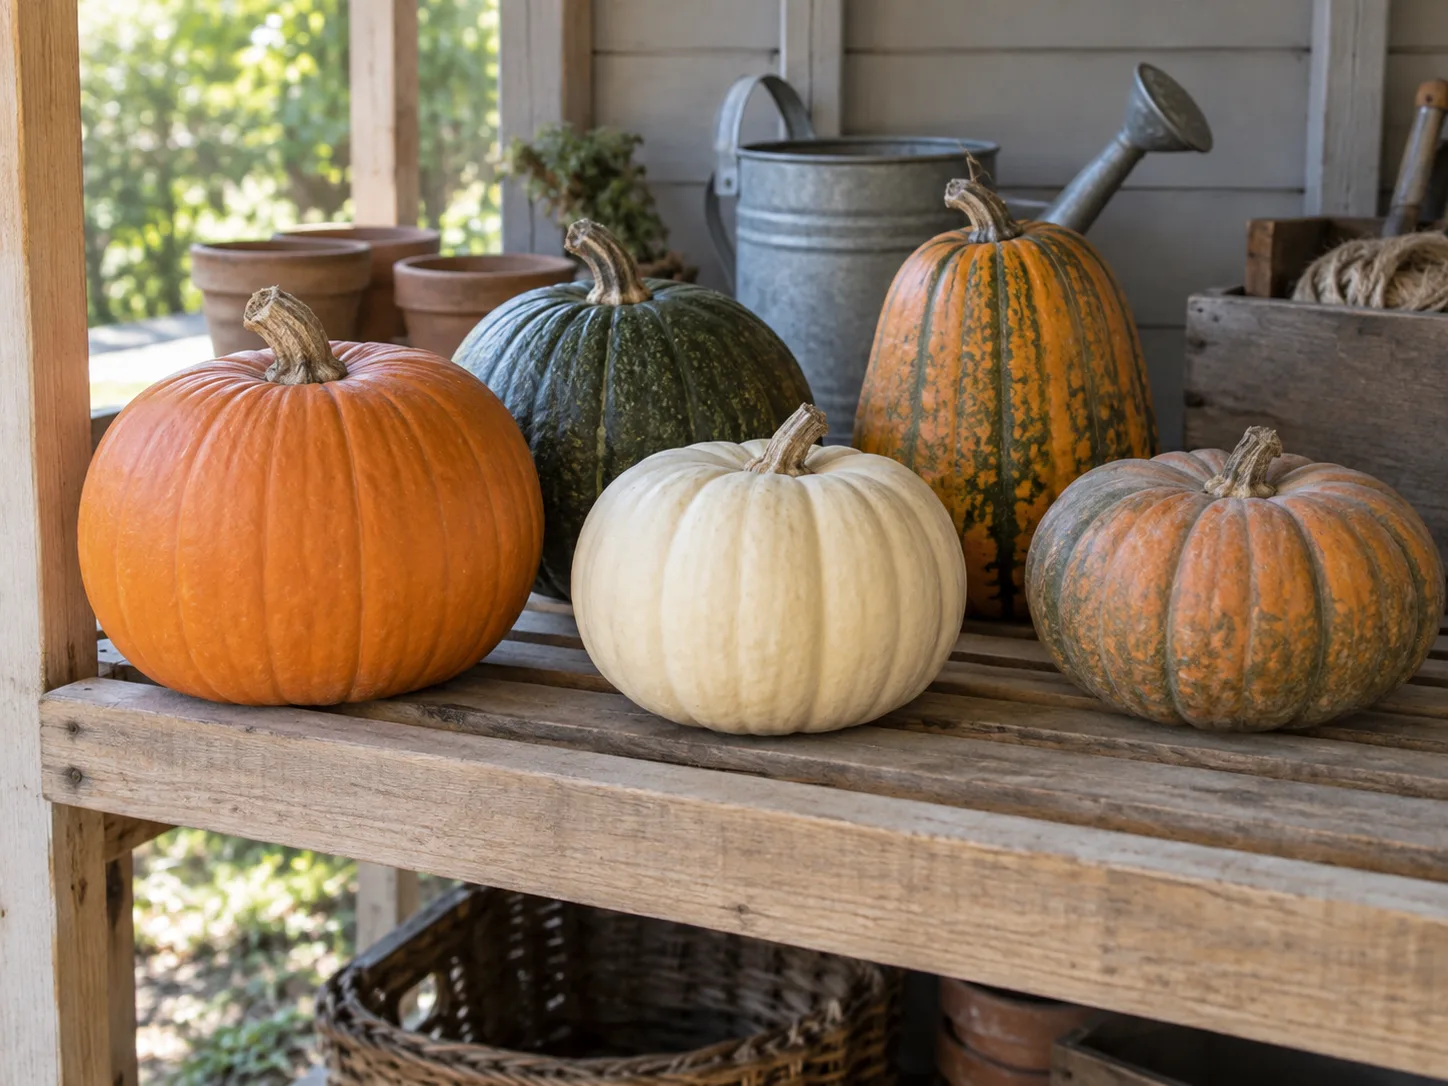
Weather sets the clock
Warm air speeds up deterioration; direct sun heats the rind; rain leaves water in the cavity and on the cut edges. A pumpkin on a wet step or lawn also stays damp longer than one under a covered porch. Repeated swings between a hot afternoon and a cold night add stress, so the same carving routine can produce very different results in different climates.
The day’s high temperature is only part of the picture. Check the overnight low and rain forecast too: a pumpkin can sit in shade all afternoon and still spend the night wet, then warm again the next day. A covered porch with airflow is usually a better display spot than a sunny windowsill, a rain-exposed stoop, or a damp patch of lawn.
The visible change is not always a simple countdown. A pumpkin may first lose crisp edges, then develop soft spots, a sour smell, leaking liquid, or visible mold. Hiding those signs with a coating does not restore firm tissue. Think of temperature and moisture as the conditions that set the pace, and a hack as a small, uncertain adjustment at best.
What to make of three popular treatments
Bleach: a disinfectant is not a lifespan guarantee
The argument for bleach is that it can disinfect surfaces. That does not make every bleach-water recipe safe or effective for a pumpkin, and it does not show that a treated jack-o’-lantern will last longer than an untreated one. Household bleach products vary; concentration, contact time, ventilation, and label directions matter. A recipe copied from a post is not a substitute for the product label.
Even if a sanitizer reduces organisms on the surface, a cut pumpkin is not a sterile object. The cavity can be recontaminated by hands, tools, insects, rain, and the display surface, and treatment does not remove the exposed flesh or restore the rind. Without a product whose label specifically covers the intended use, there is no sound reason to invent a concentration or repeat a spray every day.
For a pumpkin that might be eaten, do not coat cut flesh with household cleaner. CDC food-safety guidance advises washing fresh produce under running water and cleaning hands, utensils, and counters during food preparation; its guidance does not endorse bleach baths for carved pumpkins. Treat a display jack-o’-lantern as decoration and keep chemical-treated pumpkins away from food use. If the goal is a longer display, dry handling and better timing are simpler choices.
Hairspray: a surface film is weak evidence
Hairspray may leave a shiny film, which can make a pumpkin look freshly polished in a photo. That is an appearance effect, not evidence that the pumpkin’s cut surfaces resist mold. A spray can leave residue on a decoration and is not a treatment designed for food.
There is little reason to add an aerosol when it does not solve the main problem: exposed wet tissue in changing outdoor conditions. If the pumpkin is intended for eating, don’t spray it. For a decorative pumpkin, a clean, sheltered display is the lower-mess choice; hairspray has no established preservation benefit.
This is also why a before-and-after photo can mislead. Gloss changes contrast and makes a surface look smoother, while a picture cannot show whether the cavity has become soft or whether mold is growing out of frame. A useful preservation claim needs more than shine: it needs a clear comparison over time and consistent conditions.
Coconut oil: a cosmetic edge treatment, not a fix
Coconut oil is appealing because it is familiar and can make a cut edge feel less dry. Better Homes & Gardens mentions oils and petroleum jelly as ways some people try to seal carved edges, but that editorial suggestion is not a controlled comparison showing that coconut oil stops mold. A smoother edge can look better without slowing decay inside the cavity.
Oil leaves a greasy surface that can collect dust, and a treated pumpkin may need different disposal from untreated yard waste. If a carved pumpkin is already drying but otherwise firm, an oil coating may be a cosmetic choice for a strictly decorative object, not a dependable anti-rot treatment. Skip it on any pumpkin you plan to eat, and never pair an oil-coated pumpkin with an open flame; use a cool battery-operated light instead.
The timing of the application matters in any test. Applying oil only once, reapplying it daily, or coating the rind before carving are three different treatments; each could produce a different look. When a hack does not specify dose, coverage, timing, weather, or an untreated comparison, “it worked” is too broad a conclusion to repeat as a guarantee.
Steps with a stronger payoff
Start with firm fruit and postpone the knife
Choose a pumpkin that feels firm all over, with an intact stem and no soft spots, leaking patches, or deep cuts. A bruise you can ignore on an uncarved display pumpkin may become a weak point once the fruit is opened. Carry it from the base rather than lifting it by the stem, and set it where it can remain until carving day.
If you buy the pumpkin well ahead of Halloween, leave it intact and keep it cool, dry, and ventilated. Epic Gardening’s storage advice covers whole pumpkins before carving: it recommends curing sound fruit and keeping the harvest in a cool, dry spot. That extended storage window belongs to an uncut pumpkin with its rind intact; it is not a reason to carve early and expect the same shelf life afterward.
Carve as late as your plans allow. Better Homes & Gardens quotes Master Gardener Mary Jane Duford, who suggests roughly seven to ten days before Halloween in cooler climates and two to four days in very warm conditions. Treat those windows as a climate-based starting point rather than a guarantee: use your local forecast, and shorten the lead time if afternoons are still hot or nights are humid.
Remove pulp with clean tools and let the cavity dry
Before carving, wash your hands and clean the knife, scoop, and work surface. The CDC recommends washing utensils and counters with hot, soapy water after food preparation and rinsing fresh fruits and vegetables under running water. That is sensible hygiene for a pumpkin you may eat; a decorative pumpkin still benefits from starting with clean tools rather than transferring dirt and residue into its cavity.
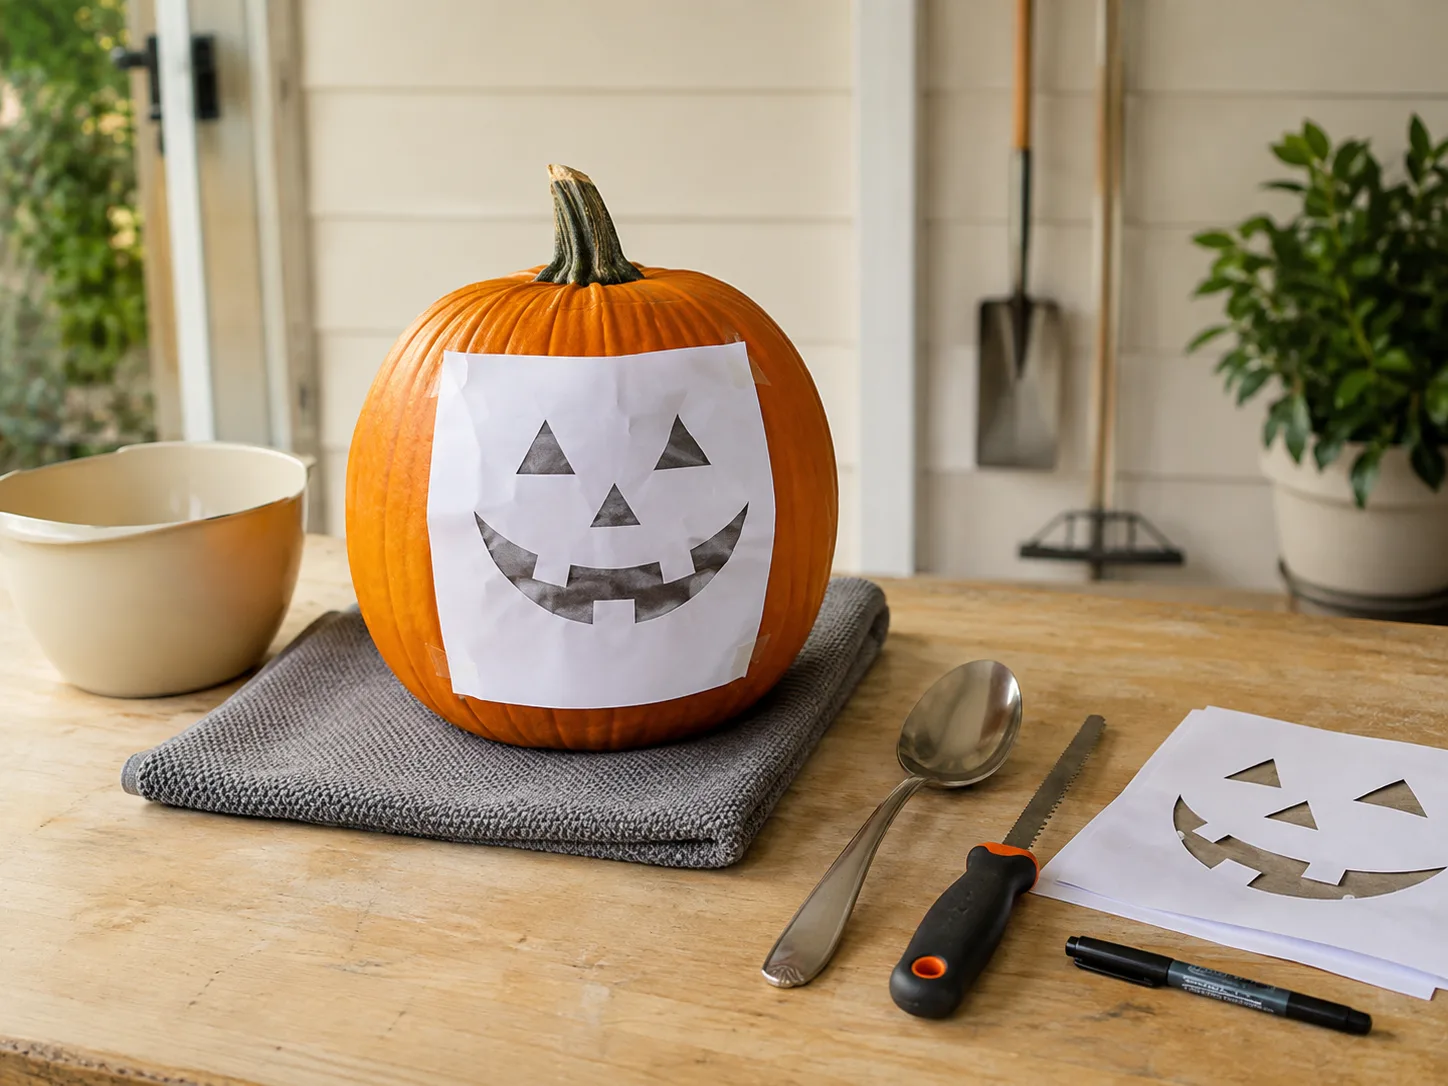
Scrape out loose strings, seeds, and wet pulp instead of leaving a layer stuck to the bottom. That material holds moisture and breaks down faster than firm flesh. Wipe the inside with a clean towel and let excess surface moisture evaporate before putting the pumpkin outside. Avoid soaking the finished jack-o’-lantern as a routine: adding water to an already open cavity can leave the exact damp conditions you are trying to avoid.
Keep the cut openings sturdy rather than carving paper-thin walls or narrow bridges that can tear when the pumpkin is moved. A simple face with broad connections is less fragile than fine filigree, and fewer accidental cuts mean fewer weak spots to dry or collapse. Once the carving is finished, handle it from underneath with two hands instead of pulling at the stem or eye openings.
Use cool shade and keep rain off the cuts
Put the pumpkin somewhere shaded and sheltered from rain, ideally on a dry raised surface such as a porch table or bench. A covered spot keeps water from pooling inside and reduces direct sun exposure. If the only available spot is a hot, wet stoop, moving the pumpkin indoors between displays is more likely to help than applying another coating.
Use a battery-operated LED rather than a candle. BHG’s pumpkin-care guidance recommends avoiding flames because heat can dry the interior faster. Do not seal the cavity with plastic wrap or place the pumpkin in a bag; trapped condensation can keep cut surfaces damp. Check the base after a rainy night and wipe away standing water before returning it to the display.
Give the pumpkin a little clearance around its base so air can move and damp leaves do not sit against it. A tray or dry board can catch drips on a porch, but empty it after rain rather than letting the pumpkin stand in water. Small placement choices are easy to repeat every day; they also avoid the greasy residue and cleanup that come with some surface treatments.
A simple routine for the days around Halloween
Before carving
Buy the pumpkin as close to carving day as practical, or keep it intact in a cool, dry, ventilated place until then. If it is still whole, use the advice for whole pumpkins; don’t carve it early and expect curing or months-long storage conditions to reverse the exposed surface. Make the stencil and prepare a clean work area in advance so you can carve once, clean thoroughly, and get it back out of the weather.
If the pumpkin has been stored indoors, let its exterior dry before carving. Do not carve fruit with a soft area, a crack that reaches the flesh, or mold already growing around the stem; those are signs that the protective rind has already failed. Choosing a fresh pumpkin is more useful than trying to rescue a compromised one with a spray.
If you are serving pumpkin seeds or saving the flesh for cooking, separate that food from the decorative pumpkin. Use clean utensils and refrigerate cut edible pumpkin promptly; the CDC says perishable foods should be refrigerated within two hours, or within one hour above 90°F. Do not use flesh that has sat out as part of a porch display, and do not apply hairspray, oils, or household cleaners to food you intend to eat.
After carving and between displays
When the pumpkin is not being shown, keep it in the coolest dry room available, away from sunlit windows, heaters, and damp ground. Bring it inside overnight if that is cooler and drier than the porch, but do not leave it beside a warm oven or in a hot garage. Do not wrap or seal the cavity; if condensation forms after a move indoors, let the surface dry before putting it back on display.
Each day, look at the cut edges and the bottom rather than judging only by the front. Wipe off rainwater, move it to a drier location, and remove fallen leaves or debris from the cavity. A few wrinkles mean the pumpkin is drying; soft, wet tissue or spreading mold means it is no longer a sound display. No spray can reverse that change.
There is no need to add a new product on a fixed daily schedule. Inspect once a day, especially after rain or a warm afternoon, and respond to what you see: dry the base, move it to shade, or bring it under cover. Repeatedly wetting the pumpkin with a homemade spray can leave residue and make it harder to tell whether the surface is actually drying.
If the forecast is hot, wet, or freezing
For a warm spell, carve later, keep the pumpkin in shade during daylight, and shorten the display window. A fan or a cool indoor room can help it avoid a hot porch, but do not blast it with heat or put it in direct air from a heater. In humid weather, prioritize protection from rain and airflow around the pumpkin rather than misting it.
If the forecast alternates between a very warm day and a cool night, plan around the warmest and wettest part of the cycle rather than the single comfortable evening when you carve. The BHG timing advice from Master Gardener Mary Jane Duford gives a useful broad contrast—about a week ahead in cooler climates versus only a few days in very warm ones—but the actual porch conditions should decide. A small carved pumpkin may dry at the edges sooner than a large, thick-walled one, so check the fruit itself rather than relying on the calendar alone.
If a hard freeze is forecast, bring the carved pumpkin inside. Freezing can damage the exposed tissue, leaving it more likely to turn soft when it thaws. Return it outdoors only after the fruit has warmed and dried; if it becomes mushy or leaks, retire it rather than trying to firm it up with oil or bleach.
When to stop displaying a pumpkin
Take a jack-o’-lantern off display when it has spreading mold, a soft or sunken area, a sour odor, leaking liquid, or a collapse that makes it unstable. Do not taste it, cut around mold to serve the remaining flesh, or hand a treated pumpkin to children as a food project. A decorative pumpkin that has been outdoors is not a safe substitute for fresh produce.
Put an untreated pumpkin into municipal yard waste or a home compost pile if local rules allow it.
Put an untreated pumpkin into municipal yard waste or a home compost pile if local rules allow it.
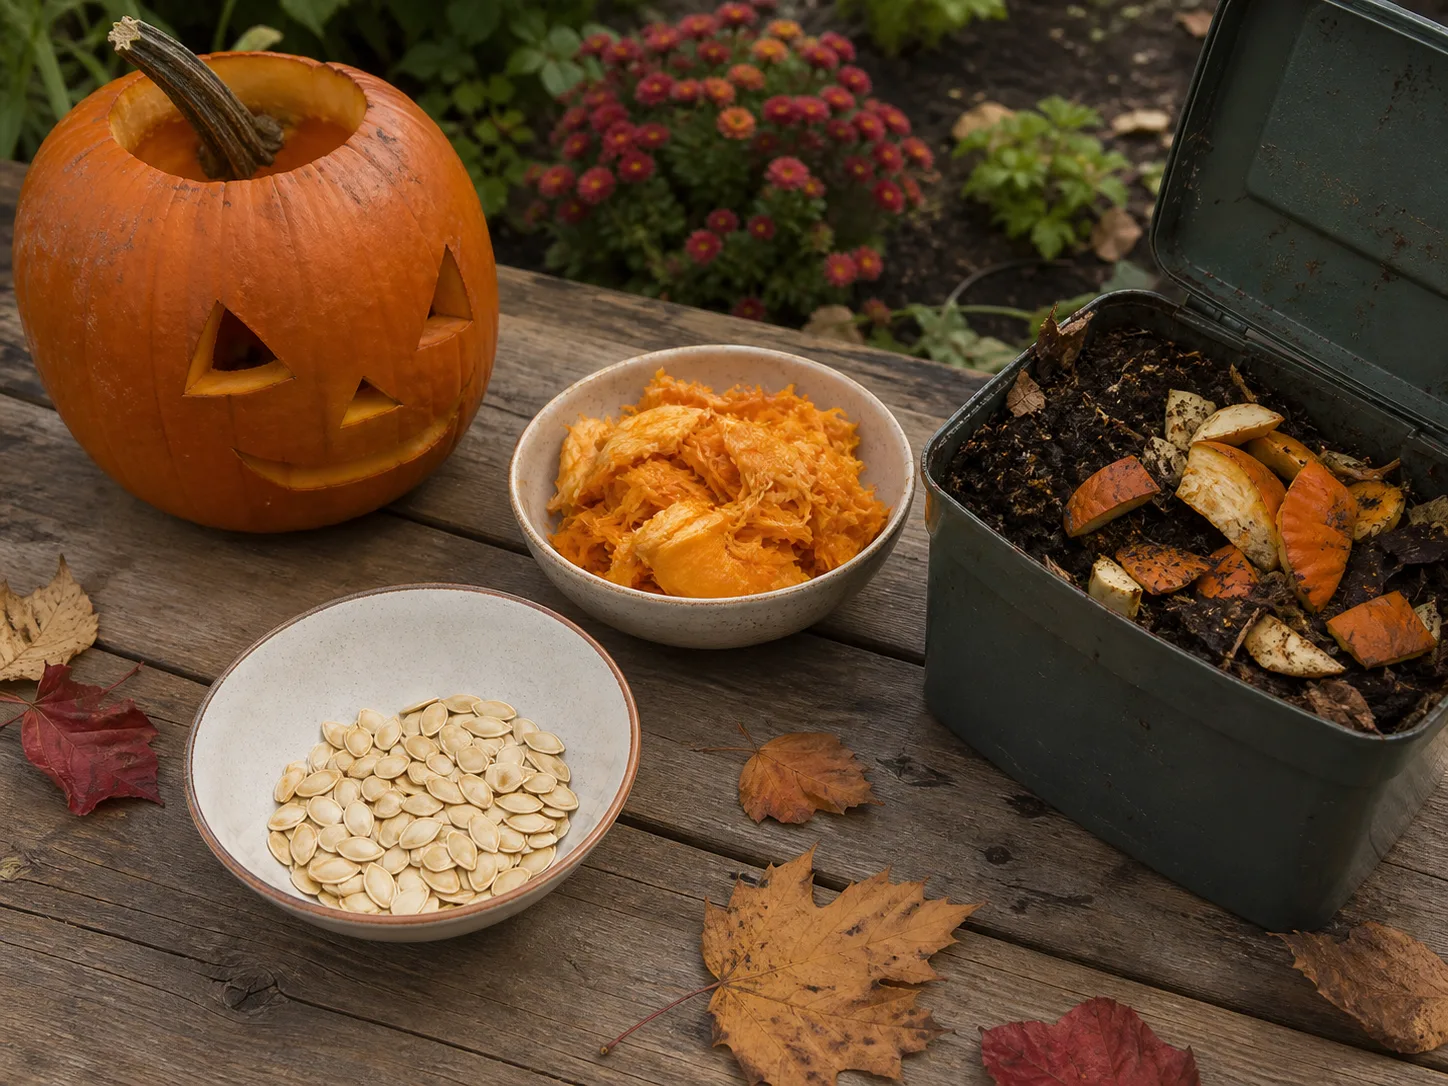 If it was coated with bleach, hairspray, oil, or another product, check the product label and local waste guidance before composting or leaving it for animals. Clean the tray or surface where it sat, and wash hands after handling soft or moldy material.
For an edible pumpkin, follow food-safety guidance instead of decoration advice. Keep the seeds or flesh you plan to cook separate from the porch pumpkin, refrigerate cut pieces promptly, and discard anything that has been left out too long or shows spoilage. CDC’s general time limits apply to perishable food, not to how long a carved decoration remains attractive; appearance alone cannot make a display pumpkin safe to eat.
Conclusion
The available sources do not establish bleach, hairspray, or coconut oil as a dependable way to keep carved pumpkins from rotting. A coating might change the look of an edge, but no viral treatment defeats heat, rain, an old bruise, or a cavity full of wet pulp.
For the best chance of reaching Halloween with a recognizable jack-o’-lantern, start with firm fruit, carve close to the date, clean and dry the cavity, use a cool LED, and shelter it from sun and rain. In warm climates, wait until only a few days before the event; in cooler weather, you may have more time. When the pumpkin turns soft, moldy, or leaky, the useful step is to stop displaying it.



