5 Ways to Use Flowers From Your Garden Around the Home
Turn garden flowers into home décor with five practical ideas, plus simple guidance for choosing blooms, conditioning stems, pressing flowers, and drying them.
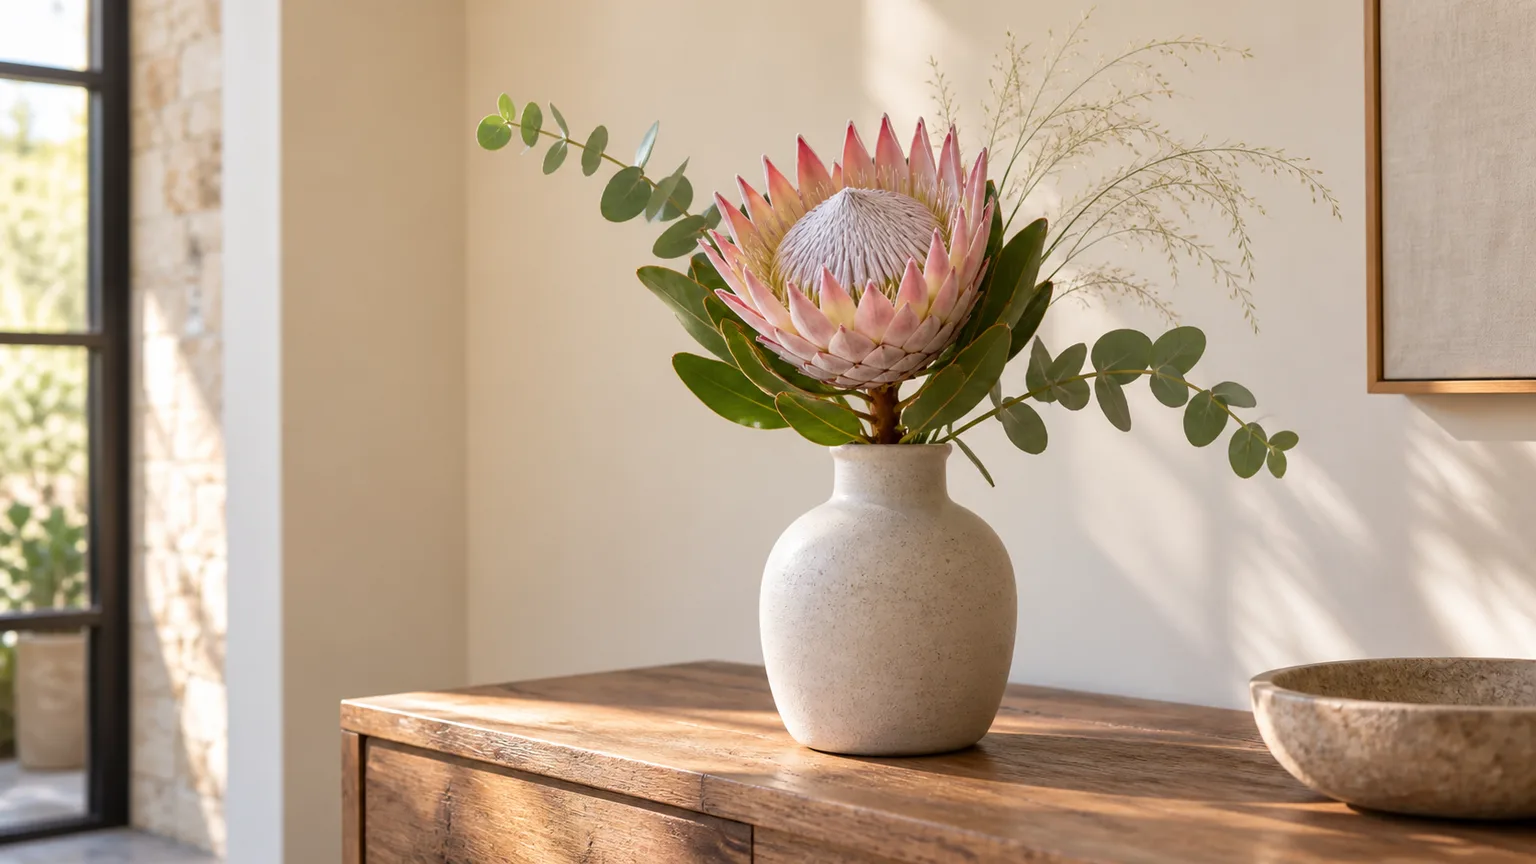
Cutting a few flowers is a quick way to carry the garden indoors, but a vase is only one option. A single stem can give a small room a focal point, a handful of blooms can anchor a table, and flowers that are the wrong shape for a fresh bouquet may be better pressed or dried.
The useful decision happens before you cut: choose the display first, then pick flowers that fit it. That keeps you from bringing home too many stems, sacrificing a plant’s outdoor show, or discovering that a thick, damp bloom will not dry well in the method you chose.
Choose the use before you cut
Look at the flower’s shape and feel. A flat, thin bloom is easy to press; a sturdy stem with a modest flower head is a good candidate for hanging; and a layered rose or peony is more likely to hold its rounded shape in silica gel. If you want to enjoy the color and movement of delicate petals right away, keep that flower fresh in water instead of asking it to survive a drying method it does not suit.
A quick guide helps narrow the choice:
| Flower form | Good first use | Watch for |
|---|---|---|
| Flat, low-moisture flower | Book pressing or framed art | Thick centers can trap moisture and brown |
| Sturdy stem, small or papery flower head | Air-dried arrangement | Crowded bundles can dry unevenly |
| Full, layered bloom | Fresh display or silica gel | Silica gel takes more setup and careful handling |
| Short or curved stem | Small bottle, cup, or low centerpiece | The container must support the stem and hold water |
These are starting points, not fixed rules for every cultivar. Drying success also depends on the bloom’s maturity, humidity, and how much moisture is left in its petals. The RHS recommends starting with good-quality flowers, using a dark, ventilated place for air drying, and avoiding direct sun and damp rooms for finished displays; its home flower-drying guide describes air drying, silica gel, and pressing as different ways to preserve different flower forms.
Also choose how long you need the display to last. A few fresh stems can be exactly right for a weekend meal, while a pressed flower is better for a card or frame you plan to keep. You do not have to preserve every bloom to make the garden useful indoors; matching the project to the occasion is often the simplest way to avoid extra work.
Match flower form to the method
For fresh arrangements, choose stems that look sound and have enough length to reach the water. For pressing, try relatively flat blooms such as pansies, cosmos, or violets rather than a dense double flower. For an air-dried bunch, use blooms that keep their structure as they lose moisture; strawflower, statice, yarrow, and hydrangea are commonly used examples, though the exact result varies with variety and maturity.
If you want the shape of a full head intact, use a method that supports petals from all sides. The flower press or a heavy book compresses a bloom by design, so a rose pressed this way becomes a flat keepsake rather than a small rose-shaped ornament. A silica-filled container can preserve more dimension, but it costs more than hanging a bundle and the brittle result still needs gentle handling.
Harvest lightly and keep plants healthy
Cut in the cooler part of the day when practical, use clean, sharp pruners, and put fresh-cut stems into water promptly. Leave healthy foliage on the plant rather than stripping every leaf from a stem, and take a few blooms at a time instead of removing the whole show. Fine Gardening’s cutting-garden guidance describes light, repeated cutting as a way to enjoy flowers without making the garden look threadbare; whether cutting encourages more blooms depends on the plant and its response to deadheading.
If you plan to press or dry the flowers, choose blooms that are still fresh and free of obvious damage, and wait until surface dew or rain has dried. An older bloom may seem like an easy one to sacrifice, but petals that have already softened or begun to drop are poor material for a neat keepsake. Fine Gardening’s sand-drying method likewise emphasizes starting with fresh, undamaged flowers; it also explains why a few stems often make a better project than stripping a border all at once.
1. Make one-stem displays in small vessels
A row of tiny displays can make more use of a mixed handful than one oversized bouquet. Put a short cosmos or zinnia in a small glass, a single rose in a bud vase, or a curved stem in a narrow bottle. This works especially well on a bedside table, kitchen shelf, bathroom counter, or entry console where a full arrangement would take up usable space.
The vessel should suit both the flower and the surface. A straight-sided glass gives a soft stem more support, while a narrow-necked bottle holds one or two stems upright; a teacup can suit a short bloom with a trimmed stem. Before using any decorative container, check for hairline cracks and make sure the inside is glazed or otherwise watertight. Put a glass or plastic cup inside a woven basket or porous decorative pot instead of filling that outer container with water. Better Homes & Gardens’ arranging guide recommends matching the vessel to the flowers and using an inner container when a basket needs to hold water.
A small display looks intentional when the stem reaches the water and the bloom clears the rim without disappearing. Trim the stem in small increments, test the height, then remove any leaves that would sit below the waterline. If you have several colors, repeat one flower in two or three containers instead of putting every variety in every vessel; that creates a visual connection between rooms without demanding a florist’s supply of blooms.
2. Build a low centerpiece from mixed blooms
A centerpiece is useful when you want one arrangement to do the work of several small displays. For a dining table, keep the flowers below or just above seated eye level so guests can see one another. A cluster of two or three short jars can function as one centerpiece while leaving room for plates, drinks, and serving dishes; separate containers are easier to move when dinner is ready.
Build the arrangement around the shape of the vessel and the length of its stems. Start with foliage or a few branch tips if you have them, add one or two larger blooms as focal points, and then place lighter, smaller flowers around them. A floral frog, a loose grid of floral tape, or a narrow vase opening can hold stems in place without packing them so tightly that they bruise. A more relaxed garden look usually needs a few gaps and varied stem heights rather than a round ball of identical flowers.
Cut from several plants only if each can spare the stems. If the garden is between bloom flushes, use a few foliage stems or seedheads with one fresh flower instead of forcing a full bouquet. For a heat-sensitive room, move the centerpiece away from a sunny window and heating vent; fresh flowers dehydrate faster there, so a cool, shaded location is usually a better display spot.
3. Air-dry stems for a lasting display
Bundle small batches and watch the airflow
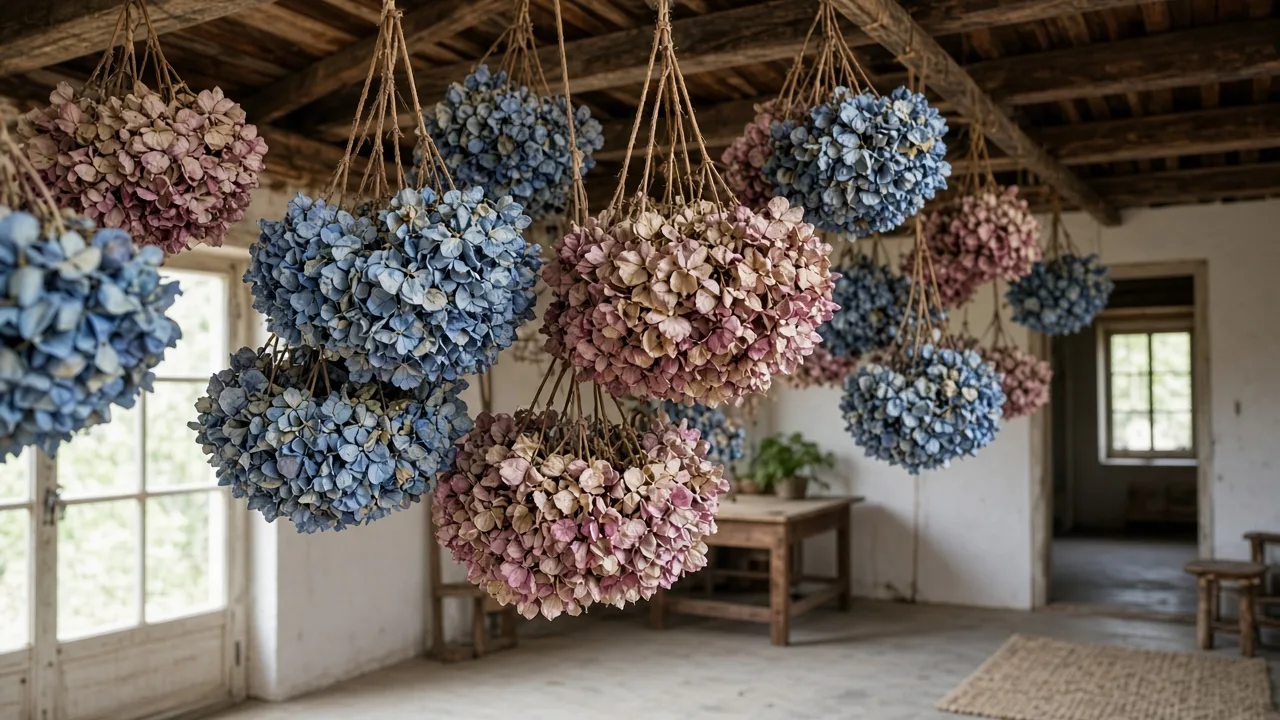
Air drying is a low-equipment way to turn suitable flowers into arrangements that need no vase water. Pick fresh stems with sound petals, remove leaves from the portion that will be bundled, and secure a small group with a rubber band or string. Hang the bundle upside down in a dark or dim, dry place with good air movement. A closet with ventilation or a spare room can work; a humid bathroom or a packed cupboard usually cannot.
Keep the bundles small enough that air can move around each stem. If several bunches touch, the inner flowers may stay damp longer and can develop mold. Check them after the first week without squeezing the heads. The RHS guide says air-dried material is often ready in about two to three weeks, but thicker flowers and humid conditions can extend that time. Wait until stems and petals feel dry rather than relying on the calendar alone.
This method is forgiving when the final shape can be loose. Flowers such as strawflower, statice, grasses, yarrow, and some hydrangeas can make a textured vase display; bunches can also be tied to a ribbon for a simple wall accent. Fine Gardening notes that different flowers behave differently during drying: some can hang, while others are better dried with a supporting material. Treat a first batch as a small trial, because a cultivar that dries well in one climate may fade or collapse in a damper room.
Once the flowers are dry, arrange them in a clean, dry vessel with enough room that heads do not crush one another. Keep dried displays away from direct sunlight, steamy rooms, and frequent drafts; sunlight fades color, humidity can soften material, and movement can knock brittle petals loose. Dust lightly with a soft brush or a hair dryer set to low and cool, held at a distance. Do not expect the color to stay exactly as it looked outdoors: drying commonly changes tone and texture, which is part of the finished material rather than a sign that the project failed.
4. Press flat flowers into wall art and paper
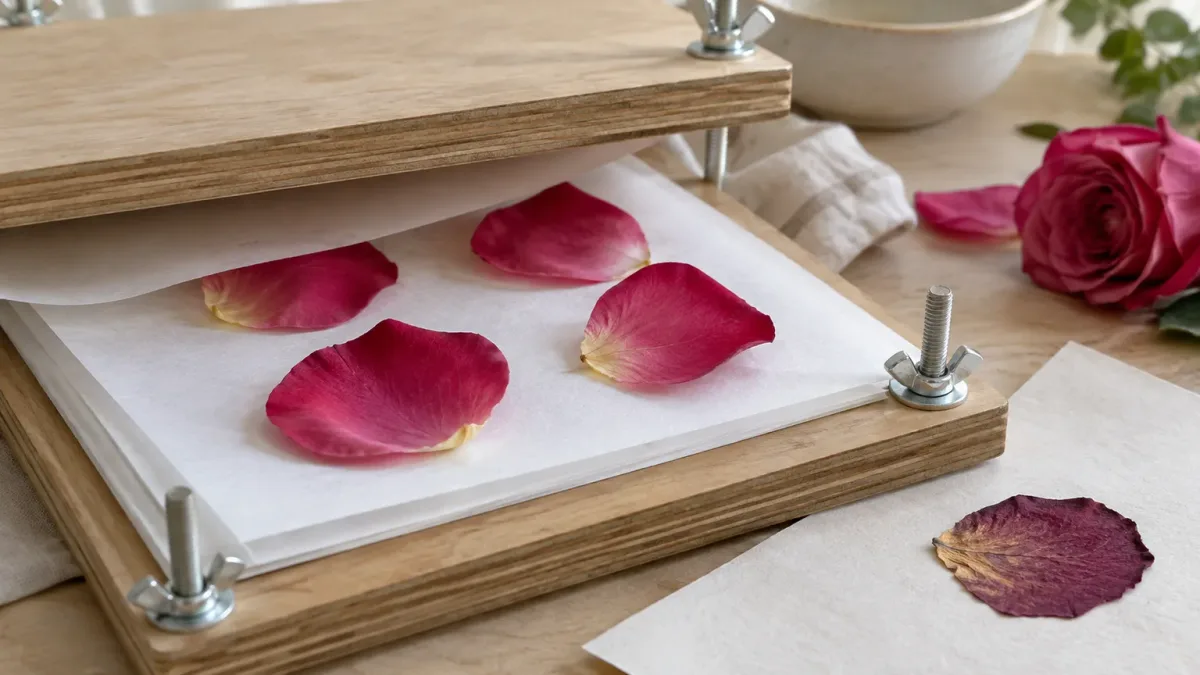
Pressing works best when the end result is meant to lie flat: a small frame, greeting card, bookmark, or place card. Choose thin, relatively flat blooms and leaves, and remove thick stems or centers that would slow drying. Pansies, violets, cosmos, and individual petals are useful starters because they can fit between sheets of paper without forcing the flower into a shape it cannot hold.
Wait until the paper is fully dry before framing
Place each bloom between two pieces of absorbent paper and close it inside a heavy book or flower press. Leave some space between specimens so they do not overlap, and avoid a book you would be upset to mark if plant moisture reaches the pages. Check after about a week; flowers may need longer before they feel papery and dry throughout. The RHS describes the same basic approach of pressing simple flowers between paper and weighting them with books, while Martha Stewart’s preservation overview notes that thicker flowers take longer than thin ones.
Do not rush the mounting step. A petal that still bends or feels cool may contain moisture, and sealing it under glass can trap that moisture rather than preserve it. Once fully dry, arrange the flowers on acid-free paper or card, use only a small amount of archival adhesive if needed, and frame them behind glass or place them into a notebook. You can also make a handmade card by pressing a single flower at one corner; leaving open space around it usually makes the flower easier to see than covering the card with petals.
Pressed flowers are delicate, so this is a better project for blooms you want to remember than a child’s daily-play craft. If the flower has sentimental value, press a few specimens rather than relying on only one. A small sample lets you find out how its color changes and whether the petals separate before you commit the rest of the bouquet.
5. Preserve whole flower heads with silica gel
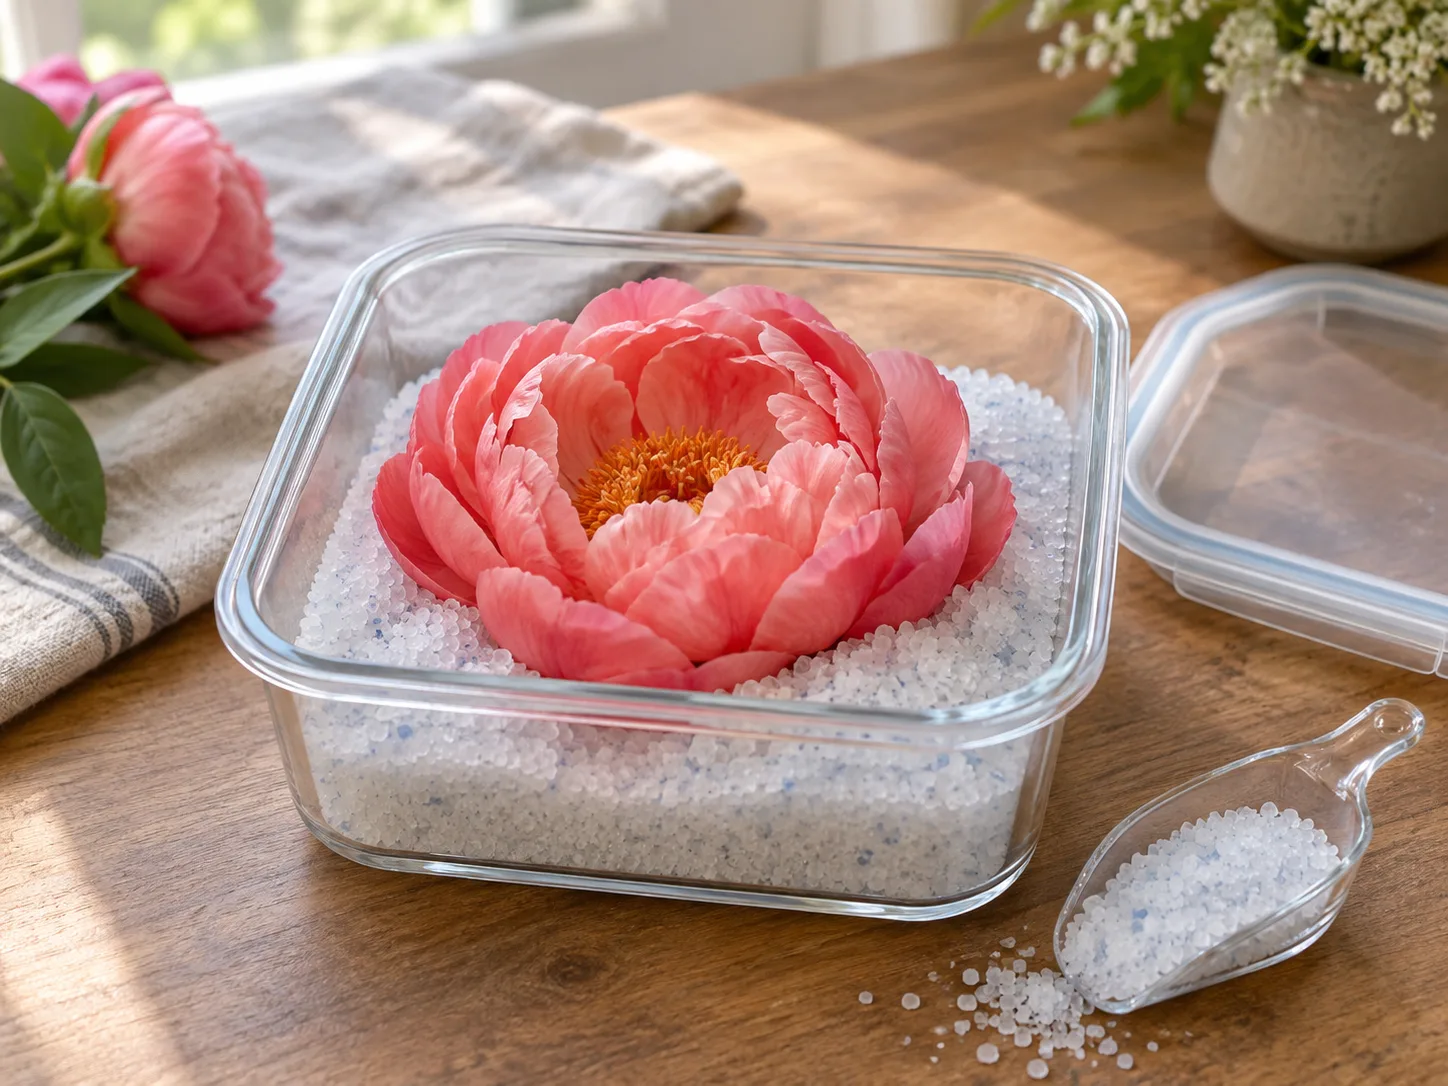
Silica gel is a better choice than a book when you want a three-dimensional flower head to stay rounded. It is useful for a special rose, a small peony, or another full bloom that would lose its shape under pressure. The trade-off is extra material and handling: you need a lidded container, enough silica gel to surround the flower, and a safe place to work without spilling crystals.
Save silica gel for blooms whose shape matters
Use the instructions on the silica product and any flower-preservation kit you choose. A general approach is to add a base layer, set the bloom in the position you want to preserve, and gently cover it so the petals are supported. A soft brush can remove loose crystals when the flower is ready. Timing depends on the product and the flower’s size and moisture, so check the package rather than assuming every bloom takes the same number of days. The RHS covers silica gel as one preservation method, and the Martha Stewart guide compares it with pressing and air drying for different flower forms.
When a head is fully dry, display it where it will not be crushed: under a glass cloche, in a shallow shadow box, or as the focal piece in a small dried arrangement. Avoid a sunny window, which can bleach even a carefully preserved bloom, and keep it out of a damp room. If you use a commercial kit, keep silica gel away from children and pets and follow its label for storage and reuse; do not improvise with craft material whose instructions you do not understand.
Silica gel is not necessary for everyday flowers. Use it for a few blooms whose shape matters, then air-dry the sturdier stems around them. Mixing the two methods can give you a more varied display without requiring every flower to be individually preserved.
Keep fresh-cut flowers looking good indoors
Start with clean water and trimmed stems
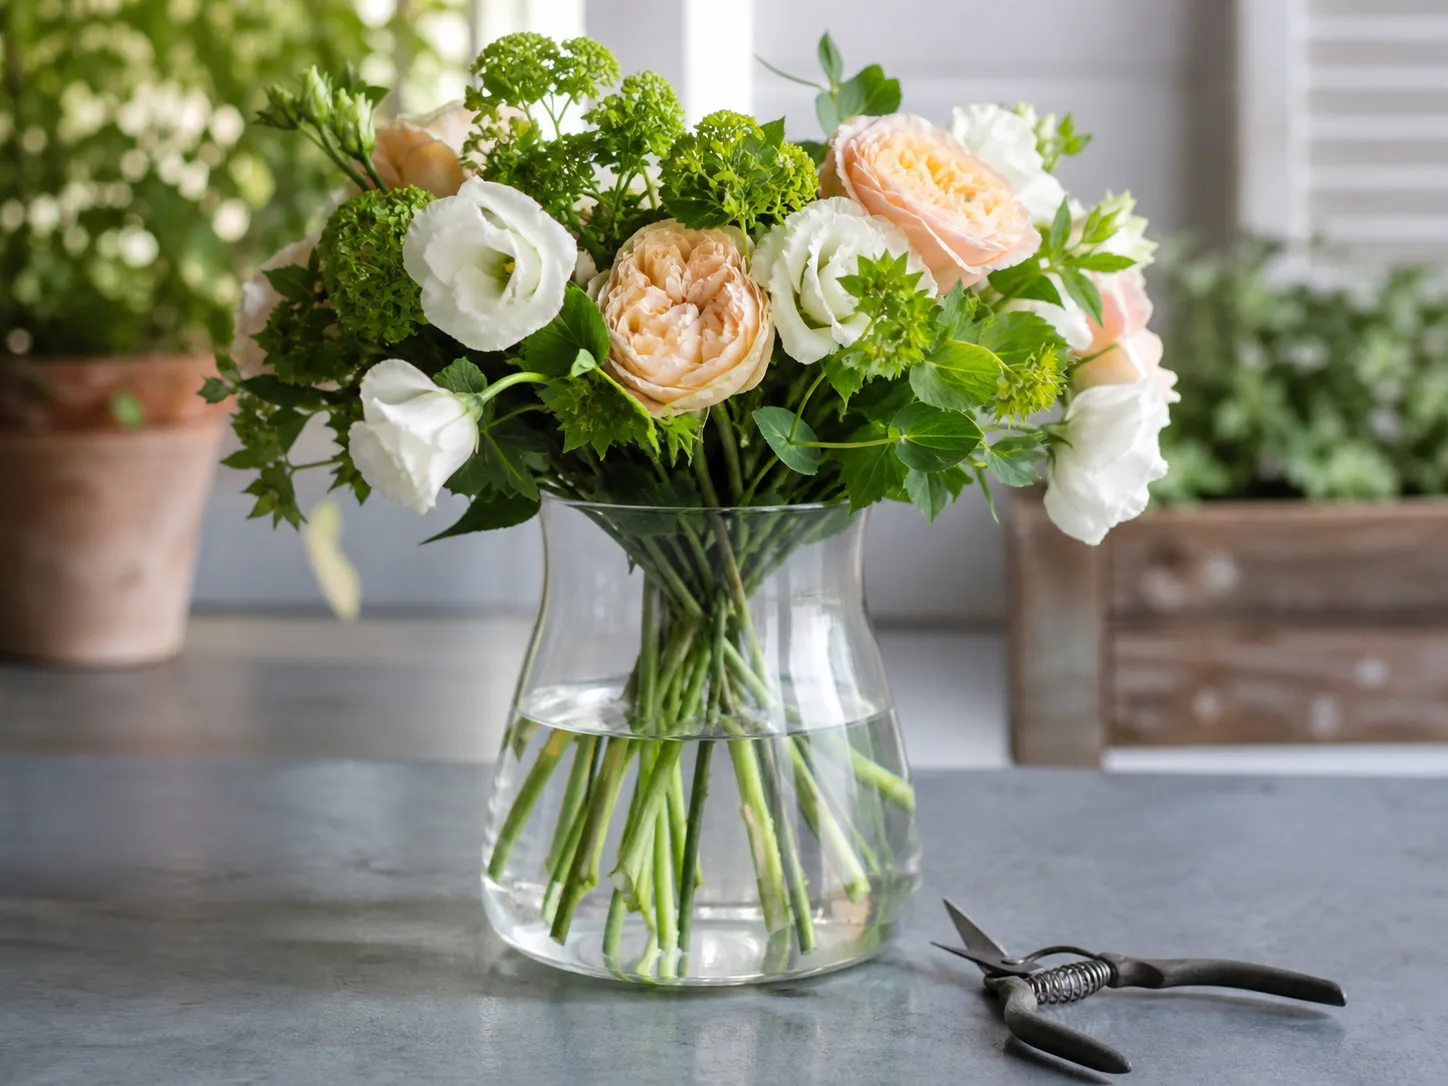
Fresh flowers need clean water and a clean vessel more than a complicated home recipe. Wash the container, recut stems with sharp pruners, and remove leaves that would sit underwater. Add a commercial cut-flower preservative according to its packet directions, or use plain fresh water if you do not have preservative. Do not guess at a homemade bleach, vinegar, soda, or aspirin mixture; a recipe can change the water chemistry or damage flowers if the amount is wrong.
Refresh the water when it looks cloudy, rinse the vessel if residue appears, and trim the stem ends again if a flower starts to wilt while the water still looks clean. Keep the arrangement cool and away from direct sun, warm appliances, heating vents, and ripening fruit. Piedmont Master Gardeners’ cut-flower care guide recommends prompt hydration, clean containers, removing submerged leaves, and cooler placement; it also notes that bulb flowers and some other stems can have different water preferences, so do not treat every species as identical.
Refresh water before the bouquet declines
If a stem droops, first check the water level and look for a slimy or crushed cut end. Recut it cleanly and return it to fresh water before discarding the whole arrangement. Remove individual fading flowers as they decline, since one failing stem can make a small display look untidy long before the rest of the flowers are finished.
Choose placements that suit fresh and dried blooms
Fresh flowers generally do better in a cool spot out of direct sunlight than on a bright, hot sill. A dining table, shaded counter, or entry shelf can work, as long as the arrangement is not in the path of a heater or likely to be knocked over. For bathroom displays, use sturdy fresh flowers that can tolerate a humid room for a short time, and avoid leaving drying bundles there; the moisture that makes a bathroom comfortable for people can slow flower drying.
Dried flowers need the opposite of a damp storage corner: a dry, ventilated place away from direct sunlight and regular handling. They can sit on a shelf or hang on a wall, but place them where they will not brush against doors, curtains, or frequently used walkways. A low-traffic spot also reduces dust and accidental damage, which matter more for brittle petals than for a fresh bouquet.
Check pet and child access
If a child or pet can reach the display, identify each plant before bringing it indoors and move it out of reach if there is any chance of chewing. The ASPCA’s toxic and non-toxic plants database says its list is not all-inclusive and advises checking the plant’s name; it also cautions that eating plant material may upset a dog’s or cat’s stomach. When an animal may have eaten a plant and seems unwell, contact a veterinarian or animal poison-control service instead of trying to diagnose it from a bouquet photo.
Common mistakes to avoid
- Cutting too much at once: remove a few stems and leave the rest of the plant to keep its shape and foliage. Avoid cutting off every flower if you want seed, fruit, or a show in the garden.
- Using one preservation method for every flower: flat, low-moisture blooms are easier to press; airy or sturdy stems are better for hanging; full heads may need silica gel to retain shape.
- Drying in a dark but stuffy place: darkness helps reduce fading, but flowers also need airflow. A sealed box or crowded bundle can stay damp and mold.
- Putting the bouquet straight into a decorative basket: water can leak through the weave or porous surface. Use a separate watertight insert that is easy to remove and clean.
- Sealing flowers before they are completely dry: softness, coolness, or bending petals suggest more drying time is needed. Wait before framing or enclosing them.
- Treating preserved flowers as maintenance-free: dried and pressed flowers still fade, collect dust, and break. Put them where they can stay dry and undisturbed.
- Assuming every garden flower is safe around pets: identify the species and check a reliable species-specific resource before leaving it within reach.
Conclusion
The best way to use flowers from your garden depends on what you want to keep: color and movement for a fresh arrangement, a flat botanical shape for pressed art, or a lasting three-dimensional head for a dried display. Start with a small handful, match the bloom to the method, and cut in a way that leaves the plant with healthy foliage and room to keep growing.
You do not need a large bouquet or special equipment to make the garden part of a room. One well-placed stem, a low table arrangement, or a few flowers preserved carefully can turn a short bloom season into several useful home accents.