What Kills Weeds Permanently? A Practical Guide
What kills weeds permanently? Learn why they return, how to control roots and seedlings, and which repeatable methods fit beds, lawns, and pavement.
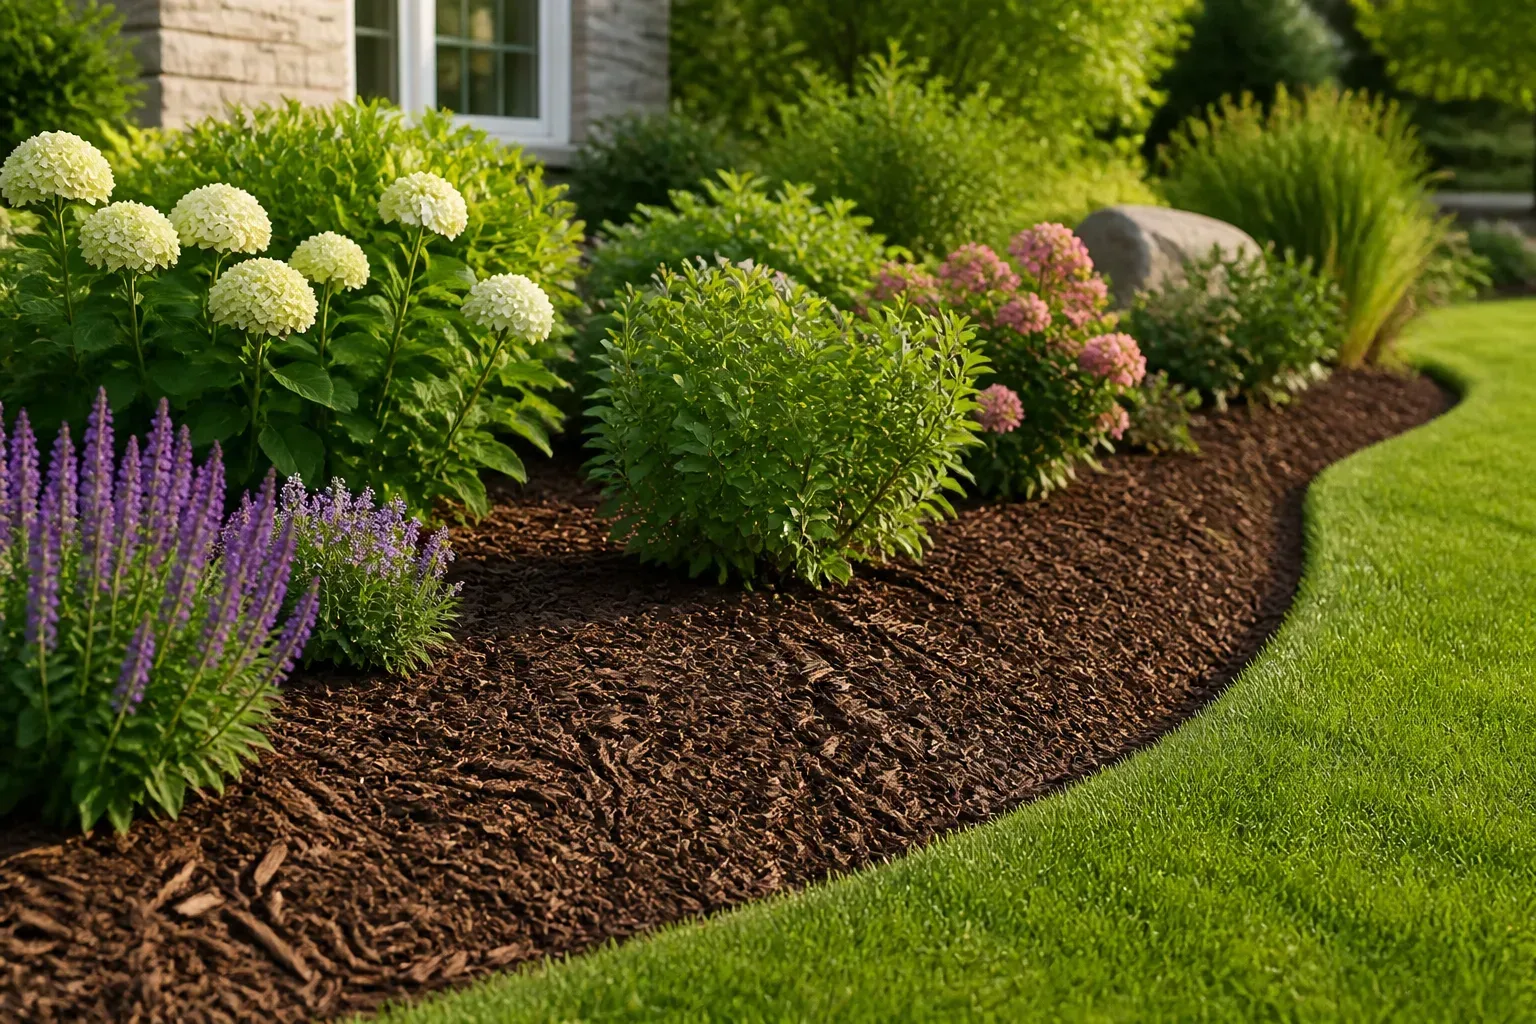
The frustrating truth is that no single treatment can keep every weed out of a yard forever. A treatment can kill the plant in front of you, exhaust a patch, or prevent many seedlings from establishing, but wind, birds, soil movement, and surviving roots can restart the problem. A dependable result comes from identifying the weed, matching the treatment to how it grows, and returning before survivors flower or spread.
That does not mean you are stuck pulling the same weed every week. If you stop seed production, remove or weaken perennial roots, cover bare soil, and fix the conditions that let weeds thrive, you can reduce a patch dramatically. Think in terms of lasting control at a specific site, not a one-time permanent sterilization of the soil.
What “permanent” weed control really means
In gardening, “permanent” can mean two different things. A herbicide or tool may kill an individual plant, while a management plan aims to keep a particular bed, lawn, or path acceptably clear over time. The second goal is realistic; an open yard that never receives a new seed is not.
Even after a weed dies, its seeds may remain in soil, and neighboring plants can send in more. Some perennials also store energy in crowns, bulbs, tubers, rhizomes, or spreading stems below the surface.
A method that browns the leaves may leave those structures alive, so fresh shoots appear after the visible plant seems gone. The most useful question is therefore not “What can I pour on everything?” Ask: What is this weed, what part of it survives, and what can I change so the next generation does not take over? This shifts the job from chasing symptoms to reducing the source.
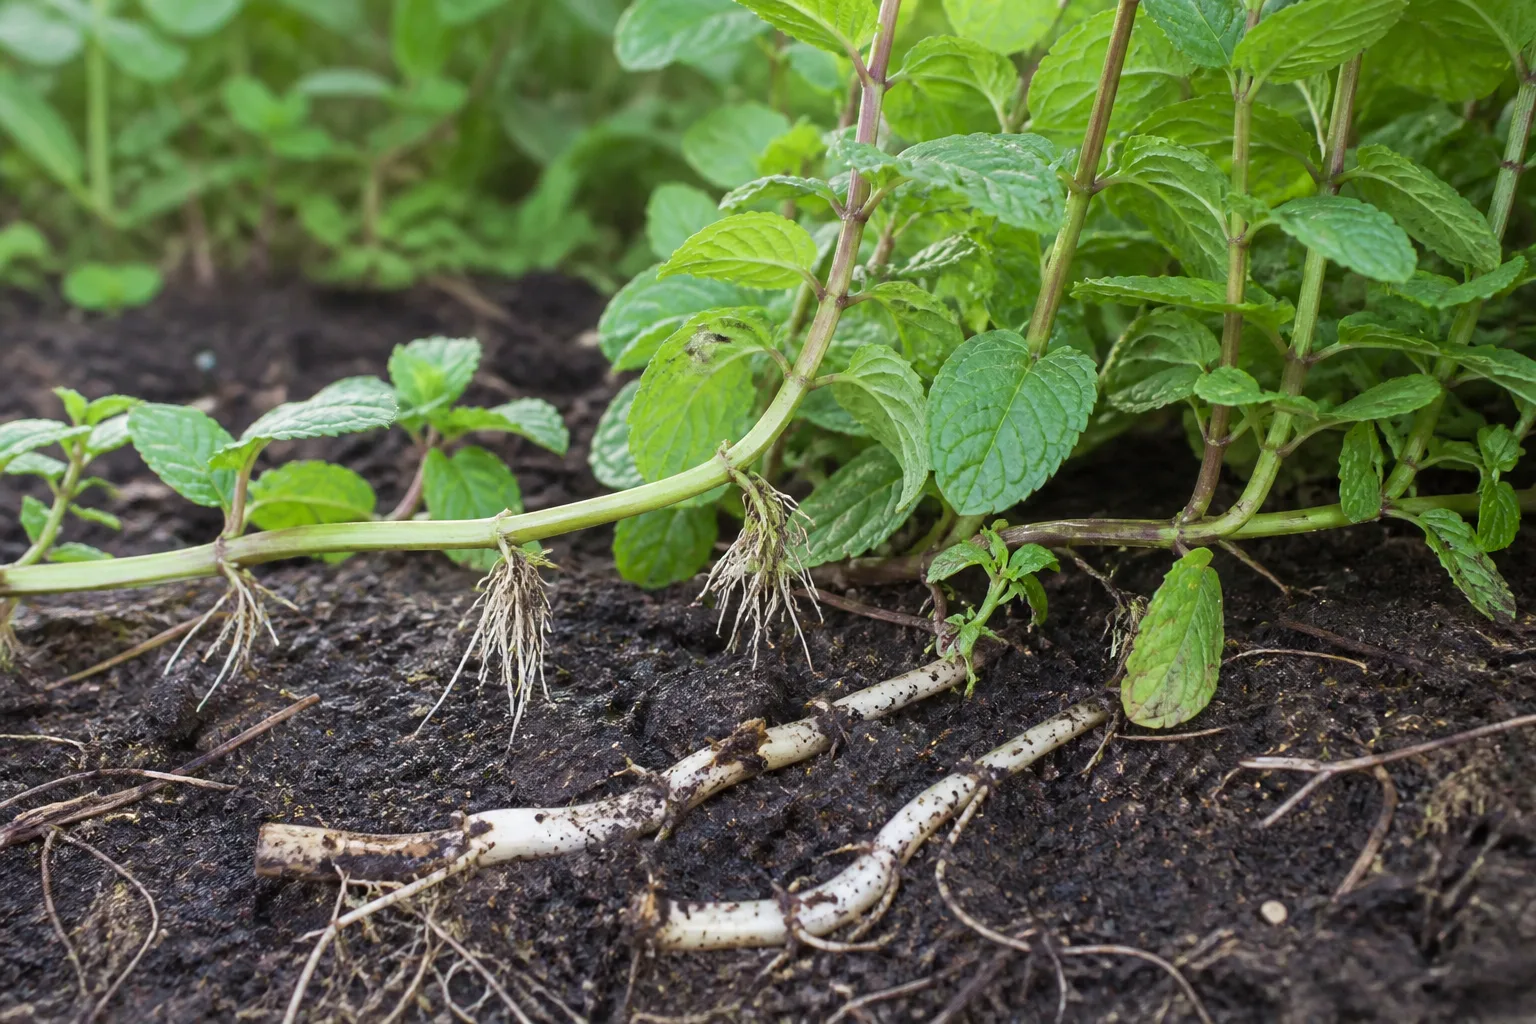
Some weeds spread through living runners or rhizomes that remain below the surface.
Why weeds come back after treatment
The familiar flush of seedlings after weeding is often a timing problem, not proof that the first effort did nothing. Annual weeds can produce many seeds, and the soil may contain seeds from earlier years. Disturbing soil can expose some buried seeds to the light and conditions that trigger germination; bringing in contaminated soil, compost, or plant material can introduce another batch.
University of Wisconsin–Madison Extension notes that weeds can reappear when perennial pieces remain or dormant seeds are present, and advises early, repeated removal and shallow rather than deep cultivation (UW–Madison Extension). Regrowth also depends on the plant’s anatomy. Cutting a dandelion’s leaves at ground level is different from removing its crown and taproot.
Digging a running perennial into many small pieces may spread viable fragments through a bed. UC IPM explains that hand removal works best for seed-reproducing plants when the whole plant is removed; it is a poor fit for weeds that regenerate from underground vegetative parts left behind (UC ANR WeedCUT).
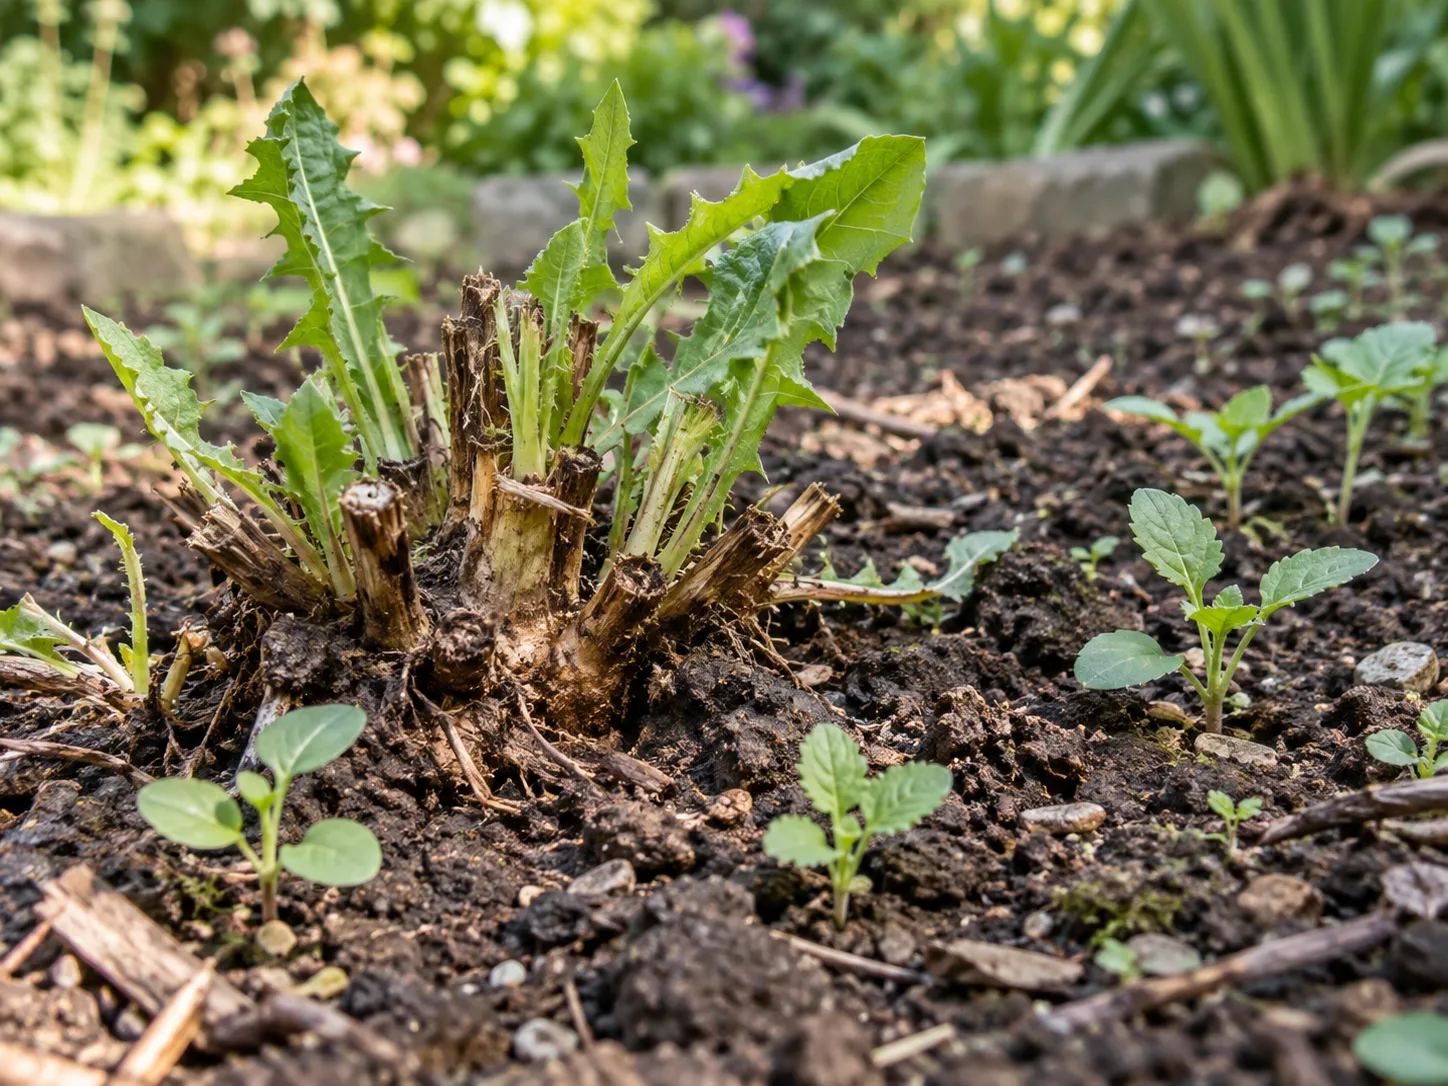
Surviving crowns and newly germinating seeds can restart a weed patch after treatment.
Annuals, perennials, and the seed bank
An annual completes its life cycle in one growing season, so preventing flowers and seeds can have an outsized effect. A biennial typically grows foliage in its first season and flowers in the next; removing it before seed set interrupts that cycle. A perennial returns from a living root system or other underground structure, and some perennials also spread by seed.
These categories help explain why one treatment does not fit every weed. For annual seedlings, shallow hoeing, hand removal, and a surface mulch can be effective if you act before seed production. For a perennial with a deep taproot, lift the crown and as much root as practical.
For a runner or rhizome, avoid fragmenting it; use careful excavation, repeated exhaustion by cutting or covering, or a properly labeled treatment that is suited to that weed. UC IPM recommends basing landscape weed management on both the species and its life cycle (UC IPM: Weed Management in Landscapes).
Identify the weed and the site before choosing a method
Before reaching for a spray or digging fork, note the weed’s growth habit, the place it is growing, and what you need to protect. Is it a single broadleaf plant in lawn grass, a mat of seedlings in a vegetable bed, a perennial vine climbing through shrubs, or growth between pavers? Does it have a taproot, a shallow fibrous root system, or obvious runners?
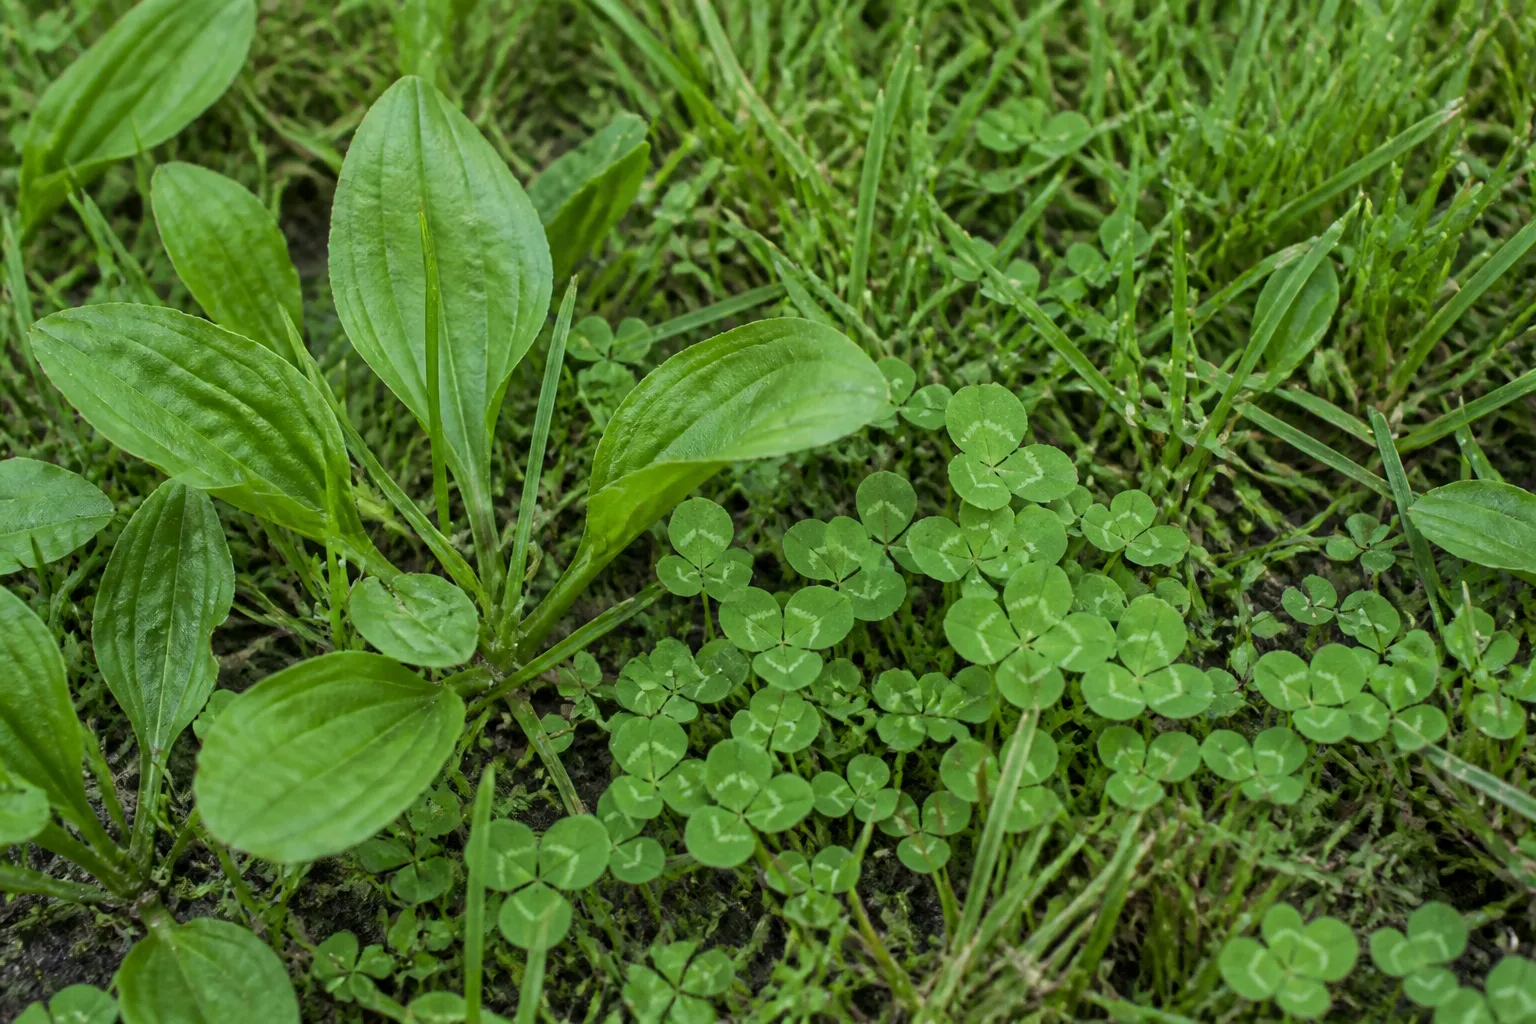
Identify the weed and the surrounding plants before choosing a control method.
A clear photo of the leaves, stem, flowers, and whole plant can help a local extension office identify it when the species is uncertain. That identification matters most when a weed may be invasive, poisonous, or difficult to eradicate. Some plants are regulated or should not be moved with soil or yard waste.
Check your state or county extension and noxious-weed resources before transporting a questionable plant, and wear gloves when handling unknown sap or spines. In a lawn, selectivity matters because a broad-spectrum approach may kill the turf you want to keep; in a bare path, the same trade-off may be less important. Also decide how much disruption the site can tolerate.
A bed full of established perennials calls for precise pulling and spot follow-up, while an empty bed before planting can be covered or solarized. A steep bank, shallow-rooted ornamental planting, or area near a drain may rule out a method that would be reasonable in an isolated patch. Weed control works better when the target, site, and acceptable trade-offs are clear first.
Match the method to the weed and location
Use this quick guide to choose a first step. It is a starting point, not a guarantee: large plants, deeply established roots, and invasive species often need several methods or multiple seasons.
| Situation | Start with | Why it fits | Main limitation |
|---|---|---|---|
| Small annual seedlings in a bed | Hand-pull or shallow hoe | Removes young plants before they set seed | A new flush can emerge from the soil seed bank |
| Isolated taproot weeds | Loosen and lift with a weeding fork | Targets the crown and deeper root | A broken root may resprout, depending on species |
| Rhizome or runner-forming perennial | Identify it; excavate carefully or use repeated cutting/covering | Avoids scattering live fragments | May take repeated visits or a specialist plan |
| Empty sunny bed before planting | Soil solarization in suitable summer weather | Heat can suppress many seeds and some weeds in the treated soil | Deep or heat-tolerant perennial structures may survive |
| New seedlings around established plants | Mulch after removing existing perennial weeds | Blocks light and reduces new annual establishment | Mulch does not reliably kill established roots |
| Weeds between paving stones | Scrape, lift, or spot-treat only with a labeled product if needed | Keeps treatment confined to the hardscape | Seeds can return in windblown debris and organic material |
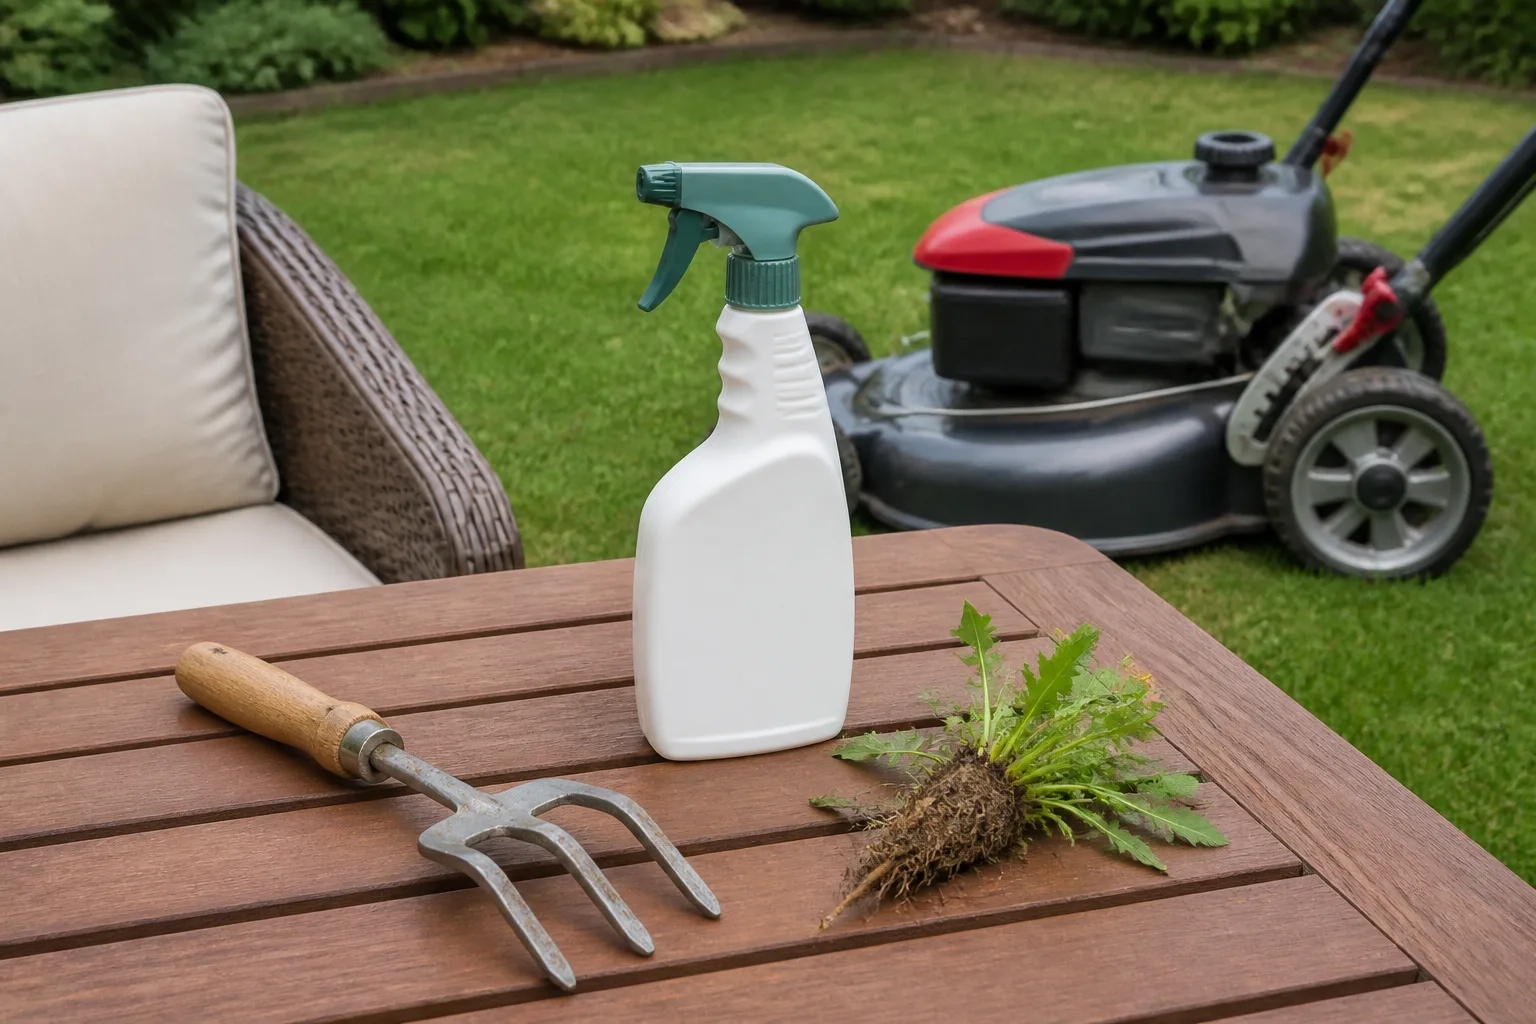
Choose a control that fits the weed, the site, and the plants you need to protect.
The common thread is targeted repetition. A small patch you inspect every week or two is easier to control than a large patch allowed to flower, set seed, and spread. If a tactic is not reducing new growth after several planned visits, reassess the species and switch methods instead of repeating an ineffective treatment indefinitely.
Hand-pull or dig small patches while soil is moist
For a small number of weeds, hand removal is often the most precise choice. Soil that is moist but not waterlogged releases roots more easily than hard, dry ground. Grip low on the stem, loosen the soil around the root with a fork or narrow weeder, and lift steadily rather than yanking; the goal is to remove the crown and as much of the root as possible without snapping it.
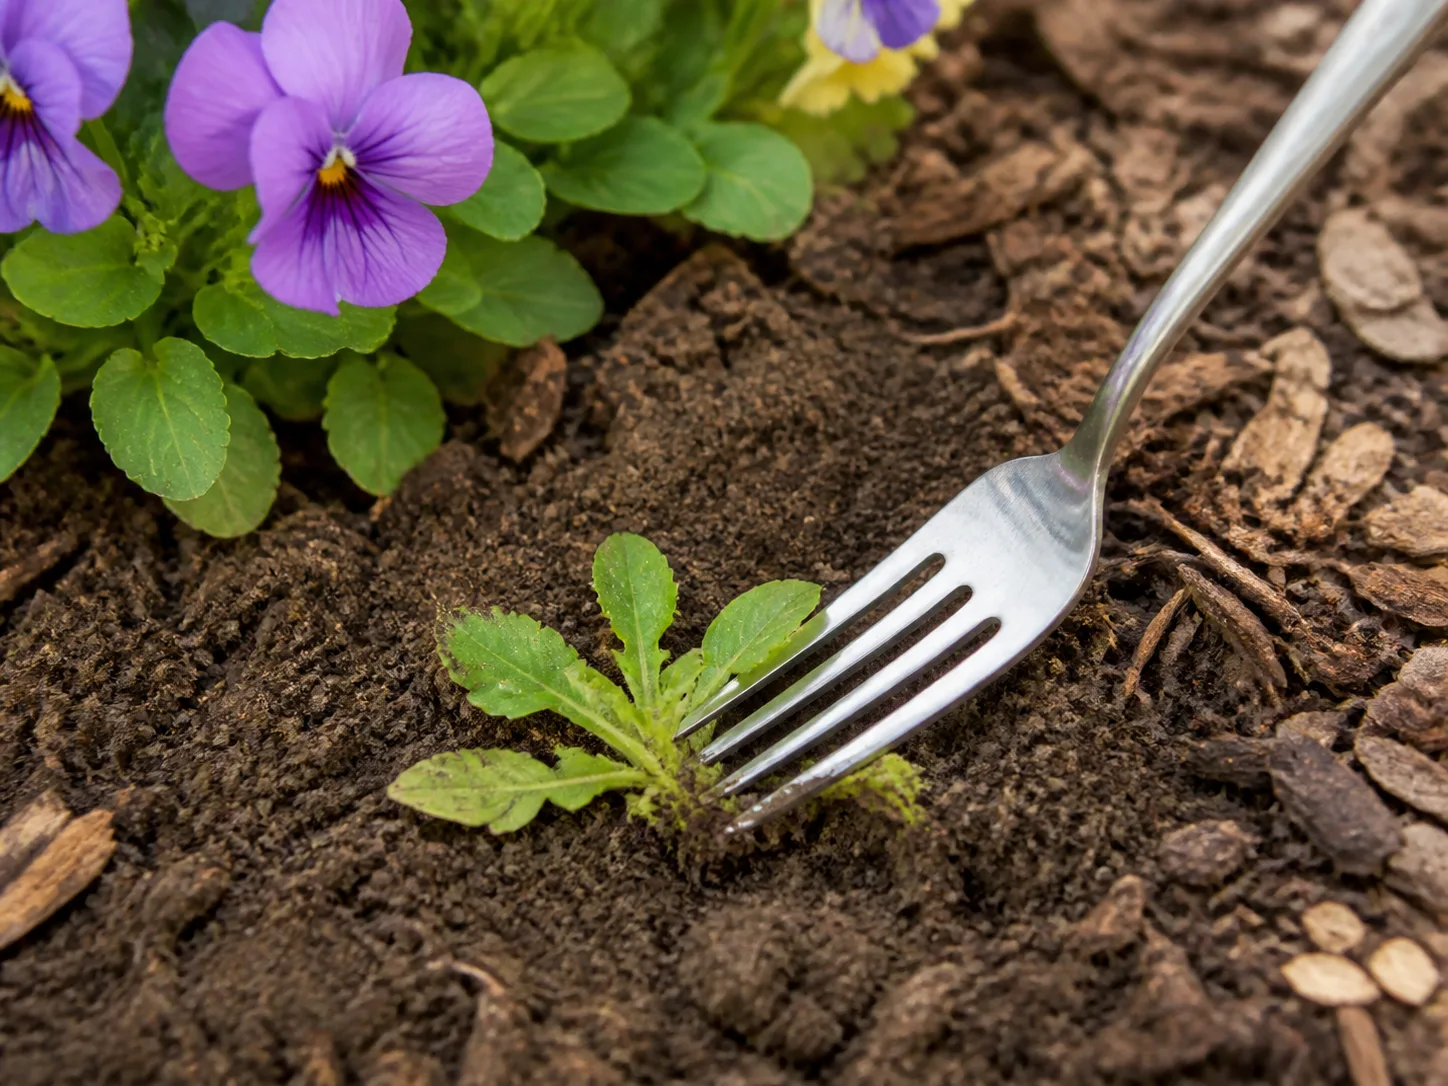
Loosen soil below the crown instead of pulling only at the leaves.
The technique changes with the root. A shallow annual may come away with a gentle pull, while a taproot needs a tool inserted alongside it to loosen the soil below the crown. Around ornamental roots, work slowly and avoid broad digging that tears up nearby plants.
UC ANR’s WeedCUT guidance emphasizes that tools can improve grip and leverage, but manual removal is labor-intensive and less useful when leftover underground parts readily regenerate (UC ANR WeedCUT). Remove weeds before seed heads mature whenever possible.
Place seed-bearing tops in a bag rather than dropping them beside the bed, and follow local disposal advice for invasive plants or persistent rhizomes. Do not assume a home compost pile gets hot enough to destroy every viable seed or root fragment; if you cannot verify the composting process, keep questionable material out of it.
Hoe seedlings shallowly and revisit the bed
Hoeing is efficient when seedlings cover a wide, mostly open area. Slice the stems just below the soil surface on a dry day so the exposed seedlings dry out. Keep the blade shallow: deep cultivation can disturb ornamental roots, break up some perennial weeds, and move buried seeds closer to the surface.
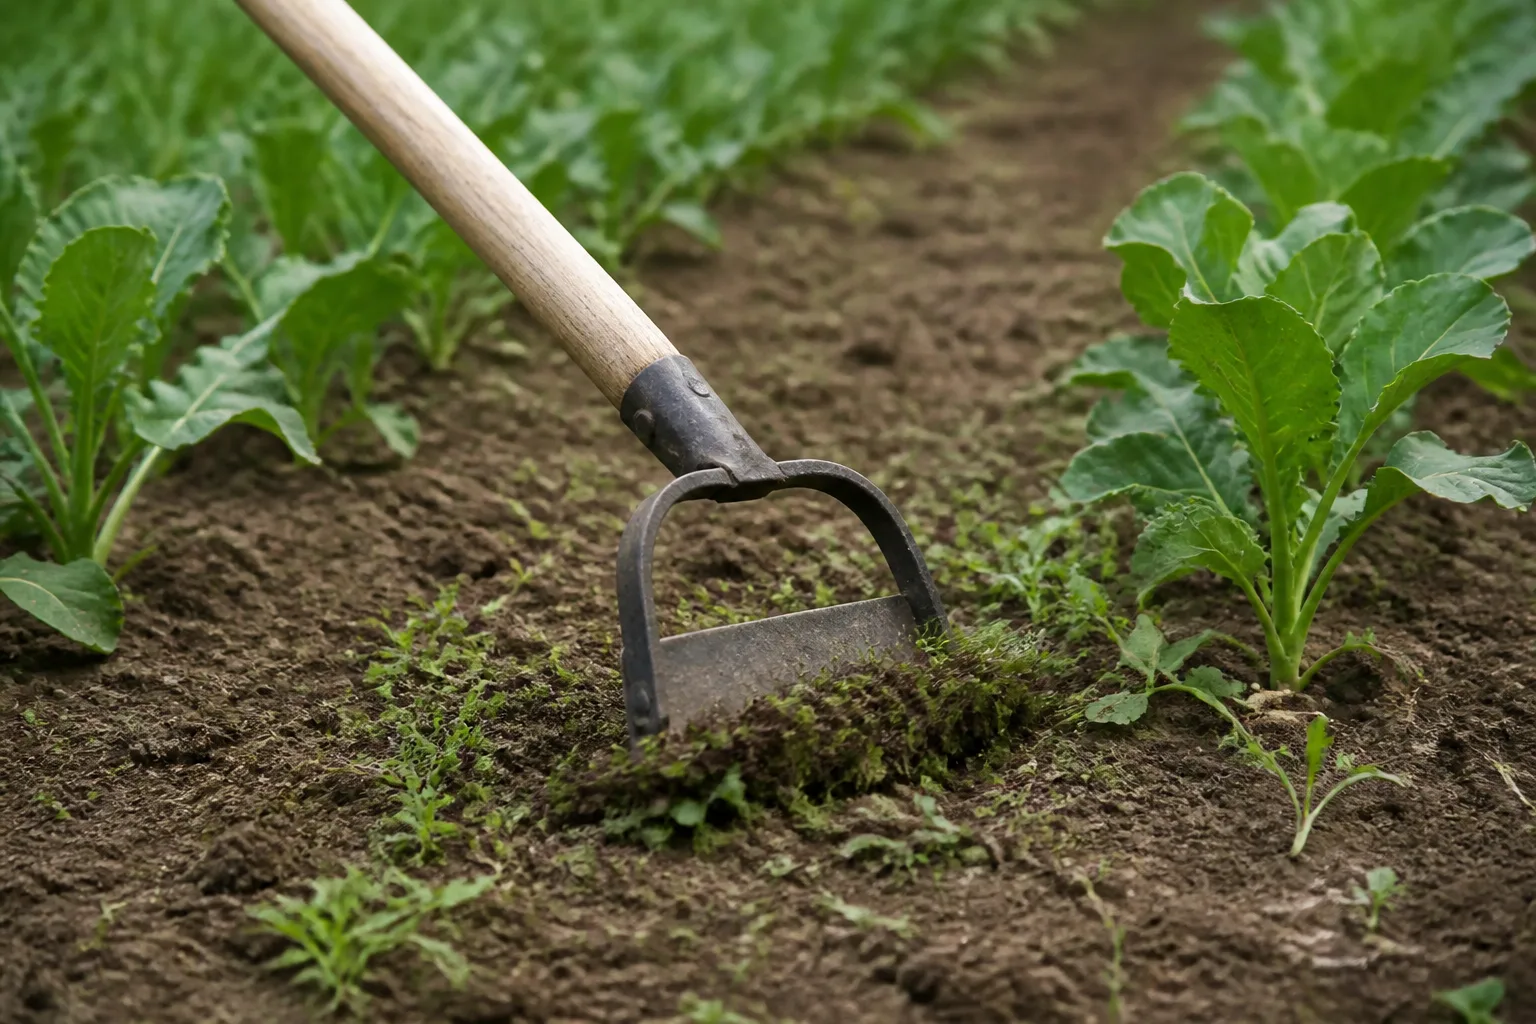
Shallow hoeing removes small seedlings while disturbing less soil.
In a densely planted bed, hand-pull between desired plants instead of swinging a hoe through their roots. One pass is rarely the whole plan. Check the bed again after rain or irrigation, when another group of seedlings may appear, and remove them while they are small.
Repeating this “little and often” approach prevents many annual weeds from reaching flowering size and avoids the heavy soil disturbance that can create new germination opportunities. If a weed repeatedly returns from a specific root or runner, stop hoeing that patch and identify the perennial before continuing.
Smother an empty bed with cardboard and mulch
Covering bare soil deprives many seedlings of light and makes it harder for new seeds to establish. In a bed you are preparing for planting, first remove seed heads and as much of the existing vegetation as practical. Lay overlapping cardboard over the soil, wet it so it settles, then cover it with an appropriate organic mulch.
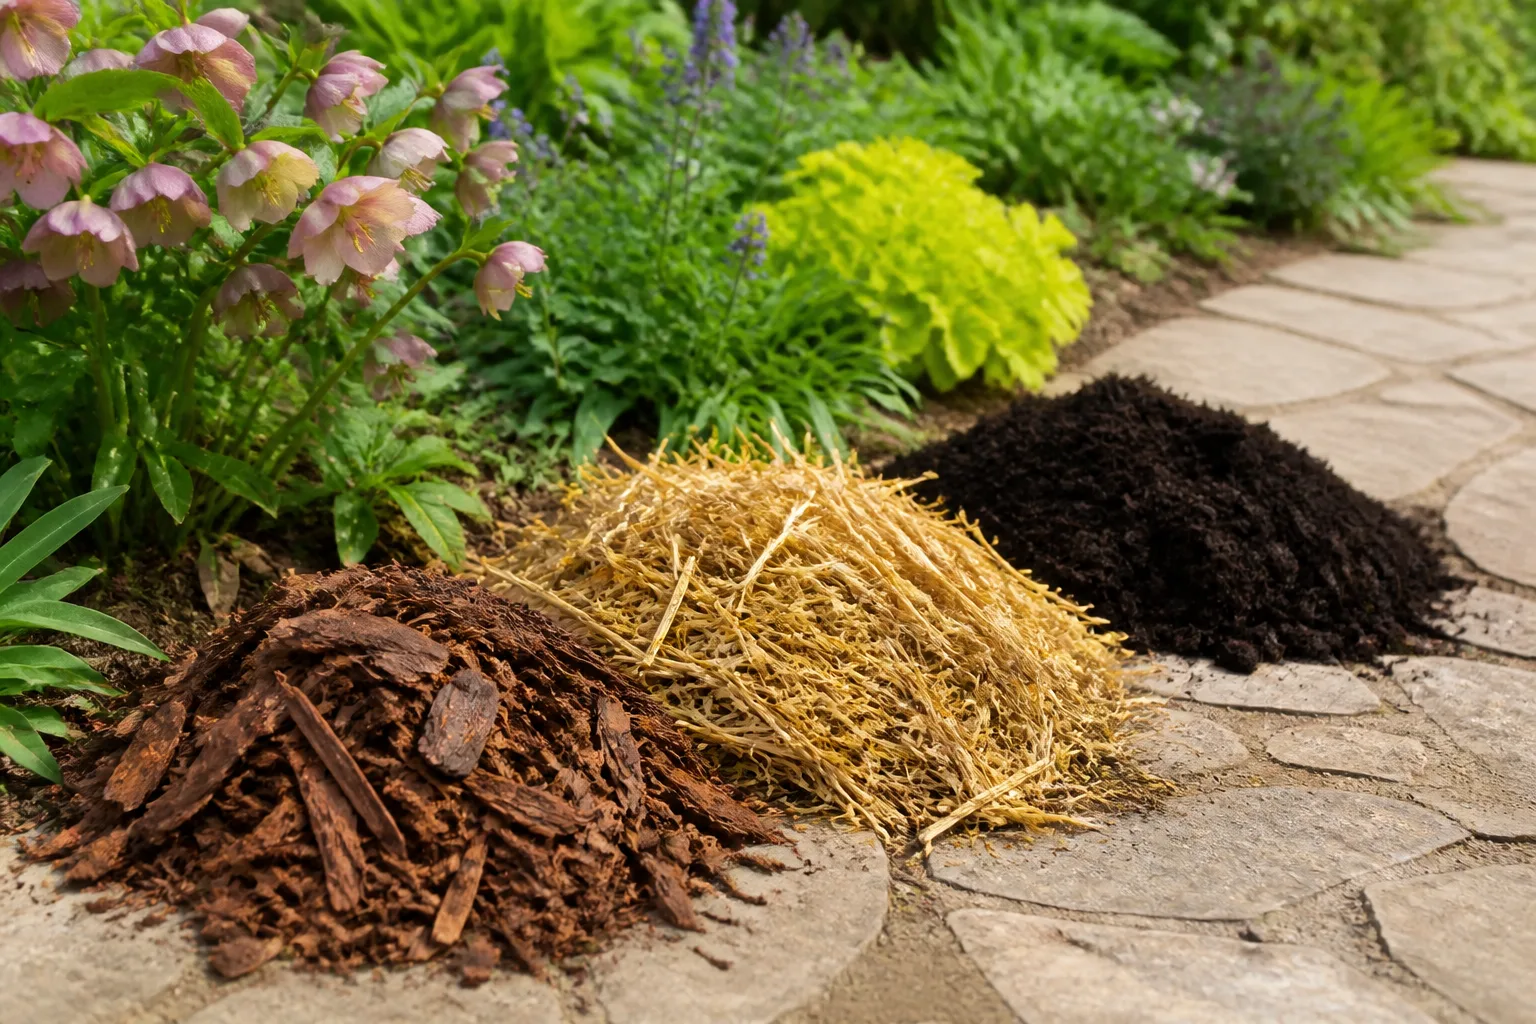
Mulch blocks light most effectively after established perennial weeds are removed.
Close gaps at edges and around posts: sunlight through a seam is enough for some shoots to find a way through. This is particularly useful for reducing annual weeds and renovating an empty bed. It is not an instant cure for established bindweed, ground ivy, quackgrass, or another persistent perennial with substantial underground reserves.
Remove those roots first where feasible, or plan to inspect and cut or pull any shoots that escape. The Royal Horticultural Society describes covering with cardboard and organic matter as a way to suppress weeds, while advising repeat maintenance and careful placement around crowns and woody stems (RHS non-chemical weed control). Mulch is a layer you maintain, not a permanent barrier.
Organic material decomposes, and seeds can germinate in debris or in the mulch itself. Keep the surface covered, replenish it when it thins, and pull seedlings before they establish. Gardeners’ World explains that a no-dig surface layer can reduce weeding but does not eradicate all weeds; persistent perennials may still need to be removed as they appear (BBC Gardeners’ World).
Solarize an empty, sunny bed
Soil solarization uses trapped solar heat under clear plastic to suppress many weed seeds and seedlings in the upper soil. It is best suited to an empty bed that can remain covered during a reliably hot, sunny stretch. UC IPM describes a four-to-six-week treatment during the hottest part of the year, with moist soil and plastic fitted closely to the surface; it also notes that control is strongest near the surface and that some perennial roots, tubers, and rhizomes can survive (UC IPM: Soil Solarization).
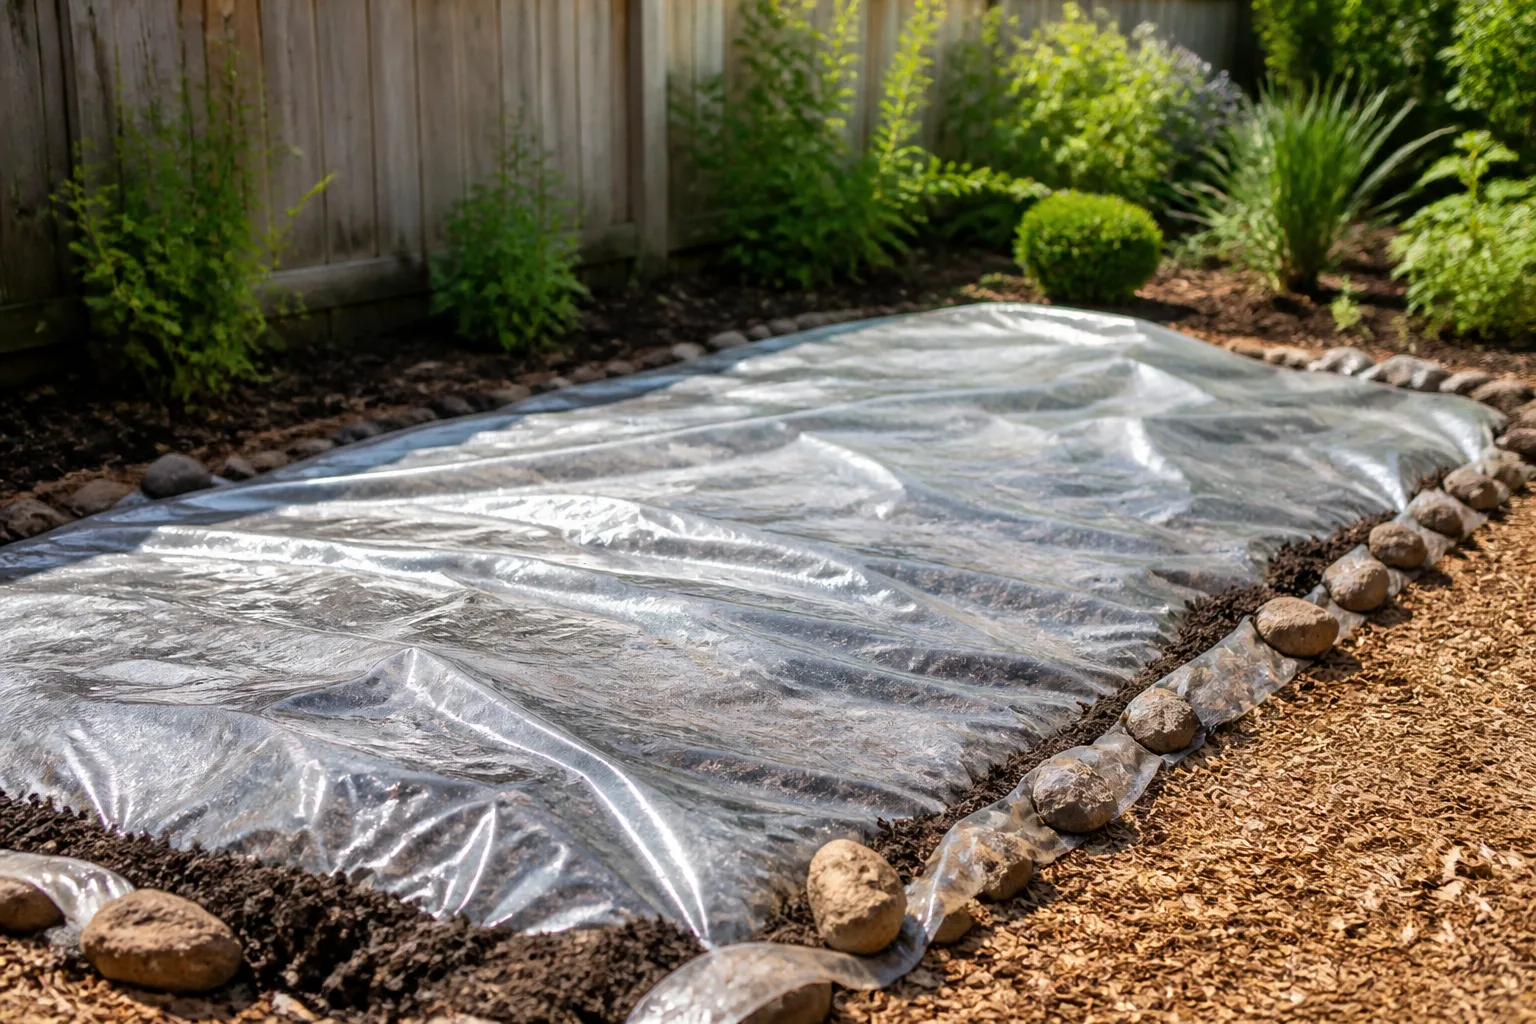
Clear plastic traps solar heat over moist, prepared soil.
Prepare a smooth, moist bed, remove debris that could puncture the cover, and secure clear plastic tightly so it stays in contact with the soil. Local climate determines whether the method will get hot enough: a cool, cloudy, windy, or shaded site may deliver disappointing results. Clear plastic is used to trap heat for solarization; opaque covers and cardboard instead smother plants by blocking light.
They are related tools, but they work differently. Solarization interrupts part of the weed cycle; it does not sterilize a whole yard or prevent seeds blowing into the bed afterward.
Avoid turning the soil deeply when you remove the plastic, because that may expose untreated seeds. Replant promptly, cover bare soil, and keep up with small seedlings that appear later.
Mow or cut to prevent seed production
On a large patch where pulling every plant is impractical, cutting can limit seed return. Mow or trim before seed heads mature, collect or manage the cut material so mature seeds are not scattered, and repeat as needed. This can reduce new seedlings over time, although mowing alone will not reliably kill established perennials whose roots or growing points remain below the blade.
Repeated cutting can also help weaken some persistent weeds by forcing them to spend stored energy on regrowth. The schedule and result depend on species, season, and how low the plant can be cut without damaging turf or desirable groundcovers. If a plant keeps resprouting vigorously, use cutting as containment while you identify a more targeted long-term tactic.
When a labeled herbicide may be useful
An herbicide may make sense when a weed is widespread, difficult to remove mechanically, or threatening a planting and lower-impact methods have not controlled it. The product must be labeled for the weed, site, and use pattern involved. Labels also specify where a product can be used and what plants or surfaces must be protected; a product marketed as a weed killer is not automatically suitable for a lawn, vegetable bed, gravel path, or spot beside a shrub.
Herbicides do not offer the same kind of control. Some products act on foliage, while some systemic products move within actively growing plants; pre-emergent products target germinating seedlings rather than visible mature weeds. UC IPM cautions that many post-emergent products control existing plants without providing lasting residual prevention, and contact products can burn exposed growth while leaving perennial roots able to resprout (UC IPM: Weed Management in Landscapes).
Pre-emergent and post-emergent products solve different problems
A pre-emergent herbicide is intended to stop or injure seedlings as they germinate. It will not remove an established weed already standing in the bed, and it can interfere with desired seeds or new plantings if the label does not permit the timing and site. A post-emergent herbicide is applied to weeds that are already growing; its performance depends on the weed species, growth stage, weather, formulation, and label directions.
Some systemic products may be useful on particular perennial weeds because they move from treated foliage into other parts of the plant. A contact product that quickly browns leaves may be a poor choice for a weed that can regenerate from a protected root system. Do not infer effectiveness from how fast a plant looks scorched; check the label and local extension recommendations for the target species, and plan to monitor for regrowth.
Reduce drift and protect nearby plants, people, and wildlife
Read the whole label before buying, mixing, applying, storing, or disposing of a pesticide, and use only the labeled site and directions. Wisconsin Extension notes that herbicide labels are federal documents and emphasizes that a product can harm desirable plants when used outside its labeled conditions (UW–Madison Extension). Do not invent a homemade rate, combine products, or apply a product where the label prohibits it.
Avoid applications when wind or rain could move spray or runoff beyond the target. Keep people and pets away for the interval stated on the product label, protect drains and surface water, and avoid treating blooming plants or allowing drift onto flowers visited by pollinators.
Ohio State Extension’s pollinator guidance stresses that pesticide risk depends on the product, site, timing, and exposure, and that label directions are part of minimizing risk (Ohio State Extension). If drift occurs, stop and follow the product label and local pesticide authority’s instructions rather than rinsing it into a drain.
Why household weed-killer recipes are a poor shortcut
Salt, bleach, concentrated acids, and dish-soap mixtures are not dependable shortcuts to permanent control. A caustic or salty spray may damage foliage it touches, but that does not mean it kills deep roots or prevents future seeds. Salt can accumulate with repeated use and harm desirable plants and soil; vinegar is nonselective and often burns exposed leaves without killing the root of an established plant.
UConn Extension’s review of homemade pesticide mixtures warns that familiar household ingredients still act as pesticides and can create collateral plant, soil, and environmental risks (UConn Extension: Homemade Pesticide Issues). Bleach and concentrated acids can injure people, pets, soil organisms, and nearby vegetation, while creating disposal problems. Dish soap is not a magic sticker that makes an improvised formula safe or selective.
Avoid blanket recipes, especially in planting beds, near storm drains, or around edible crops. If you need a chemical control, choose a labeled product for the specific site and follow its directions; if you want to avoid pesticides, use pulling, shallow cutting, smothering, or solarization where those methods fit.
Special cases: lawns, pavement cracks, and invasive weeds
In a lawn, first decide whether you want a uniformly grass-covered surface or can tolerate clover and other low-growing plants. For isolated weeds, hand-remove the whole plant when practical. For a larger outbreak, identify both the weed and the turf species before using a selective herbicide; a product that controls broadleaf weeds may also injure some desirable plants, and nonselective products can kill lawn grass.
Preventing bare, stressed turf through appropriate mowing, irrigation, and overseeding where suitable can reduce open sites for weeds, though it cannot stop every airborne seed. In pavement cracks, scrape out the plant and as much root as the joint permits, then remove soil and debris that can hold moisture and new seeds. A crack is a small, isolated site, but runoff can carry salt or chemicals toward soil and storm drains.
Avoid pouring household products across pavement; use a labeled spot treatment only if the label allows that exact site and runoff can be prevented. For invasive or regulated plants, do not assume an ordinary garden routine will be enough. Identify the plant with a county extension or state invasive-plant resource, check current local rules, and ask about disposal before moving seed heads, roots, or contaminated soil.
Some species need repeated containment or professional management because fragments spread readily or because the patch is too large to dig without distributing it. A targeted, documented plan is safer than casually tilling or hauling the plant away.
Use a repeatable follow-up plan
Choose a cadence that matches the weed’s life cycle. During the growing season, walk the bed every week or two; pull small seedlings and remove flowers before seed heads mature. After a larger removal or covering project, inspect the edges and any breaks in the mulch or cover first, since those are common escape routes.
Keep a simple note of where shoots return, what you used, and how long control lasted; repeat growth in the same spot is a clue to a root or rhizome problem. At the end of the season, clear seed-bearing material, refresh thin mulch, and avoid unnecessary deep digging. If the same patch returns after several well-timed visits, identify the species more carefully and change the method rather than applying more of the same.
For example, switch from leaf-level cutting to careful root removal for a taproot, or from repeated digging to covering and edge monitoring for a runner-forming perennial. Prevention matters just as much as removal.
Keep desired plants vigorous enough to cover open ground, use clean mulch or compost, clean soil from tools before moving between beds, and fix irrigation that keeps empty areas wet. These steps cannot block every seed, but they make the garden less welcoming and give you a smaller, more manageable job when one arrives.
Conclusion
What kills weeds permanently depends on the weed and the place it is growing. No treatment can keep all new seeds out of a yard, but identifying the plant, removing or weakening the part that survives, stopping seed production, and covering bare soil can make a specific patch stay under control. Start with the least disruptive method that fits: pull or dig small weeds in moist soil, hoe annual seedlings shallowly, smother an empty bed, solarize only when the climate and site suit it, and reserve labeled herbicides for situations where they add clear value.
Then revisit the area before the weeds set seed. That steady sequence—not a one-time household recipe—is what keeps weeds from taking over again.