What Is Deep Watering? How to Water Plants Well
Water deeply without guessing: match soak depth to roots, use a simple bucket test, and adapt the method for trees, beds, lawns, new plants, and containers.
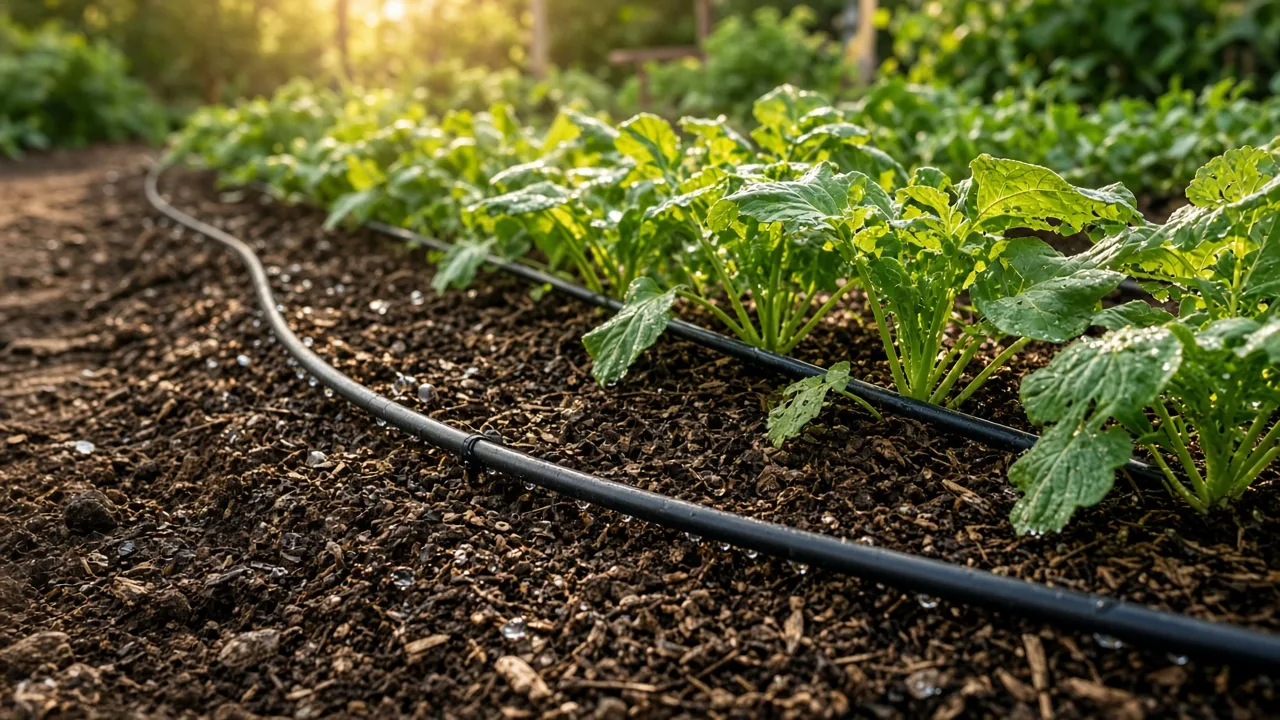
“Water deeply” sounds like a measurement, but it is really an outcome: water has moved far enough into the soil to reach the plant’s active roots, and it got there slowly enough that the soil could absorb it. A five-minute shower can be deep watering in a small, porous bed; an hour of water can still be shallow if it runs down a slope or puddles on compacted ground.
The useful question is not “How long should I leave the hose on?” It is “Is the root zone moist to the depth this plant can use, without staying saturated?” That shift makes deep watering much easier to adapt to a tree, a flower bed, a new lawn, or a pot.
What Deep Watering Means in Plain English
Deep watering is a slow, thorough soak followed by a pause between waterings. The water should move below the quickly drying surface layer and wet the soil around the roots, while the air spaces in that soil remain open. The Royal Horticultural Society’s watering guidance sums up the rhythm well: water less often but more thoroughly, then let the surface dry before watering again.
There is no single “deep” number for every plant. As a practical starting point, many small garden plants need moisture around 6 inches down, while young shrubs and trees often need about 8–12 inches around the rootball. A mature tree may have roots spread widely rather than concentrated directly beneath the trunk, so forcing water to an arbitrary depth at one point is less useful than wetting the occupied root zone evenly.
That is why deep watering is not the same as flooding. Roots need both water and oxygen. The goal is a moist, well-aerated root zone that stays useful for longer than the surface of the soil—not a permanently wet hole.
Deep Watering Versus Shallow Watering
Shallow watering wets only the top layer, where sun and wind can remove moisture quickly. A little water every day may make the surface look cared for while leaving the deeper root zone dry, especially in a hot bed or under a tree canopy.
Deep watering reverses that pattern: apply water gently enough to infiltrate, let it reach the target depth, and then allow the upper few inches to dry somewhat before the next soak. The Southern Living guide on deep watering correctly warns that the soil type controls how efficiently water reaches and remains available to roots; “less often” is not a substitute for checking the soil.
The root-training idea also has limits. It applies best to established plants with roots already exploring the surrounding soil. Seeds, tiny seedlings, and fresh transplants have shallow developing roots and need consistent moisture near the surface. Treating those plants like established shrubs can wash them out or leave their small rootballs dry between oversized applications.
What Changes the Right Watering Depth
Four variables decide what a successful deep soak looks like:
- Plant size and root spread: A small perennial and a mature tree do not occupy the same soil volume. Water near the trunk is not enough for a tree whose feeder roots extend beneath the canopy.
- Soil texture: Sandy soil accepts water quickly but may let it drain below a shallow root zone. Clay soil accepts water slowly and may shed it across the surface. Organic matter can improve structure, but it does not make poor drainage disappear.
- Weather and exposure: Heat, wind, slope, reflected heat from walls, and a rain shadow beneath an eave can dry one bed while another stays moist after the same storm.
- Plant stage: Establishing plants generally need more frequent checks and targeted watering than established plants. Fast-growing leafy vegetables also have a different moisture preference from drought-adapted herbs.
Use those variables to choose a target depth, not to invent a rigid calendar. The RHS notes that weather, soil type, establishment stage, and plant size all change watering needs; that is why “every Sunday” is a weak rule.
Check Soil Moisture Before You Turn on the Hose
Start by testing the soil below the surface. For a small bed, push a finger or narrow soil probe 2–3 inches down near—not directly against—the plant. For a shrub, young tree, or larger bed, use a trowel or probe to inspect deeper, then test more than one spot because a single wet pocket can mislead you.
Moist soil feels cool and holds together lightly without turning muddy. Dry soil may feel dusty, brittle, or warmer than the surrounding ground. If the top is dry but the lower layer is moist, wait; if the top looks fine but the lower layer is dry, water. A moisture meter can be useful for consistency, but it is a supplement to looking at the soil, not a permission slip to ignore drainage.
Test in the root zone rather than at the stem. For a tree or shrub, check beneath the outer part of the canopy and around the rootball, not only at the trunk. Before watering a container, check the mix below the surface because the top can look dry while the center is still wet—or look damp while the rootball has pulled away from the pot and stopped absorbing.
How to Deep-Water a Garden Bed Step by Step
1. Mark the area that actually needs water. For a small plant, water the soil over and slightly beyond its root area. For a shrub or tree, make a broad ring under the canopy and keep the trunk itself relatively dry. A fresh planting needs water around its rootball first, then gradually expanded coverage as new roots move outward.
2. Use a gentle delivery setting. A watering wand with a breaker, a low-flow hose, a soaker hose, or a drip line can all work. Aim at the soil, not the leaves, and avoid a high-pressure jet that erodes the surface or moves mulch away. The point is to make the application slower than the soil’s infiltration rate.
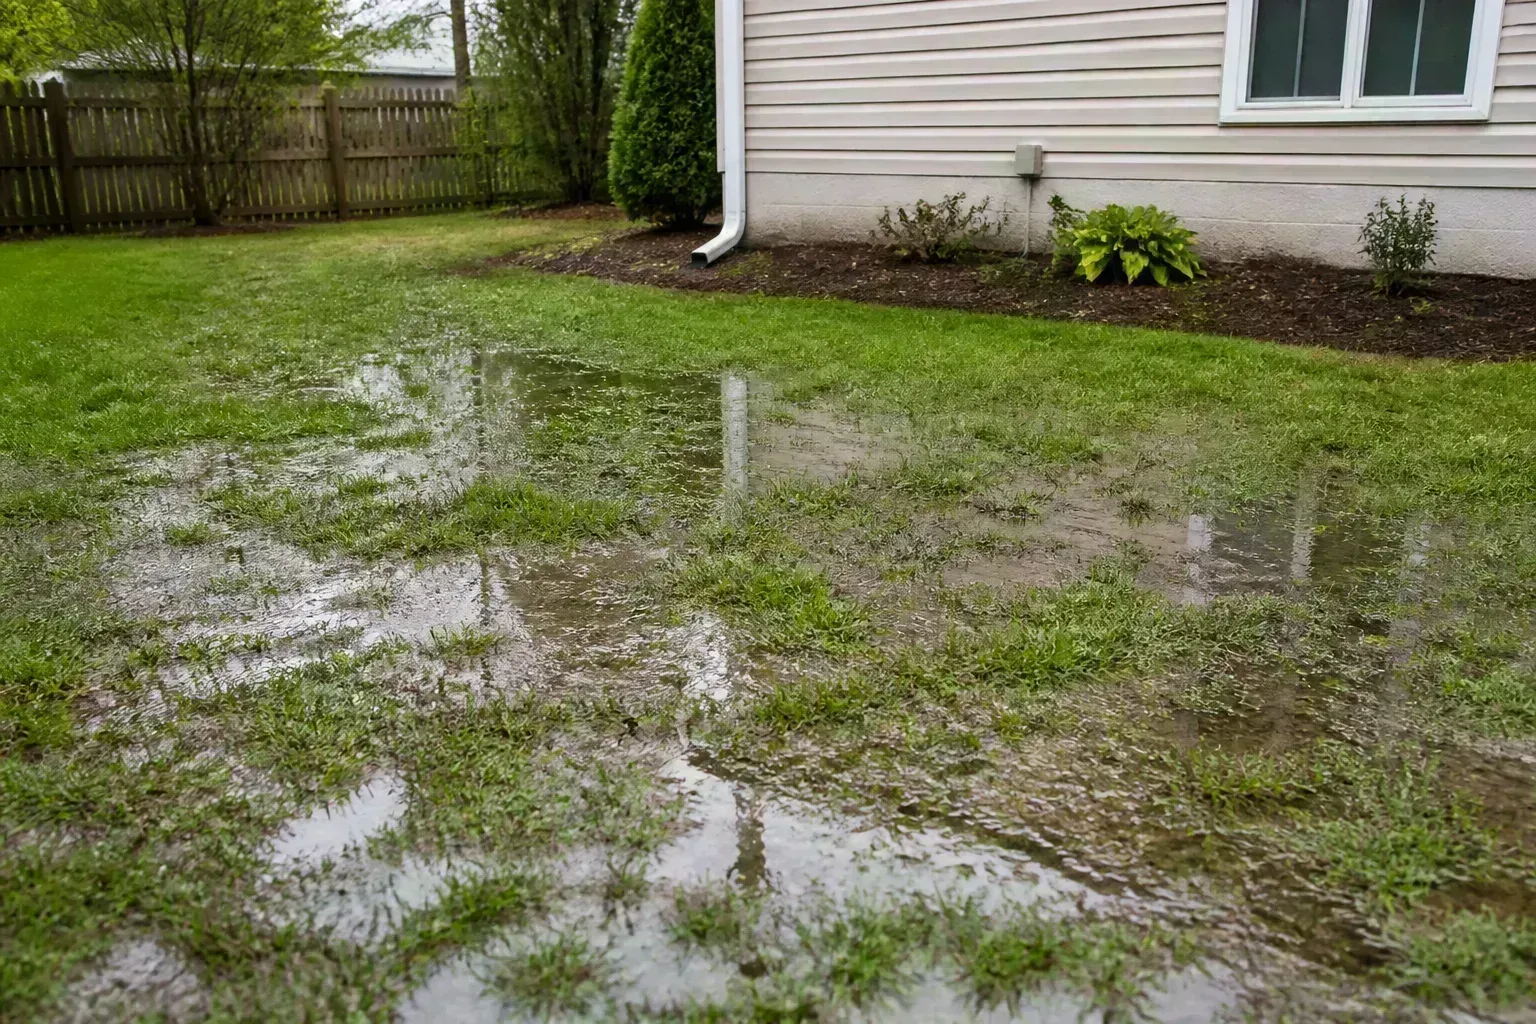
3. Watch for the first sign of failure. If water begins to pool, form a sheet, or run downhill, pause. That is not evidence that the ground is “full”; it usually means water is arriving faster than the surface can accept it, or that a crust, compaction layer, or hydrophobic patch is blocking entry.
4. Cycle and soak. Give the first light application time to enter, then wait roughly 20–30 minutes before applying more. In clay or very dry soil, several short cycles can move more water into the root zone than one long blast. The Woodlands Township environmental-services guide recommends checking moisture, using a steady light stream, waiting, and recording the time and flow rate needed to reach about 8 inches.
5. Recheck below the surface. After the final cycle, wait another 20–30 minutes and dig a narrow test hole or push in a probe. You are checking whether the target zone is evenly moist, not whether the surface is shiny. If the lower part is dry, add another slow cycle; if it is muddy or water is still moving sideways, stop and solve infiltration or drainage before adding more.
6. Let the soil breathe. Do not repeat the same deep soak the next day just because the calendar says so. Check again when the upper layer has begun to dry, while watching the plant and the weather for signs of stress. Deep watering works as a soak-and-rest cycle, not as daily saturation.
Measure Water With a Bucket or Catch-Can Test
Timing becomes useful only after you know your flow rate. Place the same hose and watering wand you plan to use over a 10-gallon bucket, turn the water to the intended setting, and time how long the bucket takes to fill. If it takes 8 minutes, the flow is 1.25 gallons per minute; you can use that number to estimate how much water a zone receives, then confirm the result with a soil test.
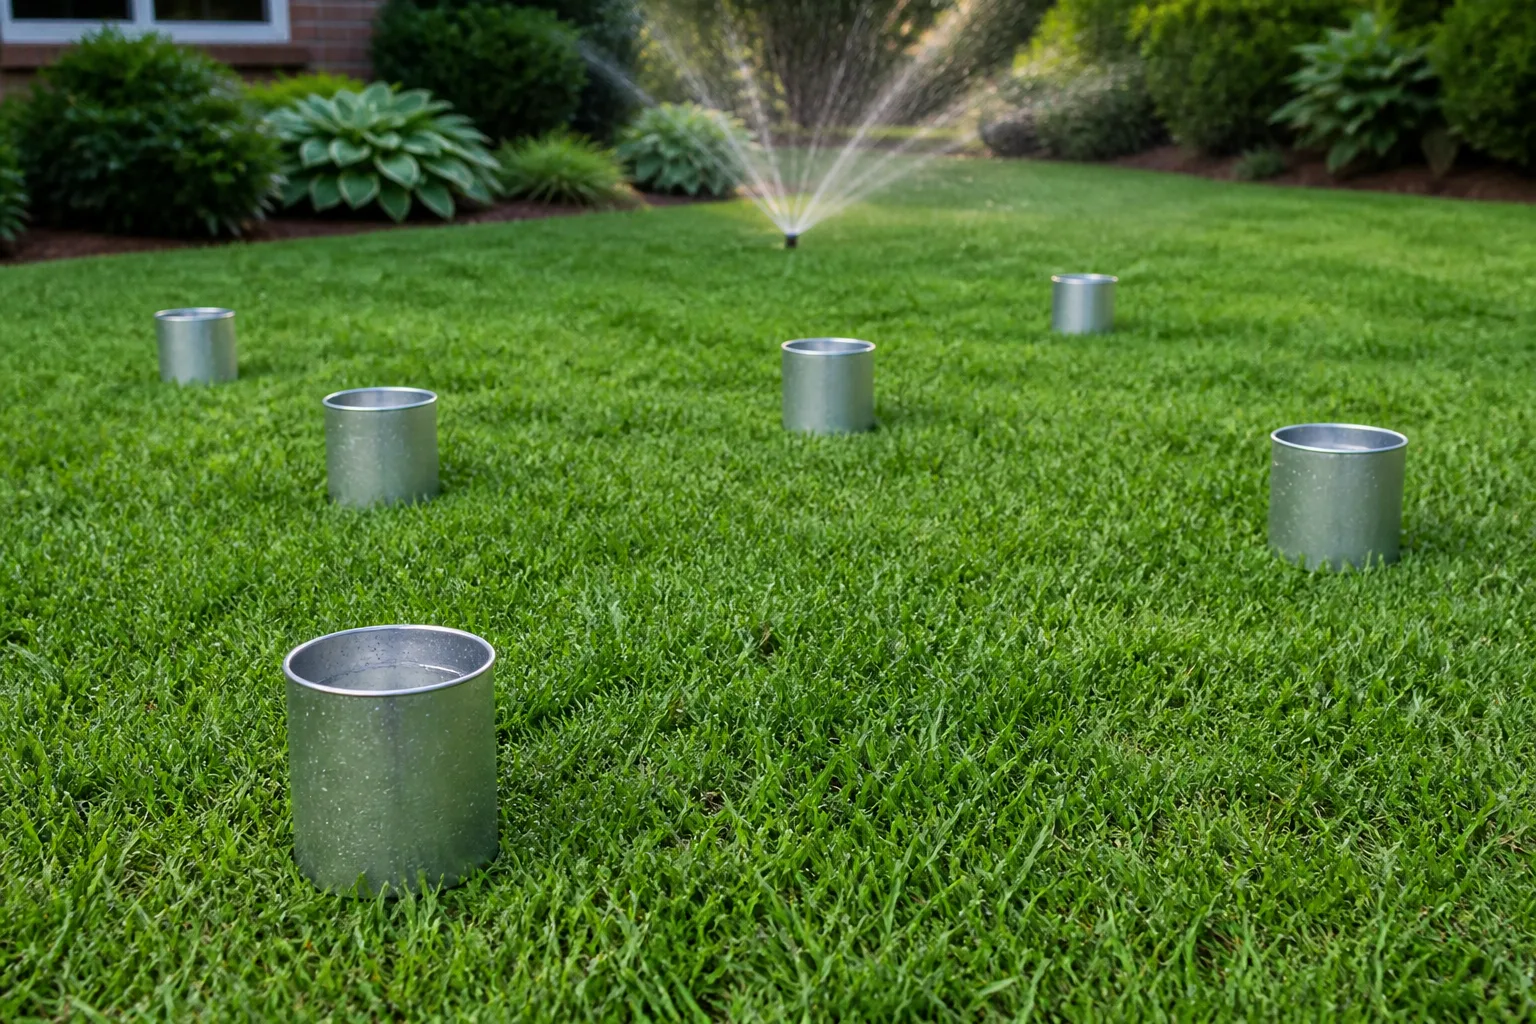
For sprinklers, use several shallow straight-sided cans or cups spread across the wet area. Run the sprinkler for a fixed interval and compare the water depth in each container. Uneven depths reveal a coverage problem that a single can near the sprinkler would hide. Move or repair the sprinkler before simply adding more minutes.
For a measured bed, area can provide another sanity check. One inch of water over 100 square feet is roughly 62 gallons, so a large garden bed can require far more water than a casual hose estimate suggests. That number is a planning tool—not a universal prescription—and the soil probe still decides whether the water reached the roots or drained away.
Deep Watering Trees and Shrubs
Young trees and shrubs are high-priority deep-watering candidates because their roots are still establishing in the surrounding soil. Water slowly around the rootball and outward into the planting area, aiming for roughly 8–12 inches of moisture when conditions and soil allow. The RHS recommends regular watering during dry spells in the first year, and sometimes longer for large specimens, while still emphasizing slow infiltration.
Do not park the hose at the trunk. A trunk-centered puddle can keep the crown wet while missing the wider root zone, and it does not mimic how rainfall is distributed beneath a canopy. As the tree grows, move the watering ring outward; for established trees, water only when the root zone is genuinely dry or the weather is unusually hot and dry.
Look for rain shadows. Soil under a dense canopy, beside a wall, or beneath roof eaves may stay dry even after a storm. Conversely, a low spot or heavy clay bed may remain wet for days. Check multiple locations before deciding that a tree needs another deep soak.
New Plantings and Seedlings Need a Different Rhythm
Establishment watering is about connecting a new rootball to the surrounding soil. A new shrub may need frequent attention because the original potting mix and the native soil can dry at different speeds; water both the rootball and the nearby backfill, but do not drown the planting hole.
Seedlings are a separate case. Their roots may be only a few inches deep, and their surface must stay consistently moist while they germinate. Use a rose attachment or gentle spray, watch for crusting and washout, and transition toward deeper, less frequent watering only as the roots and plants develop.
The same principle applies to new turf and seeded lawns. Keep the top layer moist at first, then gradually shift toward less frequent, deeper watering once roots are established. The RHS guidance describes this transition after the first few weeks rather than treating freshly seeded grass like a mature lawn.
Vegetables and Lawns Have Their Own Exceptions
Vegetables are not one watering category. Leafy crops such as lettuce and spinach often prefer steady moisture, while established root crops can be watered less frequently if the soil remains evenly usable around the developing roots. Fruiting plants need consistent moisture during flowering and fruit fill, but that does not justify keeping the bed saturated.
Lawns are often managed with a catch-can measurement because the root zone is broad and shallow compared with a tree’s. A sprinkler can work if it applies evenly and slowly enough, but wind and evaporation can distort coverage. Water early in the day when possible, and check the soil rather than assuming that a green surface means the roots are wet.
Avoid using deep watering as an excuse to ignore plant-specific needs. Succulents, plants in poorly drained beds, and species adapted to dry conditions may need longer dry intervals. The correct routine is the one that keeps the plant’s root zone hydrated without removing the air roots need.
Why Containers Are a Separate Watering Problem
In a container, “deep” does not mean pushing moisture several feet down. It means wetting the entire rootball from top to bottom, then allowing excess water to drain freely. Apply water slowly over the surface until it exits the drainage holes, wait a few minutes, and repeat if the mix was so dry that water immediately ran down the sides.
Do not leave a pot sitting in a full saucer. Empty collected water after the pot has drained unless the plant is specifically adapted to a reservoir system. Then wait until the appropriate portion of the potting mix has dried before watering again; a tiny pot in sun may need frequent checks, while a large shaded container may remain wet much longer.
If water races down the sides without wetting the center, the mix may be hydrophobic or badly compacted. Slow pre-wetting, a thorough rehydration from several small applications, or repotting into a properly structured mix may be more effective than pouring on a larger volume all at once.
Choose a Deep-Watering Tool by the Job
For one plant or a small bed, a watering can or hose wand gives excellent control. Use a breaker or shower pattern, keep the stream at soil level, and move around the root zone instead of digging a hole with one concentrated jet.
For rows of vegetables or a hedge, a soaker hose can distribute water along the planting line. For mixed beds or widely spaced plants, drip emitters let you adjust delivery by plant size, but check for clogged emitters and do not assume that a running system means the soil is evenly wet.
For lawns, a sprinkler may be the practical choice, provided you measure coverage with catch cans. Timers are helpful after calibration; they are risky when used as a substitute for observing soil. A deep-root watering probe can be useful in selected situations, but it can also send water through a narrow channel below the active roots while the surrounding soil remains dry, so verify with a probe or test hole.
Fix Soil That Repels or Sheds Water
When water runs off immediately, first reduce the application rate. Pause, let the surface absorb what it can, and resume with shorter cycles. A crusted or compacted surface may need gentle cultivation between plants, and adding organic matter over time can improve structure and water-holding capacity. Do not till wet clay just because it is difficult to water; working it in that condition can create more compaction.
Clay soil is slow to accept water and can stay wet after it finally absorbs it. Sandy soil often accepts water readily but may not hold enough in the root zone. The Homes & Gardens deep-watering guide recommends adapting to soil structure rather than treating all beds alike, and the Gardening Know How explanation likewise emphasizes slow delivery, infrequent watering, and the effect of soil composition.
Very dry soil can become water-repellent at the surface. Lightly re-wet it, wait, and repeat until the surface begins accepting water; then switch to the slower deep-watering cycle. If a bed repeatedly ponds while the deeper soil stays dry, look for a compaction layer, a shallow hardpan, a blocked drain, or a slope carrying water away rather than simply increasing the hose time.
Use Mulch to Make Each Soak Last Longer
Mulch is the follow-through, not the watering method itself. A roughly 2-inch layer of suitable mulch can shade the soil, reduce evaporation, soften raindrop impact, and slow surface drying. Organic materials can also contribute organic matter as they break down, while gravel and other inorganic mulches mainly provide surface cover.
Keep mulch away from trunks and plant crowns. A thick, wet collar pressed against bark can create a different problem from dry soil, and mulch cannot repair standing water or a root zone that is already saturated. The RHS recommends mulch and organic matter as water-saving supports, but still bases the decision to water on soil and plant conditions.
When Deep Watering Becomes Overwatering
Deep watering becomes overwatering when the soil stays saturated longer than the roots can tolerate, or when the application pushes water below the useful root zone and leaves the surface wet but the plant stressed. Depth alone is not a guarantee of good care.
Watch for water that remains pooled well after the application, a muddy or sour-smelling root zone, yellowing combined with wet soil, and wilt that persists even though the soil is heavy with moisture. Wilt is not an automatic request for more water; damaged roots cannot supply a plant normally, and adding more water can deepen the problem.
If a bed is wet, stop the schedule and investigate drainage, soil texture, irrigation coverage, and recent rain. If the bed is dry below the surface, use slower cycles and a better target area. If the bed is moist to the expected depth, wait and look for heat, wind, root damage, pests, disease, or another cause of stress.
Troubleshoot a Dry Root Zone, Runoff, or Wilt
Water runs off before soaking in: Lower the flow, pause for 20–30 minutes, and repeat. Move water across the bed instead of concentrating it in one spot. If the pattern persists, inspect for compaction, surface crusting, slope, or hydrophobic soil.
The surface is wet but the root zone is dry: Your delivery is too fast, too brief, too narrow, or landing in the wrong place. Use a probe after a pause, run multiple gentle cycles, and check whether a sprinkler is covering the full root area.
A plant wilts during the afternoon: Test the soil before reacting. Heat-related midday wilt can resolve as temperatures fall, but dry soil several inches down calls for a slow soak. Morning wilt is more concerning and warrants a root-zone check; the RHS includes early-morning drooping among signs of drought stress.
A new plant wilts after watering: Check both the original rootball and the surrounding soil. A dry, water-repellent rootball can remain dry inside a wet planting hole, while a saturated hole can suffocate roots. Apply water directly around the rootball in small cycles and correct drainage rather than adding an unmeasured flood.
A brief shower just passed: Treat rain as useful only if it reached the root zone. Scratch or probe below the surface, especially under trees, beneath eaves, or in a dense canopy. If the lower soil is dry, a supplemental deep soak may still be justified.
Conclusion
Watering deeply means delivering water slowly enough to infiltrate to the active root zone, then giving the soil time to breathe before the next application. Start with a moisture check, choose a realistic target depth for the plant, watch for runoff, calibrate your flow when timing matters, and verify the result below the surface. Once you stop treating “deeply” as a universal number of minutes, the method becomes a flexible way to water more effectively across beds, trees, lawns, new plantings, and containers.



