What Size Light Bulb Can I Use? Check Fit and Watts
Find a bulb that fits your fixture and stays within its limits. Learn how to check shape, base, actual watts, lumens, voltage, dimmers, and enclosure ratings.
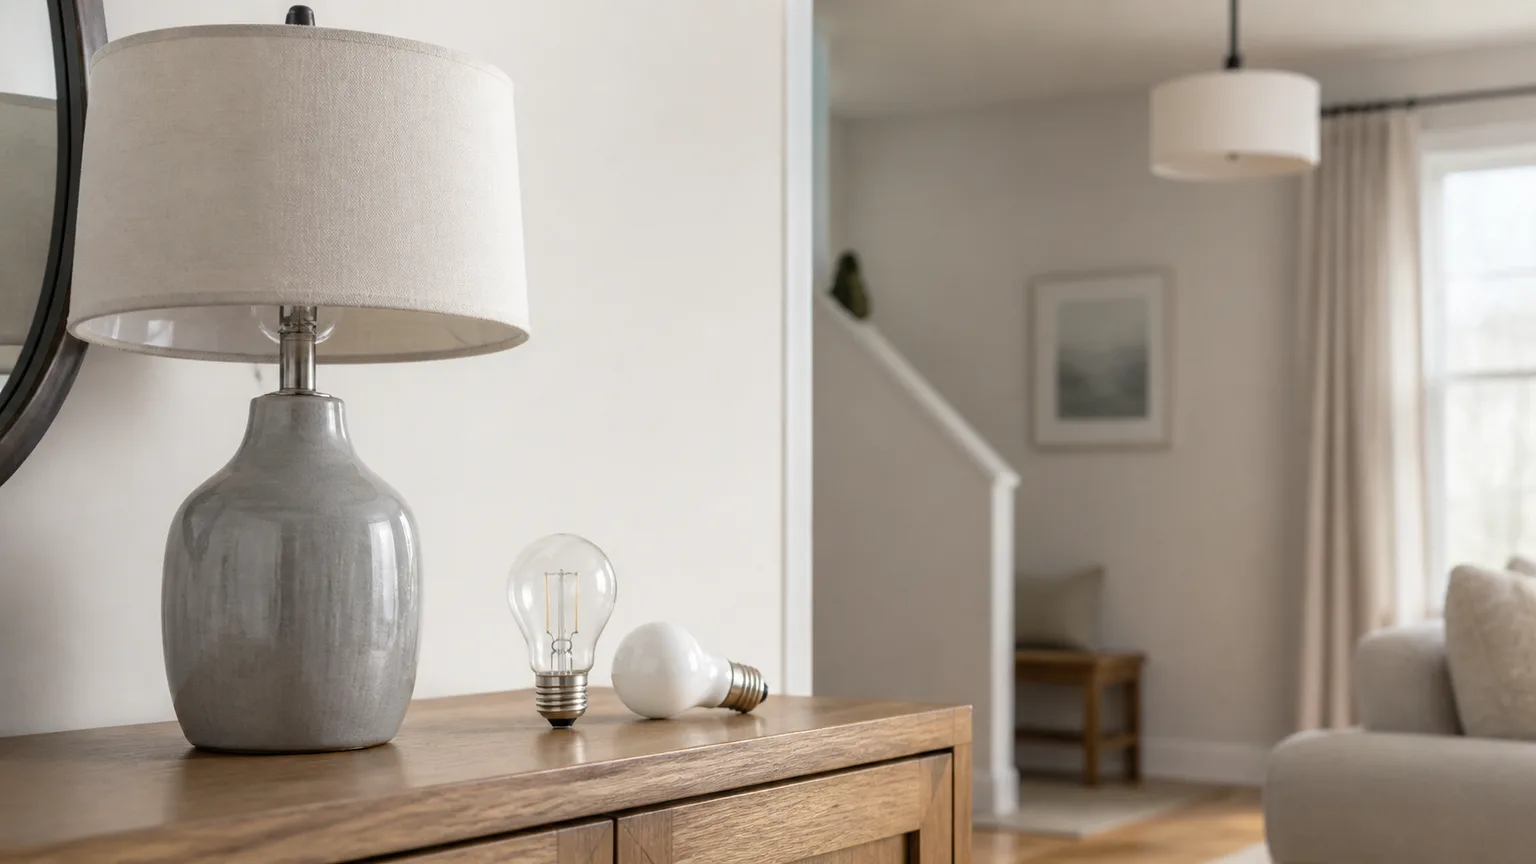
The right bulb is one that fits the socket and fixture, follows every instruction on the fixture and bulb, and stays within the fixture’s maximum actual wattage. Then choose the brightness you want by lumens. The word “size” can mean the bulb’s physical shape and base, or the amount of power it uses, so check both before buying.
A bulb that screws in is not necessarily the right replacement. Its glass envelope might hit the shade, its base might be wrong, its actual wattage might exceed the fixture limit, or it may not be rated for an enclosed globe or dimmer. Start with the fixture label and the old bulb, then match the product specifications rather than relying on a familiar-looking shape or “60-watt equivalent” claim.
Quick answer: check fit and the fixture limit
Turn the fixture off, let a warm bulb cool, and read any label on the socket or fixture. Find the maximum wattage and any restrictions on lamp type, shape, or use. For an LED, compare its actual watts—often printed as “Energy Used” on the U.S. package—with the fixture’s stated maximum; do not use the incandescent-equivalent number as a substitute for the actual draw.
Next, match the bulb’s base, shape, voltage, and application rating to the fixture. A low-watt LED can still be the wrong choice if it is too large, not approved for an enclosed fixture, incompatible with a dimmer, or unsuitable for a damp or wet location. If the label is absent or unclear, use the manufacturer’s documentation or ask a qualified electrician instead of guessing.
The U.S. Consumer Product Safety Commission says most fixtures identify the type and highest-wattage bulb they can safely use, and warns that exceeding the rating can overheat a fixture and start a fire. (CPSC: Home Safety Checklist) Treat a printed maximum as a limit, not a suggestion. Do not defeat it with a bulb that merely fits or with an adapter that changes the socket.
What “size” means on a bulb
Bulb packaging combines several labels that describe different things. The shape code describes the glass or plastic envelope, the base code describes how the bulb connects, watts measure power use, and lumens describe light output. A bulb can match one of these and fail another, so “same size” should mean the replacement matches the fixture on every relevant specification.
For U.S. shoppers, common examples include an A19 bulb with an E26 medium screw base, or a smaller decorative bulb with an E12 candelabra base. Those examples are common, not universal; specialty, imported, low-voltage, appliance, and older fixtures can use different shapes and connections. The Philips Hue bulb-size guide explains why shape, base, and fixture clearance all matter when checking whether a bulb physically fits.
Shape and physical dimensions
The letter in a shape code generally identifies the bulb’s form, while the number indicates a size class. A familiar A-shaped bulb may fit a table lamp, but an LED version can have a broader base or a larger driver housing than the incandescent bulb it replaces. Measure the old bulb’s maximum diameter and overall length if the shade or glass cover leaves little clearance, and check the new bulb’s dimensional drawing rather than judging from a product photo.
The same caution applies to reflector bulbs, globes, candles, tubes, and specialty appliance bulbs. A directional BR or PAR lamp may have a reflector and beam pattern that a general-purpose A bulb cannot reproduce. A refrigerator or oven fixture may call for a heat- or appliance-rated lamp; a decorative fixture may require a bulb small enough to sit behind glass without touching it. The shape must fit without pressure, contact, or a changed protective cover.
Do not force a bulb into a socket or file, bend, or modify a bulb to make it fit. A bulb that binds, wobbles, or leaves the socket’s contacts exposed may have the wrong base or may indicate socket damage. Stop and confirm the fixture’s product information before trying another type.
Base and socket
Compare the base markings on the old bulb with the replacement listing. Screw-base codes such as E26 and E12 refer to different diameters; pin, bayonet, twist-lock, and GU-style bases use different connections. A base that looks close is not interchangeable by appearance alone, and an adapter can change fit, support, heat behavior, or electrical compatibility.
If the old bulb’s base is hidden or its printing has worn off, check the fixture manual, label, model number, or manufacturer’s product page. For an integrated LED fixture, there may be no replaceable bulb at all. Do not open a built-in driver or rewire a fixture as part of a routine bulb replacement; those are repair questions for the manufacturer or a qualified electrician.
Find the fixture’s maximum wattage
The fixture, not the room or the breaker, determines the maximum bulb wattage specified for that light. Look on the socket, inside a removable shade where the label is visible, on the lamp body or canopy, and in the manual. Markings can say “MAX 60 W,” give a limit for each socket, specify a total fixture load, or name a bulb type. Read the whole line, including any wording such as “incandescent only” or a separate LED instruction.
A maximum rating protects the fixture’s components and the surrounding materials from conditions beyond the product’s design. CPSC guidance specifically warns that a bulb above the recommended wattage can overheat a fixture, wiring, or nearby combustible material. (CPSC: Home Safety Checklist) A fixture can also have a separate limitation based on enclosure, trim, insulation contact, or the lamp shape required for its optical design, so wattage is only one check.
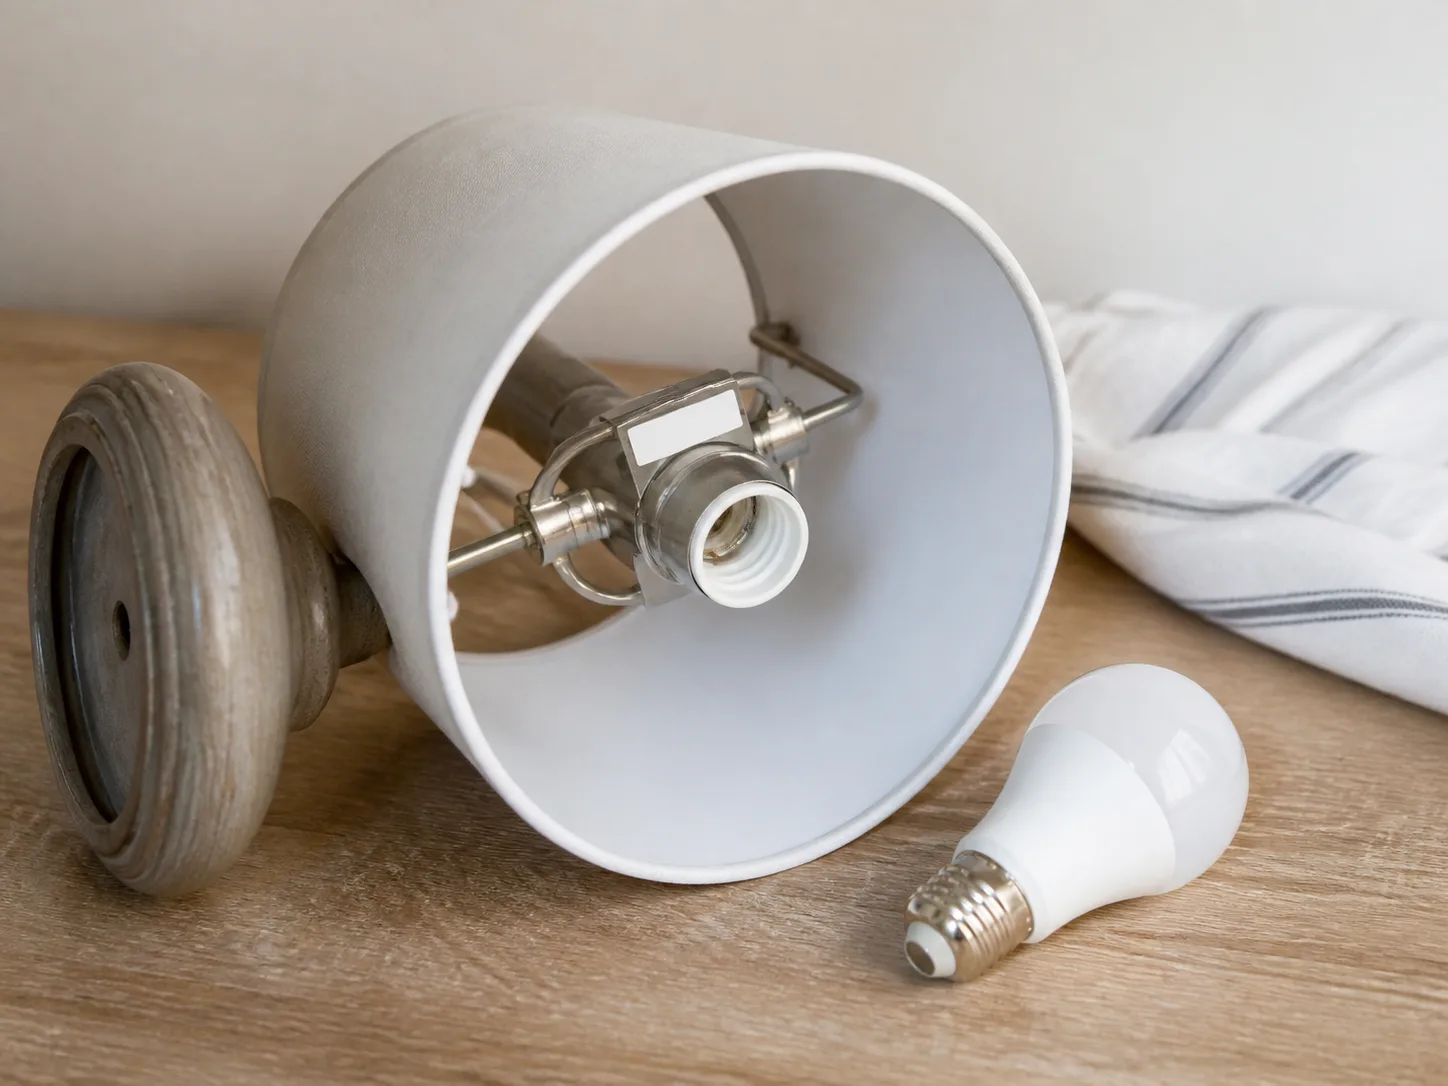
Do not infer the rating from how open or sturdy the fixture looks. A metal shade can hide a heat-sensitive socket, a small label can be tucked near the lampholder, and recessed fittings can have restrictions that are not obvious from the room. If the manufacturer says a particular lamp type or maximum is required, follow that exact direction even when another bulb has a lower wattage.
Understand per-socket versus total ratings
On a fixture with several bulbs, identify whether the maximum applies per socket or to the whole fixture. “60 watts per socket” means each lamp position has that limit; “maximum 180 watts total” means the actual wattage of all bulbs that can be on together must stay within 180 watts. If the label does not make the scope clear, do not assume that a total allowance applies separately to every socket.
For example, four 9-watt LEDs use 36 watts total, while four 60-watt incandescent bulbs use 240 watts. That arithmetic helps you compare input power, but it does not make the LEDs automatically compatible with a closed shade, dimmer, or fixture-specific lamp restriction. Check each bulb’s application rating and the fixture manual, particularly for chandeliers, ceiling fans, vanity bars, track heads, and multi-lamp enclosed fixtures.
Actual watts, equivalent watts, and lumens
Watts are not brightness. They state how much electrical power a bulb uses; lumens are a measure of the light it emits. The Federal Trade Commission gives a useful comparison: a traditional 60-watt incandescent produces about 800 lumens, while an LED producing about the same 800 lumens may use about 9 watts. Product output varies, so use the bulb’s own lumen and watt figures rather than assuming all bulbs in a category are identical. (FTC: Shopping for Light Bulbs)
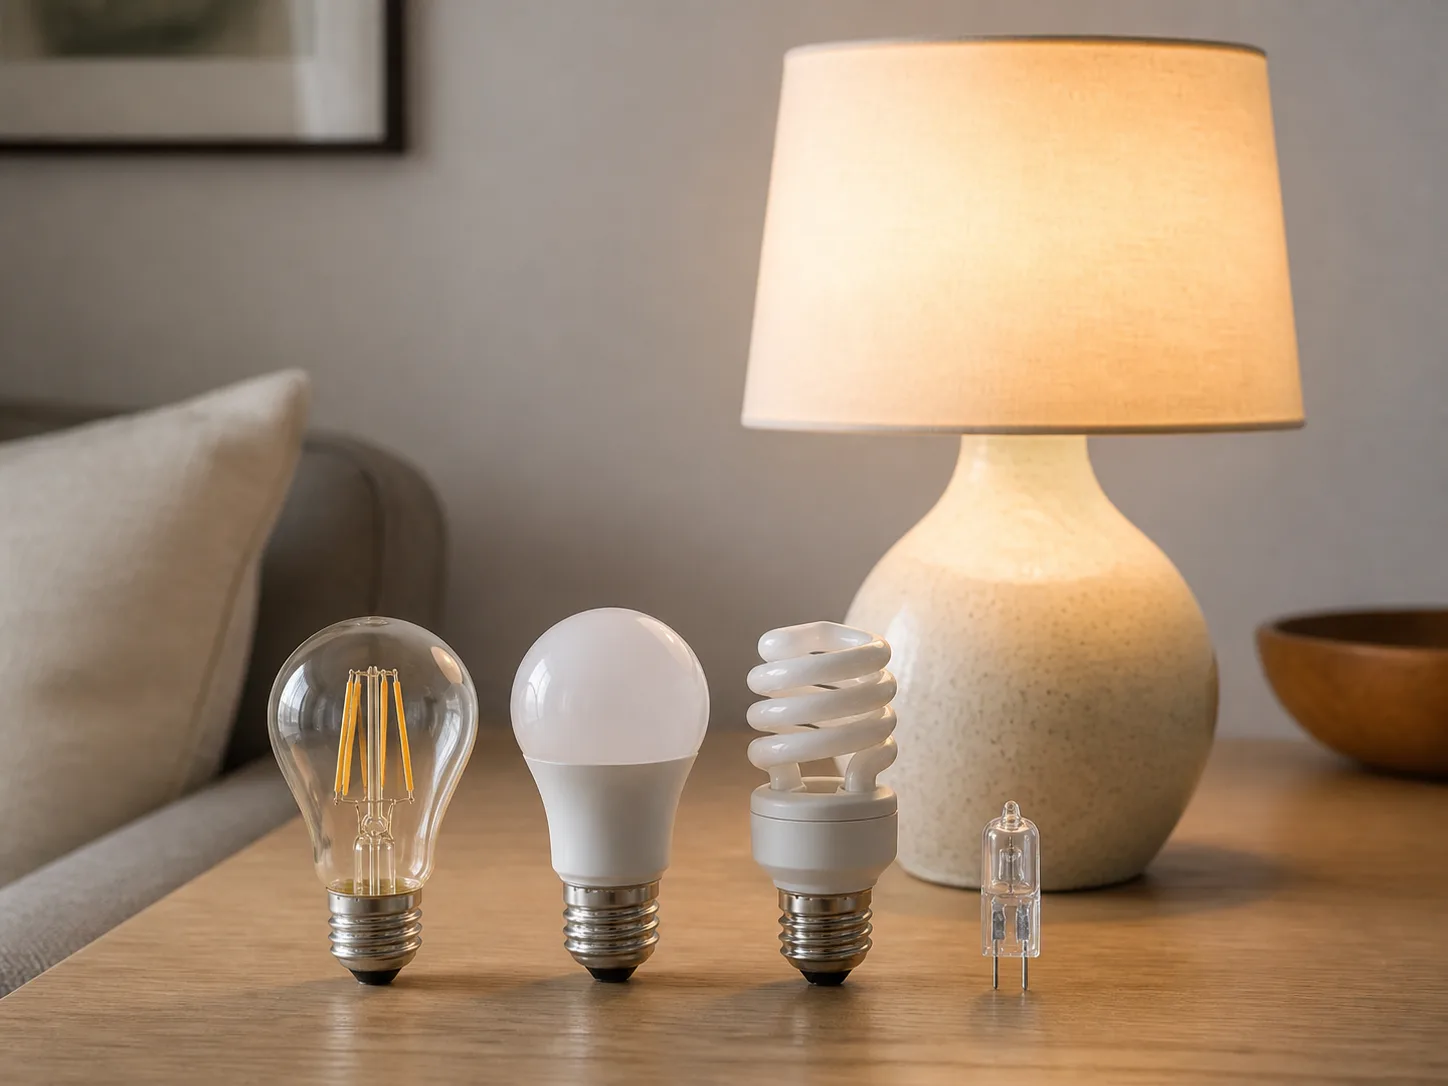
An LED package might say “60W replacement” or “60W equivalent” on the front, while the Lighting Facts panel says “Energy Used: 8.5 W.” The first number helps estimate comparable brightness; the second is the bulb’s actual input power. For a fixture’s wattage check, use actual watts and follow any type-specific limits. The DOE also distinguishes power input from lumen output and notes that fully enclosed fixtures can affect certain LED products. (DOE: Purchasing Energy-Efficient Light Bulbs)
Why an LED’s “equivalent” label is not a safety override
The equivalence claim does not change the fixture’s label or prove that a particular bulb is suitable for a particular housing. It is a brightness comparison, not a certification for enclosed use, dimming, voltage, socket type, or location. A 100-watt-equivalent LED drawing 13 watts may be within the actual wattage limit of a fixture marked 60 watts, but the bulb is an option only if its manufacturer’s instructions and the fixture’s own markings permit that application.
Some fixtures specify a lamp type and maximum wattage together, and some LED packages explicitly say “not for use in enclosed fixtures,” “not for recessed fixtures,” or “not dimmable.” Those are independent restrictions, not fine print to ignore because the LED uses less power than an incandescent bulb. When instructions conflict or the product is an older, modified, or unidentifiable fixture, do not make an equivalence calculation your safety decision; contact the fixture maker or a qualified electrician.
Choose brightness and light appearance
Once you know what fits and what the fixture allows, select brightness by lumens. As rough incandescent comparisons, 450 lumens is around the light output of a 40-watt incandescent, 800 lumens is around a 60-watt bulb, and 1,100 lumens is around a 75-watt bulb. The FTC and ENERGY STAR publish similar reference values, but actual products can differ and the fixture’s shade or reflector changes how light reaches the room. (ENERGY STAR: Learn About Brightness)
| If you want roughly the light of… | Look for approximately… | What to check next |
|---|---|---|
| 40W incandescent | 450 lumens | Actual watts and fixture limit |
| 60W incandescent | 800 lumens | Base, physical fit, and enclosure rating |
| 75W incandescent | 1,100 lumens | Glare, dimmer compatibility, actual watts |
| 100W incandescent | 1,600 lumens | Fixture instructions, size, and heat restrictions |
These are shopping landmarks, not guarantees of room brightness. A shade absorbs or redirects light, a globe can diffuse it, and a reflector may focus it. A bulb with more lumens may feel glaring at eye level even when it is within the fixture’s wattage limit; a lower lumen lamp in a dark shade may not give enough useful light for reading. If possible, keep the packaging until you test the bulb in the actual room.
Color appearance is a separate choice. A lower kelvin value usually looks warmer or more yellow, while a higher value looks whiter or bluer; neither tells you the bulb’s wattage or brightness. Match the color you want across nearby fixtures, then use lumens to select output. The FTC Lighting Facts label lists light appearance alongside brightness and energy use, which makes those comparisons easier. (FTC: Shopping for Light Bulbs)
Check compatibility beyond wattage
A replacement is only a good fit if it works with the fixture’s actual setup. Before purchasing, confirm the bulb’s shape, base, actual watts, rated voltage, direction of light, application restrictions, and control compatibility. Outdoor installations also need a bulb and fixture suitable for their exposure; an indoor bulb in an exposed porch light is not made weather-safe just because the socket accepts it.
Read both the bulb packaging and the fixture manual. The manufacturer may list use in enclosed luminaires, recessed downlights, damp or wet locations, appliances, or low-voltage systems. If a product is meant to work with a transformer or ballast, do not assume a similar-looking line-voltage bulb is interchangeable. A licensed electrician can resolve uncertainty about the fixture or wiring; the bulb package cannot answer questions about an altered installation.
Enclosed, recessed, and outdoor fixtures
A globe with a cover, sealed outdoor sconce, or other fully enclosed fixture traps heat. DOE says this heat buildup can affect the performance and life of some LEDs and advises checking the package or technical specifications for enclosed-fixture approval. (DOE: Purchasing Energy-Efficient Light Bulbs) Choose a bulb specifically rated for that use, not merely a low-watt bulb that physically fits. If its packaging prohibits enclosed use, do not install it under a closed cover.
Recessed downlights need their own check. The trim, housing, insulation contact rating, and specified lamp shape all matter; a bulb that protrudes, touches a trim, or was not designed for a recessed housing can create a poor or unsafe application. ENERGY STAR’s downlight guidance calls out dimmer compatibility and insulation-contact ratings for downlight products. (ENERGY STAR: Light Fixtures) Do not move insulation, remove a trim, or defeat a cover to fit a different bulb. Ask an electrician if the can’s rating or installation conditions are unknown.
For outdoor lights, distinguish a fixture that is sheltered from rain from one exposed to weather. Use the damp- or wet-location rating required by the fixture and bulb instructions; those ratings are product-specific and should not be inferred from a bulb’s glass shape. If water has entered the fixture, the cover is cracked, or corrosion is visible, leave the light off and arrange repair rather than installing another bulb.
Dimmers, three-way sockets, and smart bulbs
A bulb marked “dimmable” is not guaranteed to work smoothly with every dimmer. Check the dimmer and bulb manufacturers’ compatibility information. LEDs can flicker, buzz, fail to dim through the expected range, or remain faintly lit when the lamp is off if the products do not work well together. Lutron describes these as possible compatibility symptoms and recommends checking that the bulb is dimmable and compatible with the control. (Lutron: LED Dimmer Troubleshooting) If flicker or buzzing persists, stop using that combination and get product-specific guidance rather than opening the switch box.
A three-way lamp needs a bulb designed for a three-way socket if you want its switch to cycle through multiple brightness levels. An ordinary single-output bulb may light only on one setting or behave unpredictably, depending on the product and socket. For a smart bulb, confirm that the fixture’s voltage and enclosure suit the bulb and that the wall control is compatible with the smart-bulb instructions; a conventional dimmer can interfere with electronics or cause the bulb to drop offline.
A safe replacement workflow
A short fixture-first routine prevents most wrong-bulb purchases. Take a photo of the fixture label and the old bulb before shopping, including any tiny lettering on the base. That record is useful when a fixture has multiple sockets, the old bulb is unusual, or the replacement search results show several near-identical shapes.
Before buying
- Identify the fixture. Find its make and model, maximum wattage, permitted lamp type, and any location or enclosure rating. Record whether a number is “per socket” or “total.”
- Record the old bulb. Note its shape, base, actual wattage, voltage, and whether it is dimmable, three-way, directional, or appliance-specific. If the old bulb is missing, use the fixture’s documentation instead of guessing.
- Choose the needed light output. Use lumens to approximate the old bulb’s brightness or to choose more or less light. Select color appearance separately.
- Compare the replacement’s real specifications. Confirm actual watts against the fixture limit, and check dimensions, base, voltage, enclosure, location, and control restrictions. Read the complete package and manufacturer data sheet, not only the front-facing equivalent-watt claim.
- Keep the receipt and packaging. If the bulb does not fit, flickers, or looks too bright, turn it off and return it for a compatible option rather than modifying the fixture.
The U.S. advice here assumes common household products sold for U.S. mains systems, but homes and fixtures can use different voltages, sockets, and standards. For products outside the United States, use the local manufacturer instructions and local electrical-safety guidance; do not carry over an E26 or 120-volt assumption to another country. Even within one country, a specialty light may have a nonstandard base or transformer.
At installation and first use
Switch the light off and let the existing bulb cool before handling it. For a portable lamp, unplug it before changing the bulb. For a hardwired fixture, do not remove covers or touch wiring as part of replacement; if access requires exposing conductors or working above a ceiling, use a qualified electrician. Screw a compatible bulb in gently without over-tightening, and replace the cover only if it closes normally without touching or pressing the bulb.
Turn the fixture on and observe it from a safe distance. A normal bulb may become warm, but a burning smell, crackling, smoke, visible flicker, discoloration, a hot switch, or a bulb that repeatedly goes out is not something to troubleshoot by trying higher wattages. Turn it off; if it is a plug-in lamp, unplug it when safe. For a hardwired fixture with an electrical fault, stop using it and have it inspected. Do not touch a damaged or hot socket.
When the label is missing or the fixture is old
A missing label is uncertainty, not permission to install the largest bulb that fits. Search for the model number on the fixture or in the original manual, then ask the manufacturer for the exact replacement specification. A previous owner may have replaced a socket, rewired a lamp, or changed a recessed trim, so the original product’s online listing may not describe its current configuration.
For a simple portable lamp with no legible rating, use a conservative bulb and do not exceed the rating of any identifiable socket component; if you cannot verify the limit or the lamp appears modified, stop and have a lamp-repair professional or electrician assess it. General safety checklists sometimes offer a conservative fallback such as 60 watts or less for an unmarked fixture, but that is not a universal rating for every lamp, miniature socket, halogen fixture, or enclosed fitting. CPSC’s checklist includes that fallback in its specific home-inspection context; it does not replace the fixture maker’s instructions. (CPSC: Home Safety Checklist)
Be especially cautious with old wiring, brittle insulation, cracked sockets, loose connections, or fixtures that get unusually hot. A lower-watt LED may reduce the bulb’s heat output compared with an incandescent, but it cannot repair deteriorated wiring or make an unsafe fixture safe. Have a qualified electrician inspect hardwired, ceiling-mounted, recessed, or modified fixtures when the rating cannot be established.
Warning signs that mean stop using the fixture
Stop using a fixture if you notice a burning or melting odor, smoke, sparking, crackling, a socket that is visibly blackened or cracked, melted insulation, repeated breaker trips, or a switch plate that becomes unusually hot. A bulb that flickers once when first switched on may be a bulb or control issue, but persistent flickering, buzzing, or intermittent operation warrants stopping to identify the cause. Do not keep testing replacements or touch wiring to see whether it is live.
If smoke or active sparking is present, move away and follow local emergency procedures. Otherwise, switch the fixture off; unplug a portable lamp if you can do so without contacting a hot or damaged part. If you know how to safely identify the correct breaker, you can isolate a hardwired fixture, but do not remove its cover or socket. A qualified electrician can inspect the wiring, socket, dimmer, and fixture rating together.
Common replacement scenarios
Use the table as a quick routing guide, not as a substitute for the label. If the fixture’s own instructions are stricter than this general guidance, the fixture instructions control. A bulb’s advertised equivalent wattage never overrules a maximum wattage, a type restriction, or an application warning.
| Your situation | What to check | Practical next step |
|---|---|---|
| You have a 60W-max lamp and want an LED | Actual watts, enclosure, base, and size | Choose the LED by lumens; use only if its actual watts and application ratings meet all fixture instructions |
| The new LED is marked “100W equivalent” | Actual “Energy Used” watts and any restrictions | Ignore equivalence for the wattage-limit calculation; verify actual watts and every other rating |
| A bulb fits but the shade will not close | Bulb length, diameter, and clearance | Choose a correctly rated smaller shape; never force the cover against the bulb |
| The fixture is enclosed | Explicit enclosed-fixture rating | Select a product approved for fully enclosed use |
| The light is on a dimmer | Dimmable label and compatibility list | Pair a compatible LED and dimmer; do not open the wall switch to troubleshoot |
| The label is unreadable or missing | Product model and installation manual | Ask the maker or a qualified electrician instead of assuming a wattage limit |
| The lamp has several sockets | Whether the limit is per socket or total | Add actual bulb watts only when the label states a total rating |
Conclusion
Choose a bulb by checking the fixture first, then matching the bulb’s physical shape and base, actual watts, voltage, and application restrictions. Choose brightness by lumens rather than by wattage or incandescent-equivalent shorthand. A low-watt LED can be a good replacement, but its wattage label does not override a fixture’s maximum, enclosure, dimmer, or location requirements.
If the label is missing, the fixture has been altered, or you see heat damage or electrical warning signs, stop and get the manufacturer’s instructions or a qualified electrician’s assessment. That takes more care than buying the first bulb that screws in, but it gives you a replacement that fits the fixture you actually have.



