Repotting Dill: Pot Size, Taproots and Safe Transplanting
Repotting Dill: Pot Size, Taproots and Safe Transplanting
Repotting Dill: Pot Size, Taproots and Safe Transplanting
First, check how old and established the dill is. If it is still a small seedling, move it once into its final container while the root ball is intact. If it is tall, flowering, or established in the bed, leave it in place unless the pot is failing or drainage has stopped. For a leafy harvest, sowing fresh seed in a deep final pot is often safer and quicker than trying to rescue mature dill.
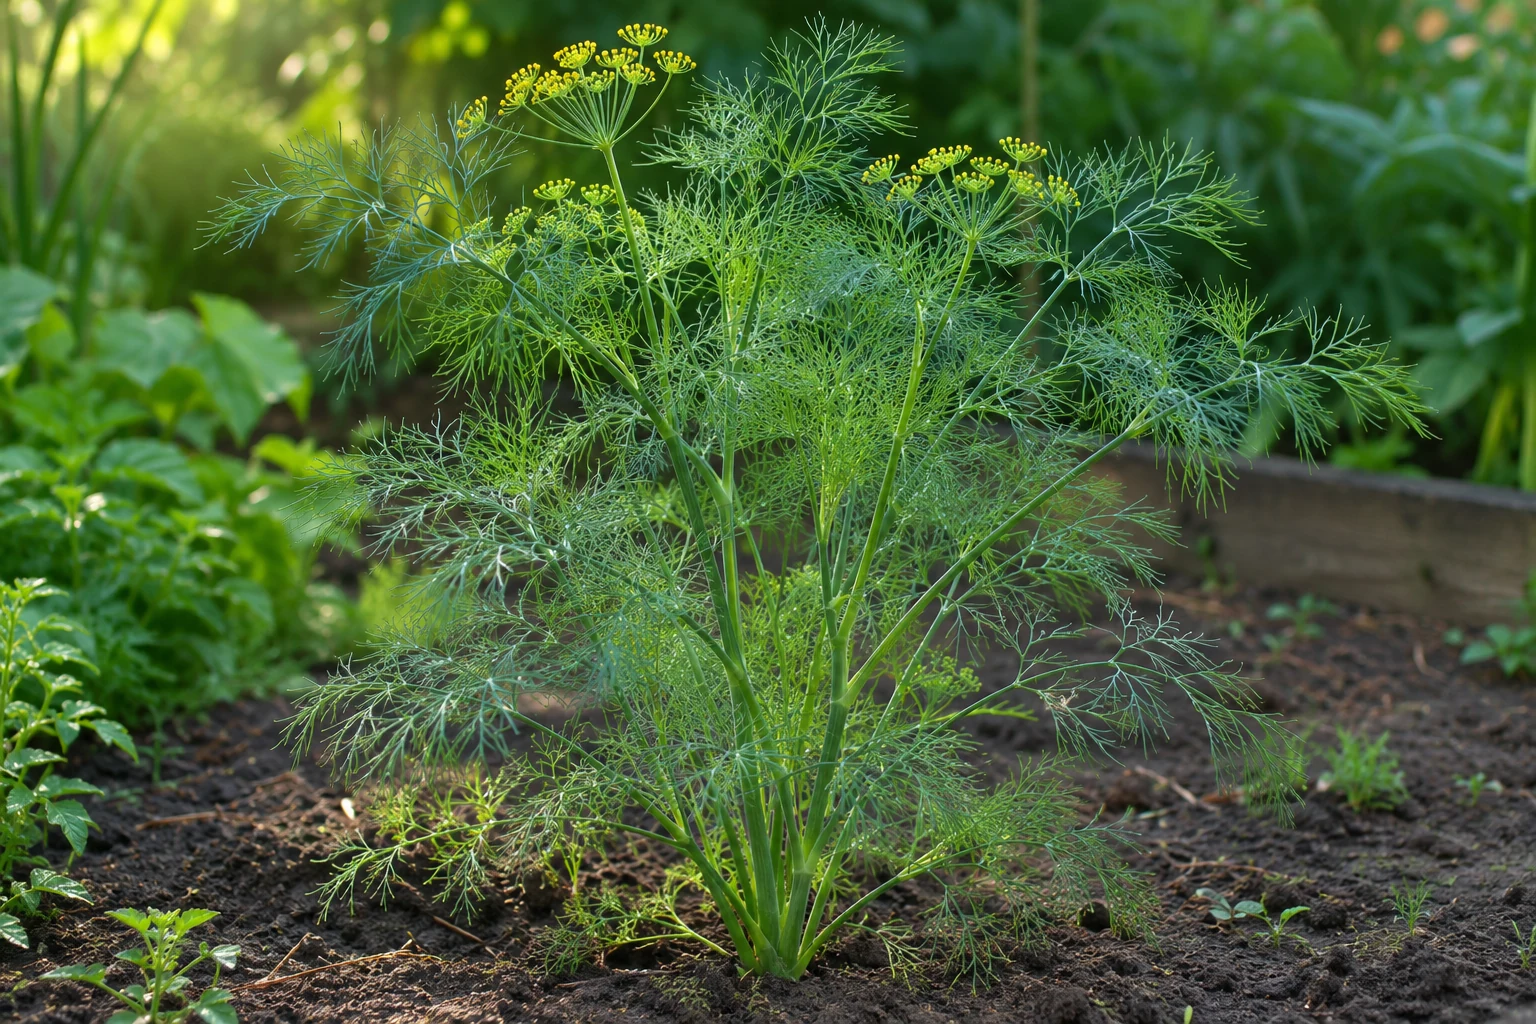
Dill (Anethum graveolens) forms a long taproot and grows quickly as an annual. It is usually direct-sown, so “repotting” is an occasional exception rather than routine care. The Royal Horticultural Society recommends moving seedlings while they are young, before they develop long taproots, and handling roots gently (RHS: How to grow dill).
The first decision: move young dill or resow
If the plant is young and has only a small root system, transplant it promptly into its final location. If it is already tall with a thick central stem or flower stalk, do not unpot it just because the container seems small. A mature dill plant may wilt or stop growing after root disturbance, and the crop’s short cycle can make a replacement sowing more useful.
Before moving anything, confirm that there is a real problem: roots are circling densely, water cannot drain, the pot is cracked, or the plant is unstable. If the root zone is healthy and the plant is not root-bound, leave it alone. The Dill overview explains how direct sowing and succession planting fit its annual life cycle.
Why mature dill dislikes repotting
Dill has a taproot that grows down from the stem rather than a shallow cluster of roots that is easy to divide. The NC State Extension Plant Toolbox identifies a taproot as part of the species’ growth form (NC State Extension). Pulling or teasing apart the root ball can break that main root and disturb fine roots that take up water.
University and horticultural guidance favors sowing dill where it will mature. Penn State Extension notes that seedlings are difficult to transplant, while UMN Extension also recommends direct sowing because dill does not transplant easily (Penn State Extension; UMN Extension). This is why the right pot matters before seed goes in.
Choose a final container before sowing
Use a deep, stable container with several open drainage holes. The RHS recommends a pot at least 30 cm wide and deep for dill (RHS: How to grow dill). A larger pot also buffers soil moisture better than a small windowsill planter and gives tall stems more stability. Compact varieties are easier to manage, but even short cultivars need room for their root system.
Fill the container with multipurpose potting compost that stays lightly moist but drains freely. Do not place stones in the bottom as a substitute for drainage; keep the holes clear and raise the pot slightly if it sits on a flat surface. The Dill soil guide covers mix structure, and Dill light helps choose a sunny, sheltered location for a tall plant.
When a young seedling can be transplanted
Move dill while it is still young, before the taproot lengthens and begins to wind around a small cell. A seedling with a few true leaves and a cohesive root plug is easier to handle than a tall plant whose roots are escaping the bottom. If several seedlings share a tray, avoid pulling one out by its stem; separate them while the mix is moist and the roots are still short.
Some reliable guides recommend direct sowing because even young dill can resent disturbance. If you start indoors, use individual deep modules and transplant early. GrowVeg’s dill grow guide likewise warns that older seedlings are harder to transplant successfully (GrowVeg).
Prepare the new pot and soil
Water the seedling a few hours before the move so the root plug holds together. Pre-moisten the potting mix, clear the drainage holes, and make a hole just large enough for the existing root ball. Set the plant at the same soil depth as before. Do not loosen or trim a healthy taproot to make it fit a shallow pot; use a deeper container instead.
If the root ball has grown too large for the available pot, choose a larger final container rather than cutting the root. The compost should be damp, not dripping wet. The goal is to reduce the time roots are exposed and avoid crushing the stem or root plug during the move.
Move a seedling with the root ball intact
Support the plant by its leaves or root plug, not by squeezing the stem. Gently tap the module to release the plug. Lower the whole plug into the prepared hole, backfill around it, and firm the mix only enough to remove large air gaps. Water once to settle the compost and let excess drain. Place the pot in bright, sheltered light for the first few days rather than direct afternoon heat.
The RHS advises watering young plants before transplanting, lifting them gently, and watering them in after planting (RHS: How to grow dill). If the seedling was raised indoors, acclimate it to outdoor conditions over several days. Do not repeatedly move it between sun and shade after transplanting.
Settle a nursery-grown dill plant
If you purchase a dill plant in a small nursery pot, check whether it is actually root-bound before moving it. If roots circle densely or protrude from the drainage holes, shift the whole root ball into a deeper final container while it is still young. Loosen only loose outer compost; do not tease apart a compact root mass or bare-root the plant.
A nursery plant may have been grown under protected conditions. After potting, keep it in bright light with protection from strong wind and harsh afternoon sun for several days. Water when the mix begins to dry, not by adding extra moisture to “prevent shock.” The Dill watering guide explains how to check moisture during recovery.
What to do with mature crowded dill
Do not try to divide mature dill like a perennial herb. If several plants are crowded, thin the weakest seedlings early while they are small. If mature stems are already competing, harvest some for leaves or remove an entire unwanted plant at soil level; avoid digging near the roots of the plants you want to keep.
If the pot is too small for a mature plant but still drains, leave it undisturbed for the remainder of the crop and sow a replacement in a larger container. If the pot is cracked or waterlogged, move the whole root ball only when necessary and expect some setback. A flowering plant nearing the end of its cycle is usually not worth repotting for a longer leafy harvest.
Recover after a careful move
Keep the root ball lightly moist while the seedling settles, but do not leave the pot in water. Protect it from strong wind and abrupt, intense sun. Mild temporary drooping can happen after a move; the useful sign is whether new leaves and stems resume growth. Avoid fertilizer until the plant has clearly recovered and is actively growing.
If the seedling collapses, check whether the stem was damaged or the root plug dried out. If the new compost is wet, improve drainage and wait before watering again. Do not repeatedly disturb the roots to inspect them. Give the plant several days of stable conditions before deciding that it has failed.
When a container problem needs action
A blocked drainage hole, cracked pot, or root ball drying into a hard shell may require a move even when the plant is established. Choose the least disruptive option: clear the drainage outlet, place the existing pot inside a larger stable cachepot but remove it for watering, or move the intact root ball into a suitable final pot. Keep the surrounding soil intact.
If water stands in the pot for days, pause watering and identify whether the mix is compacted or holes are blocked. Dill prefers well-drained soil; moving it into another container filled with similarly dense, wet soil will not solve the cause. The Dill soil guide can help distinguish a bad mix from a watering problem.
Avoid common repotting mistakes
- Waiting until the seedling is large: young dill is easier to move than a plant with a developed taproot.
- Choosing a shallow pot: select the final depth before sowing rather than cutting roots later.
- Bare-rooting or dividing mature dill: preserve the root ball and avoid splitting the plant.
- Watering on a fixed schedule after moving: check the mix before watering again.
- Feeding immediately: wait for signs of active new growth; see Dill fertilizer.
- Moving a plant for no clear reason: healthy dill is usually best left where it is growing.
Plan the next sowing in its final place
For future crops, sow directly into the garden bed or deep container where the plant will mature. Use succession sowings rather than trying to keep a mature plant productive for months. If you need a head start indoors, select individual deep cells and transplant the seedlings while small. This approach protects the taproot and reduces the number of moves. Utah State University Extension likewise recommends growing dill from seed and planting successively for harvest continuity (USU Extension).
Epic Gardening’s container guide also emphasizes a deep pot for dill’s long taproot and good drainage (Epic Gardening: Dill in pots). Wisconsin Horticulture similarly recommends deep pots and notes that taller plants may need staking (Wisconsin Horticulture). Choose the container based on root depth and plant height before planting, then use the Dill propagation guide for sowing timing.
When to use this page vs other Dill guides
Use this page when deciding whether to move a plant or choosing a container. Read Dill soil for mix and drainage, Dill watering for recovery moisture, and Dill propagation for direct sowing. The Dill overview explains why replacing an old annual is often easier than repotting it.
Related Dill guides
- Dill overview covers the complete growing cycle.
- Dill soil explains drainage and container mix.
- Dill watering covers moisture after a move.
- Dill light helps place the new pot.
- Dill fertilizer explains when to feed after recovery.
- Dill propagation covers direct sowing and succession.
Conclusion
Dill rarely needs routine repotting. Choose a deep final pot before sowing, and transplant only a young seedling with its root ball intact. Mature plants have a taproot and a short life cycle, so leave a healthy one undisturbed or sow a replacement when the container is no longer suitable. If an urgent pot problem forces a move, make it once, preserve the roots, and keep recovery conditions steady.