Growing Dill from Seed: Direct Sowing, Thinning and Timing
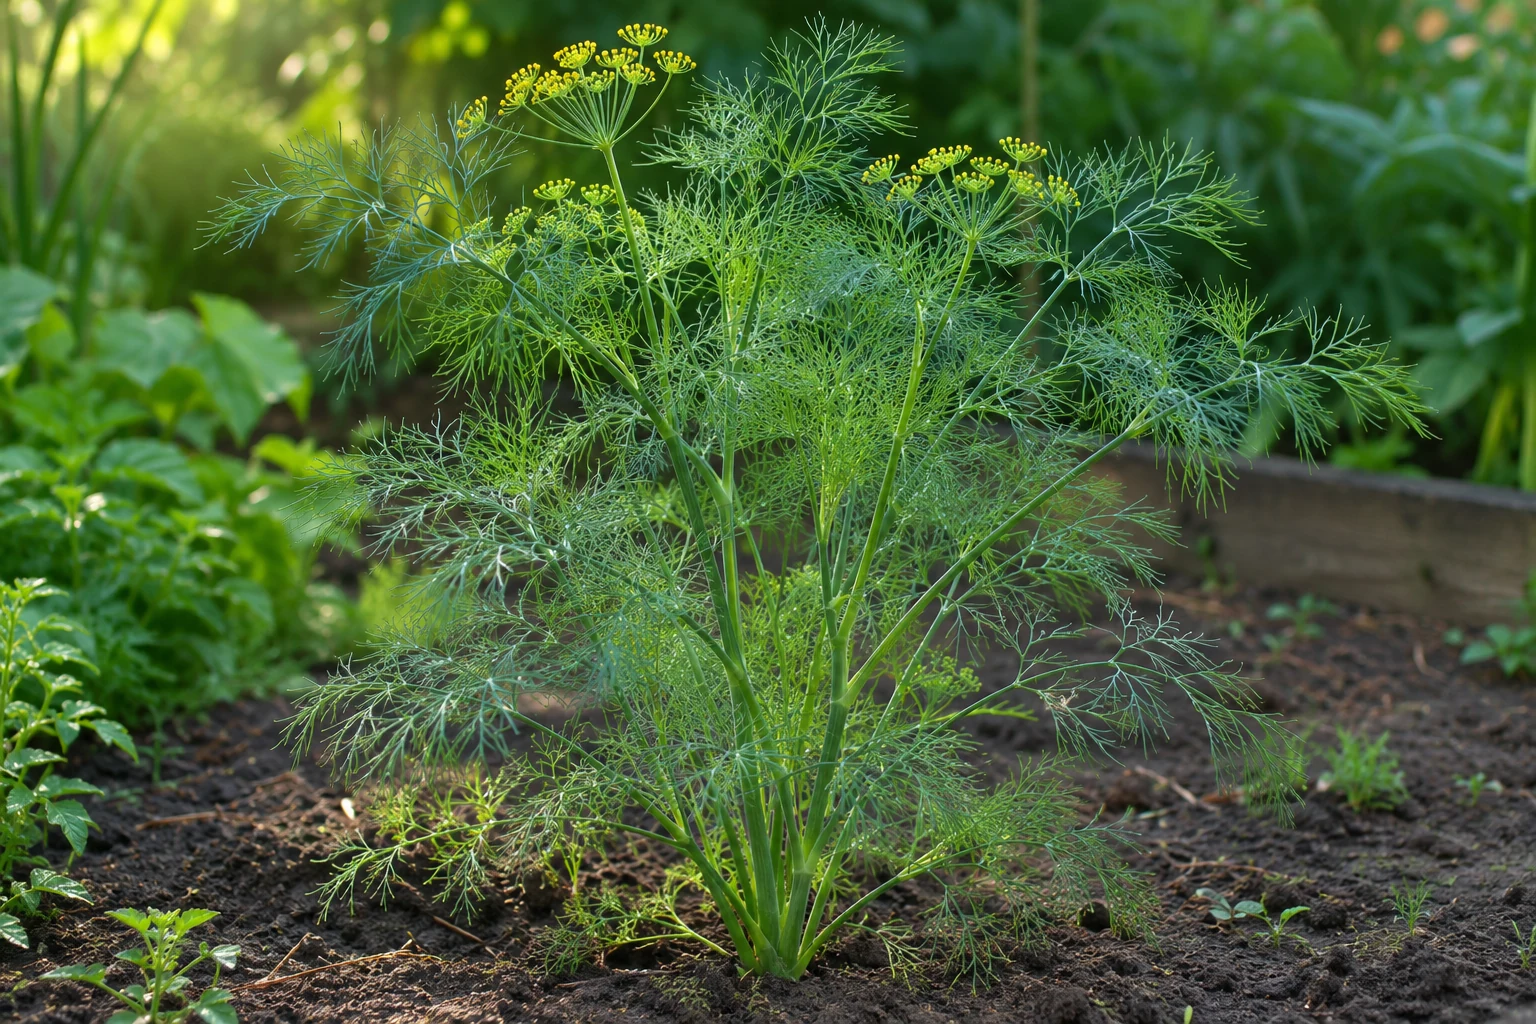
Growing Dill from Seed: Direct Sowing, Thinning and Timing
Growing Dill from Seed: Direct Sowing, Thinning and Timing
First, sow dill directly where it will grow for the season. This protects its long taproot from transplant disturbance and avoids a move that can set a fast-growing annual back. Keep the seed area evenly damp while it germinates, then thin crowded seedlings once they are large enough to handle. If you need a head start indoors, use deep individual cells and transplant while the seedlings are still small.
Dill (Anethum graveolens) is propagated by seed; cuttings and division are not the normal way to produce a new plant. Seeds can provide a leafy crop, a flowering display, or another generation if you let some umbels mature. Penn State Extension describes dill as a cool-season annual that is easy to grow from seed and notes that young seedlings are difficult to transplant (Penn State Extension).
The easiest way to propagate dill
Direct sowing in a sunny bed or final deep pot is the simplest method. Sow a small batch, keep the top layer from drying during germination, and start another batch later if you want fresh leaves beyond the first plant’s flowering. Unlike a perennial herb, dill is not meant to be divided and carried forward year after year.
If you already have a mature plant, seed is usually the best source for the next crop. Let a few flower heads mature until the seeds turn brown, collect them before they shatter, and store them dry. The Dill overview explains how to balance leafy harvest with seed production.
Why dill is usually grown from seed
Dill forms a taproot and grows quickly, so it is easier to plant in its final place than to move repeatedly. The NC State Extension Plant Toolbox describes the species as an annual with a taproot (NC State Extension). Penn State Extension also warns that seedlings can be difficult to transplant once started indoors (Penn State Extension). UMN Extension likewise recommends direct sowing because dill does not transplant easily (UMN Extension).
For this reason, do not plan to propagate dill by taking stem cuttings or splitting a root ball. If you need multiple plants, sow several seeds and thin them. If you need a continuous harvest, make successive sowings while the weather is suitable rather than trying to keep one old plant alive after it flowers.
Choose seed for leaves or seed heads
Choose a compact, slower-bolting cultivar for a small balcony or repeated leafy harvest, and a taller cultivar if you mainly want large flower heads and seed. Cultivar descriptions vary, so use the seed packet’s expected height and harvest use. A packet labeled for leaf production is not necessarily a different species; it may be a variety selected for more foliage or later flowering.
If collecting seed is important, grow an open-pollinated variety and allow several plants to flower. Hybrid seed may not produce plants identical to the parent. For ordinary home growing, the easiest option is to save seed from a healthy plant that grew well in your conditions and label the variety and year.
Decide when to sow in your climate
Dill prefers relatively cool growing weather and can flower early in heat. Sow outdoors during a locally suitable cool-season window, once the bed is workable and not waterlogged. In a warm climate, a mild-season sowing may provide better leafy growth than trying to establish plants during peak heat. Local frost dates, altitude, and monsoon timing change the calendar.
The Royal Horticultural Society recommends small outdoor sowings from mid-spring to mid-summer in its UK context and suggests repeating sowings to keep young leaves available (RHS: How to grow dill). For a different region, keep the principle—small, repeated sowings through favorable weather—rather than copying a specific month from another climate. Use the Dill light guide and Dill watering guide to adjust for local heat and dry-down.
Direct-sow in the final growing place
Loosen the soil surface, clear weeds, and water it lightly before sowing if it is dry. Scatter a few seeds in a short row or place them where you want individual plants. Cover them lightly with fine soil or potting mix; avoid burying them deeply. Sources differ on exact sowing depth, so follow the packet and keep the seed zone evenly moist rather than trying to expose every seed at the surface.
The RHS recommends direct sowing because dill dislikes root disturbance, while Penn State advises covering seeds only lightly and notes that light can assist germination (Penn State Extension; RHS: How to grow dill). This practical overlap is enough: use a shallow cover, maintain moisture, and do not let a crust form over the seed row.
Start a few dill seedlings indoors
Indoor starting is useful when the outdoor season is short or you want a small number of plants ready for a container. Sow one seed per deep cell so roots are not entangled, and keep the tray in bright light. Avoid a shallow communal seed tray that forces you to pull several taprooted seedlings apart later.
Move seedlings outside while small, after gradual acclimation, and handle the root plug without teasing it apart. The RHS advises transplanting before long taproots develop; if a seedling has already outgrown its cell, move it carefully into a deep final container rather than repeatedly shifting it. See the Dill repotting guide for the least disruptive way to move a young plant.
Understand germination and early care
Germination often takes around one to three weeks, depending on seed condition and soil temperature. Utah State University Extension gives a range of about 7–21 days, and Penn State reports roughly 10–14 days under its recommended conditions (USU Extension; Penn State Extension). Do not assume a batch has failed after only a few days.
During germination, keep the seed zone damp but not saturated. Once seedlings emerge, move them into full sun or strong light and keep moisture steady. Crowded or shaded seedlings become weak and are harder to thin cleanly. The Dill soil guide covers a loose, draining seedbed; avoid adding concentrated fertilizer directly to seed.
Thin seedlings without disturbing roots
If several seedlings emerge close together, thin them once they are large enough to grasp. Snip unwanted seedlings at soil level rather than tugging them out beside plants you want to keep; pulling can disturb their roots. Leave enough space for stems and airflow, following the seed packet or local extension guidance for cultivar size.
Do not try to transplant every thinning into another pot. Dill’s taproot makes late moves unreliable, and crowded seedlings are expendable once the strongest plant is selected. If you need more plants, sow another batch directly in its final place.
Keep succession sowings coming
For a longer leafy harvest, sow a small new batch every few weeks during the favorable season. The first batch may flower or decline just as the next one is becoming harvestable. Utah State University Extension recommends continuous planting because dill reaches harvest in about six weeks, while Wisconsin Horticulture describes repeat sowings during cool weather for ongoing foliage (USU Extension; Wisconsin Horticulture).
Do not sow every batch at once if you have limited space or need only a small amount. Start with a short row or several seeds in one pot, then judge how much your household uses. If your main goal is seed, leave selected plants to flower rather than replacing every plant as soon as it grows tall.
Grow dill in containers from seed
Choose a container at least about 30 cm deep and wide, with drainage holes, and sow directly into it. Compact varieties are easier to manage, but all dill needs enough depth for its root and enough stability for upright stems. Avoid a tiny pot that dries quickly or tips when the plant becomes tall.
Epic Gardening’s guide to dill containers likewise highlights a deep pot and the taproot as important considerations (Epic Gardening: Dill in pots). Thin seedlings to avoid crowding and keep the pot in strong light. Do not move the whole plant to another pot later unless a real container problem demands it; use a larger final pot from the start.
Save seed from mature umbels
Allow selected plants to flower and form seed heads. Seeds mature as the umbels dry and change from green toward brown. Collect the heads before seed falls, place them in a paper bag, and let them finish drying in an airy place. Shake or rub the dry umbels gently to release seed, then remove chaff and store the seed in a labeled, dry container.
Savvy Gardening’s seed-saving guide describes collecting and storing dill seed after the flower heads mature (Savvy Gardening). The RHS also recommends harvesting brown seed heads and drying them before storage (RHS: How to grow dill). Do not collect seed from diseased plants or from plants whose variety you cannot identify if you need predictable traits.
Let dill self-sow or control volunteers
If you leave seed heads on the plant, some seeds may drop and germinate later when conditions are favorable. This can provide free seedlings, but volunteers may appear where you do not want them. Remove spent heads before seed drops if you prefer a tidy bed or want to control placement.
A volunteer seedling is easiest to move when very small, before the taproot forms. Once established, leave it in place or snip it rather than pulling around nearby plants. The Dill pruning guide covers deadheading, harvest cuts, and when to leave a flower stalk for seed.
Troubleshoot failed or patchy germination
If seeds have not appeared after a few weeks, check the packet date, soil temperature, sowing depth, and moisture. A crusted or dry surface can prevent small seedlings from emerging; heavy rain can wash seeds into a clump or bury them too deeply. Resow a small patch after correcting one likely cause rather than watering the entire bed excessively.
If seedlings emerge but collapse, inspect for waterlogged soil, poor airflow, or damage from heavy rain. Dill needs moisture during establishment but not standing water. If the seedbed is shaded, resow in a brighter place. A fresh batch is often quicker than trying to save weak seedlings with fertilizer.
When to use this page vs other Dill guides
Use this page when starting a new crop, saving seed, or deciding how often to sow. Read Dill repotting for transplant timing, Dill soil for seedbed preparation, and Dill light for placement. The Dill overview explains how to plan leaf and seed harvests together.
Related Dill guides
- Dill overview explains the complete seasonal care plan.
- Dill repotting covers young seedling moves and pot size.
- Dill soil covers a moist, well-drained seedbed.
- Dill watering explains moisture during germination.
- Dill light covers sun and heat.
- Dill pruning covers harvest and seed stalks.
Conclusion
Dill is most dependable when propagated from seed in its final growing place. Sow shallowly, keep the surface damp during germination, thin seedlings early, and make successive batches if you want leaves for longer. Move only young seedlings when necessary, and save seed from mature, healthy umbels if you want to grow the same variety again. Once an established plant has flowered, starting fresh is usually easier than trying to restart it vegetatively.