Best Soil for Peppermint: Moisture, Drainage and pH
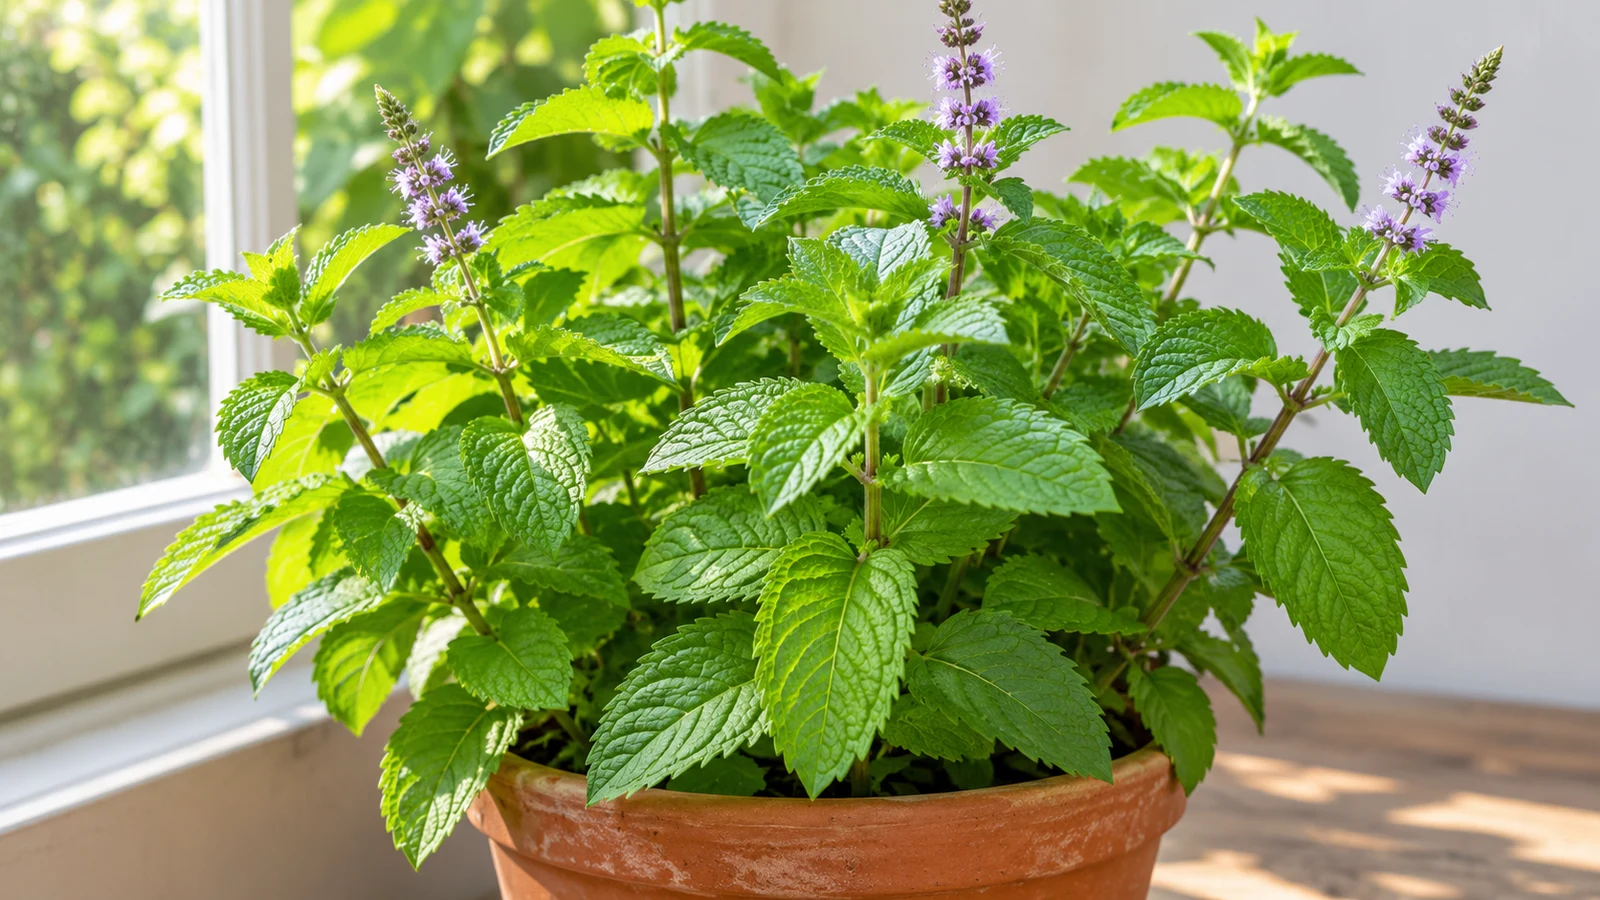
Best Soil for Peppermint: Moisture, Drainage and pH
Best Soil for Peppermint: Moisture, Drainage and pH
Quick answer: rich, moist, well-drained soil
Peppermint grows well in fertile soil that holds moisture without staying waterlogged. In a garden, improve poor soil with mature compost and choose a spot where water does not pool for long. In a container, use a quality potting mix that drains through holes and does not collapse into a dense, airless mass. The RHS peppermint profile describes moist but well-drained conditions; NC State Extension likewise notes peppermint’s preference for rich, moist soil.
Do not make the mix so coarse that peppermint dries out in a few hours, or so fine that water sits around the roots. Consistent moisture matters more than an elaborate recipe. If the plant is healthy and the pot drains, you do not need to replace the soil just to match a generic herb mix.
Why peppermint needs both moisture and air
Peppermint is more tolerant of damp conditions than many culinary herbs, but that does not mean its roots should remain submerged. Its leaves and fast growth use water, while roots still need oxygen in the spaces between soil particles. The Missouri Botanical Garden Plant Finder recommends rich, moist soil and notes peppermint’s vigorous rhizomatous habit.
If soil dries out completely, growth can pause and leaves may wilt. If it stays saturated, roots may deteriorate and the whole plant can look limp even though the pot feels wet. Look for the balance: the mix should feel lightly damp below the surface after watering, then gradually lose moisture before the next soak.
Choosing a garden soil
Peppermint adapts to many garden soils if they retain some moisture and drain after rain. Sandy ground may need compost or mulch to slow drying; heavy clay may need a raised bed or a better-drained planting location. Avoid turning wet clay repeatedly, because working it when saturated can compact it further. The University of Delaware Cooperative Extension mint guide describes mint as suited to rich, moist, well-drained soil.
Peppermint’s spreading roots also affect where you prepare the soil. Do not place it in a bed that must stay tidy around slower-growing neighbors unless you can contain the rhizomes. A dedicated bed or root barrier makes it easier to maintain both soil moisture and plant boundaries.
Making a peppermint potting mix
Start with a commercial multipurpose potting mix that drains freely. If the mix becomes dense when wet, blend in a modest amount of perlite or fine bark to help maintain air spaces. If it dries almost immediately, add a little mature compost or choose a mix with better moisture retention. Avoid using garden soil by itself in a pot; it can compact and may not drain consistently in a container.
There is no single mandatory ratio. Gardener’s Path describes peppermint as preferring loose, organically rich soil that drains, while the University of Florida IFAS mint guide highlights moisture-retentive soil. Choose a base that already does most of the job, then adjust only if you observe fast drying or persistent sogginess.
Soil pH and differing recommendations
Peppermint tolerates a range of soil conditions, and published pH recommendations are not identical. NC State lists a preferred range near 6.0–7.0, while Gardener’s Path gives a more acidic target. The difference is a reason to avoid treating one exact decimal as a pass-or-fail rule for a home pot.
If peppermint is growing well, leave the pH alone. If it struggles despite suitable moisture, light, and room for roots, test the soil before adding lime, sulfur, or other amendments. A test can show whether the pH or nutrient profile actually needs correction. Unmeasured amendments can create a new imbalance while the real problem is compacted soil or a crowded container.
Organic matter and compost
Mature compost can improve garden soil by adding organic matter and supporting a crumbly texture. Work it into a bed before planting, or use a thin top-dressing around an established clump without burying stems. In containers, use compost sparingly; too much can make the mix heavy and retain excess water, particularly in a pot with small drainage openings.
Peppermint is vigorous, so more compost is not always better. The University of Delaware Cooperative Extension recommends rich soil for mint, and GrowHoss also includes compost in its field-growing guidance. For a home container, choose a stable potting mix first and use modest compost only if the mix or plant condition warrants it.
Container drainage
Use a pot with open drainage holes. After watering, excess water should be able to leave; an outer cachepot or saucer should not keep the root ball sitting in runoff. If the pot is glazed, ceramic, or plastic, it may hold moisture longer than an unglazed clay pot. That changes watering frequency, but not the need for drainage.
Do not create a gravel layer at the bottom and assume it prevents waterlogging. A continuous potting mix with unobstructed holes is more useful. If water remains on the surface or the container stays heavy for days, check whether the mix has compacted or the holes are blocked. The RHS container advice for peppermint emphasizes a deep container to restrict root run; use one that also drains freely.
Raised beds and heavy ground
If your garden soil stays saturated after ordinary rain, grow peppermint in a raised bed or large container instead of trying to make the entire planting area perfect. A raised bed lets you start with a free-draining mix and monitor moisture more closely. It also makes it easier to contain peppermint’s runners before they travel through neighboring plantings.
For compacted ground, loosen the soil over a broad area and mix in compost before planting. Do not put a small pocket of rich mix into a hard, wet site; water can collect at the boundary between the pocket and surrounding clay. The Missouri Botanical Garden notes that peppermint adapts to many soils except dry ones, but drainage still matters when you manage it in a confined area.
Preparing a garden bed
Remove weeds and loosen the top layer of soil before planting. Add mature compost where the ground is low in organic matter, then rake the surface level. If you are using a root barrier or a bottomless container to confine peppermint, install it before the rhizomes spread; retrofitting a barrier through an established clump is much harder.
Water the prepared bed before planting if it is very dry, then plant the root ball at its previous depth. Keep the soil evenly moist while the plant establishes. Once it starts spreading, do not pile compost or mulch against the stems, and inspect the edges of the planting area for runners.
Signs the mix is too dry
Dry mix may become pale, pull away from the pot edge, or feel dusty below the surface. Peppermint can wilt quickly when the root ball dries, especially in a small pot under direct sun. Water slowly until the mix is evenly wet and let excess drain. If water runs straight through without wetting the middle, rewet in two passes or refresh the mix.
The Gardening Know How peppermint guide notes that peppermint needs steady moisture and does not tolerate dry conditions well. Use that as a cue to check the root zone rather than water by rote: some pots stay moist longer than others, and outdoor beds receive different amounts of rain.
Signs the mix stays too wet
Warning signs include soil that remains heavy and saturated, a sour smell, poor drainage, or wilting despite wet mix. Yellowing can occur for several reasons, so do not diagnose a nutrient problem from leaf color alone. Check whether the holes are open, whether a saucer is holding water, and whether the mix has collapsed into a dense mass.
If drainage is poor, move the plant into a free-draining mix and remove dead or damaged roots if you find them. Use a pot only modestly larger than the root mass; oversized containers hold a large volume of wet mix around a small plant. The RHS species profile pairs moisture with drainage for a reason.
Refreshing a crowded container
When peppermint fills its pot, the root ball may dry unusually quickly and leave little mix around the rhizomes. Lift the clump, divide it if needed, and replant a healthy section into fresh potting mix. You can also move the whole plant into a slightly larger pot if you want to keep one large clump. The RHS profile recommends division in spring or autumn.
Do not keep topping up with small amounts of new soil around a densely packed root ball. That does little to refresh the inner mix and can bury stems. See the Peppermint repotting guide for root inspection and pot selection.
Mulch and surface care
In a garden bed, a thin organic mulch can slow evaporation and moderate soil temperature. Keep it away from the stem bases so air can move and moisture does not sit against tender growth. In a pot, mulch is optional; a thick layer can hide the soil surface and make it harder to judge when the mix is drying.
If you use mulch in hot weather, still check the soil underneath it. A dry surface crust can sit above moist soil, and a damp mulch layer can make the surface appear wet when the root ball below is dry. The GrowHoss peppermint guide discusses moisture management for field crops; for home pots, use a thinner layer and a direct finger check.
Soil for divisions and cuttings
New divisions need mix that holds light moisture around developing roots while draining freely. Use a clean container with holes and a fresh potting mix rather than dense soil from an old saturated pot. Set the division at its previous depth and firm the mix gently so roots contact the soil without compacting it.
Rooted stem cuttings can move into the same type of mix once roots are visible. Keep them evenly moist in bright, indirect light while they settle, then transition to the plant’s regular light. The University of Florida IFAS mint page describes propagation by cuttings and division; healthy roots establish more readily in an aerated medium than in standing water.
Common soil mistakes
The most common mistake is using a fast-draining, low-organic mix that dries out too quickly for peppermint. The opposite mistake is using dense garden soil in a pot or leaving a container without drainage. Do not add gravel to compensate for blocked holes, and do not add fertilizer when roots are suffocating in saturated mix.
Also avoid chasing a precise pH without a soil test. Peppermint tolerates a broad range, and sources differ on the ideal number. Focus first on moisture, drainage, root space, and placement; these are easier to assess and more likely to explain a struggling container plant.
When to use this page vs other Peppermint guides
Use this guide when choosing a garden soil or potting mix. If the root ball dries quickly, the Peppermint watering guide covers watering checks and container differences. For sun exposure that dries the mix, read Peppermint light; the overview explains how soil fits into the full care setup.
For a crowded root ball, use repotting Peppermint. If growth remains pale after the mix, drainage, and light are corrected, the fertilizer guide explains when feeding may help. The propagation guide covers the mix to use for new divisions and cuttings.
Related Peppermint guides
- Peppermint overview covers the full setup and containment.
- Peppermint light needs explains sun, shade, and heat.
- Watering Peppermint explains how to keep the soil moist without saturation.
- Fertilizing Peppermint covers compost and nutrient needs.
- Repotting Peppermint covers refreshing and dividing the root ball.
- Propagating Peppermint covers cuttings and divisions.
- Pruning Peppermint covers harvesting and stem trimming.
Conclusion
Give peppermint a fertile mix that stays lightly moist but drains after watering. In a garden, improve structure with mature compost; in a pot, start with a quality potting mix and working drainage holes. Ignore narrow pH targets unless a soil test points to a real issue, and refresh or divide a crowded container instead of repeatedly topping it up.