How to Propagate Sage: Cuttings, Seeds and Layering
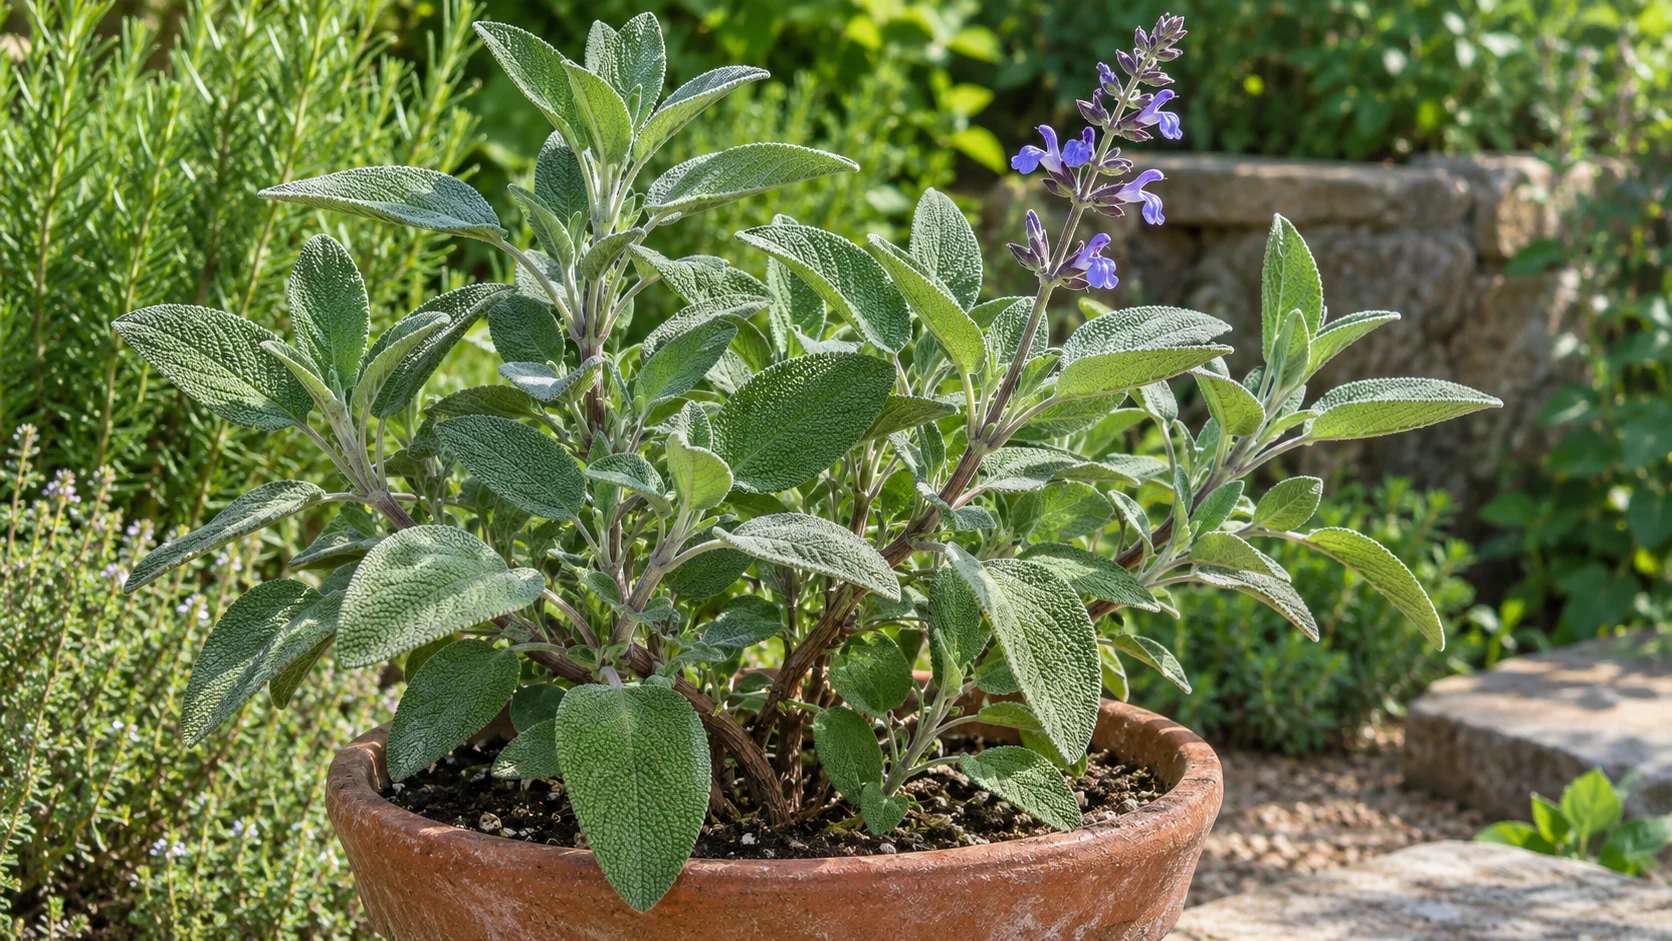
How to Propagate Sage: Cuttings, Seeds and Layering
How to Propagate Sage: Cuttings, Seeds and Layering
Quick answer
For a dependable new plant that matches your existing common sage (Salvia officinalis), start with a softwood stem cutting taken from fresh, non-flowering growth. Cut just below a leaf joint, remove the lower leaves, and place the bare stem in a small pot of free-draining cutting compost. Keep it bright and humid but ventilated until it roots. Purdue Extension lists seed and stem cuttings as ways to propagate common sage (Purdue Extension). See the Sage overview for the plant’s sunny, well-drained growing needs.
Seed is useful when you want several plants or do not need an exact copy of a named variety. Layering is a low-equipment option if the plant has a flexible branch that can reach soil. For most home gardeners, cuttings are the practical starting point because the parent plant remains in place and the new plant can keep the same cultivar characteristics.
Which propagation method suits your sage?
Choose the method by what you want to keep. Use a cutting if you have a healthy established plant and want to reproduce its leaf color, shape or flavor. Use layering if you only need one or two replacements and a low flexible branch is available. Sow seed if you are growing ordinary green common sage from scratch, are happy to wait longer, or want to raise a small batch.
An old sage bush can become woody and sparse, so it can be more useful to start a young replacement than to divide or move a stressed plant. Plantura’s sage guide recommends taking cuttings from a valued plant rather than uprooting an established bush, and notes that periodic replacements can keep the planting productive (Plantura sage care). The Sage pruning guide explains why very old bare stems may not reshoot after a hard cut.
Keep a named sage variety true to type
Named selections such as purple or variegated sage are usually best copied vegetatively. A cutting or rooted layer comes from the existing plant, so it preserves its characteristics; seedlings can vary and may not match a named parent. This distinction matters if you want to keep a particular foliage color or a compact form. The RHS notes that vegetative propagation is especially useful for sage varieties that do not come true from seed (RHS sage propagation guidance).
Common sage is not the same as every plant called “sage.” Check the label for Salvia officinalis before following this guide; ornamental salvias and white sage have different growth habits and may need different propagation timing.
When to take sage cuttings
Take softwood cuttings when the plant is making fresh, flexible shoots. In the UK, the RHS recommends late spring to early summer; the useful cue is the young growth itself, not the date on a calendar. RHS softwood-cutting guidance explains that soft, flexible shoot tips root readily, while the species-specific RHS sage guide recommends cuttings from new growth in late spring or early summer.
Choose healthy stems that are not flowering. If the only available shoots are flowering or woody, wait for a fresh flush or use a low branch for layering. Gardener’s HQ also distinguishes spring softwood cuttings from later semi-hardwood cuttings for common sage (Gardener’s HQ sage guide).
Adjust the season to local growth
In India and other warm regions, do not copy UK month names exactly. Take cuttings when common sage has fresh shoots and temperatures are mild enough to avoid drying the cuttings quickly. A cool, bright period before peak summer is often easier than the hottest weeks; in very humid areas, avoid the peak monsoon if you cannot keep the rooting setup airy. This is a practical climate adjustment, not a single date that fits every region.
What to prepare
Gather a clean, sharp pair of snips or a knife, small pots with drainage holes, labels and a light cutting medium. Use a seed-and-cutting compost that drains freely; the parent plant’s Sage soil guide describes why common sage roots need air and should not sit in saturated mix. Have a clear propagator ready, or use a clear bag that can be opened for ventilation. Wash the tools and pots before use, and keep the new cuttings out of direct midday sun.
Prepare everything before cutting from the parent plant. Soft shoot tips can lose moisture quickly, so do not leave them on a warm table while you look for compost or labels. If you need to pause, keep fresh material in a clean plastic bag until it can be prepared.
How to root sage cuttings
Choose and cut a shoot
Water the parent plant the previous day if the compost is very dry. In the morning, choose a vigorous, non-flowering shoot tip with several healthy leaf pairs. Cut a piece about 5–10 cm long just below a leaf joint, following the RHS softwood-cutting method. Take more than one cutting if the plant can spare them; a few starts give you a backup if one fails. Do not strip the parent plant bare or take so many shoots that it loses its shape.
Prepare the cutting
Remove the leaves from the lower half of the stem and pinch off a soft flowering tip if one is present. Keep the top leaves. Make a small planting hole with a clean stick so the stem does not scrape against the compost as it goes in. Set the bare section into the mix and firm gently around it. The Gardener’s Path propagation guide describes similar sage cutting preparation and removing lower leaves.
Pot it and manage humidity
Use one cutting per small pot, or space several in a wider tray so leaves do not overlap. Water once to settle the compost, then let excess drain. Cover with a vented propagator or a loosely fitted clear bag. Keep the setup in bright, indirect light. Open a bag regularly to exchange air and wipe away excessive condensation; never leave leaves pressed against wet plastic. The RHS recommends a warm, humid environment for softwood cuttings but also calls for ventilation and good light away from scorching sun (RHS softwood-cutting guidance).
Do not use a sealed cover in direct sun: the air inside can overheat, especially in a tropical climate. If the weather is already warm and humid, a ventilated mini-greenhouse or a sheltered, airy spot may be enough; maintain moisture in the compost without keeping it waterlogged. The Sage watering guide covers the difference between moist compost and wet roots.
Know when it is established
Do not tug on the stem every day to check for roots. Watch for new growth that continues after the cover is opened and for roots appearing at the drainage holes. Once the cutting resists a very gentle lift, move it into its own small pot and allow it to establish before placing it in a larger container. The Sage repotting guide explains how to size up without leaving a small root system in too much wet compost.
Expect the rooting pace to vary with shoot maturity, temperature, light and humidity. There is no dependable single-day rooting promise for every sage cutting.
Propagate sage by layering
Layering is useful when you want a replacement but prefer to leave the shoot attached to the parent while it forms roots. Choose a flexible, low branch that reaches a pot or a patch of soil. Bend a section near a leaf joint down to the medium, hold it in contact with a small peg or bent wire, and keep the tip above the surface. Once a rooted section is established, cut it from the parent and pot it separately.
The RHS recommends layering sage in spring or autumn and notes that rooted stems may appear naturally around a plant’s edge. Its general layering guide explains that evergreen plants respond better to spring layering and that flexible young shoots are the right material (RHS layering guide). My Mediterranean Garden also lists spring or autumn layering among propagation options for S. officinalis (My Mediterranean Garden).
Do not force a stiff woody stem down; it may split. If your sage is in a pot, set a smaller pot beside it and layer into that rather than bending a branch over a balcony edge. This method produces only a few plants and takes longer than preparing several cuttings, but the attached shoot continues receiving water from the parent while roots form.
Grow sage from seed
Seed is a good choice for plain common sage when you do not need an exact copy of a cultivar. Sow into a tray of moist, free-draining seed compost and cover lightly; keep it warm and bright, but not in harsh direct sun. Thin seedlings after they develop true leaves and pot them up when they are large enough to handle. Gardener’s HQ lists spring sowing and a typical one-to-three-week germination window for common sage (Gardener’s HQ sage guide).
In frost-prone climates, sow indoors before the outdoor growing season or wait until frost risk has passed. In a tropical or subtropical climate, sow when temperatures are moderate and seedlings can receive bright light without baking in a hot seed tray. Deep Green Permaculture also distinguishes seed, cuttings and division as ways to grow sage, while emphasizing that cuttings can be more reliable when seed germination varies (Deep Green Permaculture sage guide).
Seedlings need time to establish before you take more than a light harvest. Keep young plants lightly harvested until they have enough growth to branch; see the Sage fertilizer guide before feeding, since common sage does not need a heavy fertilizer routine.
Look after the parent plant
After taking cuttings, place the parent sage back in full sun and water according to the soil or pot, not the cutting’s humidity needs. Remove only damaged material and let the remaining stems recover. Do not combine propagation with a severe pruning session; vigorous fresh shoots are useful, but an old plant should not be cut deeply into bare wood. If you are maintaining shape, use the Sage pruning guide.
When the parent is old, weak or badly diseased, avoid propagating from visibly damaged stems. Take a healthy cutting before the plant declines further, or start with fresh seed if cultivar traits do not matter. Keeping a young replacement is practical for a woody herb that can become straggly with age.
Troubleshoot slow or failed cuttings
- The cutting wilts before rooting: reduce direct sun and wind, check that the compost is moist, and increase humidity without sealing in stagnant air.
- The stem turns black or soft: the medium may be too wet or the cover too poorly ventilated. Remove affected material and start again in a clean pot.
- Leaves drop but the stem stays firm: keep conditions steady and wait; avoid repeated watering if the medium is already moist.
- No roots appear: check whether the cutting was too woody, flowering, cold, or overheated. Use fresh soft growth in the next attempt.
- The cutting grows but collapses after potting up: move it into a pot only slightly larger than its rootball and keep the mix draining freely.
These are troubleshooting clues, not a diagnosis of one specific disease. Sage needs well-drained roots and can decline in overly wet conditions. If the parent plant also has dark or soft lower stems, review the Sage soil guide and Sage watering guide before taking more cuttings.
Propagating sage in India and humid regions
In hot weather, the main challenge is preventing soft cuttings from drying or overheating. Work early in the day, keep cuttings shaded from midday sun and use small pots that drain quickly. During humid monsoon weather, open the cover more often and remove fallen leaves so the cutting base stays clean. If air remains still and wet, wait for a drier spell instead of enclosing the plant in a sealed plastic bag.
The calendar depends on location. Use new growth as the cue, then choose a mild spell with enough time for the cutting to establish. For seed, avoid the hottest weeks when a shallow tray can heat rapidly. For a layered branch, keep the rooting medium evenly moist but not saturated. The Sage overview summarizes the plant’s preference for sun, drainage and airflow.
Conclusion
For most gardeners, softwood cuttings are the easiest way to make a new common sage plant that keeps the parent’s traits. Use a fresh non-flowering shoot, cut below a leaf joint, remove the lower leaves, and root it in a small pot of free-draining compost under bright, ventilated humidity. Choose layering if a low flexible stem is available, or seed if you are happy to grow variable seedlings. Keep new plants in strong light and avoid waterlogged roots as they establish.