6 Pro-Approved Apartment Gardening Tips for Small Spaces
Apartment gardening works when light, containers, and crops fit your space. Use six practical tips to grow herbs, greens, and flowers without wasting room.
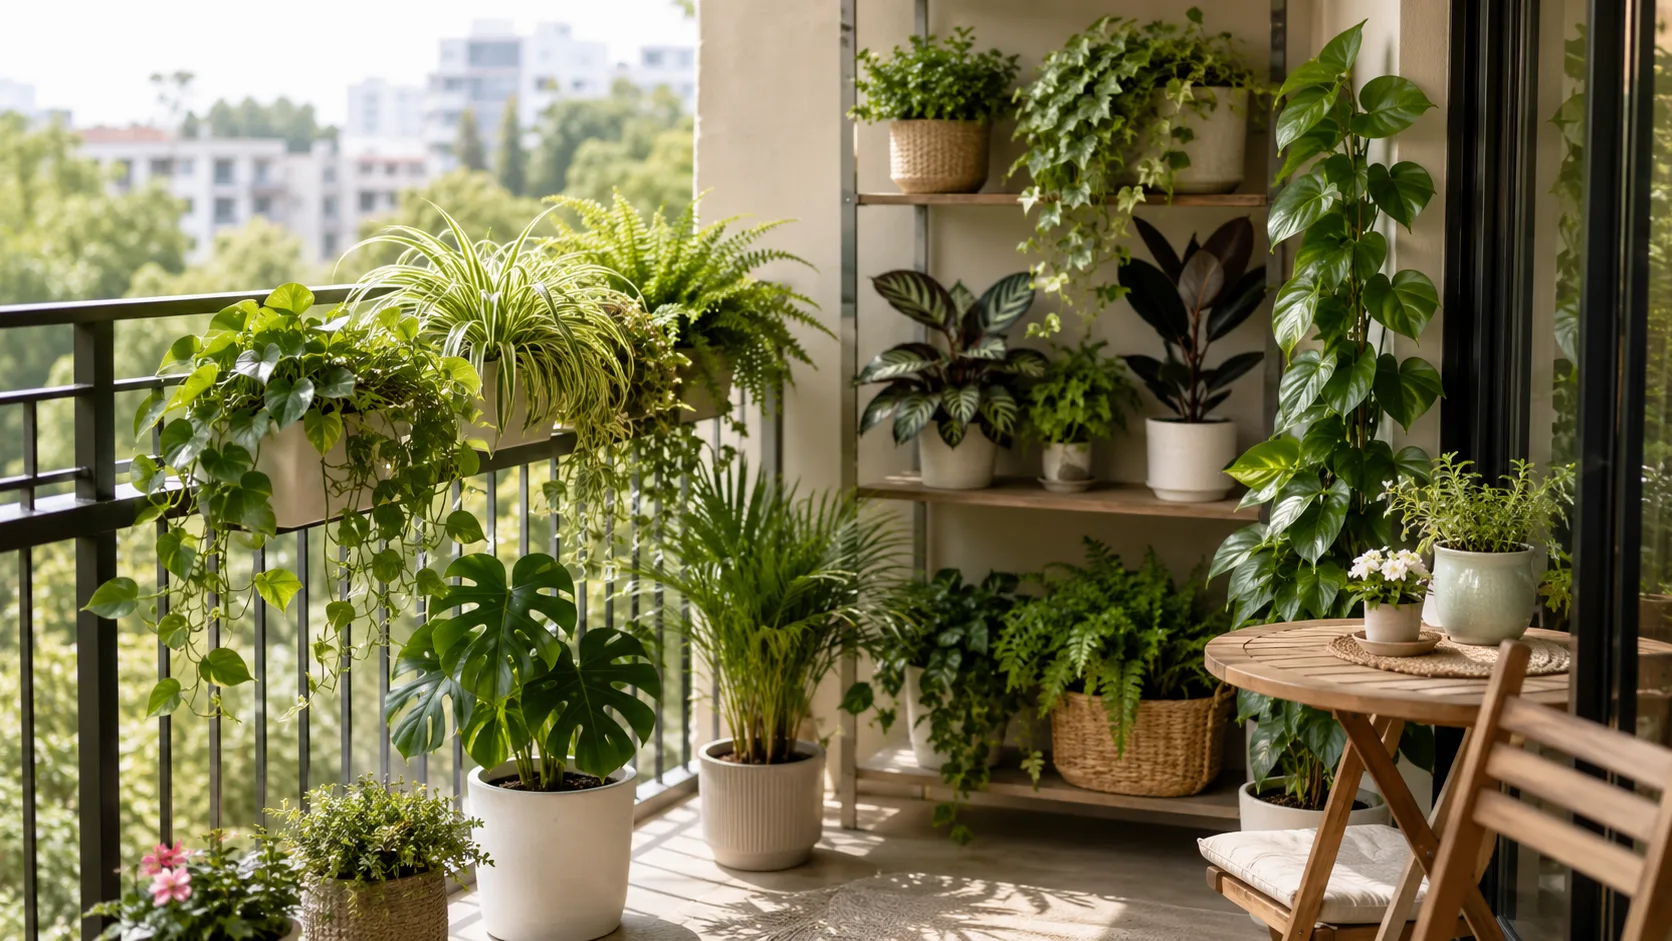
An apartment garden is not defined by how many pots you can squeeze onto a sill. It is defined by the light your plants receive, the weight and water your building can safely handle, and how much routine care you can comfortably give. Start with those limits and a few useful plants, and even one bright window or a modest balcony can become a productive growing space.
The most common beginner mistake is shopping first: buying a collection of herbs, flowers, and vegetable starts, then trying to make them fit whatever conditions remain. Reverse that order. Observe the space, decide what you want to eat or enjoy, and choose plants and containers that match the conditions you actually have.
1. Map the light before you buy a plant
Light is the apartment gardener’s first design constraint. A room can feel bright to you while the leaves receive only a short period of direct sun; a balcony can look sunny at noon but spend the morning and late afternoon in shadow from nearby buildings. Before buying seeds or a grow light, watch the exact place where each pot would sit.
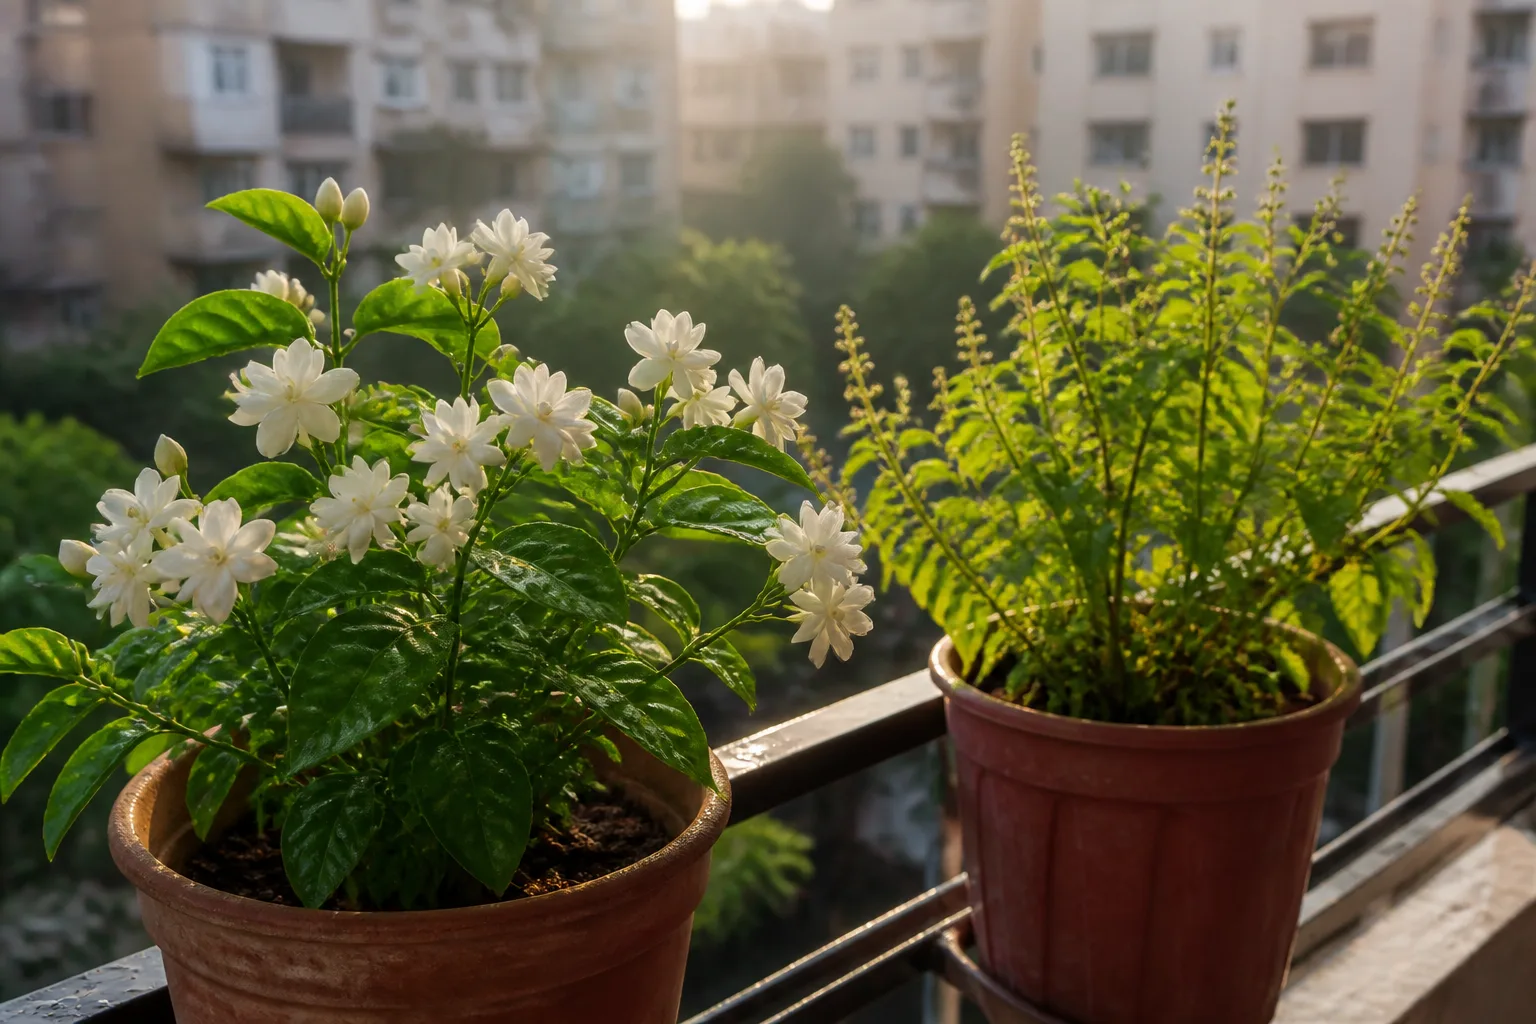
Track direct sun in the actual growing spots
For a few ordinary days, check the sill, table, or balcony floor every hour or two from morning through late afternoon. Note when direct sun reaches each spot, when it disappears, and whether railings, trees, awnings, or another building create shade. Repeat the check in the season you expect to grow: the sun’s angle changes through the year, and a winter window may behave very differently from a summer one.
Count direct sunlight separately from bright indirect light. A north-facing window in the Northern Hemisphere, a shaded courtyard, or a window several feet from the glass may work for some leafy plants, but that does not make it a reliable tomato location. In the Southern Hemisphere, the brightest window orientation is generally reversed; in either hemisphere, nearby obstructions matter more than the compass label alone.
This short observation prevents expensive mismatches. NC State Extension’s small-space guide uses roughly three to six hours of sun as a workable range for leafy crops, about five to six hours for many root crops, and six or more for fruiting vegetables such as tomatoes and peppers. Virginia Tech notes that fruiting vegetables often perform better with eight to ten hours, so treat the ranges as a screening tool—not a promise that every variety will produce well at the minimum. NC State Extension’s guide to vegetable gardening in small spaces and Virginia Tech’s container-vegetable guidance explain why the crop changes the light requirement.
Match the crop to the light you have
Use the weakest light condition as the deciding factor. A simplified guide is:
| Approximate direct sun | Crops to consider first | What to expect |
|---|---|---|
| About 3–6 hours, or bright shade | Leaf lettuce, arugula, mustard greens, parsley, and some kale varieties | Leaves can grow, but growth may be slower and less dense. |
| About 5–6 hours | Leafy greens, radishes, beets, and compact carrots in a suitably deep pot | Root size and speed depend on variety, spacing, and season. |
| 6 or more hours; often more for stronger fruiting | Compact tomatoes, peppers, beans, and other sun-loving crops | Expect larger containers, support, and closer watering checks. |
These categories are not interchangeable across cultivars or climates. If your spot falls between rows, start with the lower-demand crop and see how it responds rather than filling the entire shelf with plants that need stronger sun.
If the best window still falls short, choose leaf crops and herbs or add a purpose-made grow light that covers the plant canopy at its recommended distance and schedule. NC State Extension notes that some vegetables and herbs can grow indoors under grow lights, but supplemental light does not solve every constraint: the light must reach all the leaves, the plants still need airflow and space, and fruiting crops may be a poor fit for a tiny shelf. A ceiling bulb across the room is not a substitute for a lamp designed to illuminate plants.
2. Start with a few crops you will really use
Treat a first apartment garden as a small experiment, not a miniature farm. Choose two or three plants you already buy or cook with, then add more only after you understand how much sun, water, and shelf space they need. One well-grown pot of basil or a shallow tray of salad greens is more useful than a crowded lineup of vegetables that never gets enough light.
Build a first container around repeat harvests
Herbs often earn their space because a small harvest can improve a meal immediately. Basil needs warmth and good light; parsley and chives can suit a bright sill; rosemary, thyme, and oregano prefer conditions that are not constantly wet. Mint and lemon balm are vigorous, so keep them in their own containers rather than letting them crowd slower herbs. Savvy Gardening’s container-herb guidance emphasizes choosing herbs for how you cook and harvesting without stripping the plant; that is a better starting point than choosing varieties because they look good together in a nursery display. Savvy Gardening’s guide to growing herbs in containers offers additional crop-specific examples.
For vegetables, leafy greens and radishes give beginners a faster, more forgiving trial than a large fruiting crop. You can sow a short row of lettuce or arugula in a trough, pick outer leaves as needed, and reseed a small section when a gap opens. Green onions are another compact option if you use them often. If your brightest location gets strong direct sun for much of the day and you can provide a large pot, try one compact or determinate cherry tomato—not three full-size tomato plants competing for the same window.
Think in terms of how the plant will be harvested. A single tomato may produce a run of fruit, while a small herb pot can provide repeated pinches over many weeks. A salad container can be harvested gradually, but only if you leave the crown and enough leaves for regrowth. If your household uses just a handful of herbs a week, one pot per favorite herb may be more practical than a large mixed planter that matures all at once.
You do not need to start everything from seed. Buying one healthy transplant can be a sensible shortcut for a slow-growing or light-sensitive crop, while direct-sowing quick greens and radishes avoids transplant shock and extra pots. Check the seed packet or plant tag for mature size, light, spacing, and season; “compact” describes habit, not a guarantee that the plant will fit any container.
3. Choose containers for roots, drainage, and your floor
A pot is a small root environment, so choose it for the mature plant rather than the seedling you bring home. A shallow window box may suit lettuce and herbs, but a fruiting vegetable or long-rooted crop needs more volume and depth. Penn State Extension, for example, recommends a pot at least 20 inches wide for one tomato and about 14 inches for peppers or eggplant; Virginia Tech likewise lists different minimum sizes by crop. Those are useful reference points, not universal dimensions for every cultivar, so check the variety and container guidance before you buy. See Penn State Extension’s container-vegetable recommendations and Virginia Tech’s crop-by-crop container table before selecting a planter.
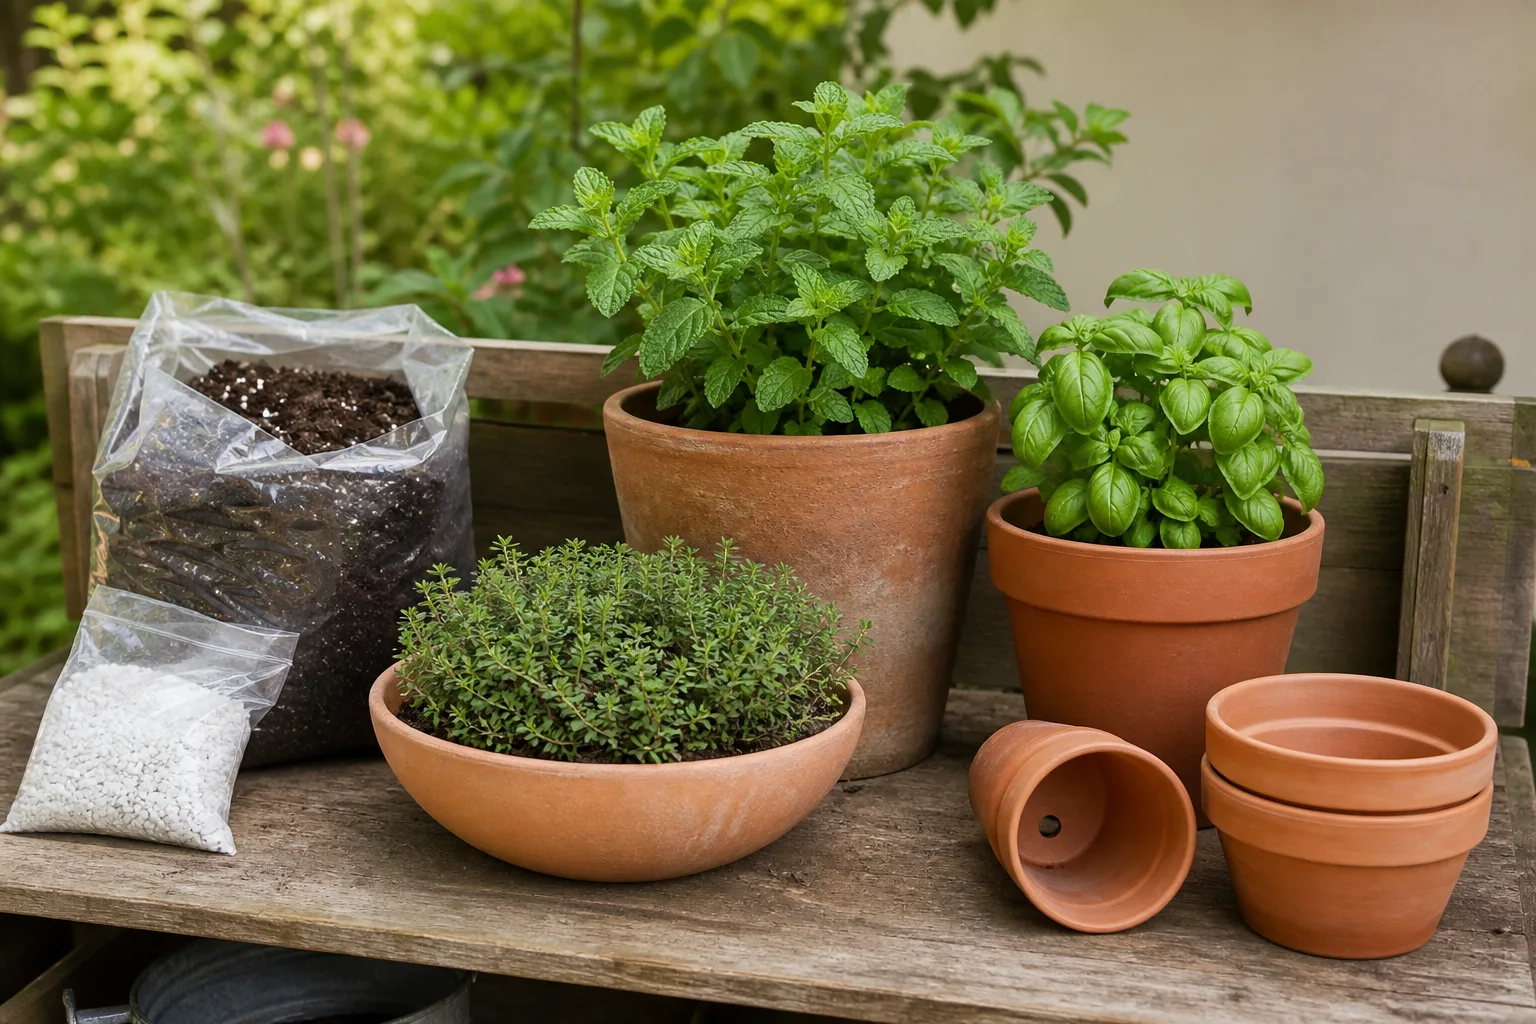
Size the pot to the mature plant
For a first setup, one properly sized container is usually easier to manage than several tiny pots. More soil volume buffers heat and moisture swings, which can mean fewer emergency waterings during a hot spell. Yet the largest container is not automatically best: it may be too heavy to move, take up the space you need to reach the window, or stay wet longer than a small root system can use. Choose the smallest container that meets the plant’s mature root and support needs, and place it where you can still inspect and water it.
Material changes the routine. Plastic is light and generally loses moisture more slowly than porous terracotta, while clay pots can dry faster through their sides. A tall, top-heavy tomato needs a stable base and a stake or cage installed before the roots fill the pot. If you use a hanging pot or wall-mounted planter, confirm the bracket and mounting surface are designed for the container’s weight when saturated; do not assume a dry, empty pot tells you the load it will create after watering.
Use a packaged potting mix made for containers instead of digging soil from a yard or planting bed. Garden soil can compact in a pot and leave roots with too little air; a container mix is made to balance drainage with moisture retention. Fill to leave room at the rim for watering, and follow the mix instructions if it already contains fertilizer. Penn State Extension explains the drainage and weight trade-offs of container media, while Virginia Tech’s guidance discusses why containers need a porous medium that holds both air and water.
Use potting mix and plan for runoff
Drainage holes are essential. Put the pot inside a saucer, tray, or waterproof boot tray that can catch the water that exits, then empty the catchment after watering instead of leaving the pot standing in runoff. On a balcony, confirm where water will go before setting up; a drip onto a neighbor’s space, walkway, or building surface can turn a productive garden into a maintenance problem. Virginia Tech specifically warns that watering on an upstairs balcony can create drainage issues for neighbors, so make runoff control part of the setup rather than an afterthought.
Check the previous use of a repurposed container. A clean food-safe bucket or storage tub can work if it is made from suitable material and has drainage holes, but do not grow food in a container that held fuel, pesticides, cleaners, or another unknown chemical. Wash reused pots and trays before planting, and protect indoor floors and window ledges with a stable waterproof liner that does not block the pot’s drainage.
4. Use vertical space without creating a hazard
Going upward can free a narrow floor area for a chair or keep a few herbs within reach of the kitchen. A small freestanding shelf, a narrow tiered stand, or a trellis in a stable pot can add growing surface without claiming more floor space. NC State Extension describes trellises and fences as ways to grow vining crops vertically; on an apartment balcony, the same idea works only when the support is secure and the plant still receives adequate light.
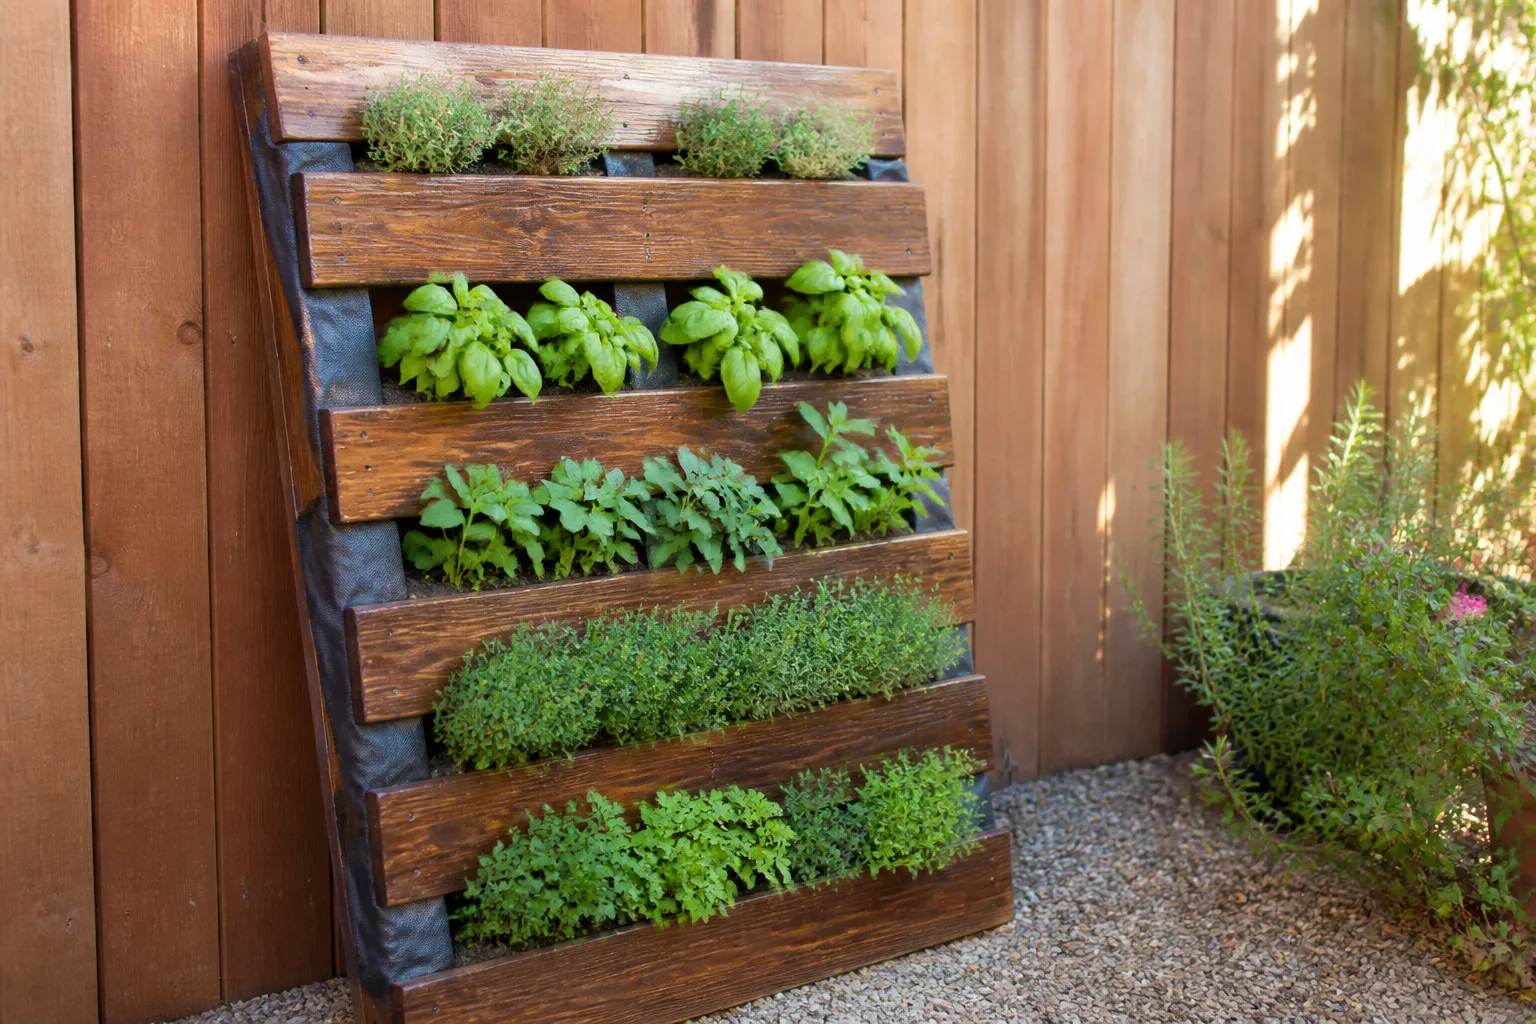
Keep every planter stable and reachable
Put the tallest or most light-hungry plants where they will not shade the smaller pots. Place a climbing plant where you can reach its ties, inspect it for pests, and harvest it without leaning over the railing. Leave room to open doors, move a watering can, clean the balcony, and use the space as intended; filling every inch can make routine care so inconvenient that the plants are neglected. NC State Extension’s small-space guide describes trellises and fences as ways to grow vining crops upward; on an apartment balcony, use that approach only when the support is secure and the plant still gets enough light.
Balconies add wind and weight considerations that a windowsill does not. Wind can dry containers quickly and topple light pots, so keep tall plants in stable containers, secure freestanding shelving, and avoid putting loose lightweight pots on railings. GrowVeg’s practical balcony-garden guidance recommends checking landlord or housing rules, considering the weight of clustered containers, observing actual sunlight, and accounting for wind. If the building has planter restrictions or you are unsure about the load a balcony can support, ask the property manager before adding heavy soil-filled tubs or attaching structures.
Renters can still garden vertically without drilling into a wall: use a freestanding rack, a removable trellis held by the pot, or a floor-standing ladder shelf. Keep the base wide enough that a bump or gust will not tip it, and put the heaviest pots low. Do not hang a container on the outside of a railing unless the building explicitly permits that system and its secure installation; a falling pot is a serious hazard, not just a broken planter.
5. Make watering and feeding reliable
Container plants cannot send roots into a larger soil bed when their pot dries, and water often leaves through drainage holes. A sunlit balcony, wind exposure, a small pot, and a porous clay wall all speed drying; a cool indoor sill and a larger plastic pot may dry much more slowly. That is why a fixed “water every day” rule can be wrong in both directions.
Water deeply, then respond to weather
Check the mix before watering. For many containers, press a finger about an inch or two into the surface; if it is dry at that depth, water slowly until the entire root zone is wet and a little drains from the bottom. Seed trays and freshly sown seeds are an exception: the surface needs to stay consistently moist while germination is underway. Penn State Extension and Washington State University Extension’s container guide both recommend monitoring container moisture rather than allowing plants to swing between bone-dry and waterlogged conditions.
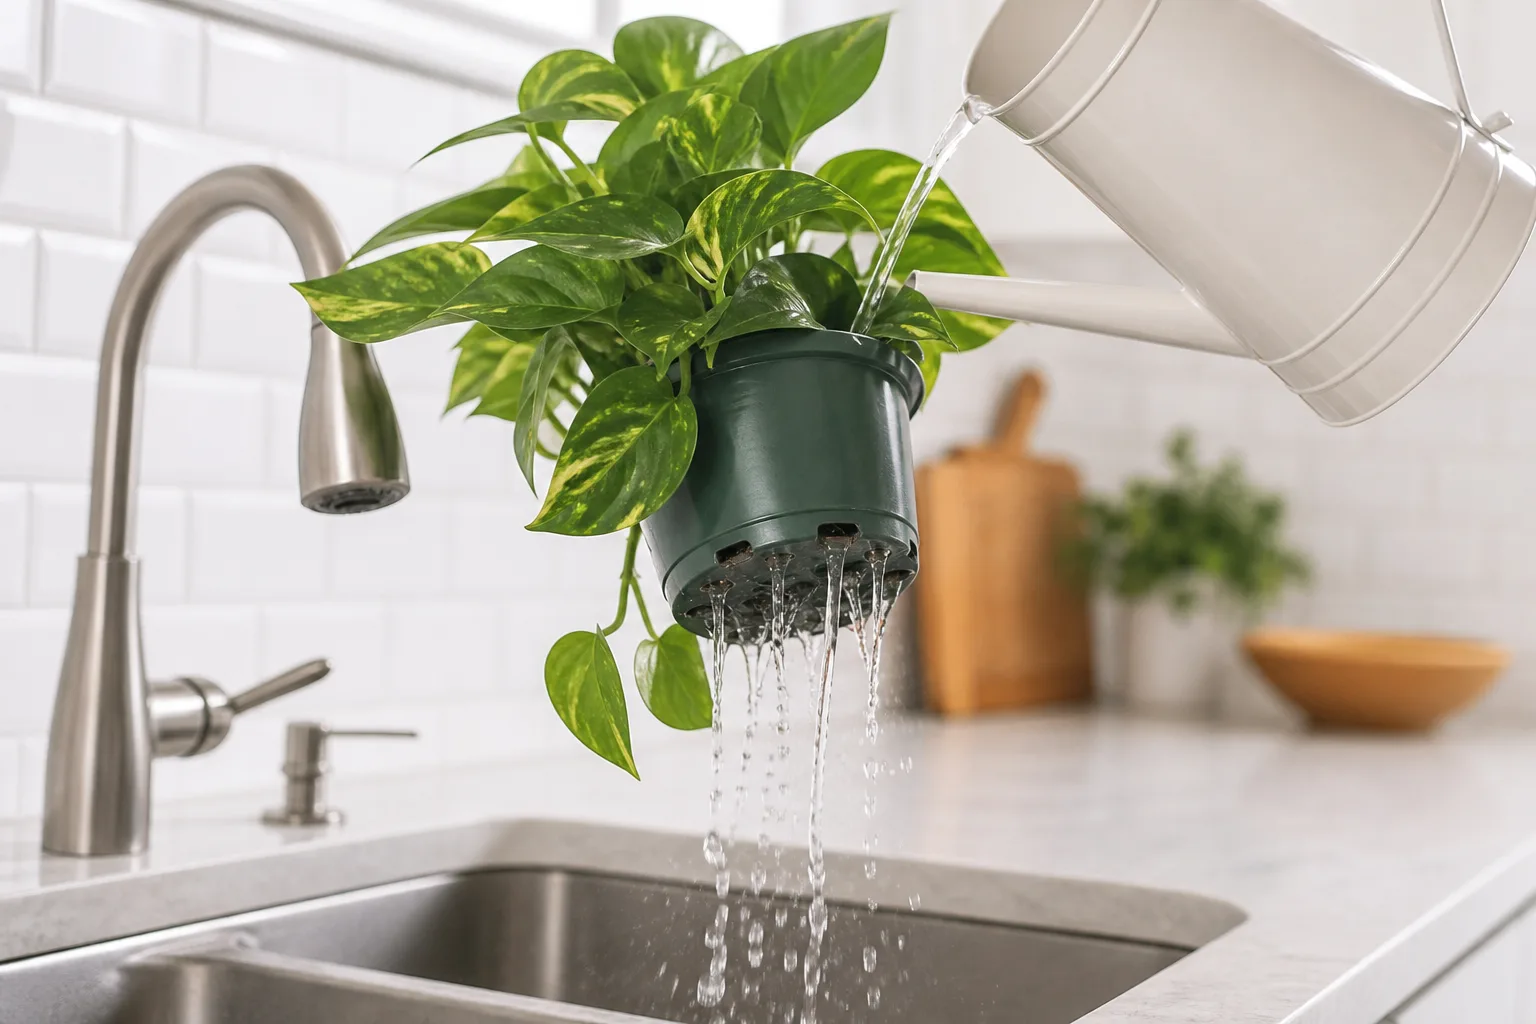
Check small pots daily while you learn their rhythm, and check more often during hot, dry, or windy weather. A larger pot may need water less frequently, but never decide by size alone: plant maturity, sun exposure, rain, humidity, and the mix all matter. If water runs straight down the side while the middle stays dry, the potting mix may have become difficult to rewet; apply water in several slow passes and let it soak in between rather than flooding the floor.
Water the soil, not the leaves, and empty saucers after excess water has drained. If pots dry too quickly, group plants with similar needs, use a container with more root volume, add a thin layer of mulch to outdoor pots, or move them out of the harshest afternoon wind. Do not group sun-loving tomatoes with shade-preferring herbs just for convenience; use separate clusters when their light or moisture needs differ. For a brief trip, test any self-watering device before relying on it and make sure its reservoir cannot overflow into a neighbor’s space.
Feed gently and follow the label
Plants in containers depend on the nutrients in a finite amount of mix, and repeated watering can carry some nutrients away. But adding fertilizer every month by default is not a safe universal schedule: some potting mixes include starter or slow-release fertilizer, and excess fertilizer can damage roots or create salts in the mix. Read the bag first, then use a product labeled for the crop and container type at its stated rate and interval.
Penn State Extension recommends a slow-release fertilizer at planting and supplemental soluble fertilizer during the growing season for container vegetables; Virginia Tech’s container guide explains that fertilizer timing depends on the starting mix and warns against exceeding the label rate. The practical takeaway is to follow the product and mix instructions, not combine several feeding schedules. If growth is weak, first check light, root space, watering, and pests before adding extra feed—nutrient deficiency is only one possible cause.
6. Harvest, inspect, and reset as you go
An apartment garden stays useful when harvesting and cleanup are part of the weekly routine. A five-minute check can catch dry pots, fallen leaves, crowded seedlings, and insects before they become a larger problem. Look at the underside of leaves and around new growth, especially after bringing a nursery plant indoors; keep a new arrival separate from established houseplants for a short observation period if you have room.
Harvest for regrowth, not just appearance
For leaf lettuce and many greens, pick a few outer leaves and leave the central growing point intact. For basil and other branching herbs, snip above a leaf pair so the plant can branch below the cut; avoid removing so much foliage that the plant cannot keep growing. Savvy Gardening recommends harvesting container herbs regularly without defoliating them, and its practical guidance distinguishes annual herbs from perennial herbs rather than applying one haircut to every plant.
Harvest fruiting crops when they are ready instead of leaving ripe produce on the plant indefinitely. If a leafy crop bolts or becomes bitter as the season warms, pull it, refresh the container surface if needed, and sow a more suitable crop rather than trying to force it through unsuitable heat. A second small sowing every couple of weeks can extend the harvest of fast-growing greens, but only if you have enough light and room to tend the new seedlings.
Inspect plants before using any pest treatment, especially on edible leaves. Identify the pest first, isolate an affected pot if possible, and use only a product whose label permits the crop and indoor or balcony use; follow its directions exactly. Do not spray a home remedy or garden pesticide near food, pets, or children simply because it is described online as natural. Removing dead leaves, cleaning spilled mix, and not leaving standing water also makes a compact indoor garden easier to maintain.
A practical first-week apartment-garden plan
Use the first week to learn the site before buying a cart of supplies. On day one, check building rules and choose two or three possible growing spots; over the next few days, record when each receives direct sun and whether it is exposed to wind or rain. Pick the spot that best fits the crop you actually want, not the one that is merely easiest to photograph.
Next, select one herb and one leafy crop if the light is moderate, or add a single compact fruiting crop only if you have stronger sun, enough container volume, and a stable support. Buy the containers and potting mix for those plants, set up catch trays, and do a test watering before placing anything near flooring or a railing. If drainage spills or the shelf wobbles while empty, fix that now rather than after the pots are full.
For the first two weeks, check each pot’s moisture and plant response at the same time each day. Keep a simple note of which containers dry first, whether seedlings stretch toward the window, and which plants are producing new leaves. Use those observations to reposition or reduce the collection before expanding it; a small garden you can reliably care for beats a crowded one that constantly needs rescue.
Conclusion
The most dependable apartment gardens begin with measured light, a short list of crops, and containers that suit both the roots and the building. Control the runoff, secure anything that can fall, and let the soil—not a rigid calendar—tell you when to water. Start with a few plants you will actually use, harvest them thoughtfully, and add another container only after the first ones fit comfortably into your routine.



