9 Budget-Friendly Ways to Prep Your Deck for Summer
Get nine low-cost deck prep ideas for summer, plus a wood-versus-composite cleaning guide, repair red flags, and a realistic weekend order.
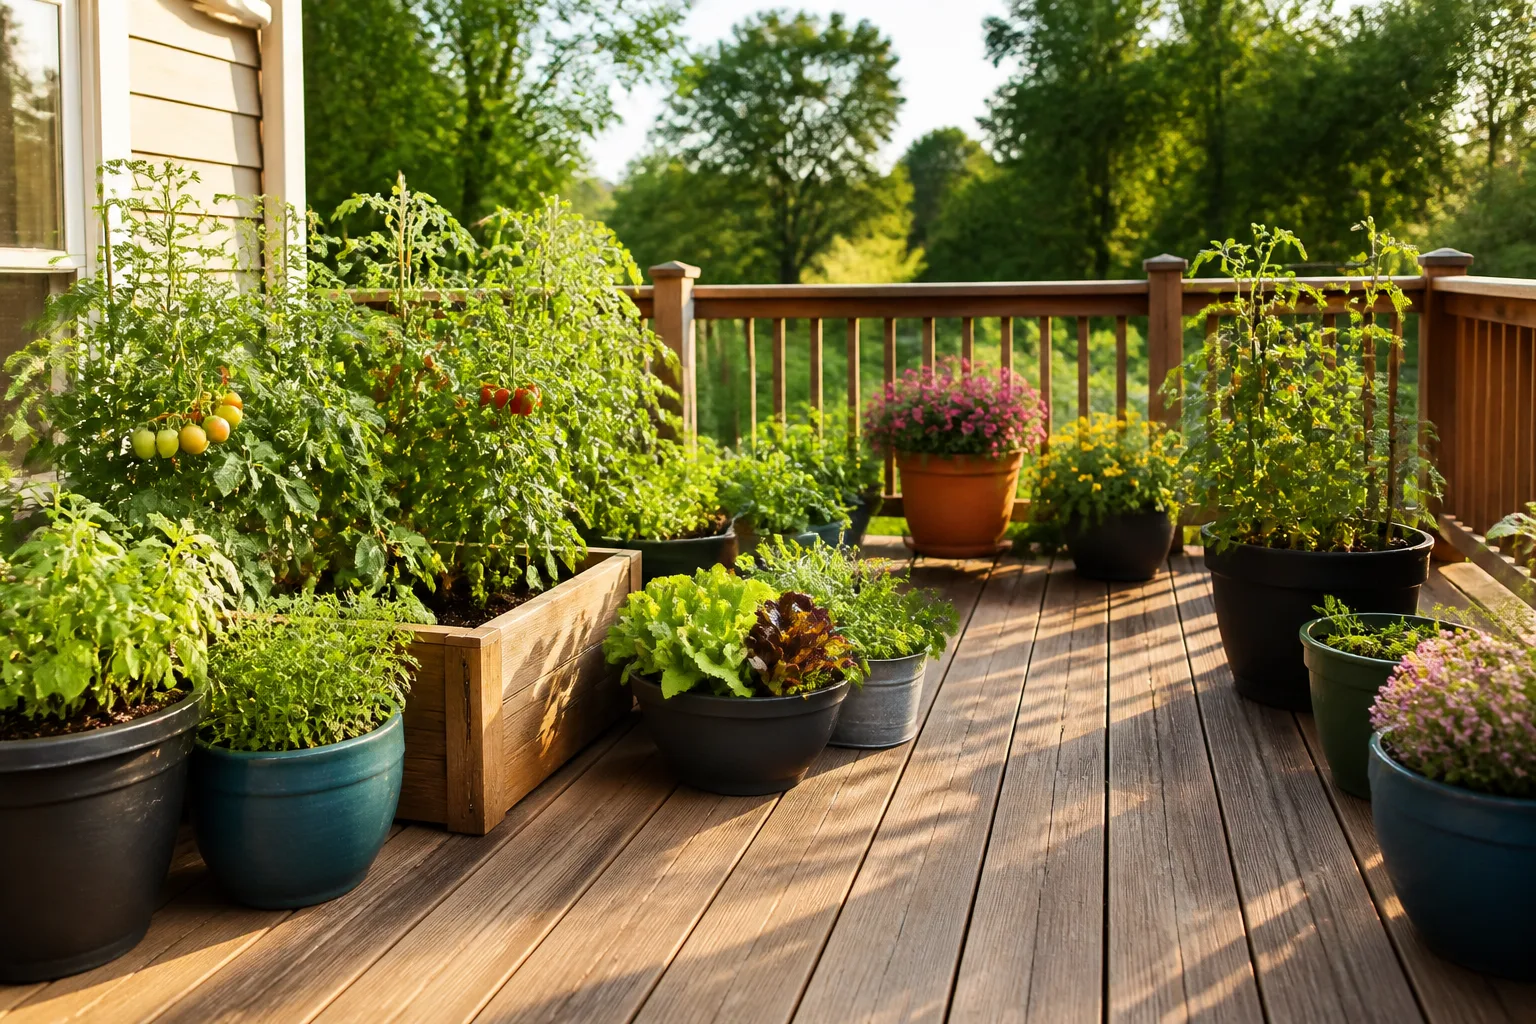
The cheapest way to make a backyard deck feel ready for summer is to spend in the right order. A sweep and structural check can prevent you from staining over a failing board; a better furniture layout can change the space without a new set; and a few well-placed containers can do more than a cart full of decorations.
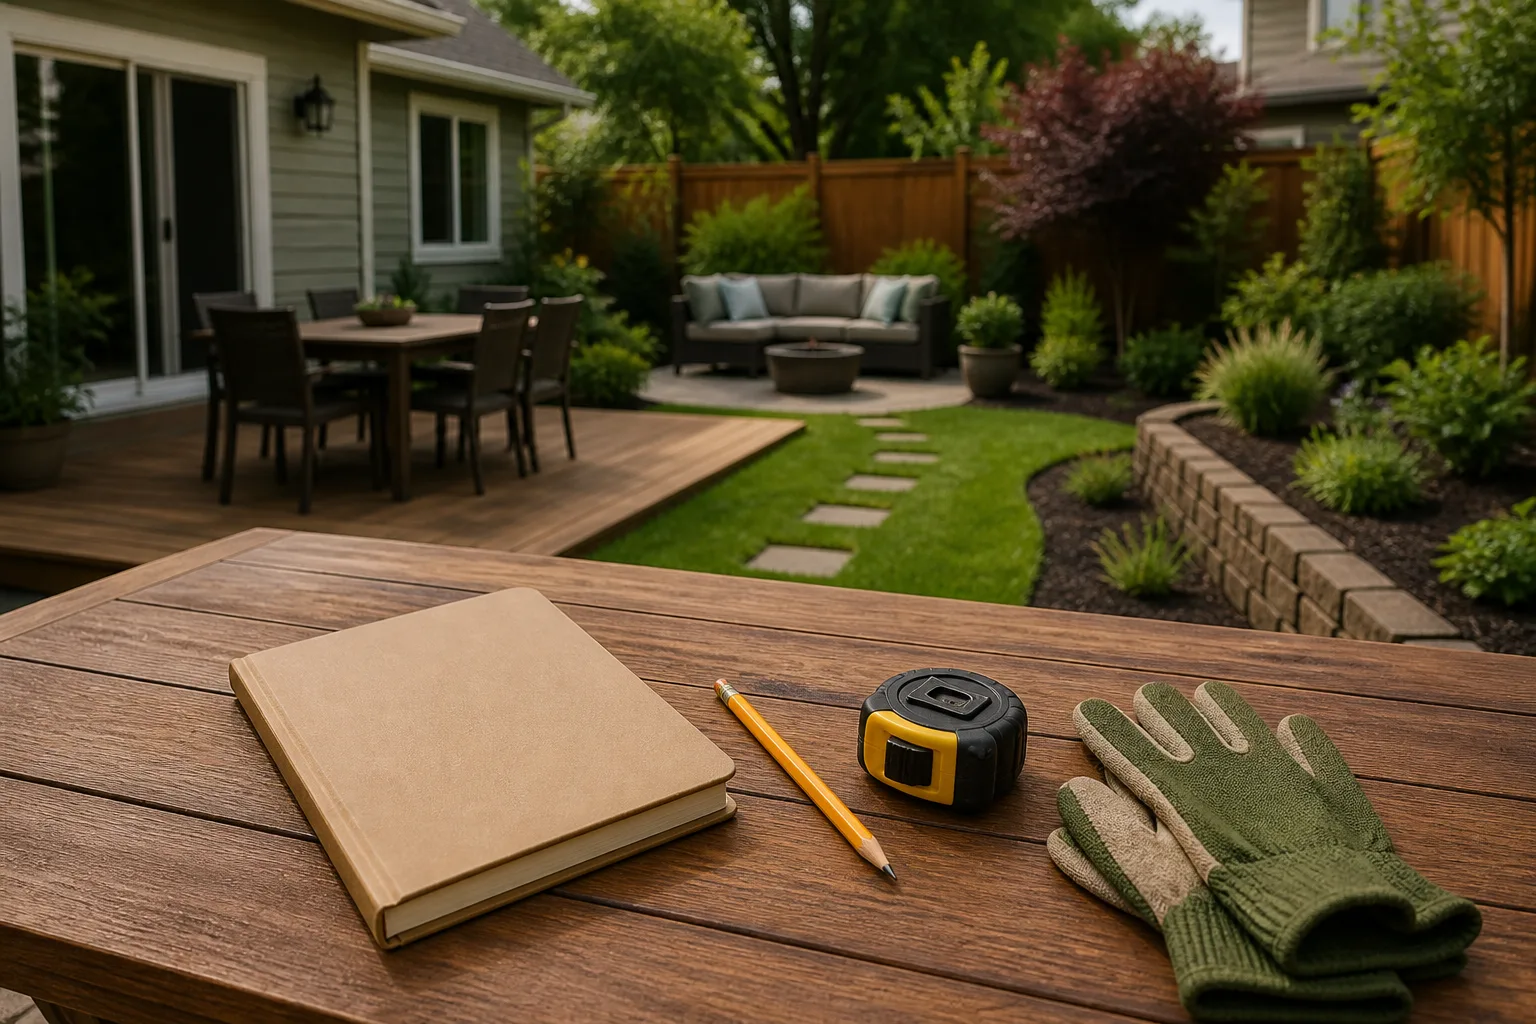
Use this guide as a decision path, not a shopping list. Start with safety and water management, then clean the surface, repair what matters, and spend the remaining budget on the comfort problem you actually have—heat, glare, empty seating, or a deck that feels disconnected from the garden.
Start With a Safety and Budget Audit
Check the structure before the surface
Before you drag out a hose, walk the deck slowly and look at the parts people tend to ignore: the ledger where the deck meets the house, support posts and beams, the underside of the joists, the stair stringers, the railing posts, and the connections between boards. NADRA’s deck evaluation guide is a useful annual checklist because it treats the deck as a structure, not just a floor.
Press a screwdriver or awl into suspicious wood at the ends of boards, near fasteners, and anywhere that stays shaded and damp. A small surface crack is a maintenance issue; soft, crumbly, deeply split, or visibly sagging wood is a reason to stop decorating and get a qualified inspection. The same is true if the railing moves when you push it, stairs flex, a post is no longer plumb, or the deck pulls away from the house.
Take a few photos of problem areas before you move furniture. They make it easier to compare a repair quote and stop a fresh coat of stain from disguising damage you still need to fix. If the defect affects the ledger, beam, post, stairs, guardrail, or load-bearing connections, cosmetic work is not the next step.
Identify the decking material
Your deck may be pressure-treated pine, cedar, hardwood, painted wood, capped composite, early-generation composite, or another product with its own care instructions. A quick look is not always enough: check old invoices, the manufacturer’s stamp, or the installation paperwork before choosing a cleaner or a pressure-washer setting.
Wood can accept stain or paint after proper preparation, but the surface must be clean, dry, and sound. Composite decking generally needs cleaning rather than a new color coat, and some products should not be painted or treated with a generic deck coating. For example, the Trex care and cleaning guide distinguishes product generations and warns that bleach or acid-containing products can lighten the surface.
Make a two-line note: material and finish goal. “Capped composite, remove algae” calls for a different plan than “weathered cedar, restore color,” and both are different from “painted deck, fix peeling coating.” That one-minute decision prevents the most expensive budget mistake: buying a product that cannot be used on your surface.
Choose the right spending order
Use a three-tier budget rather than guessing at the final total.
- $0–$50: structural walk-through, sweeping, furniture rearrangement, pruning, moving pots, washing removable textiles, and testing existing lights and cords.
- $50–$200: soft brush, compatible cleaner, replacement screws or small hardware, a plant stand, one container, hooks, or a simple umbrella repair.
- $200 and up: stain or paint, several containers, a weighted shade system, a new seating piece, or a professional repair.
The order matters more than the number. A deck that feels dirty but is structurally sound can improve dramatically with cleaning and layout; a deck with a soft joist cannot be rescued by pillows. Set aside a contingency for repairs before spending on the visual finish.
Clean the Deck Without Creating a New Problem
Dry-clean before wet-cleaning
Move every chair, pot, rug, grill accessory, and storage bin off the deck. Sweep between boards, clear leaves from corners, remove cobwebs from railings, and pull weeds that are growing against the edge. If the deck has a roof or a wall above it, clear those drip and debris lines too; repeated wetness at one edge can tell you more than a dirty board can.
Check drains and downspouts before washing. Water that lands on the deck should be able to leave without pooling against the house or flowing toward a stair landing. Cleaning a deck while a clogged gutter is still dripping onto it just resets the problem.
This is also the moment to remove rusting metal objects, flowerpot saucers full of stale water, and rubber-backed mats that have trapped moisture. Do not put them back until the deck is dry and you have decided whether they need feet, a different location, or seasonal storage.
Match the method to wood or composite
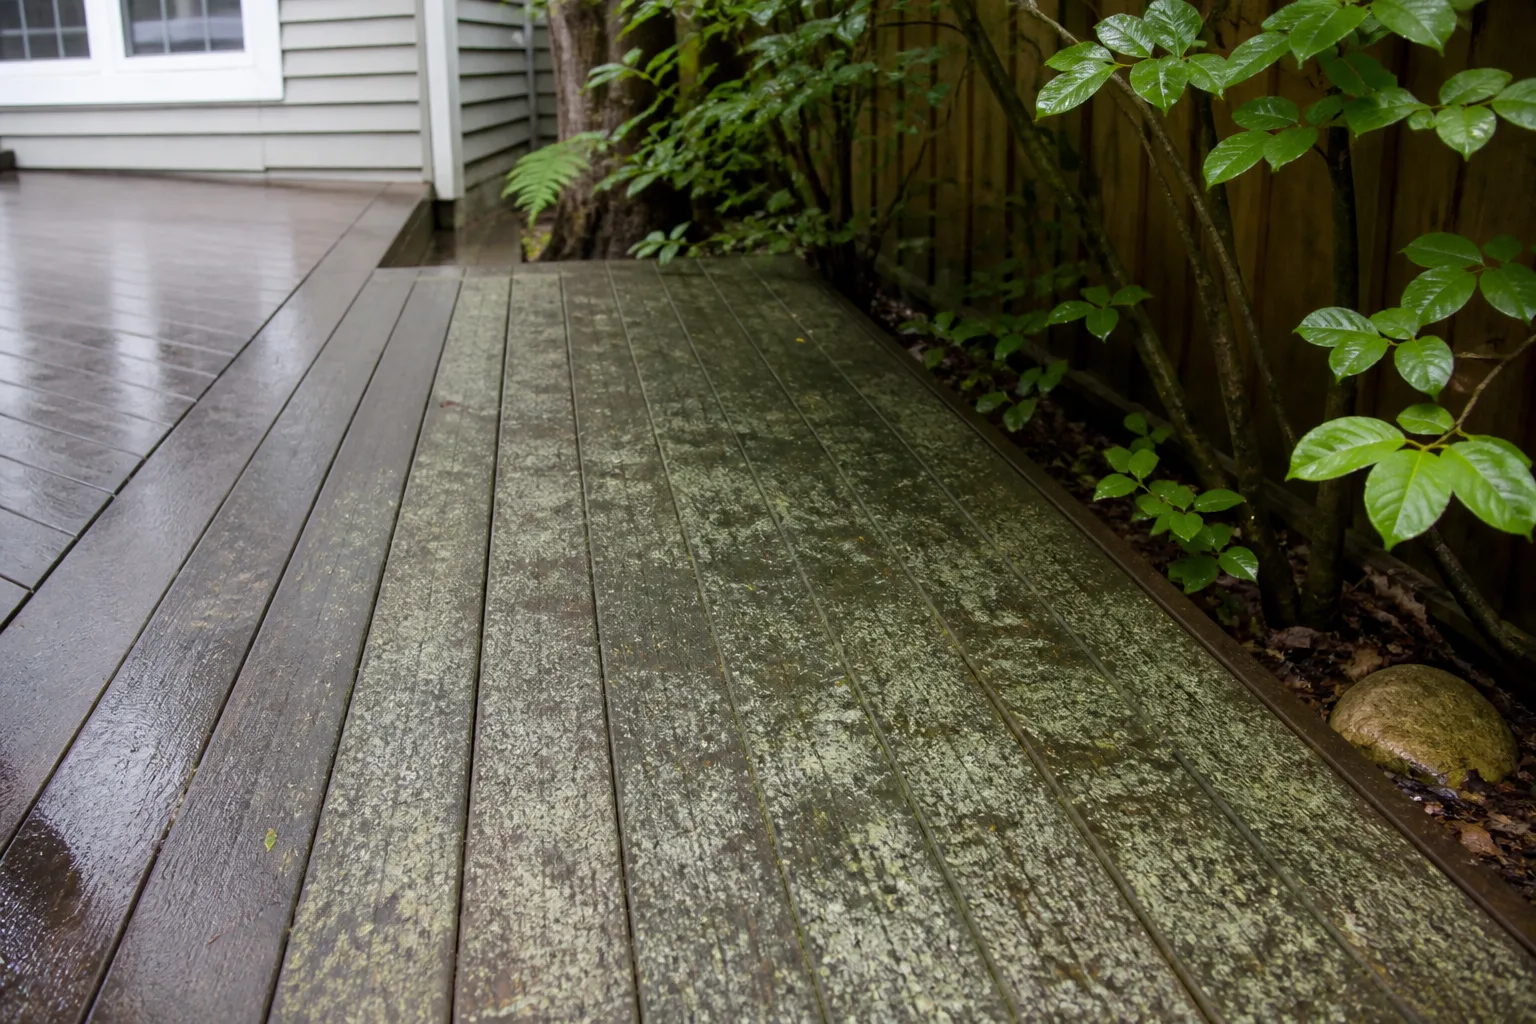
For light soil, start with warm water, a compatible cleaner, and a soft or medium-soft brush. Work in small sections, rinse thoroughly, and avoid letting a cleaning solution dry in a hot patch. The safest low-cost method is usually the slowest one: it uses a brush and hose, but it gives you control over the surface and lets you see whether a stain is dirt, mildew, loose coating, or damaged wood.
Pressure washing is not automatically wrong, but it is not a substitute for identifying the material. On wood, a narrow jet held too close can cut soft grain, create furry fibers, and expose weak spots. If you use a machine, choose a broad fan tip, keep it moving with the grain, start farther away than you think you need to, and test a hidden area first. On composite, follow the product maker’s instructions; the Trex guide, for example, specifies a fan attachment, a maximum pressure for certain product lines, and a minimum distance from the surface.
Never mix cleaners, and do not assume household chlorine bleach is a universal mildew solution. Read the label for surface compatibility, plant protection, runoff, and required protective equipment. Cover nearby plants only as directed, rinse foliage if the label permits, and keep pets and children out until the surface is safe to use.
Nine Budget-Friendly Ways to Prep Your Backyard Deck
The nine moves below are arranged from least expensive and most protective to more visible upgrades. You do not need all nine. Pick the first move that solves your biggest problem, then stop and reassess before buying the next thing.
1–3: Clear, clean, and improve drainage
1. Give the deck a full clear-out and inspection. This sounds basic, but it is the project that reveals every other project. Remove clutter, sweep the gaps, trim vegetation touching the rails, and look below the deck for standing water, nests, loose debris, and signs of rot. If you have not used the deck since fall, check that stair treads are secure and that the railing has not loosened under winter movement.
The budget payoff is that you may not need to buy anything. A newly open deck often looks larger, and moving a storage bin away from the house can improve airflow more than a decorative screen would. Keep a “repair now,” “monitor,” and “style later” list so small imperfections do not become an excuse to overspend.
2. Deep-clean the surface using the least aggressive method that works. Scrub one test area first. If the original color returns and the surface remains intact, continue with that method; if the test area exposes splinters, lifts a coating, or leaves a different sheen, stop and choose a more compatible process.
For wood, cleaning may be followed by light sanding where raised fibers remain. For composite, the goal is to remove soil and organic growth without scarring the embossing. Rinse dirty water away from the house and garden beds where possible, and let the deck dry completely before you decide whether it needs a finish. A clean surface may be all the “refresh” it needs.
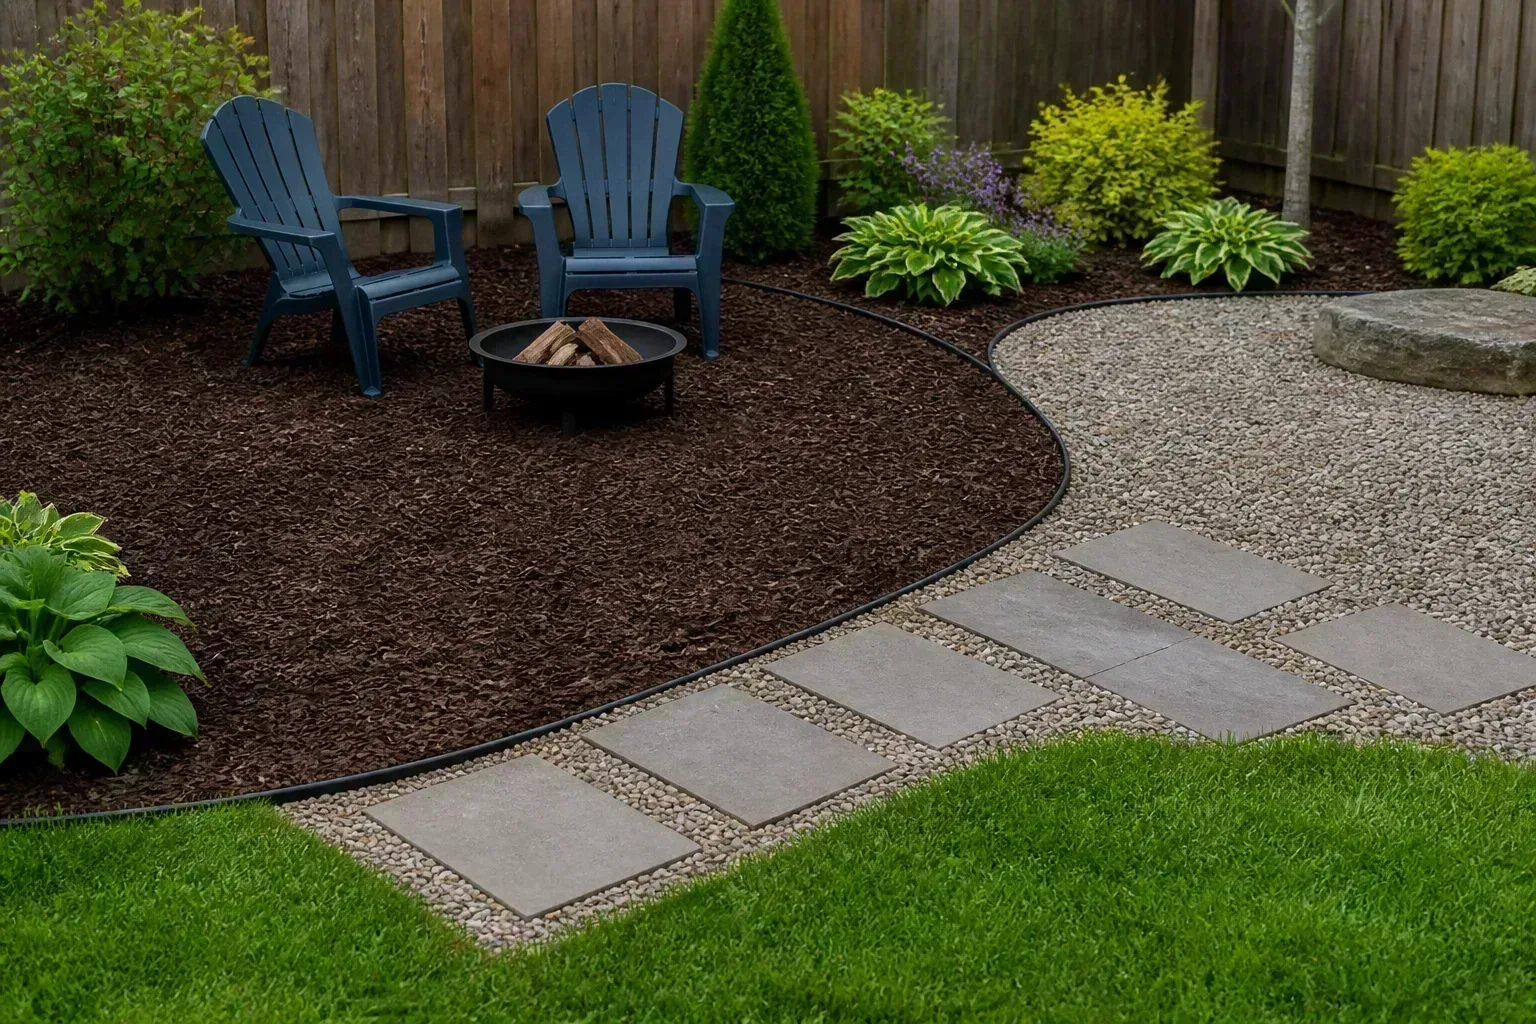
3. Fix the edges and drainage around the deck. Pull weeds, cut back branches that keep the boards shaded, clear the gap beneath the deck, and redirect splash from downspouts. If soil or mulch sits against the rim joist, siding, or steps, create a clean separation so moisture can escape.
This is a better investment than adding more pots to cover a damp corner. A narrow gravel strip, a defined mulch bed, or a few stepping stones can visually connect the deck to the yard while keeping wet soil from being tracked onto the boards. Do not pile material against wood, block access to the underside, or create a new trip edge at the stairs.
4–6: Repair, refinish, and add shade
4. Repair small, non-structural defects before they spread. Replace a board that is split through its width, pull or reset popped fasteners, tighten loose but sound railing hardware, and sand a few rough edges. Use exterior-rated replacement hardware compatible with the wood and the environment; ordinary indoor screws are a false economy.
Know when a repair is too small for a patch and too important for a guess. A soft support post, a failing ledger connection, a loose guardrail, or a stair that moves under load is not a weekend styling task. Photograph it, keep people off the questionable area, and get professional advice before you load the deck with a crowd, a grill, or a large container.
5. Refresh stain or paint only if the surface passes a water test. After cleaning and drying, sprinkle a few drops of water on several boards. If the water beads everywhere, an old coating may still be blocking absorption; if it disappears quickly, the wood is more likely to accept a penetrating finish. This is a screening test, not a replacement for the product label.
Use the finish that matches the surface and the look you want. Transparent and semi-transparent stains preserve more grain; solid stains and deck paints hide uneven color but create a film that can peel if preparation is poor. The BEHR deck-staining guide emphasizes cleaning, drying, light sanding when needed, thin even application, and following the product directions. The Benjamin Moore deck-staining guide similarly calls for a clean, dry, absorbent surface and a waiting period before foot traffic.
Plan for weather, not wishful thinking. A hot sunny afternoon can dry the top skin while the wood underneath is still damp, and unexpected rain can ruin an uncured finish. Read the specific can or technical sheet for temperature, humidity, rain window, recoat time, and return-to-service time. If the deck cannot stay dry long enough, postpone the coating and use the money for seating or shade instead.
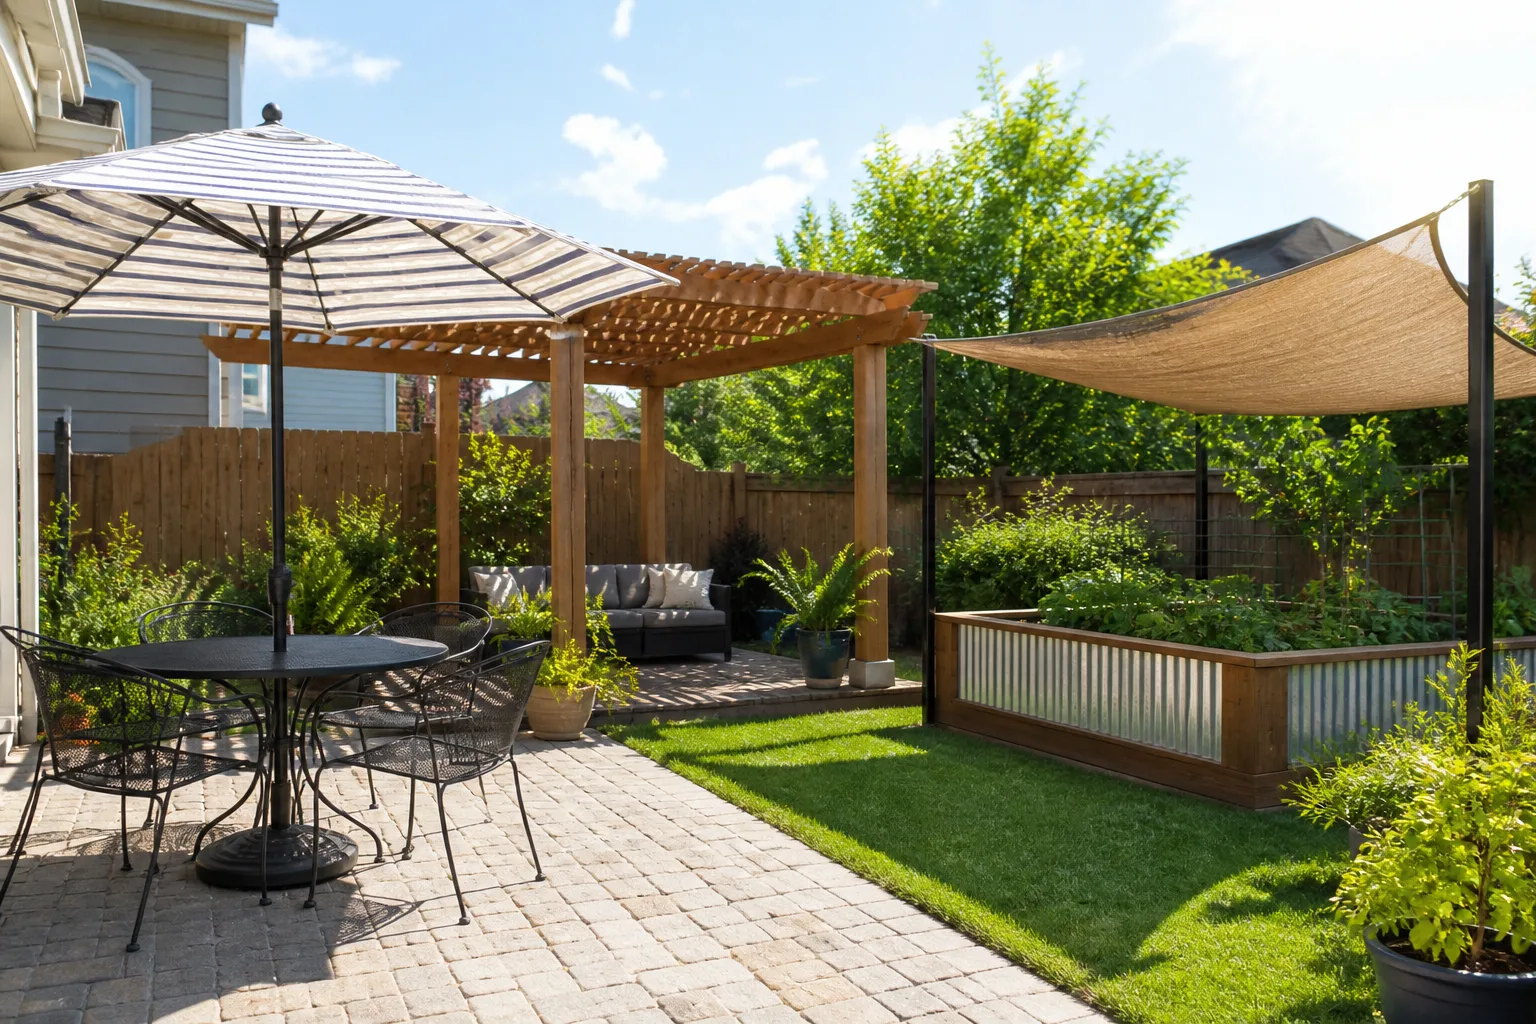
6. Add shade that is removable and properly anchored. A patio umbrella is often the lowest-commitment option, but its base must be heavy enough for the location and the umbrella should be closed before strong wind. A shade sail can cover more area, yet it creates attachment and wind-load questions; use sound posts or approved structural points rather than fastening it to a weak railing.
On a covered deck, outdoor curtains can soften glare and create privacy. Use tie-backs so they do not become a sail, and choose fabric that can dry quickly. If you are planting for shade, remember that a small tree is a long-term project; a movable screen or container grouping gives you a summer solution without putting roots or a permanent structure in the wrong place.
7–9: Rework seating, add containers, and layer light
7. Rework seating before buying a new set. Place the largest seating where people can see the yard, not where it merely fits against the wall. Keep the main walking route clear, leave enough room to pull chairs out, and make one small surface available for drinks, books, or a citronella-free meal setup.
Borrow a side table from indoors for a test evening, or refresh one thrifted chair instead of buying a complete matching set. Wash removable covers, replace only the worst cushion, and use a weatherproof storage box for textiles. A mismatched group looks intentional when it shares one element—wood tone, cushion color, or metal finish.
Do not set heavy furniture on a deck that has not passed the structural audit, and do not use a stock tank, masonry fire pit, or large water-filled container as a casual deck accessory. Concentrated loads are different from ordinary foot traffic; when in doubt, confirm the deck’s capacity with a qualified professional.
8. Add seasonal containers that protect both the plants and the deck. Choose a few large pots rather than many tiny ones that dry out quickly. Match plants to the actual light at deck level, group containers that need similar watering, and lift them on pot feet or a slatted stand so air can move underneath.
Containers can stain boards and trap moisture, especially when a saucer stays full after rain. Use a saucer only when you need to protect the surface, empty it regularly, and keep drainage openings clear. The University of Minnesota Extension guide to container watering notes that containers can need frequent watering in hot, dry weather and that most plants prefer moist rather than soggy soil. That makes grouping and irrigation access a maintenance decision, not just a styling choice.
For a low-cost summer display, repeat one foliage color and vary height: one tall container, one full middle plant, and one trailing edge. Fine Gardening’s container design guidance is useful here because it treats pots as movable design elements, not permanent landscaping. If you live in a cold climate, use portable plants you can bring under cover rather than buying a collection you cannot protect at the end of the season.
9. Layer warm light and make the cooking zone safer. String lights, lanterns, and low path lights can make a deck usable after sunset, but light should support movement rather than glare into people’s eyes. The Royal Horticultural Society’s garden-lighting guidance recommends thinking about light direction and intensity so the garden remains readable without being overlit.
Use outdoor-rated fixtures, cords, clips, and timers. Plug into a GFCI-protected outlet, keep connections off wet ground, and never pierce a cord jacket with a nail or staple. Before hosting, walk the route in the dark and look for the places where a stair edge, threshold, hose, or plant pot disappears.
If you grill on or near the deck, follow local rules and the grill manufacturer’s clearance requirements. The United States Fire Administration’s outdoor-fire guidance advises keeping grills well away from siding, deck railings, eaves, and overhanging branches. A grill mat can protect the surface from grease, but it does not turn a combustible deck into a fireproof one. Never place a fire pit under a roof or close enough to scorch railings, and check burn restrictions before lighting anything.

A Weekend Order That Prevents Rework
Saturday: inspect, clean, and repair
Start early with the deck empty. Spend the first hour on the structural and water audit, then sweep and clear the edges. If the deck needs a repair that affects safety, make that decision before buying stain or planning a party.
Use the mildest cleaning method that can solve the problem, and work from the house outward so dirty runoff does not spread over a finished area. Let the boards dry while you clean removable furniture, sort cushions, wash planters, and check the condition of outdoor-rated cords and lights.
If you are replacing a non-structural board or fastener, complete that before sanding. Keep a simple list of parts you did not find locally; a missing screw or board is not a reason to improvise with indoor hardware. End Saturday with the deck clean, open, and safe to walk on—not necessarily with every decorative decision made.
Sunday: finish, furnish, and test
If the forecast and product instructions agree, apply stain or paint in the shade and in manageable sections. Keep a wet edge, avoid over-application, and protect the deck from traffic for the full cure time. If conditions are marginal, leave the coating for another weekend and move to reversible upgrades instead.
Stage seating first, shade second, containers third, and lighting last. Sit in each chair, carry a tray through the main path, and check whether pots block stairs or drains. Turn the lights on after sunset and test every cord, timer, and connection before guests arrive.
Take a final photo from the house and from the yard. It helps you see whether the deck now connects to the landscape or still feels like a floating platform. If it needs more work, write down one next project; do not turn a finished weekend into a half-built renovation.
Mistakes That Make a Budget Deck Cost More
The most expensive mistakes are usually sequencing mistakes. Do not stain over soft wood, loose boards, peeling finish, or mildew that has not been removed. A darker color can hide unevenness for a month, but it cannot restore structural strength.
Do not treat pressure washing as a universal reset button. A machine can save time on a sound, compatible surface, but it can also etch wood, force water into cracks, or damage composite embossing. Start with a test patch and the manufacturer’s instructions.
Do not block access to the underside. Decorative screens, dense plantings, gravel, and storage can make a deck look finished while preventing inspection and drying. Leave a route to the ledger, posts, and drainage points.
Do not build a structural deck from mystery pallets. Pallets vary in treatment, contamination, fasteners, and strength. Reusing a marked, sound pallet as a small, non-load-bearing plant stand may be possible after careful inspection, but it is not a reliable foundation for a deck, seating platform, or food-preparation surface.
Do not spend the whole budget on color. If the deck is too hot, shade helps more than a new stain. If it feels empty, seating and a side table help more than a large planter. If it feels unsafe after dark, targeted step and path lighting is a better investment than decorative bulbs across the whole yard.
Conclusion
The best budget-friendly ways to prep your backyard deck for summer begin with free work: inspect the structure, clear the clutter, open the drainage paths, and decide whether you have wood or composite. Then clean with the least aggressive method that works, repair what affects safety, and only apply a finish when the surface and forecast are ready.
For the visible refresh, choose the problem you feel every time you step outside. Add shade if the deck is too hot, rearrange or thrift seating if it is uncomfortable, use lifted containers if it lacks garden connection, and layer safe warm lighting if the evening ends too soon. A deck does not need a full renovation to become a good summer room; it needs a sound surface, a sensible work order, and enough comfort to make you stay.



