6 Expert Backyard Makeover Tips You Should Try This Summer
Use these backyard makeover tips to plan zones, reduce unused lawn, reuse sound materials carefully, refresh a deck, adapt play space, and add low-glare light.
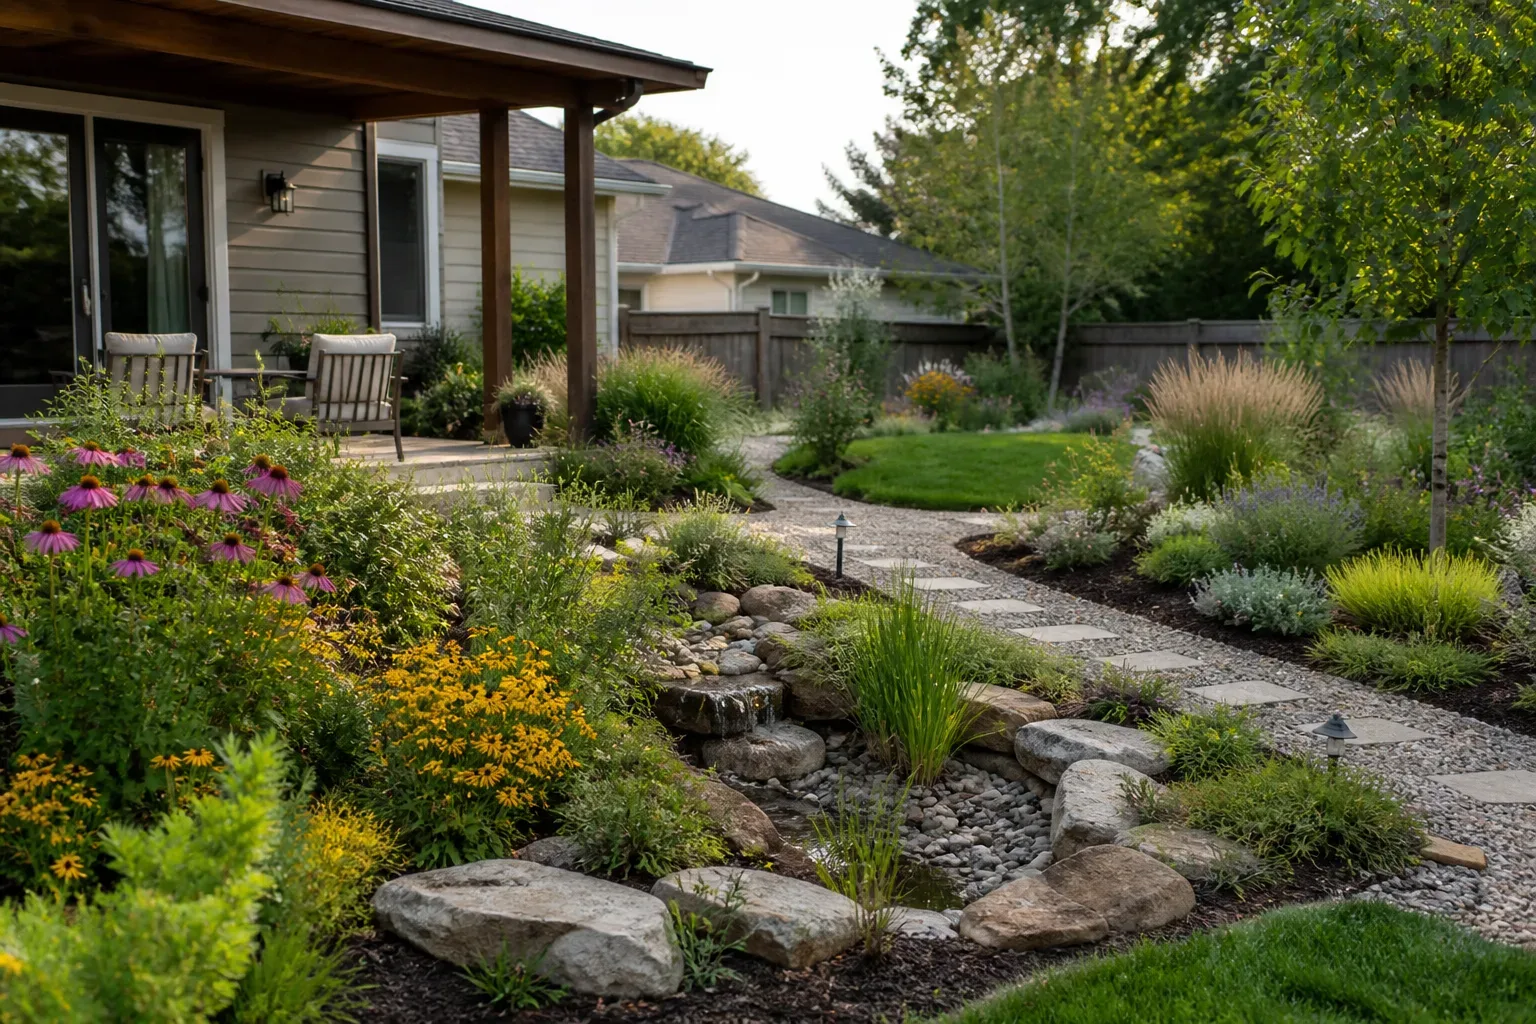
A backyard makeover does not have to mean replacing every surface or buying a truckload of plants. The strongest changes usually solve one everyday frustration: a path that turns muddy, a patio that gets no shade, an unused strip of lawn, or a deck that looks tired but is still sound. Decide what would make you spend more time outside, then build the makeover around that use.
Summer is a good time to notice how the yard behaves when people are actually using it. Watch where the sun lands at breakfast and dinner, where water pools after a storm, and which route everyone takes from the kitchen to the table. That small amount of observation can keep a weekend project from becoming an expensive obstacle.
1. Plan around how you use the yard before you buy
Start with a ten-minute audit rather than a shopping list. Walk the yard at different times of day and mark what already works, what needs repair, and what you never use. A mature tree, an existing deck, and a clear route from the back door are fixed assets in your design; plan around them before deciding to remove, extend, or cover anything.
Garden Design recommends looking at site conditions and intended use before drawing a backyard plan. Its guidance calls out light patterns, existing trees, function, scale, circulation, and the amount of maintenance a homeowner can manage. That sequence is useful whether you are making a rough paper sketch or commissioning a landscape plan: first map what the yard gives you, then decide what it should do. (Garden Design’s backyard planning guide)
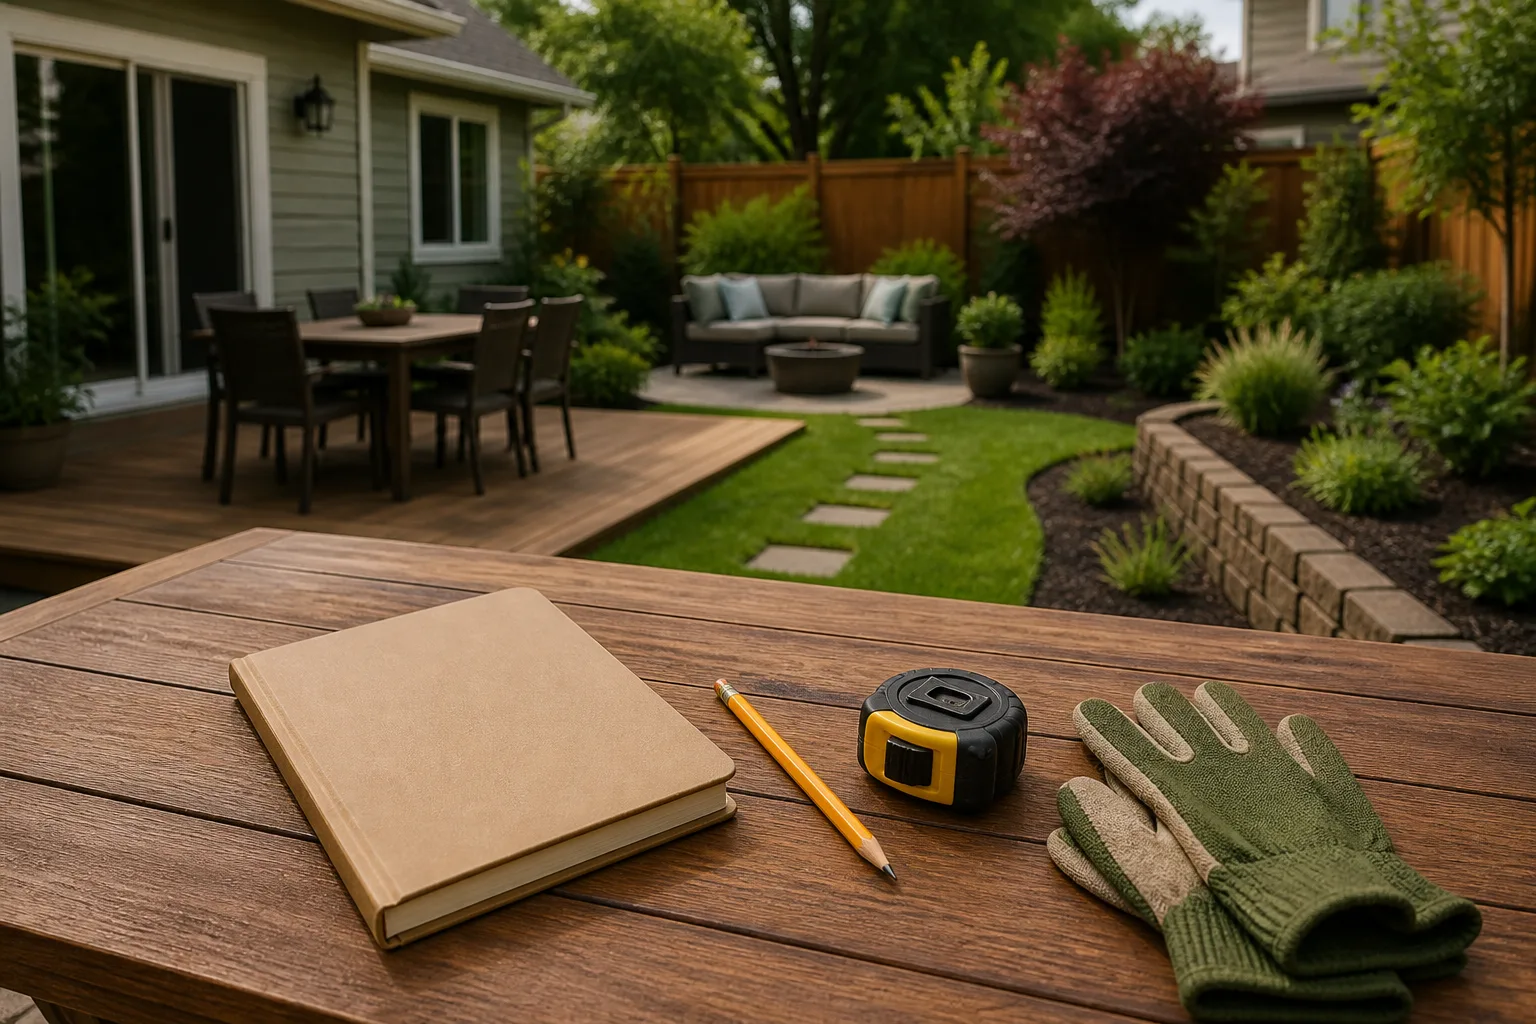
Read sun, shade, drainage, and circulation
Draw the house, fence, large trees, deck, steps, doors, and utility features on a sheet of paper. Add arrows for the usual walking routes, then note where you find morning sun, afternoon heat, deep shade, wind, and standing water. Take those notes on more than one day if the light changes substantially with the season or a tree’s canopy.
A space that looks generous in a photograph can fail in real life if chairs block the door, the grill sits far from the kitchen, or a path cuts through the main play area. Measure the furniture you already own and sketch its footprint with room to pull chairs out and walk behind them. If a dining table, a child’s play zone, and a quiet chair all compete for the same sunny corner, choose the one that matters most and let another use move to shade or a flexible surface.
Drainage deserves attention before any decorative work. After rain or irrigation, note where water moves, where it puddles, and whether it runs toward the house or a neighbor. Do not try to hide a wet spot under gravel or build a raised bed over a drainage route; correct the underlying grading or drainage issue first, and get help for retaining walls or major slopes.
Set a project limit and phase the work
A makeover is easier to control when it has a “must do,” “nice to do,” and “later” list. Put repairs and safety items first, such as a loose deck rail, broken pavers, failing steps, or a muddy route. Choose one visible change next, then save optional décor and new furniture for after you have walked through the layout with temporary chairs, pots, or a garden hose marking the proposed edges.
Estimate the complete cost of each idea, not only its headline material. A new deck can also require design, permits, demolition, disposal, footings, stairs, railing, and changes to grading or drainage; a plant bed needs soil preparation, mulch, watering, and care while roots establish. Before digging to install edging, posts, lighting, irrigation, or trees, contact the local utility-locating service; in the United States, the federal 811 “Call Before You Dig” program explains how to request underground-line marking. (PHMSA’s Call Before You Dig guidance)
2. Make lawn and planting fit the site
Removing every blade of grass is not automatically more sustainable or easier. A patch of turf may be the best surface for a dog to run, a child to tumble, or a family to sit for a picnic; an ornamental lawn nobody uses can consume time, water, and mowing effort without providing much value. The better goal is to make each part of the yard earn its place.
Colorado State University Extension’s water-wise landscape guidance describes practical turf and non-turf areas, soil, mulch, plant selection, and irrigation as parts of one design. It also describes hydrozoning: grouping plants with similar water needs so a bed or irrigation zone can be watered to suit its plants instead of treating the entire yard the same way. The details of plant choice and watering vary by region, but the decision to plan by use and water need travels well. (CSU Extension’s water-wise landscape design steps)
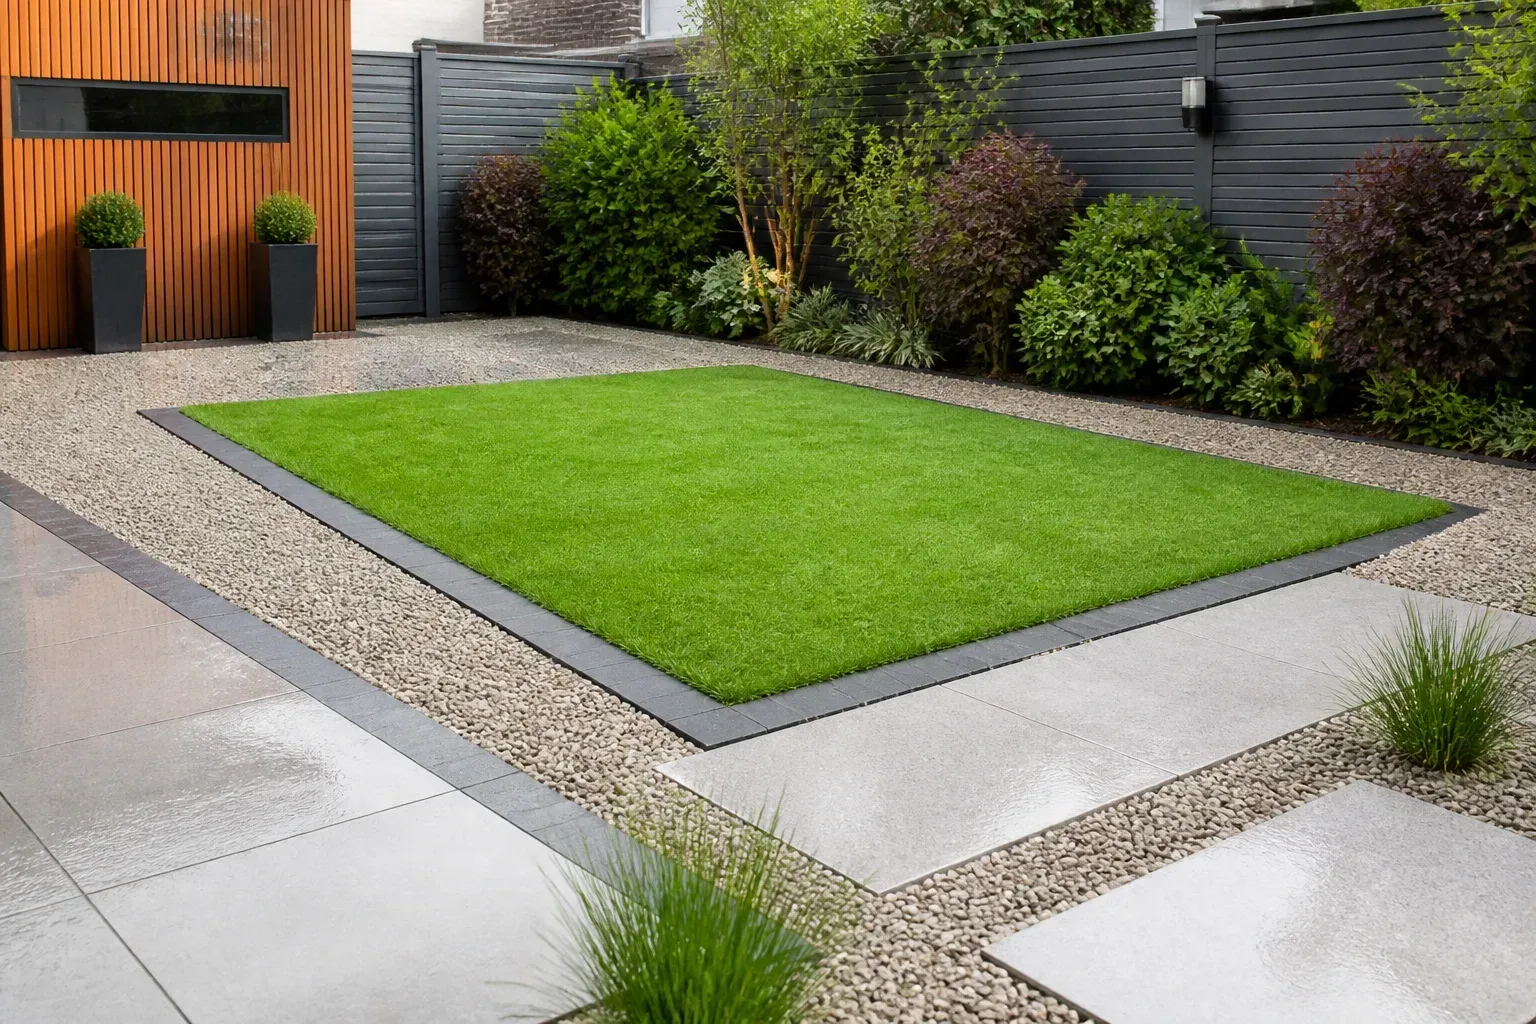
| Keep or resize the lawn when… | Convert part of it when… |
|---|---|
| People or pets use it often enough to justify mowing and irrigation. | It is mostly unused, hard to water evenly, or repeatedly stressed by shade, heat, or foot traffic. |
| It is a convenient, forgiving surface between the house and play area. | A planted bed, patio, or path would solve a clearer problem in that exact spot. |
| The grass is healthy and fits the local climate and maintenance budget. | You can match replacement plants or surfaces to light, soil, drainage, and local water rules. |
Keep turf where it earns its space
A smaller, well-shaped lawn can feel intentional when it leaves room for the activities that happen there. Keep a rectangle or broad, simple curve for play, pets, or a blanket; reduce narrow strips that are difficult to mow or irrigate consistently. Leave practical access around gates, sheds, and the house, and avoid placing a new bed where sprinkler coverage will be blocked or where runoff already collects.
If you want to reduce lawn but are unsure how much, use a season as a test. Set pots, stepping stones, or a temporary border along the proposed edge, then live with the change for a few weeks. If the lawn still feels too large, convert the least-used section first rather than stripping the whole yard in one weekend.
Choose plants for conditions and water needs
For a planting bed, use the observations from your site audit. Check mature width, light exposure, soil drainage, winter hardiness, summer heat, and water needs; a plant labeled “drought tolerant” still needs water while it establishes, and may not thrive in a shaded, wet corner. In the United States, a hardiness zone is a useful first filter for winter temperatures, not a substitute for checking heat, rainfall, soil, and exposure.
Group plants that need similar watering near one another, and keep a higher-water container or herb bed near a tap or seating area where it is easy to reach. This makes care more predictable and limits the temptation to water an entire yard just because one new planting is dry. Garden Design also recommends matching plants to the site and considering mature size and maintenance; its backyard guidance notes that a garden should be shaped around the homeowner’s available time, not an idealized maintenance routine. (Garden Design’s planting and care guidance)
Where appropriate, look for regionally adapted or native plants through a local extension service or native-plant society, and check for invasive species before buying. Planting windows differ across the country: a hot, dry stretch may be a poor time to install a large bed if you cannot water it, while a fall or spring planting may establish more comfortably in your area. If you are considering lawn-replacement assistance, check your water utility’s current rules before removal; programs may be regional, limited, and specific about application timing, eligible surfaces, and documentation.
3. Reuse yard materials with a quick quality check
The best reclaimed material is the one that already fits the project. Old bricks can define the edge of a bed, leftover stone can become a stepping-stone accent, and a sound pot or bench can give a patio character without a new purchase. A small amount of repetition makes salvage look deliberate: use one brick type for a short border or repeat the same stone at a path entrance and a seating area rather than scattering single pieces around the yard.
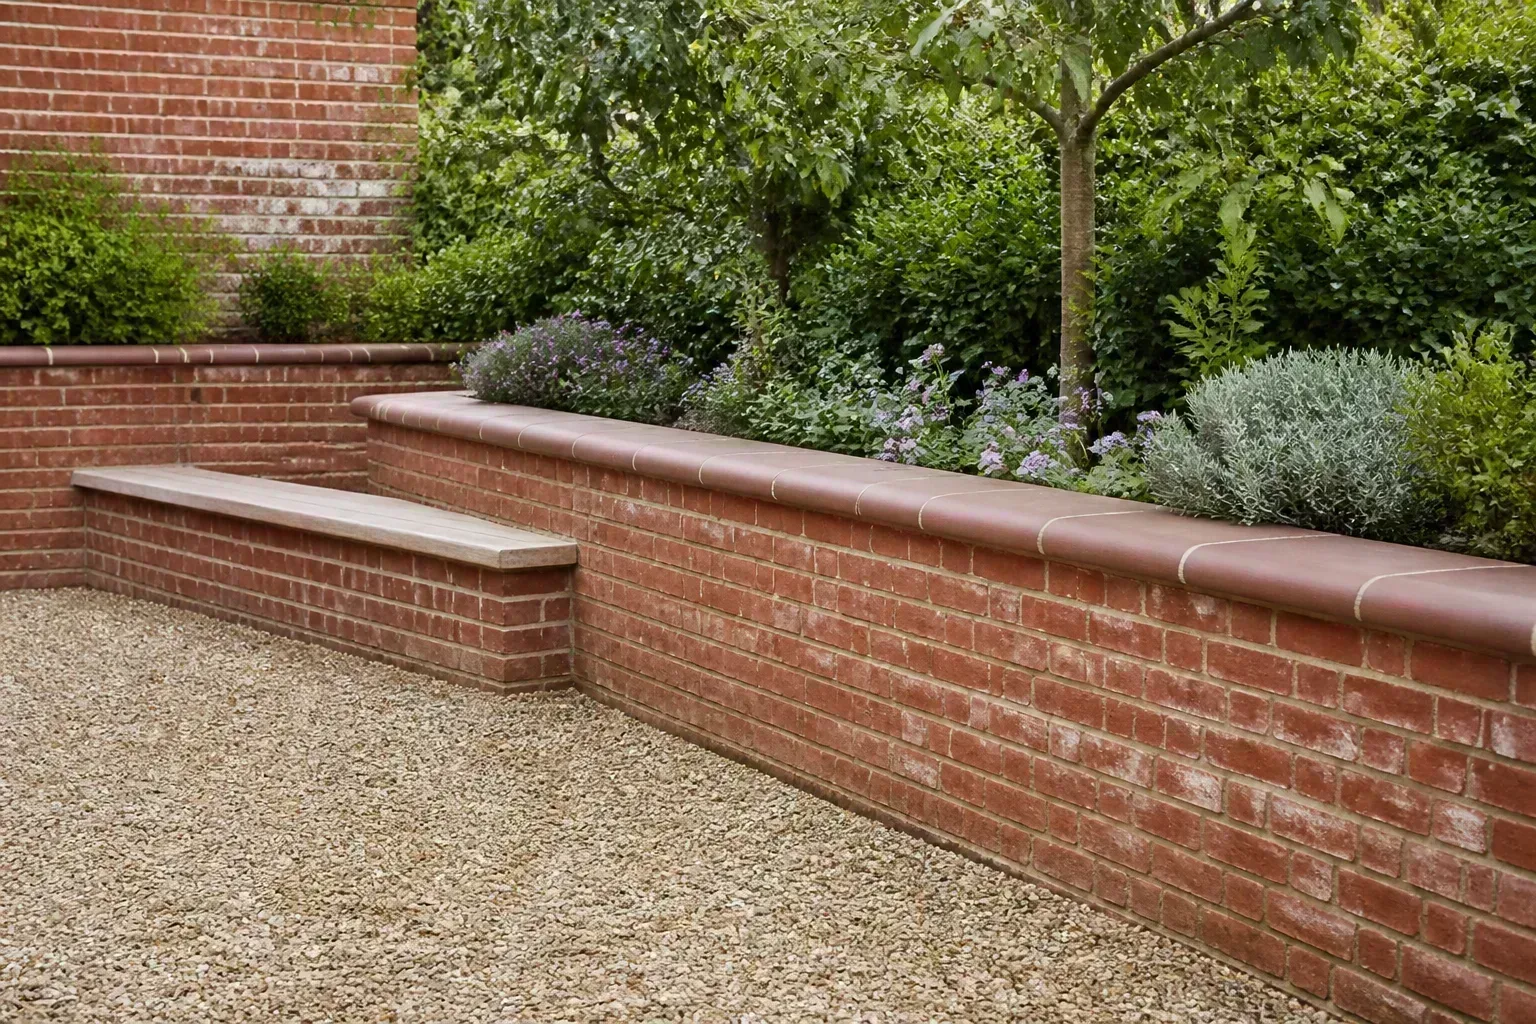
Give sound salvaged materials a clear job
Before reusing anything, sort it by material and condition. Set aside cracked bricks that wobble underfoot, stone with sharp broken edges, boards with rot or deep splitting, and metal with unstable legs or exposed points. A material can be decorative and still be unsuitable for a path, retaining edge, stair, or structure that needs to carry weight.
Clean old brick and stone enough to see their condition, then test a short section of edging before finishing the whole bed. Keep edging low where people need to cross, avoid building a tall unreinforced wall, and make sure the new border does not dam water against a foundation or send it into a neighbor’s yard. If a project needs a stable wall, a raised patio, or a load-bearing support, use a design intended for that job rather than improvising with leftover pieces.
Be selective about salvaged timber. If its treatment, coating, or past use is unknown, do not bury it in a vegetable bed or use it for children to climb on; repurpose it only where its condition and history are understood, or choose a new material rated for the intended use. The same caution applies to mystery containers and old paint: attractive is not the same as appropriate around food, soil, or young children.
Upcycling is not a reason to keep every object. If the cost of cleaning, cutting, transporting, and stabilizing a pile of salvage exceeds the cost of a small amount of suitable new material, use only the best pieces as accents. A few well-placed bricks can make a reclaimed border feel intentional; an uneven path made from whatever was on hand creates a tripping problem that will outlast the novelty.
4. Refresh a sound deck and exterior trim
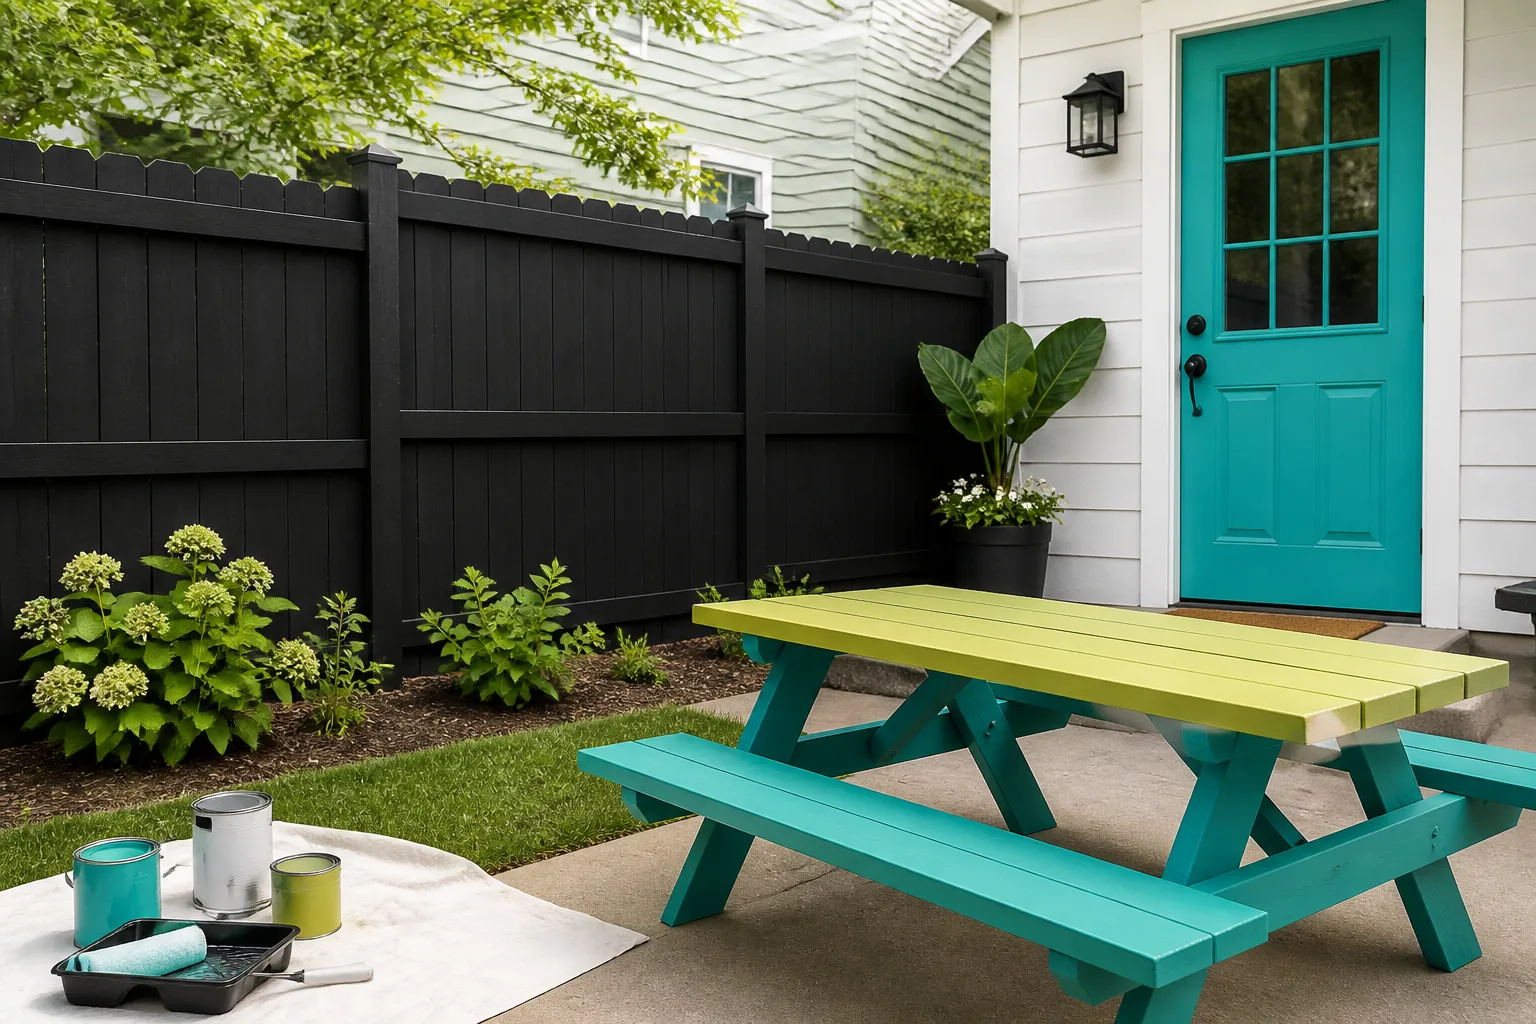
A fresh stain or a crisp trim color can change how finished the yard feels, but first decide whether the surface is sound. A deck that is faded yet solid may need careful cleaning, preparation, and a compatible stain or coating; boards that feel soft, pull away, or move underfoot point to a problem that color cannot solve. Replacing the worst visible board without inspecting the framing can hide the symptom while leaving the cause in place.
Separate a cosmetic refresh from structural work
Before sanding or coating a wood deck, inspect the walking surface, stairs, guardrails, posts, and the connection where the deck meets the house. Look for loose fasteners, cracked or sagging members, rot, repeated movement, and water-trapping details. If anything structural is questionable, pause the cosmetic work and have a qualified deck professional inspect it; stain is not a repair and a new finish can make warning signs harder to see.
A full extension is a different project from a restain. It can change loads, steps, guards, footings, setbacks, and drainage, so ask the local building department whether plans or permits are required before buying lumber. Building rules vary by location and by the deck’s design and height. A professional is a sensible choice when the deck is elevated, attached to the house, near a slope, or beyond the homeowner’s experience with structural framing.
If the deck is sound and a cosmetic finish is appropriate, follow the coating label for surface preparation, weather, drying time, and compatible products. Test the color in a small inconspicuous area because wood species, sun exposure, and the old finish all affect the result. A modest refresh can be a smarter summer project than building extra square footage that the household will not use.
Prep and paint only surfaces that are sound
Exterior window trim is a small surface with a strong visual effect because it frames the view from both the house and the yard. A clean paint line can make a tired exterior feel more deliberate, especially if the color repeats a detail already present on a fence, planter, or door. Use an exterior product designed for the material, remove loose coating, repair gaps that are appropriate to seal, and protect glass, plants, and paving from drips.
Do not paint over soft wood, active leaks, or peeling caused by moisture without fixing the underlying issue. Work within the paint maker’s temperature and weather guidance, and avoid painting a hot surface in direct sun if the product label warns against it. For an older home or uncertain coating, check local lead-safe rules and hire a qualified professional when testing or removal calls for specialized precautions.
5. Make family space flexible and safe
A family yard should be useful now and still make sense when children’s interests change. Instead of designing around a large permanent play structure by default, sketch the play area beside the patio and ask what children actually use: room to run, a swing, a playhouse, a sandbox, a water table, or simply a lawn for games. Make the route from the house visible and practical so supervising does not require walking through a grill zone or stepping over toys.
Southern Living’s small-backyard examples include movable pots and seating arranged around how people actually use the space. Use that as a low-risk test: place a few containers and temporary chairs for a week before committing to permanent paving or a built-in screen. (Southern Living’s small-backyard ideas)
Design for the next stage of use
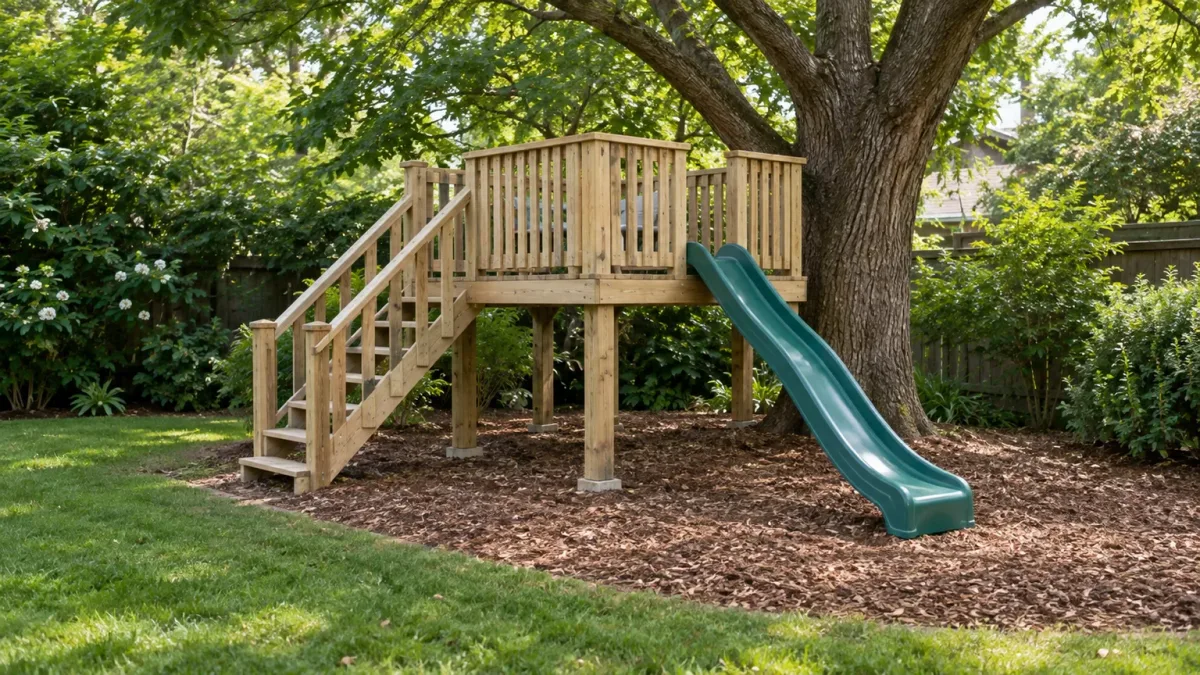
A low platform with a removable canopy, a movable bench, or a pair of containers can define a play corner without making the whole yard permanent. As children grow, that same corner might become a reading nook, a potting table, or a place for extra chairs. Keep the hard-to-change pieces modest and invest in movable elements for the parts of family life that are likely to shift.
Think about storage before choosing equipment. A sandbox needs a cover, loose toys need a place to go, and a playhouse needs a route that does not narrow access to gates or sheds. A neat play zone is not only an aesthetic improvement; it makes it easier to notice loose hardware, splinters, standing water, and damage before someone uses the equipment.
Give play equipment its own clear zone
Choose equipment for the ages, size, and abilities of the children who will use it, then follow the manufacturer’s assembly, anchoring, inspection, and maintenance directions. The U.S. Consumer Product Safety Commission directs manufacturers and importers of outdoor home play equipment to consult its Outdoor Home Playground Safety Handbook; homeowners can use that handbook and the equipment instructions to understand the clearances and protective surfacing required for their specific setup. (CPSC playground equipment guidance)
Keep a play structure away from the grill, fire feature, hard-edged retaining wall, vehicle route, and any area where branches or overhead wiring create a hazard. Do not assume that grass is an adequate protective surface for every fall height or structure. Check the CPSC guidance and the manufacturer’s requirements for the exact equipment, preserve its use and fall zone, and inspect fasteners, supports, surfaces, and nearby trees regularly.
If your plan involves building an elevated playhouse or attaching a swing to a tree or deck, treat it as a structural project. A mature-looking tree is not automatically safe to carry a swing, and a deck rail is not a play-equipment anchor. Get qualified advice when the structure, attachment, or site conditions are outside your experience.
6. Use warm, controlled light after dark
Outdoor lighting is most useful when it helps someone move, cook, or sit comfortably after sunset. Walk the yard at dusk and mark the places that genuinely need visibility: a change in level, a gate latch, a path to the door, a grill surface, or the table where people gather. This will usually lead to fewer, better-placed lights than covering every fence post or plant with a bulb.

Layer path, task, and ambient light
Treat lighting as three jobs. Path light shows the route without shining into someone’s face; task light makes a grill, step, or door usable; ambient light makes a sitting area feel comfortable. Start with the task and path fixtures, then add a gentle decorative layer only if the space still needs it.
A strand of warm bulbs can create a pleasant glow over a dining area, but keep it secured to a structure intended to support it and away from branches that rub against it. Low-output fixtures and dimmers can make a small patio more comfortable than a bright floodlight, while a motion sensor or timer can handle the short period when someone actually needs a path lit. For hardwired work, use outdoor-rated equipment and follow local electrical requirements; hire a licensed electrician if you are unsure about wiring, grounding, or placement.
Reduce glare, spill, and all-night lighting
The National Park Service’s outdoor-lighting principles recommend lighting only where and when it is needed, using fully shielded fixtures, the lowest useful light level, controls such as timers or dimmers, and warm-color LEDs. Its guidance notes that warm white around 2,700 kelvin can be appropriate for many outdoor uses; local conditions and fixture design still matter. (National Park Service outdoor-lighting principles)
Look for a fixture that points light down at the walking surface instead of sending it sideways into a neighbor’s window or upward into the sky. Avoid exposed bulbs at eye level and bright cool-white lights aimed across the entire property. If your patio feels stark, try dimming or shielding a fixture before buying more lights; a small change in direction often fixes glare faster than a larger bulb.
A workable order for a summer makeover
A clear sequence prevents finished work from being dug up or damaged later. Use this order as a starting point and adjust it for climate, permits, contractor availability, and the project’s scale:
- Observe and sketch. Map the house, fixed trees, sun, drainage, access routes, and the uses you care about most.
- Resolve constraints. Confirm property boundaries, local rules, utility locations, drainage, and any deck or play structure concerns before digging or building. In the United States, make a utility-locate request through 811 before excavation; outside the U.S., use the equivalent local service.
- Handle repairs and rough work. Address unsafe surfaces, major grading, permits, footings, hardscape, and irrigation lines before planting or painting.
- Install the lasting landscape. Prepare soil, set edges and paths, and plant in a locally appropriate window. Keep temporary watering available while new plants establish.
- Finish the surfaces. Stain or paint only after repairs and messy construction are complete and the surfaces are ready for their products.
- Add furniture, play elements, and lighting. Place these after walking the finished routes and confirming that access, clearances, and light direction make sense.
If a project needs to be finished quickly, choose one contained improvement such as repainting sound trim, building a small planting bed, or improving the path to the seating area. Larger changes can be divided into phases: patio and circulation first, then planting, then lighting and accessories. If a rebate or grant is part of the budget, confirm current eligibility and application timing with the program administrator before work begins.
Conclusion
A successful summer backyard makeover is a short list of improvements that make the space easier to use and care for. Start by observing how sunlight, water, and daily movement shape the yard; keep the lawn that serves a real purpose, and plant the rest for the conditions you actually have. Refresh sound materials, reuse only what is safe and stable, design family zones with room to change, and use outdoor light where it helps rather than everywhere it can go.
You do not have to finish the entire yard in one season. Choose a first project that solves a visible problem, complete it well, and let the next phase grow from how your household uses the space.



