Gardening Tips From Grandpa: Which Rules Still Work?
Learn which time-tested gardening tips still work, why soil tests beat guesswork, how to sow and thin seeds, and which old pest and weed tricks to avoid.
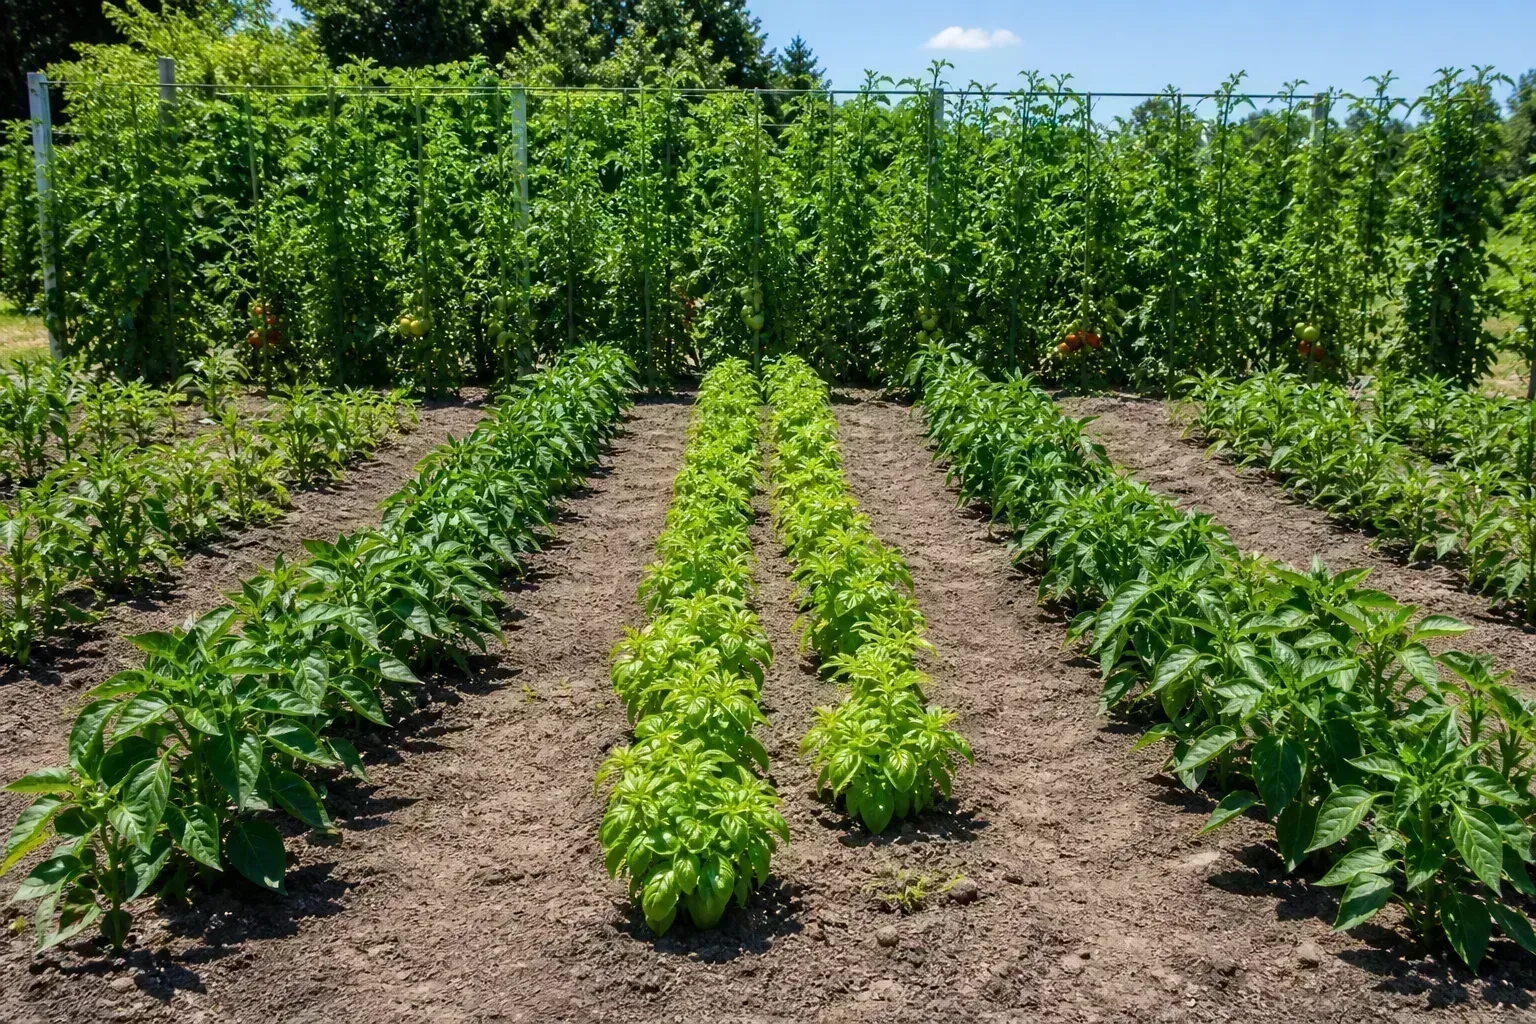
Advice passed down by a gardener who has watched the same beds for years can be more useful than a shelf full of products. The best old tips are really observations: seeds emerge unevenly, bare soil dries faster, and a small weed is easier to remove than a mature one. They work because they fit a real pattern in the garden.
The trouble starts when a successful habit turns into a universal recipe. A 5-10-5 fertilizer may have suited one yard, but it is not automatically right for another; extra seed can be insurance only if you thin it; and one old weed remedy can create a dangerous chemical reaction. Keep the practical instincts, then adjust the details to your soil, crop, climate, and safety.
Start with the site, not the seed catalog
A productive garden begins with a place you can reach and care for. Before buying seed, notice how the site behaves through a normal day and after rain. A smaller bed near a hose often outperforms a large plot that is difficult to water, inspect, or harvest.
For a first season, grow a few crops your household actually eats and leave room to walk between them. That limits the amount of watering and weeding you must keep up with, and it gives you a useful baseline before you expand. Delaware Cooperative Extension’s vegetable garden basics also recommends planning the garden and considering each crop’s space needs before planting.
Observe sun, drainage, wind, and water access
Most fruiting vegetables need several hours of direct sun, while some leafy crops tolerate partial shade. Do not guess from one quick glance: check the proposed bed in the morning, around midday, and later in the afternoon. A tree that looks harmless in spring may cast a much longer shadow once its leaves fill in.
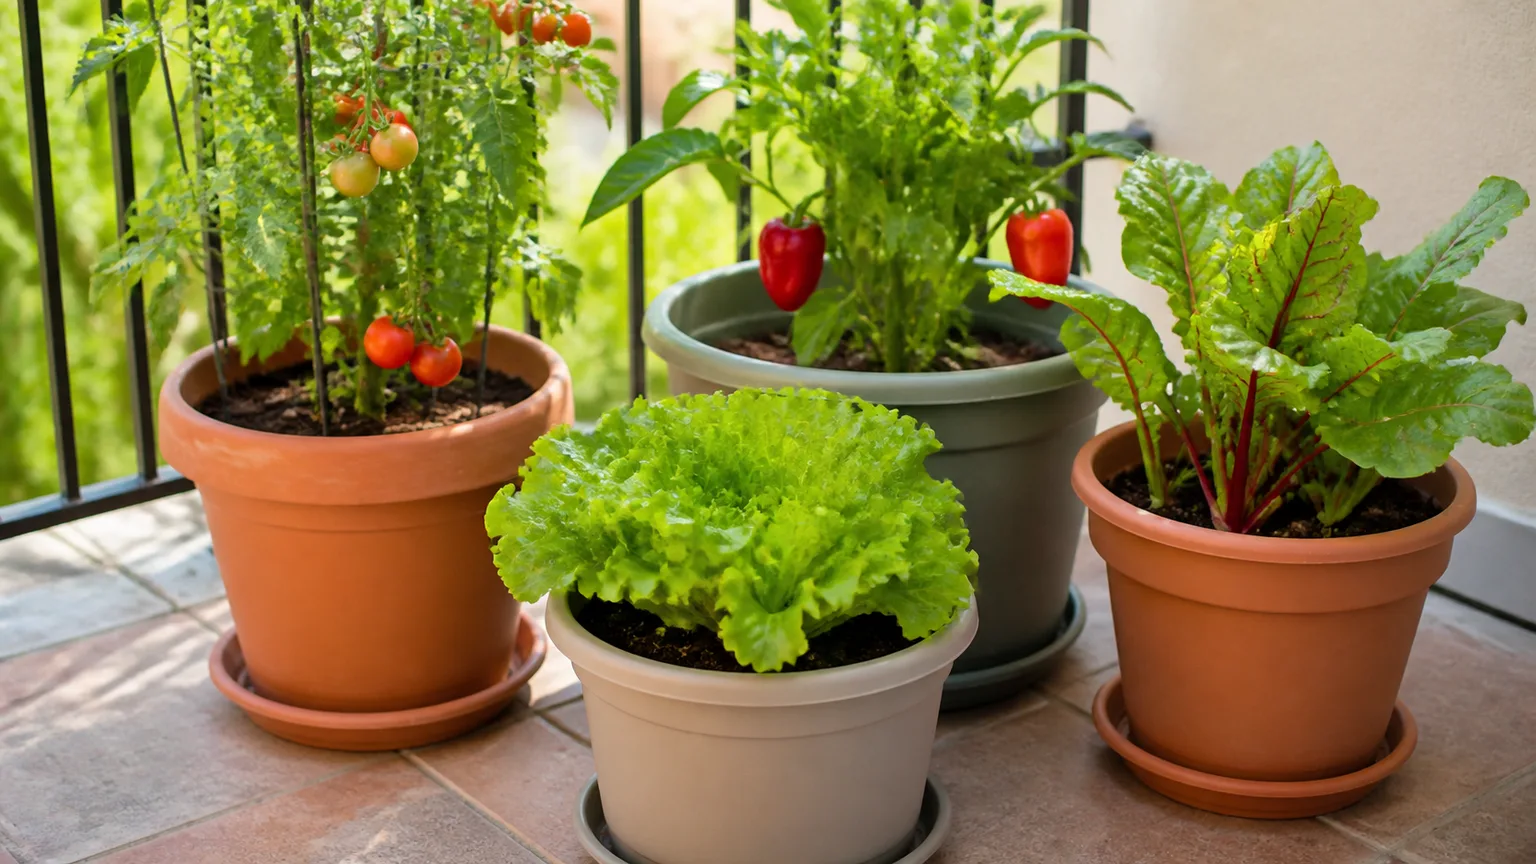
Look for standing water after a rain, a slope that sheds water too quickly, and spots where wind dries the soil. Avoid planting where runoff from a driveway or treated lawn flows into edible beds. If the only available space is paved or has poor soil, containers or a raised bed can work, provided they drain freely and are large enough for the crop’s roots.
Water access belongs in the site plan. A hose that reaches every row or a nearby rain barrel makes it easier to water slowly at the base of plants instead of carrying small cans back and forth. Keep paths wide enough for a wheelbarrow or kneeling pad; good layout reduces compaction because you will not need to step into the growing area.
Keep a small garden notebook
A notebook turns experience into something you can use next season. Record the planting date, variety, spacing, approximate harvest date, rainfall or watering pattern, and any pest or disease problem. Add one short note about the result: “tomatoes shaded after 3 p.m. and produced well” is more helpful than “good tomatoes.”
You do not need a spreadsheet or a detailed garden diary. A page per bed is enough to notice patterns, such as a soggy corner where beans failed or a sunny strip where lettuce bolted early. That record also helps distinguish a recurring site problem from a one-off weather event.
Treat the notebook as evidence about your own garden, not proof that one method always works. If you change the bed, variety, planting date, or watering method, note that too; otherwise you may credit the wrong factor for a better or worse harvest. Over several seasons, this is how a gardener’s “instinct” becomes a repeatable decision.
Build soil with evidence, not fertilizer folklore
Plants grow in a living, physical environment, not just a bag of nutrients. Soil structure affects how air and water reach roots; pH affects which nutrients plants can use; and fertility determines whether a crop has enough of the nutrients it needs. Those are related but different problems, so “add more fertilizer” is not a complete diagnosis.
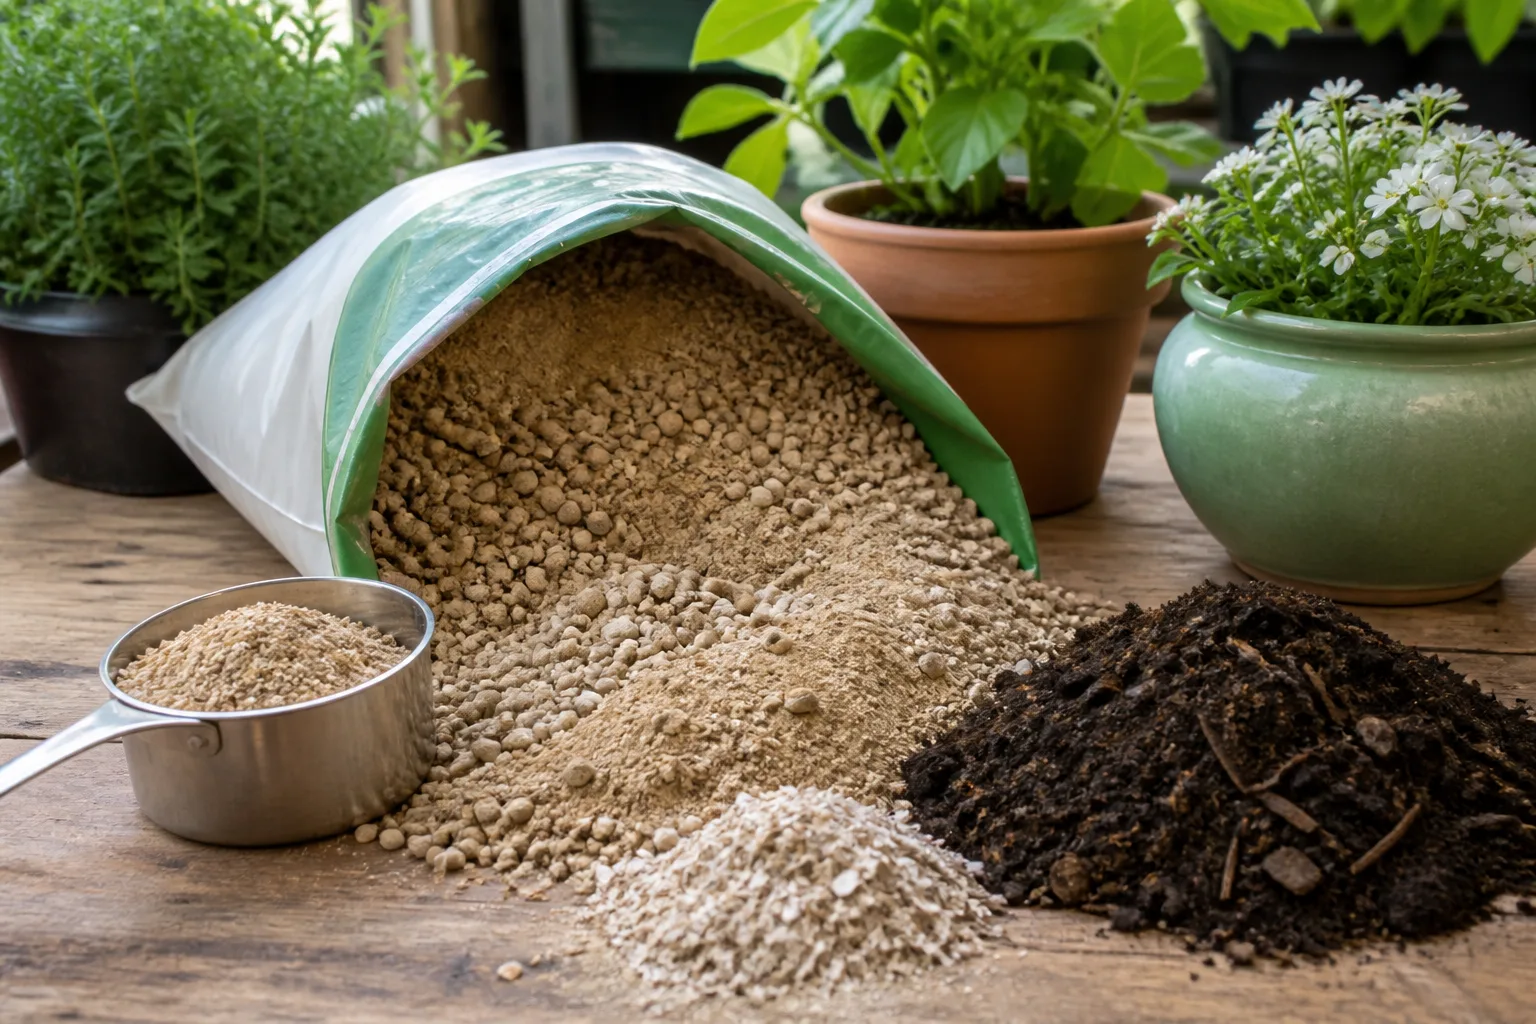
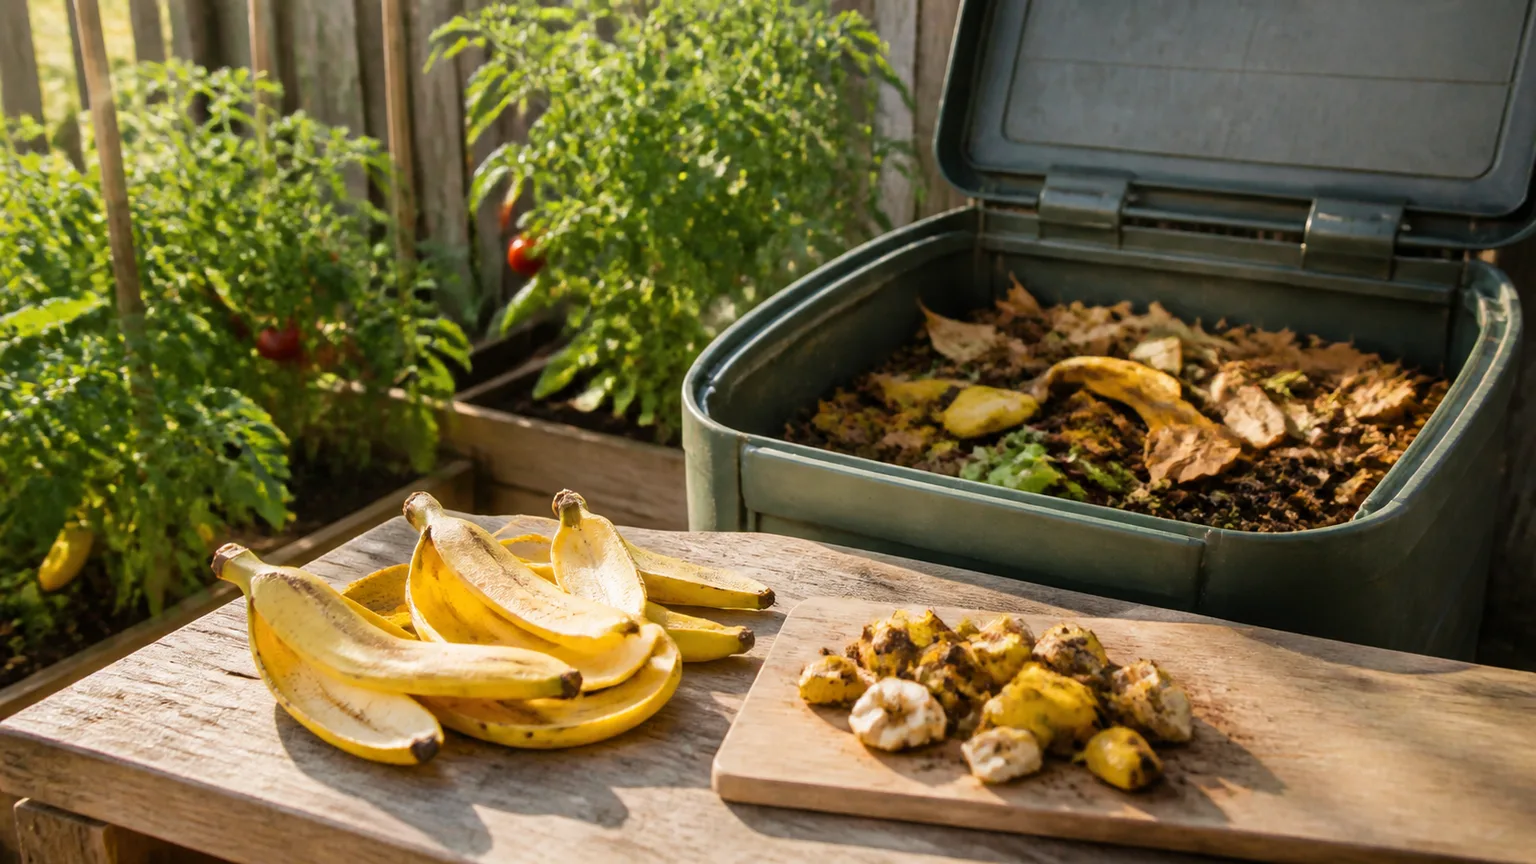
Colorado State University Extension’s vegetable soil guidance explains that compost can improve soil tilth while a manufactured fertilizer supplies nutrients, and the two products do not do the same job. A generous handful of compost can be useful in some soils, but even a good amendment can be overused. Start by finding out what the soil needs, then use only the amendment that addresses it.
Test soil before using fertilizer
A laboratory soil test is the practical first step for a new bed and a good reset when a familiar bed stops performing. Follow the lab’s sampling directions: collect small amounts from several spots in the same growing area, mix them in a clean container, and submit the requested sample. Do not include surface mulch, fertilizer granules, or a single unusually poor patch unless you are testing that spot separately.
The report may give recommendations for pH correction, phosphorus, potassium, or nitrogen. Follow the rate and material it specifies rather than translating the result into a generic product recommendation. Penn State Extension’s vegetable soil fertility guidance emphasizes soil testing as a basis for nutrient management; Virginia Cooperative Extension likewise notes that fertilizer needs vary with the soil, organic matter, fertilizer type, and crop.
A test is not a diagnosis for every problem. Poor drainage, compacted soil, shade, root damage, drought, and disease can all look like weak growth or yellow leaves. If the test is normal, pause before adding anything and check the roots, moisture, light, and leaves for a more likely cause.
Compost is best treated as a soil amendment with nutrient consequences, not as a free fertilizer that can be applied without limit. Ask for a test if you have used manure or compost heavily for several years, or if plants grow lush leaves but produce poorly. The test may show that the soil already has enough phosphorus or that pH—not a lack of fertilizer—is the main issue.
Why 5-10-5 is not a universal garden food
The three numbers on a fertilizer package describe the guaranteed analysis of nitrogen, phosphate, and potash in that order. A 5-10-5 product supplies proportionally more phosphate than nitrogen or potash. That may suit a particular soil-test recommendation or crop schedule, but the numbers do not make it a complete, all-purpose answer for every garden.
A gardener who uses the same blend twice each year without testing may add nutrients the bed does not need. Phosphorus can build up over time, and extra fertilizer does not fix a shaded site, waterlogged roots, or poor seed spacing. Virginia Tech’s guidance explains why recommendations depend on soil-test results and crop requirements; the numbers on the bag should be read in that context, not treated as a verdict.
Before buying a fertilizer, compare the product label with the soil-test recommendation. Check the analysis, how much product to apply per area, whether it is intended for preplant or side-dress use, and whether the crop is already receiving nutrients from compost or manure. Apply only the measured amount, keep granules off foliage unless the label permits foliar use, and water as directed.
If a test calls for a fertilizer you do not have, extension recommendations can often be matched to a different analysis using the nutrient amounts—not by choosing the package with the most balanced-looking numbers. When the math or label is unclear, ask the soil-testing laboratory or a local extension office. Buying another bag is not a substitute for understanding the result.
Sow generously only when you plan to thin
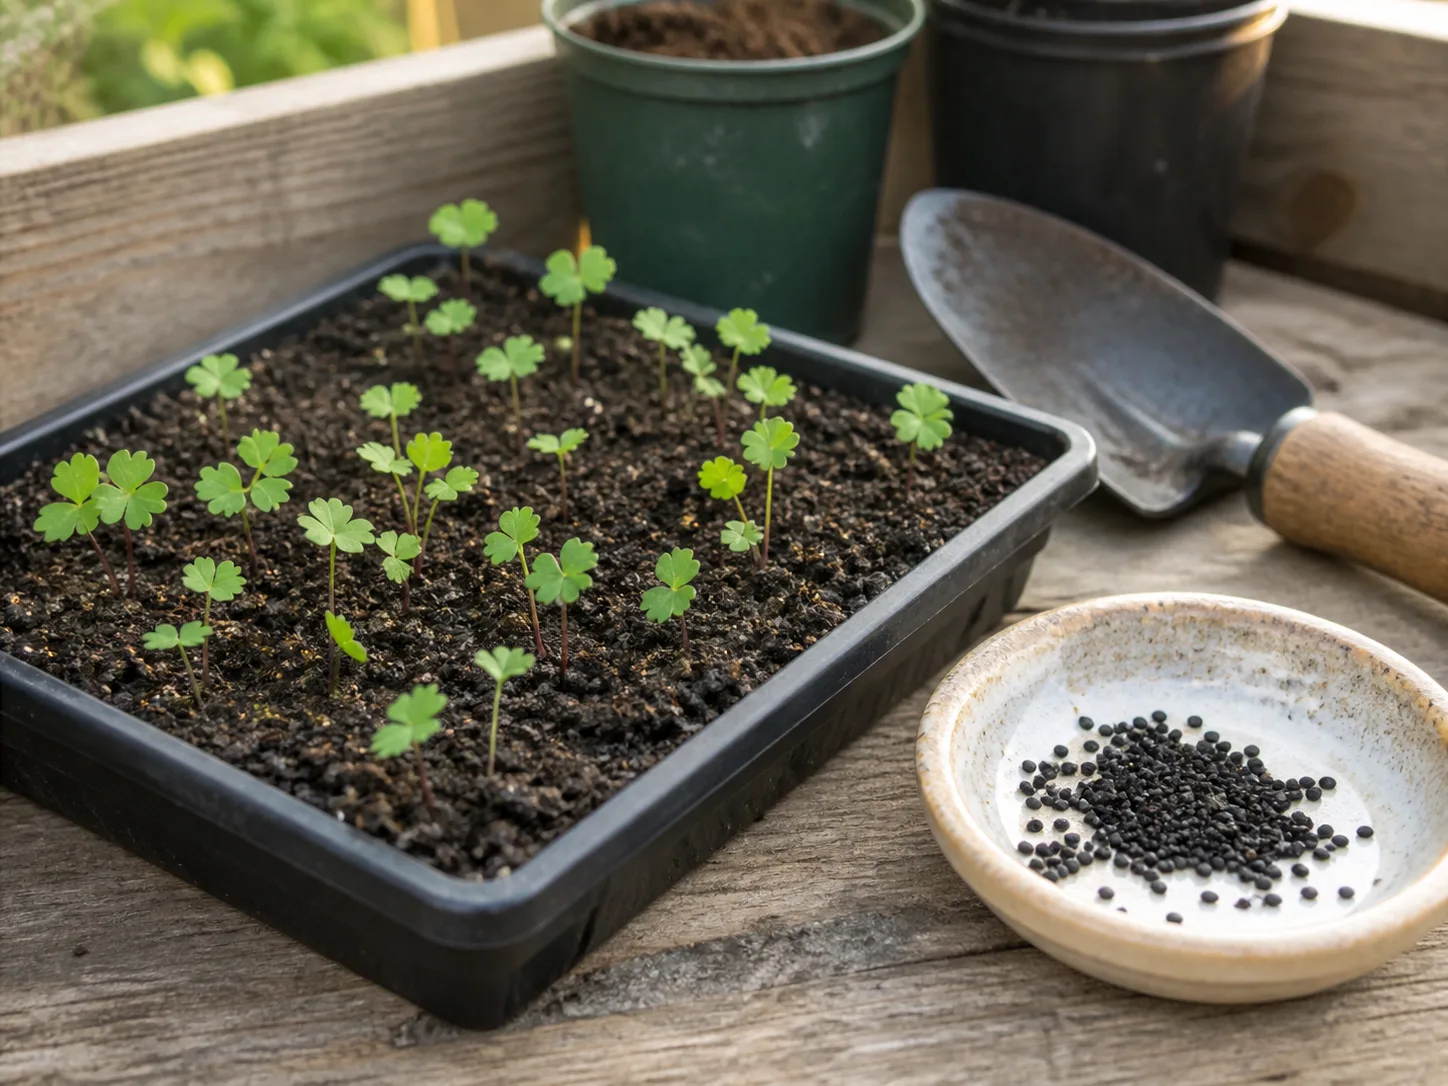
Planting a few extra seeds can fill gaps when germination is uncertain, especially in a short row of greens or a seedling tray where you can separate or thin the starts. It is not a reason to scatter a packet over the whole bed. Closely crowded plants compete for light, water, air, and root space, and some crops do not tolerate having neighboring roots disturbed later.
Use the seed packet as a starting point for sowing depth, row spacing, expected germination time, and the number of seeds to place at each station. Seed viability, weather, soil moisture, and the age of the packet affect how many emerge. If you routinely get a strong stand from fresh seed, sowing exactly where each plant belongs may save more time than thinning a dense row.
Match seed depth, spacing, and orientation to the crop
Depth and moisture are more important than a perfect seed pose. Plant small seed shallowly if the packet says to, cover larger seed more deeply when directed, and firm the soil gently so the seed contacts moist soil. A seed buried too deep may use up its stored energy before it reaches light; one left exposed can dry out or wash away.
For a large seed with an obvious point, placing that end downward is a reasonable small optimization because the root emerges from the seed’s radicle end. If you cannot identify the tip, plant it on its side and move on; the benefit is not worth delaying a whole row. Research on corn seed orientation suggests that orientation can affect emergence in field demonstrations, but that result should not be stretched into a claim that every vegetable seed must be placed point-down (Pioneer Agronomy).
Give each crop enough room for the mature plant, not just the tiny seedling you see today. A packet may call for seeds close together in a row only because the instructions assume you will thin them later. For crops such as beans, peas, squash, and cucumbers, follow the recommended planting stations closely; disturbing intertwined roots later can set back the seedlings you intended to keep.
Thin while seedlings are small
Thinning is not wasted gardening. It is the step that turns a crowded stand into healthy plants with enough room to mature. Follow the final spacing on the seed packet or a reliable crop guide, and remove the weakest seedlings while the roots are still small enough that the remaining plants are not disturbed.
The method depends on the crop. Pull extras when they come free easily and the soil is damp; snip seedlings at soil level when pulling could disturb a neighbor’s roots, as with beans and cucurbits. Fine Gardening’s guide to thinning vegetable seedlings and Epic Gardening’s seedling-thinning advice explain why spacing needs differ by crop and how baby greens or small roots can sometimes be harvested as thinnings.
If you want leaves rather than full-sized heads, plant for that purpose and harvest progressively. Baby lettuce or spinach can grow in tighter spacing for an early cut, then be thinned so the remaining plants can size up. Root vegetables need room below the surface; leaving every carrot or beet seedling in place often produces small, crowded, or misshapen roots instead of a bigger harvest.
Moving extras is possible for some crops, but it is not a universal rescue plan. Lettuce and chard may transplant more readily than carrots, beans, or squash. When the crop is sensitive to disturbance, snipping is kinder to the plant you keep than digging out its neighbor and hoping both recover.
Water the root zone by checking soil, not the clock
A fixed watering calendar cannot account for a week of rain, a heat wave, sandy soil, a raised bed, or a pot in full sun. Water needs also change as seedlings become established and as crops flower or fill fruit. The useful habit is to check the soil and the plant before you decide, then water deeply enough to reach active roots rather than wetting only the surface.
Water near the soil line so more of it reaches the root zone and less is lost to wind or evaporation. A soaker hose or drip line can make that routine easier, but a watering can works if you apply water slowly. Harvest to Table’s practical heat-wave guidance warns against shallow daily sprinkling and recommends checking soil moisture rather than waiting for plants to wilt.
Adjust for crop, weather, and soil texture
Push a finger or narrow trowel a few inches into the soil near the plant, away from the stem. If the root zone is cool and damp, wait and check again; if it is dry, water slowly until moisture reaches deeper than the surface crust. In containers, check more often because a small volume of potting mix can dry much faster than an in-ground bed.
Sandy soil drains quickly and may need smaller, more frequent watering; heavy clay holds water longer and can become oxygen-poor if it stays saturated. A raised bed often drains faster than the surrounding ground, and a leafy crop in hot wind may need attention sooner than an established drought-tolerant herb. Treat any weekly rainfall estimate as a rough guide, not a command to water if the soil is already wet.
Newly sown seed is a special case: keep the seed zone evenly moist until germination, using a fine spray or gentle watering that will not dislodge seed. Once seedlings establish roots, shift toward deeper watering with enough time between sessions for the soil to begin drying. If a plant droops in afternoon heat but recovers by morning, check the soil before assuming it needs an extra dose.
Use mulch to steady moisture and suppress weeds
A loose organic mulch can reduce evaporation and block light from many annual weeds. Apply it after the soil has warmed and seedlings are established, then leave a small open ring around stems so the mulch does not trap excess moisture against tender tissue. Straw, shredded leaves, or other clean mulch can work; avoid material that contains weed seeds, herbicide residue, or unknown chemicals.
Mulch changes how often you need to water, so check under it rather than judging by the dry surface. Pull it back occasionally to make sure the soil is not staying soggy or hiding slugs and other pests. Add a thin layer when the old mulch has broken down; piling on new material each season without checking the old layer can smother crowns and stems.
Prevent pests through scouting and targeted barriers
The old instinct to look around the edge of a garden before pests arrive can be useful if it leads to observation and exclusion. Inspect new growth, leaf undersides, and stems at least once a week; look for the insect or disease sign itself, not just a hole or yellow patch. Many symptoms have several possible causes, so identifying the problem comes before choosing a treatment.
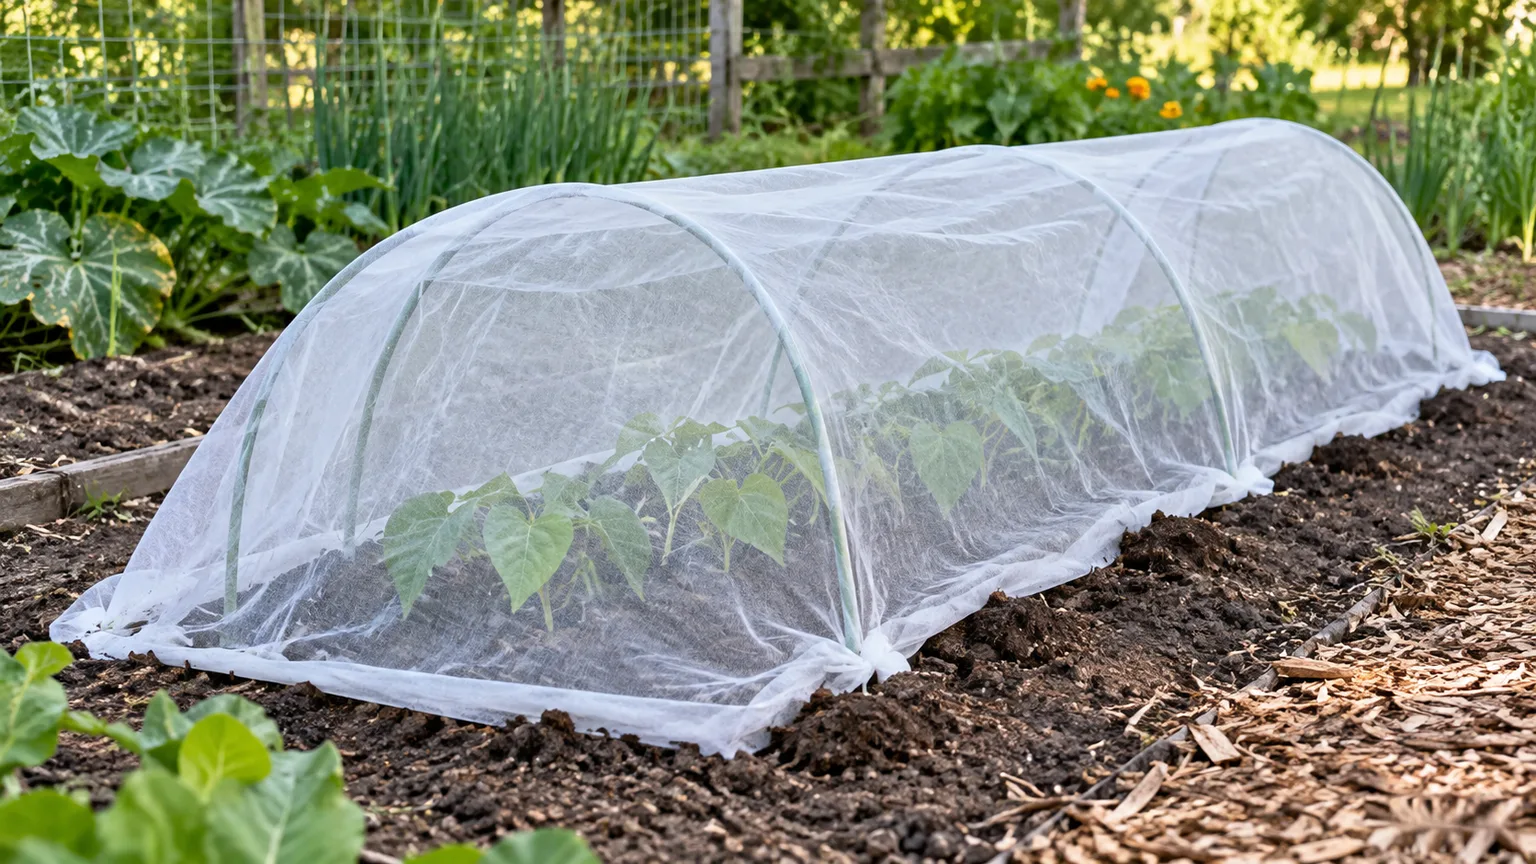
A lightweight row cover can exclude some insects when it is installed before pests reach the crop, but it may also block pollinators from plants that need them. A fence or mesh barrier can solve a specific access problem, while a random spray around a bed may do nothing to a pest that flies in or already lives on the plant. Match the barrier to the pest and remove it when flowering or ventilation makes it unsuitable. Delaware Cooperative Extension’s vegetable garden basics frames pest control as integrated pest management: prevent and scout first, use physical or cultural controls where they fit, and consider a labeled pesticide only when needed.
Spray only after you identify the pest and read the label
A pesticide sprayed around a pot or bed is not automatically a protective boundary. Insecticides work only on the pests and situations listed on the label, and some products can harm beneficial insects if they contact them. Avoid broad routine spraying “just in case.” First inspect the crop, identify the insect, and decide whether the damage is actually significant enough to treat.
Start with the least disruptive method that fits the problem: remove a few visible insects by hand, clip heavily damaged material, or use a physical barrier when it will not interfere with pollination. If a labeled product is warranted, follow its crop list, application rate, protective equipment, harvest interval, and weather limits exactly. Never combine pesticides or improvise a spray mixture unless the product label specifically allows it.
If you cannot identify the pest, take a clear photo of the insect and the damage and ask a local extension office or Master Gardener service. A quick identification can prevent treating a harmless visitor or a nutrient problem as an insect outbreak. It also prevents a spray from replacing the more effective fix, such as improving airflow or changing when you water.
Choose safe, repeatable weed control
Weeds compete with vegetables for water, light, and nutrients, so dealing with them while they are small is one of the most reliable time-saving habits. Hand-pull shallow-rooted annuals when the soil is moist, use a hoe to cut seedlings just below the surface, and mulch open ground before weeds have room to establish. Colorado State’s PlantTalk weed-control guidance describes mulching, hand-weeding, mowing, and cultivation as cultural controls, while noting that perennial weeds may regrow from roots left behind.
Choose the method according to the weed and the location. For a few weeds in a vegetable bed, pulling or shallow cultivation gives you control without putting an herbicide near food crops. In paving cracks, scrape or lift the weed and its root when possible; if you use a commercial product, the label must explicitly allow that site and use.
Never mix bleach with vinegar
Do not combine household bleach with vinegar to make a weed killer. Vinegar is acidic, and mixing bleach with an acid can release chlorine gas, which irritates the eyes and airways and can cause serious breathing injury. Poison Control explains the hazard in its chlorine-gas safety guidance; the safe rule is to keep bleach away from vinegar and other cleaning acids entirely.
Vinegar by itself is also a blunt tool, not a selective garden treatment. It can burn foliage on any plant it contacts, including vegetables and ornamentals, and a quick brown top does not prove that a perennial weed’s roots are dead. Avoid spraying homemade mixtures near edible crops, desirable plants, drains, or soil you intend to keep productive.
For a young annual weed, remove it before it flowers and sets seed. For a perennial with a deep or spreading root system, repeated cutting or careful digging may be necessary; do not scatter root fragments if the species can regrow from them. The goal is to exhaust or remove the weed while protecting the crop and soil around it, not to use the strongest liquid you can find.
Make the garden easier to maintain and harvest
A garden that fits your time and body is more likely to thrive than an ambitious layout that becomes a chore. Keep paths clear, place frequently harvested crops where you can reach them, and group plants with similar sun and water needs. If bending or kneeling is difficult, a raised bed, sturdy seat, long-handled tool, or container at a comfortable height can make everyday checks easier.
Do one short inspection loop several times a week instead of waiting for a long weekend to catch up. Look for dry soil, weeds before seed heads form, damaged leaves, and produce ready to pick. Small, regular corrections prevent a dry patch, pest colony, or overgrown row from turning into a large project.
Harvesting is part of plant care, not a reward saved for the end of the season. Pick crops at the stage recommended for the variety, and remove damaged or diseased material promptly. Keep the most satisfying crops in the plan: a garden that produces food you enjoy is easier to keep tending than a bed designed only to impress.
Conclusion
The strongest gardening advice from a grandparent is usually a habit of paying attention: notice where the sun falls, learn how the soil drains, watch seedlings emerge, and respond before a small issue spreads. Keep a garden notebook so those observations become useful next season, and build your plan around the space, time, and water you actually have.
Update the parts that depend on a specific yard or era. Test soil before repeating a fertilizer schedule, follow crop-specific spacing instead of scattering every seed, check moisture instead of watering by the calendar, and identify pests before spraying. Most of all, never mix bleach and vinegar. Those few corrections let time-tested patience and modern evidence work together in a garden that is safer, easier to manage, and more productive.



