3 Best At-Home Mold Tests and When to Call a Pro
The best at-home mold test depends on your question. Compare air, surface, and humidity-monitoring tools, plus safer sampling and pro-inspection advice.
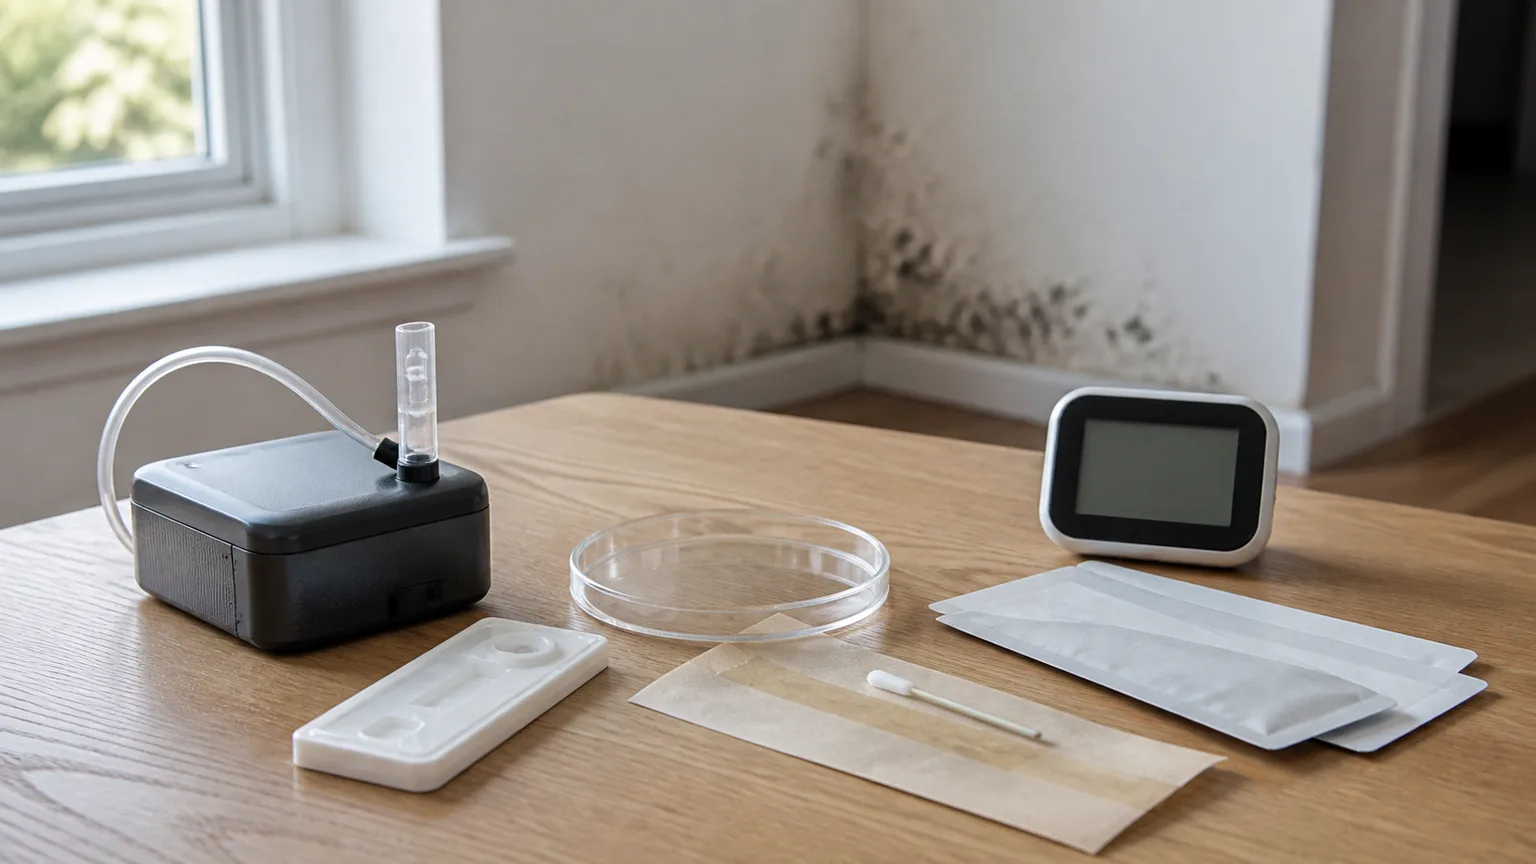
An at-home mold test can be useful when it answers a narrow, clearly defined question. It cannot tell you whether a home is “mold-free,” diagnose a health problem, or make a damp wall safe to open. The right choice depends on whether you need an air sample, a sample from one visible surface, or a way to track the humidity that lets mold grow.
This review compares three different tools: the My Mold Detective Mold Test Kit for indoor and outdoor air sampling, the Seeml Labs DIY Mold 3 Test Kit for targeted surface samples, and the Airthings Wave Mini for monitoring humidity and other indoor conditions. Only the first two collect material for mold analysis. The Wave Mini is included because it is often considered alongside mold tests, even though it does not detect mold.
The most important recommendation comes before the shopping list: if you can see substantial mold, smell a persistent musty odor, or know that a room has ongoing water damage, focus on finding and correcting the moisture source. The EPA explains that sampling is not necessary in every situation and that there are no federal standards for judging an acceptable amount of mold in a home. EPA mold-testing guidance A result may add context, but it should not delay drying, repair, containment, or professional help.
Start here: decide whether you need a test
Start with the condition of the room, not with the promise printed on a test kit. Testing is most defensible when you have a specific decision to make: comparing a questionable indoor room with outdoor air, documenting a sample from a defined material, or tracking humidity while you investigate a leak. It is least useful when the goal is simply to learn whether a home contains any mold. Mold spores are common indoors and outdoors, so a positive sample alone does not establish a problem.
Use this quick triage:
- Visible growth: Do not scrape it just to get a better sample. Photograph the area from a safe distance, stop the moisture, and determine whether the size, material, or occupant risk calls for professional remediation.
- A recent leak or flood: Dry and repair first. If drywall, insulation, flooring, or cabinetry stayed wet, a professional can look for hidden damage and advise on removal. A test is not a substitute for opening or replacing damaged porous material when that is the appropriate repair.
- A smell with no visible source: Look for plumbing leaks, condensation, HVAC moisture, wet carpet padding, and damp cavities. A professional inspection is often more useful than randomly sampling room air.
- A health concern: Testing cannot establish that mold is causing a particular symptom. Talk with a health professional about symptoms while addressing dampness in the home; do not use a home test as medical clearance.
- Preventive monitoring: A hygrometer or environmental monitor may help you catch high humidity, but it will not tell you whether mold is present.
The CDC says it does not recommend mold testing as a routine way to evaluate health effects. Its guidance emphasizes that people respond differently, sampling and culturing cannot determine who will become sick, and removing mold and preventing new growth are the practical priorities. CDC mold guidance
The three options at a glance
| Option | Sample or measurement | Best use | Main limitation |
|---|---|---|---|
| My Mold Detective Mold Test Kit | Pump-collected air samples, with indoor and outdoor comparison | A documented air snapshot when you have a defined comparison question | It samples only the air and time you choose; lab fees, sample count, and current kit details vary |
| Seeml Labs DIY Mold 3 Test Kit | Tape or surface samples from selected areas | Checking a specific visible or suspected surface without buying an air pump | It says little about room-wide air or hidden growth, and the sampled spot may not represent the room |
| Airthings Wave Mini | Temperature, relative humidity, and VOC readings through an app | Watching conditions that can support mold growth and evaluating moisture-control efforts | It does not collect, identify, or count mold; a risk indication is not a mold finding |
The first two are not interchangeable. Air sampling can help compare airborne particles at two locations, while a surface sample answers what was on one chosen patch. Neither one maps every wall, cavity, furnishing, or HVAC component. The third option measures an environmental cause rather than the organism itself.
Product contents, app features, lab arrangements, turnaround times, and fees can change. Confirm what is included at checkout, whether analysis is included, how samples must be shipped, and what support the current manufacturer or laboratory provides before buying.
1. My Mold Detective Mold Test Kit
My Mold Detective is the air-sampling choice in this group. The kit uses a reusable pump with collection cassettes and is designed for multiple samples, commonly including three indoor samples and one outdoor comparison sample. Samples are sent to a laboratory rather than interpreted from a plate growing on a countertop. The lab fee is a separate cost in the kit arrangement described here, so calculate the price for every sample you plan to submit.
Best for: comparing indoor and outdoor air samples
Choose this format when your question is something like, “Does this room’s airborne spore profile look materially different from an outdoor reference taken at about the same time?” That is a more useful question than “Does my house have mold?” because it defines a location and comparison. Follow the current instructions closely: sampling height, pump duration, outdoor placement, weather, HVAC operation, and the number of cassettes can all affect how comparable the results are.
The kit’s advantages are the air pump, the ability to sample more than one location, and a laboratory report rather than a self-scored culture plate. Some versions describe analysis through an AIHA-accredited laboratory and include access to a report or consultation. Treat those as current-listing details to verify, not permanent guarantees. Look for the laboratory’s name, the analytical method, and clear instructions for submitting each cassette.
Its limitations matter just as much. One air sample is a snapshot. It may miss settled growth, a concealed cavity, or a source that is not releasing many particles during the sampling window. It may also detect outdoor spores carried inside without proving that a wall or floor is colonized. An indoor/outdoor difference deserves interpretation alongside moisture evidence, odor, visible conditions, and the building history—not an automatic conclusion that every room needs remediation.
Do not run the pump while sanding, vacuuming, spraying cleaners, opening a wall, or otherwise creating unusual dust. If the room has obvious growth, sampling can add exposure while leaving the underlying decision unchanged. A professional can select locations and interpret results in the context of the structure.
2. Seeml Labs DIY Mold 3 Test Kit
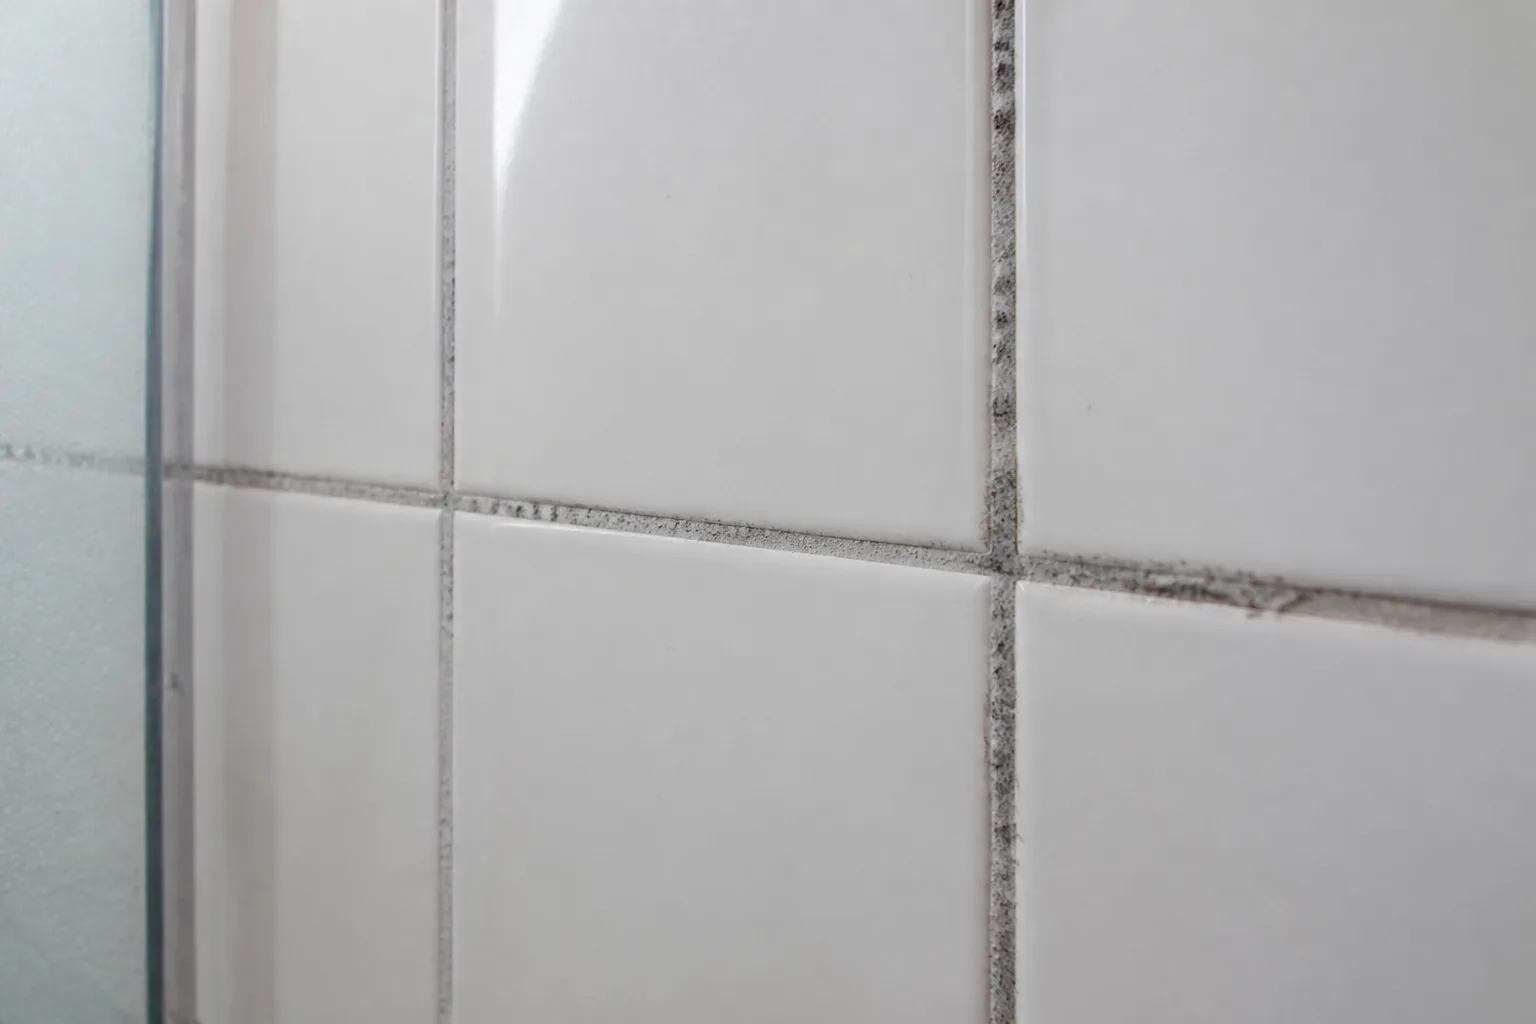
The Seeml Labs DIY Mold 3 Test Kit is the more focused option for surfaces. It uses tape-style collection from up to three selected locations and sends those samples for laboratory analysis. The listing evaluated for this comparison described lab analysis as included, with postage or shipping handled separately, and a digital report or consultation available after processing. Verify those terms before ordering because kit bundles and fees can change.
Best for: a targeted surface sample
This format makes sense when you need to document what is on a particular accessible surface—for example, a defined patch near a leak—and you understand that the answer will apply to that sampled spot. It avoids the extra equipment and interpretation issues of pumping several air cassettes, and it can be easier to connect a result to a visible material.
The narrow scope is also the reason not to overread it. A tape sample does not measure the air in the room, tell you how much growth is behind a wall, or establish that an unsampled carpet, duct, ceiling, or cabinet is unaffected. It can identify or describe material collected from the tape, but it cannot establish whether the spot is making someone ill. Color is not a species identification: green, white, brown, and black appearances are not reliable shortcuts to toxicity or urgency. The practical response is driven by moisture, material, extent, and occupant risk.
If the material is loose, friable, in a ceiling cavity, or likely to spread when touched, do not press tape onto it merely to improve the report. Keep people and pets away, avoid fans that could distribute dust, and ask a professional how to document or sample it. When the affected area is small and on a cleanable hard surface, the sample may be a supplemental record, but it should not postpone cleaning and drying.
3. Airthings Wave Mini
The Airthings Wave Mini is not a mold test. It is a compact environmental monitor that tracks conditions such as temperature, relative humidity, and volatile organic compounds through an app. Its value is preventative: it can show whether a basement, bathroom, bedroom, or plant-filled room is staying damp enough to justify better ventilation, a dehumidifier, or a leak investigation. The manufacturer presents the readings as indoor-environment information, not a laboratory mold result. Airthings product page
Best for: monitoring conditions, not finding mold
Use it when the next decision is about moisture control. Place it where the concern actually occurs, away from a direct vent, radiator, window condensation, or a humidifier plume. Watch trends rather than reacting to one reading. A room that repeatedly remains humid overnight tells you more than a brief spike after a shower, but even a comfortable room reading does not prove that a damp wall cavity is dry.
Aim for roughly 30–50% relative humidity when practical and respond to sustained readings above 60%, especially if surfaces are cool or condensation is present. The EPA recommends keeping indoor humidity below 60%, ideally between 30% and 50%, to reduce conditions that support mold. EPA moisture guide A monitor can help verify that a dehumidifier or ventilation change works; it cannot see behind drywall, identify a species, count spores, or certify a room.
If a high reading is localized, check for the cause: plumbing, roof or foundation leaks, dryer or bathroom exhaust, air-conditioning condensate, wet soil near the foundation, or a cold surface collecting condensation. Relative humidity in the middle of a room can look normal while a poorly insulated corner stays wet. Pair the monitor with a visual inspection and, when appropriate, a moisture meter or professional assessment.
What at-home mold tests can actually tell you
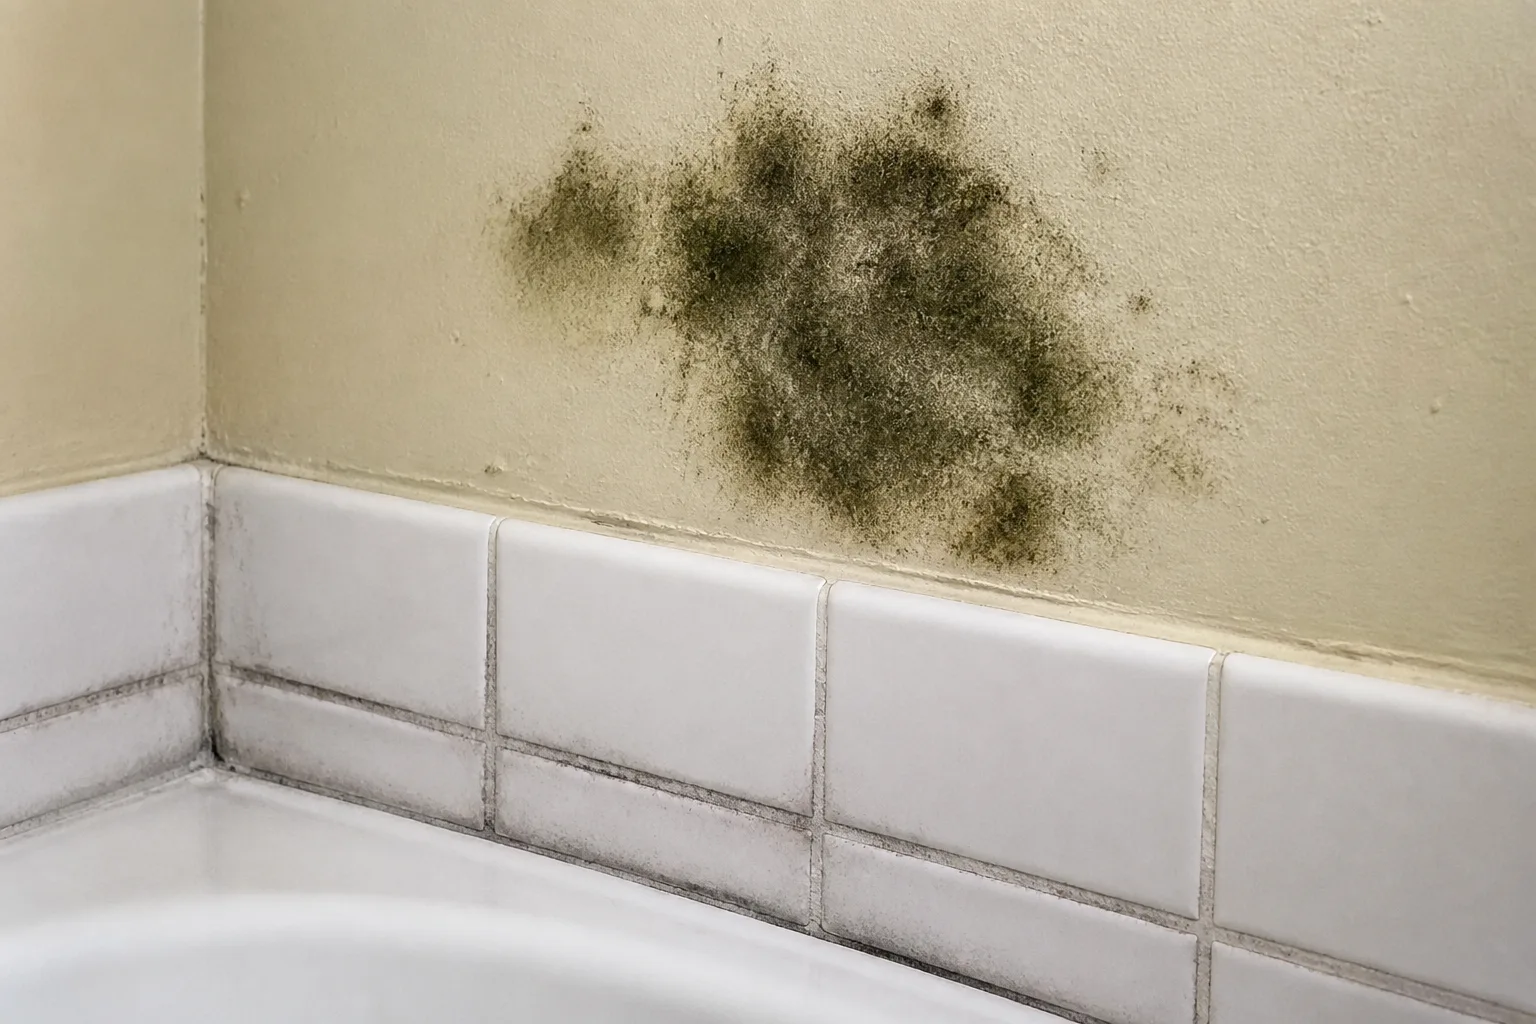
Testing is a measurement exercise, not a verdict. A result describes the material or air captured by a particular method, at a particular place and time, under the conditions present that day. It becomes useful only when it is connected to a decision and interpreted with the building’s moisture history. Practical visual clues such as discoloration and musty odor can help you find an area to investigate, but they cannot identify a species or prove a health effect. AHS practical ID guide
Air sampling measures a moment in time
Air sampling can show what airborne particles were captured during the pump’s run. An indoor sample can be compared with an outdoor sample or with another indoor location if the collection conditions are reasonably comparable. That can help an inspector ask better questions about a room, particularly after a repair or when there is no visible source.
It cannot tell you the total amount of mold in a building. Air concentration changes with weather, ventilation, foot traffic, cleaning, HVAC cycling, and whether a source is actively releasing particles. A low result does not rule out settled or concealed growth, and a high result does not by itself identify the source or tell you which repair is needed. Results should be read with the sampling method, detection limits, locations, and building observations in view.
Surface sampling answers a narrower question
A tape lift or swab identifies what was collected from a chosen surface. That can help distinguish a suspected patch from ordinary dust or document a material before repair, but the sample is only as representative as the spot selected. A clean tape from one corner cannot clear the wall, and a positive tape from a small patch does not quantify the entire home.
Avoid home culture plates that invite you to grow an unknown mixture for days and then compare the shapes with internet photographs. Growth on a plate indicates that something grew under those artificial conditions; it is not a standardized survey of the home, a reliable measure of risk, or a health test. If you need laboratory analysis, choose a kit that clearly identifies its laboratory and method rather than relying on a visual color chart.
What a professional assessment adds
A qualified professional brings building investigation to the sample. They can trace moisture, inspect concealed or difficult areas, evaluate HVAC and drainage, distinguish a current leak from an old stain, and decide whether sampling will change the recommended action. They can also select several locations, record conditions, use appropriate containment, and explain whether a material should be cleaned, dried, removed, or left undisturbed.
That does not mean every concern requires a large remediation project. It means the test is placed in context. NIOSH says that finding and promptly correcting dampness is more effective for preventing health problems than relying on indoor air samples alone, and it notes that water sources can be hidden. NIOSH dampness guidance
Ask a prospective inspector what training they have, what the inspection includes, whether sampling is optional, which laboratory would analyze samples, and how the report will separate observations from interpretations. Be wary of an arrangement in which the same party creates an alarming result and sells an undefined cleanup without explaining the moisture source, scope, containment plan, or verification method.
How to choose the right test
Match the tool to the decision you need to make:
| Your actual question | Most suitable starting point | Why |
|---|---|---|
| Is a visibly damp material affected? | Moisture investigation, with professional sampling if needed | Fixing the source and assessing the material matter more than a general air number |
| Does one room’s airborne sample differ from an outdoor reference? | Pump-and-cassette air kit or professional air sampling | The method is designed for a defined air comparison, not a whole-house clearance |
| What is on one accessible, questionable surface? | Laboratory tape-lift kit or professional surface sample | It answers a material-specific question while leaving the rest of the room untested |
| Is the room repeatedly too humid? | Hygrometer or environmental monitor | Trends can guide ventilation and dehumidification; they do not detect mold |
| Could growth be behind drywall or under flooring? | Professional inspection | Hidden materials and moisture paths are not reliably evaluated by a mail-in sample |
| Is someone having symptoms? | Health professional plus moisture investigation | A home test cannot diagnose the cause of symptoms |
If you do buy a kit, favor transparent instructions, a named laboratory, a stated method, identifiable sample locations, and a report that distinguishes findings from conclusions. A low price is not a bargain if the kit gives you no way to interpret the result or charges unexpected fees for every sample.
How to collect a sample without making the result worse
Read the current kit directions before touching the suspected area. Sampling methods are not interchangeable, and improvising can make results incomparable. Wear gloves and eye protection, keep children, pets, and people with asthma or significant allergies away, and avoid disturbing porous materials. If the area is extensive, spreading, in a ventilation system, or associated with serious water damage, stop and ask a professional.
For an air kit, choose a normal-use condition and record the date, room, weather, windows, HVAC state, recent cleaning, and exact pump location. Do not create dust to “wake up” a sample, and do not place the outdoor reference beside an exhaust outlet or directly in rain. Keep each cassette sealed and labeled exactly as directed. The point is a documented snapshot, not a dramatic result.
For a surface kit, select a small, representative accessible spot without scraping, brushing, or lifting material into the air. Photograph the location before sampling and note the substrate—paint, drywall, wood, fabric, tile, or another material. Seal and ship the sample according to the laboratory instructions. Do not sample a dangerous, unstable, or hidden area just because the kit says it can accept three samples.
Most importantly, do not postpone drying. A water-damaged material can worsen while a sample is in transit. The EPA recommends drying wet materials promptly and addressing leaks; if porous materials remain wet for roughly 24–48 hours, professional advice becomes more important because removal may be necessary. EPA moisture guide
How to read a report without overreacting
Before looking at the result, check whether the report answers the basic questions: What was sampled? Where and when? By which method? At what volume or surface area? Which laboratory analyzed it? What was detected, and what were the reporting limits? If there is an indoor/outdoor comparison, were the samples collected under similar conditions?
Then separate three statements that are often blurred together:
- The sample contained or did not contain a reported type of material. This is the laboratory observation.
- The sample was higher, lower, or different from another sample. This is a comparison that depends on collection conditions and method.
- The home is safe, unsafe, or causing illness. This is a much broader conclusion that a single home kit cannot establish.
There is no universal federal pass/fail number for mold in homes. The CDC’s resources explain why a mold count should not be treated as a health diagnosis, and its public guidance prioritizes removing mold and preventing recurrence over trying to name every type. CDC mold resources A report that uses confident language but does not show locations, methods, or limitations deserves questions.
Use the result to decide what to inspect next, not to decide whether moisture can be ignored. A detected sample with no building evidence may call for a closer inspection; a non-detected sample in a room with a leak, odor, or damaged drywall may call for repair anyway. If the implications affect a tenant dispute, sale, insurance claim, or major remediation, share the complete report with an independent qualified professional rather than relying on a kit’s sales support alone.
When not to test—and when to call for help
Skip DIY sampling when the answer will not change the next step. That includes obvious visible growth, active flooding, sewage contamination, a strong musty odor with suspected hidden damage, material inside HVAC equipment, or an area that is too large or difficult to contain safely. Testing can create false reassurance and can also make a small, manageable problem more alarming than the building evidence supports.
Call a professional when mold may be behind drywall, under flooring, in insulation, around a foundation, or inside an air-handling system; when the moisture source is unresolved; after a significant flood; or when the affected area is beyond a small cleanable patch. The EPA’s guidance is a useful starting point for deciding when the extent or material changes the cleanup approach. EPA mold-testing guidance
Protect sensitive occupants while you investigate. People with asthma, severe allergies, chronic lung disease, or weakened immune systems may need extra medical and environmental guidance. A person experiencing symptoms should speak with a clinician; do not ask a lab report to answer a medical question. Keep anyone who is vulnerable away from active disturbance and cleaning until you have a safe plan.
Reduce the moisture that lets mold return
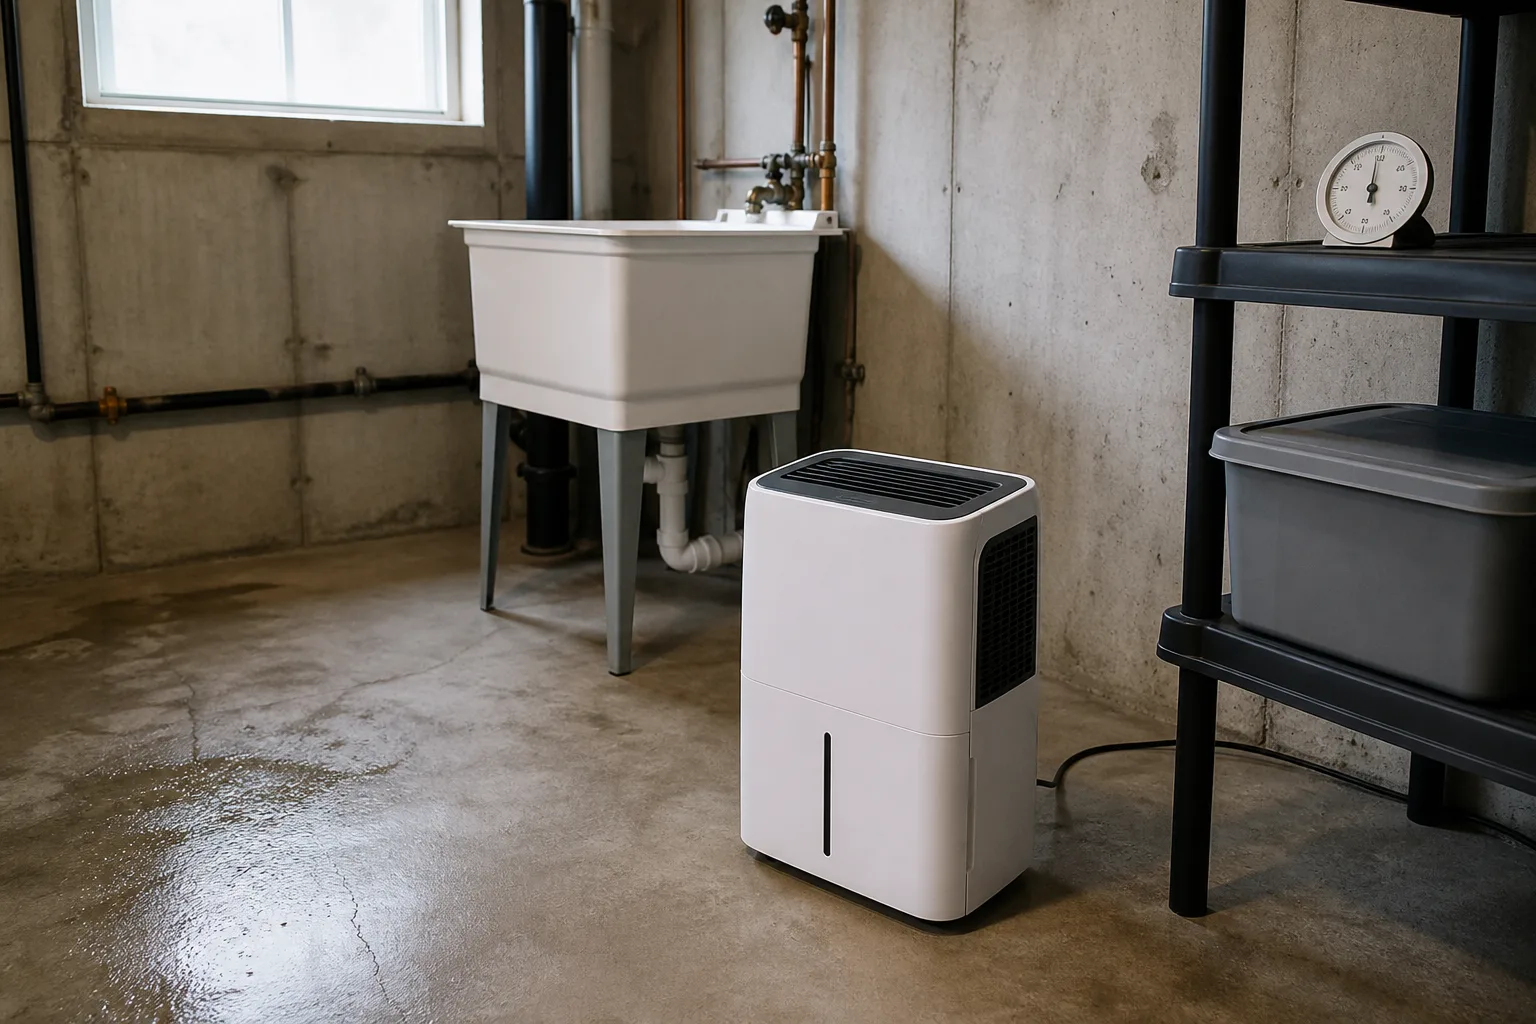
The most useful “test” is often a repeatable check for water. Look under sinks, around toilet and tub plumbing, at window corners, behind furniture on exterior walls, around the water heater, near the HVAC condensate line, and in the basement or crawl space. Check roof, gutter, grading, and foundation issues after rain. A moisture meter can help compare materials, but it is still a screening instrument; readings need to be interpreted according to the material and the meter’s limits.
Use a monitor to verify the effect of your fix. Run bathroom and kitchen exhaust to the exterior, vent the dryer outdoors, repair leaks, keep air moving around cold surfaces, and use a dehumidifier where humidity remains high. Aim for 30–50% relative humidity when practical and investigate sustained readings above 60%. Do not aim a fan at visible growth or use ventilation to blow spores into another room.
After a small hard-surface cleanup, follow the product label and use protective equipment. Never mix bleach with ammonia or other cleaners, and do not assume that painting over a damp or contaminated material solves the source. For porous materials, extensive growth, or recurring staining, ask a professional before demolition. The CDC’s basic prevention message is straightforward: control moisture, dry wet areas quickly, and correct leaks rather than waiting for a test to announce the problem. CDC mold guidance
Recheck the area after the repair. A falling humidity trend, dry materials, no returning odor, and no new staining are meaningful building evidence. If the problem returns despite reasonable moisture control, escalate the inspection instead of repeatedly ordering kits with different brand names.
Conclusion
The best at-home mold test is the one that matches a specific question. My Mold Detective is the most suitable of these three for a carefully documented indoor/outdoor air comparison. Seeml Labs is the more focused choice for a laboratory surface sample from one accessible location. Airthings Wave Mini can help you track humidity and other conditions, but it does not test for mold.
None of them replaces a moisture investigation or professional assessment when growth is visible, hidden damage is likely, or the building problem is large or recurring. Fix leaks, dry materials promptly, protect sensitive occupants, and treat every result as one piece of evidence. That approach keeps a test from becoming either false reassurance or an expensive distraction from the repair that actually prevents mold from returning.



