12 Bulb Garden Ideas for Gorgeous Pops of Spring Color
Find spring bulb garden ideas for small yards, containers, woodland edges, and cut flowers, plus planting-depth and after-bloom tips that help bulbs return.
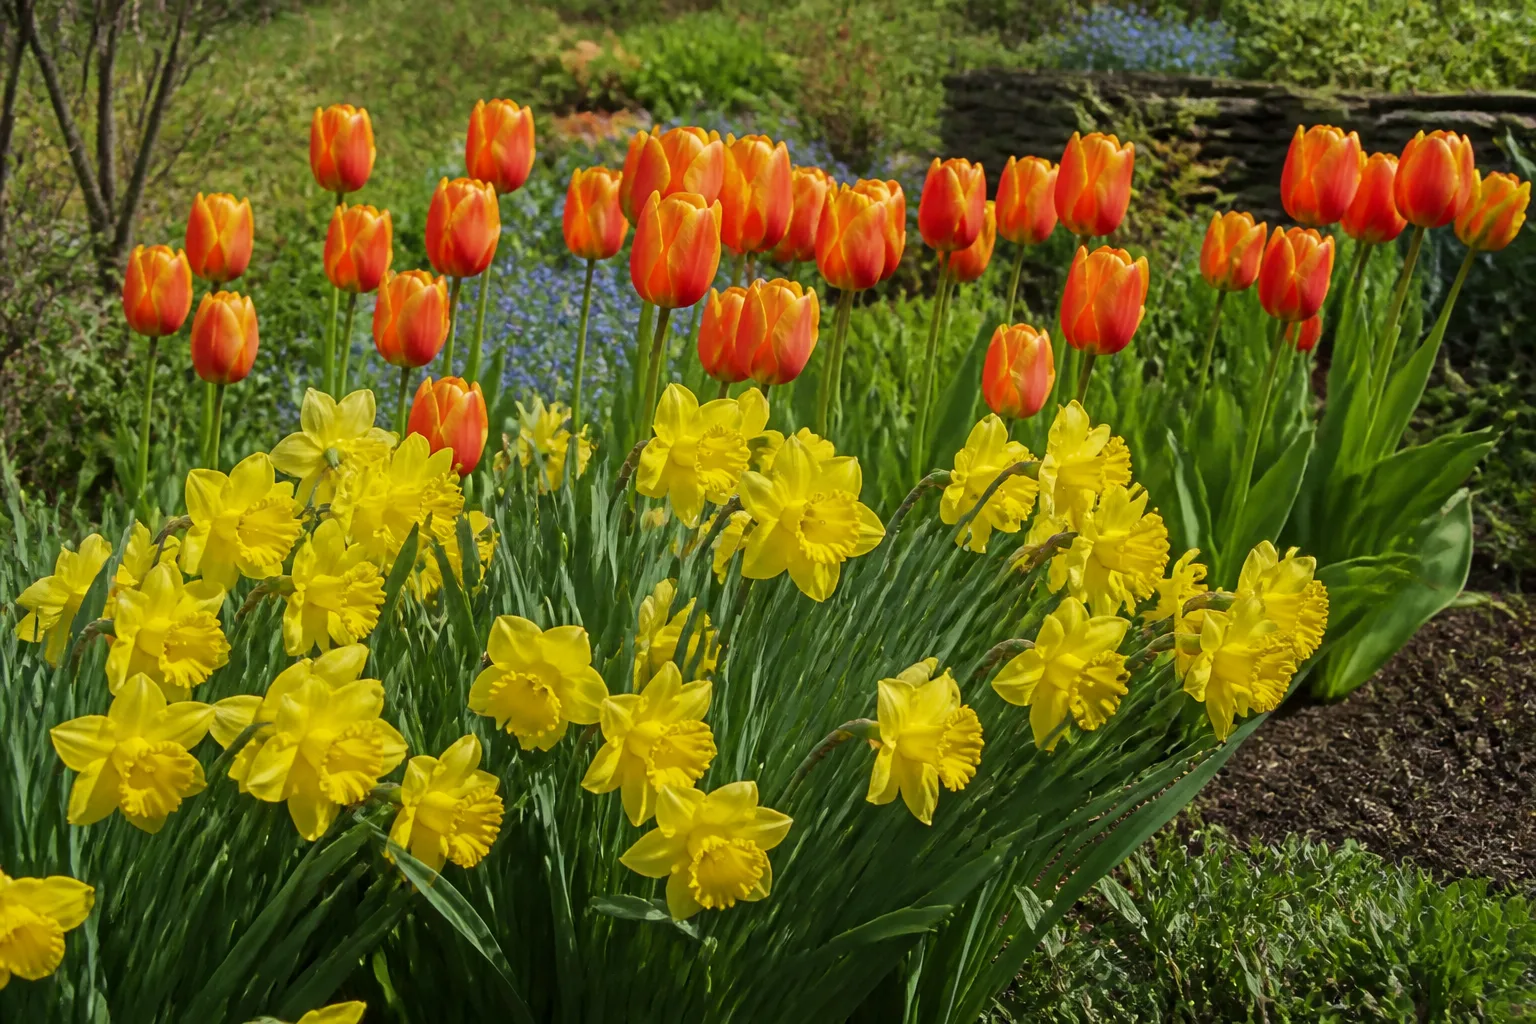
A spring bulb garden can be a single sweep of tulips, a little ribbon of crocuses at the path, or a pot that changes as one set of flowers gives way to another. The best design starts with the place you have: how much spring sun it gets, whether the soil drains, whether you need room to mow, and how long you want the display to last.
The word “bulb” is often used for several kinds of underground storage organs. Daffodils, tulips, and hyacinths grow from true bulbs; crocuses grow from corms, while ranunculus are usually sold as tuberous roots. Hellebores are useful companions in a bulb bed, but they are not bulbs. The RHS bulb guide and Penn State Extension explain these distinctions and why a plant label matters: planting depth and handling vary by type. The distinction also affects permanence: a hardy true bulb may remain in the ground, while a tender corm or tuber in a cold climate may need lifting or replacement. That matters when you want a design to return without annual replanting. The designs below use “bulb garden” in its familiar, broad gardening sense, while keeping those differences in view.
Start with a site and bloom plan
Before choosing flowers, look at the bed in late winter and early spring, when most spring bulbs are growing. A spot that becomes shaded by a deciduous tree later can still receive useful sunlight while bulbs are flowering, but a permanently dark corner will not suit every species. Check the light at the season the foliage is active, not just the summer light you see when buying bulbs.
Next, check drainage. Many spring bulbs prefer soil that sheds excess water, especially while dormant; a soggy planting pocket is a poor place to experiment with a large order. If water stands after rain, improve the bed’s drainage or use a container with open drainage holes instead of burying bulbs in a wet hollow. Penn State Extension recommends matching the site to bulb light needs and emphasizes drainage as a way to reduce rot.
Design the display around one main effect: a color block, a natural drift, a tall-to-short border, or a succession of blooms. Repeating a few kinds through the bed usually reads more clearly than placing one of every color in a scatter. If you want a long show, choose varieties with different flowering windows; if you want a strong burst, choose a group that blooms together. Sketch the bed from the view where people will see it most, then place the tallest flowers at the back or center and the shortest along the edge. That simple step prevents smaller flowers from disappearing behind foliage.
Draw a bloom timeline rather than relying on a single spring date. Put each cultivar into an early, middle, or late window using local supplier guidance; plant neighbors that overlap slightly if you want continuity, and leave a clearer gap if you want distinct color phases. Weather can compress or stretch each window, so succession is a design expectation, not a guaranteed calendar. Also note where the foliage will remain after the flowers fade: daffodil leaves can occupy a border for weeks, and their eventual disappearance should be part of the layout.
1. Edge a path with crocuses
Crocuses work well at the front of a border or beside a path because their low flowers are easy to see from close range. Plant a generous cluster in a repeated shape—several loose pockets along a curve, for example—instead of spacing single corms like dots. Purple, white, and yellow varieties make a lively mix, while one color repeated at intervals feels more intentional.
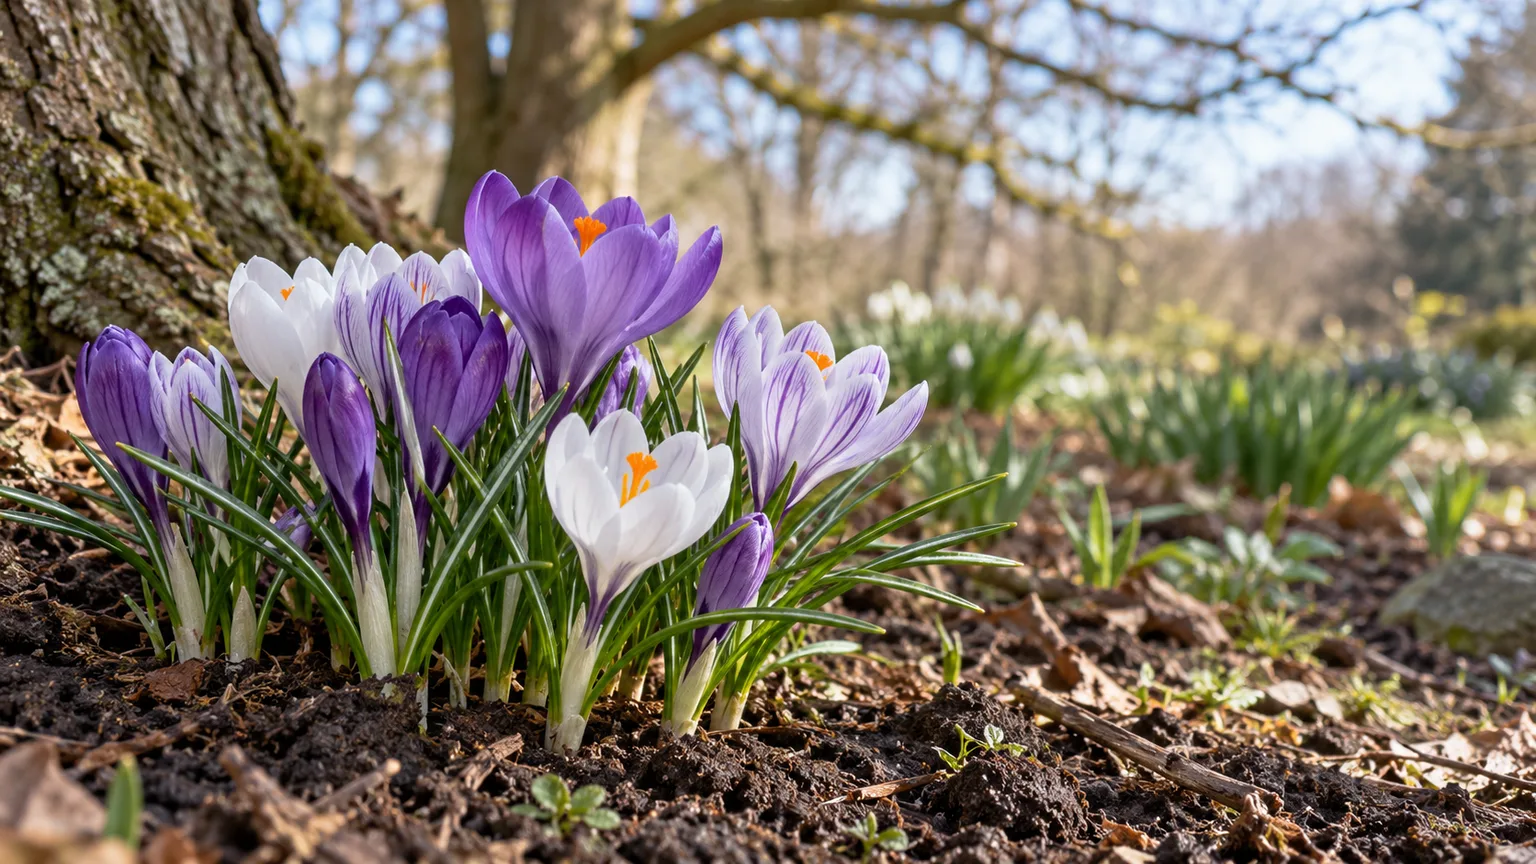
Crocuses can also brighten a lawn edge, where their early flowers sit low enough to look natural among grass. Keep them out of the narrow strip you mow first, and give their leaves time to grow after flowering. Crocus is a corm, so use the planting depth and spacing on its packet rather than assuming that every underground “bulb” uses the same rule. For a crisp path edge, keep the corms a few inches back from paving so the clumps have room to widen without being clipped or dug up during edging. A sunny path border also warms earlier than a shaded lawn, which can make the first flowers easier to notice.
2. Pair snowdrops with reticulated iris
For a late-winter or very early spring vignette, combine white snowdrops with the violet, blue, or purple flowers of reticulated iris (Iris reticulata). The snowdrops give the planting a soft, downward-facing shape; the miniature iris adds a stronger color and a more upright silhouette. Put them near a path, a front step, or a place you can see from a window when much of the garden is still bare.
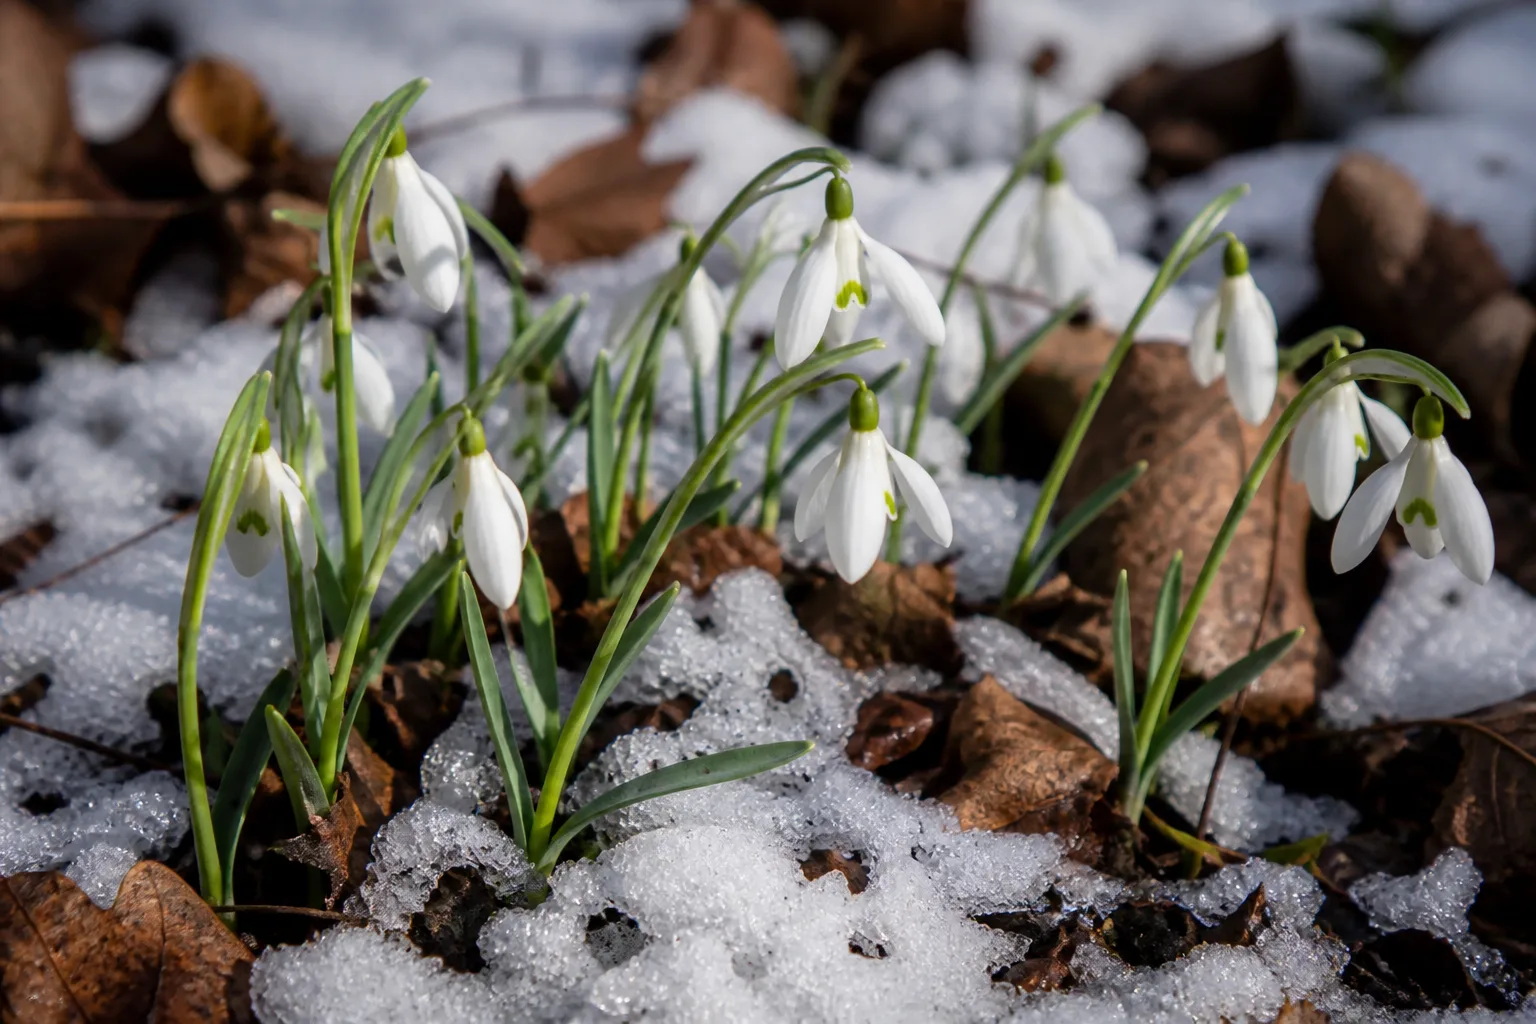
A small group near a stone, low evergreen, or path edge is easier to read than a broad mix with taller flowers. Bloom dates shift with latitude, exposure, and the season, so treat “late winter” as a design sequence rather than a promised month. Snowdrops can establish in clumps; if you want a natural look, repeat small groups instead of setting out a strict row. They can also be bought “in the green,” while their leaves are still present after flowering. The RHS bulb guide notes this option for snowdrops, which is useful if you want to add them to a bed without waiting for dormant bulbs to establish.
3. Set blue muscari against yellow daffodils
Grape hyacinths (Muscari) and daffodils make a high-contrast pairing that is easy to spot from across a yard. Use the small blue Muscari as a low ribbon at the front or through the gaps between clumps of yellow or white daffodils. The height difference keeps the smaller flowers visible instead of allowing taller leaves and stems to hide them.
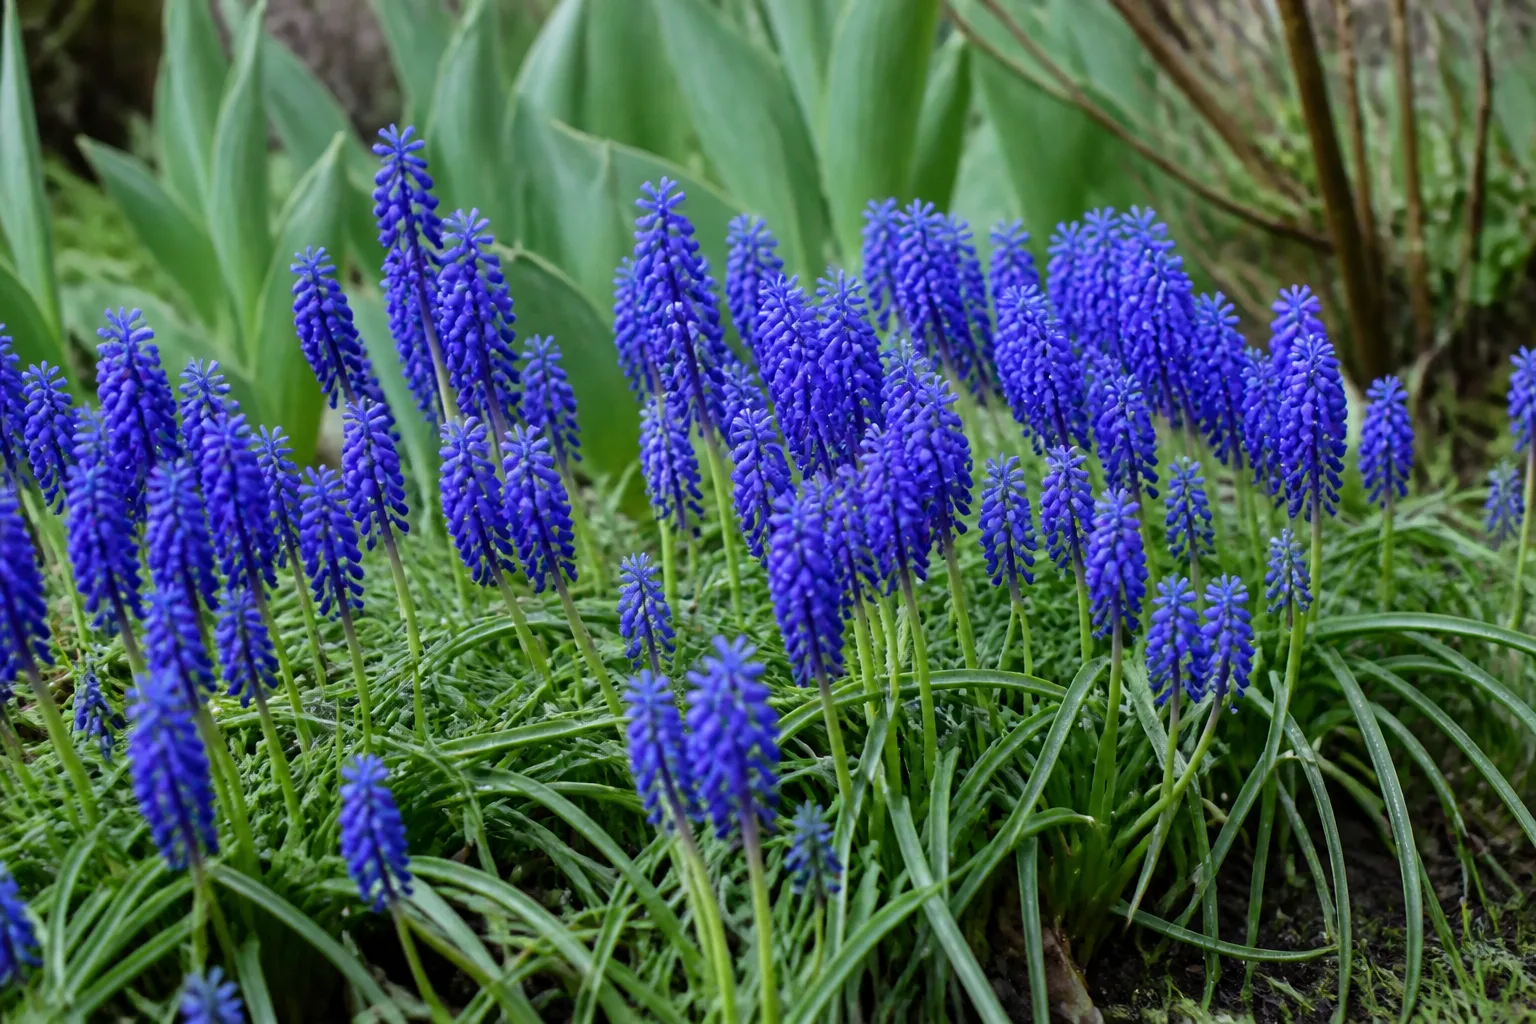
Repeat the same two-color relationship in more than one place—for example, at the mailbox and the opposite end of a foundation bed—to make a small garden feel connected. Keep muscari where you can contain its spreading clumps if you prefer a tidy edge, and avoid planting it directly against a narrow path if you do not want to trim foliage there. The RHS spring-garden guide uses blue and yellow as a vivid spring pairing and includes grape hyacinth among the plants that can add those colors; use that as a palette cue, then choose cultivars suited to your soil and climate.
4. Plant tulips in a deliberate color block
Tulips make a stronger statement when you plant enough of one color or a restrained blend to create a visible block. A run of deep red, a broad drift of pink, or a repeated mix of two compatible shades can all work; a handful of unrelated colors scattered through the bed often looks accidental after bloom begins. In a border, place taller tulips behind shorter early flowers so their stems do not block the view.
Tulips are often less dependable from year to year than daffodils in ordinary garden conditions. If you want a reliably full display every spring, treat tulips as a seasonal accent and plan to refresh the planting when it thins; if you prefer a perennialized planting, select varieties specifically described for repeat performance in your region and give the foliage time to mature. Penn State Extension recommends grouping kinds and colors and using height to position bulbs in the bed, rather than mixing everything uniformly. If you garden where browsing animals routinely remove flowers, treat tulips as a high-risk choice and use a fenced bed or a container you can protect; a beautiful color scheme is not much help if the blooms disappear before you see them.
5. Stretch daffodil color across the season
A single daffodil cultivar gives a concentrated flush. To stretch the show, choose cultivars described as early, midseason, and late, then repeat each cultivar in more than one clump. That way, the garden has a sequence of yellow, white, peach, or bicolor trumpets rather than one short peak. The exact calendar changes with local temperatures, so compare flowering groups in a supplier’s catalog instead of relying on a date from another climate.
Daffodils can anchor a sunny border or sit beneath a deciduous tree, where they flower before the canopy closes. Use them in groups large enough to read as a drift, and allow their leaves to yellow naturally after the flowers fade. Their foliage may be untidy for a while, so place the clumps where emerging perennials can eventually soften the view without shading the bulb leaves too early. The RHS daffodil guide is a useful reference when choosing cultivars, since miniature, trumpet, and multi-flowered forms create different scales in a border.
6. Use fritillaria as a focal point
Fritillaria brings a different outline to a spring bed: bell-shaped flowers or distinctive upright stems, depending on the species. Use a few as punctuation among lower crocuses, muscari, or daffodils instead of burying them in a dense mixture. Their unusual form is most effective where a viewer can stop and look, such as beside a path or near the front of a mixed border.
Fritillaria is a broad genus, not a single uniform garden plant. Before buying, check the particular species’ mature height, flowering window, hardiness, light preference, and planting depth; these can differ substantially. Group bulbs of the same variety together and place them according to their mature height. If the bed is exposed to strong wind, avoid making a tall cultivar the only focal point in an unprotected spot.
7. Make a layered bulb container
A layered container—often called a bulb lasagna—puts several flowering windows in one pot. Choose a deep pot with unobstructed drainage holes; add a free-draining potting mix, then place the largest or later-flowering bulbs lower and smaller, earlier bulbs above them. A simple sequence might use tulips or alliums at the lower level, daffodils or hyacinths in the middle, and crocuses near the top. Check every packet’s required planting depth and do not force three layers into a pot that is too shallow.
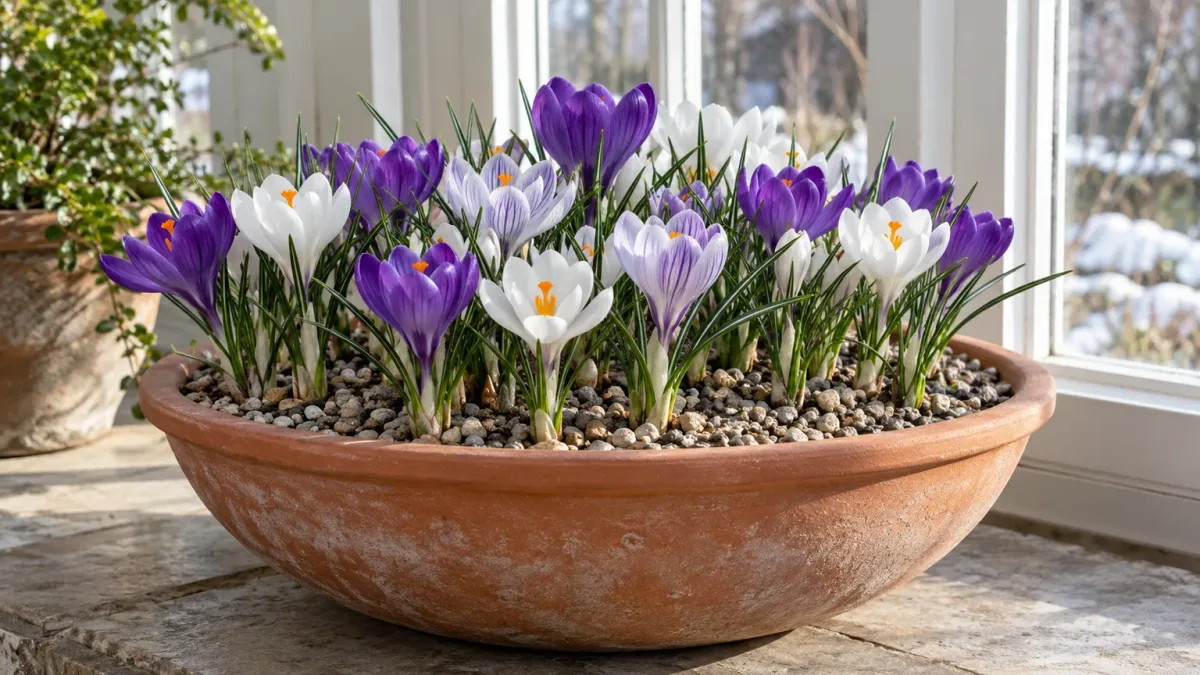
Leave enough horizontal space for each bulb’s roots and stems, and avoid letting bulbs touch if the container will stay planted for more than one season. Water once after planting to settle the mix, then keep it lightly moist—not waterlogged—while roots establish. Epic Gardening and Garden Culture Magazine describe layered containers as a way to save space and stagger flowers; their suggested pot dimensions differ, which is why the bulb package depth and the actual pot depth are the better final checks. A workable container is deep enough for the largest bulb’s recommended covering and broad enough to fit a group, not just one vertical stack of bulbs. If the pot is shallow, use one layer and accept a shorter display rather than crowding bulbs into the wrong depth. In a cold-winter area, protect a container if its exposure is harsher than the same bulbs would experience in the ground.
8. Plant beneath deciduous trees
The space beneath a deciduous tree can look empty in early spring, but it may receive light before the branches leaf out. Plant suitable spring bulbs in broad, informal drifts beneath the canopy, then let later-emerging perennials fill the space as the tree shades it. Snowdrops, crocuses, and some anemones are useful candidates; select species for the actual moisture, soil, and light conditions at the site.
Do not damage large tree roots to make a perfect bulb grid. Instead, tuck bulbs into the spaces between visible roots and avoid deep trenching close to the trunk. Penn State Extension notes that spring bulbs can use the sun available before deciduous trees leaf out, while the RHS naturalizing guide also lists spring bulbs and anemones among options for naturalizing beneath trees. A patchy, repeated drift looks more believable here than a formal row.
9. Naturalize early bulbs at a lawn edge
For a relaxed look, let crocuses, snowdrops, or daffodils drift from a garden bed into a lawn margin. Scatter the planting in small loose groups, then plant each bulb where it lands; the irregular pattern reads more naturally than a uniform line. Start at the edge rather than the middle of a frequently used lawn, so you can see the display and protect the foliage.
The maintenance trade-off is mowing. Bulb leaves must remain until they have yellowed and begun to die back; mowing them while green removes the foliage the plant needs to replenish its stored energy. The RHS advises waiting at least six weeks after daffodils flower before mowing, and ideally until the leaves turn yellow and straw-like. If you cannot leave the lawn shaggy for that long, edge the display into a perennial bed or create a clearly marked no-mow island instead of scattering bulbs across the turf. If your household needs a closely cut lawn every week, keep bulbs in a bed or unmown border instead.
10. Let alliums rise through perennials
Ornamental alliums send tall stems above their basal leaves, so they can add height and round flower forms to a mixed border. Plant them in a group behind low perennials or among foliage plants that can disguise the allium leaves as they age. A repeated clump looks more deliberate than one isolated globe, especially when the border already has a limited palette of purples, whites, or soft pinks.
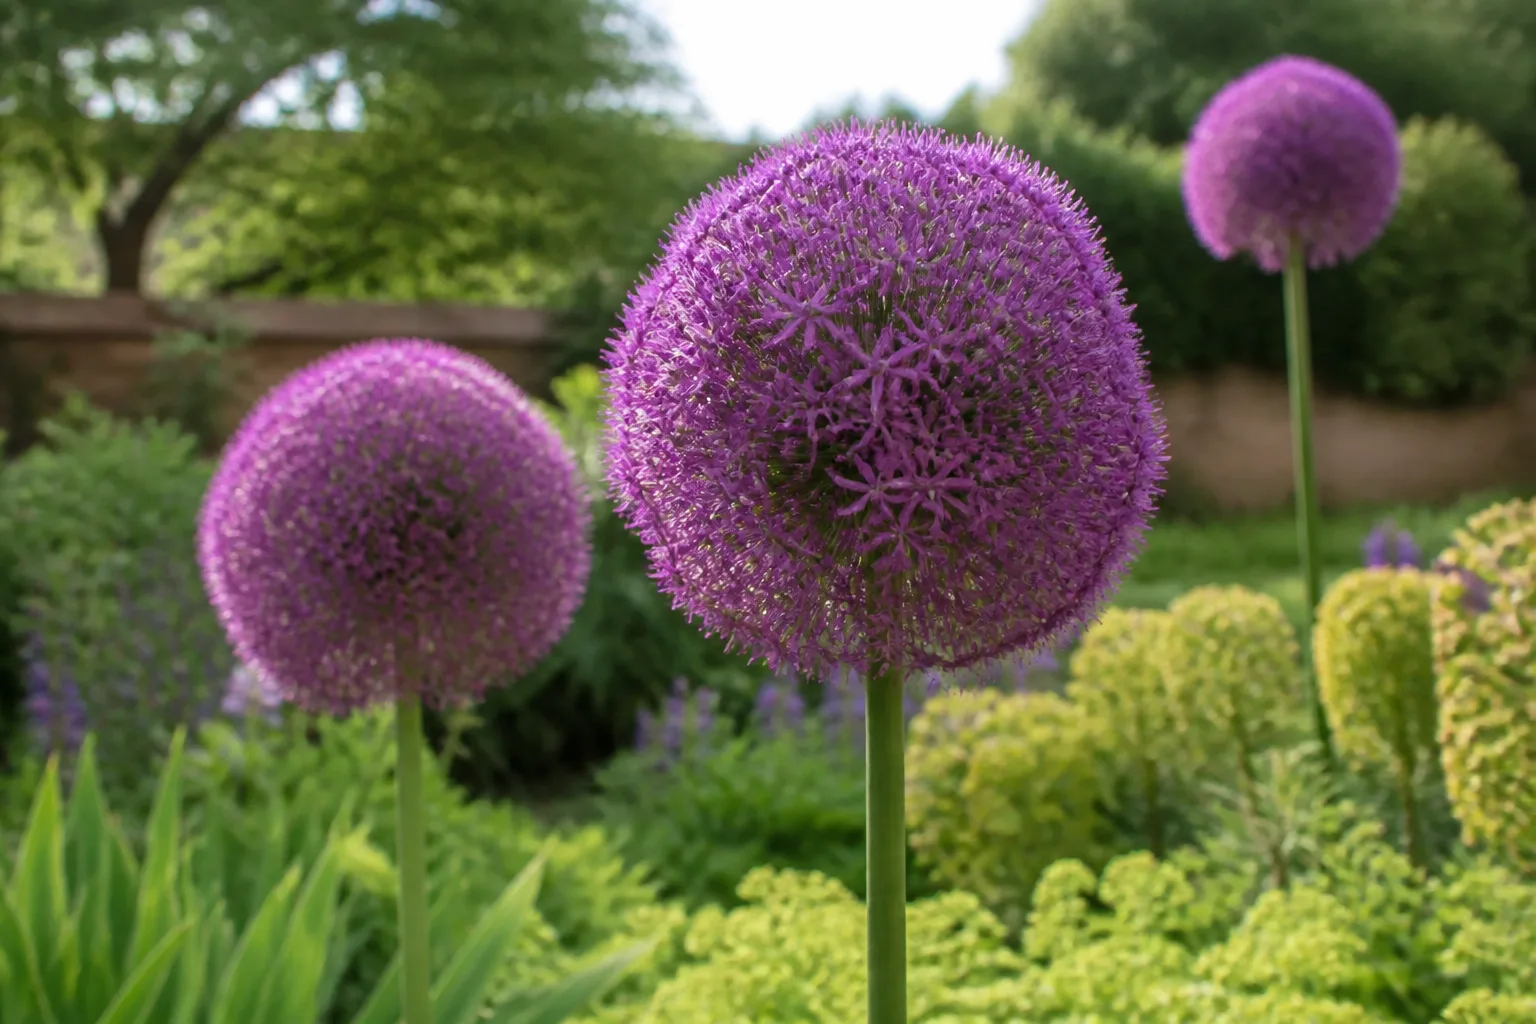
Check the mature height of the allium you choose: compact forms can sit toward the front, while taller forms belong behind shorter plants. Many ornamental alliums flower later than the earliest bulbs, so they can carry the display toward late spring or early summer. Leave room for foliage to do its job after flowering, or place the bulbs where neighboring plants will gradually screen it without smothering new growth.
11. Create a ranunculus and anemone cutting patch
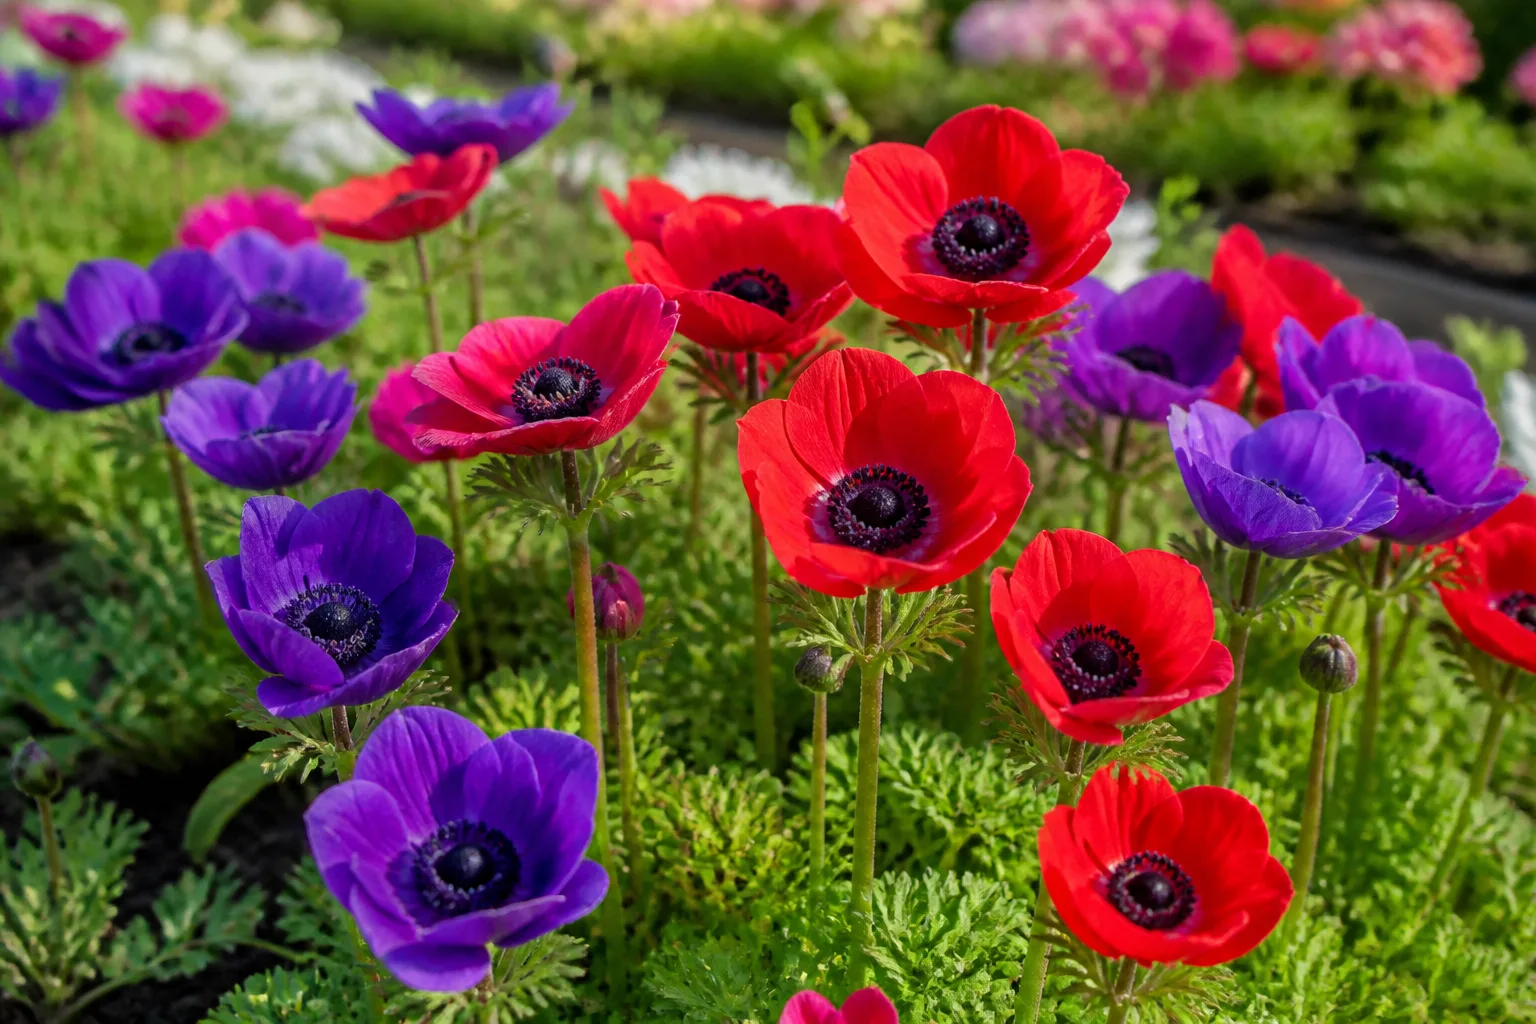
If you want flowers for a vase, devote a narrow, accessible strip to ranunculus and spring anemones. Their layered petals and saturated colors give a different look from the open cups of crocus or the upright bells of tulips. Plant in short rows or repeated color groups so you can reach the stems without stepping into the rest of the garden.
These plants are not interchangeable with hardy, long-lived spring bulbs. Ranunculus are commonly sold as tuberous roots, and many anemones are grown from corm-like storage organs; their planting depth, preferred season, and winter tolerance depend on the species and local climate. Follow the supplier’s instructions and decide whether you will leave, lift, or replace them after bloom. If you want a low-maintenance permanent drift, choose hardy bulbs suited to your climate instead of expecting every ranunculus or anemone to return unchanged.
12. Put fragrant hyacinths where you pass
Hyacinths make sense close to a doorway, patio, or window where their dense flower spikes and fragrance can be enjoyed at arm’s length. Use a single color in a pot for a simple focal point, or repeat two or three pots along a step. A container also lets you move the display if the scent is too strong in a small enclosed porch.
Hyacinths are true bulbs and usually go into the garden in fall for spring flowers. In a pot, use a mix that drains freely and make sure water can escape; a decorative cachepot without drainage can trap excess moisture around the bulbs. Choose a spot that gets suitable light during growth and protect the pot from conditions beyond the cultivar’s hardiness. If fragrance is the main draw, keep the container where people actually walk rather than hiding it at the back of the border.
Prepare the bed before planting
For spring blooms, many hardy bulbs are planted in autumn, but exact timing depends on the species and local climate. Buy firm bulbs close to planting time, read the package, and avoid leaving them warm and dry in storage for weeks. Penn State Extension describes planting many bulbs at roughly two and a half to three times their height; the RHS growing guide gives a similar general rule for many true bulbs and corms. Use that as a starting point, then follow the named plant’s own directions.
Prepare the whole area before planting a large number of bulbs. Loosen compacted soil, remove perennial weeds, and improve drainage where needed. Do not dig a deep hole and fill it with rich compost if the surrounding soil holds water; the planting pocket can act like a basin. For a bold drift, plant groups of the same kind together and repeat them across the bed. In a mixed border, place taller flowers toward the back or center and shorter flowers where they can be seen.
Before ordering, measure the bed and decide how many groups you can leave undisturbed through spring. Repeating three or four clusters usually makes a small space easier to read than scattering single bulbs everywhere. Sketch the color and bloom sequence, then mark spots where later perennials can soften the fading leaves without covering them too early. Keep the sketch or take a quick photo after planting; in fall, the surface may look empty, and a record can prevent accidental digging into established bulbs.
Help bulbs return after flowering
Once the flowers fade, remove spent flower heads if you do not want seed to form, but keep the leaves. Green foliage is still feeding the underground storage organ, so do not braid, tie, or mow it while it is active. The RHS advises waiting until foliage turns yellow and dies back before cutting it, while Penn State Extension recommends leaving green leaves after bloom to support the next season’s display. That aftercare window is part of the design: place bulbs where their fading foliage can be tolerated or gently masked by later perennials.
Water if the soil becomes dry while foliage is still growing, but do not keep dormant bulbs in wet soil. In containers, check moisture more often because pots dry faster than beds; still allow excess water to drain. If a clump becomes crowded or flowering declines, assess the site, light, depth, and foliage care before buying more bulbs. Some established clumps can be divided when dormant or after flowering, but follow the species guidance and replant offsets at the right depth.
Conclusion
A successful bulb garden is less about buying every flower you like than matching a few flowers to the conditions and rhythm of your space. Choose a palette, plan the heights and bloom sequence, and build the display around a real site—from a path edge to a deep container or a lawn margin you can leave unmown. The best spring color returns when drainage, planting depth, and post-bloom foliage are part of the design from the beginning.



