Planting Garlic in Spring: A Practical Step-by-Step Guide
Can you plant garlic in spring? Learn when to plant, whether cloves need chilling, how to choose seed garlic, and what harvest to expect for your climate.
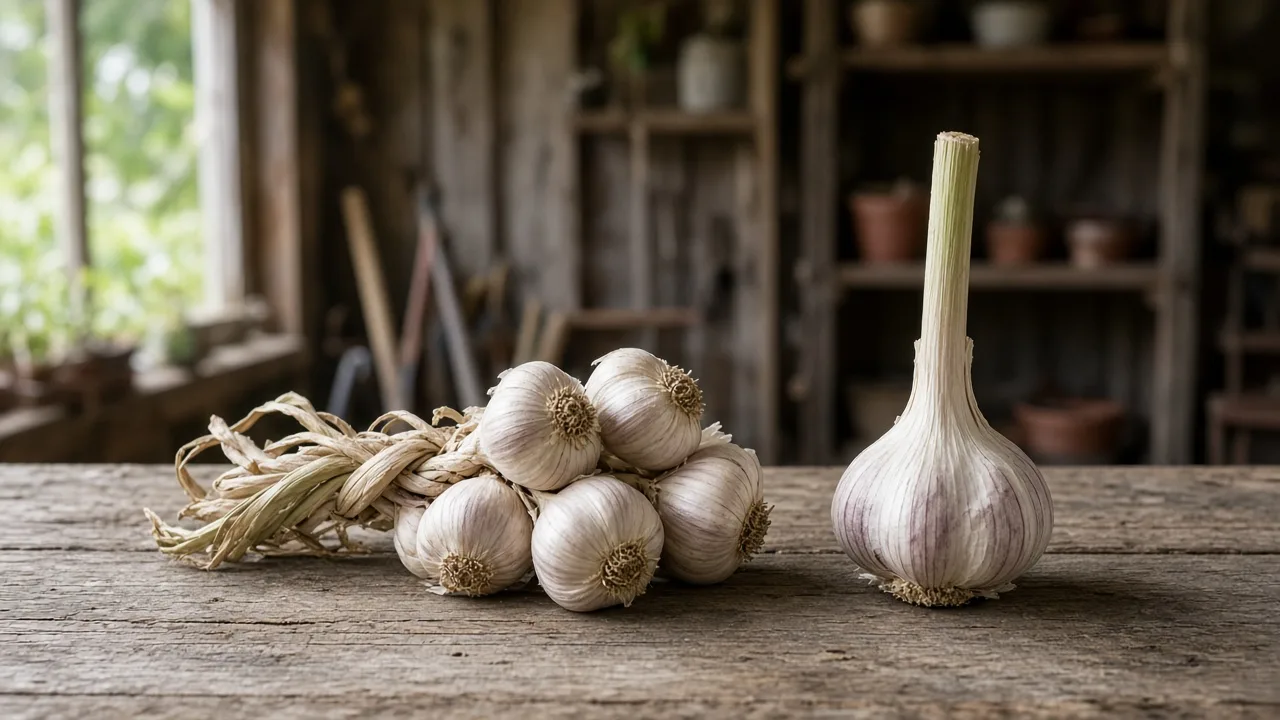
If autumn passed before you got garlic into the ground, spring is still worth trying. Plant cloves as soon as the soil is workable, use healthy planting stock, and decide whether you are aiming for mature bulbs or tender green garlic. Spring planting can produce segmented bulbs, but the crop is less predictable and often smaller than garlic that had a full fall-to-summer growing cycle.
The biggest mistake is treating “chill the cloves for a few weeks” as a guarantee. Garlic’s response depends on the variety, how the bulbs were stored before you bought them, how much cool weather they receive after planting, and how much time remains before warm conditions push the crop toward maturity. The practical goal is to give the cloves the best combination of cold exposure and early growth that your season allows.
The short answer: yes, but expect a different harvest
You can plant garlic in spring and harvest garlic later in the season. Fall planting is the standard for many temperate gardens because cloves have months to root before winter and then resume growth early in spring; a spring-planted clove starts later and has less time to build leaves before bulb development and summer heat constrain growth. That shorter runway is why spring bulbs are often smaller, even when the gardener does everything right.
The outcome is not simply “garlic” or “failure.” You may get a normal but modest segmented bulb, an undersized bulb, or a single round—a bulb that never separates into several cloves. If you plant too late for a useful bulb crop, you can still grow the plant for green garlic, harvested young for its mild leaves and undeveloped bulb. Set your expectation before you plant, because that determines whether you should prioritize early timing, a large bulb, or a quick edible harvest.
What spring planting changes
Garlic is a long-season crop. Fall-planted cloves establish roots while the soil is cool, then have a head start when spring growth begins. A spring planting may spend some of the season emerging and establishing roots while day length and temperatures are already increasing; many cultivars then have less time to make the leaf growth that supports a large bulb.
Cold exposure also matters, but “vernalization” is not a switch with one universal number of weeks for every variety. In a USDA Agricultural Research Service experiment, most varietal garlic bulbs stored at −3°C for six months formed cloves within bulbs after spring planting, although the bulbs were smaller than typical fall-planted crops. That research supports spring planting as a real option, but its long, controlled storage treatment is not the same thing as a guaranteed short refrigerator treatment for every garden cultivar. The USDA ARS summary describes the study and its limits.
Other research reinforces the need for caution when translating a cold-treatment result. A 2022 field study on the ‘Tseday’ cultivar in Ethiopia found that a combination including 30 days of storage at 7°C and clove topping improved emergence and yield in that experiment; it did not establish a universal treatment for all cultivars or climates, and its combined treatments make it a poor do-it-yourself recipe. The study is available through PubMed Central.
Choose your goal: bulbs or green garlic
Before buying or chilling cloves, decide what you want from the bed. If the goal is a pantry crop of firm, segmented heads, you need early planting, healthy seed garlic, an adapted variety, and as much useful cold exposure as you can provide. If the planting window is already late or the seed’s cold history is unknown, green garlic is a more dependable goal than a promise of large bulbs.
If you want mature bulbs
For bulbs, choose the earliest workable planting date, not a date copied from a gardening calendar in another region. Planting into soil that is thawed and drains after rain gives cloves time to root while conditions are still cool. If the bed is already warm, the spring is advancing quickly, or you have only grocery-store cloves with an unknown history, you can still plant—but plan for smaller heads or rounds and treat the result as a trial rather than a guaranteed crop.
If you want green garlic
Green garlic is an immature garlic plant pulled while its leaves are tender and its bulb is still small and unsegmented. It is useful when the season is too short for reliable storage bulbs, and it turns a late planting into a deliberate harvest rather than a failed bulb crop. Harvest a few plants at a time once they have enough foliage to use; the entire young plant, including the white lower stem and small bulb, can be cooked like a mild, fresh allium.
Start with the right cloves
Plant garlic cloves, not a whole bulb. Separate a firm bulb shortly before planting, keep the papery skin on each clove, and leave the basal plate—the flat root end—intact. The largest healthy cloves usually make the strongest planting pieces; small, bruised, shriveled, moldy, or soft cloves are poor candidates because they start with less stored energy or may rot before they establish.
Use planting stock, not a random grocery bulb
The safest choice is garlic sold as seed garlic by a reputable nursery or grower, preferably with the variety and intended region listed. Culinary garlic from a supermarket may sprout, but its variety and prior storage are often unknown, and some bulbs are treated to slow sprouting; it may also carry problems that are undesirable in a garden planting. Gardener’s Path likewise recommends selecting clean, firm bulbs and notes that retail culinary stock is not selected for the same growing traits as planting stock. Its garlic-growing guide covers selection and cultivation.
If you already have a sprouted grocery clove, it is not automatically unusable. A green shoot proves that it can grow, not that it will form a large, divided bulb; plant it promptly in a container or bed if you want to experiment, and reserve your best bed space for reliable seed garlic if the harvest matters. Do not plant cloves with soft spots, active mold, or unusual discoloration.
Choose a variety for your climate
Hardneck and softneck describe broad garlic types, not a complete prediction of spring performance. Hardnecks generally suit colder regions and form a stiff central stalk; softnecks are often chosen for warmer regions and longer storage. But individual cultivars vary, and cold adaptation, day-length response, and the supplier’s storage history all matter more than the type label alone.
Ask the seller whether the cloves are suitable for spring planting and whether they have already received cold storage. If the seller cannot answer, choose a cultivar recommended for your region and assume the cold history is uncertain. Avoid buying a variety simply because a list calls it “best for spring”; that description cannot account for your local season or how the stock was handled.
Cold treatment: what helps, and what is uncertain
Cold treatment is useful when planting stock has not already received enough cool storage and you are trying to improve the chance of bulb formation. Practical guidance varies: Gardener’s Path describes several weeks of cool exposure and gives a longer range for some stock, while the garlic grower GROeat recommends checking the supplier’s treatment history and using refrigerator storage for roughly six to eight weeks when needed. Those are practical ranges, not a guarantee that every cultivar will form full-size heads. Gardener’s Path explains its cultivation guidance, and GROeat’s spring-growing notes discuss its grower approach.
If the seller confirms the bulbs are already conditioned for spring planting, follow that guidance rather than adding an arbitrary second treatment. If the history is unknown and you have time, keep sound, cured bulbs intact in a breathable paper bag in a refrigerator for several weeks; inspect them weekly and plant if roots or shoots begin to grow. Separate the bulbs into cloves just before planting, keep the skins dry, avoid sealed plastic that traps condensation, and do not use a freezer just to make the process faster. The USDA study’s −3°C storage treatment lasted six months after curing; it does not prove that a household freezer or any short chilling period is interchangeable with that controlled process.
You can also use the garden itself for some cooling: planting into cold, workable spring soil exposes the cloves to a cool period while they root. That is not a substitute for a known treatment in every region, especially if the soil warms quickly, but it is a reason not to wait for a calendar date after the ground thaws. The University of Minnesota Extension’s garlic guidance stresses correct planting timing, well-drained soil, fertility planning, and clean seed stock; those basics still matter when the schedule has shifted to spring.
Plant as soon as the soil is workable
Use the bed, not the month name, as your timing test. The soil should be thawed enough to dig, crumbly rather than waterlogged, and able to drain after rain; if a handful squeezes into a sticky mass or water stands in the planting furrow, wait for it to dry. Planting into cold, damp soil is different from planting into saturated soil: garlic can tolerate cold, but a clove sitting in airless mud is more likely to rot.
In a short-season or northern climate, an early thaw is valuable because it gives the plant more cool growing time. In a mild climate where the soil has already warmed, do not delay further for an idealized six-week fridge schedule if the cloves are ready and the bed is suitable; plant them and adjust expectations. Where late spring is already hot, use green garlic as the realistic target or save quality seed bulbs for fall planting.
Plant spring garlic in five steps
The planting technique is simple, but spacing and drainage matter more than elaborate amendments. Prepare the bed before separating the bulbs so the exposed cloves are not left drying on a table for days.
- Pick the site. Choose a spot that receives at least six hours of direct sun and does not hold standing water after a storm.
- Loosen the soil. Work compost into compacted or low-organic-matter soil; use a raised bed if the native soil drains poorly. A soil test is more useful than adding lime or fertilizer by guesswork.
- Separate the bulb. Break it into cloves shortly before planting, leaving the skins intact and discarding damaged pieces.
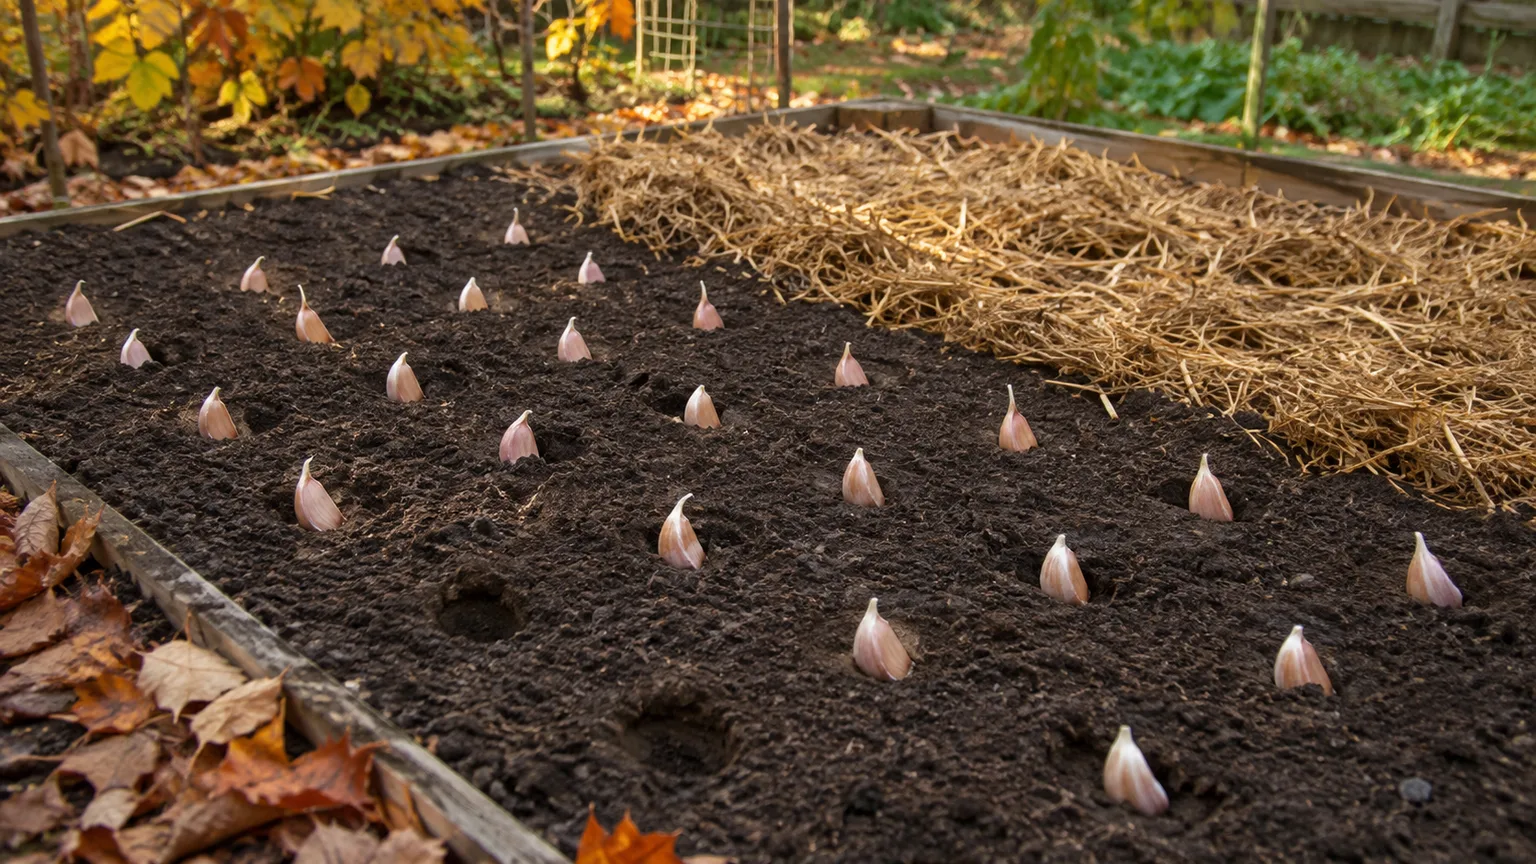
- Plant point up. Set each clove with its root plate down and pointed end up, then cover it with roughly one to two inches of soil; use the shallower end in heavy soil.
- Water and mark the row. Water once to settle the soil, then label the cultivar and planting date so you can compare spring results with future fall plantings.
Prepare a sunny, well-drained bed
Garlic does best in fertile soil that drains rather than staying soggy. If your garden is heavy clay, a raised bed or a loosened planting strip can reduce waterlogging; do not put gravel in the bottom of a planting hole, which does not fix drainage through the surrounding soil. In containers, choose a wide pot with several drainage holes and enough depth for roots—roughly 10 to 12 inches is more practical than a shallow bowl—and use a potting mix that drains freely.
Avoid planting garlic where alliums have repeatedly struggled with rot or where the bed remains wet. Rotate it away from onions, leeks, and garlic from the previous season when space allows, and keep the planting area weed-free because garlic’s upright leaves do not shade out competing weeds early. The University of Minnesota Extension notes that garlic stock can carry pests and disease from year to year, so begin with clean, firm cloves rather than trying to rescue suspect ones.
Set each clove point up and give it room
Space cloves about four to six inches apart for a bulb crop, with roughly a foot between rows if you want room to weed. Tighter spacing can fit more plants into a small bed, but crowded plants compete for light and water and are less likely to make large bulbs. For a container, keep similar spacing and plant fewer cloves rather than packing the pot full.
After covering the cloves, add a light layer of clean mulch if the surface dries quickly or weeds are a problem. In spring, avoid burying the row under a very deep, wet blanket of mulch; the aim is to moderate moisture and suppress weeds without keeping an already cool bed cold and saturated. If the bed is dry, water it after planting, then let rainfall and soil moisture guide the next watering.
Care for the crop through summer
The leaves are the crop’s solar panels: a plant needs healthy foliage before it can fill the bulb. Keep the bed evenly moist while leaves are actively growing, but do not keep it constantly wet; garlic roots and bulbs are vulnerable to rot in poorly drained soil. During dry spells, water deeply enough to moisten the root zone rather than sprinkling the surface every day.
Keep weeds down by hand or with a shallow hoe that does not disturb the bulbs. If the soil test or the plant’s growth indicates a need for fertilizer, use a balanced approach based on local extension guidance and the product label; do not compensate for late planting by applying a large dose of nitrogen. Too much late nitrogen can favor leaves over a timely, well-formed bulb, and no fertilizer can make up for a lost month of cool growing time.
As temperatures rise, the plant shifts from leaf growth toward bulb maturation. If the leaves begin to yellow from the tips while the soil remains wet, first check drainage and watering before adding fertilizer; yellowing alone does not prove a nutrient deficiency. A spring crop may not form scapes or a large head exactly like a fall-planted cultivar, so judge it by its own leaf and bulb development instead of comparing it to a neighbor’s overwintered garlic.
Know when to harvest, then cure bulbs
Do not harvest by a fixed date copied from a fall-planted crop. Spring-planted garlic may mature later, and the timing varies with cultivar, planting date, and spring temperatures. When several lower leaves have yellowed or browned but a good number remain green, gently dig one test bulb; if it has a firm, divided head and usable size, harvest the rest soon rather than waiting for every leaf to die.
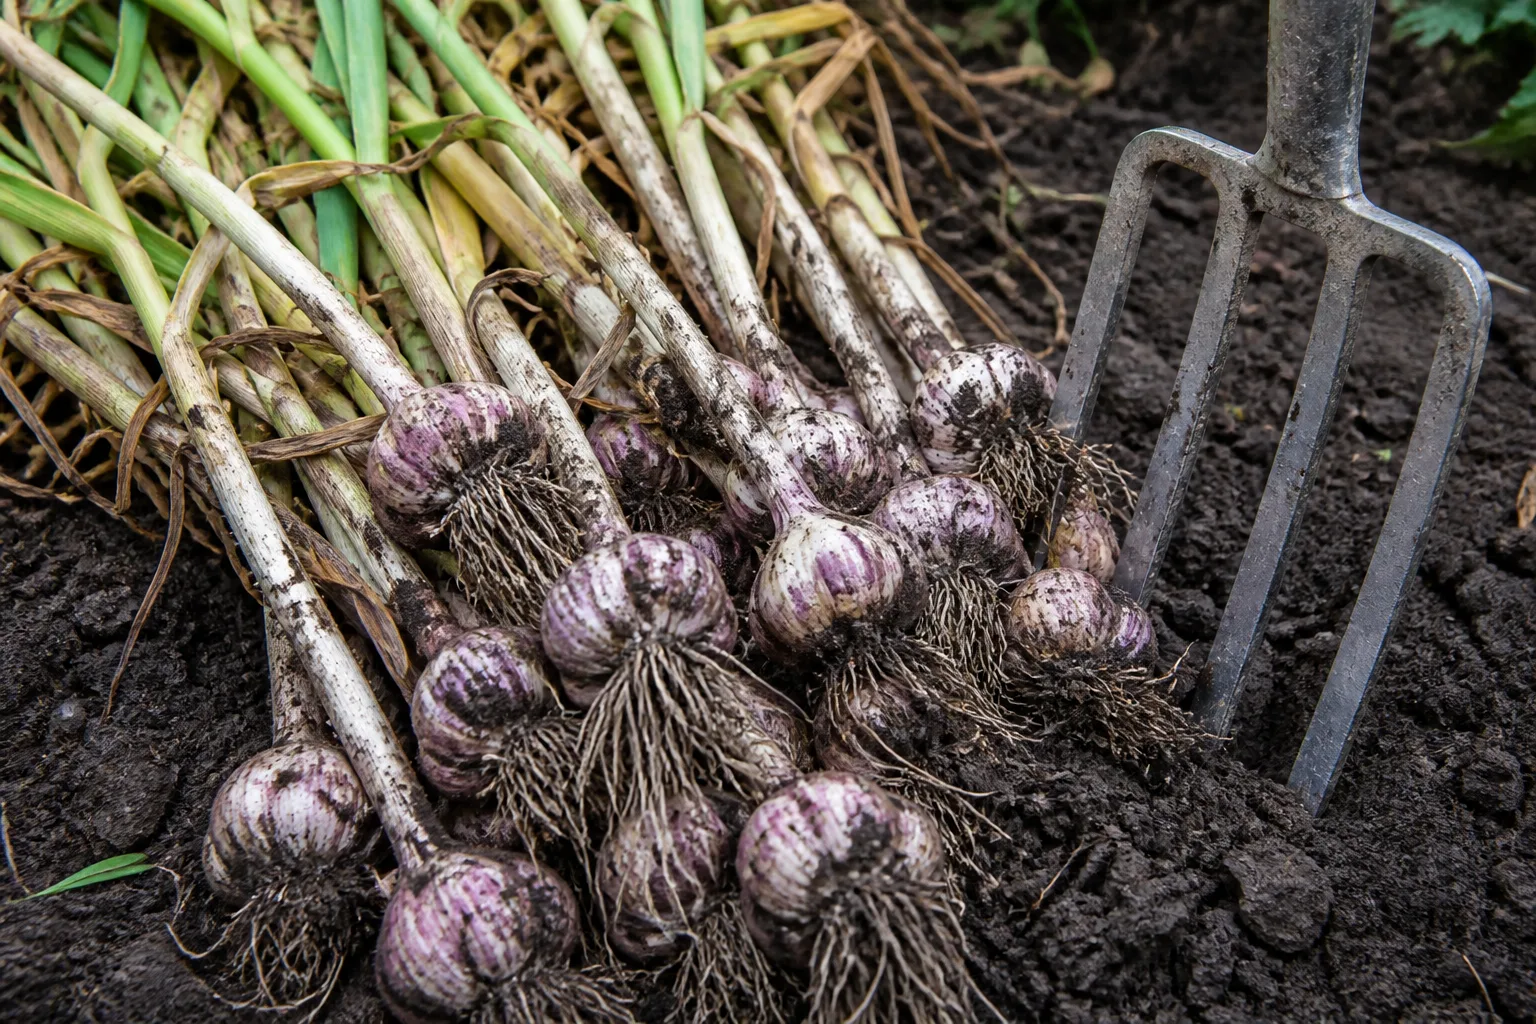
Use a hand fork or trowel to loosen soil several inches away from the stem, then lift the bulb without pulling hard on the foliage. Bruised or cut bulbs do not store as well, so handle them gently and brush off loose soil instead of washing them. If the bulb is still small but firm, you can eat it fresh; curing is mainly for storage, not a prerequisite for eating.
For storage, cure intact bulbs in a shaded, dry, airy place until the outer skins and necks are dry. A ventilated rack or loose bundles work better than a closed plastic container; check for soft spots and remove any damaged bulbs from the curing group. Gardener’s Path gives a several-week curing window, but the right endpoint is dry skins and a firm neck rather than a date on the calendar. Its harvest and storage section explains those cues.
Troubleshoot small rounds, rot, and late planting
Spring garlic is a crop with several possible outcomes, so use the plant’s condition to decide what to do next. A green shoot alone does not tell you whether the bulb will divide; the clove may simply be using its stored energy to grow leaves. Check the seed history, soil moisture, and remaining season before changing the care routine.
Why did I get one-clove rounds?
A round is a single solid garlic bulb that has not separated into the usual cloves. Insufficient cold exposure is one possible cause, but late planting, a short growing period, cultivar response, and growing conditions can also limit division or size. A round is still edible; save the largest sound bulbs for fall planting if you want to test whether a longer overwintered cycle suits that cultivar.
Cold treatment is a risk-reduction step, not a switch that guarantees a segmented head. The 2022 study on ‘Tseday’ garlic is especially useful as a caution: its successful treatment combined a particular cold period with other experimental factors, including clove topping, in a specific Ethiopian field setting. It should not be read as a recommendation to cut the tips off home-garden cloves or as proof that the same treatment will work in a different variety and climate.
What if the cloves are soft or the season is late?
If a clove becomes soft, moldy, or foul-smelling in storage, discard it rather than planting it beside healthy stock. If the clove has sprouted but remains firm, plant it promptly; trim neither the shoot nor the root plate, and expect the same uncertainty about bulb size as with any late planting. Keep the soil moist but not waterlogged while the plant establishes.
If spring has advanced and you have little time before heat, plant only if you are happy with green garlic or a small experimental bulb. Do not hold the cloves for another month chasing a perfect chilling schedule: additional delay shortens the growing period further. If full-size storage garlic is the priority, keep a note of the cultivar and plant sound cloves in fall at your area’s normal garlic window.
Conclusion
You can plant garlic in spring, but the best plan depends on what you want to harvest. For mature bulbs, start with clean seed garlic whose variety and cold history you can verify, plant it as soon as the soil drains and is workable, and give it sun, space, steady moisture, and a weed-free bed. Chilling may improve the odds when the stock has not already received cold, but no single refrigerator schedule guarantees full-size heads across cultivars.
If the season is late, do not write the planting off: grow the cloves for green garlic, or treat a bulb harvest as a useful trial. Harvest by the plant’s development rather than a fixed summer date, and cure only the firm bulbs you plan to store. That approach turns a missed fall planting into a clear choice about the harvest you can reasonably expect.



