Can You Use Old Seeds for Seed Starting?
Can you use old seeds for seed starting? Learn which crops last, run a paper-towel germination test, and decide when to sow extra or buy fresh.
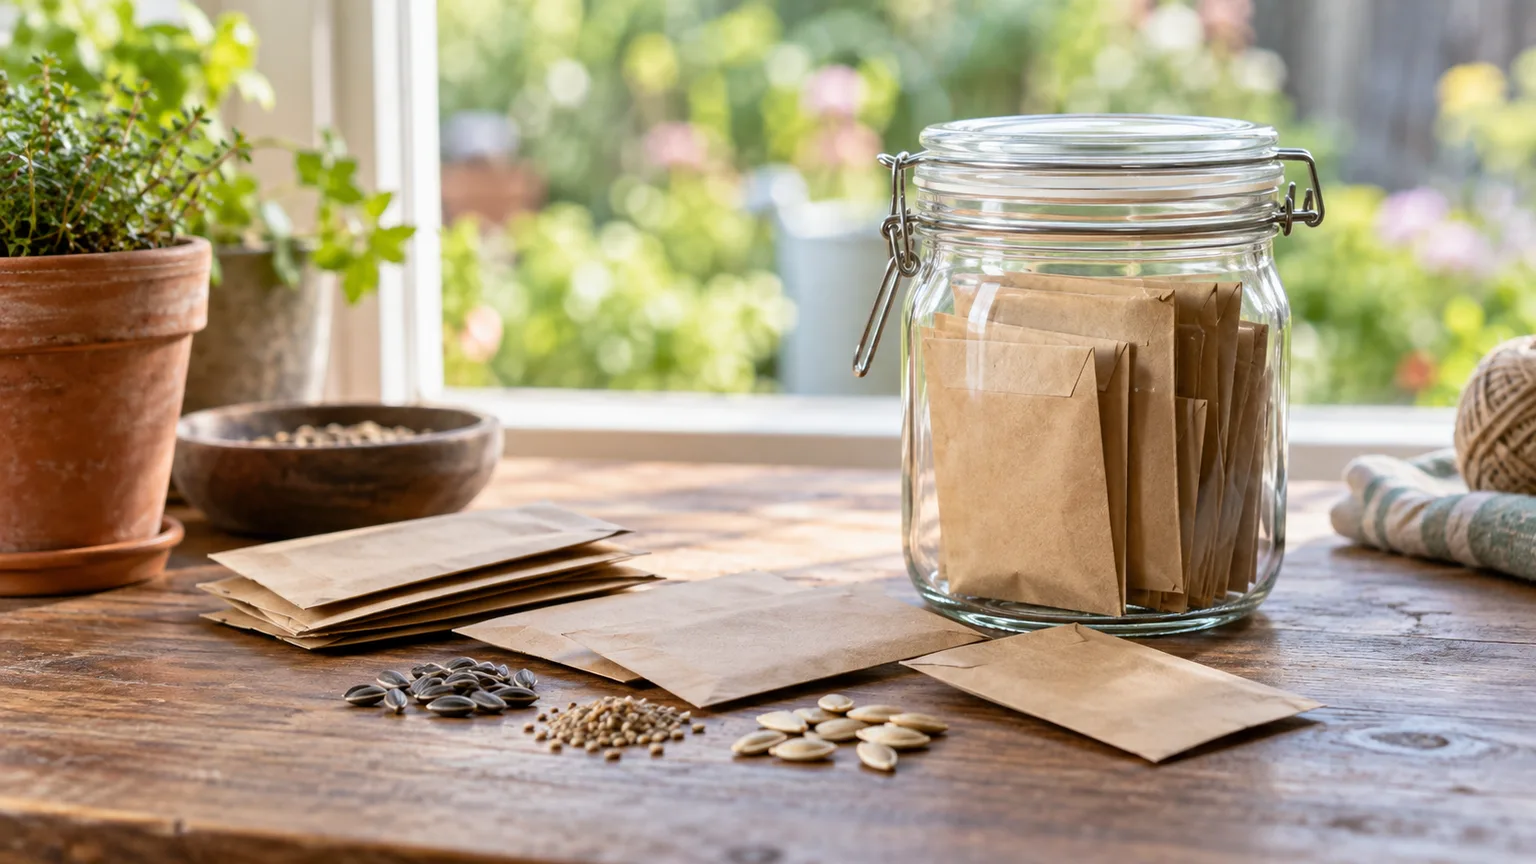
Yes, you can often use old seeds for seed starting—but a packet’s age is only a starting clue. The better question is whether that particular crop, stored in that particular place, can still produce enough normal, vigorous seedlings for the planting you have planned.
If the seeds were kept cool and dry, an older packet is usually worth testing before you replace it. A small counted sample can tell you whether to sow normally, add a little insurance by overseeding, or buy fresh seed before you spend time filling trays and adjusting lights.
The quick answer: test before you sow
Old seeds do not switch from “good” to “bad” on one universal date. Germination usually declines gradually, and the speed of that decline varies widely by crop. A packet of onion seed and a packet of cucumber seed can be the same age yet have very different odds of producing a useful stand.
Use this three-part decision rule:
- Check the crop and its usual longevity. Short-lived crops deserve testing first.
- Reconstruct the storage history. Cool, dry, stable storage is encouraging; a hot, damp shed is not.
- Run a germination test when the planting matters. Count the sprouts, calculate the percentage, and adjust your sowing rate accordingly.
The test is more useful than judging a seed by its appearance. A seed can look clean and full yet have a dead embryo, while a wrinkled-looking seed may still germinate. For seed starting, the outcome that matters is a normal seedling with a healthy root and shoot—not merely a seed coat that cracks open.
What the packet date does—and does not—tell you
The year or “packed for” information on a packet helps you track age and rotation. It is not a universal expiration date, because labels cannot account for every crop’s biology or every packet’s storage conditions. Treat it as a prompt to check the seed, not as an instruction to throw it away.
Published longevity charts are averages made under reasonably favorable storage. Even within one crop, variety, harvest maturity, initial germination, packaging, and moisture exposure can shift the result. The UW–Madison Division of Extension’s seed-viability guidance notes that germination decreases over time but that seeds are often usable beyond the date on the packet.
This is also why “expired” is a poor word for garden seed. It sounds binary, but an old packet may be 90% viable, 55% viable, or capable of producing a few weak seedlings. Those outcomes call for different actions, and a date alone cannot tell you which one you have.
Why seed age is only one part of viability
Viability is a seed’s ability to produce a living seedling. Germination rate is the proportion that sprouts under a stated set of conditions. Vigor goes one step further: it describes how quickly and strongly those seedlings emerge and establish.
Those distinctions matter when using old seed. A packet may produce a respectable number of tiny roots in a paper-towel test but still contain seedlings that emerge slowly, have weak stems, or fail when the seed-starting mix dries once. Johnny’s Selected Seeds explains that viability can decline before germination rate does, so count normal development and note how even the sprouts look.
Storage can age seed faster than the calendar suggests. Heat speeds deterioration, and repeated humidity swings allow seed to absorb and release moisture. An open packet on a warm shelf, in a greenhouse, or in a garage may be a worse bet than a packet several years older that stayed sealed in a cool cupboard.
The crop itself adds another layer. Some seeds have naturally shorter storage lives, some have hard coats, and some have dormancy requirements that make a quick warm test misleading. A failed test may mean dead seed, but it may also mean the test ignored the crop’s actual germination instructions.
Crop-by-crop shelf life: short, medium, and long
Use these ranges to decide which packets deserve a test first. They are not promises for your seed lot, and they assume clean, dry seed stored under reasonably cool and stable conditions.
| Crop or group | Practical storage range to use as a starting point | How to use the range |
|---|---|---|
| Onion, leek, parsnip | About 1–3 years | Test before relying on them; buy fresh for a high-stakes tray if the rate is poor |
| Pepper, corn, beans, peas | About 2–5 years | Often worth testing and sometimes worth overseeding |
| Tomato, brassicas, many herbs | About 3–7 years | Storage history becomes especially important at the older end |
| Cucumber, melon, squash, pumpkin | About 3–6 years or longer in good storage | Usually good candidates for a counted test before replacement |
| Lettuce, radish, spinach, leafy crops | Roughly 1–6 years, depending on crop and lot | Do not transfer the range from one leafy crop to another |
| Annual and perennial flowers | About 1–4 years, with wide species variation | Check the packet; use special treatment when dormancy is expected |
The Johnny’s seed-storage charts show why a single “all seeds last five years” rule fails: their average ranges differ by crop and even by variety group. The Farmers’ Almanac summary is useful as a quick comparison, but its table should still be treated as a screening tool rather than a guarantee.
Short-lived seeds to test first
Onion-family seeds and parsnips are the packets I would move to the front of the line. They can still sprout after their usual window, but their shorter average life means an old packet is less suitable for blind sowing when every cell in a tray matters.
Test them before sowing, and use a larger sample if you have enough seed. If you have only a few seeds left, the test itself has a cost; for a rare variety, it may be more sensible to sow a small portion in a labeled cell and keep the rest as a backup rather than consume half the packet in a test.
Seeds that often hold longer
Cucumber, melon, squash, pumpkin, tomato, some brassicas, and several flower types can remain useful for years when stored well. That does not mean you should ignore a packet that was wet or overheated; it means the crop gives you a better reason to test before replacing it.
Longer-lived seed is also a good place to practice. If a packet contains plenty of seeds, test 20 instead of 10 so one sprout changes the estimate by only five percentage points. That makes the result more useful when deciding how many plants to start.
The 10-minute paper-towel germination test
A home germination test is a small experiment, not a prediction of every seedling’s performance in the garden. It answers a narrower question: under suitable moisture, temperature, and timing, what fraction of this packet produces a normal sprout?
The setup takes about 10 minutes. The waiting period depends on the crop, so use the germination window printed on the packet or the crop’s standard instructions instead of checking all seeds on the same day.
How many seeds to test
Ten seeds are convenient because each sprout equals 10 percentage points. That is enough for a quick “should I use this?” screen, especially when the packet is large and the planting is forgiving.
Twenty seeds give a steadier estimate, and 25 or 50 are better when the planting is valuable or the packet is uneven. Do not choose only the biggest, cleanest seeds. Take a reasonably mixed sample from the packet so the result represents what you are actually likely to sow.
Write down the number tested before you start. If you test 12 seeds and 9 sprout, the rate is 75%, not 90%; small samples make arithmetic errors surprisingly easy.
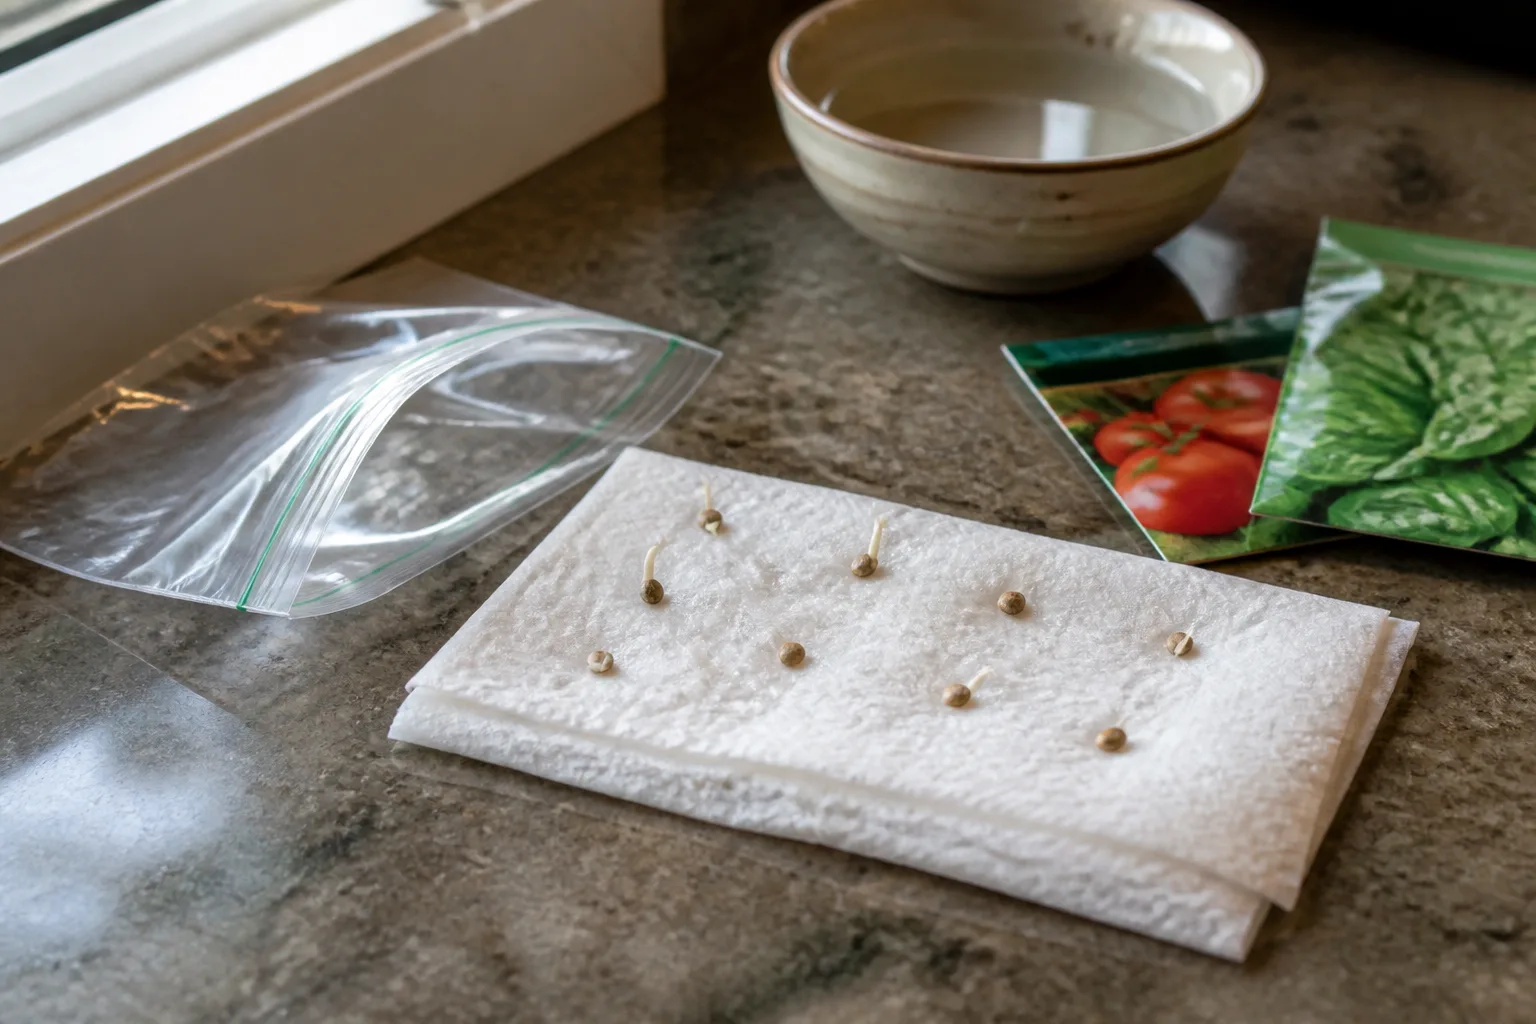
How to set up the test
Gather a clean paper towel, water, a pencil or marker, a zip-top bag or lidded container, and the seed packet. Use one crop and variety per test so different germination times do not get mixed together.
- Dampen the towel until it feels like a wrung-out sponge. It should be moist throughout but not dripping.
- Count out the seeds and space them on one half of the towel. Leave enough room to see roots without letting the seeds touch.
- Fold or roll the towel so the seeds have good contact with moisture, then put it in the bag or container.
- Label the container with the crop, variety, packet date, number tested, and the date you started.
- Put it in a stable location suited to the crop’s germination temperature. A warm room may work for many vegetables, but the packet’s instructions take priority.
Do not seal the container so tightly that condensation pools over the towel. A loosely closed bag or a container opened briefly for inspection can keep the sample moist while reducing the chance of a sour, moldy test. Keep it out of direct sun and away from a heater, where the towel can become much hotter or drier than the room.
When to check and how to calculate germination
Check the test every day or two, but do not call a slow crop a failure too early. Many vegetables show results within a week; others need longer, and some flower seeds need a treatment before they will sprout. The back of the packet is the simplest guide to the expected window.
At the end of that window, count seeds with a normal root and shoot. Divide the number of normal seedlings by the number tested, then multiply by 100:
Germination percentage = normal seedlings ÷ seeds tested × 100
For example, 16 normal seedlings from 20 seeds is 80%. If four seeds split but never produced a root, record them as non-germinated for this decision. A cracked coat is not the same as a seedling ready to establish.
Photographing the result or recording it in a seed inventory helps when you revisit the packet next year. If the sprouts are very uneven, tiny, or discolored, treat the result more cautiously than a clean row of roots and shoots even if the raw percentage looks acceptable.
When a paper towel gives a misleading result
The paper-towel test is not ideal for every seed. Peanuts and other large or unusual seeds may test more realistically in damp seed-starting mix, where their depth and contact resemble actual planting. Better Homes & Gardens’ germination-test guidance recommends a soil test for seeds that do not perform well on a towel.
Some seeds need cold stratification before they germinate. Lavender, milkweed, and several perennial or native flower seeds may need a moist, chilled period that imitates winter. Testing them warm on day one can produce a false “dead” result. Follow the packet’s treatment first, then count the sprouts during the stated germination window.
Other seeds benefit from scarification, which lightly scratches or softens a hard seed coat. Larger seeds such as nasturtium or some gourds may respond better after the treatment recommended for that crop. Do not sand or soak every old seed automatically; extra handling can damage a seed or add moisture without solving the real problem.
Pelleted or coated seed deserves a separate warning. Its coating changes how it absorbs water and may have a shorter storage life than raw seed. Follow the supplier’s instructions rather than treating a pellet like an ordinary dry seed in a paper towel.
Turn the result into a planting decision
A percentage is useful only when it changes what you do next. These bands are practical home-gardening rules, not universal laboratory standards; the right choice also depends on how expensive the seed is, how much time you have, and how difficult it will be to fill gaps later.
80% or higher: sow normally
If at least eight out of 10 seeds produce normal seedlings—or the equivalent percentage from a larger sample—the packet is generally reasonable for ordinary sowing. Follow the crop’s normal spacing rather than crowding the tray simply because the seed is old.
Keep an eye on emergence speed. A packet that reaches 85% after the expected window may still need more careful moisture management than fresh seed. Sow in clean mix, label the tray, and give seedlings enough light as soon as they emerge.
50% to 79%: overseed with a plan
An intermediate result means the packet may still be useful, but it no longer gives you much margin. If the test is 60%, sow about 1.5 times as many seeds as the number of plants you need, then thin or transplant the strongest seedlings after emergence.
Do not simply dump extra seed into every cell. Crowding can create weak, stretched seedlings and make damping-off easier to manage poorly. For a row crop, sow a little more thickly and thin; for a plug tray, put one or two extra seeds in selected cells where you have room to separate them.
If the seed is rare, expensive, or tied to a short planting window, start a few fresh seeds alongside the old batch. That gives you a fallback without discarding the old packet and reveals whether the older seedlings are noticeably slower or weaker.
Below 50% or no normal seedlings: replace
For a routine vegetable row, a low result may be usable if you have abundant seed and can tolerate gaps. For indoor seed starting, however, a rate below 50% usually makes fresh seed the better value because the lost time, tray space, mix, and electricity can cost more than a new packet.
The UW–Madison guidance uses below 40% as a practical point where fresh seed often makes more sense, while other home-testing guidance uses 50% as a replacement line. The difference is a reminder that there is no magic cutoff. Choose the stricter option when the crop is slow, the season is short, or you need uniform transplants.
If nothing sprouts, first check that the test used the crop’s correct temperature, light, stratification, or scarification instructions. If the conditions were appropriate and the packet smells musty, shows mold, or was stored damp, discard it rather than trying to rescue it with a rinse or fertilizer.
Starting old seeds in trays without wasting the batch
Once an old packet passes its test, the next risk is not the seed’s age but the way the tray is managed. Use fresh, fine-textured seed-starting mix in clean containers with drainage. Old seed cannot compensate for compacted garden soil, a saturated tray, or a surface that dries before roots form.
Sow at the depth on the packet and keep the mix evenly moist. Covering the tray with a humidity dome can help with moisture, but vent it once seedlings appear so stagnant, wet air does not encourage disease. Bottom-water or water gently enough that seeds do not wash into a corner.
Mark the date and expected emergence window on the tray. With older seed, it is tempting to declare failure after a few empty days and resow too deeply. Wait through the crop’s normal window, then inspect one empty cell before changing the whole tray.
Give the tray bright light as soon as seedlings emerge. If you overseeded, thin by snipping extras at the soil line rather than pulling a neighbor’s root out of the mix. A dense cluster of weak seedlings is not a successful use of a high-germination test result.
Storage after the test: cool, dry, sealed
The best storage routine protects the packet you did not use. Keep seeds in a cool, dry, dark place with as little temperature fluctuation as possible. A sealed glass jar or other airtight container in a refrigerator can work well when the seeds are already dry; a cool interior cupboard is simpler for packets you use frequently.
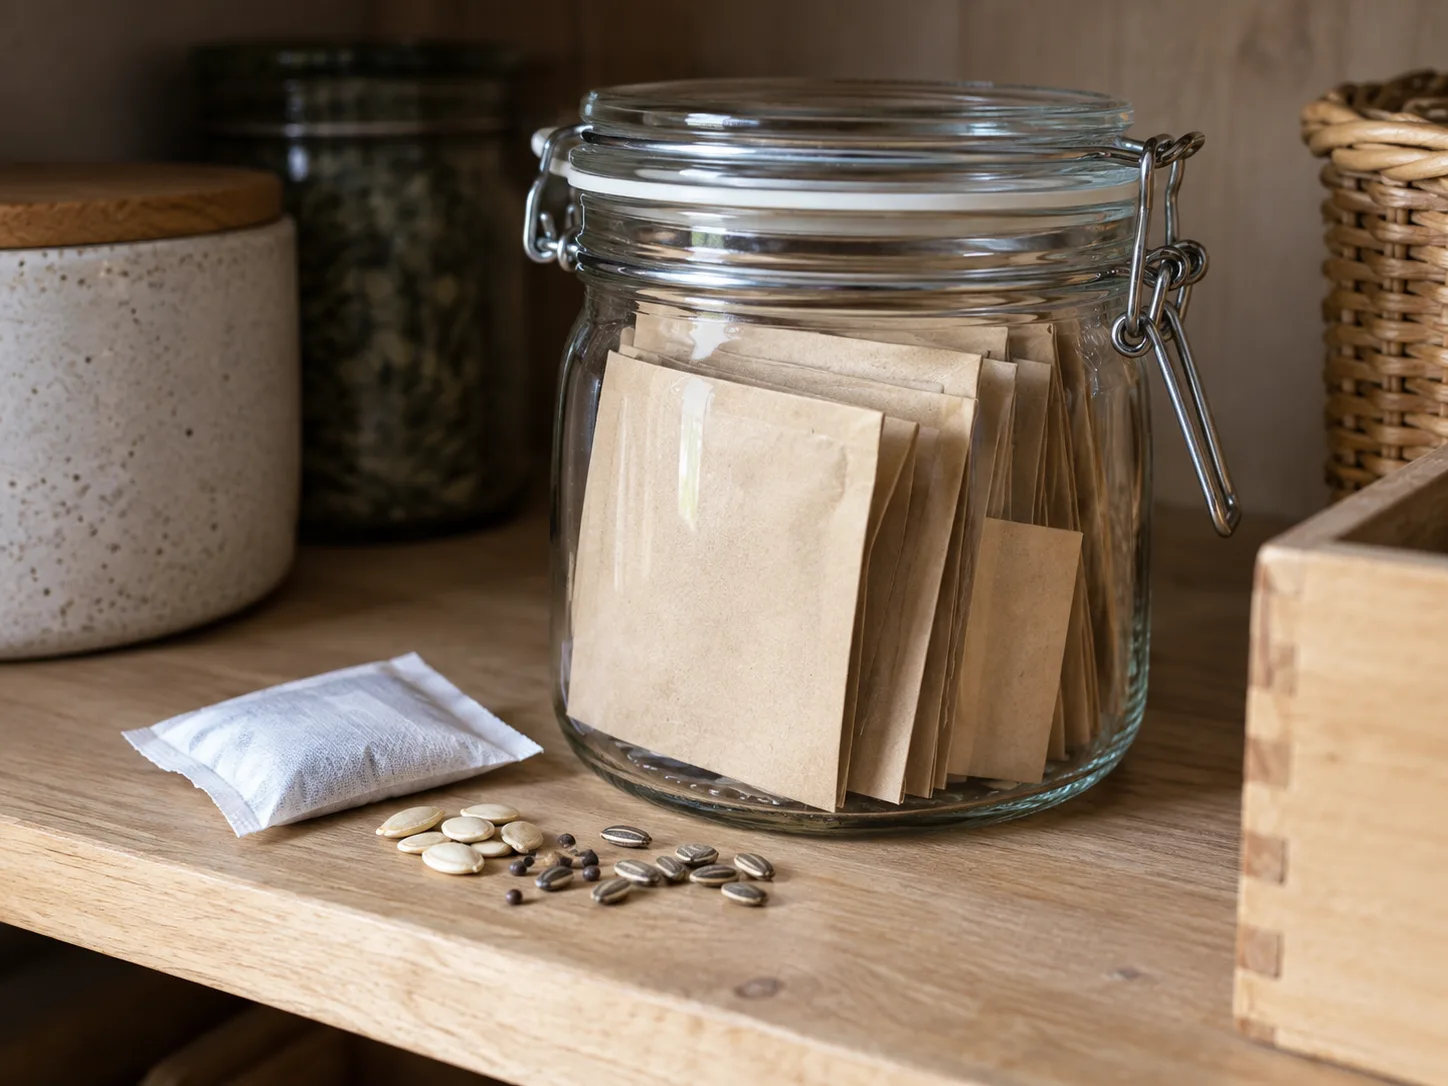
Add a desiccant only if it is kept separate from loose seed and cannot spill into the packet. Label the container with the crop, variety, source, and year so you do not have to guess next season. Group short-lived seeds where they will be tested first rather than burying them in an unmarked box.
If you refrigerate or freeze seed, leave the container closed until it reaches room temperature before opening it. Opening a cold jar in humid air can put condensation on the packets and undo the storage advantage. Johnny’s guidance specifically recommends letting a sealed container warm before opening.
Freezing is not a cure for seed that was already damp, and it is not a substitute for drying and sealing. For most home gardeners, consistent cool and dry storage is easier to maintain than repeatedly moving packets between a freezer and a worktable.
Mistakes that make old seeds fail
The most common mistake is treating a general longevity chart as a guarantee. A “five-year” crop can fail early after hot, humid storage, while a shorter-lived crop can surprise you after careful storage. Use the chart to prioritize tests, not to overrule the packet in your hand.
Another mistake is testing under the wrong conditions. A cold-loving flower may need stratification, a hard-coated seed may need scarification, and a slow crop may simply need more time. When the test does not match the crop’s instructions, the result says more about the setup than the seed.
Avoid soaking old seeds in a glass of water as a universal shortcut. Soaking can help a few crops when the instructions call for it, but it does not reverse age, and it can make a weak or damaged seed rot before you learn whether it was viable.
Do not test only the prettiest seeds, count a split coat as success, or put a moldy packet back with clean seed. Finally, do not sow a low-rate packet at normal spacing and hope for the best when the planting has a deadline. Test early enough to order fresh seed or start a backup tray.
Conclusion
You can use old seeds for seed starting when the crop, storage history, and test result give you enough margin. The packet date is a useful record, but a counted germination test is a better decision tool.
Start with short-lived or poorly stored packets, test 10 to 20 seeds under the crop’s actual conditions, and count normal seedlings rather than cracked seed coats. Sow normally when the rate is strong, overseed carefully when it is middling, and choose fresh seed when the rate is low or the planting cannot tolerate gaps. Then store the remainder cool, dry, sealed, and labeled so next season’s question is easier to answer.



