7 Tree Decorating Mistakes You Should Avoid This Holiday Season
Fix a patchy, flat, or top-heavy Christmas tree with seven decorating mistakes to avoid, plus a reliable order for lights, garland, ornaments, and the base.

A beautiful Christmas tree is rarely about owning the most ornaments. It is about giving the tree a clear shape, distributing visual weight, and leaving enough space for the eye to rest. When a tree looks patchy or oddly heavy, the problem is usually a sequence mistake—not a shortage of decorations.
Use the checks below for a real or artificial tree. The design advice applies to both, while the moisture and electrical notes matter especially for a fresh-cut tree. Start with the tree you have, diagnose the weak point, and make one controlled change at a time.
How to Fix a Tree Before You Hang Anything
Do not begin by opening every ornament box. A five-minute setup check prevents an hour of moving decorations later, especially if the tree is in a corner and only two or three sides will be visible.
Start with placement, footprint, and safety
Measure the ceiling height, the tree stand or base, and the space needed for the lowest branches. Leave a comfortable walkway around the display, keep the tree stable, and avoid placing it where a door, heater, radiator, fireplace, heat vent, or sunny window will dry or bump it. A tree that is too close to a heat source may look fine on day one and become brittle while you are still decorating.
Plug each light strand in before it goes on the tree. Discard strands with cracked sockets, exposed wire, loose connections, or scorch marks, and use lights rated for the location. The National Fire Protection Association’s holiday guidance notes that electrical distribution or lighting equipment is involved in two out of five home Christmas-tree fires, so “I will check it after everything is hung” is a poor decorating plan.
Separate a real-tree care check from a design check
For a fresh-cut tree, check the stand before you think about color palettes. The trunk base should remain submerged, the basin should be large enough for the tree, and the water level needs checking every day—particularly during the first week. Penn State Extension recommends a water-holding stand sized to the trunk and says clean water is enough; additives, sugar, bleach, and homemade mixtures are not a shortcut to freshness.
If needles are already brittle, break easily, or fall when you brush the branches, stop styling and assess the tree’s condition. A dry tree is not made safer by adding more lights or spraying it with a product. NC State Extension explains that freshness is closely tied to moisture and recommends keeping a real tree watered, away from heat, and decorated with lights in good working order; unplug them when you leave or go to sleep.
Mistake #1: Hanging Lights Only Around the Outside
The most common visual failure is a glowing shell with a dark, empty center. If every bulb sits at the branch tips, the tree may sparkle in a photograph but look flat in the room, and ornaments have nothing behind them to reflect light.
Start at the trunk and work outward along major branches, then return toward the trunk before moving to the next section. This creates layers: some bulbs illuminate the interior, while others outline the branch tips. Keep the pattern irregular enough to look natural, but repeat the same depth on the left, right, front, and visible back of the tree.
Use depth and a back-to-front test
Divide the tree into manageable vertical sections and light one section before moving on. The exact bulb count is less important than even coverage; a tree with fewer lights placed at three depths often looks richer than one with a dense strand wrapped only around the outside.
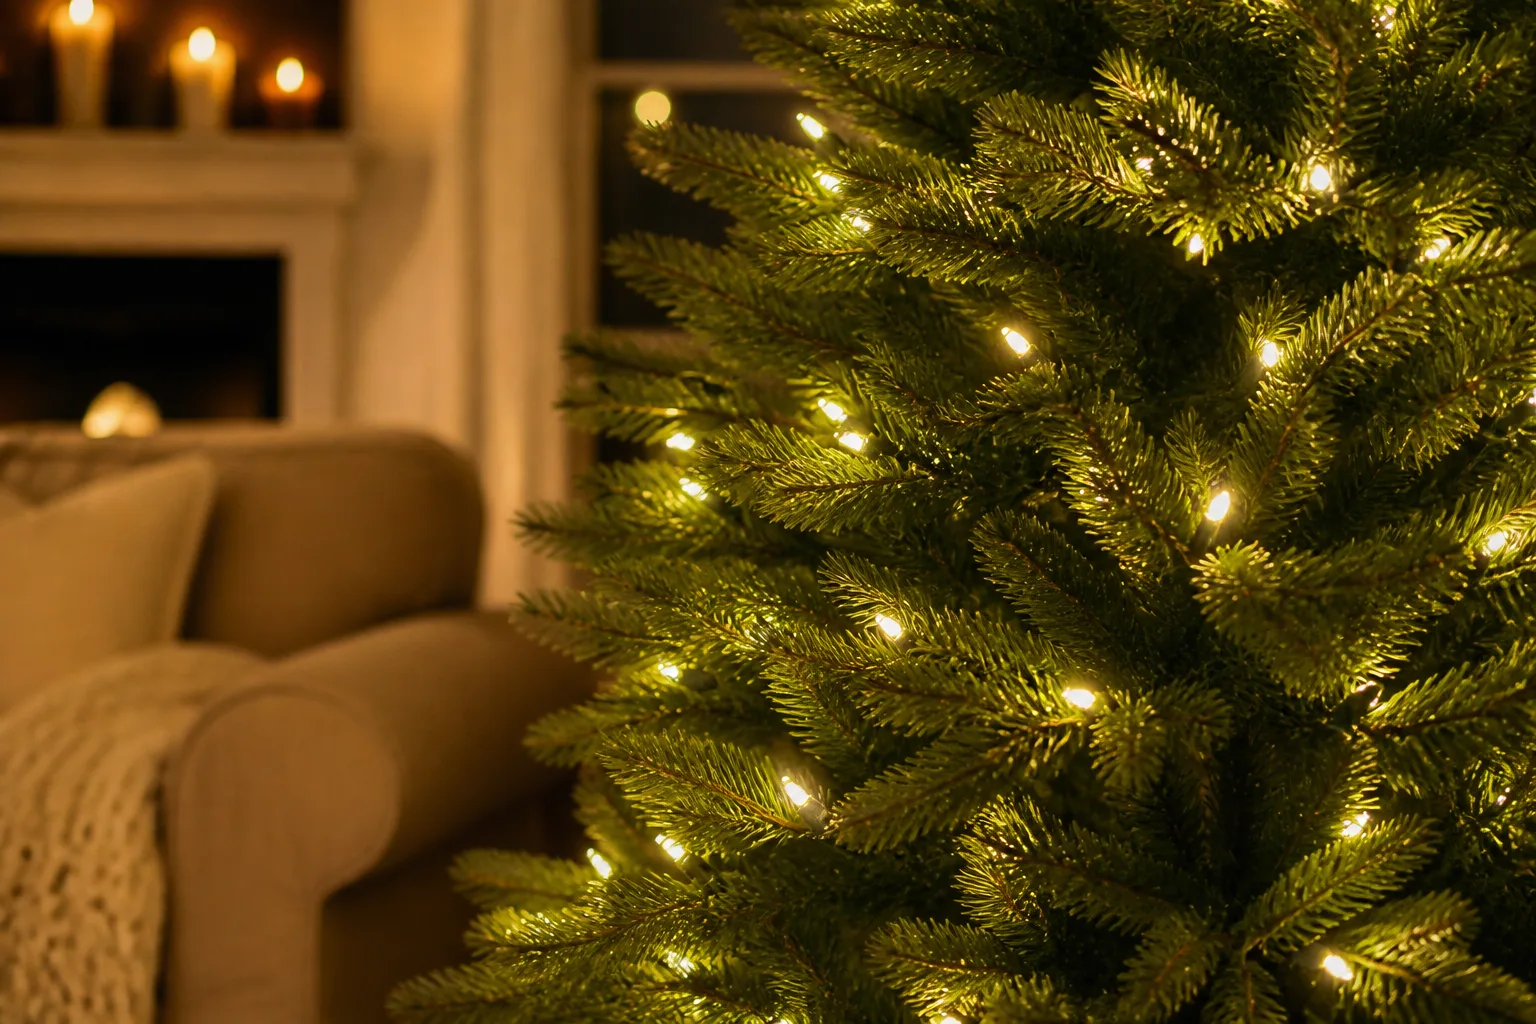
After each section, step back and squint. Dark holes will show up as obvious gaps, while overpacked areas will blur into a bright clump. Fix those now, before garland and ornaments make the strand difficult to reach. For safety, keep lighting loads within the strand manufacturer’s connection limit, use a timer or shutoff routine, and turn the lights off whenever the tree is unattended.
Mistake #2: Skipping the Fluffing or Shaping Pass
An artificial tree that comes straight from storage has compressed branches, flattened tips, and visible gaps between sections. Decorating over that shape makes the ornaments look as if they are floating in a sparse frame. Fluffing is not busywork; it creates the structure that supports everything else.
Fix compressed branches without wrecking the silhouette
Work from the trunk outward and from the bottom section upward. Separate branch tips in different directions, open the inner hinges, and rotate the tree as you go so you are not shaping only the front. The goal is not to make every tip point straight up. A convincing silhouette has varied angles, a slightly irregular outline, and enough negative space for light to travel through.
For a real tree, do not yank branches to force symmetry. Rotate the tree in the stand, use the fuller side toward the room, and let the species’ natural shape guide the design. Some firs have flexible branches that suit lighter ornaments, while sturdier pines and spruces can carry more weight. A branch that bends sharply under a decoration is a structural signal, not a styling challenge.
Use a phone photo as a neutral test. The camera catches holes and lopsided sections that are easy to ignore while you stand close to the tree. Correct the outline before you add more objects; otherwise every new ornament hides the original problem for a few minutes and makes the final edit harder.
Mistake #3: Letting One Ornament Shape Do All the Work
A box of identical round ornaments is convenient, but repeating one size, finish, and silhouette makes the tree read as a grid. The eye has no change in scale or texture to follow, so the display can feel flat even when it is full.
Build a palette with contrast and repetition
Choose a small set of roles instead of a single ornament type: a dominant color, a supporting neutral or metallic, a few larger shapes, medium fillers, and a handful of reflective or tactile accents. Matte pieces soften a cluster; glass or metallic finishes throw light; woven, wooden, paper, or dried-natural elements keep the display from looking like a collection of identical spheres.
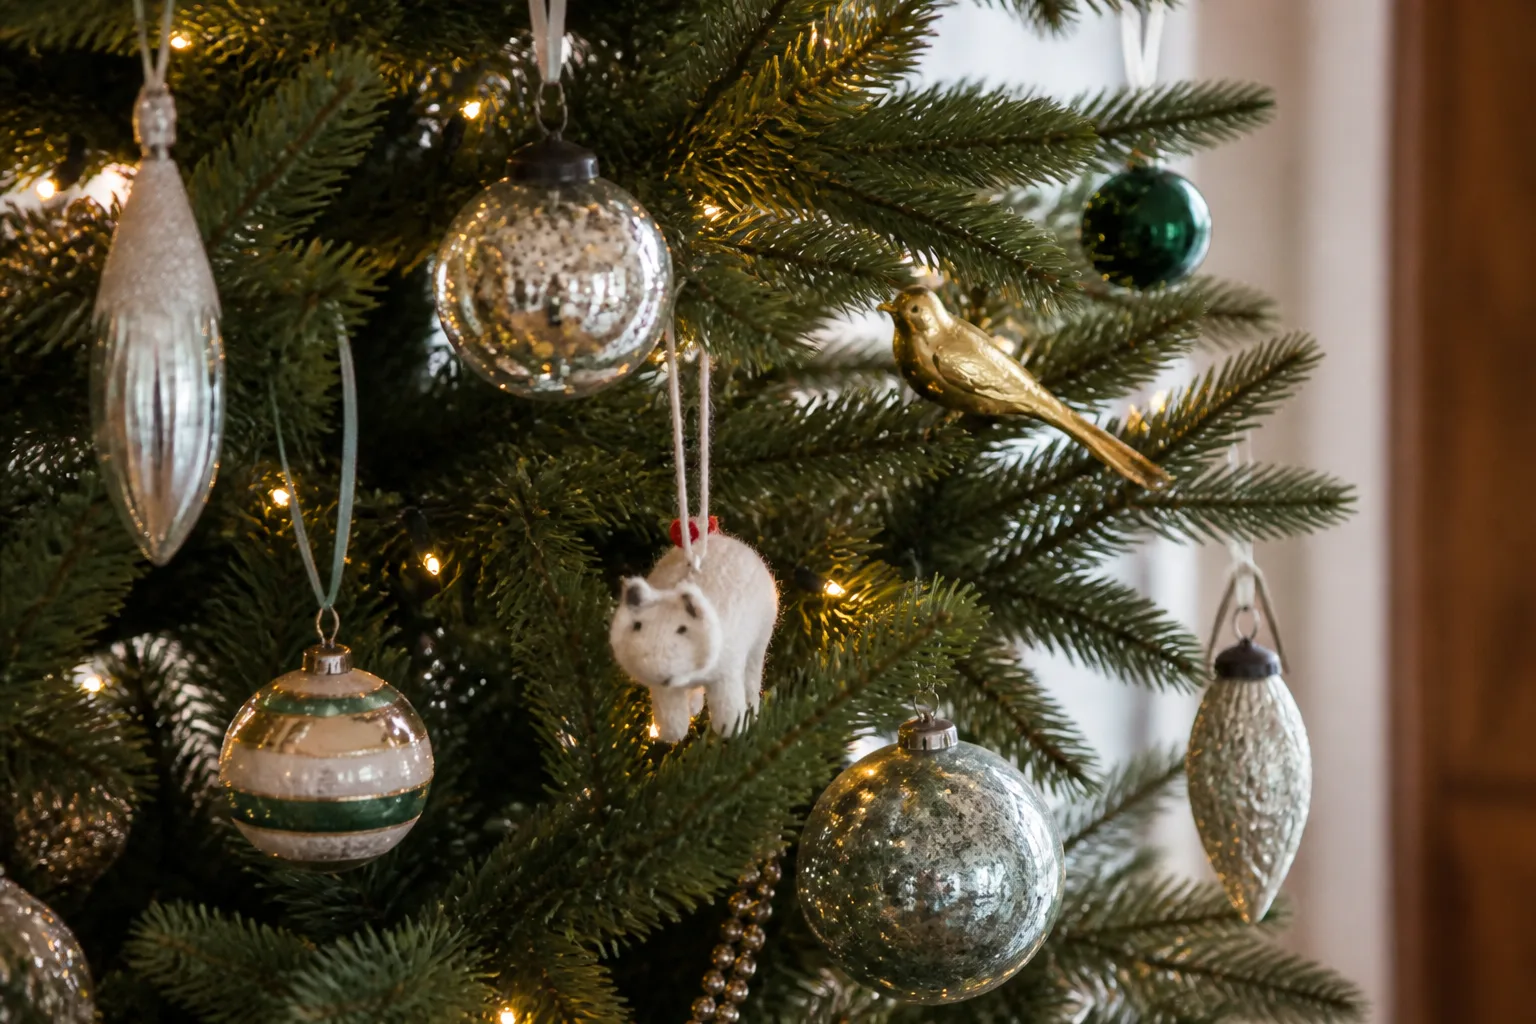
Repeat colors across the whole tree rather than placing one color in a single stripe. Hang a few ornaments deeper inside the branches, place some at the mid-depth, and reserve a handful for the outer tips. That layering gives small ornaments a backdrop and stops the tree from looking like it is wearing a polka-dot pattern.
You do not need a strict theme. A useful rule is “repeat, then vary”: repeat two or three colors or materials often enough to create rhythm, then vary scale and finish so the rhythm does not become monotonous. Family ornaments can be the visual anchors, with simpler filler pieces supporting them rather than competing for attention.
Mistake #4: Putting Heavy Ornaments at the Top
Large or dense ornaments at the highest points pull the eye upward and can make the tree look top-heavy. They also put more strain on thinner upper branches, where a decoration may droop, rotate, or fall when someone walks past.
Place the largest pieces on stronger lower and middle branches, and tuck some larger ornaments nearer the trunk instead of hanging every one at the perimeter. Use medium pieces to bridge the middle, then let smaller, lighter decorations and the topper finish the upper third. This is a visual rule and a practical one: the lower branches usually have more leverage and a fuller structure.
Before committing a heavy ornament, press the branch down gently with one finger. If it folds, slide the ornament closer to the trunk, move it lower, or choose a lighter hook. Avoid crowding several heavy pieces onto one limb; distribute them around the tree so one side does not sag.
Mistake #5: Decorating Only the Eye-Level Front
The area directly in front of you is easy to decorate because it is comfortable to reach. The result is a tree that looks finished from the sofa but bare from the side, above, or below. A sparse bottom also makes the tree look like it is floating over its base.
Check the lower third and the sides
Turn the tree a quarter turn as you decorate, or walk around it if all sides are visible. Keep the lights and major color notes moving around the silhouette, then use the room’s sightlines to decide where the most special ornaments belong. A corner tree can have a quieter back, but it should not have a completely undecorated back if mirrors, windows, or open-plan rooms expose it.
Kneel down for the lower third. Add light, medium-weight ornaments to the sturdy branches near the bottom, but keep the lowest tips clear of pets, toddlers, vacuum cleaners, and passing feet. If the tree sits where people move around it, secure the stand first and treat low-hanging glass or sharp pieces as a safety issue rather than a design detail.
Then check the top from across the room. The transition from the lower third to the middle should feel intentional, not like a dense band above an empty skirt. Better Homes & Gardens’ decorating guidance follows the same broad logic: lights first, then garland, then ornaments, with larger pieces lower and smaller ones higher.
Mistake #6: Hanging Every Ornament You Own
More ornaments do not automatically create a more finished tree. Once every memory, gift, novelty piece, and leftover set is on the branches, individual shapes disappear and conflicting colors create visual noise. The tree becomes a storage display instead of a composition.
Edit sentimental pieces without losing tradition
Spread the collection across three groups: must-display pieces, flexible fillers, and a rotation box. Put the irreplaceable or story-rich ornaments where people can see them, use dependable fillers to balance empty areas, and give the rest a planned year rather than treating the box as a failure.
Editing does not mean discarding tradition. You can preserve every ornament while changing which ones share the tree this year. A rotation also solves a common practical problem: delicate pieces can stay higher and farther from curious hands, while sturdy, washable, or non-breakable ornaments can handle the lower branches.
If the tree already feels crowded, remove five pieces from the busiest area before adding anything. Look for clusters of the same size, ornaments that touch, and decorations that hide the branch structure. The empty space you create is not wasted; it gives the meaningful pieces room to register.
Mistake #7: Treating the Stand and Base as an Afterthought
The base is part of the tree’s composition, not a place to hide a tangle of cords. A bare stand can make a well-balanced tree look unfinished, while an oversized collar or piled-up fabric can compete with the lower branches and create a trip hazard.
Choose a skirt or collar that fits real life
Pick a skirt, collar, basket, or wrapped fabric that fits the stand without blocking access to a real tree’s water basin. The water still needs to be checked and topped up every day, so a decorative cover that has to be dismantled is a maintenance mistake. Leave enough clearance to see the stand and reach it without knocking ornaments or pulling the tree.

Match the base to the tree’s visual weight. A tall, airy tree may need a broad, substantial base; a small tabletop tree may look better with a simple saucer or low fabric. The material should also suit your household: washable cloth is forgiving around pets and children, while a rigid collar can be easier to vacuum around but may be awkward when you need to water the tree.
Hide cords by routing them along the back or side without pinching them under furniture. Do not bury power strips under fabric or let the skirt touch hot bulbs. If the stand wobbles, fix the stand or relocate the tree before styling the base; decoration cannot compensate for instability.
A Reliable Decorating Order That Prevents Rework
The easiest way to avoid most tree decorating mistakes is to work from structure to surface. This order also keeps you from reaching through finished ornaments to fix a dark spot or a bare branch.
- Place and secure the tree. Confirm the footprint, viewing angles, stand stability, heat clearance, and access to the water basin if the tree is real.
- Shape the tree. Fluff an artificial tree section by section or rotate and settle a real tree into its best silhouette.
- Test and add lights. Repair or replace questionable strands, then weave from the trunk outward and check the result from across the room.
- Add one major garland or ribbon layer. Start with a loose, balanced path rather than pulling one tight line around the tree. Let the spacing open slightly as the tree widens toward the bottom.
- Place the largest ornaments. Use strong lower and middle branches, distribute weight around the tree, and put a few deeper inside for depth.
- Add medium and small ornaments. Repeat your colors and materials while varying finishes and keeping some branch structure visible.
- Install the topper and inspect the silhouette. The top should finish the shape, not pull it sharply to one side.
- Finish the base. Add the skirt or collar only after the stand, water access, cords, and walking path are safe.
- Edit from three distances. Check close up for tangled hooks, from across the room for balance, and from the side or back for obvious gaps.
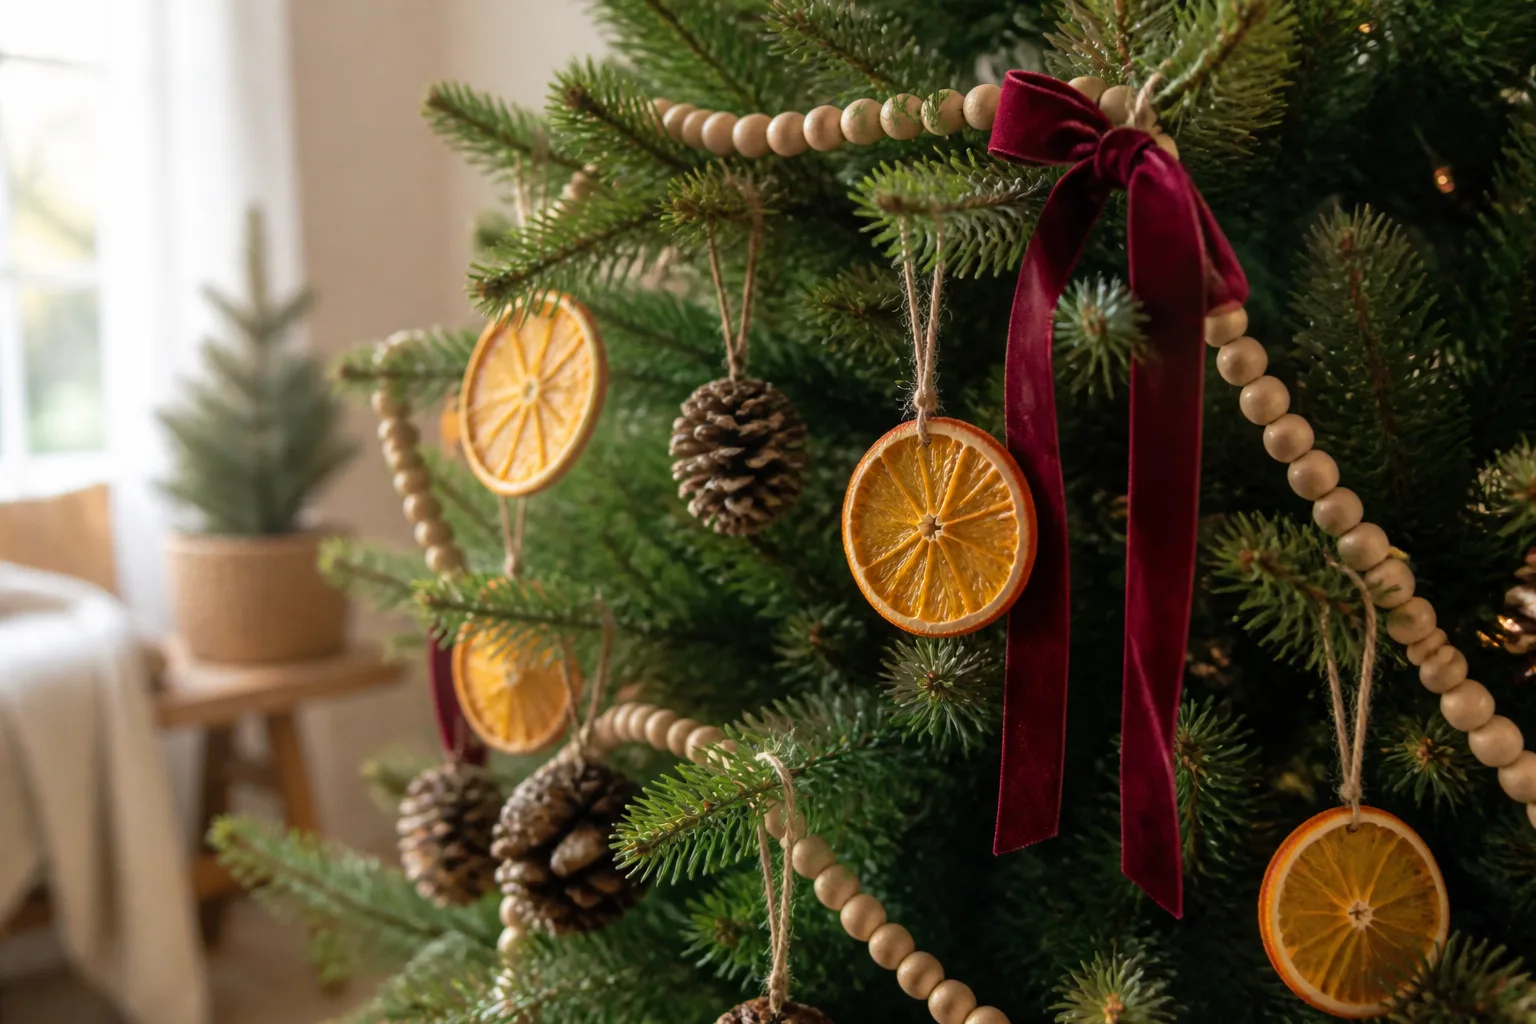
This order is a framework, not a rule that overrides your traditions. If you do not use garland, skip that layer. If children decorate the lower branches, reserve safe, sturdy ornaments for them and place fragile keepsakes higher. The sequence works because it solves the tree’s physical structure before asking small decorative objects to do that job.
How to Rescue a Tree That Already Looks Wrong
Do not strip the entire tree the moment it feels off. Stand several feet away, take a photo, and name the first problem you see: dark interior, flat silhouette, heavy top, empty bottom, crowded cluster, or unfinished base. Fix only that category, then reassess.
For a patchy tree, move lights before moving ornaments. For a flat tree, open branches and rotate the tree before buying more decor. For a top-heavy tree, relocate the largest pieces downward and spread them around the trunk. For a crowded tree, remove a handful from the busiest cluster and use the freed-up space to reveal lights.
If the design still feels unsettled, reduce the number of competing finishes. Keep one dominant metal or color, repeat it in three or more places, and store the rest for the rotation box. A calm tree with visible branches will usually look more intentional than a full tree where every ornament is competing to be the focal point.
Finally, perform the safety rescue. A real tree whose water has fallen below the trunk base needs attention before more decorating. A strand that heats excessively, smells burnt, flickers, or has damaged wiring belongs in the discard pile. NFPA reports that Christmas-tree fires are uncommon but can grow very quickly, and that nearly half are caused by electrical problems; good design is never a reason to keep an unsafe tree or light set in service.
Conclusion
The best Christmas tree is balanced enough to feel intentional and personal enough to feel like yours. Shape it first, light the interior as well as the tips, vary ornament scale and texture, keep heavy pieces low, decorate the lower third, edit instead of crowding, and finish the base without sacrificing stability or access to water.
If the tree looks wrong, resist the urge to add more. Step back, identify the single weakest visual area, and repair that area in the same order you built it: structure, lights, layers, ornaments, then base. A few deliberate moves usually create more polish than another box of decorations.



