60 Christmas Tree Decorating Ideas
Find Christmas tree decorating ideas for every room and budget, plus an easy order for lights, garland, ornaments, and a topper that looks balanced.
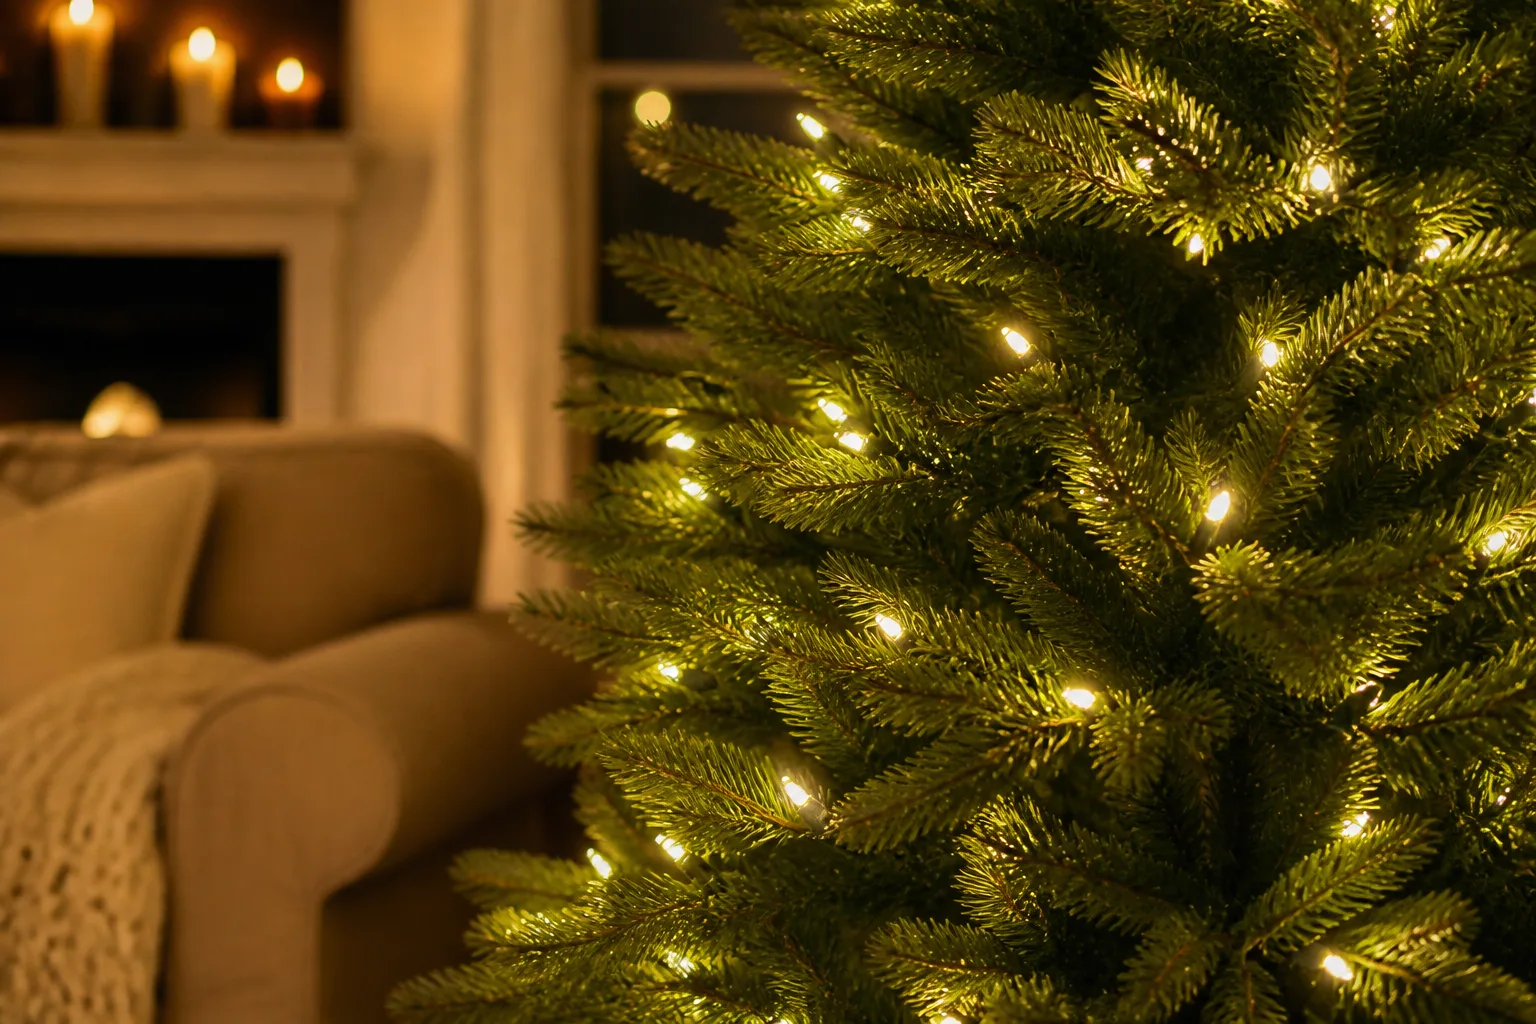
The best Christmas trees are not necessarily the fullest, most expensive, or most heavily decorated. They look finished because the color, scale, lighting, and placement make sense together. That is good news if you are working with last year’s ornaments, a small apartment tree, a hand-me-down artificial tree, or a real tree with a few uneven branches.
Use the ideas below as a menu, not a shopping list. Pick one dominant mood, one supporting texture, and one personal detail. Then stop adding when the tree has a clear focal point and a little breathing room between ornaments.
Choose the tree and the job it needs to do
Measure the room before you choose the look
Measure ceiling height, the width of the spot, and the clearance needed for doors, walkways, pets, and gifts. A tall tree that touches the ceiling can feel elegant in a foyer but cramped in a living room; a slim pencil tree can look deliberate when a full tree would block a window or a television.
Do not forget the stand, collar, topper, and tree skirt when measuring height. A dramatic topper can add several inches, while a raised planter or basket can make a tabletop tree read as a larger composition. Mark the footprint with painter’s tape before you carry the tree inside.
Decide between real, artificial, potted, and tabletop trees
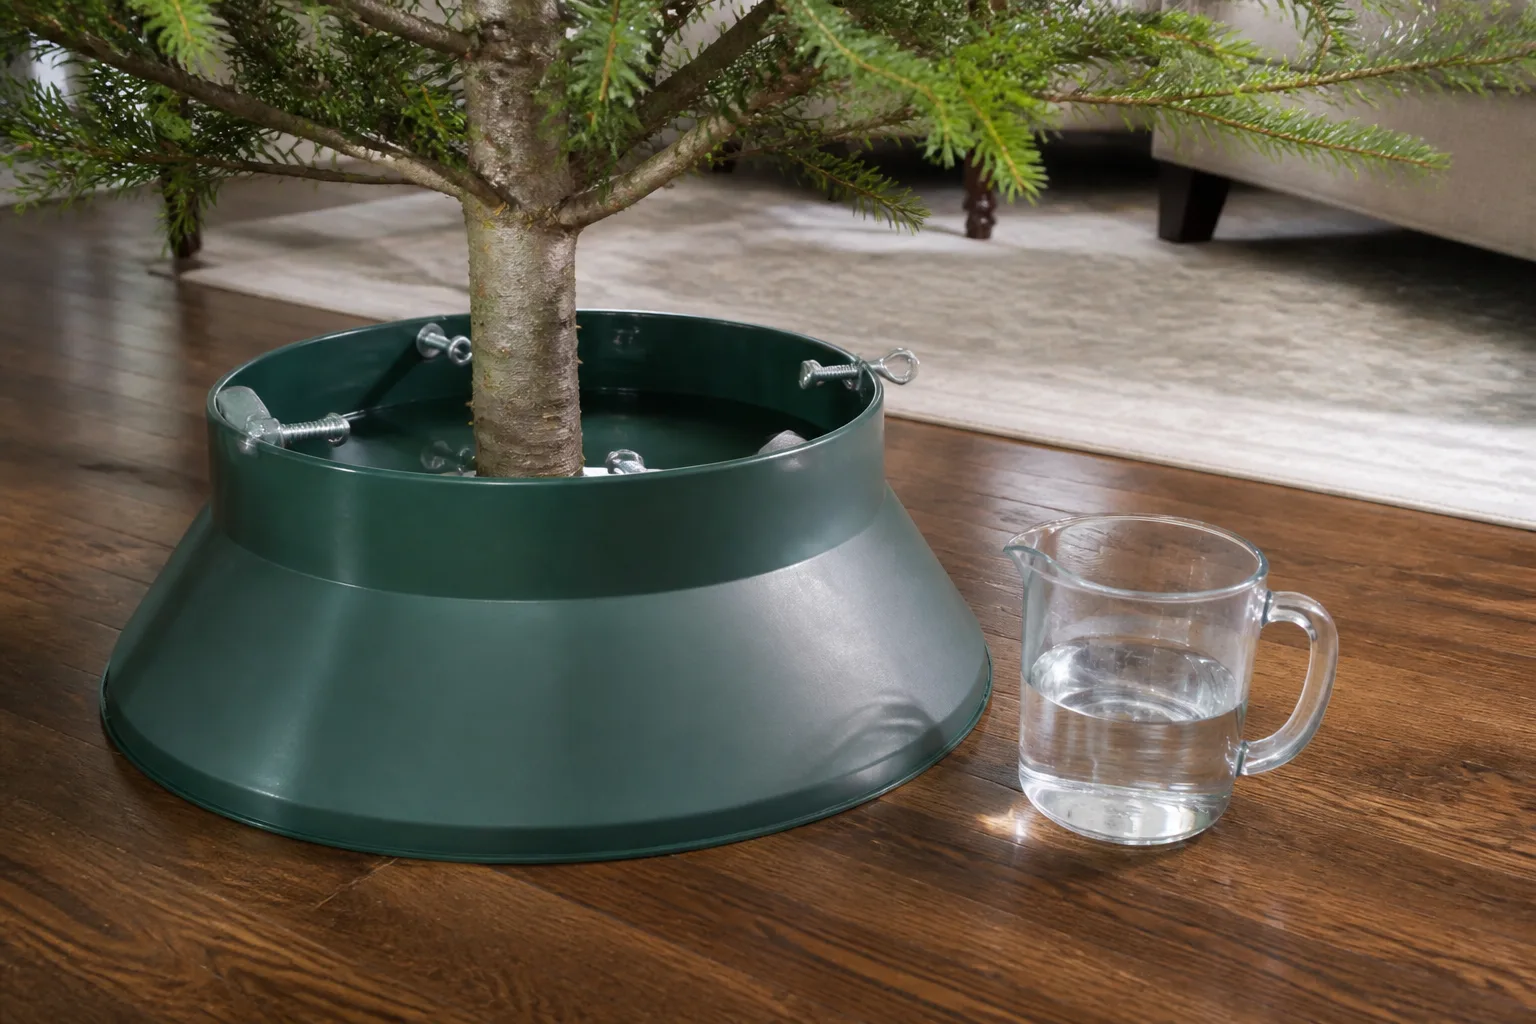
A real cut tree gives you scent and natural irregularity, but it needs a water-holding stand, daily attention, and a location away from heat. The National Christmas Tree Association’s care guidance recommends a stand sized to the trunk, a fresh perpendicular cut, and keeping the water level above the cut end; it also advises turning lights off when you leave or go to bed.
An artificial tree is easier to place near a radiator-free wall, easier to reuse, and forgiving if you decorate early. A potted evergreen is a short indoor visit rather than a permanent houseplant: keep its root ball slightly damp, avoid a warm room for an extended stretch, and follow local climate and nursery advice before planting it outdoors. Tabletop trees and branch arrangements are the most flexible choice when the goal is a festive moment rather than a room-dominating centerpiece.
Build a palette that can handle 60 ideas
Use color, texture, and visual weight as your limits
Start with two main colors and one accent. Red and green can be softened with natural wood; blue and white can be warmed with brass; pink can feel grown-up beside silver, champagne, or deep evergreen. If you want a maximalist tree, repeat the same three colors in several finishes instead of introducing a new color for every ornament.
Texture keeps a restrained palette from looking flat. Combine matte and glossy baubles, velvet and paper, smooth glass and rough pinecones, or satin ribbon and wool pompoms. Spread the heaviest pieces low and near the trunk, where branches are strongest, and use lighter pieces near the top.
60 Christmas tree decorating ideas
These ideas are arranged by the decision they solve. Each one can stand alone, or you can combine three or four from the same group for a coherent tree.
Classic and collected trees
1. Red, green, and brass. Use traditional red ornaments, deep green ribbon, and a small amount of brass so the tree feels familiar without becoming visually loud. Repeat the brass in the tree topper or gift wrap for a deliberate finish.
2. Red velvet bows. Tie a few oversized velvet bows at the outer branch tips instead of covering the tree in garland. Use wired ribbon so the bows keep their shape, and anchor the largest bow near the top.
3. A family-memory tree. Keep the everyday ornaments, school crafts, travel souvenirs, and photo ornaments together. Give the mix structure by repeating one ribbon color, not by hiding the pieces that make the tree meaningful.
4. The heirloom-and-new balance. Let vintage ornaments provide the story and add new ornaments in only one finish, such as satin, brushed metal, or clear glass. This makes an inherited collection feel edited rather than random.
5. A candlelight-inspired tree. Choose warm-white LED lights, amber glass ornaments, and a few cream ribbons to mimic candlelight without putting an open flame in the branches. Keep actual candles on a separate, stable surface.
6. A traditional tree collar. Hide the stand with a woven basket, galvanized tub, wood collar, or fabric skirt that echoes the room’s materials. Check that the cover does not interfere with watering or make the stand unstable.
7. A classic topper stack. Layer a simple star, a small bow, and a few flexible branches rather than balancing a heavy object on the tip. The topper should be secured to the central trunk, not merely perched on a soft branch.
8. Ornament-band zoning. Divide the tree into loose horizontal zones: larger ornaments low, medium ornaments at eye level, and small pieces toward the top. The bands should overlap slightly so the tree does not look striped.
9. A red-berry and pinecone tree. Use faux berries and pinecones as the repeating element, then add ordinary red baubles between them. This is a useful way to make a sparse artificial tree look fuller without buying a second set of ornaments.
10. A mantel-to-tree match. Pull one color or material from the mantel, bookcase, or nearby textiles into the tree. Matching one detail is enough; repeating every object can make the room feel staged.
11. A quiet cottage tree. Use a few star ornaments, warm lights, natural ribbon, and plenty of visible branches. This works especially well on a small real tree whose irregular shape is part of the charm.
12. The no-theme theme. Use only the ornaments you genuinely like, but control the result with a repeated light color and one base treatment. A personal tree does not need a label to feel intentional.
Color-led trees
13. Blush pink and silver. Pair pale pink ornaments with silver bead garland and a soft white topper. Keep the pink in several shades so the tree has depth rather than looking like one solid block.
14. Jewel tones. Combine emerald, sapphire, ruby, and amethyst ornaments against a green tree. Use gold sparingly as the bridge color that makes the jewel tones feel related.
15. Blue and white. Echo blue upholstery, curtains, or ceramics in the tree, then add white florals, snowflakes, or matte baubles. A natural wood collar prevents the palette from feeling cold.
16. Black, white, and one metallic. Choose black ribbon or ornaments, white lights, and one metallic accent such as silver or gold. This high-contrast look needs fewer objects because the palette already creates strong visual movement.
17. Pastel candy shop. Use pink, mint, lavender, and pale yellow with lollipop shapes, striped ribbon, and a few oversized candy ornaments. Repeat one small neutral, such as cream, to keep the colors from competing.
18. Green-on-green. Mix several green shades and finishes on a green tree, then add warm lights. The result feels layered and sophisticated when the ornaments range from matte sage to glossy forest green.
19. White-on-white. Use white ornaments, icy ribbon, and clear or silver accents on a green or flocked tree. Add texture through feathers, felt, ceramic, and glass instead of adding more colors.
20. Copper and cinnamon. Build a warm palette with copper ornaments, cinnamon-brown ribbon, dried orange slices, and a few cream accents. This suits a wood-heavy room and can transition into winter decor after the holidays.
21. Navy and champagne. Deep navy gives a tree weight while champagne ornaments keep the room bright. Use different ornament shapes because a single ball style can make a dark palette look too dense.
22. Red and pink. Mix cherry red with rose and blush for a playful update to a traditional tree. Let the red appear in the topper or base as well, so the color is not stranded only at eye level.
23. Teal and gold. Use teal ornaments on a secondary tree in a home office or reading nook, then repeat gold in a small topper. Two strong colors are enough; skip a competing garland.
24. A monochromatic blue tree. Work from powder blue to denim to midnight blue, using beads, glass, and velvet for contrast. The single-color family makes mismatched ornaments look like a collection.
Natural, rustic, and textural trees
25. Dried citrus garland. String dried orange or lemon slices with twine and add wood beads. Keep slices away from hot bulbs and inspect natural materials before hanging them on a fresh tree.
26. Pinecone-forward decorating. Cluster pinecones at the lower branches and use smaller ones toward the top. Add cream ribbon or simple lights so the tree feels woodland, not cluttered.
27. Wood bead garland. Wrap an unfinished wood bead strand loosely around the tree, then add a small number of ornaments in one color. The beads are especially effective on a neutral or Scandinavian-style tree.
28. Paper stars. Fold or buy paper stars in one or two sizes and hang them at varied depths. Paper is light enough for delicate branches and easy to replace when a family member wants to make new ones.
29. Felt ornament tree. Use felt animals, trees, mushrooms, or geometric shapes for a soft, child-friendly display. Pair them with warm lights and skip fragile glass at the lower third.
30. A berry-and-burlap tree. Use red berries, a narrow burlap ribbon, and matte green ornaments for a casual farmhouse look. Keep burlap ends trimmed and secure so they cannot drag on the floor.
31. A botanical tree. Add faux leaves, dried seed heads, and small floral picks among simple ornaments. Place botanical pieces where they fill gaps, not in every branch, or the tree will lose its silhouette.
32. A snowy woodland tree. Combine white flocking or white ornaments with birch-look branches, woodland animals, and silver stars. Use a darker tree skirt or collar to give the pale decorations a visual base.
33. A woven-texture tree. Add rattan stars, woven balls, raffia bows, and natural fiber ribbon. Balance those rough surfaces with a few smooth ornaments so the display does not look one-note.
34. A Western tree. Replace conventional garland with a leather-look belt, small metal conchos, felt hats, or miniature boots. Keep the accessory count low and repeat the material at the base.
35. A coastal tree. Use pale blue, sand, white, and driftwood-colored ornaments rather than filling the tree with literal shells. A rope-style garland adds the theme while keeping the look polished.
36. A garden harvest tree. Hang wooden apples, pears, acorns, herbs, and small watering cans on a slim tree. This works in a kitchen or mudroom, where the theme relates to the room instead of fighting it.
Small-space, second-room, and tabletop trees
37. A pencil tree in a corner. Use one vertical ribbon line, a narrow topper, and ornaments concentrated on the visible front half. The slim profile keeps a reading corner festive without stealing floor space.
38. A bedroom tree. Choose quiet lights, soft ornaments, and a small footprint beside a dresser or guest bed. Keep cords away from walkways and avoid a topper that can fall when someone brushes past.
39. A kitchen tree in a crock. Put a miniature tree in a stable ceramic crock or metal bucket, then decorate it with dried citrus, wood beads, or tiny red ornaments. Place it away from splashes, heat, and food-preparation clutter.
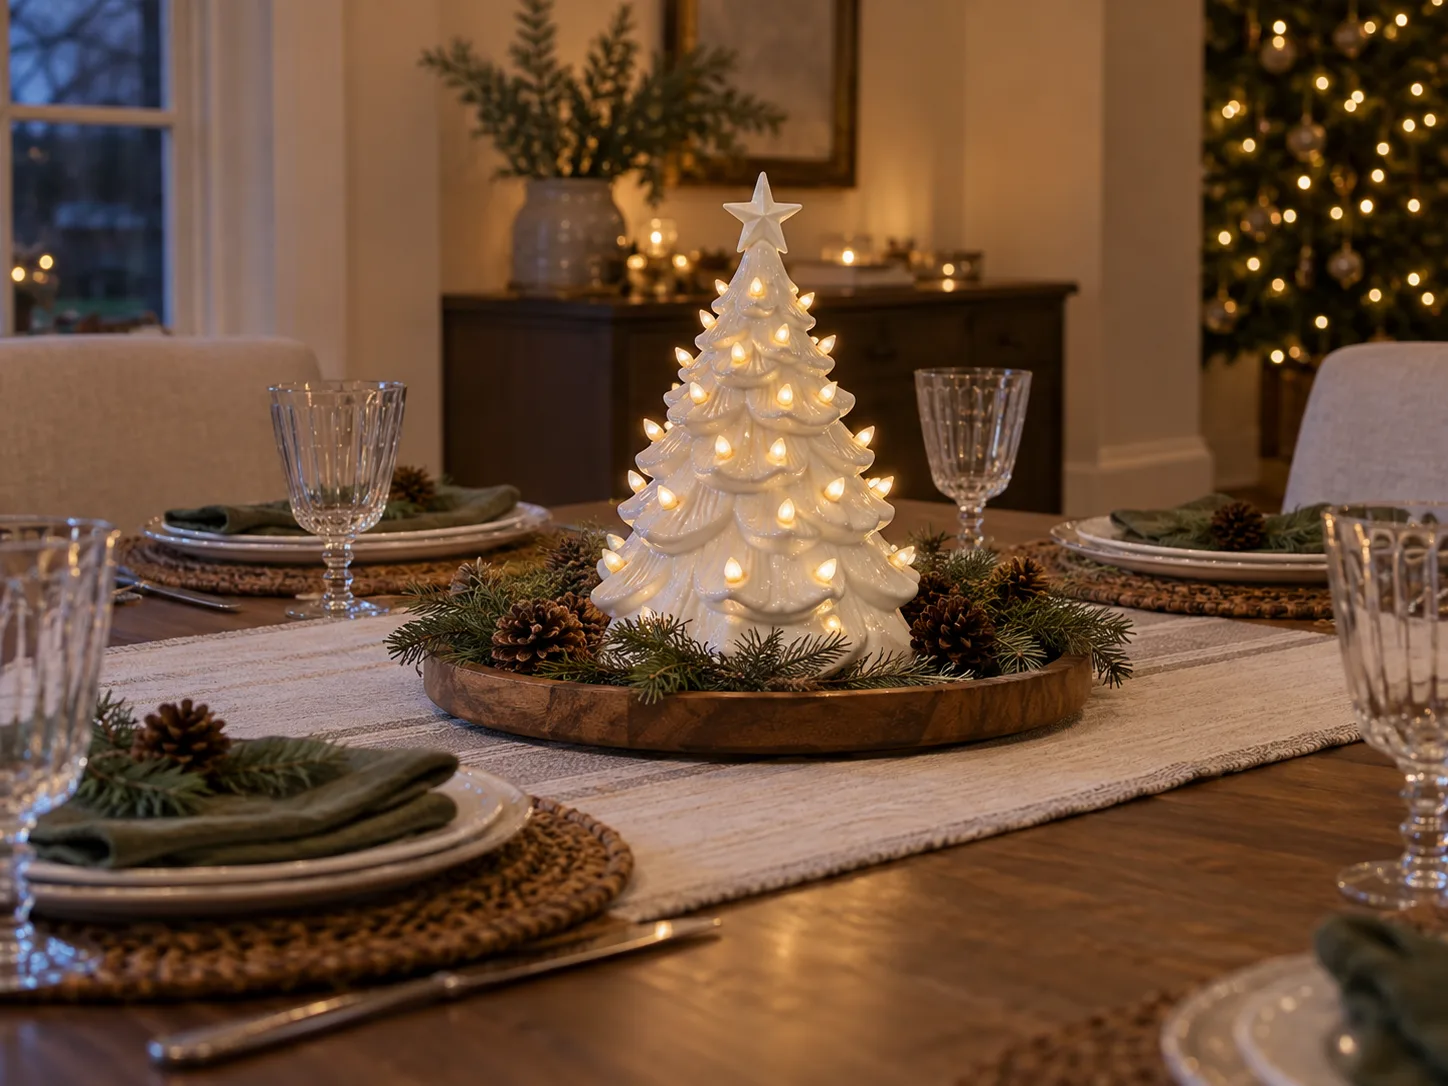
40. A dining-table tree. Use a tabletop tree as a centerpiece, but keep it low enough for conversation. Repeat the tree’s color in napkins or place settings instead of adding more ornaments.
41. A pair of staggered trees. Group two small trees of different heights and use the same light color on both. Mismatched toppers make the pair feel collected, while matching ornaments make it feel organized.
42. A foyer tree. Choose a narrow tree, a strong vertical ribbon, and a larger topper so guests see the composition immediately on entry. Leave enough clearance for coats, bags, and the door swing.
43. A home-office tree. Use a bold accent color, a few oversized ornaments, and a small number of lights. The limited palette gives a small tree impact without creating visual noise behind a desk.
44. A kids’ room tree. Build the tree around a favorite story, animal, or hobby. Use shatter-resistant decorations low down, secure the tree against tipping, and reserve delicate or sentimental pieces for higher branches.
45. A mini tree collection. Cluster several tabletop trees in related colors on a mantel, console, or shelf. Vary height and texture so the display reads as a landscape rather than a row of identical objects.
46. A branch arrangement. Put a few evergreen branches in a heavy vase and decorate them with small ornaments. It gives you the fragrance and shape of a tree when a full tree cannot fit.
47. A wall-mounted tree silhouette. Use a slim branch ladder or a vertical line of greenery against a wall when floor space is unavailable. Secure every piece and keep electrical cords tidy rather than relying on a single loose strand.
48. A window tree. Place a slim tree in front of a window only if it does not block a needed exit or curtain. Use a simple back view, since the tree will be seen from multiple angles.
Personal, playful, and statement trees
49. A travel-memory tree. Hang ornaments from trips, then connect the collection with one ribbon color. Add a small paper tag to the storage box—not the tree—so the story is easy to remember next year.
50. A book-lover’s tree. Use miniature books, paper stars, reading-glass shapes, and a topper made from layered pages. Keep paper away from hot bulbs and choose LED lights.
51. A gingerbread tree. Combine gingerbread-house ornaments, candy colors, and cookie-shaped felt pieces. If you use edible decorations, treat them as temporary and keep them away from pets and young children who might reach them.
52. A toy-train tree. Let a toy train, village, or favorite playset become the base display while the tree stays simple. The ground-level story keeps the tree from needing more ornaments than its branches can hold.
53. A photo tree. Print a small set of family photos in matching sizes and place them among simple baubles. Use copies rather than irreplaceable originals and keep the photos away from dampness near a real-tree stand.
54. A maximalist ribbon tree. Use two ribbons with different widths but a related color story, weaving the wider one from the top down and tucking the narrow one into gaps. Stop when the branches still show through.
55. A nearly naked tree. Fluff an artificial tree carefully, add only lights and one topper, and let the shape do the work. This is a strong choice for a secondary tree or a room that already has a lot of pattern.
56. An oversized ornament tree. Use fewer, larger ornaments to make a small collection look intentional. Place the largest pieces low and inward, then fill only the most visible gaps with smaller ornaments.
57. A flocked tree with clear ornaments. Let the white branches act as the color, then add clear glass, silver, and one saturated accent. The negative space between ornaments keeps flocking from looking heavy.
58. A topper-first statement tree. Start with an oversized star, bow, flower spray, or sculptural shape, then repeat one element from it down the tree. This works when the topper is the point of the room rather than an afterthought.
59. A gift-wrap companion tree. Match gift tags, ribbon, or paper to one tree color, but vary the wrapping patterns. The connection makes the base look designed without requiring every present to match.
60. A tree made from what you already own. Lay out ornaments, leftover party decor, craft supplies, and small household objects before buying anything. Choose a color that appears in at least three pieces, then edit out everything that does not support the final story.
Hang everything in an order that looks intentional
Lights first, ribbon second, ornaments last
The most reliable order is test, light, layer, fill, finish. Test every light set on the floor first; discard or replace damaged sets. Then put lights on the tree before ribbon, because lights placed after bulky decorations are harder to distribute into the interior branches.
Work from the trunk toward the tips rather than circling only the outside. That creates depth and keeps the center from becoming a dark hole. Use a consistent light color unless you are intentionally making a multicolor tree, and leave the plug or battery pack accessible.
Add ribbon or garland in loose vertical drops, diagonal sweeps, or shallow waves. Tuck it into branches at intervals instead of wrapping it tightly like a belt. If the ribbon collapses, use shorter sections; if it dominates, switch to a narrower width or remove half of it.
Place large ornaments first, spacing them around the tree and slightly inside the branch tips. Add medium pieces next, then use small ornaments to close gaps. Step back from several angles after each layer. A tree viewed only from the front can look finished until someone sees the empty side.
Finish with the topper and base treatment. The topper should relate to the tree’s scale, and the skirt or collar should hide the stand without making watering, cleaning, or stability harder. Photograph the finished tree before dismantling it and store a short note with the ornaments about what worked.
Fix the common problems before you call the tree finished
If the tree looks sparse, do not automatically add more ornaments. First reshape artificial branches, move a few lights inward, and add a repeating filler such as picks, ribbon, or pinecones. If the tree looks cluttered, remove the least meaningful pieces first; reducing visual competition usually improves it faster than rearranging every ornament.
If the palette feels chaotic, keep the ornaments and change the connective layer. A single ribbon color, matching hooks, or a repeated wood or metallic finish can make unrelated pieces feel connected. If a real tree has a bare side, turn the best branch profile toward the room and use lighter decor on the thinner side rather than forcing heavy ornaments onto it.
If the topper leans, lower its weight and secure it to the central trunk. If the base looks unfinished, choose one strong collar or skirt instead of stacking several small objects around the stand. If the tree blocks a walkway, window, heat source, or exit, the correct decorating fix is to move the tree.
Keep a real tree fresh and the display safe
Freshness is part of the design. A dry tree sheds needles, loses its shape, and creates a more serious fire concern. University of Maryland fire-protection researchers described how moisture content changes the ignition and fire growth behavior of a natural tree in their Christmas tree fire-safety demonstration. That is why a beautiful display still needs daily care.
Use a correctly fitted stand, make a fresh straight cut when needed, and keep the cut end submerged. The NCTA advises checking the reservoir daily because a stand can appear to contain water even when the trunk base is no longer covered. Keep the tree away from fireplaces, radiators, heat vents, and direct sun; use lights that produce little heat and turn them off when you leave or sleep.
When choosing a tree, inspect it before it is wrapped. Gardening Know How’s guidance on common Christmas-tree mistakes emphasizes checking freshness, shape, species, trunk condition, and the transition from cold outdoor conditions to a warmer room. Those details matter more than a perfect silhouette at the sales lot.
For a real tree, remove it when it is becoming dry rather than trying to rescue the look with more water or extra lights. After the holidays, remove every ornament, hook, cord, and strand before using your local recycling or collection program. BBC Gardeners’ World Magazine’s reuse ideas include chipping branches for mulch or compost, using branches as plant protection, and turning the trunk into a log pile; follow local rules and never burn a Christmas tree in a fireplace or wood stove.
Conclusion
Start with the room, not the trend. Measure the footprint, decide whether the tree is meant to be elegant, nostalgic, playful, natural, or simply practical, and choose a two-color palette with one supporting texture. Then test lights, place lights deep into the branches, add ribbon or garland, distribute large ornaments, fill with smaller pieces, and finish with a secure topper and stable base.
The most beautiful Christmas tree is the one that fits its home and keeps its meaning. Reuse the ornaments that make you smile, edit the pieces that compete, and give real trees the water, distance from heat, and daily attention they need. A little restraint makes the lights brighter, the branches easier to see, and the whole room feel more like yours.



