Compost Bins: How They Work, How to Choose and Use
Learn how compost bins turn kitchen and yard waste into usable compost, choose the right type, build a balanced pile, fix common problems, and judge when it is ready.
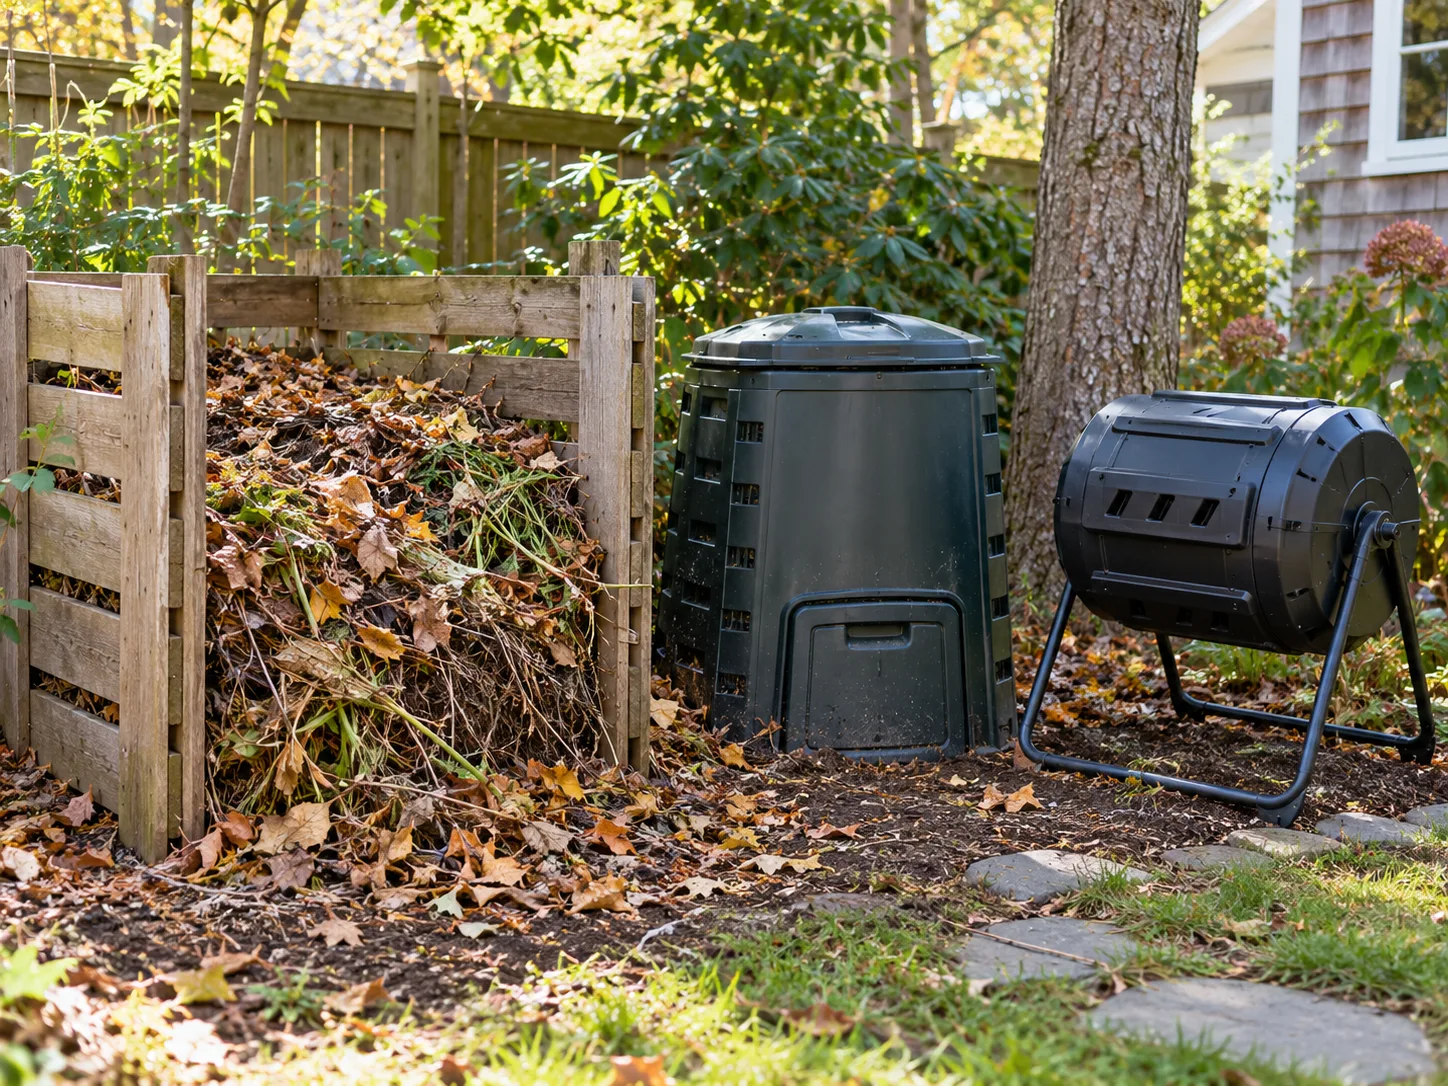
A compost bin is a container, not a compost-making appliance. It holds a mix of organic materials while bacteria, fungi, and other decomposers convert them into a stable soil amendment. The bin’s job is to make that process easier to manage: keep the pile together, regulate access by pests and rain, and provide enough airflow and moisture for the materials you add.
That difference matters when choosing a setup. A well-designed bin can help a pile stay tidy and workable, but it cannot rescue a mix that is waterlogged, bone-dry, too small to retain heat, or made of ingredients that break down slowly. The simplest reliable routine is to feed it a blend of fresh “greens” and dry “browns,” keep it damp but aerated, cover food scraps, and give the finished material time to mature.
What a compost bin actually does
A compost bin corrals leaves, kitchen scraps, and other suitable organic waste so that decomposers can work in one place. A lid can reduce direct rain and make scraps harder for animals to reach; side vents and loose structure bring in oxygen; an open or designed drainage area lets excess water escape. No single bin feature does the composting by itself. The Royal Horticultural Society describes a successful bin as one that manages warmth, rain, drainage, and air, while also matching the amount of material a garden produces.
A bin also helps you manage timing. In a one-bin system, fresh scraps and older, nearly finished material share the same space, so every addition can delay harvest. A tumbler or several bays can separate batches: add fresh scraps to one side while another batch rests. This is a convenience and workflow advantage, not a guarantee that compost will be ready on a fixed date.
The container can be purchased or homemade, but the best option is one you can reach and use consistently. If you have too little yard waste to fill a large hot-compost bay, a smaller stationary bin can still make compost; expect the process to run cooler and slower. A basic open heap also decomposes, but it gives animals and weather easier access and asks you to do more of the containment work yourself.
How organic material breaks down
Composting is managed decomposition. Microorganisms use the carbon and nitrogen in plant materials as food and building blocks; they need water to remain active and oxygen for aerobic breakdown. As they consume the mixture, they release heat, and the original scraps gradually become a darker, finer, more stable material.
The bin’s shape influences how much air reaches the center, how fast moisture escapes, and how much heat the pile retains. A deep, compacted mass may have little oxygen in its middle; a tiny, open container can lose heat and water quickly. Shredding bulky pieces and mixing in dry, springy material gives microbes more contact points and leaves spaces for air.
Air, moisture, carbon and nitrogen
Think of four conditions together rather than chasing a perfect “recipe.” Dry leaves, straw, shredded uncoated cardboard, and small twigs add carbon and structure. Fresh fruit and vegetable scraps, grass clippings, and coffee grounds add nitrogen and moisture. Air keeps the pile aerobic, while water lets decomposers move nutrients through the material.
A common starting point is roughly two to three volumes of browns for each volume of greens, then adjust by feel. That estimate is not a laboratory formula: leaves, grass, weather, and food scraps all differ. The EPA recommends at least two to three times as much brown material as greens and says scraps should be covered with dry browns; extension sources likewise emphasize that the right mix and moisture depend on how the material behaves.
Choose a bin by space, feedstock and routine
Before buying a bin, estimate what you will actually compost for a few weeks. Include the dry leaves or paper you can reliably save, not just the kitchen scraps you produce. If your garden has a large autumn leaf supply and regular pruning, a bigger bay may be useful; if most of your waste is a small daily pail of vegetable peels, a compact unit or worm bin may fit better.
Next decide how you want to handle batches. A continuous-feed system accepts new material whenever you have it, but the fresh additions need time to finish along with the older contents. A batch system lets you fill, close, and rest a load. If you want ongoing production, two chambers or a separate curing space can solve the “everything is almost ready, but I keep adding scraps” problem more directly than buying a faster-looking bin.
Compare piles, stationary bins, tumblers and worm bins
| Setup | Works well when | Main trade-off |
|---|---|---|
| Open heap or pallet bay | You have a yard and a steady stream of leaves and trimmings | Low cost and roomy, but exposed to weather and animals; turning takes effort |
| Stationary enclosed bin | You want a tidy, simple backyard system | Keeps material together, but the middle can be hard to turn or harvest |
| Rotating tumbler | The batch is small enough to turn and you want less digging | Easy to aerate and contain; capacity is limited and an underfilled drum may not heat |
| Multi-bay system | You make enough compost to keep separate batches moving | Convenient for continuous use, but needs room and more initial material |
| Worm bin | Outdoor space is limited and food scraps are the priority | Compact and productive, but worms need moderate conditions and careful feeding |
| Bokashi bucket | You need a sealed indoor fermentation step for mixed food scraps | Fermented material still needs soil or another compost system to finish |
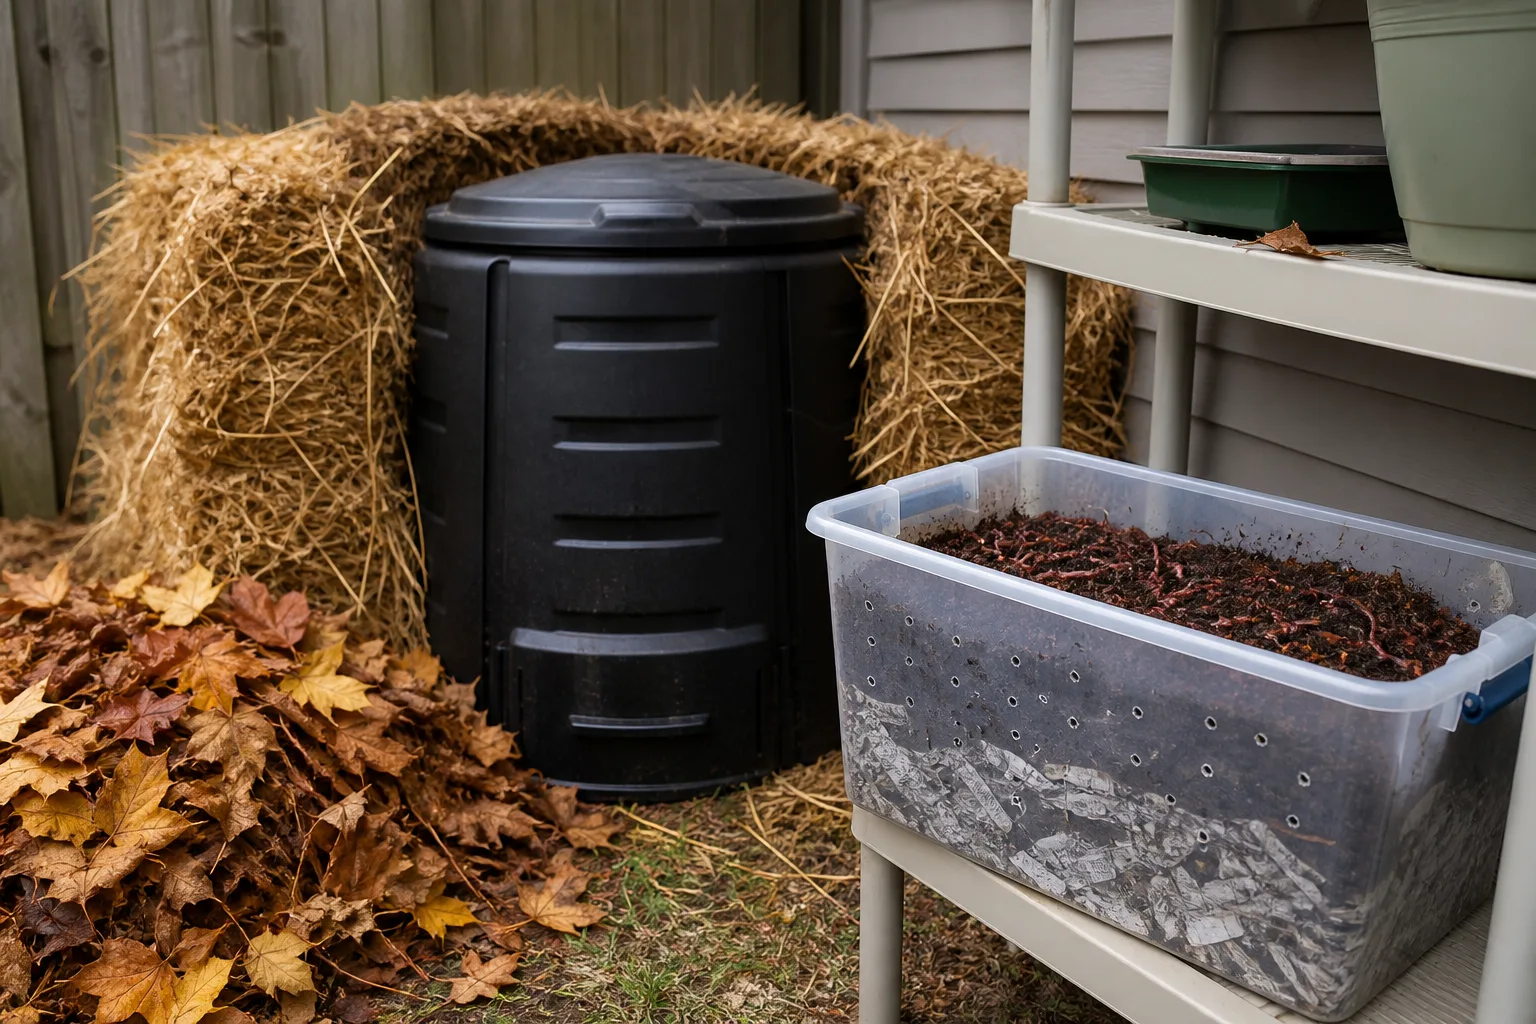
A tumbler does not necessarily outperform a stationary bin. Rotation spreads air through a batch and avoids shoveling, but the container’s limited capacity, feedstock balance, temperature, and moisture still set the pace. For active hot composting, a pile around three feet in each dimension retains heat more reliably than a small container; The Old Farmer’s Almanac gives that as a useful scale, while noting that smaller setups can still compost more slowly.
Worm composting is a separate process: worms and microbes handle modest quantities of food scraps in a sheltered bin. Bokashi is different again. It ferments scraps in a sealed, low-oxygen bucket; after the fermentation stage, the material is still a pre-compost and must be buried in soil or moved to a compost pile to finish breaking down. RHS Bokashi guidance explains this second stage. An electric countertop processor that grinds and dries scraps is also not the same as a traditional compost bin: EPA guidance says these appliances make a dried mixture that must enter a composting system afterward.
Find a practical, well-drained location
Place an outdoor bin where you can reach it in every season, where excess water drains, and where a hose or watering can is convenient. A sheltered or partly shaded spot reduces sharp swings in drying and temperature; a sunny location can still work if you check moisture more often. Keep the bin away from places where overflow could run onto a path or into a drain, and leave enough working room to open a door or turn the material.
If you plan to compost food scraps, consider the route an animal could take into the bin. A fitted lid, secure access door, and small openings help; a rodent-resistant bin or hardware cloth at the base may be appropriate in areas with rats. Local rules may also set placement or construction requirements. For example, Tampa’s backyard-composting program specifies a minimum area and bin setup for its provided model, while other cities publish different requirements; check the rules for your own city or county before installing a permanent structure.
Set up the bin so it can breathe and drain
Follow the bin maker’s assembly directions, then check that its vents are not blocked and its drainage path is open. If the design sits on soil, keep the base level enough that doors or lids close, but avoid sealing every drainage opening. A mesh barrier can deter burrowing rodents without turning the bottom into a water-tight tray. A lid should keep rain and animals out while still allowing the system’s intended ventilation.
For a simple stationary bin, begin with a few inches of coarse, dry browns such as small twigs or wood chips. This base helps excess liquid move away and leaves larger air spaces under the pile. Then add a balanced mix rather than filling the bin with one thick layer of wet clippings or food scraps. EPA’s backyard setup instructions recommend a bulky brown base, smaller feedstock pieces, and a little water when the pile needs it.
You do not need an activator, starter powder, or a layer of finished compost to make ordinary plant waste begin decomposing. Decomposer organisms are already present on the materials and in soil. The practical setup that matters most is a bin suited to the material volume, plus a workable balance of browns, greens, air, and water.
What to add and what to keep out
For most backyard bins, safe everyday inputs include fruit and vegetable scraps, coffee grounds and paper filters, tea leaves, crushed eggshells, dry leaves, untreated straw, small prunings, and plain shredded cardboard or paper. Cut or tear large pieces; whole corn cobs, thick stalks, and woody stems can remain recognizable long after softer material disappears. If paper is coated, glossy, or laminated, leave it out.
Keep meat, fish, bones, dairy, fats, grease, pet waste, and litter out of a typical home pile. They can smell, draw animals, or carry pathogens that a small backyard bin may not destroy. Avoid diseased plants and mature weed seeds unless your pile is managed hot enough for long enough to reduce those risks; many home bins never sustain those temperatures throughout the material. Also leave out plastic, stickers, treated wood, chemical containers, and packaging labeled “compostable” unless your home system can process it.
Home compost rules are not the same as municipal collection rules. Austin’s curbside program accepts meat and dairy because the material goes to a commercial facility that reaches higher temperatures; backyard systems in the same city generally cannot match those conditions. Austin Resource Recovery explains that distinction. Tampa, by contrast, warns home composters away from animal products because they can attract rodents and flies (City of Tampa). Check your local program’s current list rather than assuming a curbside “yes” means a backyard-bin “yes.”
How to load and feed a compost bin
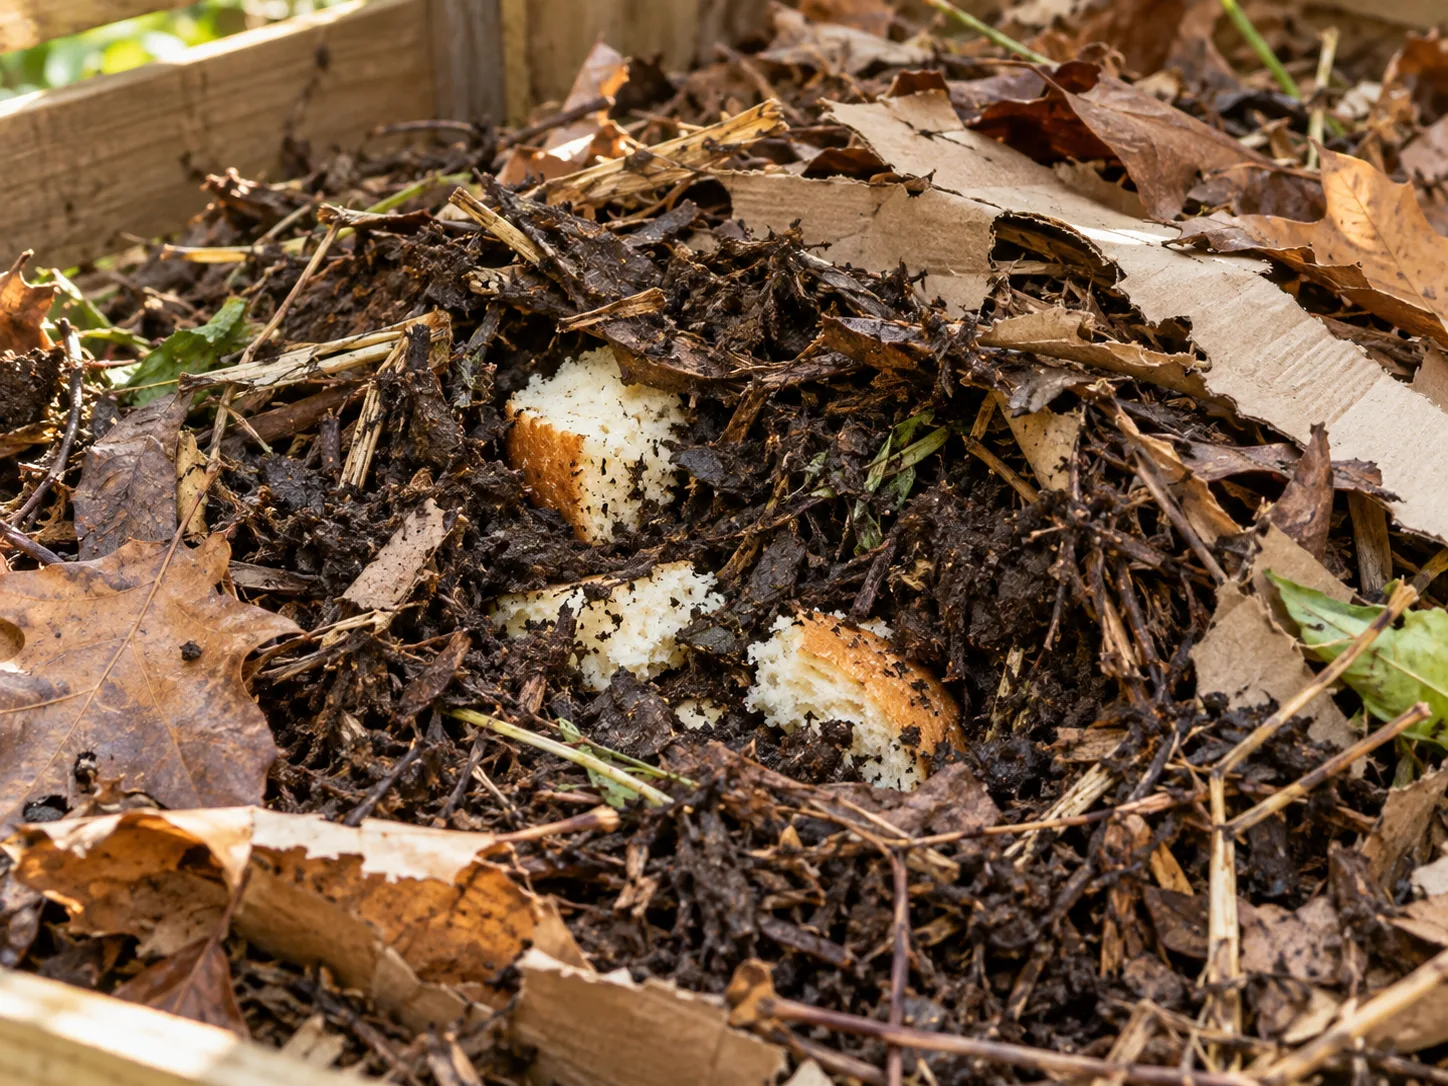
Keep a small lidded pail in the kitchen for fruit and vegetable scraps, then empty it into the outdoor bin when convenient. Chop bulky food waste into smaller pieces if you want it to break down sooner. Put each food addition into the center or an open pocket in the pile, mix it lightly with the surrounding material, and cover it completely with dry leaves, shredded cardboard, or another brown. A thin surface scattering leaves scraps visible and invites animals.
Use a volume cue, not a scale: after adding a bucket of wet kitchen scraps, add roughly two or three buckets of dry browns as a starting point. Increase the browns if the pile is wet, dense, or strongly odorous; reduce the dry material or add a little water if the mixture is dusty and inactive. Covering each deposit with several inches of browns also masks food odor and reduces fly access. EPA recommends covering scraps with four to eight inches of dry leaves or similar browns in backyard systems.
Try to keep some dry leaves or shredded cardboard beside the bin. A reserved brown supply is what makes scraps easy to bury when autumn leaves are not falling. If grass clippings make up part of your feedstock, mix them through leaves or shredded cardboard in thin portions; a thick mat of fresh grass can compact, shed water, and block oxygen.
How often to mix, turn or tumble
There is no universal turning calendar. Turning adds oxygen and moves outer material toward the warmer center, which can speed an active pile, but every turn costs effort and releases some heat. If you are happy to let the pile work slowly, occasional turning—or no turning—can still produce compost; the trade-off is that the result may take longer and contain more recognizable pieces for longer.
For a stationary bin, use a fork or compost aerator to loosen the center when the contents look packed, stay wet, smell sour, or stop changing. If the bin is difficult to reach, pull fresh material aside, turn the older section, and put the fresh scraps back under browns. For a tumbler, rotate the chamber after loading to mix the batch, then use a repeatable routine that fits your time; avoid adding fresh scraps to a chamber you are trying to finish.
Turn because the pile needs air or because you want a faster batch, not because a particular number of days has passed. A cold winter bin may not heat even if turned often, and turning a dry pile cannot substitute for adding water. UConn Extension recommends mixing when material becomes wet, matted, or sour and explains that turning brings air into the pile.
Keep moisture and airflow in range
A compost pile should feel like a wrung-out sponge: evenly damp, not dripping. Test a handful from the interior rather than judging only the dry crust on top. If you can squeeze out more than a drop or two, or the material feels slick and heavy, the pile is likely too wet; if it crumbles into dust and leaves feel brittle, it needs water.
For a wet pile, mix in dry leaves, straw, or shredded cardboard, then open up compacted clumps. Check that drainage holes are clear and that the bin is not taking on heavy rain. For a dry pile, add water gradually as you turn it; soaking the whole bin at once can create a soggy bottom before the center is moist. NC State Extension describes the wrung-sponge test and links unpleasant odors to excess moisture or low oxygen.
Good airflow comes from both turning and structure. Keep wet grass, thick food layers, and fine sawdust from packing into a solid mass; mix them with coarser browns. You do not need to add perforated pipes to every home bin, but if the center is compacted and cannot be reached with a fork, use a bin with better access or add a dry, coarse ingredient when rebuilding the pile.
Fix smells, pests and slow compost
A healthy aerobic pile usually smells earthy or like damp leaves. A sour, rancid, or rotten-egg odor is a signal to inspect the pile, not cover the smell with fragrance or add lime at random. Most problems come from a small set of conditions that you can correct with the next turn.
| What you notice | Likely cause | First adjustment |
|---|---|---|
| Sour or rotten-egg smell | Too wet, compacted, or low in oxygen | Add dry browns and loosen or turn the wet center |
| Ammonia-like smell | Too much nitrogen-rich material relative to browns | Mix in dry leaves or shredded cardboard |
| Visible flies or food scraps | Scraps left uncovered or exposed near the surface | Bury scraps in the center, add a dry cover, and close the lid |
| Rats or digging | Accessible food or openings around the base | Remove animal-attracting inputs; secure the lid and reinforce gaps |
| Dry, unchanged scraps | Too little moisture or too much dry brown material | Add water while mixing and include a modest amount of greens |
| Damp pile with no heat | Small batch, cool weather, coarse pieces, or weak nitrogen supply | Add more material if available, chop inputs, and check moisture and mix |
| Hot center but cool edges | Normal heat distribution or a small pile | Turn outer material toward the center if faster breakdown matters |
Do not try to force every small bin to become hot. A cool pile can still turn plant scraps into compost, but do not assume that heat-sensitive weed seeds or plant diseases have been neutralized. NC State Extension’s troubleshooting table ties common symptoms to moisture, nitrogen, oxygen, pile size, and food access; EPA also recommends adjusting browns, moisture, and turning when odors or stalled activity appear.
How seasonal weather changes the routine
In warm, dry weather, check the center for moisture more often and cover the bin if direct sun and wind are drying it out. A partly shaded location reduces the need for constant watering, but rain still may not reach the center of a lidded bin. If the material gets too hot or dries at the edges, water it as you turn rather than flooding it.
In cool weather, decomposition slows; a frozen or consistently cold bin may pause until temperatures rise. Keep dry leaves on hand so food scraps can still be covered, but avoid adding materials that depend on sustained high heat for safety. You can keep filling the bin with low-risk plant scraps if you do not need finished compost immediately, or pause feeding one batch and let it mature before adding more.
Save fallen leaves in bags or a covered pile before winter. They make useful browns for kitchen scraps later in the year. In rainy climates, shelter the bin from prolonged soaking and make sure it drains; in dry climates, protect it from excess evaporation. The right seasonal task depends on what the pile is doing, not the month on the calendar.
Know when compost is finished and cure it
Do not judge readiness by color alone. Finished compost is generally dark and crumbly, smells clean and earthy, and has no obvious soft food scraps or fresh grass clumps. A few slow items—small sticks, corn cobs, pits, or eggshell fragments—may remain; screen them out and return them to the active bin.
A useful signal is that the pile no longer reheats after you turn or mix it. That tells you the active burst of decomposition has slowed, but the material still benefits from curing. Stop adding fresh waste to that batch or move the older contents into a separate bin, then let it rest for several weeks. EPA recommends at least four weeks of curing once a pile has stopped heating and visible scraps have disappeared; colder or less-managed piles may need longer.
A well-maintained backyard pile may finish in a few months, while a cool, small, or unattended bin can take a year or more. EPA’s guide gives about three to five months for a maintained pile and around a year for an untended pile, but temperature, ingredient size, moisture, batch separation, and the last time you added fresh scraps change the clock. If compost still smells sour, heats strongly, or contains recognizable food, return it to the active stage rather than spreading it around roots.
Use finished compost correctly
Finished compost is a soil amendment, not a complete replacement for garden soil or a guaranteed-strength fertilizer. It adds organic matter and can improve how soil holds and drains water, but nutrient levels vary with the materials and the way they were composted. UConn Extension advises using compost as an amendment rather than a pure growing medium; NC State Extension also notes that compost may not supply every nutrient a plant needs.
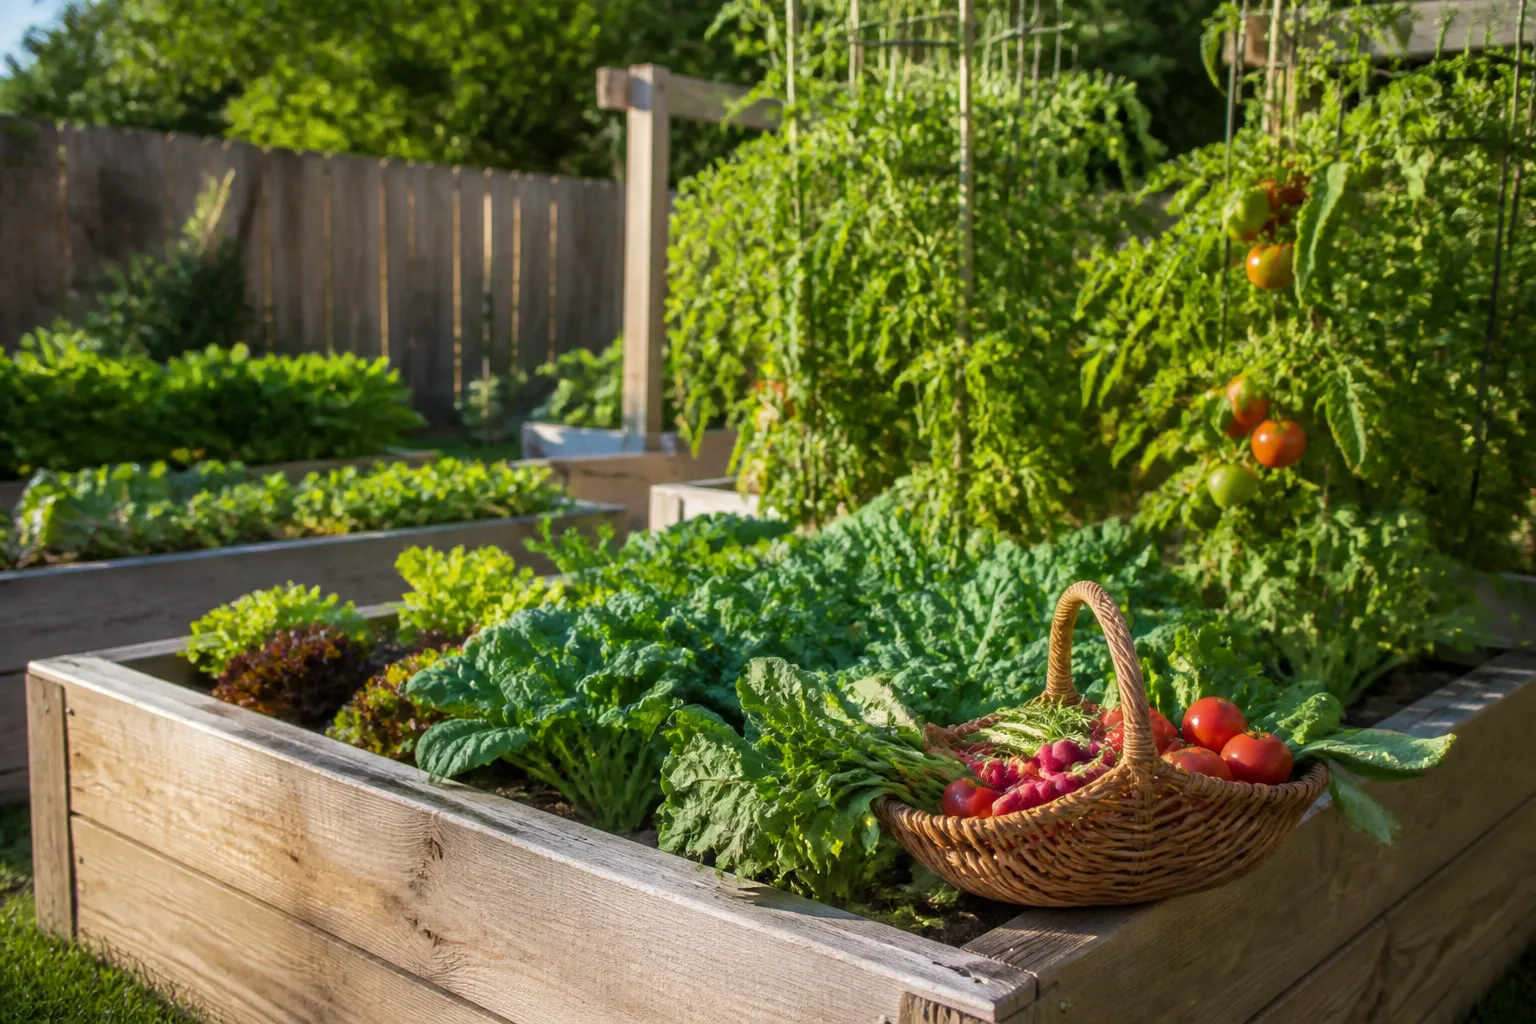
For garden beds, work a modest amount into the upper soil before planting or use it as a surface dressing around established plants, keeping it away from stems and crowns. For containers, blend mature compost into a suitable potting mix rather than filling a pot with compost alone. If you apply compost often, especially if it contains manure, test the soil periodically so nutrients and salts do not build up unnoticed.
If you do not have a garden, find out whether a community garden or local program accepts finished compost. Store mature material under cover so rain does not wash nutrients away, and keep unfinished scraps separate from the finished batch. Use the texture and maturity checks—not the bin label—to decide where the material belongs.
Conclusion: choose the routine you can maintain
Compost bins work by giving decomposers a contained supply of organic material, air, and moisture. The bin type changes the amount of space, turning, batch control, and pest protection you get; it does not replace the need to balance greens with browns or wait for the pile to mature.
Start with a bin you can fill and reach, save dry browns beside it, cover each food-scrap addition, and make adjustments when the pile smells, dries, compacts, or stalls. Once the batch stops heating and becomes dark, crumbly, and earthy, let it cure before using it as a soil amendment. A modest system that fits your space and schedule will usually serve your garden better than a larger, more complicated one you stop tending.



