Composting for Beginners: What to Add and What to Skip
Start a backyard compost pile with the right bin, simple ingredient ratios, realistic upkeep, troubleshooting, and safe ways to use finished compost.
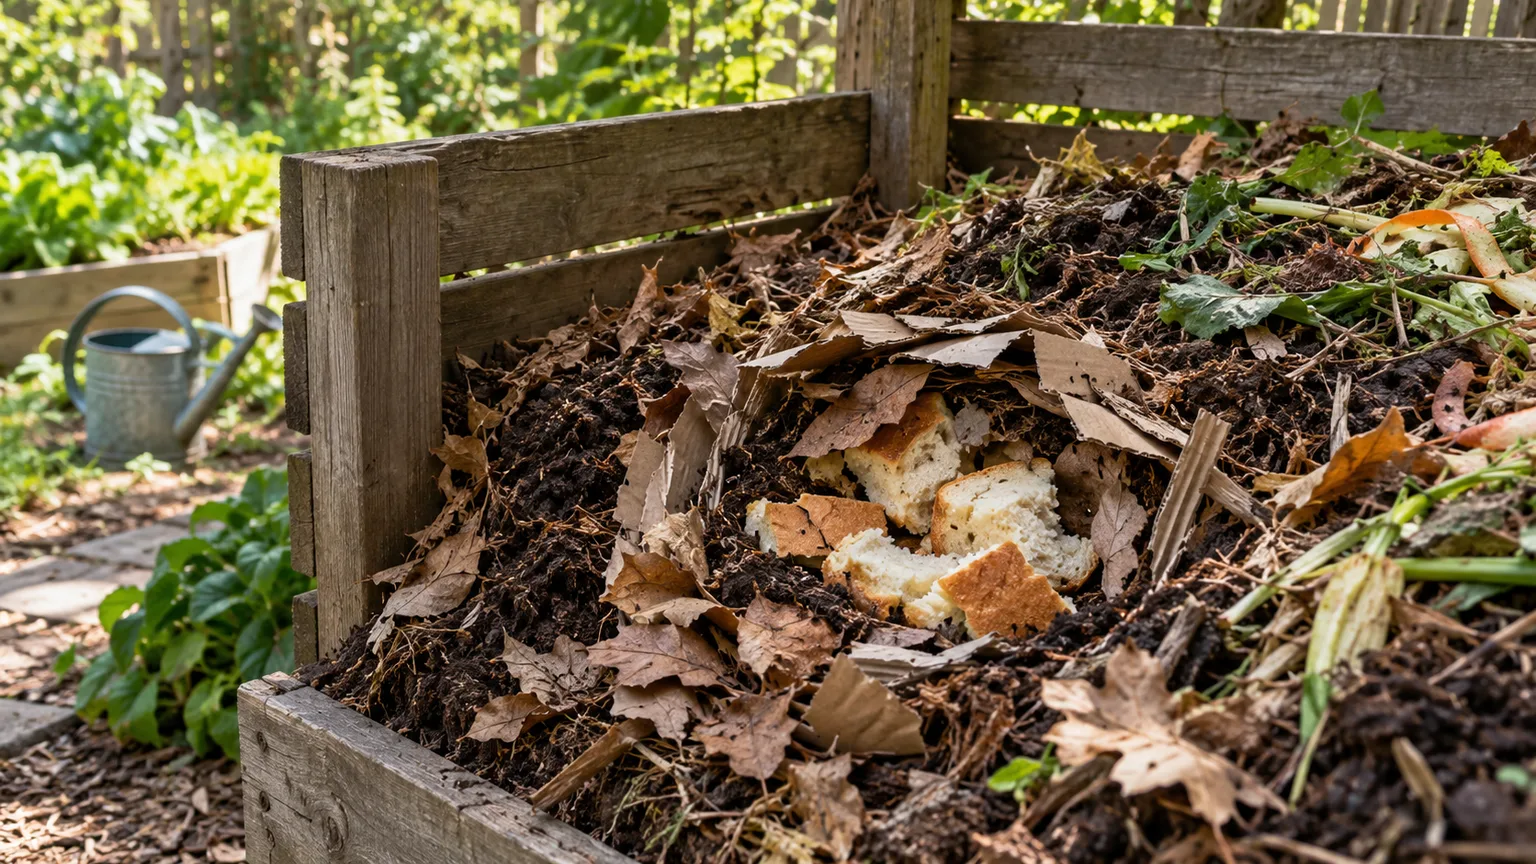
You can start composting with a lidded bin, a place to keep dry leaves, and a steady mix of kitchen scraps and yard waste. The hard part is not buying a special starter or memorizing a perfect ratio; it is keeping enough dry structure, moisture, and air in the pile while avoiding ingredients that create odor or carry risks into the garden.
A backyard pile can be as simple or as carefully managed as you want. This guide shows how to start with the easiest dependable setup, how to adjust it when the pile stalls, and how to tell whether the finished material is ready for your beds.
What compost does for soil—and what it does not do
Compost is organic material that has decomposed into a dark, crumbly, earthy-smelling soil amendment. Microorganisms, fungi, and small soil animals break down scraps and plant matter when they have moisture and oxygen. In the process, bulky waste becomes a more stable material that can be mixed into soil or spread over it.
That material improves soil structure more reliably than it acts like a concentrated fertilizer. In clay soil, organic matter can help create pore space and improve workability; in sandy soil, it can help the soil hold water and nutrients.
The actual nutrient content varies with what went into the pile and how fully it decomposed, so compost should not be treated as a measured substitute for fertilizer. NC State Extension’s backyard composting guide explains these soil-conditioning benefits and recommends testing garden soil to guide nutrient decisions.
Compost also does not fix every soil problem. It cannot compensate for a waterlogged site, poor drainage, the wrong pH for a plant, or a nutrient deficiency that requires a specific correction. Use it as one part of soil care, not as a cure-all or a promise that plants will never need additional nutrients.
Choose a composting method you can maintain
The best starter system is the one you will keep using. Think about how much space you have, whether you want to add scraps continuously, how much yard material you generate, and whether you can comfortably turn a pile with a fork.
Open pile or stationary bin
An open pile costs nothing and can handle a large volume of leaves, weeds, and garden debris. It is easy to add material and turn it, but it looks less tidy and is harder to protect from animals or heavy rain. It suits a roomy yard where you can spare a corner and do not need a finished batch on a strict schedule.
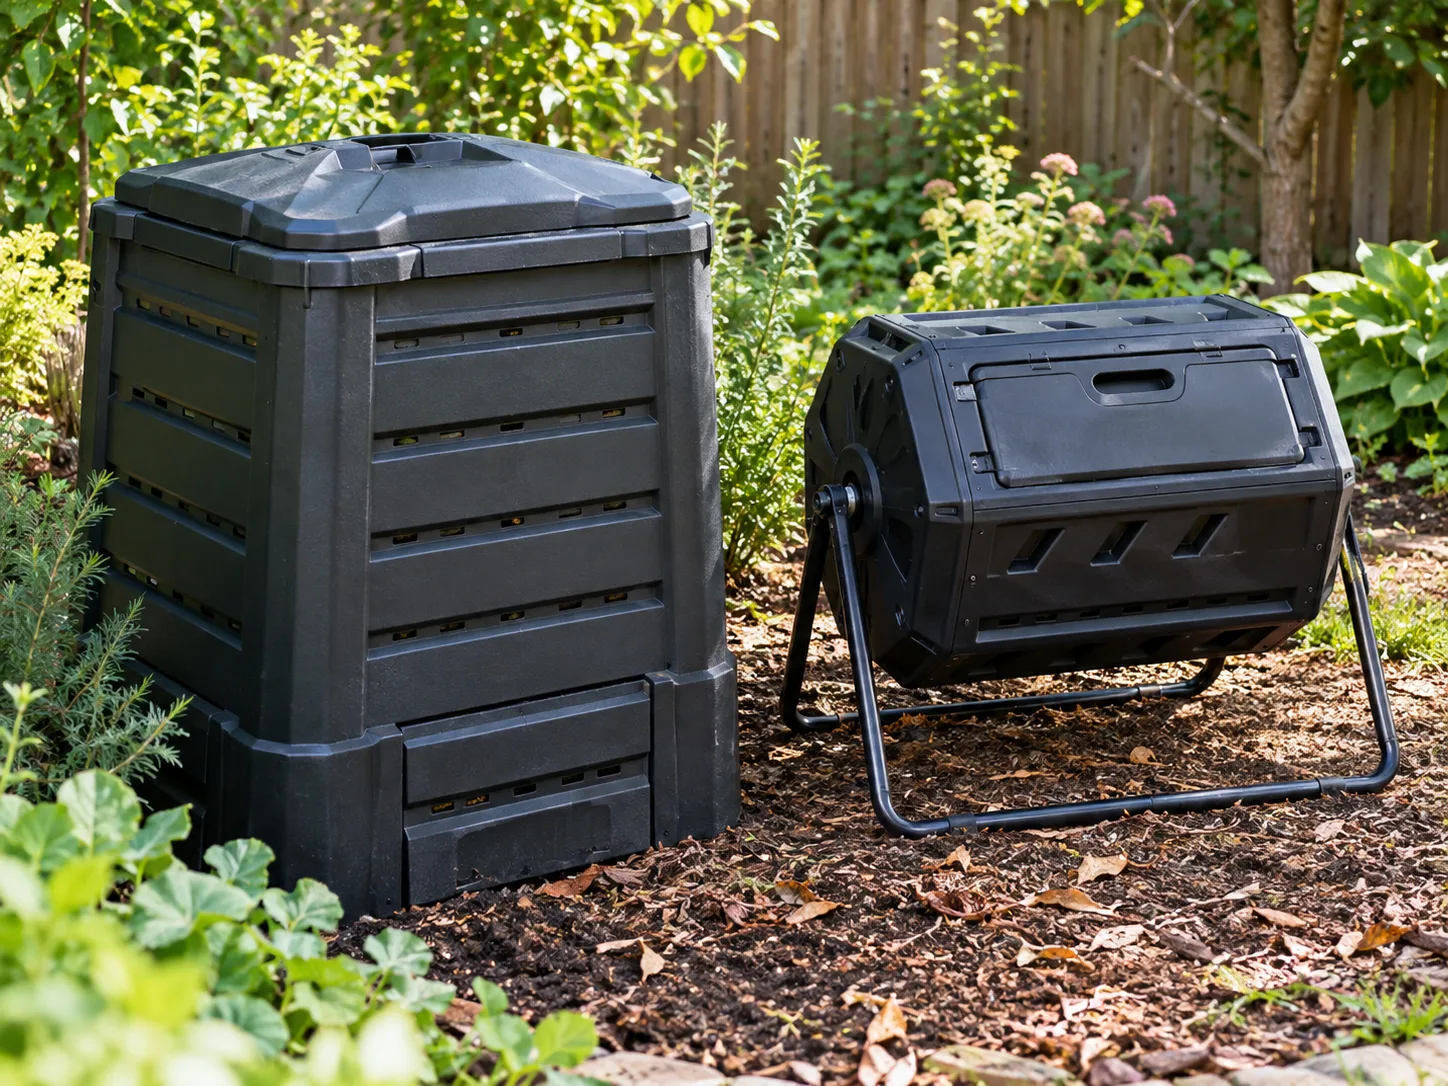
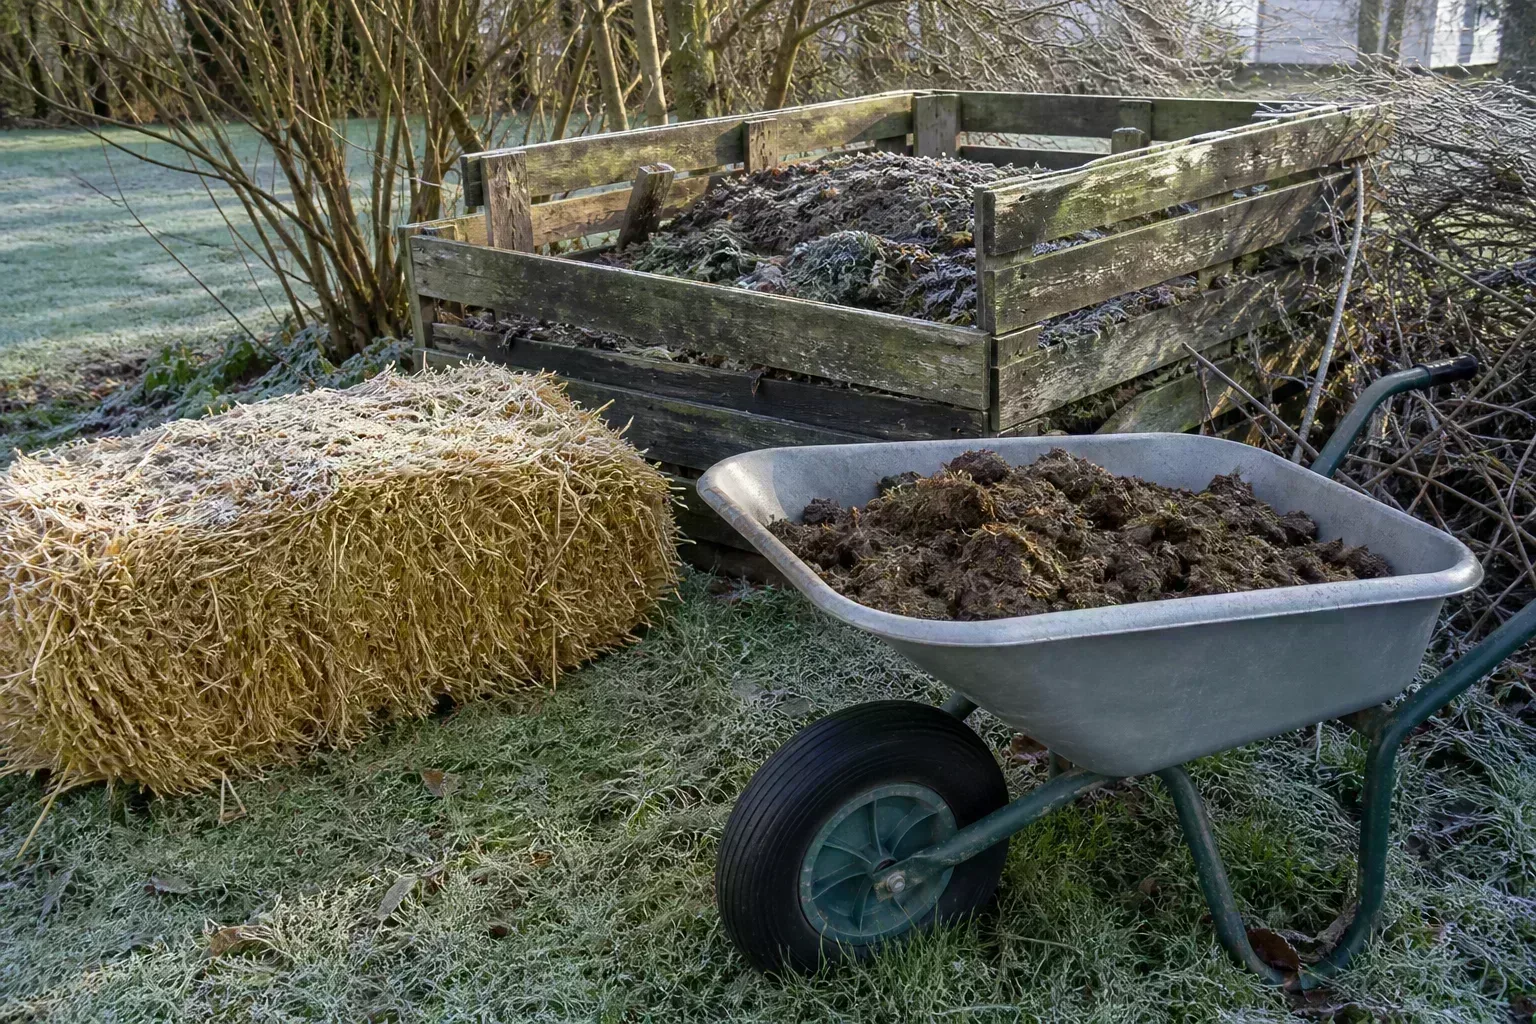
A stationary bin is a practical first choice for many homes. A basic ventilated container keeps the materials together, helps retain moisture, and makes food scraps less accessible to animals.
It does not need to be expensive: the important features are openings for air, a way to add material, and enough access to mix or remove compost. If rodents are a concern, a lid and a secure base or hardware-cloth barrier matter more than decorative styling.
Tumbler, worm bin, or community collection
A tumbler is an enclosed barrel that you rotate to mix the contents. It is convenient in a small yard and can discourage larger animals, but capacity is limited and it works best as a batch system: once full, you generally stop feeding that chamber while it finishes.
The contents also need the same basic balance of browns, greens, air, and water as an open pile. A tumbler does not turn scraps into usable compost simply because it spins.
A worm bin uses composting worms in a managed indoor or sheltered container. It is designed mainly for food scraps, not large volumes of yard waste, and it needs a different bedding and moisture routine.
If you have no yard, a local food-scrap collection program may be simpler than trying to adapt a backyard pile to a balcony. Gardening Know How outlines these options in its beginner’s guide to composting at home; choose a specialty method only if it fits the material you actually have.
Choose a location that makes composting easier
Place a backyard bin on reasonably level, well-drained ground where you can reach it with a bucket or hose and turn it without dragging a wheelbarrow through a narrow passage. A little shade helps the material stay evenly moist in hot weather, while a location sheltered from strong wind reduces drying. Keep the bin convenient to the kitchen route so adding scraps does not become a chore, but leave enough working room to open the lid and move material.
Avoid a low spot where stormwater collects or where runoff can reach a well, ditch, or surface water. Check local rules and neighborhood guidance before building a large open pile; some places limit where bins can sit or which materials they can accept.
NC State Extension recommends a flat, accessible site protected from flooding and runoff, and places its suggested setup more than six feet from the home or wooden structures. Treat that as a useful starting point, then follow local requirements and choose a site that fits your lot.
If you only have a small patio, a compact lidded bin or worm system may be more realistic than an open pile. A good location is not the warmest corner at all costs; it is a spot that lets you reach the pile, maintain moisture, and keep it from creating a nuisance.
Learn greens and browns with a simple shortcut
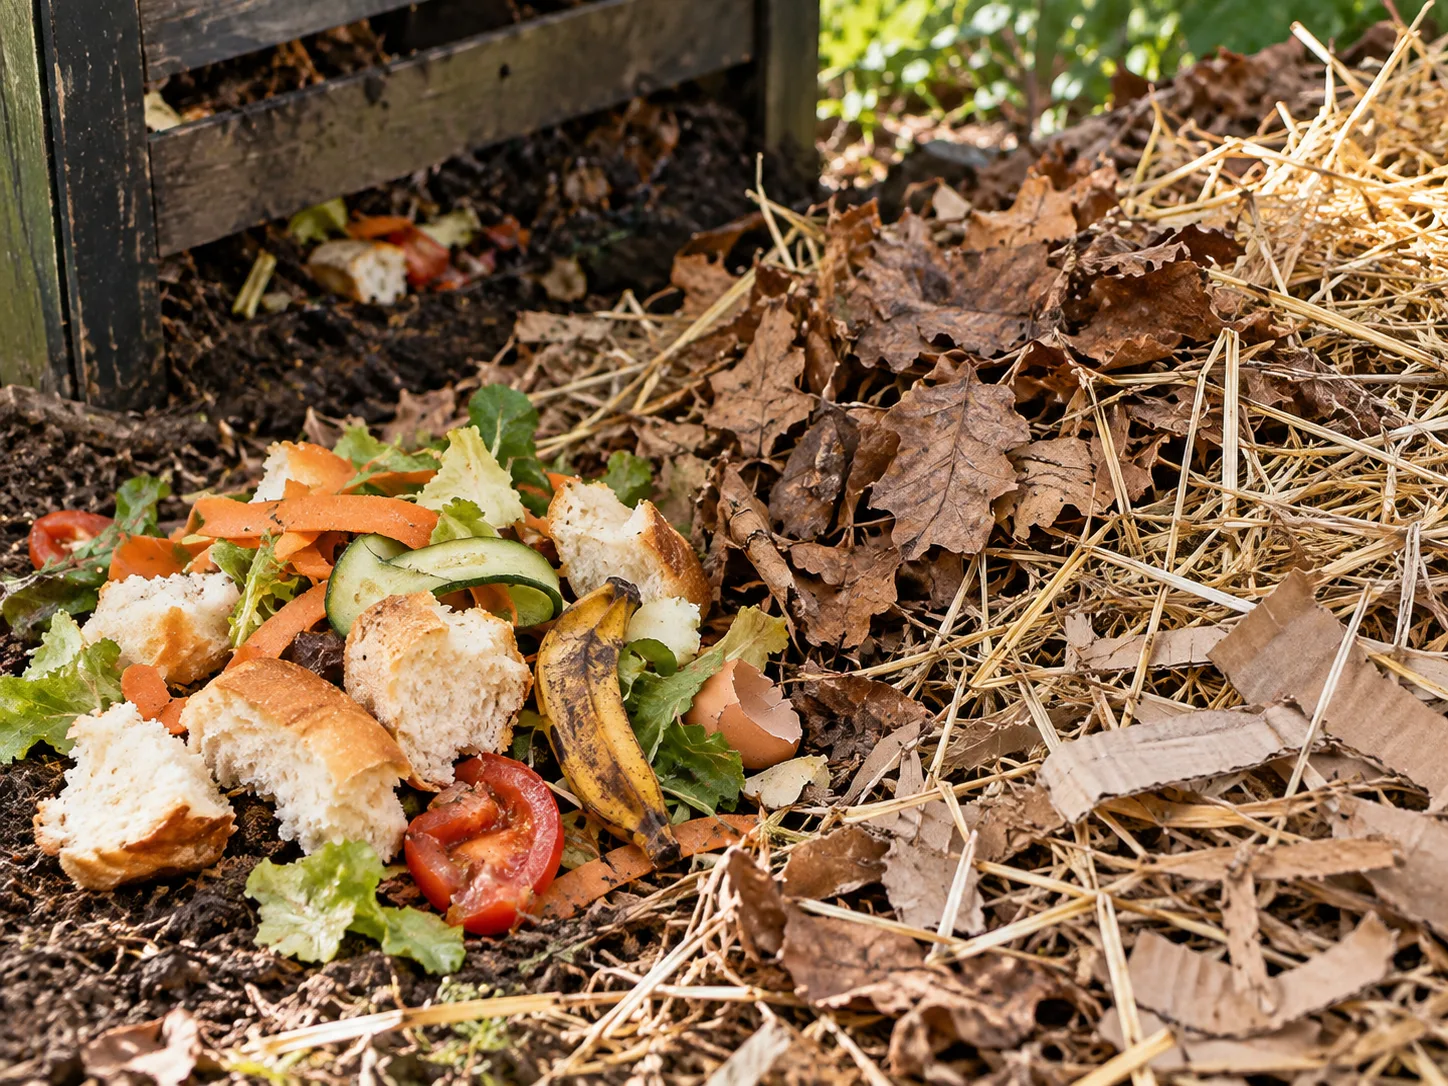
Compost ingredients are often grouped into greens and browns. Greens supply more nitrogen and moisture; browns supply carbon, absorb excess moisture, and help leave air spaces between the softer scraps. The labels describe their role in a pile, not their color: coffee grounds are usually counted as a green even though they are brown, while dead leaves are a brown.
| Add as greens | Add as browns |
|---|---|
| Fruit and vegetable scraps | Dry leaves and small twigs |
| Coffee grounds and paper filters | Shredded plain cardboard and uncoated paper |
| Fresh, non-diseased plant trimmings | Straw and dry garden debris |
| Grass clippings in thin, mixed layers | Small amounts of sawdust from untreated wood |
A useful beginner’s visual recipe is about two or three loose containers of dry browns for each container of wet greens. It is a starting point, not a precise chemical formula: materials vary, and the pile’s moisture and smell tell you whether to adjust.
Garden Design’s composting guide gives a similar by-volume approach, while extension recommendations describe the carbon-to-nitrogen balance by weight. Since home gardeners rarely weigh their ingredients, use the rough volume ratio and then respond to the pile.
Keep risky or persistent materials out of a beginner pile
For a simple backyard system, leave out meat, fish, bones, dairy, oily foods, and grease. They can create strong odors and attract rodents or flies, especially in a cool pile that breaks down slowly. Some specialized, managed systems accept a wider range of food waste, but ordinary home bins are easier to maintain when you keep those scraps out.
Do not add pet feces or human waste to a routine garden pile. Also leave out plants with serious disease or insect infestations, invasive weeds with persistent roots, and weeds carrying mature seed heads.
A small backyard pile may not heat every part of its contents enough to reliably destroy pathogens, weed seeds, or rhizomes. NC State Extension specifically cautions against diseased plant material, pet or human waste, and invasive-root weeds in a basic pile.
Be cautious with grass or leaves that may have been treated with herbicides or other pesticides. Follow product-label restrictions and local extension guidance rather than assuming that a home pile will neutralize residues. Keep glossy coated paper, plastic produce stickers, twist ties, and other non-compostable packaging out; remove contaminants before burying the scraps.
Build your first pile in six practical steps
You do not need a compost thermometer, accelerator, or a complicated three-bin structure to begin. Start with the materials you already have and use this sequence to avoid the two most common early problems: a compacted wet clump and a pile made almost entirely of dry leaves.
- Save dry browns first. Keep a lidded tote or bag of shredded leaves, torn plain cardboard, or straw beside the bin. Dry browns are the easiest correction when food scraps make the pile wet or smelly.
- Add a coarse base if the bin sits on soil. A loose layer of small twigs or dry stalks helps leave air paths at the bottom. Do not pack the base tightly.
- Mix rather than dump. Add a bucket of fruit and vegetable scraps, then cover and mix them with roughly two or three buckets of dry browns. Break up large items so they are not left whole in the center for months.
- Moisten the new material. Sprinkle water through dry layers as you build. The pile should feel like a wrung-out sponge, not like soup.
- Cover fresh scraps. Finish each food-scrap addition with leaves, cardboard, or a small amount of finished compost. This reduces flies and makes the surface less attractive to animals.
- Leave room to turn. A first pile about three feet in each direction is large enough to retain heat better than a tiny heap, yet manageable to mix by hand. If your bin is smaller, it can still compost; expect slower, less consistent heating.
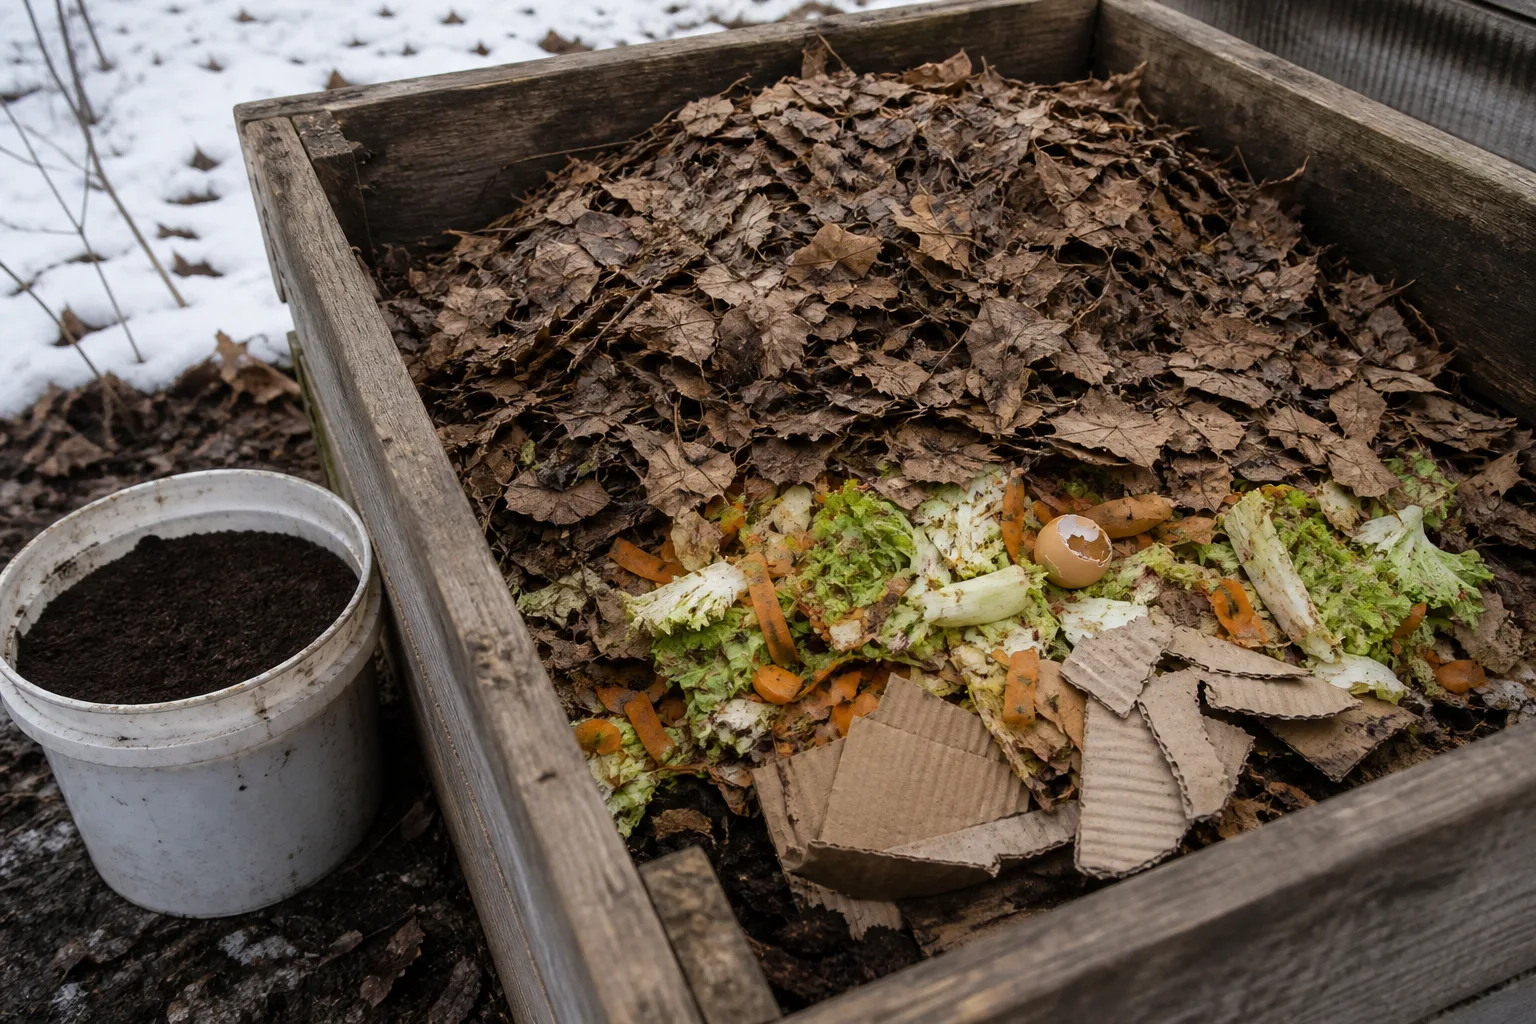
NC State Extension recommends alternating brown and green layers or mixing the materials thoroughly, wetting layers as they are added, and finishing with a brown cover. You can adapt that advice to a small bin: the goal is to distribute wet, nitrogen-rich scraps among dry carbon-rich structure, not to create a perfect lasagna with ruler-straight layers. Chop or tear bulky pieces to a few inches so microbes can work on more surface area, but avoid grinding everything into a dense paste that blocks airflow.
Get moisture, air, and pile size into a workable range
Think of the pile as a living, damp sponge with open pores. Microbes need water to stay active and oxygen to keep decomposition aerobic; too much water squeezes out air, while too little slows the organisms that break the scraps down. NC State Extension describes a roughly 40–60% moisture range and uses the wrung-out-sponge test as a practical check.
Take a handful from inside the pile, not just the dry surface. If it feels damp and only one or two drops come out when squeezed, the moisture is usually in a workable range.
If it crumbles dry, add a little water while turning so it spreads through the material; if water streams out, mix in dry leaves or shredded cardboard and protect the bin from heavy rain. A hose left running over a small pile can quickly create a wet, oxygen-poor mass, so add water gradually.
Air is the other half of that balance. If food scraps form a slick mat or the pile smells sour, loosen the packed material and add coarse browns.
Small branches or dry stalks help create structure, but too many woody chunks slow the finished compost because they break down slowly. Keep a mix of particle sizes: smaller pieces decompose sooner, while some coarse material preserves airflow.
Pile size affects temperature. Extension guidance commonly uses about three feet in each dimension as a practical minimum for a pile likely to heat; a smaller container can still compost, but it may not sustain high temperatures. That distinction matters: you do not need a hot pile to make a soil amendment, but a cool, small pile will take longer and cannot be relied on to sanitize every ingredient.
Choose between hot and cold composting
Cold composting is the low-effort option: add suitable materials as you have them, keep them reasonably damp, and wait. The temperature may never rise much above the surrounding air, and a batch can take many months or longer, especially in cold weather or when large pieces are added. Cold composting suits a gardener who values simplicity and is willing to screen out persistent weeds and diseased plants at the start.
Hot composting is a managed batch process. You gather enough material at once, balance wet greens with dry browns, build a substantial pile, monitor moisture and heat, and turn it so outside material reaches the hotter center.
NC State Extension notes that temperatures above 131°F destroy most human and pet pathogens and that temperatures above 145°F destroy most weed seeds; those figures apply to material that actually reaches the temperature, not simply the middle of a pile that briefly warms. Colorado State University Extension’s compost guide explains that pile size, oxygen, water, particle size, and nutrients all affect the process.
For most beginners, do not chase a thermometer reading just to feel that the pile is “working.” If you want faster results or need to manage weeds, use a thermometer and a deliberate turning schedule, and follow a reliable extension procedure.
If you want a forgiving first attempt, choose cold composting and use only clean, uncomplicated plant matter. The method is successful when the finished material matches the job—not when the pile reaches a dramatic temperature.
Feed and turn the pile according to its condition
You can add scraps continuously to a stationary bin or build a single batch and let it finish. With continuous feeding, new scraps keep arriving after the bottom layer has begun decomposing, so harvesting a uniform finished batch takes more sorting. If you want one finished load for spring planting, stop adding fresh material to that pile and begin a new one; if space is limited, keep feeding the same bin and remove the most finished material from the bottom when available.
Turn the pile when it is compacted, smells sour, or you want to speed decomposition—not because a calendar says that every pile must be turned weekly. Turning brings oxygen in and moves outer material toward the active center.
For a hot batch, turn after the center heats and then cools, or follow a monitored schedule from an extension guide. For a cold pile, occasional loosening is enough; each turn takes effort and can dry the material out.
When you add fresh kitchen scraps, place them toward the middle and cover them with browns. Keep a small reserve of dry leaves by the bin through the wet season and a way to add water during hot, dry spells. Penn State Extension’s home composting guide notes that cold weather slows or pauses decomposition and that turning, moisture checks, and occasional additions can help a managed pile resume activity when conditions warm.
Troubleshoot odor, pests, and slow decomposition
A compost pile should smell earthy or like damp leaves. A strong odor is useful information: it usually means an ingredient is too concentrated, moisture is excessive, or airflow has collapsed. Do not mask the smell with lime, fragrance, or a commercial starter before fixing the cause; the wrong additive can shift the chemistry without restoring oxygen.
Match the symptom to one small correction
- Rotten-egg, rancid, or sour smell: The pile may be too wet or airless. Turn it, break apart clumps, mix in dry leaves or torn cardboard, and check that rain is not pooling around the base.
- Sharp ammonia smell: There may be too much nitrogen-rich material, often a thick layer of grass or food scraps. Add dry browns and mix instead of covering the smell with soil or chemicals.
- Pile is dry and inactive: Add water in small amounts while turning. Check the center because the surface can look dry while the interior is still moist.
- Damp pile will not warm: If you want a hot batch, check size first, then moisture, compaction, and whether there is enough green material. A small pile in cool weather may simply stay cool; it is not automatically failing.
- Flies or rodents appear: Bury scraps under a substantial brown layer, secure the lid, remove meat and oily foods, and consider hardware cloth around the bottom. If animals have access to the whole pile, a loose cover over the top will not solve the entry route.
These corrections follow NC State Extension’s troubleshooting table, which links foul odors with excess moisture or insufficient air, dry material with inadequate water, and animal visits with exposed scraps or unsuitable food additions. Change one thing at a time and give the pile a few days to respond; adding a large volume of water and greens at once makes it difficult to see what the original problem was.
Let the compost finish and cure
Do not judge readiness by the number of weeks since you started. A hot, well-managed batch may finish in a few months, while a cool pile with large leaves or woody pieces may take a year or more. Even material that looks dark on the outside may contain fresh scraps in the center.
Finished compost is generally dark, crumbly, close to the surrounding air temperature, and earthy-smelling. You should no longer be able to identify most of the original food or plant pieces, though a twig or eggshell may remain.
If it is still hot, sour, slimy, or full of recognizable scraps, leave it to decompose longer. A stable finish matters because immature compost continues to change after it is mixed into soil.
After the active stage, let the pile cure without adding fresh scraps. Keep it slightly damp and occasionally loosen it so the material can settle and stabilize.
NC State Extension advises a curing period after the pile stops heating; for a gardener using homemade compost around seedlings or in potting mixes, this extra time is especially useful. For seed-starting, use a commercial seed-starting mix or only well-matured compost blended as recommended by an extension source rather than filling trays with unfinished yard compost.
Screen the material through half-inch hardware cloth if you want a fine texture. Return sticks and unfinished clumps to the next pile. Screening is optional: coarse finished compost still works as a surface amendment around established plants.
Use finished compost for the job it can do
For a new or established garden bed, spread a modest layer over the soil and mix it into the upper few inches before planting, or use it as a thin topdressing around established plants. Extension recommendations differ by soil and use; Penn State suggests mixing one to two inches into garden soil, while local soil-test results can show whether that amount or a different amendment is more appropriate. Do not bury the crowns or stems of plants under a thick layer.
On lawns, use screened compost sparingly as a topdressing so grass blades remain exposed. In a planting bed, compost can improve soil structure and add organic matter, but it does not have a uniform fertilizer analysis. If a vegetable crop or lawn needs a particular nutrient, test the soil and follow the result instead of applying repeated heavy compost layers by guesswork.
Compost is not automatically potting soil. Garden soil and home compost can be dense, variable, or too active for container roots when used alone.
For pots, use a mix formulated for containers, adding compost only as a modest component if the recipe and plant suit it. Garden Design’s practical guide to compost and NC State Extension both describe compost primarily as a soil improvement material rather than a guaranteed complete plant food.
Avoid these beginner mistakes
Do not wait for a perfect recipe before starting. A roughly balanced mix of browns and greens with the right moisture will work better than a precise ratio that is too dry, too wet, or packed tightly. Store browns before you need them; the pile is easier to correct when leaves or cardboard are already at hand.
Do not assume more food scraps means faster compost. A deep layer of wet scraps can mat together, smell, and attract pests. Mix scraps through browns, chop large pieces, and cover each addition. If you have more scraps than the bin can handle, use a municipal collection program or freeze them until pickup rather than creating a pile that you cannot maintain.
Do not treat turning as a substitute for the right balance. Air helps, but repeatedly turning a pile that is too dry or too small will not make it hot. Check moisture, particle size, and ingredients before adding more effort.
Do not assume homemade compost is sterile or nutritionally complete. A cool pile may leave weed seeds, plant pathogens, and some chemical residues unaffected; a hot pile only treats material that reaches the required conditions for long enough. Exclude risky ingredients, let the pile mature, and use soil testing when nutrient decisions matter.
Conclusion
Start with a manageable bin, keep a reserve of dry browns, and cover each addition of food scraps. Check moisture by squeezing a handful, loosen the pile when it compacts, and give it time to finish until it is cool, crumbly, and earthy rather than judging by the calendar.
You can keep the process low-effort or manage a hot batch for speed; either way, the reliable habit is to observe and adjust. Begin with clean plant scraps and leaves, protect the bin from rain and animals, then use mature compost as a soil amendment—not as a cure-all or automatic replacement for fertilizer.



