How to Grow a Moss Lawn Successfully
A moss lawn can suit shady, damp yards—but not every site. Use this practical guide to weigh the trade-offs, plant moss, and keep it healthy.
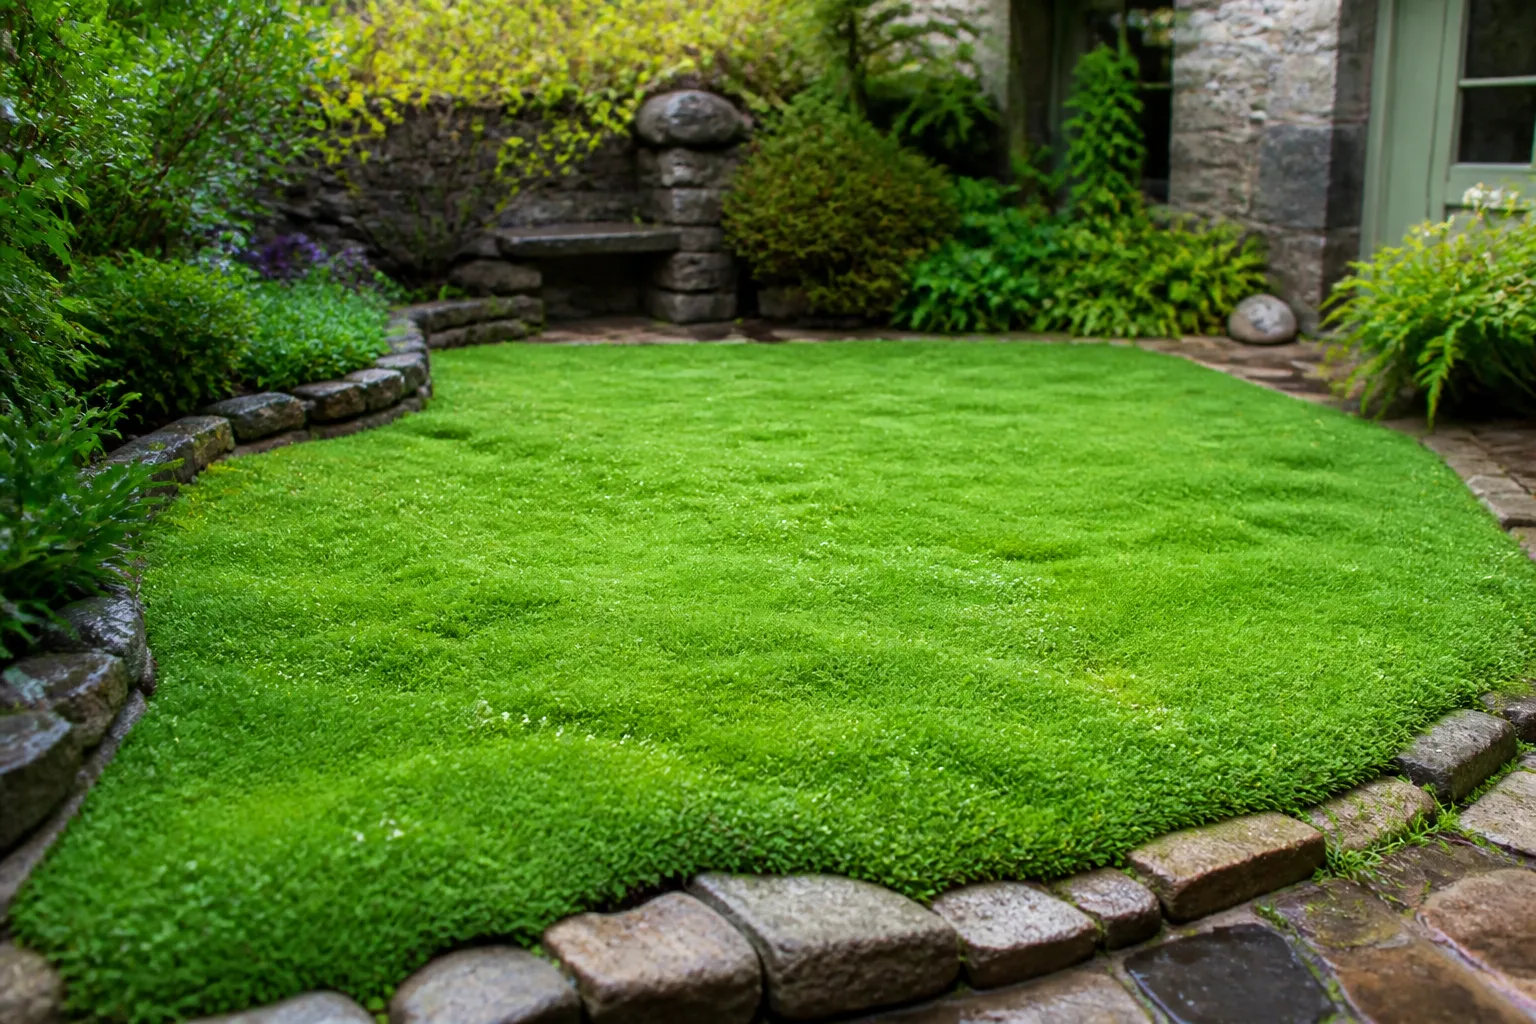
A moss lawn is a smart answer to a very specific lawn problem: you have a shady, moist, low-use area where turfgrass keeps thinning, yet you still want a soft green groundcover. It is not a universal replacement for grass, and forcing moss onto a hot, exposed, heavily played-on yard usually creates an expensive disappointment.
The best moss lawns begin with observation, not shopping. Watch the proposed area through a sunny day, notice where water lingers or disappears, and decide how people will cross it. If the site already behaves like a moss habitat, live moss can become a low-growing, quiet carpet with little mowing, fertilizing, or chemical input after it settles.
Is a moss lawn right for your yard?
Think of moss as a site-matching groundcover, not as grass with different blades. Moss generally wins where shade, humidity, and a firm porous surface give it an advantage over turf; grass generally wins where the yard is sunny, dry, and used for running, pets, games, or frequent gatherings.
Choose a moss lawn when the area is mostly shaded or filtered-light, stays at least moderately humid, and receives light-to-moderate walking. A slope that is awkward to mow, a tree-shaded side yard, and a quiet woodland sitting area are promising starting points. A south-facing play lawn, a dry rooftop-like strip, or a path used dozens of times each day is a poor match.
Before converting the whole yard, install a small test plot—roughly a few square feet is enough to reveal the main problems. Use the moss you plan to buy, mark the area, and observe it through one warm and one dry spell if your season allows. A successful test tells you more than a generic list of “best mosses,” because it measures your exact combination of light, wind, drainage, soil, and habits.
What a moss lawn actually is
Mosses are bryophytes: small, nonvascular plants with stems and leaves but no true roots. Their rhizoids anchor them to soil, rock, bark, or another porous surface; they do not function like the roots of turfgrass, carrying water and nutrients up from deep soil. Mosses take in moisture from the surface and surrounding air, then photosynthesize when conditions support growth. The Royal Horticultural Society explains that mosses reproduce by spores and often thrive in damp, shady, compacted, acidic conditions, although the exact preference varies by species (RHS moss-in-lawns guidance).
That biology explains both the appeal and the limits of a moss lawn. You do not need to bury a root ball or build a deep fertile root zone, but you do need close contact between the moss and a surface that can hold moisture. You also need to understand that a green appearance during a wet week is not proof that the site can support the same moss through a hot, windy month.
Mosses also grow in different shapes. Some form low, sideways-running carpets; others make upright cushions or tufts. A mixed planting can look richer than a single flat green surface, but a cushion-forming species will not suddenly become a uniform horizontal turf just because you plant it densely. The growth habit is a design decision, not a botanical footnote.
Moss lawn benefits that matter in real yards
The biggest benefit is fit. In deep or dappled shade, turfgrass may remain thin even when you fertilize, reseed, or water it. Moss can turn that difficult patch into intentional groundcover without asking you to remove the trees that created the shade. The RHS notes that moss can be a sensible option where grass struggles, and that moss-containing lawns can support small ground-active creatures and provide material or food within garden wildlife systems (RHS moss-in-lawns guidance).
Once established, moss stays low and eliminates mowing. That reduces the need for mower fuel or electricity, noise, blade maintenance, and the repeated disturbance of cutting a plant that never wanted to be there. The saving is not “zero work”: leaf removal, hand weeding, edge control, and occasional dry-weather rehydration still matter, especially in a leafy yard.
Moss also needs little or no fertilizer in an ordinary garden setting. It is adapted to low-nutrient surfaces, and feeding it like turf can encourage unwanted plants or alter the balance you were trying to create. Avoid treating “no fertilizer” as “no biology”; moss still needs light, water, and a surface where it can remain attached.
A moss carpet can soften a slope or awkward tree-root zone where a mower is unsafe or where runoff exposes bare soil. Moss is not a substitute for a structural erosion-control system on a failing bank, but an established colony can help hold the surface and interrupt small flows. On a broad or steep slope, pair it with stones, woody plants, terraces, or professional drainage advice rather than asking a thin new planting to stop a major washout.
Finally, moss offers texture and seasonal character that a clipped lawn does not. Different greens, upright sporophyte stalks, stones, and stepping paths can make a small yard feel like a garden room. That aesthetic benefit is subjective, but it is often the reason a moss lawn succeeds: the gardener accepts a soft, uneven carpet instead of waiting for it to imitate turf.
Moss lawn disadvantages to plan around
Traffic is the first serious limitation. Many mosses tolerate light walking once attached, but repeated running, dog zoomies, furniture dragging, and ball games can tear or compact the colony. A moss lawn may feel wonderfully soft underfoot, yet softness is not the same as durability. Plan stepping stones or a defined path before the moss spreads across the route people naturally take.
Sun is the second limitation. “Moss likes shade” is useful shorthand, not a complete planting rule. Some species tolerate sun or partial sun, while others shrivel quickly when exposed; reflected heat from paving and drying wind can be more damaging than the official light label suggests. If the only available site gets strong afternoon sun, test a sun-tolerant species rather than assuming a shade moss will adapt.
Moss can cost more upfront than grass seed because live material is sold as mats, trays, patches, or specialty collections rather than scattered by the handful across a large area. The cheapest method—small pieces or fragments—also takes the longest to look finished and is most vulnerable to wind, runoff, weeds, and hungry birds during establishment. Budget for the preparation and follow-up care, not just the moss itself.
Leaves and debris create another kind of maintenance. A thick layer blocks light, stays wet against the colony, and can encourage decay or make the surface slippery. Clearing it carefully is essential, but aggressive raking can lift the moss because rhizoids are shallow. The RHS also cautions that moss control products are temporary unless the conditions that favor moss change, which is a useful reminder in reverse: a lawn that favors moss will keep doing so even when you remove one patch (RHS moss-in-lawns guidance).
Check your site before buying live moss
The three site tests: light, moisture, and surface
Start with light. Visit the area in the morning, around midday, and late afternoon, then repeat the check when nearby deciduous trees are leafless and in full leaf. Record direct sun, bright filtered light, deep shade, and the places where a wall or paving reflects heat. This simple log helps you avoid a common mistake: choosing moss for the winter appearance of a site that becomes a hot, dry pocket in summer.
Next, check moisture without confusing “damp” with “waterlogged.” After rain, notice whether the surface holds a thin film briefly, stays evenly moist, or forms puddles for hours. Moss needs moisture, but a persistently stagnant site can become slimy, anaerobic, or unstable. If water is flowing across the area, redirect the flow or add a stable path; do not use a fragile new moss layer as a drain.
The third test is the surface. Moss attaches more readily to a firm, slightly textured, porous surface than to loose powder, thick mulch, or a crust that sheds water. Check compaction with a hand trowel and look for grass roots, thatch, weeds, loose leaf mold, and exposed tree roots. Moss can grow on soil, stone, wood, and other surfaces, but the species and installation method must match the material.
Test soil pH if the planting area is former turf or if you plan to buy a species with a stated pH preference. Do not automatically dump lime or acidifier on the ground. The RHS describes many lawn mosses as comfortable in acidic soil, while moss specialist Annie Martin has emphasized through Joe Gardener that mosses differ and some tolerate alkaline conditions (RHS moss-in-lawns guidance; Joe Gardener moss-gardening interview). A test tells you whether your soil needs attention; a species profile tells you whether changing it is worthwhile.
Choose moss by growth habit and exposure
Buy by site and habit, not by the most attractive photograph. Ask the seller for the moss’s expected light, moisture, surface, mature texture, and tolerance of occasional walking. Regional availability matters too: a moss cultivated for a cool, humid climate may need more summer protection in a dry inland garden.
For a low carpet, look for pleurocarpous or sideways-growing forms such as suitable Hypnum or Thuidium types. These can knit across a surface and work well around stepping stones when the exposure fits. For upright cushions or mounds, acrocarpous forms such as some Dicranum, Leucobryum, or Ceratodon types can add texture, but they are better used as accents or densely planted colonies than as a promise of instant, level turf.
Polytrichum commune and other haircap mosses are often useful on slopes or in designs that benefit from vertical texture, but exact performance still depends on the species and local conditions. Atrichum, Leucobryum, Hypnum, and Thuidium are names you may encounter in specialist moss collections; they are not interchangeable care instructions. The Extension Master Gardener Volunteers of Durham County’s moss overview lists several of these genera and reinforces that moss choice should follow the plant’s growth behavior and moisture needs (Durham County Extension Master Gardener moss overview).
Carpet mosses versus cushion mosses
Use carpet-forming moss where you want visual continuity and around a path where the surface can be protected. Place cushion-forming moss where you want punctuation: beside a rock, at the base of a tree, or in a small cluster that can be viewed without being crossed. Mixing the two can look natural, but keep the upright forms out of the main walking lane unless the supplier specifically recommends them for that use.
Prepare the area for a moss lawn
Remove competition, clear debris, and firm the surface
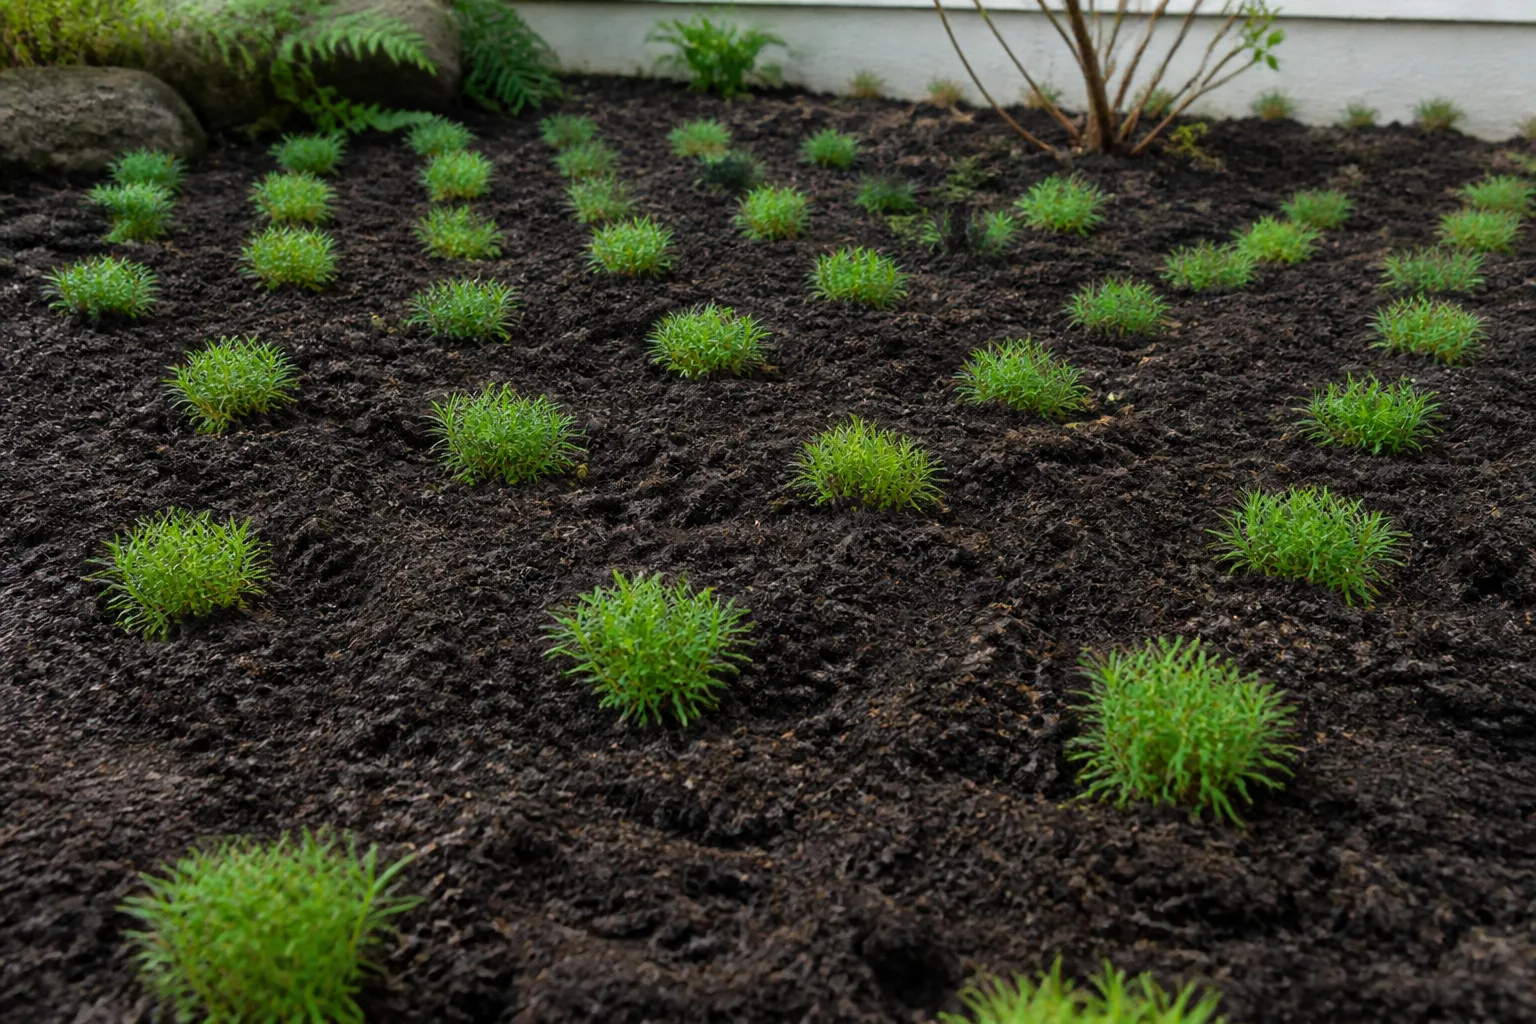
Clear grass, weeds, thick thatch, acorns, sticks, and leaves from the planting zone. Pull perennial weeds completely where practical, but do not turn the ground into a fluffy seedbed. Moss is placed on the surface; it does not need the loose, deeply tilled soil that germinating grass seed uses.
Level obvious hollows that collect runoff, repair unstable edges, and lightly scrape away loose material until the surface is firm. The practical moss-gardening method described by Joe Gardener’s Annie Martin is counterintuitive for grass growers: clear the area, pack the surface, and make only shallow incisions so the moss can contact it rather than sinking into loose soil (Joe Gardener moss-gardening interview).
If the soil is compacted into a hard, water-shedding crust, correct only the problem that blocks attachment. A small hand fork or three-pronged tool can roughen the top lightly; deep rotary tilling can create loose soil that erodes under every watering. On a slope, use biodegradable pins, small twigs, or another low-profile anchor appropriate to the site, and work in short sections so prepared ground is not left exposed.
Do not fertilize the bed before planting. Do not cover it with rich compost simply because it looks dark and garden-ready. A thin, stable surface with the right moisture behavior is more useful than a deep nutrient layer that feeds weeds and shifts under the moss.
How to plant moss on soil
Choose between mats, patches, cookies, and fragments
There are four practical approaches. Mats provide the fastest visual coverage and are useful when you need a finished surface quickly, but they cost more and still require careful contact. Patches or cookies—hand-sized pieces laid close together—reduce cost while giving each fragment enough mass to resist drying.
Fragments fill gaps and can spread from existing colonies, but tiny pieces dry and blow away easily. A useful compromise is to combine a close patchwork of live pieces with fragments tucked into seams rather than asking fragments alone to cover a large slope. Specialist guidance also warns against the popular blender or “moss milkshake” shortcut: pulverized moss can wash away instead of attaching, especially on bare soil or a slope (Joe Gardener moss-gardening interview).
Lay each piece flat with its growing surface facing up. Press it firmly enough to remove air gaps and establish contact, but do not bury it. Secure wind-exposed or sloping pieces with discreet pins, then walk over the planted area with slow, flat-footed steps if the moss supplier recommends it. That gentle pressure seats seams and rhizoids; random trampling tears edges and creates bare spots.
Water immediately with a gentle spray that wets the moss and the surface beneath it. The goal is a saturated, settled planting area without puddles that float pieces loose. If water begins moving soil or carrying fragments downhill, stop and adjust the spray, anchors, grade, or planting size before continuing.
Water during establishment without washing moss away
New moss needs more attention than established moss because every piece has exposed edges and limited moisture storage. For the first several weeks, inspect the planting at different times of day and water whenever the surface is drying rather than relying on a single long soak. Short, gentle sessions are safer than a forceful sprinkler that lifts mats or floods the low points.
An Extension Master Gardener summary of Martin’s advice describes frequent, brief watering—around three short sessions per day—as a practical starting point in suitable conditions, not a universal timer prescription (Durham County Extension Master Gardener moss overview). Wind, temperature, cloud cover, humidity, slope, and moss thickness can change the schedule dramatically. The right target is a surface that stays evenly moist while the pieces attach, with no standing water and no daily washout.
After watering, look for three signs. Brightening color and firm pieces suggest rehydration; lifted edges or channels in the soil suggest too much pressure; pale, crisp, or curled material that does not rebound after moisture suggests the site is too dry, too hot, or a poor species match. Keep foot traffic to the minimum needed for installation until the pieces resist a gentle attempt to lift an edge.
As the colony knits together, taper supplemental watering gradually. Established moss can withstand dry periods better than newly installed pieces, and some species can pause growth or change color when dry. Rehydrate during unusually prolonged drought, but do not convert a naturally low-input planting into a constantly saturated irrigation project.
Maintain a moss lawn through the seasons
Moss maintenance is mostly light management, debris management, and restraint. Do not mow it, fertilize it, or apply a lawn herbicide as if it were turf. Walk the area occasionally, inspect the edges, and remove new weeds before their roots or crowns become intertwined with the moss.
Manage leaves, weeds, and ordinary foot traffic
Clear leaves as they accumulate, especially in autumn and in areas under deciduous trees. Use your hands for delicate patches, or use a leaf blower on a low setting from a distance if the moss is well attached. A soft broom may work on a firm colony, but test a small area first; the RHS specifically lists loose moss and debris as reasons a lawn can feel uneven or spongy, while the Durham Extension Master Gardener guidance advises blowing or sweeping rather than aggressive raking (RHS moss-in-lawns guidance; Durham County Extension Master Gardener moss overview).
Hand-pull weeds when the soil is slightly moist. Grip the weed low and ease it out instead of scraping across the moss. If a small piece of moss comes up attached to the weed, press that piece back into a bare seam and water it in. Avoid vinegar, bleach, baking soda, dish soap, and improvised “moss killers”; these can damage nearby plants and soil organisms, and they do not solve the exposure, moisture, or compaction problem that allowed the unwanted plant to thrive. The RHS advises against household products for moss control and notes that chemical control is temporary without environmental change (RHS moss-in-lawns guidance).
Keep regular walking light and predictable. If one route receives repeated traffic, add stepping stones before a visible trail becomes a torn corridor. Moss can recover from occasional disturbance, but recovery is slower when the colony is repeatedly compressed while wet or pulled up when dry.
Troubleshoot a patchy or browning moss lawn
Start with the pattern, not the color. Moss naturally changes tone with moisture and season, so a temporary dull green or brown cast after drying does not automatically mean fertilizer deficiency. Rehydrate one small area and observe whether color and texture improve; do not feed the entire lawn before identifying the cause.
If only the sunny edge is failing, compare its exposure and reflected heat with the thriving center. Move the edge of the planting, add a compatible sun-tolerant species, or create shade rather than watering more often forever. If the whole planting dries quickly, investigate wind, shallow soil, low humidity, and whether the selected moss was collected or cultivated for a wetter climate.
If pieces are lifting, look for runoff, pets, foot traffic, or an overly forceful spray. Re-seat small areas, pin the slope, slow the watering, and repair the flow path. If bare gaps fill with grass or weeds, the preparation was incomplete or the moss is too slow for the conditions; hand-weed, remove competing roots where possible, and consider denser patches instead of scattering more fragments.
If moss turns black or develops a sour smell in a low spot, suspect prolonged saturation and decaying debris rather than thirst. Improve the grade or drainage, remove the smothering layer carefully, and allow the site to reach an even moist—not stagnant—condition. Major drainage work on a foundation-adjacent slope or waterlogged yard deserves a local landscape professional because simply adding more moss cannot fix a water-management defect.
When a test plot fails twice after you correct watering and contact, accept the information. A shade-loving groundcover, sedge, fern, woodland perennial, mulch, or hardscape may be a better match than a full moss conversion. The most sustainable lawn alternative is the one that survives the site without constant rescue.
Build paths and traffic lanes into the design
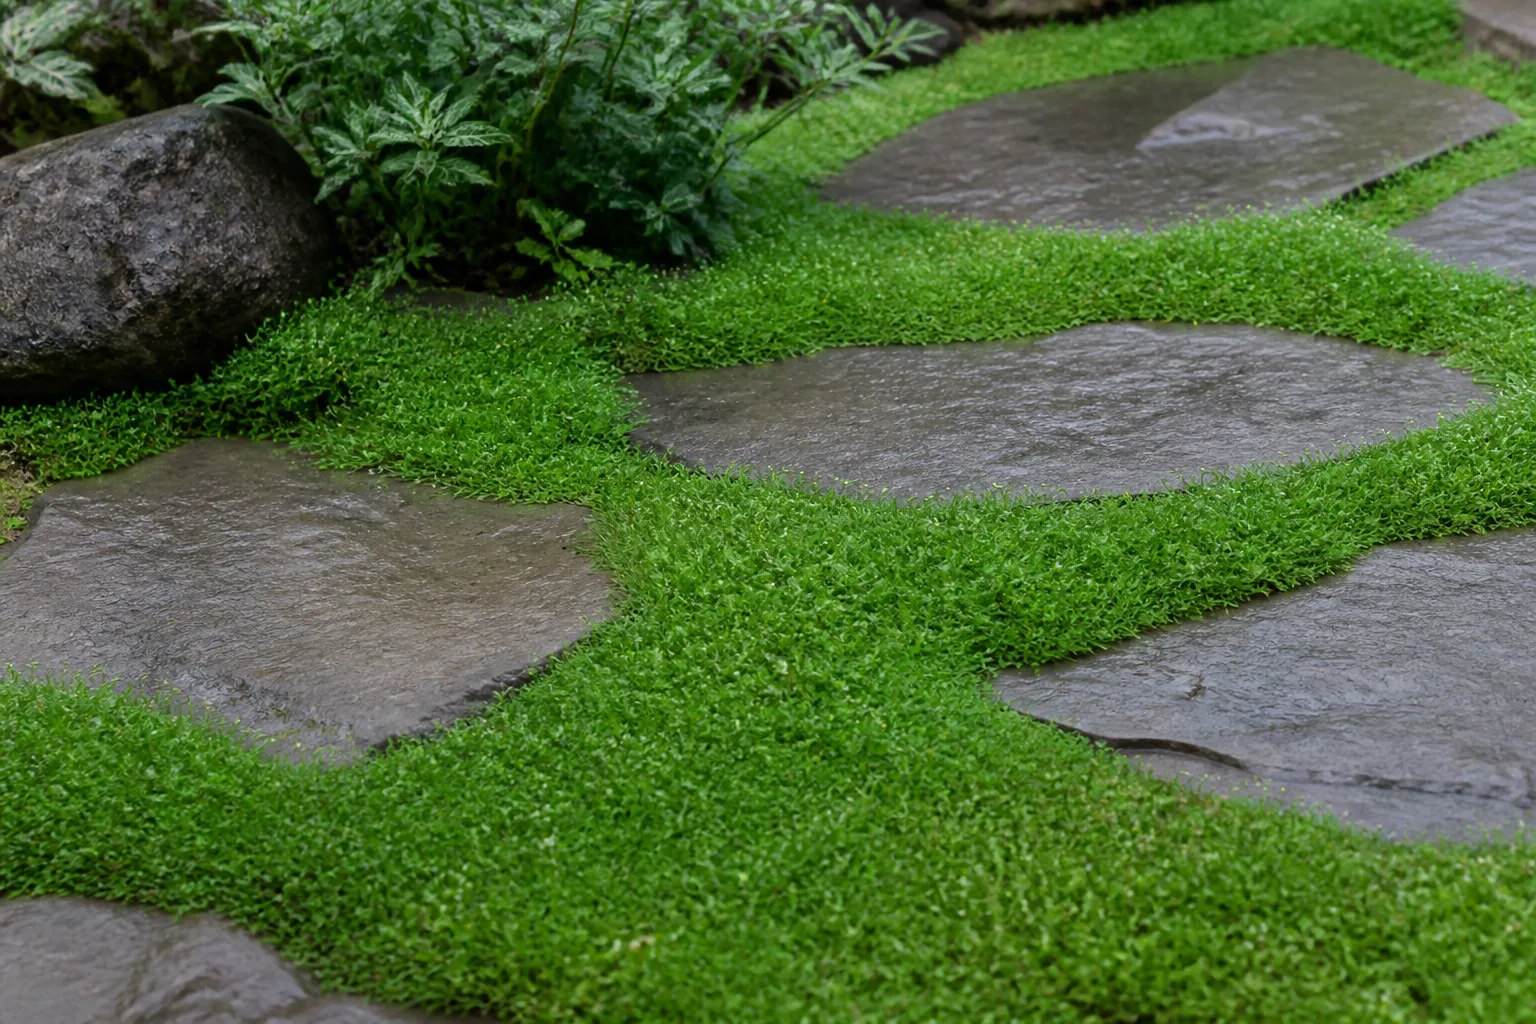
Design movement before planting. Mark the route from the gate to the door, the place where a bin rolls, and the view line where people will naturally step into the garden. Keep those lines open with stepping stones, gravel, bark, or a narrow paved walk, then use moss as the quiet matrix around them.
Stepping stones should sit securely and nearly flush with the surrounding surface so people do not place a foot onto the moss while balancing. Leave enough room for the stride you expect, and check the route after rain for slippery stone or puddling. A moss lawn can make a path beautiful, but it should not make the path ambiguous.
For pets or children, confine moss to a side garden, tree skirt, or visual border and provide a more durable activity zone elsewhere. For entertaining, use a small seating pad or patio rather than relying on moss to carry chairs and repeated movement. This design approach preserves the moss’s best qualities—texture, shade tolerance, and low profile—without demanding turf-like resilience.
Source moss responsibly
Buy cultivated moss or rescue it only where you have clear permission and the collection is legal and sustainable. Never strip a public woodland, protected area, national forest, or someone else’s property because a patch looks abundant. Moss colonies are habitat, and removing a surface layer can damage the place you hoped to admire.
Ask a supplier whether the moss was cultivated or responsibly collected, what region and conditions it comes from, and how it should be installed. An ethical supplier should identify the material beyond “green moss,” explain light and moisture needs, and tell you whether the product is a carpet-forming mat, cushion, fragment blend, or a mix. The Joe Gardener interview with moss specialist Annie Martin describes licensed rescue and cultivation practices and specifically discourages casual harvesting from parks and forests (Joe Gardener moss-gardening interview).
Keep records of the species or mix you plant. If one section thrives and another fails, that information helps you make a precise change rather than replacing the whole lawn with an unknown product. It also makes future sharing, expansion, or restoration more responsible.
Conclusion
A moss lawn works when you let the site make the decision. Choose it for a shaded or filtered-light area with reliable humidity, a stable surface, manageable traffic, and a gardener who appreciates a soft, textured carpet rather than a clipped imitation of turf.
Test a small plot, match the species to exposure and growth habit, prepare a firm surface, press the moss into close contact, and water gently but frequently while it attaches. After establishment, the routine becomes modest: clear leaves, hand-pull weeds, rehydrate during prolonged dry weather, and protect the paths people actually use. If your yard is hot, dry, heavily trafficked, or persistently waterlogged, choosing another groundcover is not a failure—it is the more honest low-maintenance choice.



