How to Make a Homemade Vinegar Cleaning Solution
Make a homemade vinegar cleaning solution with the right ratio, then learn where it works, where it can damage finishes, and how to store it safely.
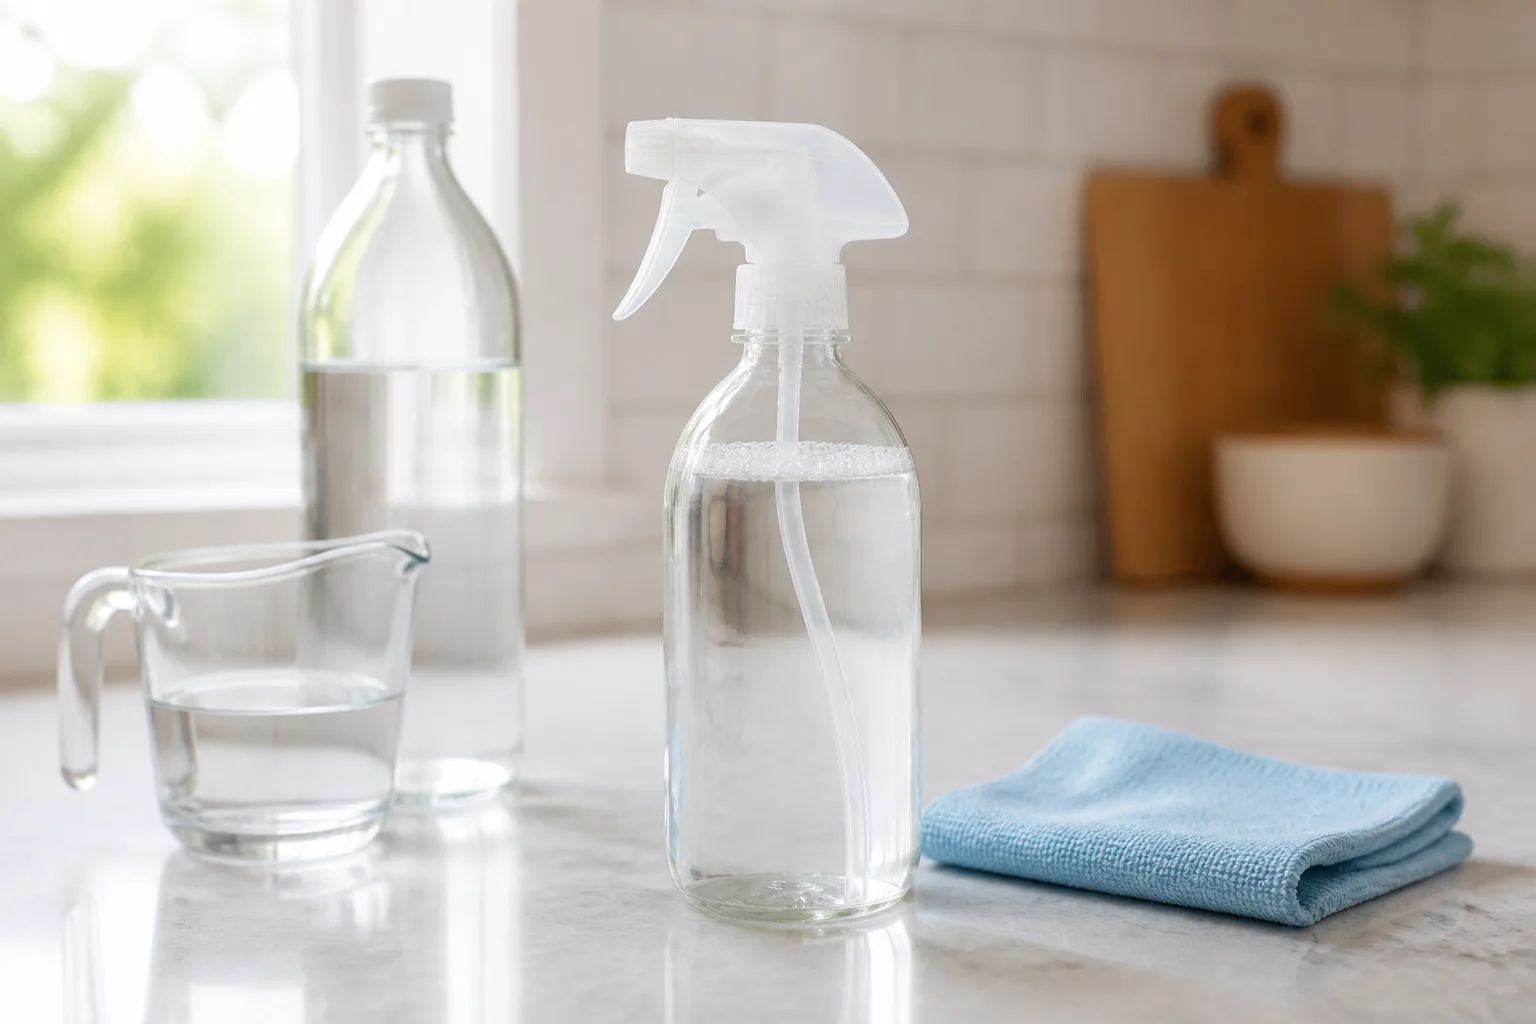
A basic homemade vinegar cleaning solution needs only distilled white vinegar and water, but the useful part is knowing when to stop. Vinegar is a convenient acidic cleaner for mineral scale, some soap film, glass, mirrors, and selected ceramic surfaces. It is not a universal disinfectant, and its acidity can dull, etch, soften, or otherwise damage materials that tolerate ordinary soap and water.
For a reliable starting batch, combine 1/2 cup distilled white vinegar with 1/2 cup water in a labeled spray bottle. That makes 8 ounces of a 1:1 cleaner. Use it on a compatible surface, let it work briefly, wipe with a clean cloth, and rinse or dry when the material or the job calls for it. The method matters as much as the recipe.
The Best Everyday Vinegar Cleaner Ratio
The simplest ratio is one part distilled white vinegar to one part water. It is concentrated enough to be useful for everyday hard-surface cleaning while still easy to measure, and it matches the small-batch formula commonly used for a general vinegar spray. If you need 16 ounces, use 1 cup of each; if you need 4 ounces, use 1/4 cup of each.
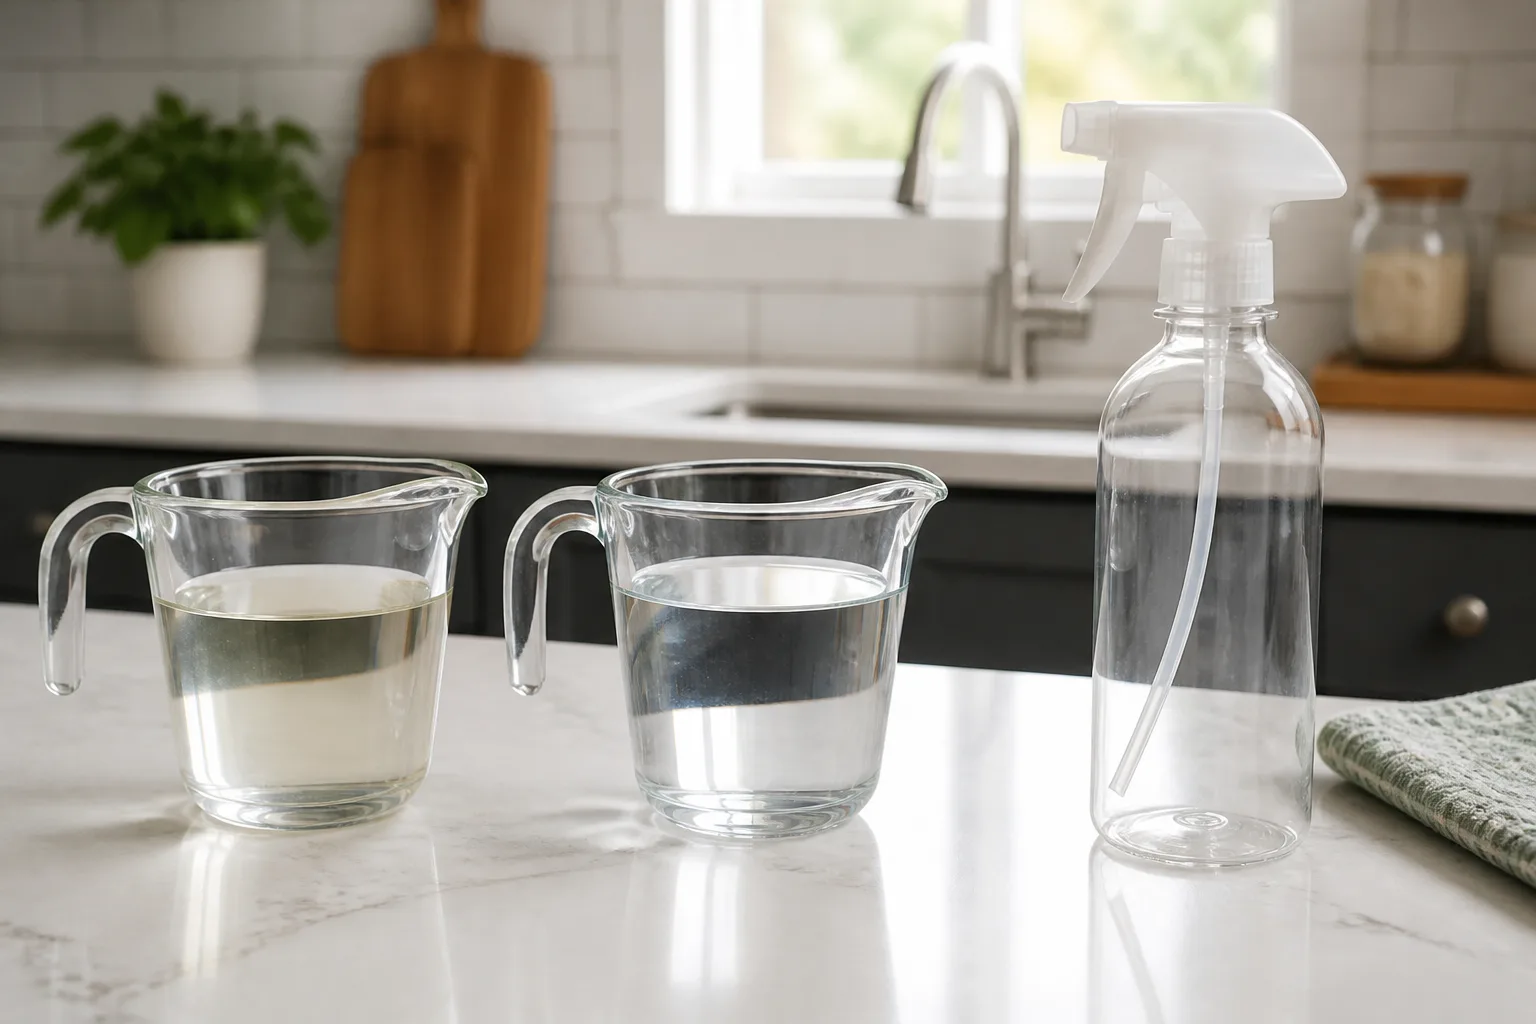
Do not make the spray “stronger” automatically when a surface is dirty. A stronger acid does not fix the wrong surface, and more vinegar can increase odor, residue, and finish damage. For a delicate but compatible job, begin with 1 part vinegar to 3 parts water, test it, and only move to the 1:1 formula if the soil needs more help.
The right ratio also depends on the job. A spray used to wipe a mirror needs a fine mist and a dry, lint-free cloth; a showerhead with visible mineral deposits benefits from a separate soak in undiluted white vinegar. Those are different applications, so they should not be forced into one bottle.
What Vinegar Cleaner Can—and Cannot—Do
Vinegar is a water solution containing acetic acid. Household vinegar generally contains about 4% to 6% acetic acid, according to the National Pesticide Information Center’s vinegar facts. That mild acidity is why it can help dissolve mineral deposits and loosen some alkaline soap residue, but it does not make the liquid a safe choice for every finish.
Think of this spray as a cleaner, not a cure-all. Cleaning removes dirt, grease, and many germs through product action and physical wiping; disinfecting is a separate process intended to kill remaining germs with a product and contact time suited to that claim. The CDC’s cleaning and disinfecting guidance makes that distinction clearly, so do not label a homemade vinegar spray as a disinfectant just because it smells sharp or leaves a surface looking bright.
Vinegar is particularly useful when the problem is a water-soluble or mineral film: cloudy faucet deposits, light scale around a shower fixture, streaks on glass, or a microwave interior that needs steam to soften dried splatters. It is less useful on heavy grease, baked-on food, deeply embedded grime, or a surface whose manufacturer warns against acids. In those cases, a mild detergent or labeled product is often the more appropriate first choice.
Gather a Safe, Small Batch
Use a clean spray bottle, a measuring cup, and a funnel if the bottle opening is narrow. Add a lint-free cloth for mirrors and glass, plus a soft brush or old toothbrush for mineral deposits around fixtures. A waterproof label and a pen are not optional extras: they prevent this solution from being mistaken for water or mixed with another product later.
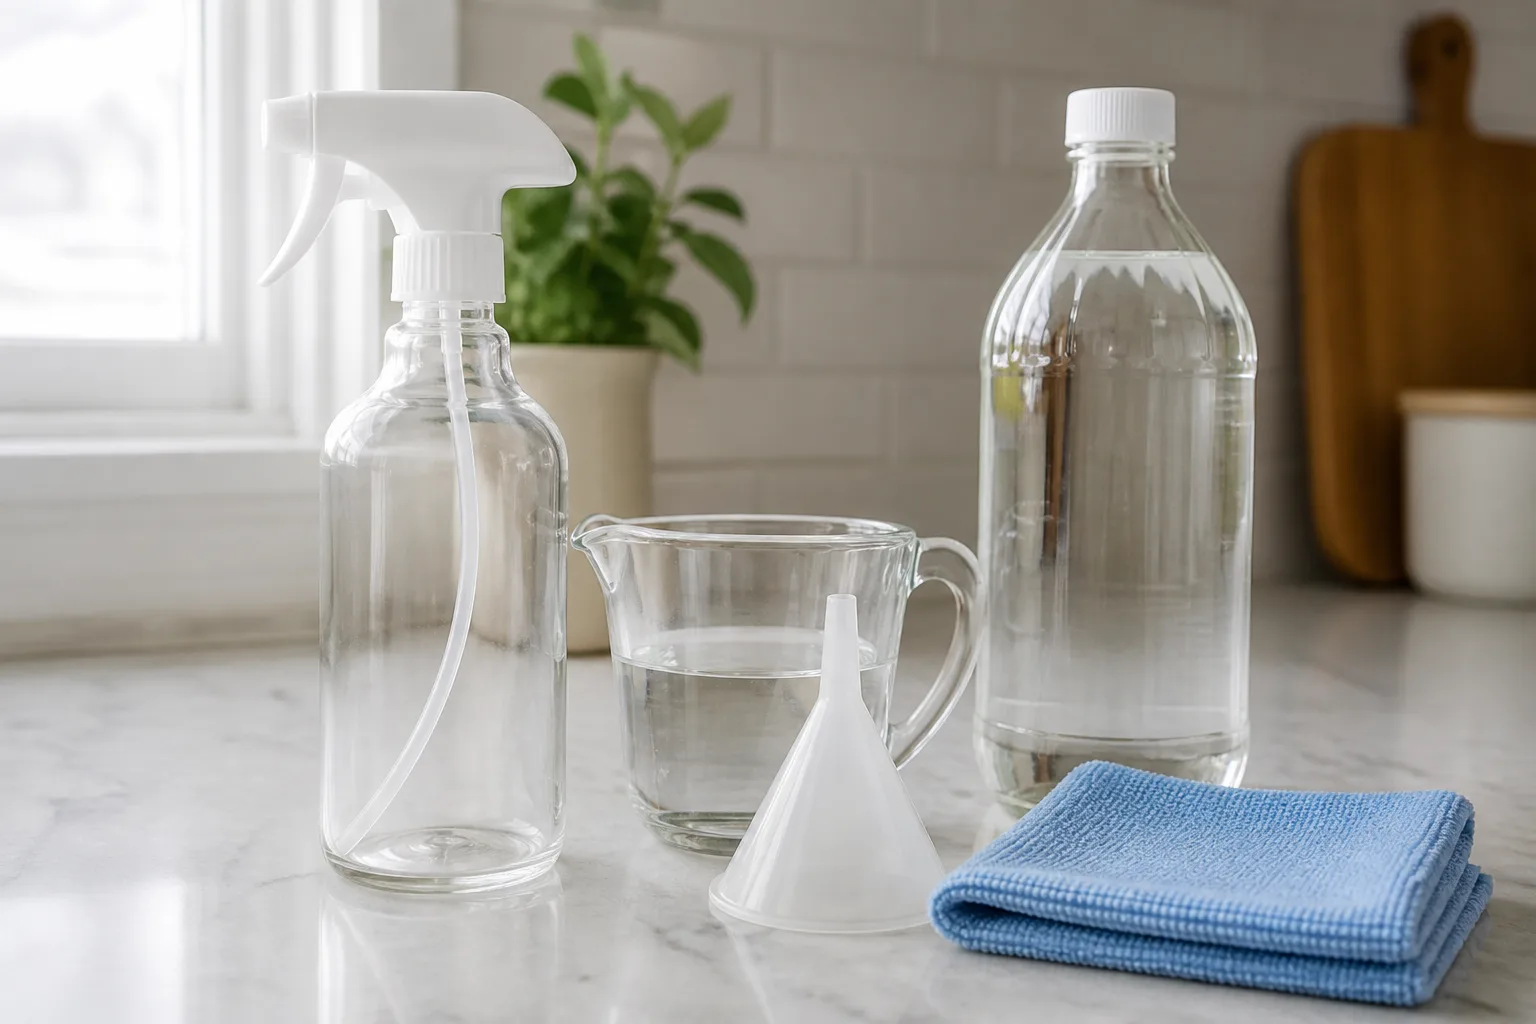
For the everyday 8-ounce batch, gather:
- 1/2 cup distilled white vinegar
- 1/2 cup water
- A clean, chemical-resistant spray bottle
- A funnel, if needed
- A microfiber or other lint-free cloth
- A label and pen
Distilled white vinegar is the best default because it is clear and its strength is predictable. If you buy cleaning vinegar, read the bottle carefully: it may contain about 6% acetic acid and may be marked not for consumption. A small percentage increase is not a reason to use it on a sensitive finish, and it is never a reason to pour it into a food container.
Keep the ingredients plain for the first batch. Dish soap, baking soda, citrus juice, and essential oils all change how the solution behaves, and they can make streaks or residue more likely. Once you know a surface accepts the simple formula, you can choose a separate, job-specific method rather than turning the spray bottle into a chemistry experiment.
Mix the Spray Without Guesswork
Measure the vinegar and water rather than filling the bottle by eye. Pour them through the funnel, add optional essential oil only if you want fragrance, replace the sprayer, and gently invert the bottle a few times. Essential oils do not turn vinegar into a disinfectant or make it suitable for materials that vinegar can damage.
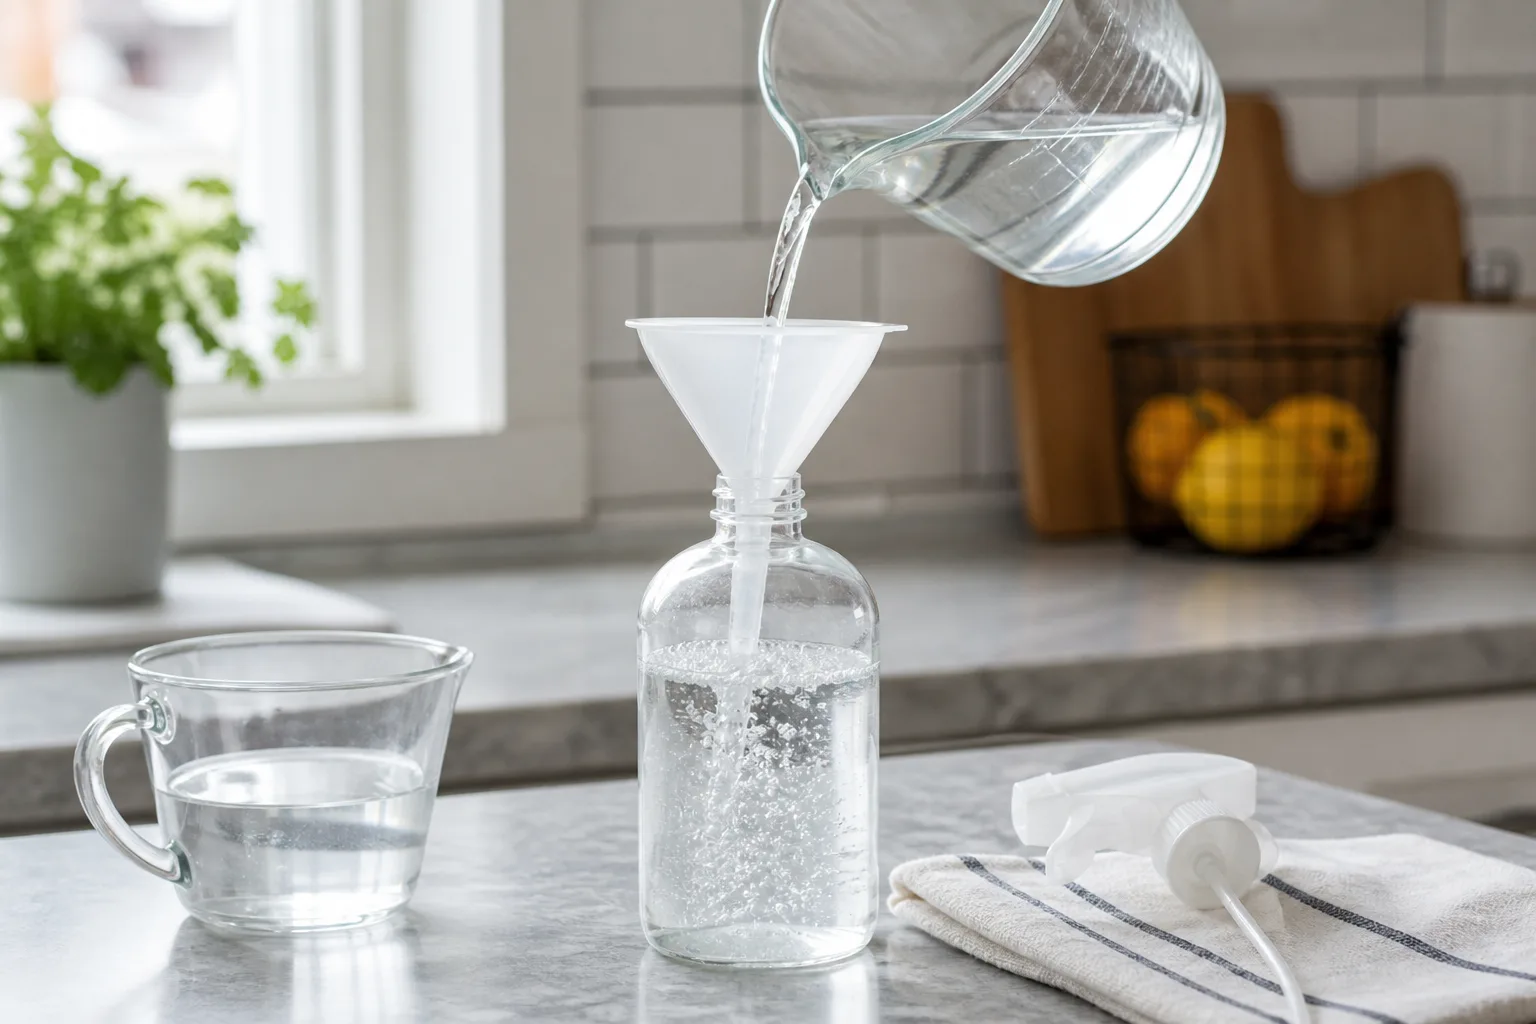
Use the following order:
- Confirm the bottle is clean and completely empty of any previous product.
- Measure 1/2 cup distilled white vinegar and 1/2 cup water.
- Pour both liquids into the bottle, using a funnel to prevent spills.
- Add 12 to 24 drops of essential oil only if scent matters to you; this is optional.
- Close the bottle, gently mix it, and label it with the contents and date.
Spray the cloth instead of flooding a small surface when you are cleaning polished or finished materials. Direct spraying can push liquid into seams, joints, outlets, or gaskets, and it gives you less control over how much acid stays on the surface.
Choose a Lighter Dilution When the Surface Allows It
A 1:3 vinegar-to-water mix is a sensible first test for a compatible finished surface that needs only light cleaning. Mix 1/4 cup vinegar with 3/4 cup water for an 8-ounce bottle. This will not make an unsuitable surface safe, but it can reduce odor and acid exposure on a surface that the manufacturer allows you to clean with diluted vinegar.
Use the stronger 1:1 mix for jobs that actually benefit from acidity, such as light mineral residue on glass or glazed ceramic. For a heavy deposit, increase dwell time or use gentle agitation before increasing concentration. Letting a suitable cleaner sit for a few minutes is often more helpful than making every batch harsher.
Label, Store, and Use the Bottle Responsibly
Write “Vinegar cleaner — do not mix” on the bottle, along with the date and the ingredients. Store it upright, away from direct heat and sunlight, and out of the reach of children and pets. Never pour it into a drinking bottle, food jar, or unlabeled container; a homemade cleaner should look unmistakably like a cleaning product.
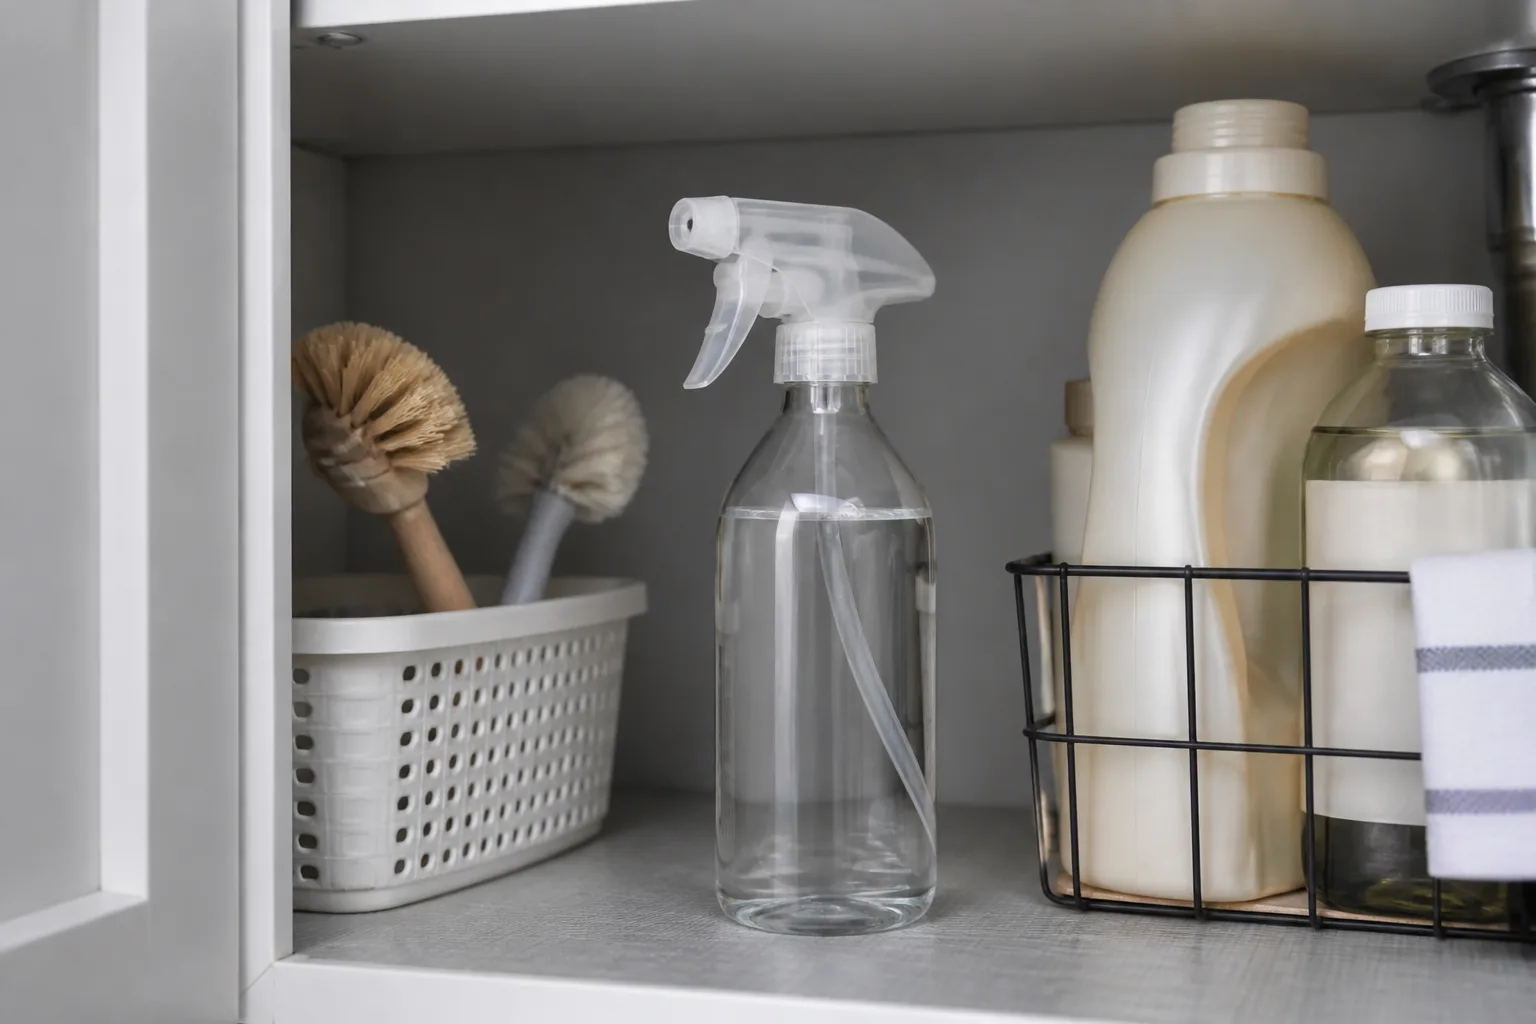
There is no advantage to making a year’s supply. Mix a small amount you can use within a few weeks, and discard it if it develops an unusual smell, visible growth, cloudiness, or a clogged sprayer. If you add essential oils or any other ingredient, the mixture is less predictable, so use it sooner and clean the bottle before making a fresh batch.
Do not top off an old batch with new ingredients. Empty the bottle, rinse it thoroughly, and let it dry before refilling. Residue from bleach, ammonia, hydrogen peroxide, drain cleaner, or another product can create a dangerous reaction when vinegar is added.
How to Clean Glass, Mirrors, and Ceramic Surfaces
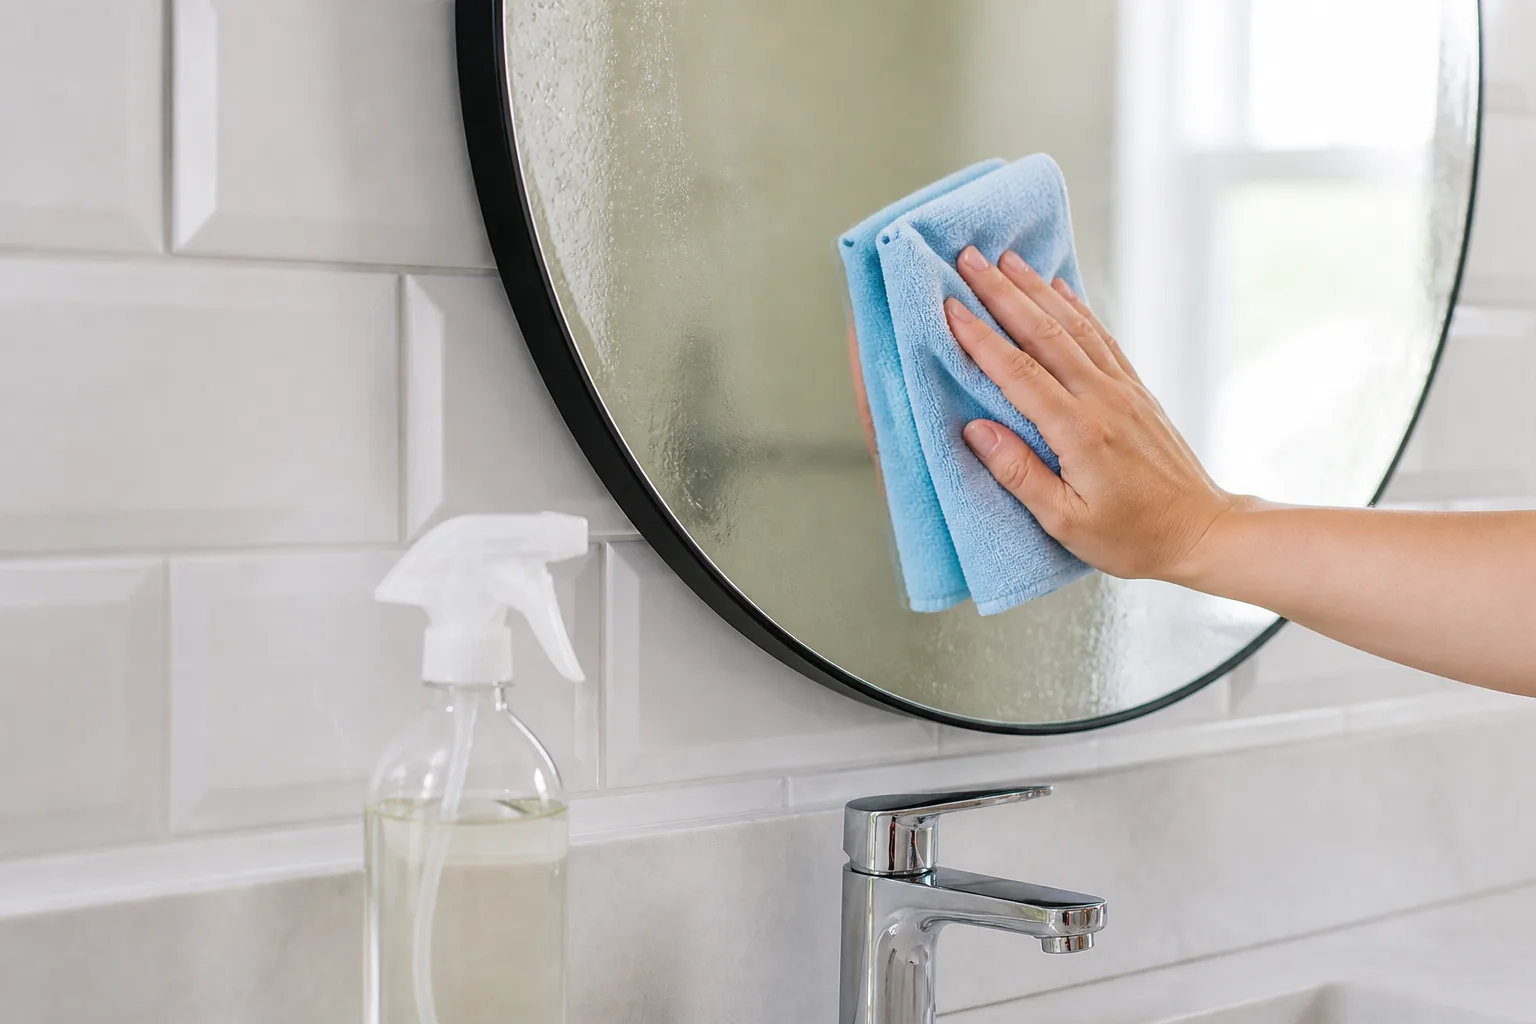
Glass and mirrors are among the most satisfying uses because the acidic spray can loosen film and the final dry wipe removes the remaining haze. Mist lightly, work in small sections, and buff with a clean lint-free cloth before the liquid dries. Too much spray is a common cause of streaks; the cloth should be damp enough to lift soil, not wet enough to run.
For glazed ceramic or porcelain tile, spray or apply the 1:1 solution to a small area, allow a short dwell time, and wipe away the loosened film. Rinse if the surface is near food preparation or if a tacky residue remains, then dry the area. Do not let vinegar pool in joints, cracks, or grout lines while you clean.
Use the hidden-spot test even on a familiar material. Glaze, sealers, coatings, grout condition, and installation age vary, so check a corner or area behind an appliance first. If the test area turns dull, cloudy, soft, sticky, or discolored, stop and switch to the surface manufacturer’s recommended cleaner.
How to Tackle Soap Scum and Mineral Deposits
Vinegar works best when it has time to contact the deposit. Spray a fixture or compatible shower surface, wait a few minutes, then wipe with a microfiber cloth or gently scrub with a soft brush. Rinse thoroughly so loosened minerals and acidic residue do not dry back onto the surface.
For a stubborn soap film on a non-stone shower or tub, use the local scrape’s separate formula: 2 parts distilled white vinegar, 1 part dish soap, and 2 parts water. Apply it to a small test area first, leave it for about five minutes, scrub gently, and rinse well. Dish soap helps with oily film; vinegar helps with mineral residue, but the mixture is not appropriate for stone, marble, or other acid-sensitive materials.
Mineral deposits around a faucet are often easier to remove with a soaked cloth than with repeated spraying. Wrap the cloth around the deposit for a few minutes, remove it, brush gently, and rinse. Avoid metal tools that can scratch plating, and do not assume a shiny metal fixture is immune to acid; follow the manufacturer’s care instructions when the finish is unknown.
Descale a Showerhead or Coffeemaker Separately
A removable showerhead can be soaked in undiluted distilled white vinegar for at least 30 minutes to loosen mineral deposits. Remove it if practical, submerge only the parts the manufacturer allows, scrub the openings with a toothbrush, and rinse thoroughly before reinstalling. If the showerhead has a special finish, rubber components, or electronic features, use the maker’s instructions first.
For a coffeemaker, check the appliance manual before using vinegar. If vinegar is approved, fill the reservoir with equal parts distilled white vinegar and water, let the mixture sit for about an hour, and run a brew cycle. Then run two cycles with water only so the next pot does not carry vinegar residue.
Do not use this advice to clean every small appliance. Clothes irons, for example, may collect mineral deposits but can be damaged by vinegar if the manufacturer prohibits it. When an appliance manual gives a descaling product or procedure, that instruction outranks a pantry recipe.
Steam-Clean a Microwave With Vinegar
Microwave steam cleaning uses water vapor to soften dried food, while the vinegar helps with odor and light film. Put equal parts water and distilled white vinegar in a microwave-safe bowl, heat it until steaming, then leave the bowl inside for about 15 minutes with the door closed. Carefully remove the hot bowl, wipe the interior, and dry it with a clean cloth.
Do not boil the liquid until the bowl is dry, and do not handle it immediately without protection. Steam and the container can burn you even though the method looks gentle. Wipe the ceiling, walls, turntable, and door seal according to the appliance instructions, and never spray liquid into vents or control panels.
If a microwave has a delicate interior coating or the manual recommends a different cleaner, follow that guidance. For heavy grease, a detergent-based cleaning step may work better than adding more vinegar.
Use Vinegar on Floors Only After a Finish Test
Vinegar is not a default floor cleaner. It may be acceptable for some ceramic or porcelain tile, but grout, sealers, wood finishes, and resilient flooring vary widely. The scraped guidance recommends using vinegar infrequently on hardwood and testing an inconspicuous area first because some finishes can be damaged.
For a compatible floor, dilute the cleaner more heavily than a spray bottle recipe: use 1/4 cup distilled white vinegar in 1 gallon of warm water, dampen the mop lightly, and do not saturate the floor. Standing liquid can seep into joints and edges, where moisture and acidity create a bigger risk than a quick wipe on a sealed surface.
Never use the same floor recipe as proof that vinegar is safe for unfinished wood, waxed wood, natural stone, or every luxury vinyl product. Check the flooring manufacturer’s care sheet, test a hidden area, and stop if the finish changes. A neutral cleaner and a well-wrung mop are safer defaults when the finish is unknown.
Vinegar + Baking Soda: Why the Fizz Is Not the Whole Method
Vinegar and baking soda fizz because an acid reacts with a base and releases carbon dioxide. The bubbling can help lift loose soil mechanically for a moment, but the reaction also neutralizes much of the acidity that makes vinegar useful for mineral deposits. A fizzing bottle is therefore not automatically a stronger all-purpose cleaner.
For a minor drain odor or surface soil, use one ingredient for the job and rinse thoroughly rather than storing a premixed vinegar-and-baking-soda spray. In a clogged drain, bubbling may move a little loose material, but it is not a substitute for removing the blockage. Never combine the mixture with bleach, drain opener, or another product.
The same caution applies to mold and mildew. Vinegar may clean a visible film, but a homemade spray should not be advertised as a guaranteed mold treatment or disinfectant. Address moisture, ventilation, and the underlying leak, and use a labeled product or professional help when the growth is extensive or keeps returning.
Surfaces That Should Skip Vinegar
Acid is useful on some deposits and harmful to some materials. Skip vinegar or use only a manufacturer-approved method on:
- Marble, granite, limestone, and other natural stone: acids can dull or etch the surface.
- Unfinished or unsealed wood: liquid can soak in, swell fibers, or contribute to cracking.
- Electronic screens and coated devices: vinegar can damage screen coatings; follow the device maker’s method. The FCC’s device-sanitizing guidance is a safer reference point than spraying a homemade cleaner directly onto a screen.
- Cast-iron cookware: acid can attack the seasoned layer and leave the pan more vulnerable to rust.
- Rubber seals and gaskets: repeated acid exposure can degrade rubber, especially around appliance doors.
- Poor-condition or unsealed grout: acid can dry, weaken, or crumble vulnerable grout.
- Raw egg spills: vinegar can coagulate egg proteins and make the mess harder to remove.
- Unknown or specially coated metal finishes: acid can discolor or pit some surfaces, so test or use the manufacturer’s cleaner.
Stone, Grout, Wood, and Rubber Need Another Plan
The replacement is not always another strong chemical. For natural stone, use a pH-neutral stone cleaner or the care product recommended by the installer. For wood, remove spills with a barely damp cloth and use a wood-floor or furniture cleaner matched to the finish. For rubber gaskets, wipe with water and a mild detergent, then dry the fold and groove where residue collects.
For grout, start with dry brushing and a mild detergent solution, then rinse and dry. If the grout is crumbling, cracked, or repeatedly darkening from moisture, more scrubbing will not solve the underlying issue; repair, resealing, or moisture control may be needed.
Never Mix Vinegar With Bleach or Other Cleaners
The most important safety rule is simple: never mix vinegar with bleach. The reaction can release chlorine gas, which is dangerous to breathe. The Washington State Department of Health warning and CDC guidance both support using one cleaner at a time and never combining household bleach with another cleaner or disinfectant.
That rule includes a bottle that previously held bleach. Emptying it is not enough; residue can remain in the sprayer tube or seams. Use a separate bottle, label it, and keep it away from bleach, ammonia, hydrogen peroxide, drain opener, and commercial disinfectants.
If you accidentally mix vinegar and bleach, leave the area immediately, avoid breathing the fumes, and do not try to neutralize the mixture with another chemical. Ventilation and emergency guidance matter more than saving the bottle or finishing the cleaning job.
Troubleshoot Streaks, Odor, and Residue
Most disappointing vinegar-cleaner results come from too much liquid, the wrong cloth, or a surface that needs a different product. Use this quick diagnosis:
| Problem | Likely cause | Better next step |
|---|---|---|
| Streaky glass | Too much spray or a damp/dirty cloth | Use less liquid and buff dry with a fresh lint-free cloth |
| Sticky film | Soap, essential oil, or loosened grime left behind | Rinse with clean water, then dry; skip oils in the next batch |
| Strong odor | Poor ventilation or a too-concentrated mix | Open airflow, use the 1:3 test mix, or choose a mild detergent |
| Deposit remains | Too little dwell time or a non-mineral soil | Reapply briefly and scrub gently, or switch to the correct cleaner |
| Dull finish | Acid-sensitive material or damaged sealer | Stop immediately, rinse if the care instructions allow, and use the manufacturer’s method |
| Sprayer clogs | Essential oils, residue, or an old mixture | Empty and wash the bottle; keep the next batch plain |
Always ask what the soil actually is. Vinegar is a better match for mineral scale than for thick grease, and a detergent is better for oily food residue than a more acidic spray. Choosing the right chemistry is safer than escalating the strength of the wrong one.
Build a Practical Cleaning Routine
Use the vinegar spray selectively rather than misting every room on a schedule. Start with dry dust or loose crumbs, then clean with soap or detergent when the soil is oily. Use vinegar only when the surface is compatible and the deposit is the kind acidity can help loosen.
A useful order is:
- Identify the material and the soil.
- Check the care label or manufacturer’s instructions.
- Test a hidden spot.
- Apply a small amount of the weakest suitable cleaner.
- Give it a short dwell time, then wipe or scrub gently.
- Rinse when residue or food-contact concerns call for it.
- Dry the surface and inspect it in good light.
Keep a separate cloth for bathrooms and food-preparation areas, and launder reusable cloths after use. Never use a vinegar spray on a surface that still has bleach or another product on it; rinse away the previous product and let the surface dry before choosing a new method.
Conclusion
The most dependable homemade vinegar cleaning solution is also the least complicated: equal parts distilled white vinegar and water, mixed in a clean, labeled spray bottle. Use it for compatible glass, mirrors, glazed ceramic, light soap film, and mineral deposits, and give the liquid time to work before wiping and rinsing.
The real skill is knowing where not to use it. Skip natural stone, unfinished wood, screens, cast iron, rubber, vulnerable grout, raw egg spills, and unknown finishes; use one cleaner at a time; and never mix vinegar with bleach. That boundary turns a cheap pantry ingredient into a useful household tool instead of a source of damaged surfaces or dangerous fumes.



