19 DIY Pampas Grass Christmas Trees for a Boho Holiday
Build a pampas grass Christmas tree with the right base, stem prep, shed control, safe lights, storage tips, and 19 boho styling ideas.
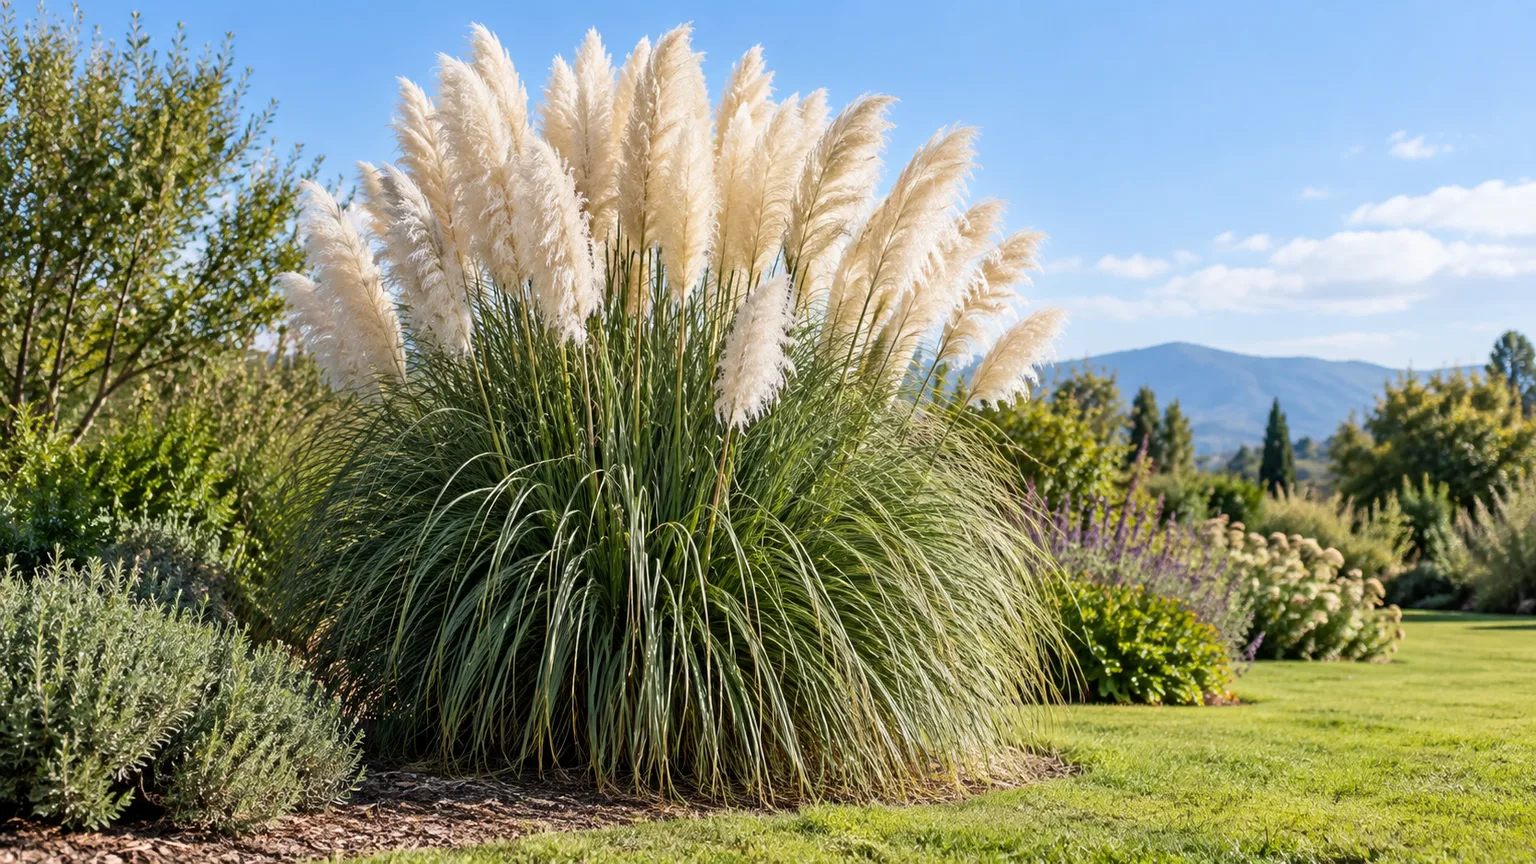
Pampas grass turns the familiar Christmas-tree silhouette into something softer, lighter, and a little less expected. The trick is to treat it as a dried floral construction project—not as a normal evergreen that can carry heavy ornaments, hot bulbs, or a careless placement. Choose the right base first, then let the plumes provide most of the decoration.
The name matters, too. True pampas grass is Cortaderia selloana, an ornamental grass with large, feathery plumes that are good for drying, but the plant also has very sharp leaf edges and can be invasive in some warm regions. The Missouri Botanical Garden lists both its use as a dried flower and its ability to self-seed freely in certain areas. For an indoor holiday project, buy responsibly sourced, fully dried stems or use another legal, fluffy dried grass that gives the same texture.
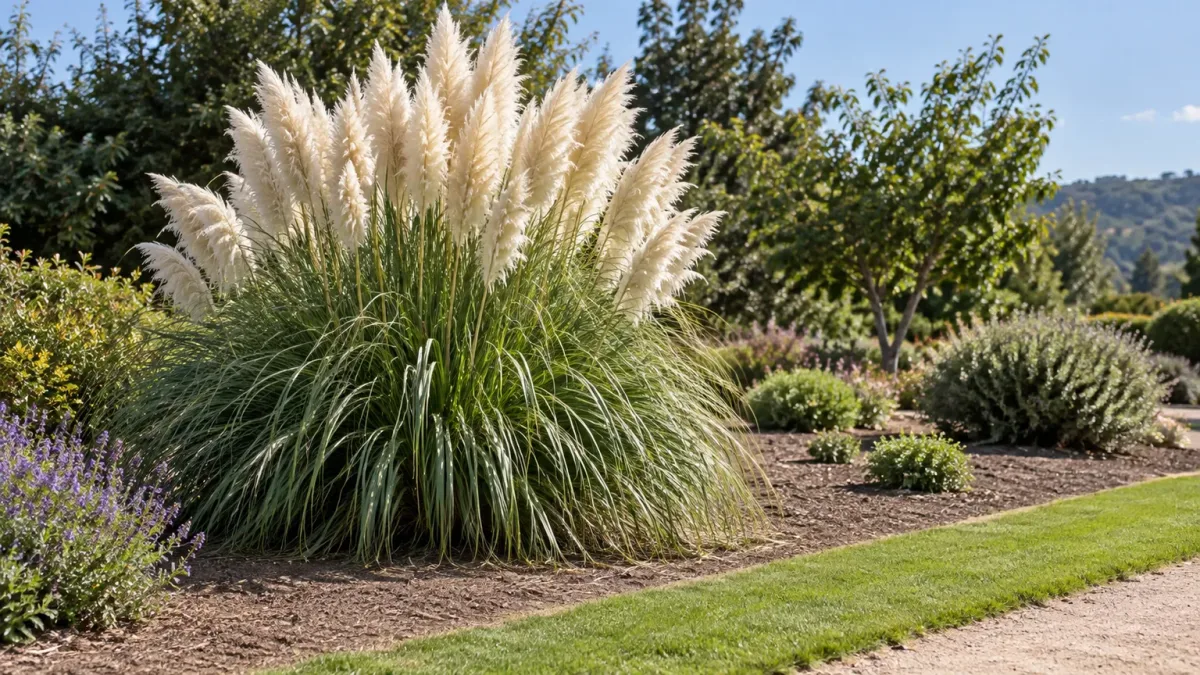
Choose the format that fits your space
Your base determines the finished tree’s height, fullness, stability, and how much grass you will need. Decide whether the tree is a main room focal point, a tabletop accent, or a temporary layer on an artificial tree before buying stems. A small, dense tree is often more successful than a tall, sparse one because dried plumes look best when the cone underneath disappears.
Full plumes on a cone
A foam floral cone gives you the most control over a true pampas grass tree. You can place each stem where it improves the outline, make the lower branches wider than the tip, and remove the grass later for a different arrangement. A cone also makes a good choice for renters or anyone who does not want to modify an artificial tree.
Use a heavy planter, ceramic pot, or weighted basket around the base rather than balancing a tall cone on a narrow vessel. If the container is decorative but light, add a concealed weight inside it before inserting the cone. Test the arrangement by gently nudging the table; if the tree rocks now, it will be worse once people walk past it, a pet brushes it, or a door creates a draft.
Pampas layered onto an artificial tree
An old white, cream, or pale wood-toned artificial tree is the fastest route to a large display. Insert sealed plumes into the branches from the top down, using the existing tree to carry the weight. This version uses less pampas grass and is easier to light, but the base color must coordinate with the stems or the artificial branches will show through every gap.
Choose a tree with flexible, sturdy branches and a stable stand. A dark green tree can work if you deliberately make the greenery part of the design, but it usually takes more stems to hide the contrast. The faux-tree method is also the better choice when you want conventional ornaments, because the branches—not the dried grass—carry the ornaments’ weight.
Tabletop and mini-scene versions
A tabletop cone, a narrow shelf tree, or a small grouping of two or three mini trees gives you the boho effect without committing an entire corner to dried grass. Place one tree on a sideboard with a few ceramic houses, a shallow bowl of pinecones, or a stack of wrapped gifts. For a window ledge, use a short, wide shape that will not block the glass or get bumped by curtains.
Mini trees also make the most sense if you have limited plumes, live with curious pets, or want to test the material before building a full-size version. Start small, observe how much it sheds in your room, and scale up only if the cleanup and stability feel manageable.
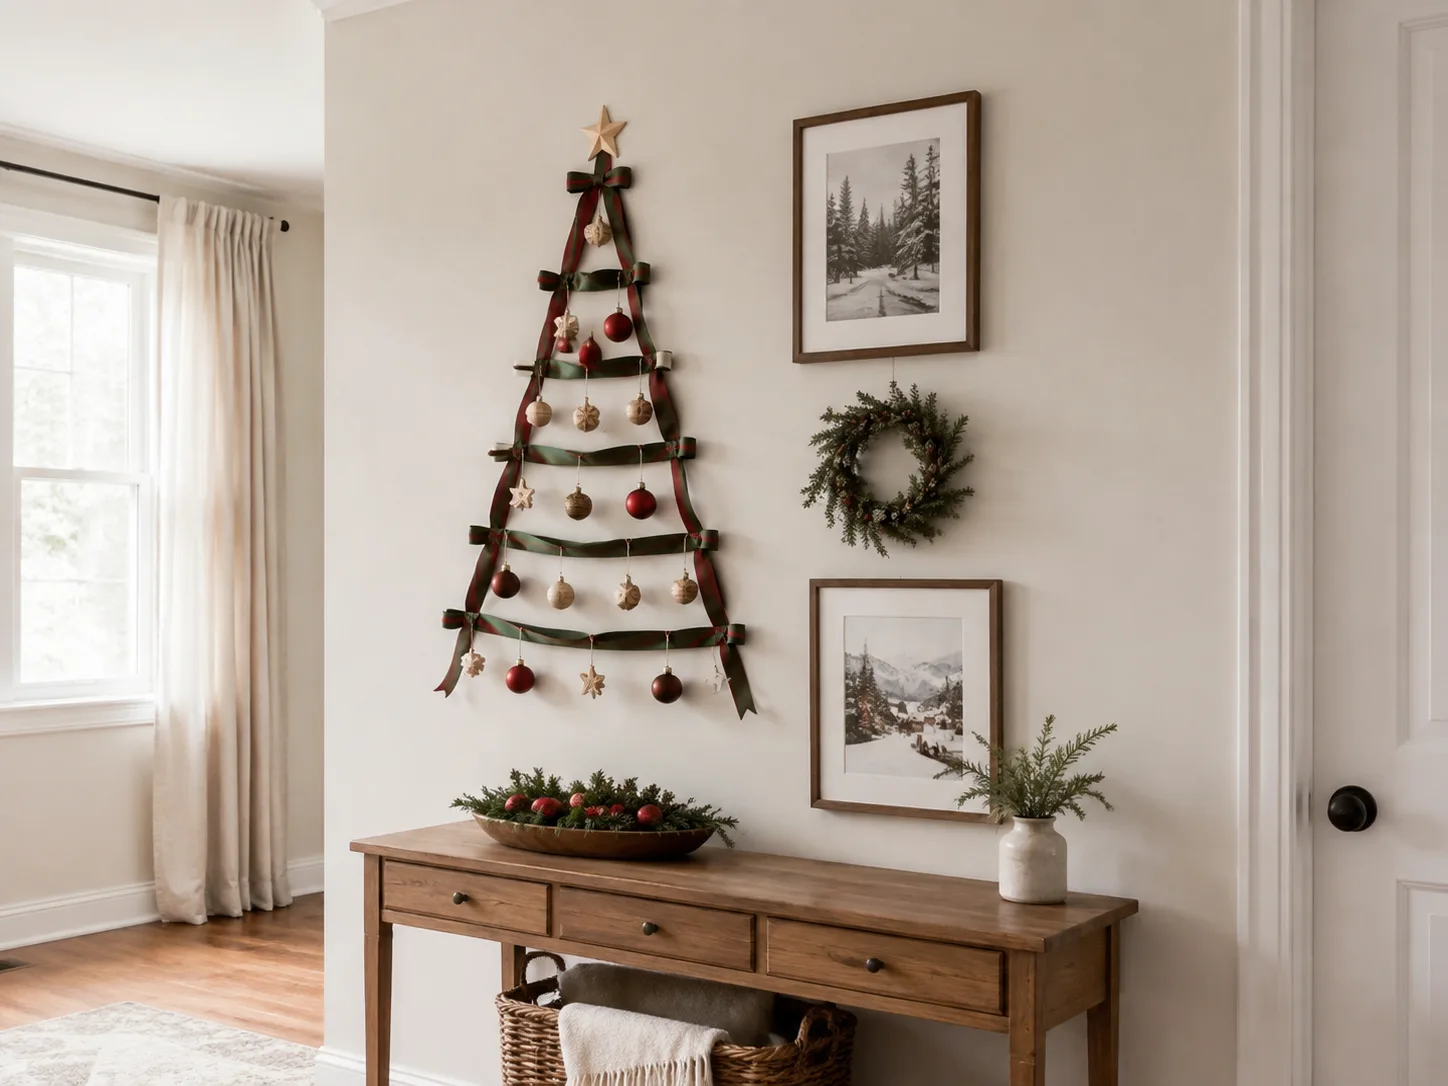
Gather materials before you touch the grass
For a full cone tree, gather a foam floral cone, a planter or basket, fully dried plumed stems, sharp snippers, scissors, thin floral wire, a drop cloth or large sheet of cardboard, and a vacuum or soft brush for cleanup. Keep a measuring tape nearby so you can match the cone’s height and width to the container before the grass hides the proportions.
You may also want a clear-drying craft adhesive for a few stubborn stems, a matte acrylic spray sealer, lightweight ribbon, paper or straw ornaments, dried flowers, feathers, and cool, lightweight fairy lights. Do not buy heavy glass ornaments as a default. Pampas plumes are held by narrow stems, and a decoration that is harmless on a fir branch can pull a dried stem loose or make the whole tree look lopsided.
Buy more grass than you think you need, but do not count on a fixed stem number. Plume size varies dramatically, and the number depends on the cone’s height, how much overlap you want, and whether you prefer an airy or densely covered silhouette. A practical DIY tutorial from Cuckoo4Design uses a cone, planter, snippers, floral wire, and fluffy dried grass, while also noting that the maker kept returning for more stems as the shape developed.
If you are harvesting from a plant, get permission and check local rules first. Wear thick gloves and long sleeves because pampas leaves can cut skin. In places where pampas is invasive or discouraged, do not move fresh plumes, seed heads, or root material from an unmanaged stand. The King County guidance on pampas grass explains that seeds spread by wind and recommends preventing the plant from being introduced to new landscapes.
Build a full pampas grass Christmas tree
The most reliable construction sequence is simple: prepare the stems outdoors, establish the point and the bottom width, then fill the middle in overlapping layers. Work slowly enough to step back every few minutes. A tree can look full from one angle and have a bare stripe on the other side if you never rotate it.
1. Prep the stems and workspace
Set up outside, in a garage, or in another easy-to-clean area with good ventilation. Cover the surface before you cut, shake, or spray anything. If the stems are freshly cut, green, flexible, or cool and damp inside, do not build the tree yet. Gardens Illustrated describes cutting just before the plumes begin to shed and hanging them upside down in a glasshouse for about a month to dry and bleach; the exact time varies with humidity and stem condition.
Sort the grass into three groups: the longest and strongest stems for the bottom, medium stems for the middle, and the fullest or most distinctive plumes for the outer silhouette and tip. Remove broken stems and trim the bases. Cut each stem at a narrow angle so it can enter the foam more easily, but leave enough straight stem to anchor it securely.
If the plumes release a cloud of loose material when you touch them, shake them gently over the covered work surface before assembly. That first shedding is easier to clean outdoors than from a rug. Keep the plume facing the direction it naturally opens; forcing it backward can flatten it and create a visible bald spot.
2. Shape the point and bottom ring
Start with the tip if you want a clean, tapered outline. Bundle a few narrow stems around the cone’s top and secure them with one small wrap of floral wire. Add one or two individual plumes at the very top, then angle them slightly outward so the point looks intentional rather than chopped off.
At the bottom, use the longest stems to form a wide ring. Insert them at a low outward angle, spacing them around the cone rather than concentrating them on the front. The lower ring establishes the tree’s footprint and can rest visually on the rim of the planter. If the bottom is too narrow, the finished tree will look like a spike; if it is too wide, it will resemble a pom-pom instead of a tree.
Before filling the middle, lift the cone into its container and check the proportions from across the room. This is the moment to change the pot, trim a few stems, or widen the base. Once the tree is dense, those changes become much messier.
3. Fill the cone from the outside in
Work around the cone in a spiral, alternating sides as you move upward. Place the fullest stems around the outer edge, then use medium and smaller pieces to cover the center. Insert stems close enough to overlap that the foam disappears, but do not pack every stem tightly together; a little air between plumes is what keeps the tree light and feathered.
You can work from the bottom up or top down. Bottom-up construction makes the outline easy to judge, while top-down construction helps you protect the point and fill the widest gaps first. Either way, rotate the cone after each small batch and look at it from seated and standing eye level.
Use a tiny amount of adhesive only when a stem is loose or likely to be bumped. A practical Oh Yay Studio tutorial fills an old artificial tree from the top down and adds a small bead of wood glue at the stem base for extra security. On a foam cone, glue is harder to undo, so floral wire or a deeper angled insertion is usually the better first fix.
When the tree looks full, stop adding stems and leave it alone for a few minutes. The plumes often relax and open after they have been handled. Add only enough material to correct a real gap; overfilling can make the shape heavy, crowded, and more prone to shedding.
Make the finished tree shed less
Some shedding is normal. Dried grass is a collection of delicate fibers, and every move releases a few. The goal is not to make it behave like plastic; the goal is to reduce loose debris enough that the tree can live in the room without leaving a halo on every surface.
First, make sure the material is genuinely dry. Damp stems can collapse, develop mold, or dry unevenly after they are already inside your home. Second, handle the tree by the container or cone rather than by its plumes. Third, finish the messy work before you place it on a finished floor.
A light mist of maximum-hold hairspray is a common low-cost approach, but a matte acrylic spray sealer can give more even coverage. Use whichever product is appropriate for dried floral material, follow its label, and test one spare plume first. Spray outdoors or in a well-ventilated area, use several light passes rather than a wet coat, and let the material cure fully before bringing it inside. Aleene’s project instructions and the companion tutorial recommend two or three light coats with drying time between them and coverage on both sides.
Heavy spraying is not better. It can glue the fibers into hard clumps, dull the soft silhouette, add odor, and make the tree look more like a craft project than a natural arrangement. If the plumes start to stick together, stop spraying and let them dry; do not brush them aggressively while the coating is tacky.
Keep a washable mat or a low-sided tray under the tree for the first few days. That makes it easy to see whether shedding is stabilizing. If it continues to drop large amounts of material, the stems may be immature, damp, or overhandled; remove the worst offenders instead of repeatedly coating the entire display.
19 styling ideas, grouped by the look you want
Use these ideas as formulas rather than as a checklist. The prettiest pampas grass Christmas trees usually repeat one or two colors, vary the texture, and leave enough open space for the plumes to remain the star.
Natural and neutral
-
Let cream and tan plumes stand alone. A bare tree with no ornaments often has the strongest shape. It works especially well against a warm white wall, pale wood furniture, or a woven basket.
-
Mix two plume densities. Combine feathery, pale stems with a few denser medium-toned plumes. The contrast gives the cone depth without requiring bright ornaments.
-
Add dried baby’s breath. Tuck a few airy branches near the middle or tip for a snowy, cloudlike effect. Use small pieces so the tree does not become visually spiky.
-
Use feathers sparingly. A handful of natural or craft feathers can emphasize the tree’s soft, foraged character. Place them in the upper half, where they read as accents instead of extra bulk.
-
Echo the texture at the base. A sheepskin-look, boucle, or wool-textured skirt makes the tree feel anchored. Keep the skirt clear of cords and far from any heat source.
-
Put spare plumes in a vase beside it. A tall vase repeats the tree’s vertical line and turns leftover stems into year-round décor. Keep the vase stable; a top-heavy arrangement is easy to knock over.
Soft color and texture
-
Add blush or dusty rose stems. A few colored plumes create a gentle holiday palette without losing the boho feel. Repeat the color once or twice in ribbon or wrapping paper rather than adding several unrelated shades.
-
Use dried palm leaves or ruscus. Flat foliage breaks up the rounded plumes and makes the tree look more botanical. Insert the leaves deeper into the cone so their edges do not dominate the outline.
-
Make a blush-and-gold combination. Warm metallic ribbon, a few small gold paper ornaments, and tan plumes feel festive without the visual weight of glass baubles. Keep metallic pieces light enough to clip or tuck in.
-
Try a white base with natural stems. An off-white artificial tree can provide hidden structure while tan pampas creates the texture. This is more forgiving than trying to cover a dark green tree.
-
Use one darker plume as a topper. A brown, rust, or mauve stem can replace a star and give the eye a clear stopping point. Angle it upright rather than laying it across the tip.
-
Tie narrow velvet bows to the branches. Choose a few small bows in rust, burgundy, or cream. Attach them with clips or thin wire, not by pulling on the plume fibers.
Traditional holiday accents
-
Add red bows instead of ornaments. Red provides the classic Christmas note while the grass keeps the overall display relaxed. Place bows at varied heights so they do not form a stiff ring.
-
Coordinate the wrapping paper. Kraft paper, cream paper, gold paper, burlap ribbon, or simple twine will make the area around the tree feel designed. This is often more effective than adding more decoration to the tree itself.
-
Use paper or straw ornaments. Lightweight stars, folded paper fans, and woven shapes are safer for delicate stems than heavy glass. Tuck them into the cone or clip them to the base of an artificial tree.
-
Make a small balloon garland nearby. Keep balloons adjacent to a sturdy faux-tree base rather than weaving a heavy garland through a foam cone. Metallic balloons can carry the display into New Year’s without changing the tree.
-
Pair it with warm, cool-running micro-lights. Tiny lights can outline the shape while keeping the plumes visually quiet. Use the minimum length needed and keep the wire from snagging the stems.
Small-space and leftover-stem variations
-
Build a miniature Christmas scene. Put a mini pampas cone on a wide shelf with a few houses or bottle-brush trees. Leave a clear border around it so a passing sleeve or curtain cannot catch the plumes.
-
Insert only a few stems into an evergreen. You do not need a whole pampas tree to get the look. Add a small cluster of plumes to an existing tree or garland, then repeat the same stems in a nearby vase for balance.
These options also help you decide when to stop. If the tree already has a clear silhouette, adding more accessories will usually make it look busier, not more finished. Minimal decoration has the practical advantage of reducing touch points and shedding.
Use lights and place the tree safely
Dried grass is flammable décor, so placement matters more than the final color palette. The U.S. Fire Administration’s holiday guidance recommends keeping trees at least 3 feet from fireplaces, radiators, space heaters, candles, and heat vents, and its candle guidance says to keep candles at least 12 inches from anything that can burn. For a dried-grass tree, use the more conservative choice: no flame beside it, and plenty of clearance from every heat source.
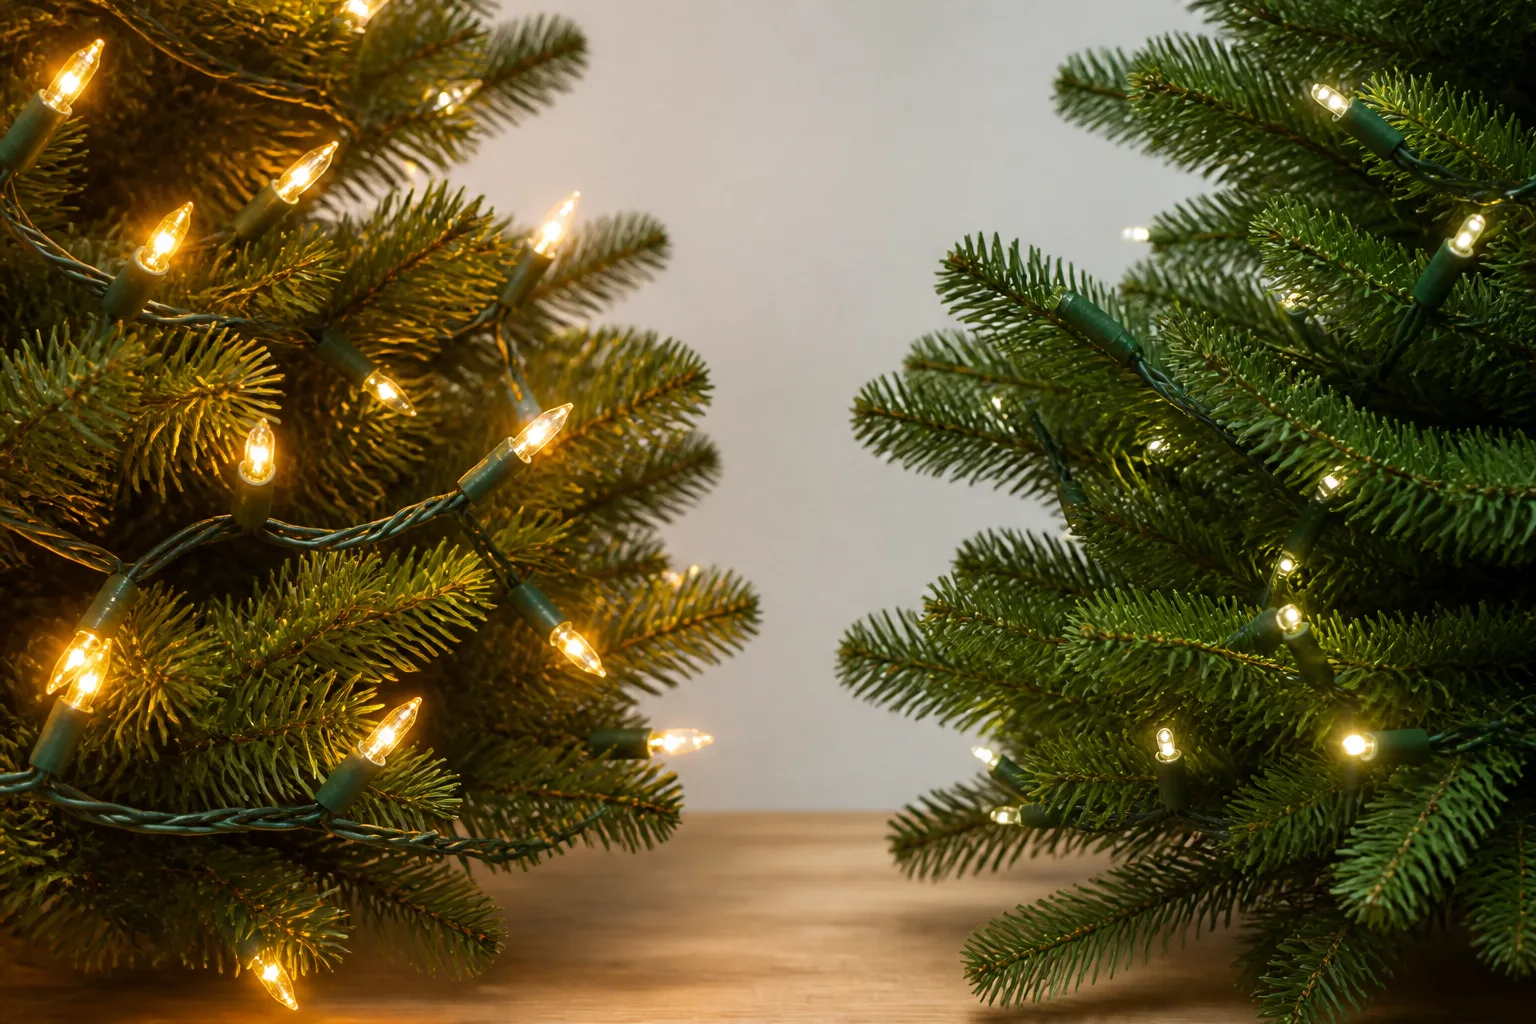
Choose cool, lightweight fairy or micro-lights instead of heavy traditional bulbs. Inspect the strand for frayed or pinched wires, follow the manufacturer’s connection limits, and turn the lights off when you leave the room or go to sleep. Battery-operated flameless candles can create a similar glow nearby without putting an open flame under dry material.
Anchor the container on a level surface and keep cords away from walkways. Do not block a door, stair, heater vent, or exit path. Avoid placing the tree where a cat, dog, toddler, or energetic guest can pull the container down. Pampas leaves and stems can be sharp, and a small tree that falls onto someone is more than a decorating inconvenience.
Humidity is another reason to avoid bathrooms, steamy kitchens, and damp window corners. Moisture can soften stems, encourage mold, and make the plumes lose their shape. A dry room out of direct sun will preserve the color and texture longer.
Store it so next year starts clean
When the season ends, choose between storing the whole tree and taking it apart. A small cone can go into a tall lidded bin if it fits without crushing the plumes. For a larger tree, disassemble the stems and store them in loose bundles inside a clean, dry box; forcing them into a tight plastic bag will flatten them and trap any residual moisture.
Label the box with the tree’s height, the base size, and any colors you used. Keep the container cool, dark, and dry, away from damp basements, hot attics, and direct sunlight. Do not store stems that smell musty or show mold; discard them rather than hoping the problem will disappear in a sealed box.
Before reusing the tree, take it outside and inspect the plumes, wire, adhesive points, and lights. Shake loose dust over a drop cloth, replace brittle stems, and retest the base for stability. If the grass has become excessively fragile, reuse the best plumes in a vase or small arrangement instead of rebuilding a tall tree around material that will fail.
Conclusion
A pampas grass Christmas tree works when the construction respects the material: a stable base, fully dry stems, a tapered outline, light decoration, and careful placement. Choose a foam cone for the most sculptural DIY, an old pale artificial tree for a faster full-size display, or a tabletop version if you want the look with less debris and less commitment.
The strongest designs do not try to make dried grass behave like an evergreen. Let the plumes supply the movement, use ribbons or paper accents for color, keep lights cool and sparse, and keep every flame and heat source well away. With that balance, the result feels festive, warm, and genuinely boho—without turning the holiday cleanup into the main event.



