12 Free DIY Greenhouse Plans
Compare 12 free DIY greenhouse plans by footprint, materials, skill, and climate. Find a practical fit, then check ventilation, anchoring, and permits before building.
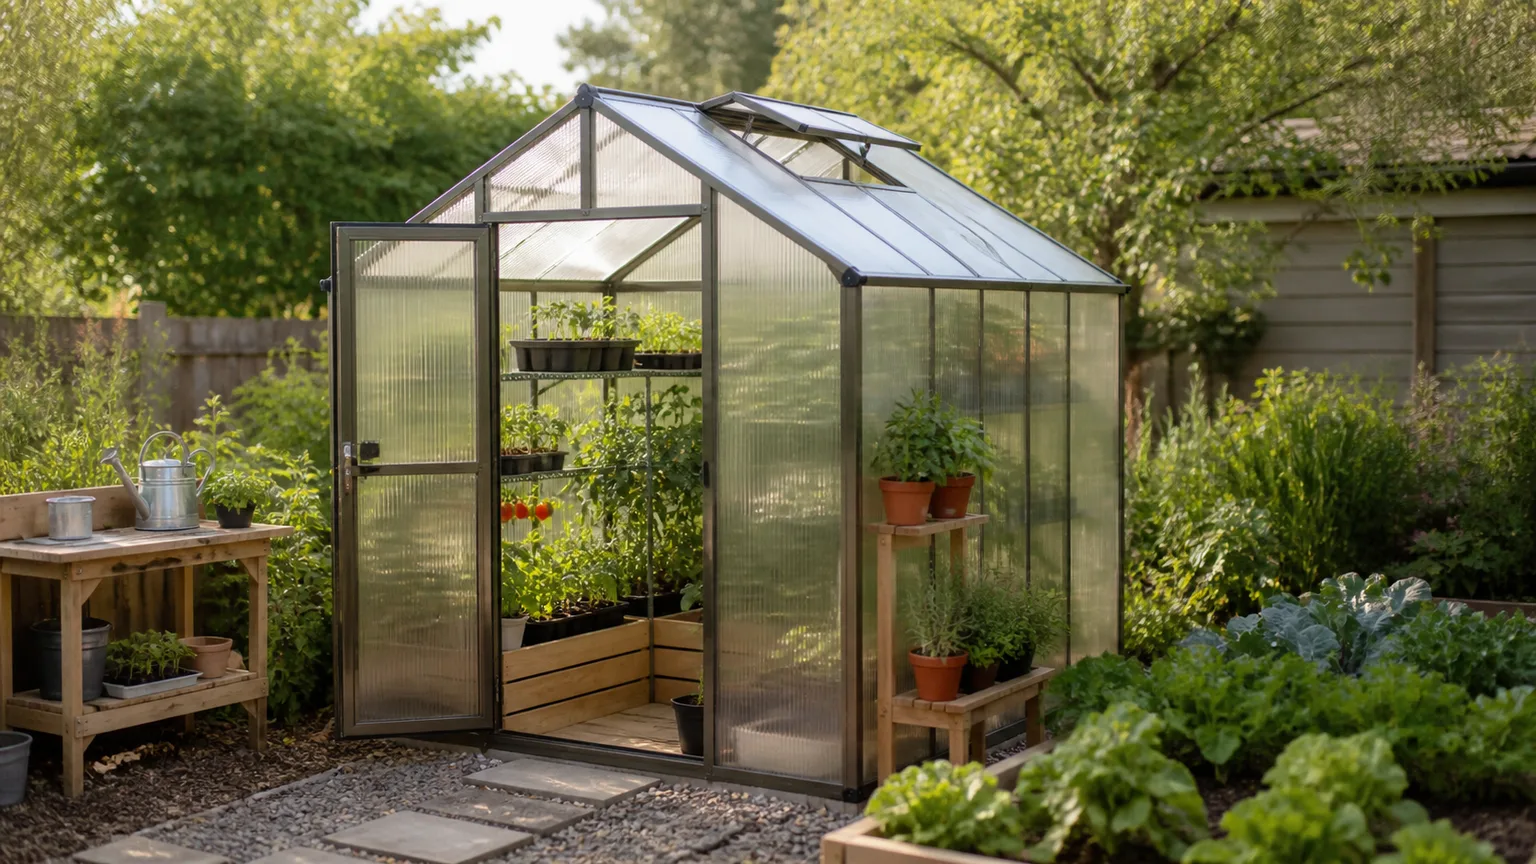
A greenhouse plan can be “free” and still lead to a costly build if it omits the cut list, cover dimensions, vents, or anchoring details you need. The first decision is not which design looks prettiest; it is whether you need a short-season cover over a bed, a walk-in space for seed starting, or a structure meant to hold temperature through winter.
The 12 options below range from a PVC tomato tunnel to a solar-heated greenhouse with a loft. I checked each at its original plan page and note what you actually get: some include dimensioned drawings and lists, while others are free build-alongs that require you to adapt the measurements. “Free” refers to viewing the instructions, not the lumber, glazing, tools, delivery, or any optional paid print-ready plan.
How to Choose a Plan Before You Build
Start with the job. If you want to shelter tomatoes from rain or extend the season by a few weeks, a roll-up tunnel may do the work without the cost and upkeep of a walk-in house. If you need shelving, a door, an aisle, and room to turn with a tray in your hands, count those clearances before settling on the footprint; an 8-by-8 outside measurement does not mean 64 square feet of usable growing bench.
Next, be honest about your climate and the structure’s intended season. An unheated greenhouse does not hold a steady warm temperature overnight, and sunlight can make it dangerously hot inside even on a cool day. A light PVC or bamboo frame with film may suit a temporary growing cover in a sheltered yard, but do not assume it is rated for local wind or snow simply because a plan says it is sturdy. For exposed sites or heavy snow, use a design with verified loads or ask a local building professional to review the structure.
Finally, compare plans by the information they provide, not just the finished photograph. A useful plan spells out dimensions, member sizes, connections, bracing, anchoring, cover type, door openings, and how vents open. It should also help you estimate the total build: free plans can still call for a large amount of lumber, specialty fittings, film, glazing, foundation work, and tools.
Make a rough floor plan before deciding that a listed footprint is large enough. Mark the door swing, a clear route to the beds, and the space needed to reach plants without stepping into them; then add benches, shelving, a potting surface, or a water barrel only if there is still room to move safely. A narrow tunnel over one bed can be more productive than a larger house whose aisle and storage consume the growing area.
Think about the cover as part of the plan rather than a last-minute shopping choice. Film can be cut to fit a hoop frame and opened along a side, while rigid panels and salvaged windows require more exact framing and secure support; the instructions should match the material you can actually obtain. Before buying, check the product maker’s installation guidance for framing support, fastening, exposure, and replacement, and make sure the chosen design lets you repair or remove the cover without dismantling the whole greenhouse.
12 Free DIY Greenhouse Plans, Compared
1. Sow & Dipity’s PVC Tomato Tunnel
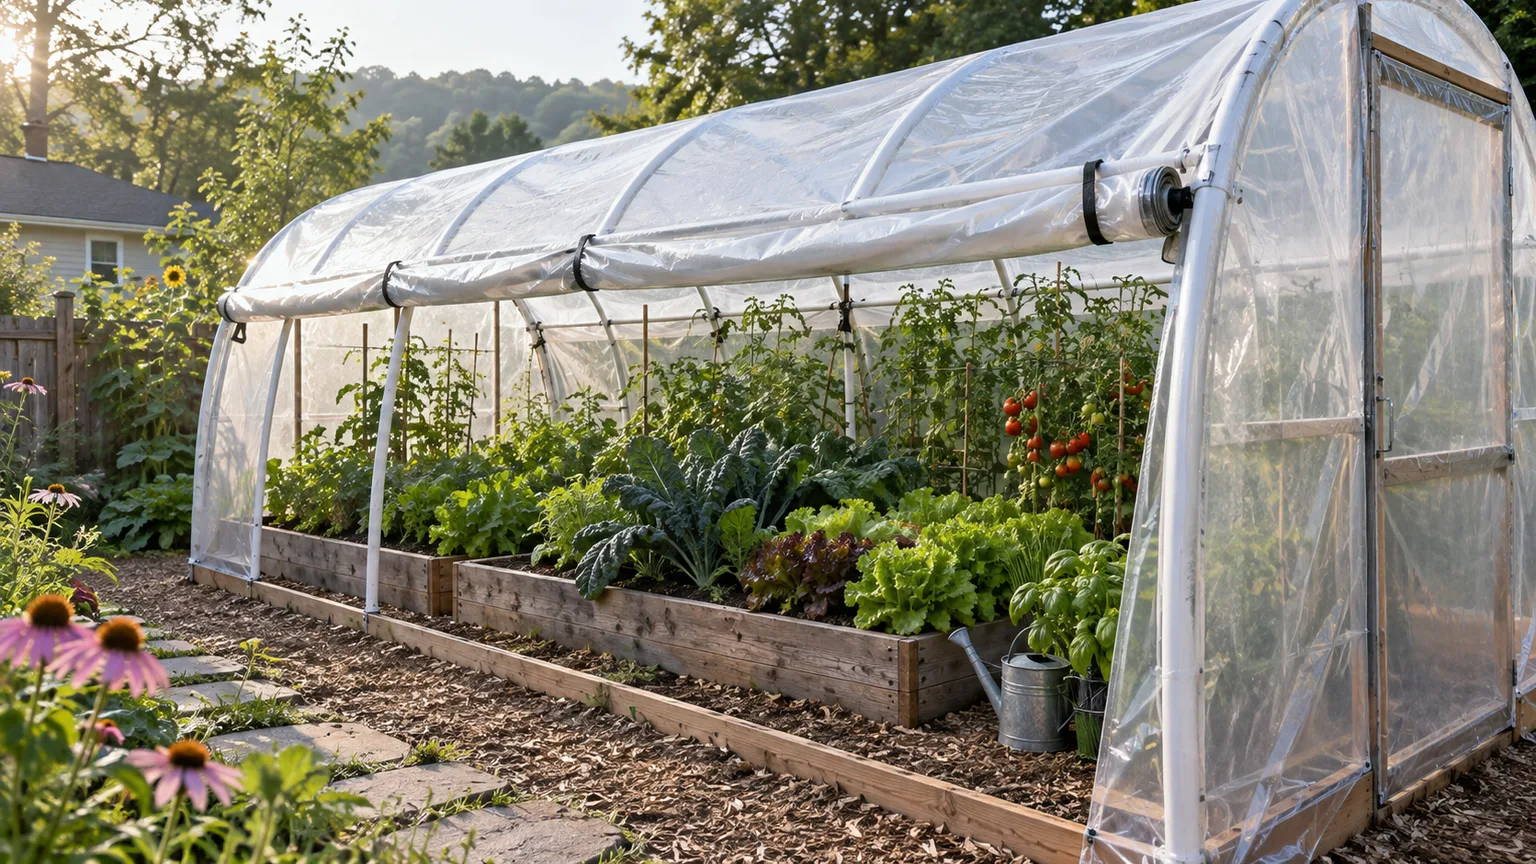
Sow & Dipity’s tunnel tutorial is a small, seasonal shelter intended for a vegetable bed, not a full greenhouse where you will stand and work. The author’s build uses a rectangular timber base, flexible PVC hoops, clear plastic, and a roll-up side so the cover can be opened on hot days. That makes it a practical first project if your aim is to shield tomatoes or peppers from rain and get some protection without adding walls, shelves, and a permanent foundation.
The original post calls it a $50 project, but that is a historical estimate, not a current price quote; lumber, plastic, fasteners, and pipe prices vary by place and date. The plan also describes the pipe as tensioned while being bent into the frame, so secure both ends and keep faces away from a pipe that could spring loose. Choose this only for a sheltered, seasonal use unless you have independently confirmed the frame and anchors suit your weather.
2. LittleGreenhouse.com’s 6-by-9 Gable Greenhouse
The 6-by-9 gable plan is a compact walk-in style built from one-inch Schedule 40 PVC, numerous connectors and clamps, and polyethylene film for the sides, ends, and door. Its detailed parts schedule is useful if you want to price a particular layout before you buy, and it is more specific than a photo-only tutorial.
That specificity is also a reason not to casually substitute pipe diameter, fittings, or spacing. The plan is a material-and-assembly reference, not proof that the frame is designed for your area’s snow or wind exposure. Treat it as a candidate for a sheltered garden or seasonal use, add only changes that the plan supports, and seek a locally suitable design if the greenhouse must stay up through severe weather.
3. BuildEazy’s 8-by-10 Wood-Frame Greenhouse
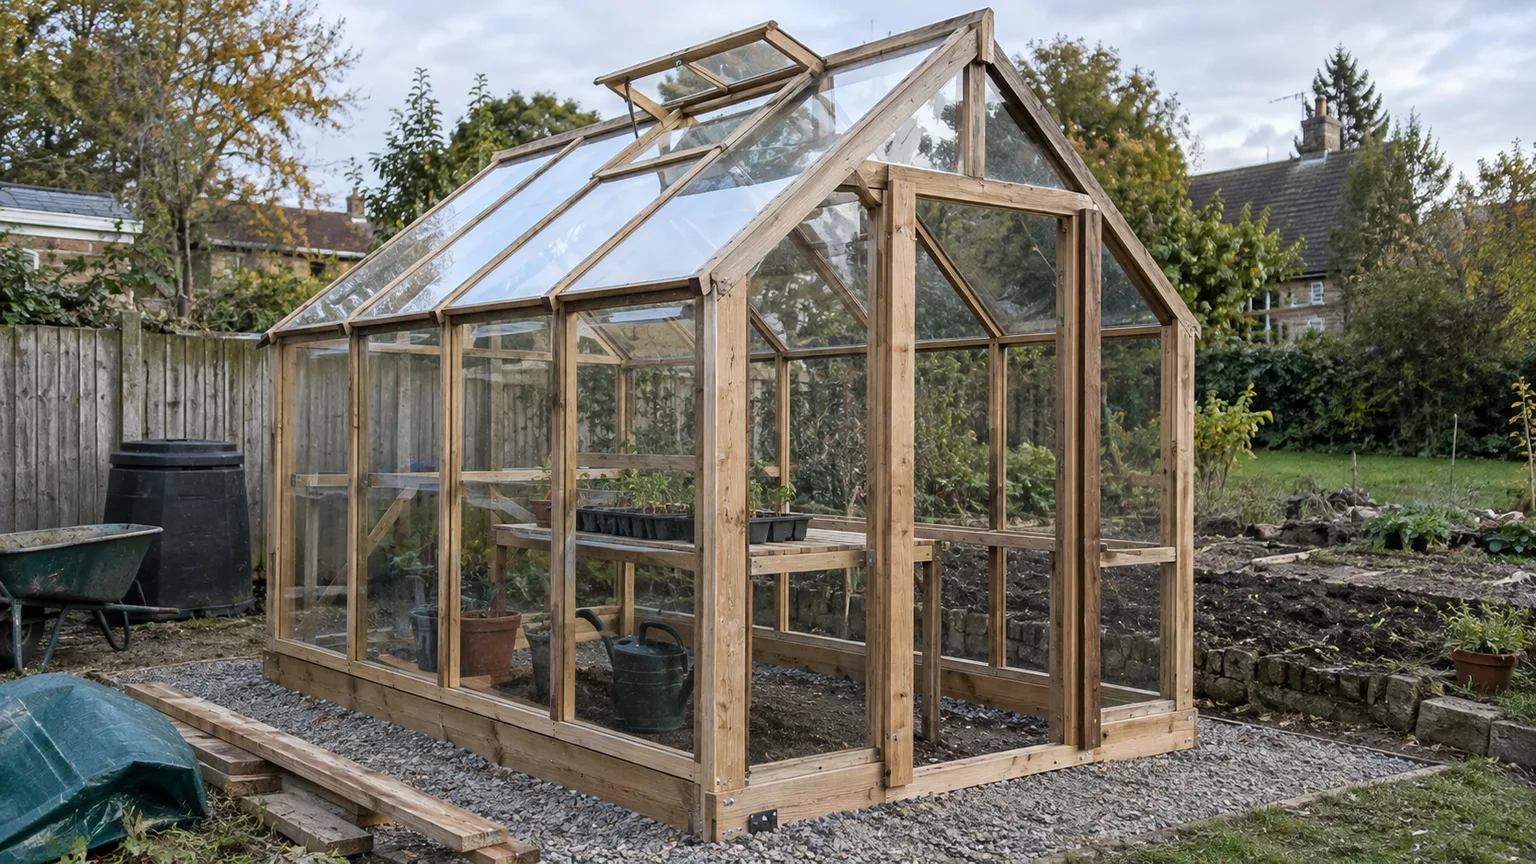
BuildEazy’s greenhouse guide describes an 8-foot-by-10-foot timber frame, about 8½ feet high at the peak, with two high opening windows and doors at either end as an option. The free on-page instructions include diagrams and a detailed sequence, making this a useful step up from a small tunnel if you want a conventional rectangular layout with a framed door and roofline ventilation.
Check the access format before you commit: BuildEazy offers a downloadable PDF for purchase, while its web article is viewable without it. The described base is staked and the author says it would need more permanent fixing outside a sheltered position, so do not copy that anchoring approach blindly. The plan is best for someone comfortable with carpentry who will adapt the base attachment and cover to local conditions.
4. Construct101’s 8-by-8 Greenhouse
If a free printable plan matters, Construct101’s 8-by-8 design includes a PDF, shopping list, cutting list, and illustrated building steps. The published materials list calls for a treated 4-by-4 base, 2-by-4 framing, a wood door and vents, and greenhouse plastic; the square footprint is straightforward to lay out in a backyard.
This option is easier to estimate than a reclaimed-material build because the lists identify quantities and cuts. Still, the plan’s shopping list is not a structural certification. Confirm what the drawing says about bracing, foundation, glazing attachment, and vent hardware, then check whether those details match your site and intended use before treating the bill of materials as final.
5. Ana White’s Barn-Style Greenhouse
Ana White’s barn-style greenhouse is a more finished-looking timber build, with a barn-like roofline and corrugated metal used on the lower walls in the builder’s example. The page includes free online plans and describes diagrams, a shopping list, cut list, and reader build photos. It is a reasonable pick when appearance and a sturdier-looking frame matter as much as maximizing the growing area.
The page also offers an updated paid PDF, so distinguish the free web instructions from the printable version before assuming every file is free. Do not copy the author’s long-term durability claim as a guarantee for your lumber, fastening, exposure, or cover. Compare the actual free drawings with the upgraded plan, and make sure the vents and glazing details fit the crops and temperatures you want to manage.
6. The 6-by-8 Bamboo Greenhouse
The bamboo greenhouse build is designed as a roughly 6-by-8-foot rectangle that can cover an existing raised-bed area. Its main materials are bamboo poles and plastic sheeting, so it may be attractive if straight, sound bamboo is readily available where you garden and you want a light frame rather than a lumber-heavy structure.
Read it as a practical build-along, not an engineered plan for all climates. Bamboo diameter, straightness, joints, and anchoring determine how the frame behaves, while the cover needs a way to open or roll back in warm weather. Before building, check that the actual poles you can source match the tutorial’s proportions and that the greenhouse can be secured against uplift; do not assume locally harvested material makes the project automatically free or weatherproof.
7. IDEA Donna Farm’s Lumber Greenhouse Build-Along
The IDEA Donna Farm greenhouse article documents a school-garden project built from treated posts, plywood sheathing, and 2-by-4 framing, with a pitched roof and shelves. It is useful if you want to see how a gardener worked through base, wall, and roof construction on a limited budget, including lessons learned about leveling the base before framing.
This is the least blueprint-like option in the list: the author adapts dimensions while building and notes corrections after the fact. Use it for ideas and sequencing, not as a cut-and-build drawing that guarantees square walls or a weather-rated roof. Measure your own site and materials, draw the structure to scale, and resolve the framing and fastening details before purchasing lumber.
8. FloridaGardener’s 32-by-10 Hoop Greenhouse
The FloridaGardener 32-by-10 plan is a long, raised-bed layout that uses PVC arches reinforced with rebar, a center ridge, timber bed walls, and greenhouse film. The article gives a materials list and construction sequence, and its length can be adjusted by adding or removing hoops. It is better suited to gardeners who want a large growing tunnel and already have a clear, level run of yard than to someone looking for a small starter structure.
The page’s own measurements and film recommendations belong to that design; they are not a universal wind- or snow-load rating. Bending long, tensioned hoops and stretching a large sheet of plastic are jobs to plan with helpers, and the size increases the consequences of weak anchoring. Before building anything this long, check local rules, exposure, drainage, and structural requirements rather than scaling the plan up or down by intuition alone.
9. PVC Plans’ 13-by-11.5 Arched Greenhouse
The arched PVC greenhouse plan lists a structure about 13 feet wide by 11½ feet long, with a free PDF linked from the page. The site says the length can be increased by adding ribs, which makes this an option to investigate if you want an arched footprint and are comfortable following a parts-specific pipe-and-connector design.
Do not interpret “add more ribs” as permission to change the span, pipe type, spacing, or anchoring without recalculating the frame. Wider and longer covers catch more wind, and a large plastic skin can pull hard at its fasteners. If your property gets strong gusts, heavy snow, or both, choose a design with verified local loads or have a qualified professional review the changes before construction.
10. Northern Homestead’s Geodesic Dome
Northern Homestead’s GeoDome guide shares a builder’s experience with a wood-strut dome, including materials, assembly, covering choices, and a link to a geodesic calculator. It is appealing when a dome’s shape fits your yard or you want a distinctive structure with an open central growing area.
This is not the simplest plan to copy: a dome depends on accurate strut lengths, angle cuts, and repeatable joints, and the page discusses more than one version. Its claims about performance in wind and snow describe the author’s experience, not an engineered capacity for your location. Follow the geometry for the exact version you choose, verify every cut before batching pieces, and obtain local structural guidance if the dome must carry significant snow or resist severe gusts.
11. Empress of Dirt’s Mini Window Greenhouse
The mini greenhouse from old windows is a small seed-starting structure built on a table-like base, with a supporting frame that holds salvaged windows on the sides and roof. The author explains why the frame matters: reclaimed windows can differ in width, height, thickness, and squareness, so joining them directly can leave a weak or crooked shell. The free project includes a materials list and step-by-step photos.
This is best for a compact propagation nook, not a full-size greenhouse for winter production. Measure every window before drawing the frame, inspect the wood and glazing, and account for the weight of overhead panes and how they will be supported. If you cannot safely handle heavy glass or repair deteriorated frames, choose a film- or polycarbonate-covered plan instead of forcing mismatched windows into a design.
12. Mother Earth News’ Solar Greenhouse and Guest House
The Mother Earth News solar greenhouse/guest-house project is a much more ambitious 10-by-12-foot building with insulated walls, south-facing glazing, thermal mass, a loft, and a solar heat-transfer system. The free article describes a real build and explains how the space can combine growing with storage or occasional guest use. Choose it only if you want a small building with a greenhouse function, not a quick cover for spring seedlings.
This is a substantial carpentry and systems project, not a low-cost weekend frame. Its old cost estimate and the author’s county-specific permit comments should not be carried over to a current build elsewhere. Recheck the current materials price, foundations, electrical and heating details, structural loads, and building classification with local officials and qualified trades before treating this as a build-ready plan.
Which Plan Fits Your Yard, Climate, and Skill?
For a single bed or rain-sensitive tomatoes, start with the Sow & Dipity tunnel; for a compact walk-in frame, compare the 6-by-9 PVC gable with the 8-by-8 Construct101 plan. If you want wood and more finished walls, examine Ana White’s barn-style plan or BuildEazy’s 8-by-10 guide. If you are comfortable measuring irregular reclaimed parts, the Empress of Dirt mini structure makes more sense than trying to turn mixed old windows into a full walk-in house.
For a broad garden bed, compare the FloridaGardener hoop plan with the arched PVC plan, but choose between them only after checking local anchoring and weather demands. The geodesic dome is a geometry-heavy project, while the solar greenhouse/guest house is a small building with insulation and heat systems. A plan that is “best” in the abstract may be wrong for your yard: decide first whether you need a temporary growing cover, an unheated season extender, or a heated winter space.
What to Check in a Greenhouse Plan Before Buying Materials
Frame and load path. Look for how rafters, hoops, ridge members, door openings, and corners connect; a parts list without connection details is not enough to judge a frame. Confirm what anchors transfer the structure’s weight and wind forces into the ground or foundation, and whether the plan addresses the snow and wind exposure in your area. A design’s successful use by its author does not establish a rated capacity for a different site.
Cover and attachment. Polyethylene film, polycarbonate panels, and reclaimed windows are not interchangeable. The plan should say what material thickness or type it assumes, how edges are held, where panels overlap, how water sheds, and whether the cover is replaceable. Check product instructions for compatible fasteners and UV/weather exposure; loose edges can flap, tear, and load the frame.
Ventilation and access. A door is not the same as a ventilation plan. UGA Cooperative Extension explains that natural ventilation can use side and ridge vents: warm air rises through high vents while replacement air enters lower down; greenhouses with only side vents depend much more on outside wind. UF/IFAS Extension notes that ventilation supports temperature control and humidity management, but airflow cannot make the inside cooler than outside by ventilation alone. A small DIY structure still needs openings you can reach, a way to secure them, and a plan for opening or shading it before heat builds up.
Match the openings to how you will tend the greenhouse. A vent that can only be reached from a ladder is unlikely to be convenient for daily adjustment, and a roll-up side needs a dependable way to hold it at the intended height rather than letting it flap in wind. If the plan provides no vent dimensions or hardware, treat that as an unresolved design detail and decide how you will open, close, and secure the cover before construction.
Site, drainage, and rules. Pick a level working area that drains rather than a low spot that collects runoff, and leave room to open doors, replace film, and carry materials. Consider access to a hose and, if you plan powered fans or heaters, safe electrical service designed for the damp environment. Permit thresholds, setbacks, and structural rules vary by location, so ask your local building department before building; do not rely on a plan author’s local exemption as a rule for your property.
Actual project cost. Price the complete structure, not just the frame: cover, fasteners, hinges, vent openers, base, anchoring, replacement film, delivery, tool rental, and waste all count. A DIY build can cost less when you already own tools and can source suitable materials, but a kit may be a better value when it includes matched panels and hardware or when mistakes would require buying materials twice.
A Safer Build Sequence: Site, Frame, Cover, and Airflow
First, mark the intended footprint on the ground and walk through the door and aisle in your imagination—or temporarily set out boards to check the clearances. Confirm the sun exposure you need, drainage, setbacks, water access, local permit requirements, and any required foundation or anchoring before you order the frame materials. If the site is exposed or the span is large, have the structural design reviewed before construction, not after the cover is installed.
Build the base square and level, then assemble the frame according to its dimensions and connection details. Install bracing and anchors before adding a cover; film and panels can hide movement but do not strengthen a poorly braced frame. For heavy glass or overhead glazing, use stable support and safe lifting practices, and stop if a pane, ladder, power tool, or roof section cannot be handled securely.
Do not improvise with a different span or substitute a thinner pipe, smaller fastener, or wider member spacing just because it is available. A change can affect how forces travel through the frame, and adding weight or more covering area can make a structure harder to secure; if the plan does not cover your conditions, pause for qualified local advice. Wear eye and hand protection when cutting or drilling, keep children and pets out of the work zone, and use a helper for long, flexible, or overhead components so no one is standing in the path of a springing pipe or falling panel.
Fit the glazing or film using the product’s specified fasteners and attachment method, keeping it taut enough to limit flapping without distorting the frame. Install and test doors and vents before placing plants inside. UGA and UF/IFAS guidance both emphasize ventilation as a core greenhouse function, not an optional finishing touch; include high and low openings where the design allows, and use a thermometer so you can see how quickly the structure heats on a bright day.
Conclusion
The most useful free greenhouse plan is the one that matches your growing goal, site, building skill, and climate—not the one with the most impressive finished photo. Compare the plans for dimensions, connections, cover, anchoring, and ventilation, then verify local permits and loads before you buy materials. A small, well-ventilated tunnel may solve a seasonal problem more safely and affordably than a large greenhouse you cannot anchor, cool, or maintain.



