14 Free Pergola Plans for Every Yard and Skill Level
Compare 14 free pergola plans by footprint, roof style, skill level, and site. Check permits, anchoring, materials, and tools before you build at home.
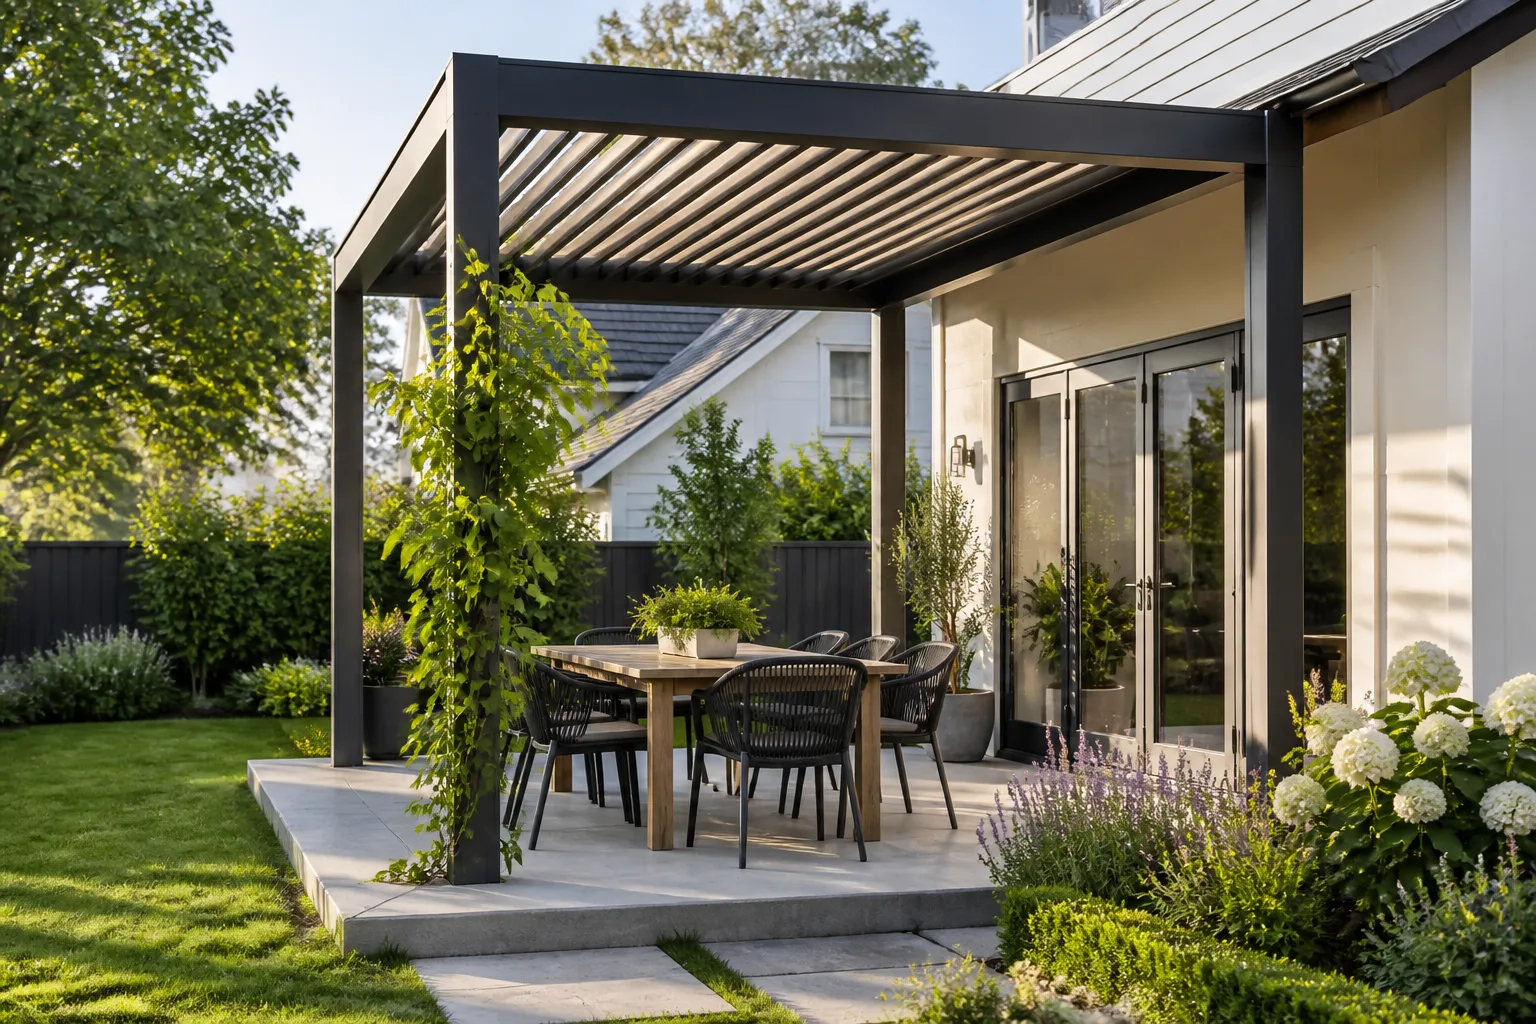
A free pergola plan can still lead to a costly mistake if its footprint crowds a door, its posts land over a utility line, or its roof is too open for the shade you wanted. The useful question is not simply which design looks best; it is which plan fits your site, the way you want to use the space, and the level of building work you can take on.
The 14 plans below range from a compact 10-by-8-foot frame to deck-mounted, canopy, and adjustable-louver designs. Treat each link as a starting point: confirm that its current page still includes the drawings, measurements, cut list, hardware, and foundation details you need, then check local requirements before digging or fastening anything to a house or deck.
Choose From 14 Free Pergola Plans
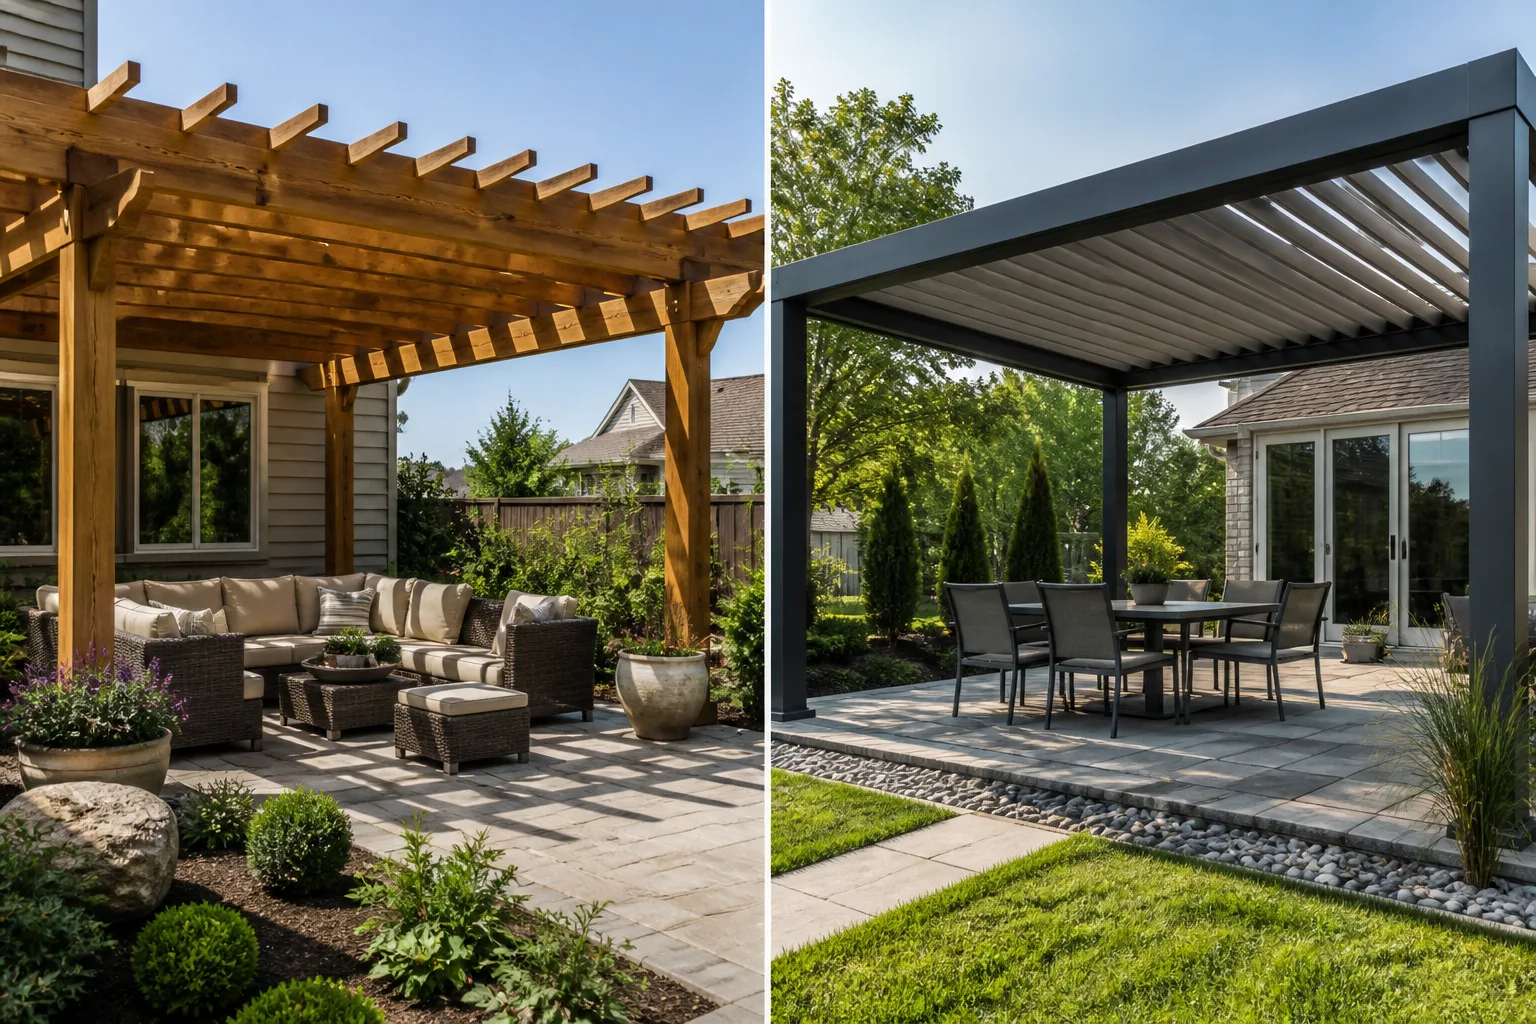
The roof changes both the look and the job of a pergola. Open rafters filter sunlight; a fabric cover or movable louvers changes how much shade and weather protection the structure can provide, and may also change the loads the frame must handle.
1. Free-Standing Wood Pergola
Simpson Strong-Tie’s free-standing wood pergola plan gives you a compact 10-by-8-foot footprint and a familiar post-and-rafter profile. It is a practical first shortlist choice for a smaller yard, but check the plan’s post-base and anchoring details against the surface and exposure at your site before treating the small footprint as an easy build.
2. Simple DIY Wood Pergola
Construct101’s simple DIY pergola plan is a straightforward freestanding wood design for a small seating area. It suits a reader who wants a conventional frame and step-by-step project page; inspect the drawings and cut list before buying, because “simple” does not settle foundation depth, local approvals, or whether the finished size works around your furniture.
3. Deck Pergola With Plant Hangers
Lowe’s deck pergola plan uses exposed bolts and cable details for a more modern look, with plant hangers worked into the design. Its deck location makes it a poor choice to copy casually onto any raised platform: Lowe’s says to check the deck’s capacity and fasten to structural framing, such as a beam or joist, rather than the decking boards alone.
4. Weatherly Pergola With Stone-Leg Styling
Ana White’s Weatherly Pergola offers a more decorative, traditional look, with a detailed shopping list, cut list, dimensions, and numbered instructions. The page labels the build advanced and calls out the foundation as an early decision; use its own measurements and specified support approach instead of assuming a similar-looking patio can take the same layout.
5. Budget Pergola With a Private Nook
A Beautiful Mess’s three-part pergola project is a useful reference if you want a modest seating nook with privacy panels and a planter-like edge, not just an open frame. The build account is unusually candid about the limitations of its own brackets and bracing, so read it as a project diary with design ideas rather than treating every connection as a universal detail.
6. Classic Freestanding Pergola
The Handmade Home’s freestanding pergola can sit close to the house or farther into the yard and is described as large enough for a dining table or a small seating group. Its flexible placement is useful when you are still choosing a location, but decide first whether the structure truly stands independently; proximity to a wall does not make it an attached-pergola plan.
7. Lattice Deck Pergola
Home Stratosphere’s deck plan with a lattice roof swaps conventional slats for a more decorative grid. Consider it when the roof pattern is a priority and you want the deck and pergola treated as one project; check whether the deck drawings cover the support below the posts as well as the visible deck surface above them.
8. Beginner-Friendly 12-by-12 Pergola
My Outdoor Plans’ 12-by-12-foot pergola is presented as a beginner-friendly freestanding build using basic tools. The square footprint is easy to visualize, but a 12-foot square still needs a clear site and substantial material handling; compare its actual post spacing and headroom with your path, furniture, and nearby doors.
9. Wood Pergola With a Fabric Canopy
Lowe’s canopy pergola plan adds weather-resistant fabric above a traditional wood frame, for people who want more shade than open rafters provide. Confirm how the fabric attaches, drains, and is removed for severe weather, and do not assume a canopy can be added safely to a plan drawn only for an open roof.
10. Bracket-Built 4-by-4 Pergola
Pretty Real’s bracket-built pergola uses 4-by-4 posts and proprietary-style connectors to simplify the visible joinery and create a modern deck-spanning look. A bracket can make assembly more approachable, but it does not remove the need to size and anchor the posts for the actual structure; follow the connector maker’s requirements and the plan’s complete bracing details.
11. Hurricane-Resistant Freestanding Pergola
Ron Hazelton’s freestanding pergola project documents a six-post build in a hurricane-prone Florida setting, including substantial posts, bracing, and local foundation requirements. Its value is the attention to stability and sequence, not the ability to transfer its footing depth or fasteners to another climate; its project location is not a substitute for your local code.
12. Attached Patio Pergola
Ron Hazelton’s attached patio pergola is for a shaded area that ties into the side of a house. Choose an attached design only if you can follow its wall-connection details and verify what lies behind the siding; if the plan leaves that connection vague, get a qualified builder to assess it before drilling into the exterior.
13. Box-Type Pergola
BuildEazy’s box-type pergola uses a more enclosed-looking pattern of square openings between its roof members. It may suit a formal patio better than long, open slats, but compare the drawing’s member spacing and connection schedule with your intended shade and local structural requirements instead of judging only from the finished photo.
14. Paneled Louvered Pergola
Flex Fence’s louvered pergola project divides the roof into movable panels, letting you adjust the openings rather than fixing every slat in place. This offers the most control over sun, but also adds hardware and moving parts; make sure the current instructions explain the pivots, stops, maintenance, and roof position for high winds before you commit.
Match a Plan to Your Site, Skill, and Shade Goal
Start with what the space needs to do. If you want a defined seating area and moving patches of shade, an open-rafter or lattice plan may be enough. If your priority is stronger sun control, shortlist the canopy or louvered option, but check whether it is actually intended to shed rain and what the instructions say to do with its roof during wind or snow.
Then distinguish the support type. A freestanding pergola transfers its loads through its own posts and foundations. An attached plan connects to the home, so the wall connection and water management matter; do not convert a freestanding drawing into an attached one just to save two posts. A deck-mounted plan has a different question again: whether the deck framing can carry the added structure and how its supports connect to that framing.
Use the plan’s outside dimensions, not a product photo, to test the fit. Mark the post centers with stakes or painter’s tape, then add the beam overhangs shown in the drawing. Check the whole footprint against door swings, steps, walkways, grill clearance, fence lines, tree canopies, and the space needed to pull chairs away from a table. If that taped outline makes the patio awkward to use, a smaller plan is a better choice than hoping the posts can be moved without changing the design.
For a fast first pass, pair the design with the job it can actually do. The 10-by-8 Strong-Tie frame and the 12-by-12 My Outdoor Plans frame give you two clearly different starting footprints; the Lowe’s deck plan is specifically for a framed deck; A Beautiful Mess centers on a private nook; and the canopy and louvered plans add roof mechanisms that an open-rafter design does not have. This shortlist is only about fit and function, not a safety rating: each plan still needs its own foundation and connection details checked.
Think about sun from the seat, not just from the property line. The direction of the rafters and the time of day you use the patio affect where the shade falls; an open-rafter roof that looks dense in a photograph can still leave a table in direct afternoon sun. For a fixed-roof design, compare the spacing in its drawings. For adjustable louvers or fabric, decide whether you are comfortable operating, cleaning, or storing the moving or removable parts.
The word “free” refers to the plan, not the completed structure. Before choosing, total the lumber, connector hardware, post bases or footings, fasteners, delivery, finish, and any tool rental or permit fees. Canopy fabric, specialty brackets, and louver hardware can make two plans with similar footprints very different in cost. Use a current local quote rather than an old online project estimate, and price the whole cut list so you can see whether standard board lengths create expensive waste.
Also look at what “plan” means on the page. A downloadable drawing set, a step-by-step tutorial, a video project, and a photo diary are not interchangeable. A tutorial may show an attractive build without giving a scaled plan or a complete connection schedule; a materials list may name the lumber while leaving the foundation to the builder. Before you commit, check that the version you can access includes dimensions, a shopping or cut list, the hardware, and the details you would otherwise have to invent.
Finally, match the plan to the work you can do safely. Some designs call for notching, accurate repeated cuts, drilling through large members, lifting long beams, or setting multiple posts plumb at once. A weekend estimate generally assumes the site, materials, equipment, and helpers are ready; it may not include permit review, excavation, concrete curing, weather delays, or repairs to an uneven patio. If those dependencies are not accounted for, plan on more than one work session.
Check Permission, Footings, and Attachment Before Buying
Pergola rules are local. A page that says “no permit required” for one town or one footprint cannot establish the rule for your address, and zoning setbacks or private covenants can matter even when a building permit does not. For example, Hillsborough County, Florida, publishes a submittal checklist for accessory structures over 150 square feet, including gazebos and similar projects, with scaled site-plan and setback information. Montgomery County, Maryland, describes a permit process for residential accessory structures before construction. These are different local rules, so take a sketch and dimensions to your own building department and ask how it classifies your exact design.
Check the lot before marking post holes. Find property boundaries and easements, review required setbacks, and confirm that the posts will not land over underground utilities, drain lines, a septic field, or a tree root zone you need to preserve. Contact the local utility-marking service before digging. If a post location must move, compare the change with the plan’s span and support layout; shifting a post can alter how the beams are supported.
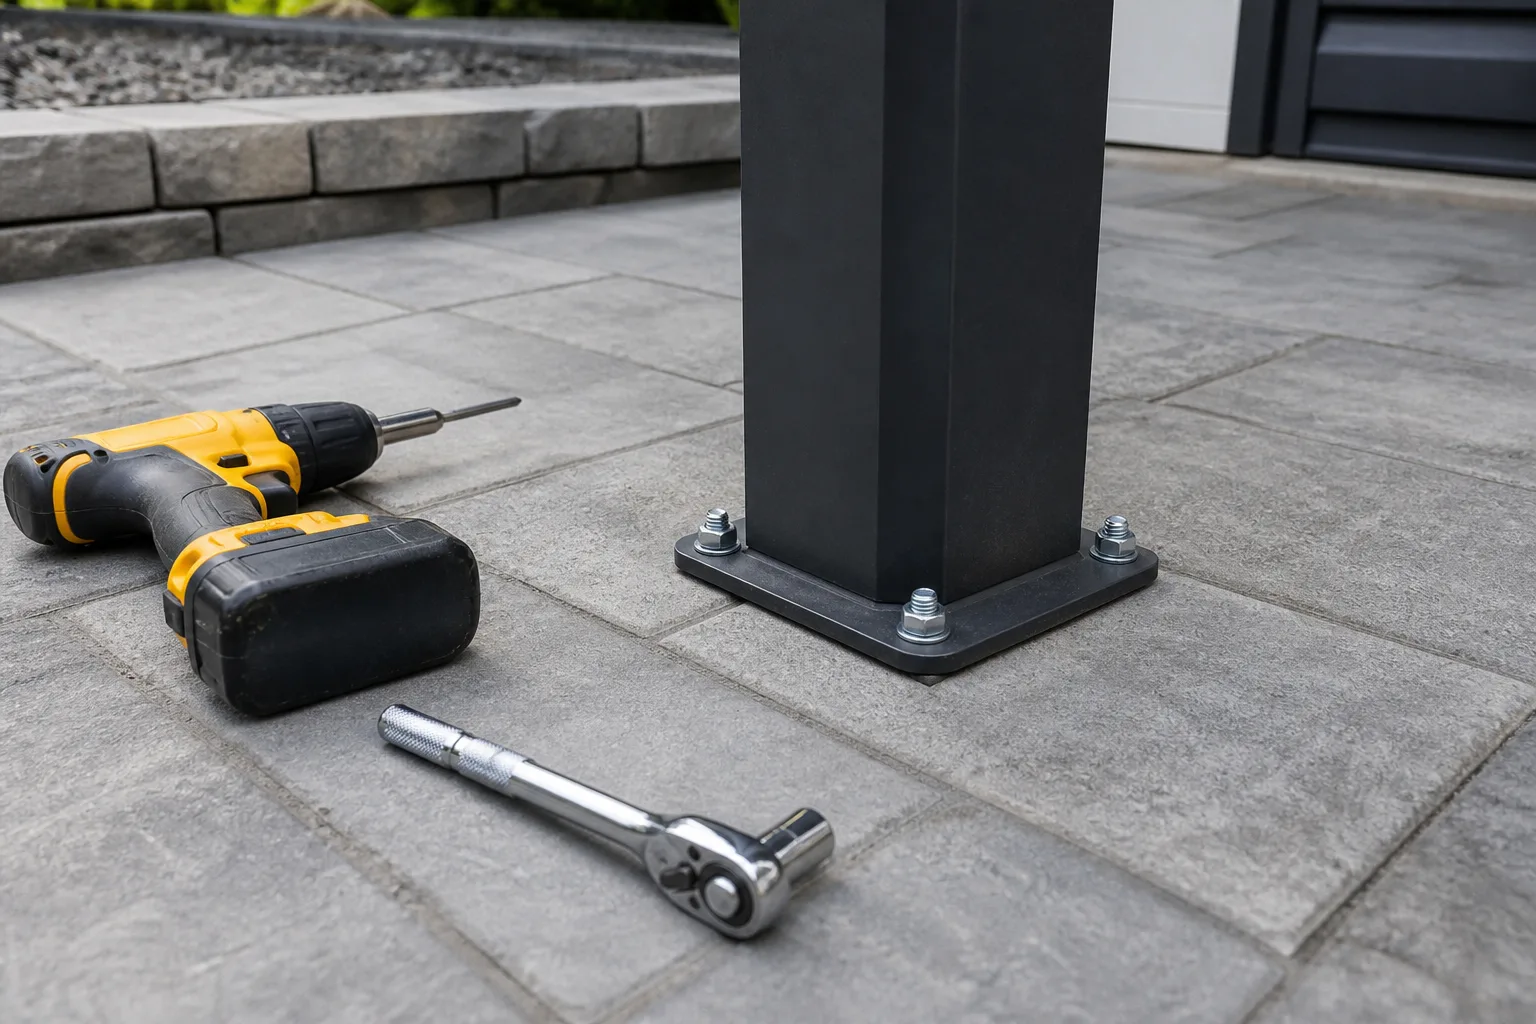
Do not treat concrete, pavers, and a framed deck as interchangeable foundations. Pavers may be a finish surface rather than the structural footing; a slab has limits that depend on its thickness, reinforcement, condition, and what is below it. A raised deck also needs a capacity and framing check. Lowe’s deck guidance says to confirm the deck’s load limits and connect a pergola to a structural beam or joist, not to the decking boards alone. If you cannot identify those framing members or verify the support, pause and ask a qualified carpenter or engineer.
For a wall-attached plan, the siding is not the attachment structure. The instructions should show how the ledger connects to building framing, how the joint is flashed against water, and what fasteners and spacing the design requires. Do not copy a generic ledger size or choose screws by appearance. If the plan lacks those details, a pro can inspect the wall and specify the connection before you make holes that are difficult to repair.
Foundation details must fit local soil, frost, slope, and exposure. One project documented by Ron Hazelton used deeper foundations because of its hurricane-prone location and local building-department requirements; that is a reason to check your own requirements, not to repeat the same depth elsewhere. Likewise, do not assume a post bracket, a planter box, or a few anchors through patio pavers provide the restraint your plan needs. Get the footing and connector specification from the plan or a local professional.
Keep the roof exactly within the design assumptions. Adding a solid cover, fabric, screening, lights, or heavy vines can change wind exposure and weight. An open-rafter plan does not become a canopy plan because fabric can be tied across it. If you want a roof that closes, sheds rain, or carries snow, choose a plan designed for that configuration and check whether it gives region-appropriate load and connection information.
Prepare the Project and Build in a Safe Sequence
Before ordering, read the plan from its dimensions through its final step. A useful drawing set should let you identify post locations, member sizes and lengths, beam and rafter spacing, overhangs, connectors, fasteners, foundation assumptions, bracing, and the order of assembly. Make a shopping list from the current plan rather than an image caption, and flag any detail that says “as needed” without explaining how to decide what is needed.
This is where the difference between a build story and a complete plan matters. A Beautiful Mess’s account of its own pergola notes that the chosen fence brackets held pieces together but did not give the frame the stiffness the builder wanted. That personal lesson is a good reminder to look for clear bracing and connection details in any plan, rather than assuming that an attractive finished photo proves the frame is adequately restrained. Do not improvise a structural fix from a comment or another project’s fastener list.
Check the materials before cutting. Match exterior hardware to the lumber and exposure specified by the plan; confirm the size and quantity of every connector and fastener; inspect long boards for serious bowing or twist; and keep members labeled by the cut list. If the design uses repeated pieces, cut and test one first, then use it as a template only after confirming the fit. One wrong repeated cut can leave too little length for a beam overhang or a secure connection.
Separate structural pieces from finish choices. Paint, stain, or a climbing plant can change the appearance, but none of them makes an under-braced frame sound. If the plan calls for treated lumber or exterior-rated connectors, keep those requirements together when buying materials; do not swap in indoor screws or an unrelated connector because it happens to fit the hole. For lumber that will touch soil or stay exposed to rain, check the plan and the product label for the treatment and use category specified for that location.
Make one complete shopping run only after comparing the list against the drawings. Count every post, beam, rafter, purlin, brace, base, bolt, washer, and repeated connector; verify that the hardware works with the members it joins; and note which cuts need a saw or bit you do not own. Put aside allowance for offcuts and a few replacement pieces, but do not use waste allowance to justify changing member lengths or spans. This reduces surprise trips and makes it easier to tell when a plan page has left out a critical part.
Lay out the footprint carefully. Mark post centers, measure both sides, and compare the diagonals to make a rectangle square before excavation. Recheck clearances and any setback measurements while the marks are still easy to change. For ground work, follow the footing details approved for your location and have utilities marked; do not substitute an arbitrary hole depth or pour concrete before the required inspection.
Set aside help for lifting and stabilizing long members. A tall post can tip before beams connect it to the rest of the frame, and large beams are difficult to position while also checking level and alignment. Use temporary bracing where the plan calls for it, keep people clear of the lift path, and do not leave a partially assembled frame unsupported. Wear eye and hearing protection for cutting and drilling, use the guards on power tools, and follow the tool maker’s instructions.
Follow the plan’s order rather than racing to the roof. Typically, the work moves from approved site preparation and foundations to post placement, temporary bracing, beams, rafters or roof panels, and final connectors or finishes. The exact sequence varies by design. At each stage, stop to verify plumb, level, spacing, and the specified hardware before covering a connection with the next piece. If holes do not line up or the frame racks out of square, find the cause before tightening it into place.
Make the shopping decision with the whole project in view. If the plan lacks scaled drawings, a cut list, a clear foundation detail, or a complete connection schedule, ask the author or a local professional whether you can fill those gaps safely. If the design relies on a proprietary bracket or moving roof mechanism, verify that the exact parts and instructions remain available. A free plan is a good value only when it gives you enough information to build the structure you actually need.
Before you start, put the documents where the crew can see them and mark the selected plan version. Keep the material list, connection details, and any permit-approved drawings together; if you have to substitute a board or fitting because something is unavailable, stop and check that the change is allowed. This is especially important when a design depends on matching brackets, panel pivots, or pre-cut dimensions: a visually similar replacement can change how parts connect.
Conclusion: Choose the Plan You Can Anchor Correctly
Shortlist a pergola by use and roof style, then test its dimensions against the real site. Before buying materials, verify the local permit and setback rules, the footing or deck support, and every structural connection the plan assumes. Of these 14 free pergola plans, the right one is the design whose drawings, materials, and support details match your yard—not simply the one that looks easiest in a photograph.



