10 Free Potting Bench Plans to Build a Better Garden Workspace
Compare 10 free potting bench plans by size, storage, skill, and garden setup, then choose a build that fits your space and potting routine.
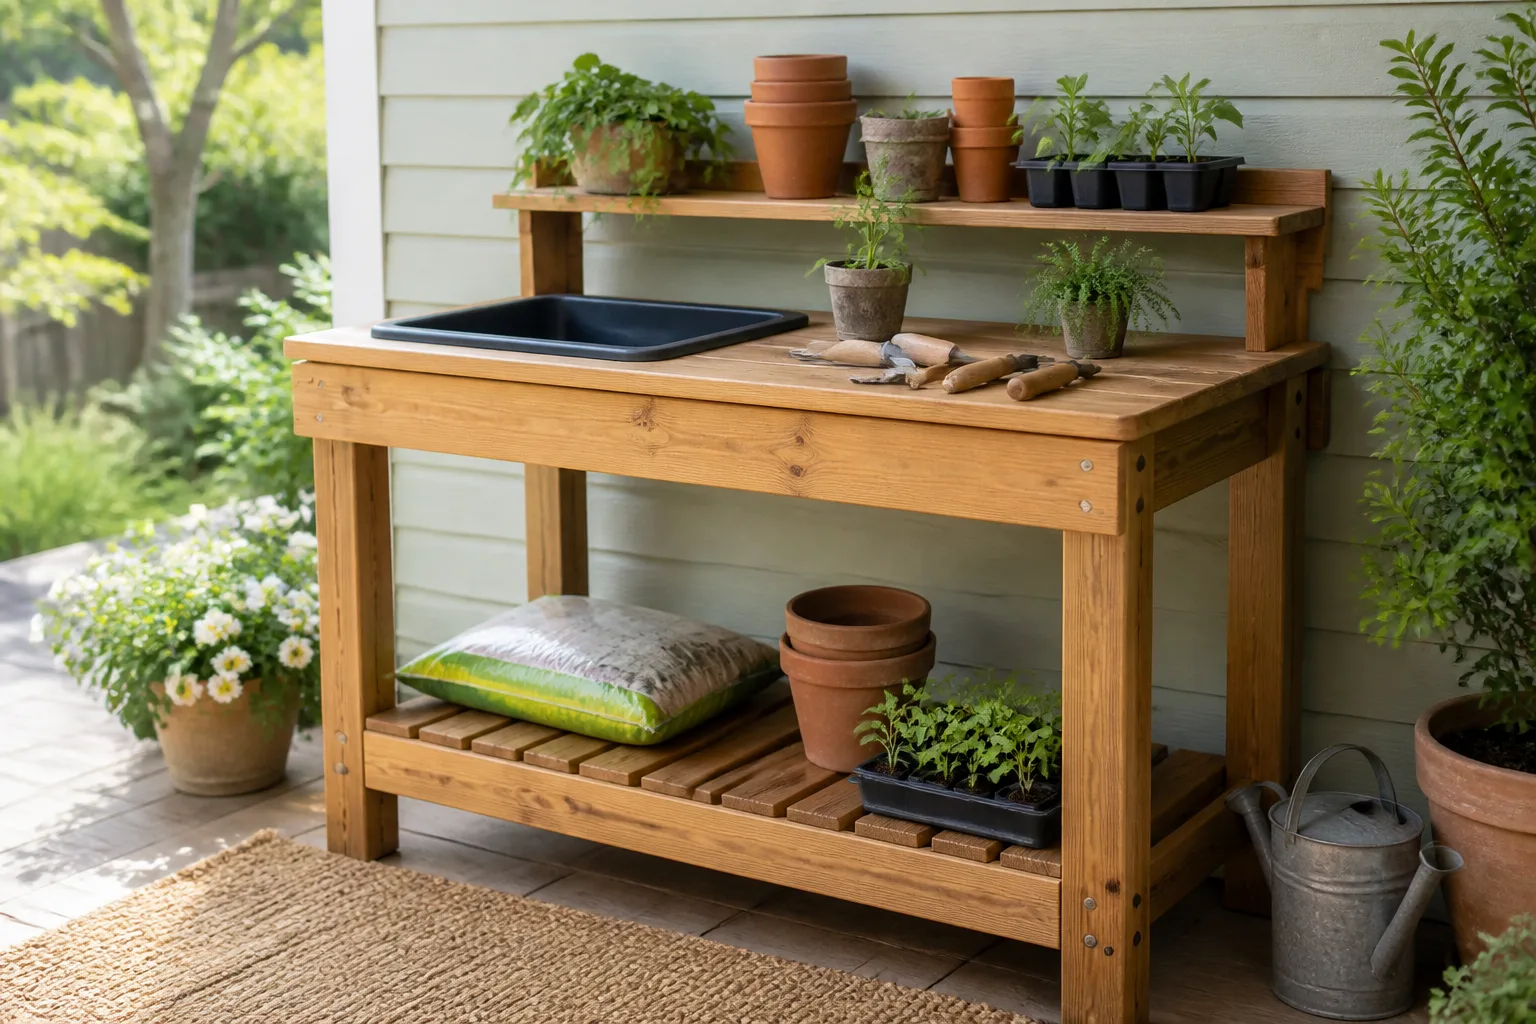
A useful potting bench gives you a stable place to open soil bags, fill pots, sort seedlings, and keep hand tools close. The right plan depends less on how charming the finished bench looks than on where it will stand, how you work, and whether you want a simple surface or a small outdoor workstation.
These ten free plans cover that range: a broad two-level center, storage-heavy benches, a pallet build, compact reuse projects, a cedar design, and a bench with a soil-catching top. A few are detailed enough to take straight to the shop; others are starting points that need careful measurement or adaptation. Compare the actual features and limits below, then verify the current cut list and dimensions on the plan page before buying lumber.
For a wider sense of how bench footprints and features vary, compare this shortlist with Epic Gardening’s potting bench plan roundup. Its range of small, medium, large, and variable-size designs is a useful reminder to start with the space you have rather than the largest photo.
What makes a potting bench plan worth building?
Start with the job the bench must do. If you mostly transplant small houseplants, a compact top and a tray for loose mix may be enough. If you sow flats, divide perennials, and fill large containers, prioritize a wider work surface, a lower shelf that can carry heavy bags, and a clear route for sweeping soil back into a bin. A tall hutch or many shallow shelves can look useful but become awkward if the items you reach for sit above shoulder height.
The plan should also tell you enough to build safely and accurately. Look for a materials list, cut list, overall dimensions, assembly drawings, and notes about fasteners. A photo-only tutorial can inspire a design but may not tell you the length of each part or how the frame resists racking. The more you need to infer, the more time you should budget for a mock-up and adjustments.
| Plan | Best fit | Feature to assess |
|---|---|---|
| Sunset Backyard Potting Center | A fixed outdoor station | Long top, shelves, and tool screen |
| Lowe’s Potting Bench Perfection | Gardeners who want built-in storage | Slide-out bin and detailed diagrams |
| Better Homes & Gardens pallet bench | Low-cost reuse with a basic tool set | Pallet condition and 37-inch work surface |
| HGTV Gardener’s Potting Bench | A contained work area | Dry sink, storage, and hanging pegs |
| Thrifty Decor Chick DIY bench | A straightforward open-frame design | Stability and how much detail the tutorial gives |
| Kreg Built-to-Last bench | A more organized permanent station | Three shelves and a moderate skill level |
| Sadie Seasongoods portable bench | A small patio or flexible setup | Reused drawer and tray-table base |
| Flaming Petal eight-step bench | A concise illustrated plan | PDF measurements, materials, and cut list |
| Family Handyman cedar bench | A durable, traditional station | Cedar cost and simple joinery |
| Taunton Vegetable Gardener’s bench | Gardeners who want covered storage | A hinged hatch and an older two-page PDF |
The table is a shortlist, not a substitute for the plan itself. Design pages can move, change, or revise their diagrams, and prices vary by region. Check that the current version still includes the measurements and build details you need before committing to a design.
Ten free plans, matched to how you garden
1. Sunset Backyard Potting Center
The Sunset plan suits a gardener who wants a full-size station with room to spread out. Its design is about 60 inches long and 63 inches tall, with a narrow upper shelf and two larger work and storage levels. A wire screen across the back gives you a place to hang lightweight tools without turning the worktop into a pegboard.
This is a good choice if the bench will stay beside a shed, greenhouse, or garden wall and you want both display space and a working surface. The instructions are primarily written steps, with drawings collected later in the plan, so read the whole page and study the illustrations before cutting. Confirm the depth and final measurements in the current drawings; the headline dimensions alone do not tell you whether the station will fit a narrow patio.
2. Lowe’s Potting Bench Perfection
The Lowe’s plan is the strongest match if your priority is keeping tools and potting supplies organized. Its signature feature is a slide-out bin, paired with a complete materials list, cut list, sequential construction directions, diagrams, and a downloadable PDF. Those details make it easier to see how the pieces fit together before you begin.
Storage adds parts and alignment work. Before building the bin, check that it can slide out without catching on the legs, wall, or lower shelf, and consider where spilled mix will land when you pull it free. The published estimate of time or cost is only a planning reference; lumber prices, finish, tool access, and your experience can change the real total. Choose this plan when a dedicated storage bay will save enough cleanup or setup time to justify the extra construction.
3. Better Homes & Gardens Pallet Potting Bench
The Better Homes & Gardens pallet design offers a way to reuse wood for a straightforward bench with a lower shelf and hooks. Its listed work surface is 37 inches high, a useful reminder that a published height is a starting measurement rather than a universal ergonomic answer. Try that height with a box or temporary tabletop before you assemble the frame.
Pallet builds are economical only when the pallet is usable and the disassembly does not consume the savings. Use clean, dry boards with a known history; reject pieces with chemical odors, oil stains, peeling paint, extensive rot, or damaged fastener holes. A pallet’s markings and prior use can be unclear, so new lumber is the sensible choice if you cannot identify where the wood came from. This plan is most appealing if you enjoy adapting reclaimed materials and can accept some variation in board width and condition.
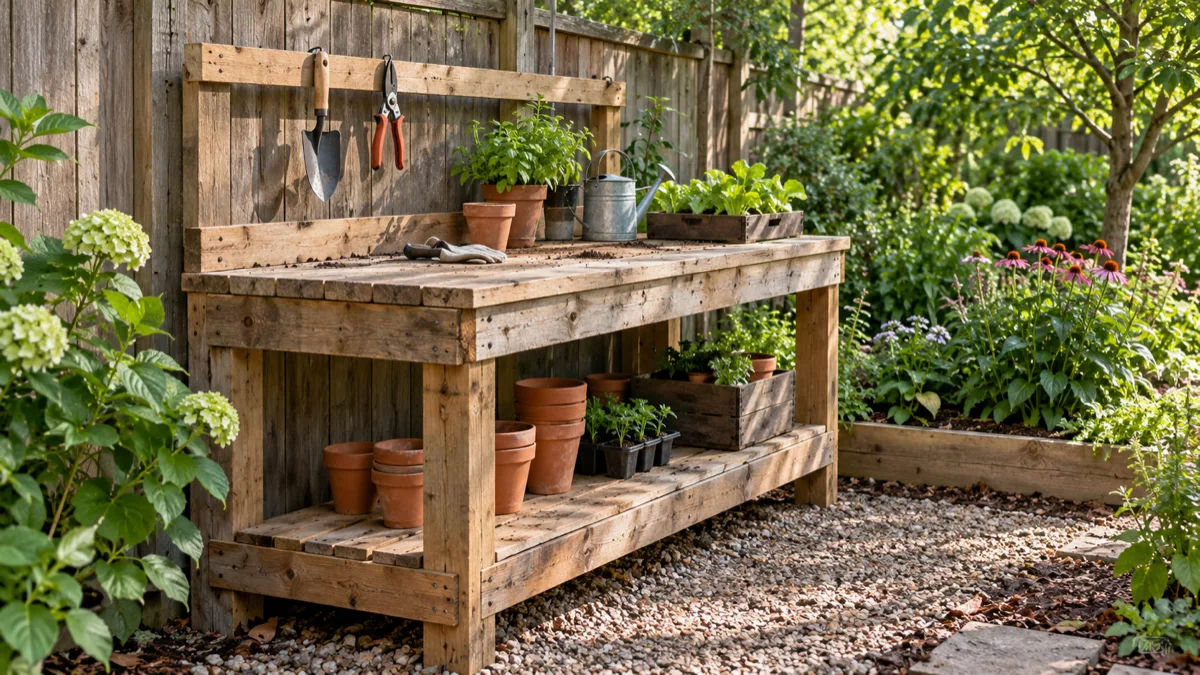
4. HGTV Gardener’s Potting Bench
The HGTV bench places a dry sink at the center of the work area, with storage below and pegs for hanging gloves or tools. A dry sink is a basin or removable tub, not a promise of plumbed water. It can corral loose soil and let you lift the mess out for reuse, which is helpful when the bench sits on a patio you want to keep clean.
The basin is also the main design constraint. Check its dimensions before building the frame, confirm that the opening leaves enough solid surface for the pots you handle, and decide how you will remove and empty it. If you want to rinse pots at the bench, plan a separate water source and drainage route rather than assuming a sink-shaped opening solves either problem. Pick this plan when containment matters more than uninterrupted tabletop area.
5. Thrifty Decor Chick DIY Potting Bench
The Thrifty Decor Chick project is a simple-looking option with a large top and an open lower area. That open frame is easy to adapt: leave it clear for a bucket or watering can, add a shelf for pots, or size the top around a particular corner. It avoids the enclosed cabinetry and moving parts that make some garden stations more involved.
Treat the photos and walkthrough as a visual build guide, then verify whether the current page supplies a cut list and exact dimensions. If it does not, sketch the frame and write down each final length before shopping. Add a back brace or diagonal support if the design can sway side to side, and use fasteners rated for the wood and outdoor exposure. It is best for a builder who values a basic, customizable structure and is comfortable checking the geometry instead of following a complete packaged plan.
6. Kreg Built-to-Last Potting Bench
The Kreg plan targets gardeners who want a more permanent station with a large work surface and three shelves. The plan includes step-by-step directions, tools and materials lists, part and cut lists, diagrams, and extra building tips. The publisher describes it as a moderate weekend build, so it is a better match for someone ready to measure, drill, and assemble several components than for a first-ever woodworking project.
Three shelves are valuable only if you can reach and use them. Map your actual supplies onto the drawing: frequently used seed trays and hand tools belong close to the top, while heavy bags should sit low and near the legs. Confirm the listed fasteners and the joinery method before substituting tools or lumber dimensions. A plan built around a pocket-hole jig may be adaptable, but changing the connection method can alter screw length, placement, and strength.
7. Sadie Seasongoods Portable Potting Bench
The Sadie Seasongoods portable project repurposes a dresser drawer as the work surface and a thrifted tray table as its base. The drawer’s raised sides help contain a small amount of mix, while the light, separate pieces can be moved or stored when the work is done. It is a clever fit for a renter, balcony gardener, or anyone who only needs a potting surface occasionally.
Think of it as a light-duty station rather than a replacement for a heavy fixed bench. A tray table designed for serving may not be stable under the weight of a large soil bag or a forceful tamping motion. Test the base on level ground, keep the heaviest items off the top, and secure the drawer so it cannot slide. Follow the page’s optional finish or stencil steps only after deciding whether the surface needs to withstand rain; decorative aging is not the same as outdoor protection.
8. Flaming Petal Eight-Step Potting Bench
The Flaming Petal plan packages its build in an illustrated two-page PDF with a materials list, cut list, estimated cost, and eight written steps. That concise format is useful if you want the core instructions in one place rather than navigating a long tutorial. It can also help a builder estimate whether the project fits the available tools and time.
Because the estimate is tied to a particular market and date, treat it as a materials checklist rather than a current budget. Confirm that dimensions use units you can measure consistently, and convert every part before making a cut; do not mix rounded metric and imperial values in one cut list. Print the drawings at their intended scale if the document relies on them, and check the PDF’s measurements against its written instructions. This plan is a good candidate for a basic permanent bench when you want an illustrated sequence and can work carefully from a compact document.
9. Family Handyman Cedar Potting Bench
The Family Handyman cedar bench is designed around relatively straightforward joints and gives you two larger work areas plus two smaller shelves. Cedar is often selected for outdoor projects because some cedar species resist decay better than common untreated pine, but the trade-off is cost and regional availability. University of Georgia Extension notes that durability, workability, and price vary among wood species and local supplies; its comparisons concern raised beds, so use them as material context rather than a direct service-life guarantee for a bench.
The plan is a strong fit if you want a conventional wooden workstation and would rather avoid complex joinery. Check the tool and material list before ordering, then use the page’s navigation arrows to follow all the steps in order. If you substitute pine or another locally available species, seal or shelter the bench according to the product guidance, keep end grain from sitting in puddles, and expect maintenance sooner than with a sheltered indoor station.
10. Taunton Vegetable Gardener’s Potting Bench
The Taunton PDF is a compact two-page plan with an exploded illustration, measurements, a cut list, tools, and materials. Its defining feature is a hatch in the main work surface, which may let you direct potting debris into a container below or cover an opening when you need a continuous top. It is especially appealing if you prefer a technical drawing to a photo-led tutorial.
An older PDF needs an extra verification pass. Confirm that it opens clearly, that every dimension is legible, and that the hatch design still suits the container or bin you plan to use. Hinges and moving panels introduce a pinch point and must sit flush enough not to catch a pot or tool. If a measurement is unreadable, do not infer it from a picture; look for a second published version or choose a plan with clearer drawings.
Match a plan to your space and routine
Fixed, portable, or fold-down?
A fixed bench is usually the most stable and gives you room for shelves, a hutch, or a wide top. It makes sense when you have a dedicated greenhouse wall, shed, or protected patio corner. A portable project is easier to store and can move into shade, but light furniture bases may wobble under large pots or bags. A wall-mounted or fold-down bench saves floor space, though its wall anchors must suit the wall structure and the working load; do not attach a loaded bench to thin cladding alone.
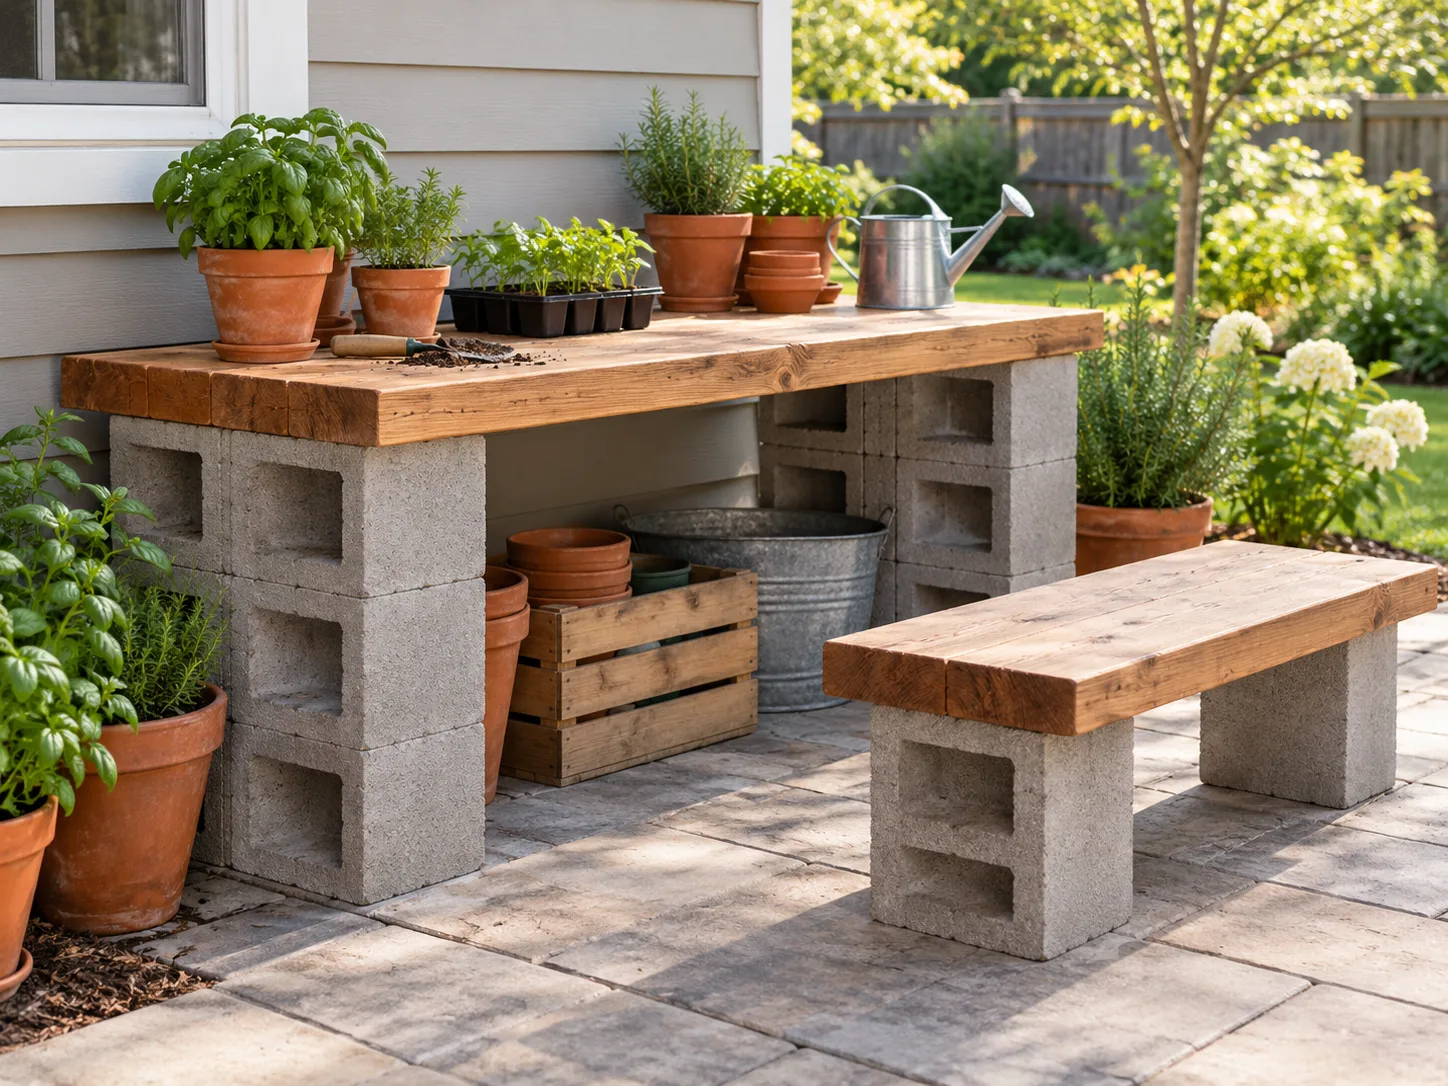
Before choosing, measure the entire route, not just the footprint. Account for doors, gate openings, hose bibs, greenhouse benches, and the room needed to pull out a bin or stand in front of the worktop. A design that fits on paper can still block access to the garden or prevent you from opening a shed door. Mark the proposed footprint on the ground with tape, then stand where you would pot and mimic reaching for a bag, tray, and trowel.
Decide which storage earns its footprint
Storage should follow the way you actually garden. Open shelves make it easy to slide in pots and large bags; a bin or dry sink contains loose mix; a screen or peg panel puts lightweight tools at eye level; closed cabinets protect supplies but add doors and hardware. Keep heavy bags on a low shelf where the bench legs support the load, rather than on a high narrow shelf or the top edge.
If you mostly use one potting mix, keep one lidded container under the bench instead of building a large hopper. If you sow seeds and label many trays, a shallow shelf may matter more than a deep storage bay. Plans with a grated surface and soil bin can reduce sweeping, but they are not ideal if you need a fully solid top for delicate seedlings, small hardware, or seed packets. Compare the feature to your routine before treating it as an upgrade.
Size the bench before cutting lumber
Bench height is personal. Use a temporary surface at the proposed height and stand as you would during a real task: shoulders relaxed, elbows near your sides, and wrists not sharply bent while filling a pot. If you have to lift your shoulders to work or bend your back for every container, adjust the top before building. A plan’s published height describes that design, not a universal ergonomic standard.
Depth is a reach question. A deep top gives a large pot more room but can push tools and trays beyond comfortable reach, especially if the bench sits against a wall. Set the largest container you regularly handle on a taped or cardboard outline of the proposed top, then make sure you can reach the back edge without leaning across it. Width should allow the same container to sit beside a soil tub or tray without crowding the work area.
Measure the lower shelf for the objects you plan to store. A shelf sized for small nursery pots may not accept a tall watering can, while an open apron can block a soil bucket from sliding underneath. Include the thickness of the top and shelf boards in your cut plan; the frame dimensions and finished outside dimensions are not always the same. For a concrete reference, the Rogue Engineer illustrated bench specifies a 53¾-inch width, 25-inch depth, and 61½-inch overall height, plus dimensioned drawings and a cut list. Those measurements are useful for comparison, not a reason to skip your own fit test.
Choose materials for outdoor exposure and safe use
Wood species, finish, and placement work together. A bench under a roof and away from splash can last longer with ordinary lumber than an exposed station standing in wet grass. Cedar or other locally available rot-resistant wood can reduce maintenance, while common pine is generally easier to source and work but may need more protection or replacement. University of Georgia Extension’s raised-bed material comparison explains why wood durability, cost, workability, and availability vary by species and region; a bench is not a raised bed, so do not copy its soil-contact service-life comparisons as a forecast for furniture.
University of Maine Cooperative Extension also points out that wood eventually decays and that treated-lumber questions have trade-offs. Its advice concerns lumber in raised garden beds, where wood contacts soil directly; for a potting bench, follow the lumber label and finish instructions, keep the surface clean, and avoid salvaged boards with an unknown chemical history. If you do not want to weigh those questions, choose untreated lumber suited to your climate, protect it from standing water, and plan to inspect it periodically.
For any design, use outdoor-rated fasteners where rain can reach them, predrill near board ends when the wood is prone to splitting, and sand corners that hands or sleeves will brush. Check that the legs sit evenly and that the frame cannot rack when pushed from the side. During cutting and drilling, secure stock, keep guards in place, and follow the tool maker’s safety directions; if a plan requires a cut or joint beyond your tools or experience, have the lumberyard make straight cuts or choose a simpler design.
Check the plans before you start building
Read the entire plan once before purchasing materials. Then compare its written steps with the cut list and diagrams, confirm lumber dimensions, and mark the parts on a sketch of your own footprint. Many nominal lumber labels are not the board’s finished measurement, so a substitution can change shelf spacing or the width of an opening. Verify every measurement from the plan rather than scaling a screenshot or estimating from a photo.
Next, identify where the bench will shed water and soil. A solid top is easy to wipe down but can hold rain if it is outdoors; slatted tops drain but let small items fall through. A grate works best when a removable container sits directly below it and can be emptied without lifting the bench. A dry sink needs enough clearance for removal, and a hatch needs hinges that will not snag sleeves or trap fingers. These simple checks are easier before assembly than after the station is already against a wall.
Finally, make a materials list around the plan’s actual design. Separate structural boards from shelves and decorative trim, count fasteners, and note whether the plan expects a specialized jig or prebuilt bin. If cost is important, price the complete list—including finish, hinges, mesh, and storage containers—before deciding. Add only the features that solve a real need; a sturdy, easy-to-clean top at a comfortable height is more useful than an elaborate hutch that crowds the work area.
Conclusion
The best free potting bench plan is the one that fits your work surface, available space, tools, and tolerance for upkeep. Choose Sunset or Kreg for a fuller fixed station, the Lowe’s or Taunton design for built-in soil handling, the pallet or Flaming Petal plan for a simpler project, or Sadie Seasongoods for a movable light-duty setup. The cedar and Thrifty Decor Chick options suit gardeners who want a traditional open bench they can adapt.
Before cutting, test the height and footprint with a temporary setup, verify the current cut list, and decide where soil, water, and heavy supplies will go. Those few checks turn an attractive set of plans into a bench you can comfortably use season after season.



