5 Garden Tools to Throw Away This Spring
Make a safer, tidier shed with a practical repair-or-replace test for five garden tools, plus disposal tips for paint, fuel, and chemicals.
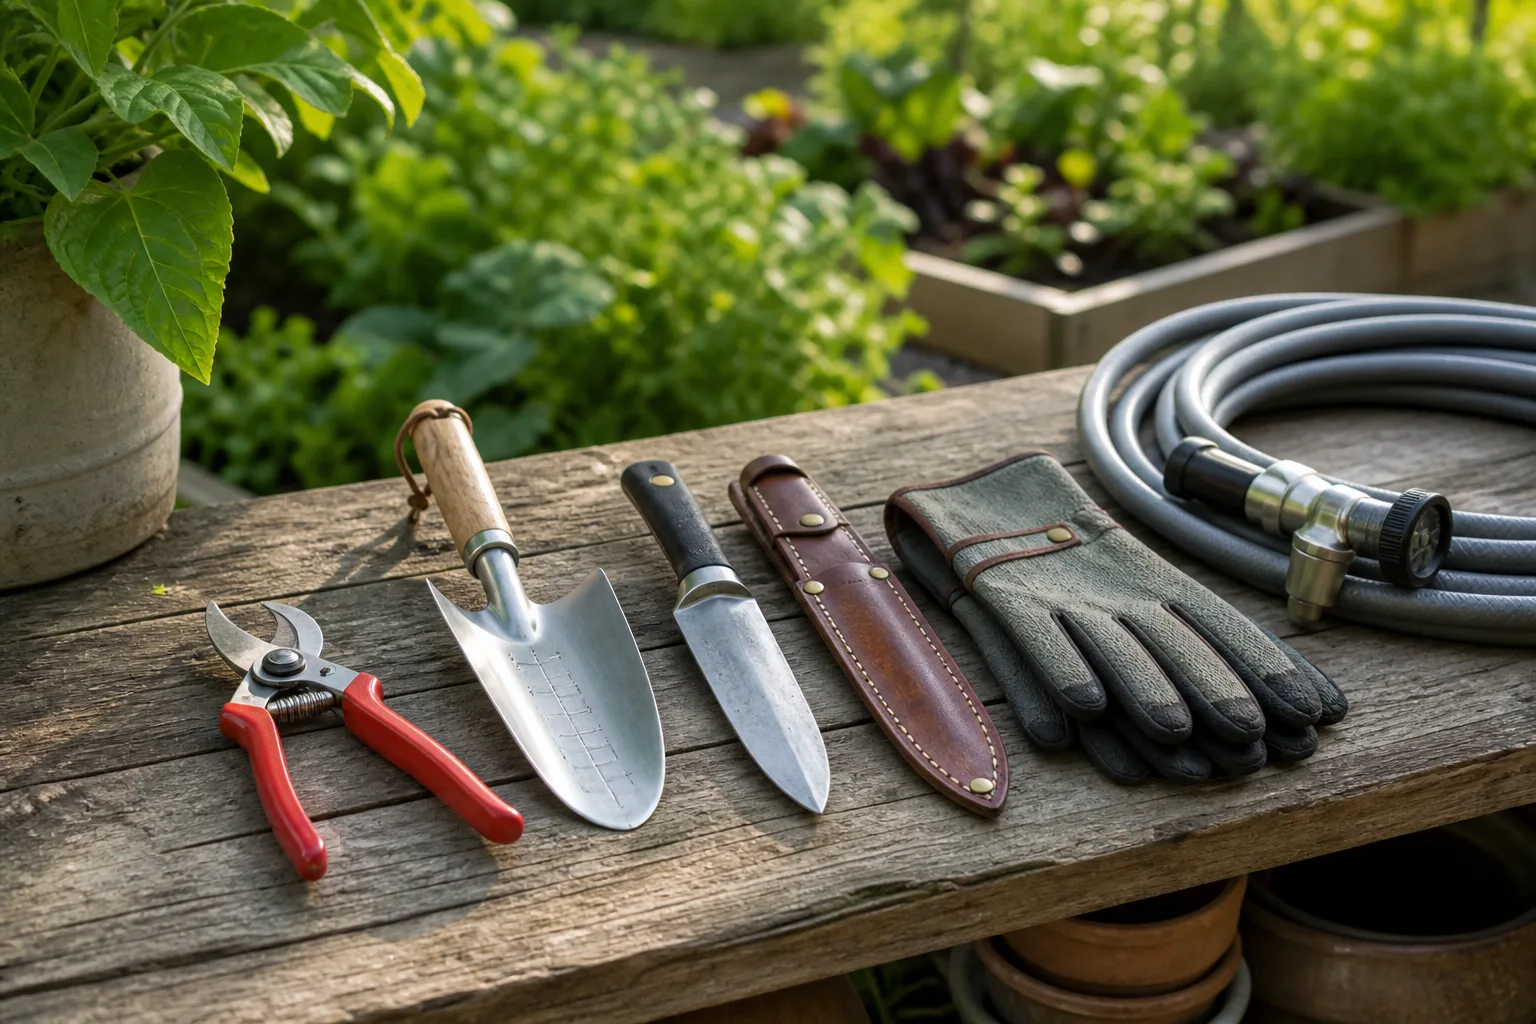
Spring shed cleaning is not a contest to own the fewest tools. It is a chance to remove the objects that slow you down, hurt your hands, create avoidable hazards, or occupy space without doing a useful job. The right question is not “Have I used this recently?” but “Would I choose this tool for its next job, and can I use it safely?”
The five categories below are good candidates for the discard pile: tools with unsafe handles, cutting tools that cannot make a clean cut, metal tools weakened by rust, powered equipment you realistically will not repair, and gadgets that promised a shortcut but became dead weight. A sixth category—old paint, fuel, and garden chemicals—needs a separate disposal decision rather than an ordinary trash bag.
Start with a repair, replace, or release decision
Empty one shelf or workbench and make three zones: repair, keep, and release. Do not begin by throwing everything away. A rusty surface on an otherwise solid shovel may need only cleaning and oil, while a nearly new tool with a bent shaft may be unsafe despite its good appearance.
The three-question safety test
For every questionable item, ask: Is the working part sound? Is the handle or housing secure? Will the repair cost less time and money than a dependable replacement? If the answer to the first two questions is no, release the tool. If the answer to the third is no and you have postponed the repair through an entire season, release it honestly rather than storing an imaginary future project.
Keep a repairable tool only when you can name the repair, obtain the part, and schedule the job. “I might need this one day” is not a repair plan. It is how sheds become tool museums.
1. Tools with cracked, loose, or missing handles
A cracked shovel handle, splintered rake shaft, loose hoe head, or missing grip is a safety problem before it is a storage problem. Force travels through a handle when you dig, lever, or pull. A split can widen under load, the head can detach, and sharp splinters can injure your palm even if the tool still looks usable.
Inspect wooden handles from end to end. Look for longitudinal cracks, soft or dark areas near the socket, deep splinters, and a head that twists when you hold the shaft and move the blade. On fiberglass or composite handles, look for a buckle, white stress line, exposed fibers, or a repair that leaves the shaft flexible where it should be rigid.
A standard shovel or rake with a replaceable handle is often worth saving if the metal head is sound and the socket is not split. A replacement handle is a repair; wrapping duct tape around a structurally compromised shaft is not. If the head is loose, rusted through, or badly distorted as well, recycle or discard the whole tool according to local metal rules.
Do not donate a tool just because you do not want it. Donation moves the safety problem to another gardener. Donate only tools that are clean, complete, and safe to use, and label a tool that needs a minor repair instead of presenting it as ready for work.
2. Pruners and loppers that no longer cut cleanly
Pruners do not need to look ruined to deserve retirement. A bypass pruner that crushes stems, slips sideways, or requires two hands for a branch it used to cut easily is creating extra work and a rough wound on the plant. A damaged anvil, loose pivot, bent blade, broken spring, or handle that does not open and close smoothly is a stronger discard signal than surface discoloration.
When sharpening is enough
Sharpen a dull but straight blade when the pivot is sound and the cutting edges still meet correctly. Clean sap and grit first, tighten the pivot only enough to remove wobble, and sharpen the bevel according to the manufacturer’s design. A tool that cuts cleanly after maintenance belongs in the repair zone, not the trash.
Replace the tool when the blade is chipped deeply, the cutting faces no longer align, or the pivot has play that tightening cannot remove. Cheap replacement pruners are not automatically better, but a reliable bypass pruner is safer than forcing a damaged one through live wood. Wipe and disinfect cutting tools between diseased plants; Oregon State University Extension’s garden-tool guidance emphasizes cleaning and sanitizing as part of reducing pathogen spread.
Never test a pruner on your finger, clothing, or a branch that exceeds its rated capacity. The clean-cut test should be performed on an appropriate small stem while the tool is pointed away from your body.
3. Severely rusted or structurally damaged metal tools
Rust is not a single verdict. A thin orange film on a solid steel trowel is cosmetic and may come off with brushing, washing, thorough drying, and a light protective oil. Deep pitting along a blade, a perforated metal head, a cracked weld, or a shaft bent out of alignment is different: the tool may no longer transfer force predictably.
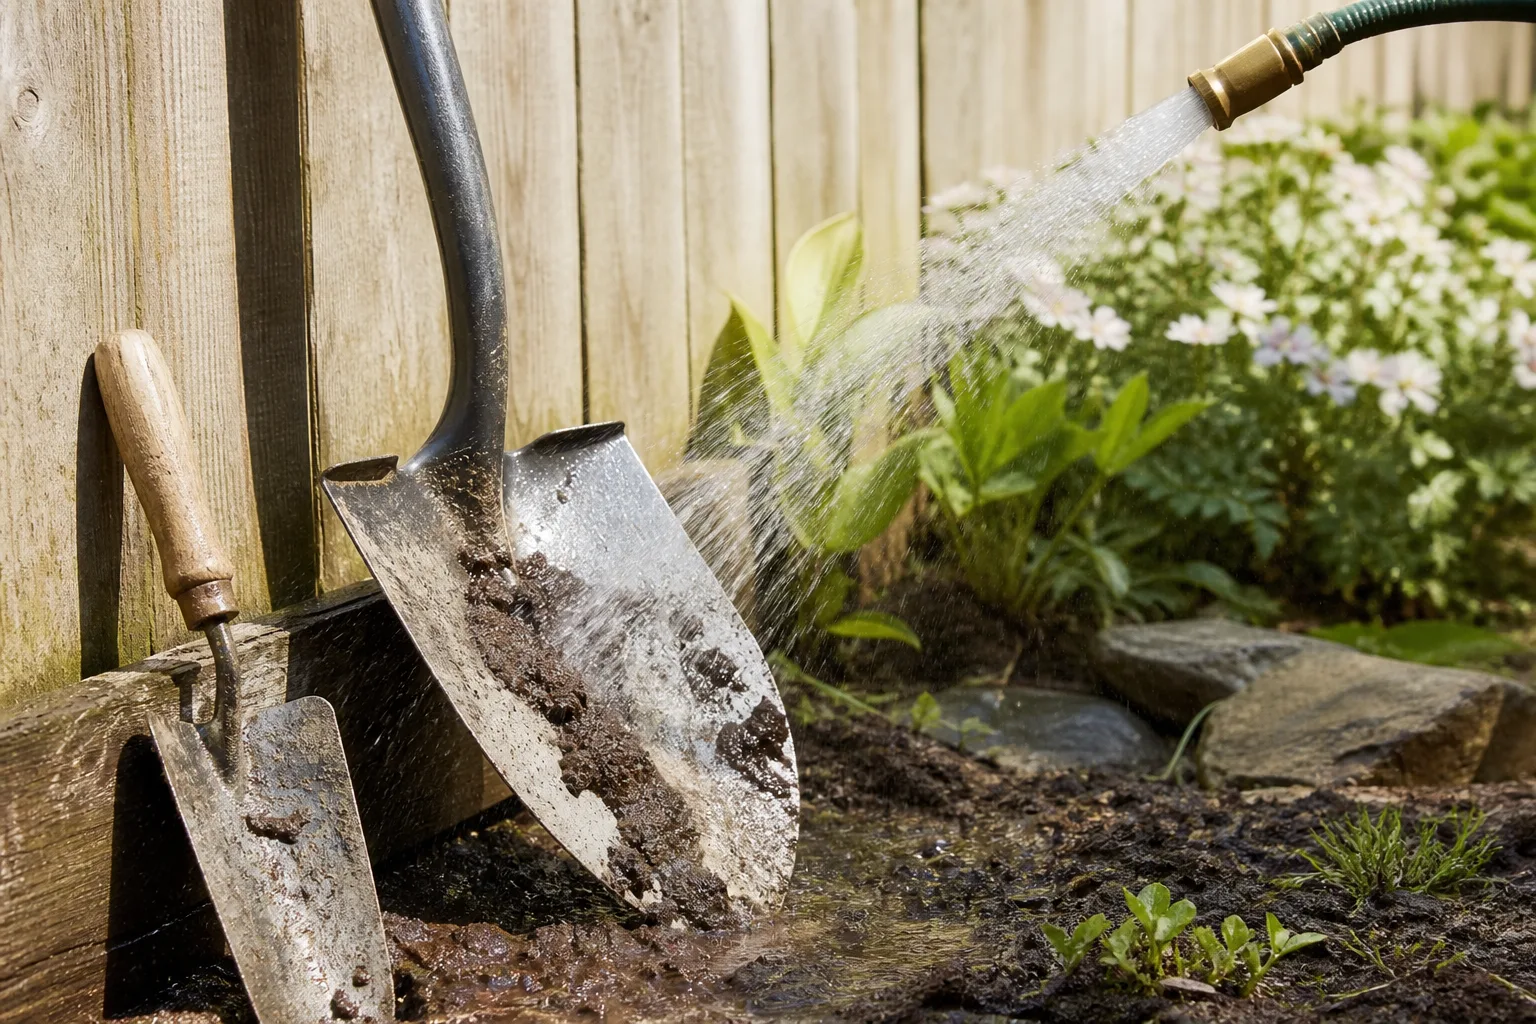
Use the clean, flex, and load test. Clean away dirt so you can see the metal. Flex or twist the tool gently to check for movement at a joint, weld, or socket. Then consider whether the working edge could safely take the force of digging, chopping, or levering. Stop at the visual inspection if the metal is thin, sharp-edged from corrosion, or likely to fail.
Do not keep a rusted tool because it has sentimental value and then place it in the active tool rack. Put a sound vintage tool in a display or restoration box; put a weakened one in the correct metal-disposal stream. The distinction matters because a tool can be historically interesting and still be unsafe for garden work.
Rakes and hoes deserve the same scrutiny as shovels. Missing tines, a fractured weld, and a head that rotates on the handle can catch clothing or feet. If the replacement part is unavailable and the tool cannot be made rigid again, it has finished its working life.
4. Broken powered equipment you have postponed for years
A lawn mower, string trimmer, hedge trimmer, blower, or cultivator that has not run since a past season is not a useful tool simply because it is expensive. Decide whether it has a defined repair path: a known fault, an available part, and a realistic date for service. If you have already replaced the same part twice or left the equipment untouched through multiple springs, release it to a repair shop, parts recycler, or qualified buyer with an honest description.
Fuel and battery exceptions
Powered equipment needs a disposal route that ordinary garden tools do not. Do not pour old gasoline into soil, a drain, or a compost pile. Keep fuel in an approved, labeled container and contact your local household hazardous-waste program or transfer station for instructions. The EPA’s household hazardous-waste guidance notes that accepted materials and collection programs vary by community, so confirm the local route before transport.
Remove batteries only when the manufacturer’s instructions allow it, protect terminals from shorting, and use a battery-recycling program that accepts that chemistry. Do not put swollen, leaking, or damaged lithium batteries in a curbside bin. Ask the retailer, manufacturer, or local waste authority how to handle them.
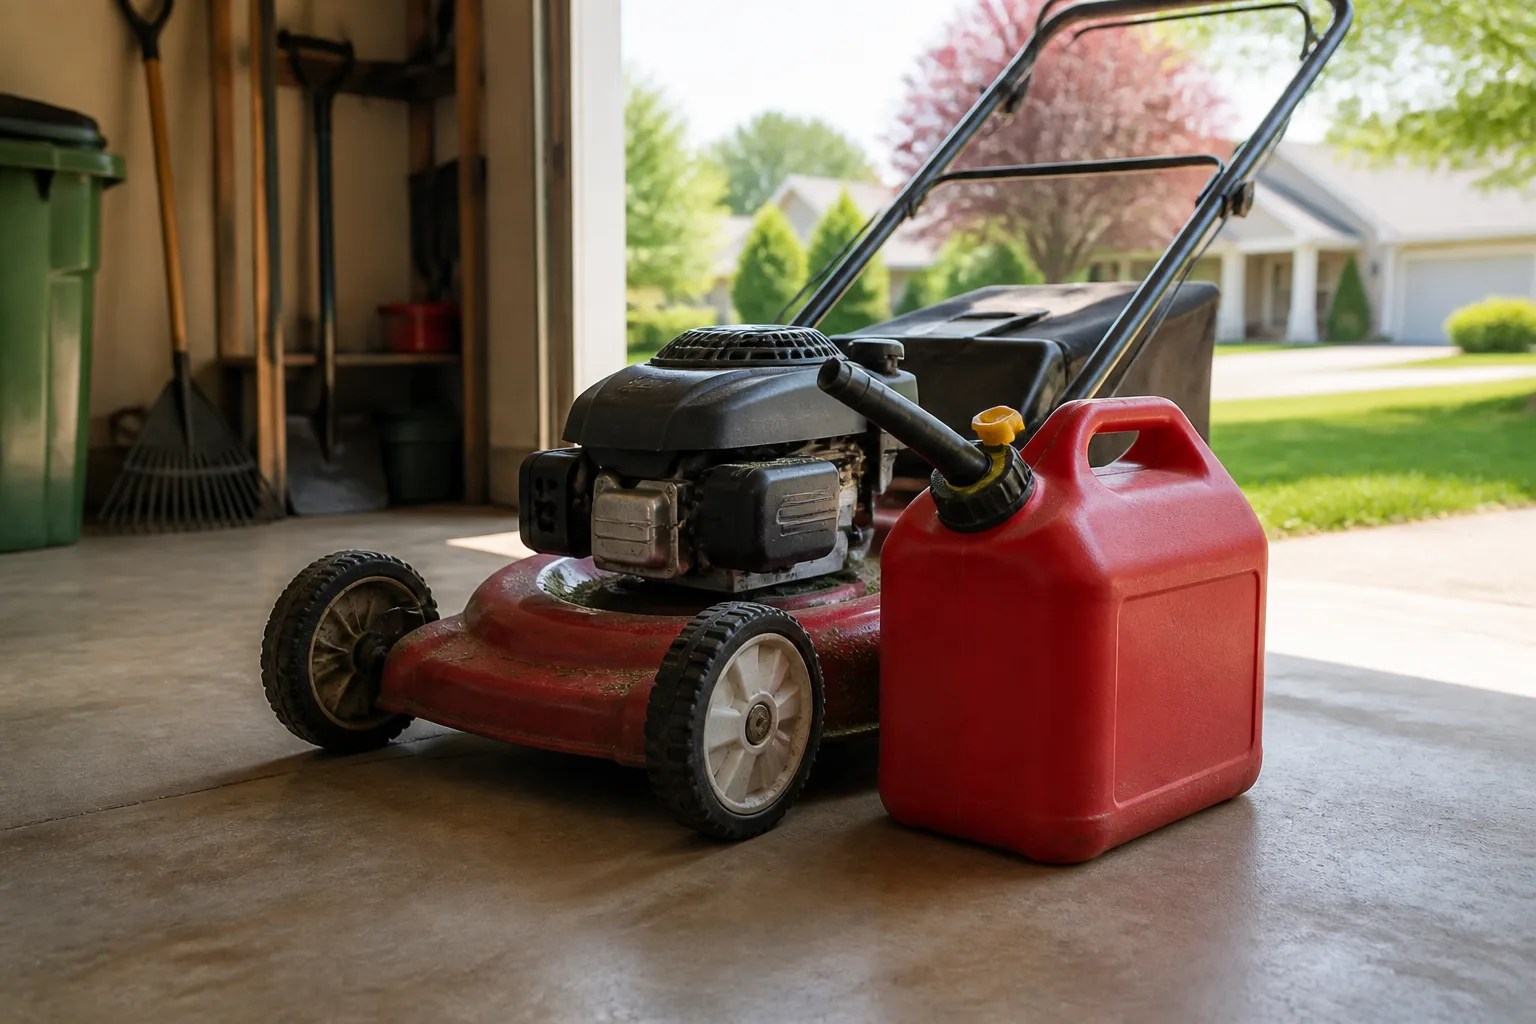
A broken machine can be useful to someone who repairs equipment, but “free” does not mean “safe to leave at the curb.” Drainage, fuel, oil, and battery rules are local and can change. State the problem clearly, keep children away from the equipment, and follow the receiving program’s instructions.
5. Lawn aerator shoes and other one-job gadgets
Lawn aerator shoes are a classic shed-clutter item because they sound efficient but are awkward to use consistently. If you tried them once, found them uncomfortable, or have no identified lawn problem that they solve, they are taking up space without earning it. The same rule applies to novelty weeders, duplicate bulb planters, and specialty attachments that fit no tool you still own.
Do not confuse a rarely used tool with a useless one. A bulb planter may be worth keeping if you plant hundreds of bulbs each autumn; a post-hole digger may sit untouched for years and still justify its space if you own a fence. The test is frequency multiplied by consequence: keep low-frequency tools when the job is difficult to substitute, expensive to hire out, or predictable in your garden.
If a gadget is complete and safe, offer it to a community garden, tool library, neighbor, or reuse center. If it is uncomfortable, broken, or missing the part that makes it work, do not pass the clutter along as a donation.
Do not keep expired paint and garden chemicals in the shed
Paint, solvents, pesticides, herbicides, pool chemicals, and cleaners deserve their own inspection. Temperature swings can damage products, labels can become unreadable, and leaks can contaminate shelves or soil. Never combine unknown liquids, remove chemicals from their original containers, or pour leftovers into a drain.
Read the label before deciding how to dispose of a product. The label is the first source for storage and disposal directions, while your local household hazardous-waste program determines what it accepts. The RHS tool-care guidance also supports keeping tools clean and dry so avoidable deterioration does not turn a maintenance job into a replacement. Paint may have a retail take-back or community collection route; pesticides and solvents may require a different one. Keep containers closed, upright, and away from heat while you arrange the handoff.
If a container is leaking, do not transport it casually in a passenger compartment. Call the local waste authority for instructions. Keep children and pets away, and do not try to “use it up” by applying extra product to the garden. More product is not safer or more effective, and pesticide use must follow the product label.
What to repair instead of throw away
Before the release pile leaves the shed, rescue the items with simple, bounded repairs. Wash soil from steel, dry it completely, remove light rust, and apply a thin protective coat. Replace a sound shovel handle, install a missing rake tine if the model supports it, sharpen a straight pruner, and replace a worn spring or bolt with the correct part.
Set a time limit. A small hand-tool repair should fit into one session; a powered machine should have a written estimate or a scheduled service appointment. If the repair expands into a box of unknown parts, stop and release the item. The goal is dependable access, not an unfinished restoration hobby disguised as organization.
A 30-minute spring shed cleanout sequence
Work in this order so you do not repeatedly move the same objects. Wear gloves and eye protection when brushing rust or handling unknown residue, and work in daylight with ventilation.
- Pull out every hand tool and place it where you can see the entire item.
- Remove obvious hazards first: cracked handles, exposed blades, leaking containers, and damaged batteries.
- Make keep, repair, donate, recycle, and hazardous-waste zones.
- Clean the keep pile and test each tool on an appropriate job.
- Write one repair and one deadline on each repair item.
- Photograph specialty items before offering them for reuse, and describe defects honestly.
- Return only clean, dry, working tools to the shed, with frequently used tools closest to the door.
How to sort, donate, recycle, and dispose of the pile
| Item | Best next route | Do not do this |
|---|---|---|
| Safe, complete hand tool | Donate, share, or keep | Do not donate a dangerous tool |
| Clean steel tool beyond repair | Local scrap-metal or transfer-station route | Do not leave sharp metal loose in a bin |
| Broken powered equipment | Repair shop, manufacturer, or e-waste program | Do not discard with fuel inside |
| Gasoline, pesticide, solvent, or unknown chemical | Local household hazardous-waste authority | Do not pour, mix, or burn it |
| Rechargeable battery | Chemistry-appropriate battery recycler | Do not place a swollen battery in curbside trash |
| Usable paint | Local take-back or hazardous-waste program | Do not store leaking cans in heat |
Rules vary by municipality, so treat this table as a sorting aid, not a substitute for the receiving program’s instructions. Search your city, county, or state waste authority by the exact product name before loading the car.
How to prevent the shed from filling again
Give every retained tool a visible home. A wall rail for long handles, a shallow bin for hand tools, and a small tray for sharpening and cleaning supplies make the useful choice easier than dropping equipment on the floor. Store blades protected, keep tools dry, and hang wet hoses or gloves where they can dry before storage.
Use a one-in, one-out rule for duplicates unless the duplicate has a distinct job. At the end of each season, record tools that failed, parts you need, and chemicals approaching their labeled storage limit. That short inventory prevents spring shopping from adding a second version of a tool that was already hiding behind the mower.
Conclusion
Throw away garden tools when they are unsafe, structurally compromised, impossible to repair reasonably, or so rarely useful that they block access to the tools you depend on. Do not throw away a repairable tool simply because it is dirty or lightly rusty, and do not send fuel, pesticides, paint, batteries, or unknown liquids into ordinary trash without checking the local disposal route.
The tidiest shed is not the one with the fewest objects. It is the one where every retained item is safe, functional, identifiable, and easy to reach when the first warm weekend arrives.



